/


Latest Post

Paper Scraps & Window dies; a perfect match up for incredible card ideas!


I hope you had a wonderful Easter weekend.  We spent it with most of my kids – played games, made meals and watched a few shows.  It was nice & relaxing.

Here's another card I made with leftover scraps of card stock.  I shared this technique on my weekly Live video. See it here for tips.  

It features lots of retiring product too; I checked yesterday and they're all still available!  

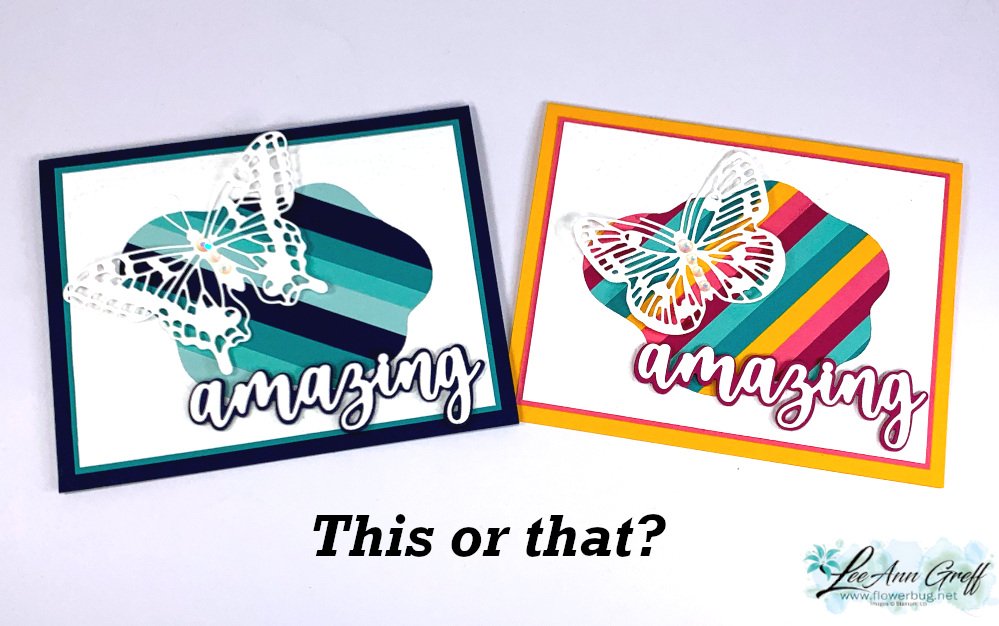
I shared two versions; the blues/greens and the rainbow. Which do you prefer?  
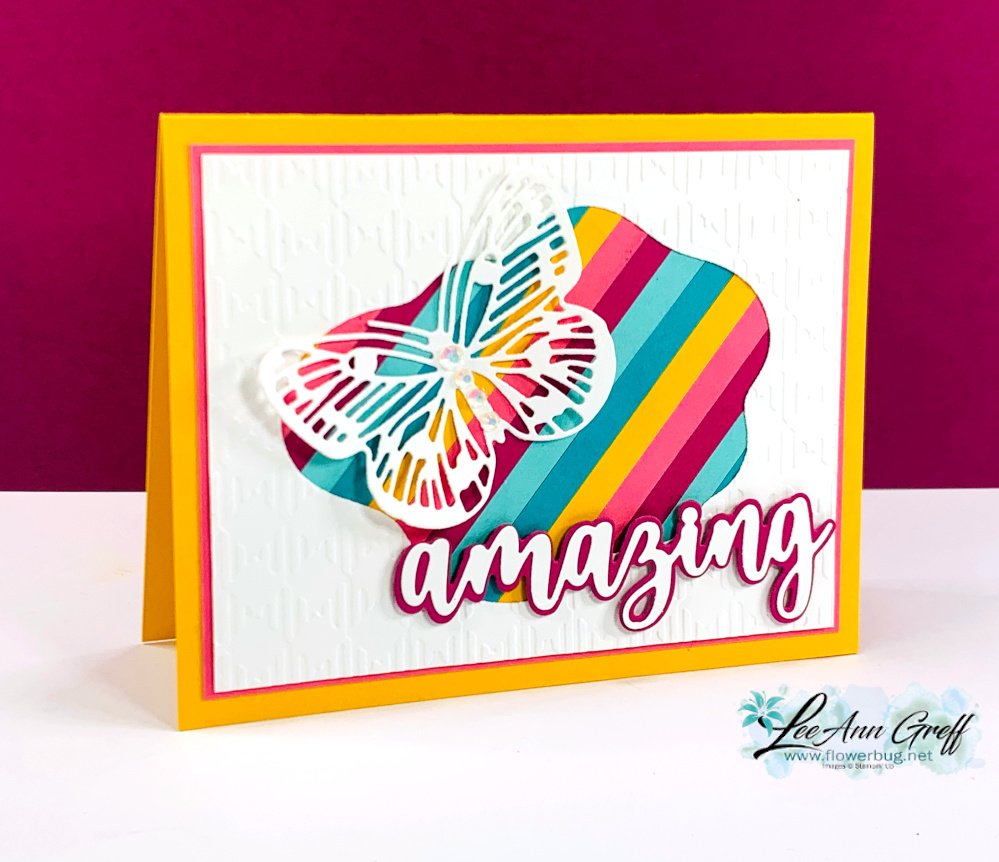
On this colorful version I used mostly retiring colors of Bermuda Bay, Mango Melody, Polished Pink as well as Coastal Cabana and the returning Berry Burst.  
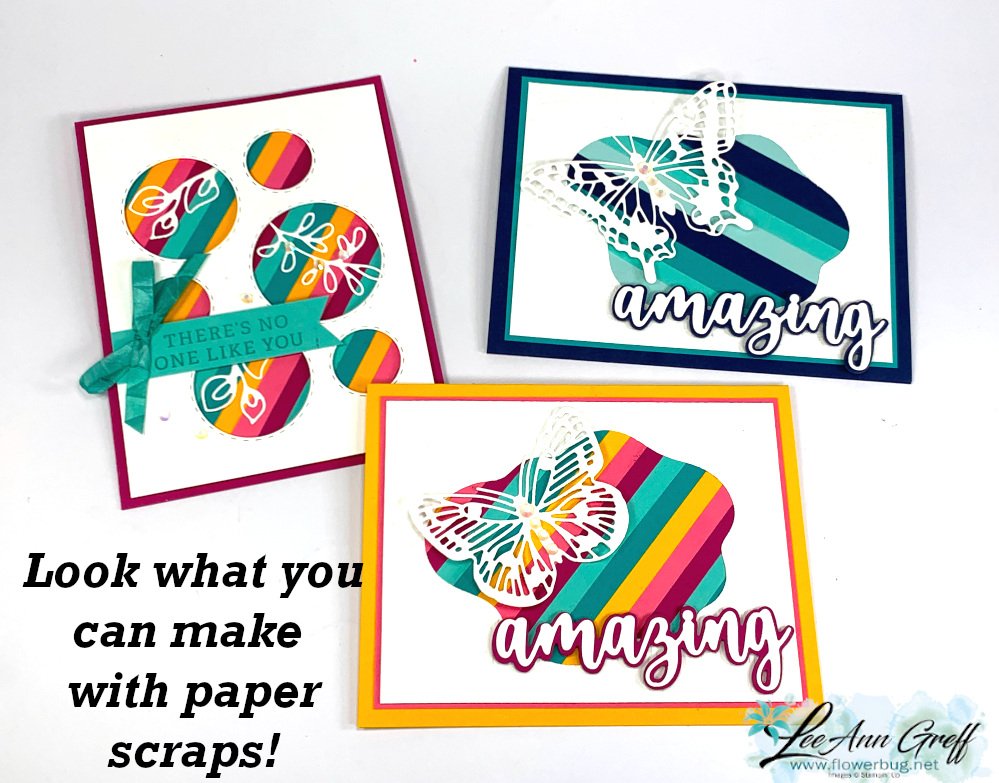
Here are all three of my window cards made with leftover cardstock strips.  I love using up my stash of scraps!  

The card on the lower left features the retiring Picture This dies seen here; they're on sale too! 
Here's the video I shared how to make the window card with the Picture This dies.  Plus two other cool projects using up card stock strips! Click on the photo below.  Don't forget to subscribe to my YouTube channel!  

~~~

April Specials:

See the 2023 Last Chance list here 

*current host code: SYZD4PH2 or SFHU3WMT

Get a free specialty paper sampler with online orders over $55 using a host code above plus an embellishment if your order is over $100

Earn free products with my loyalty rewards! 

Click here to download yours and earn a $50 shopping spree!
All Posts

  • Fun 4-Way Split Angled card idea; Live video tonight!


    We're making these fun but easy cards on tonight's Facebook Live.  It's at 7:30 pm CT here.  I hope you can join me!  If not it will be added to my YouTube channel here as well.  *Be sure to follow me on FB so you won't miss these lives! 

    Every 2nd & 4th Monday night's I host a 'Stamp with Me' live on Facebook where we create striking cards using Designer Paper or a fun technique.  If you're new to stamping you'll become more comfortable and efficient at it.  If you're a seasoned stamper you'll still enjoy it and get new ideas to create. 

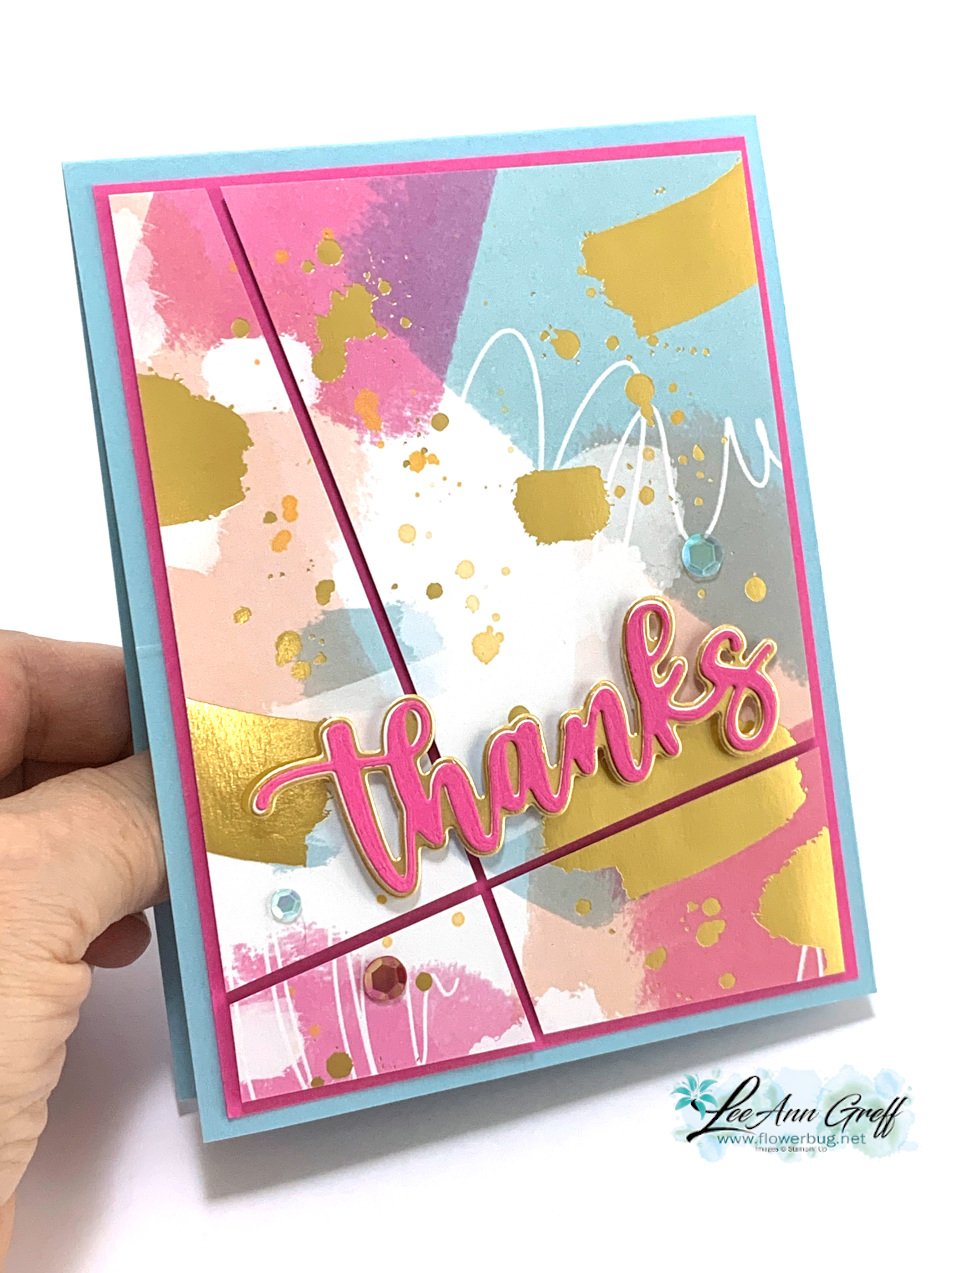
    Tonight I'll share a version of this card; I'm calling it a 4-way Split Angled card. 

    The card above features the Abstract Beauty specialty designer paper in the 2022 January-June catalog by Stampin' Up!  It has splashes of color along with gold highlights.  See it here.  

    If you want to make one of these you'll need card bases, DSP or stamps & ink and a greeting or die-cut like I used here. 

    • card base 4 1/4" X 11" scored in half at 5 1/2"
    • Colored layer 4" X 5 1/4"
    • DSP or stamped layer 3 3/4" X 5" (for a wider split use 3 1/2" X 4 3/4") 

    The Amazing Thanks dies have quickly become a favorite of mine.  See those here. 

    The next example uses the Flowing Flowers stamp set in Calypso Coral, Pear Pizzazz and Daffodil Delight.  I stamped the images before I cut them in 4 pieces. 

    You might wonder – 'how do you cut these into 4 angled pieces?'  Honestly I cut from the top to the bottom first, just estimating my angled cut. Then I held the two pieces back together and cut from the bottom left to the right side. 

    It does not have to be perfect!  Honestly; just wing it; I dare you to do this without measuring.  

    ~~~

    March Specials: 

    Host codes: EU76H4H7

     *click here to order 

    If your order is over $50 you'll receive a free embellishment

    from the Jan-June catalog in your thank you card.

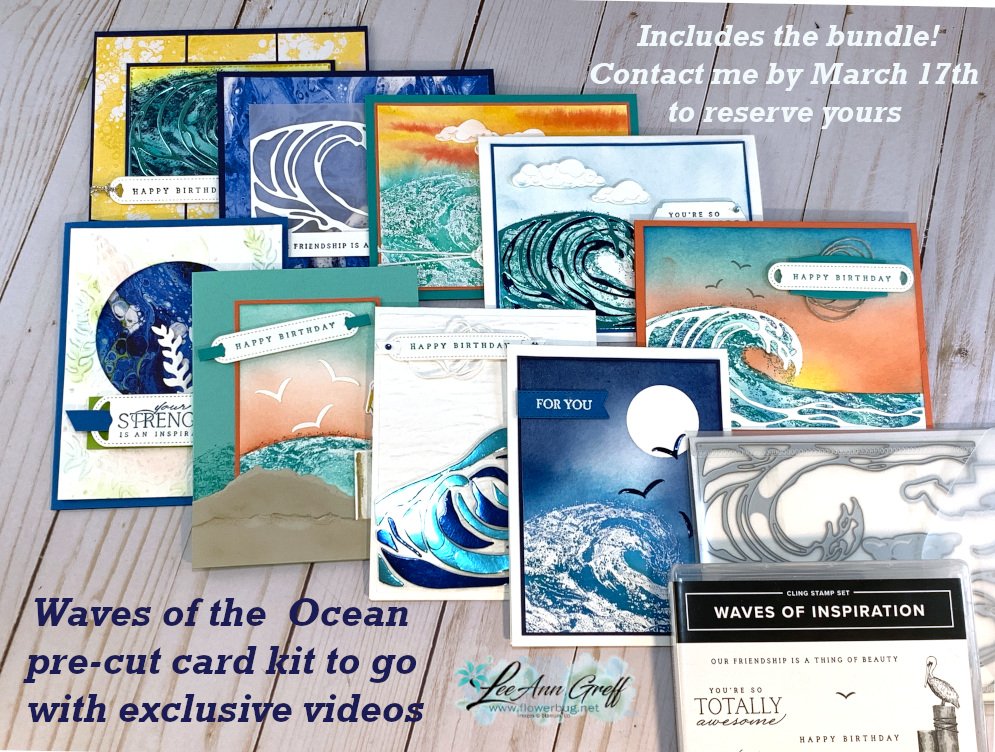
    Email me to opt in for my Waves card kit to go here; it includes the Waves bundle!

    Or the Flowering Fields kit seen here. 


    Don't forget about my loyalty rewards! 

    Click here to download yours and earn a $50 shopping spree!  
    Leave a Reply

    Your email address will not be published. Required fields are marked *

  • Quick & beautiful cards for any occasion with the New Horizon suite.


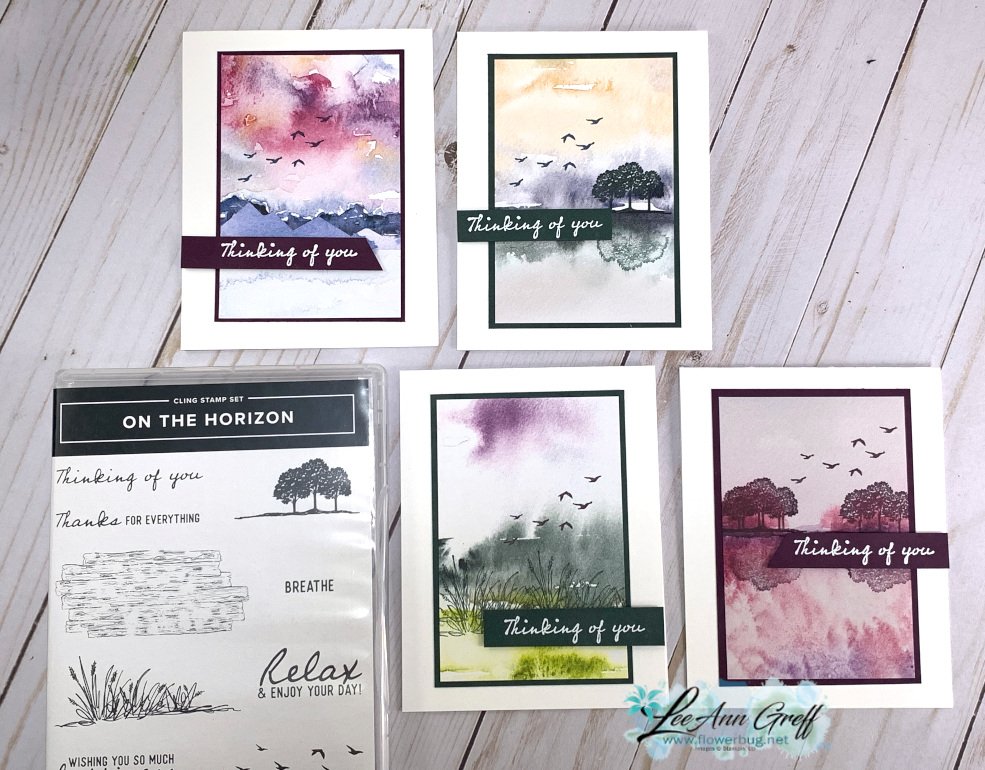
    If your style is clean and simple I have the perfect card layout for you! Look at these gorgeous cards!

    I stamped a few of the images from the On the Horizon stamp set here.  I used the birds a lot!  They add a peaceful 'movement' to the card.

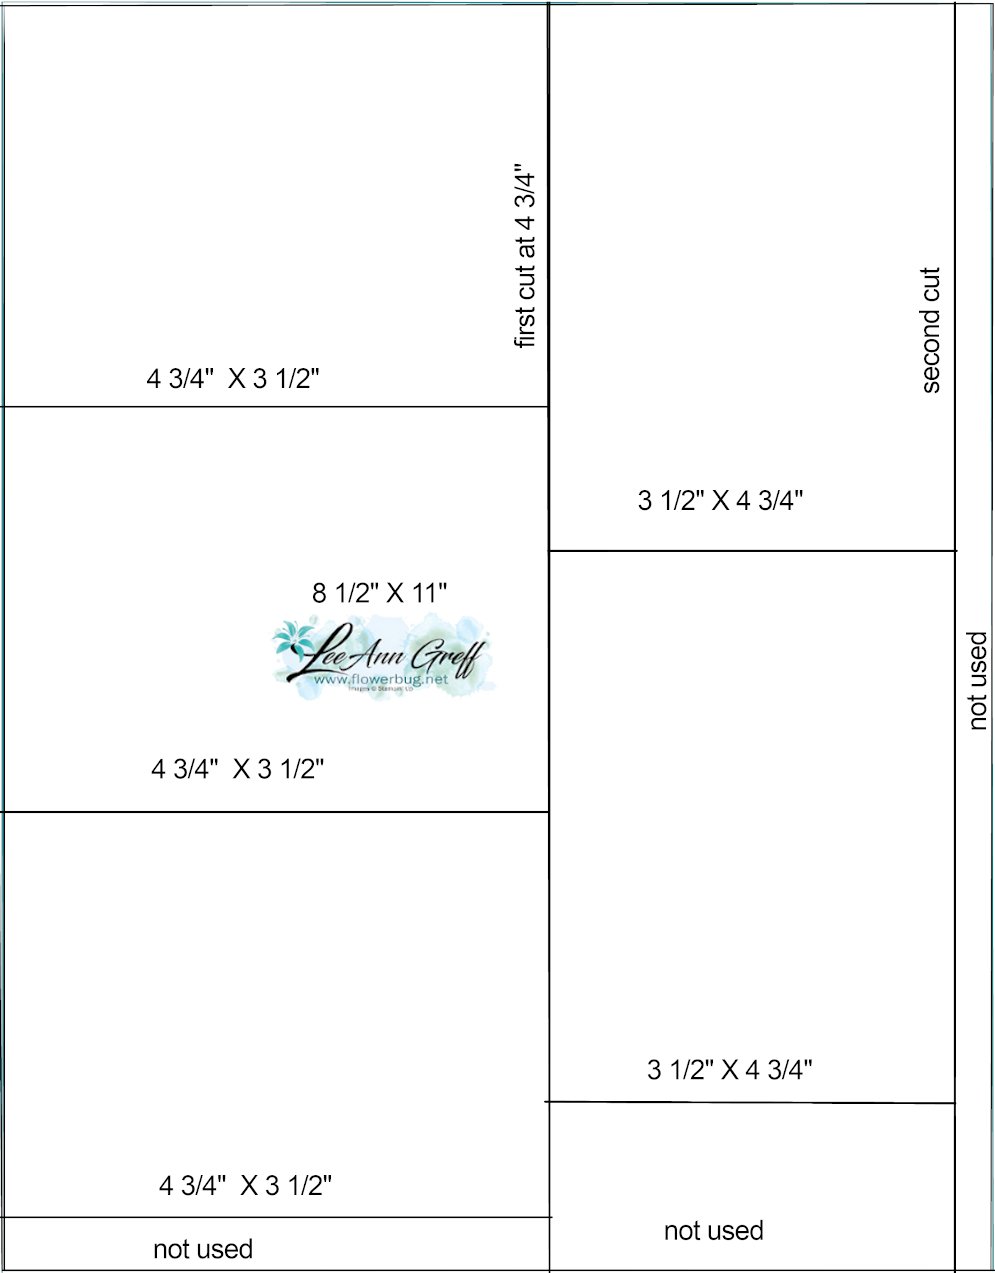
    I used a version of my 5 at a time template for the card stock layers for these cards.  I use this often for the inside of my cards; especially if I need a white piece.  When making multiple cards it sure is nice to get 5 pieces from an 8 1/2" X 11" sheet instead of just 4.  I get a lot of people who ask me about this template.  If you like it I suggest you save it and either print it out or save on your computer for easy reference.  

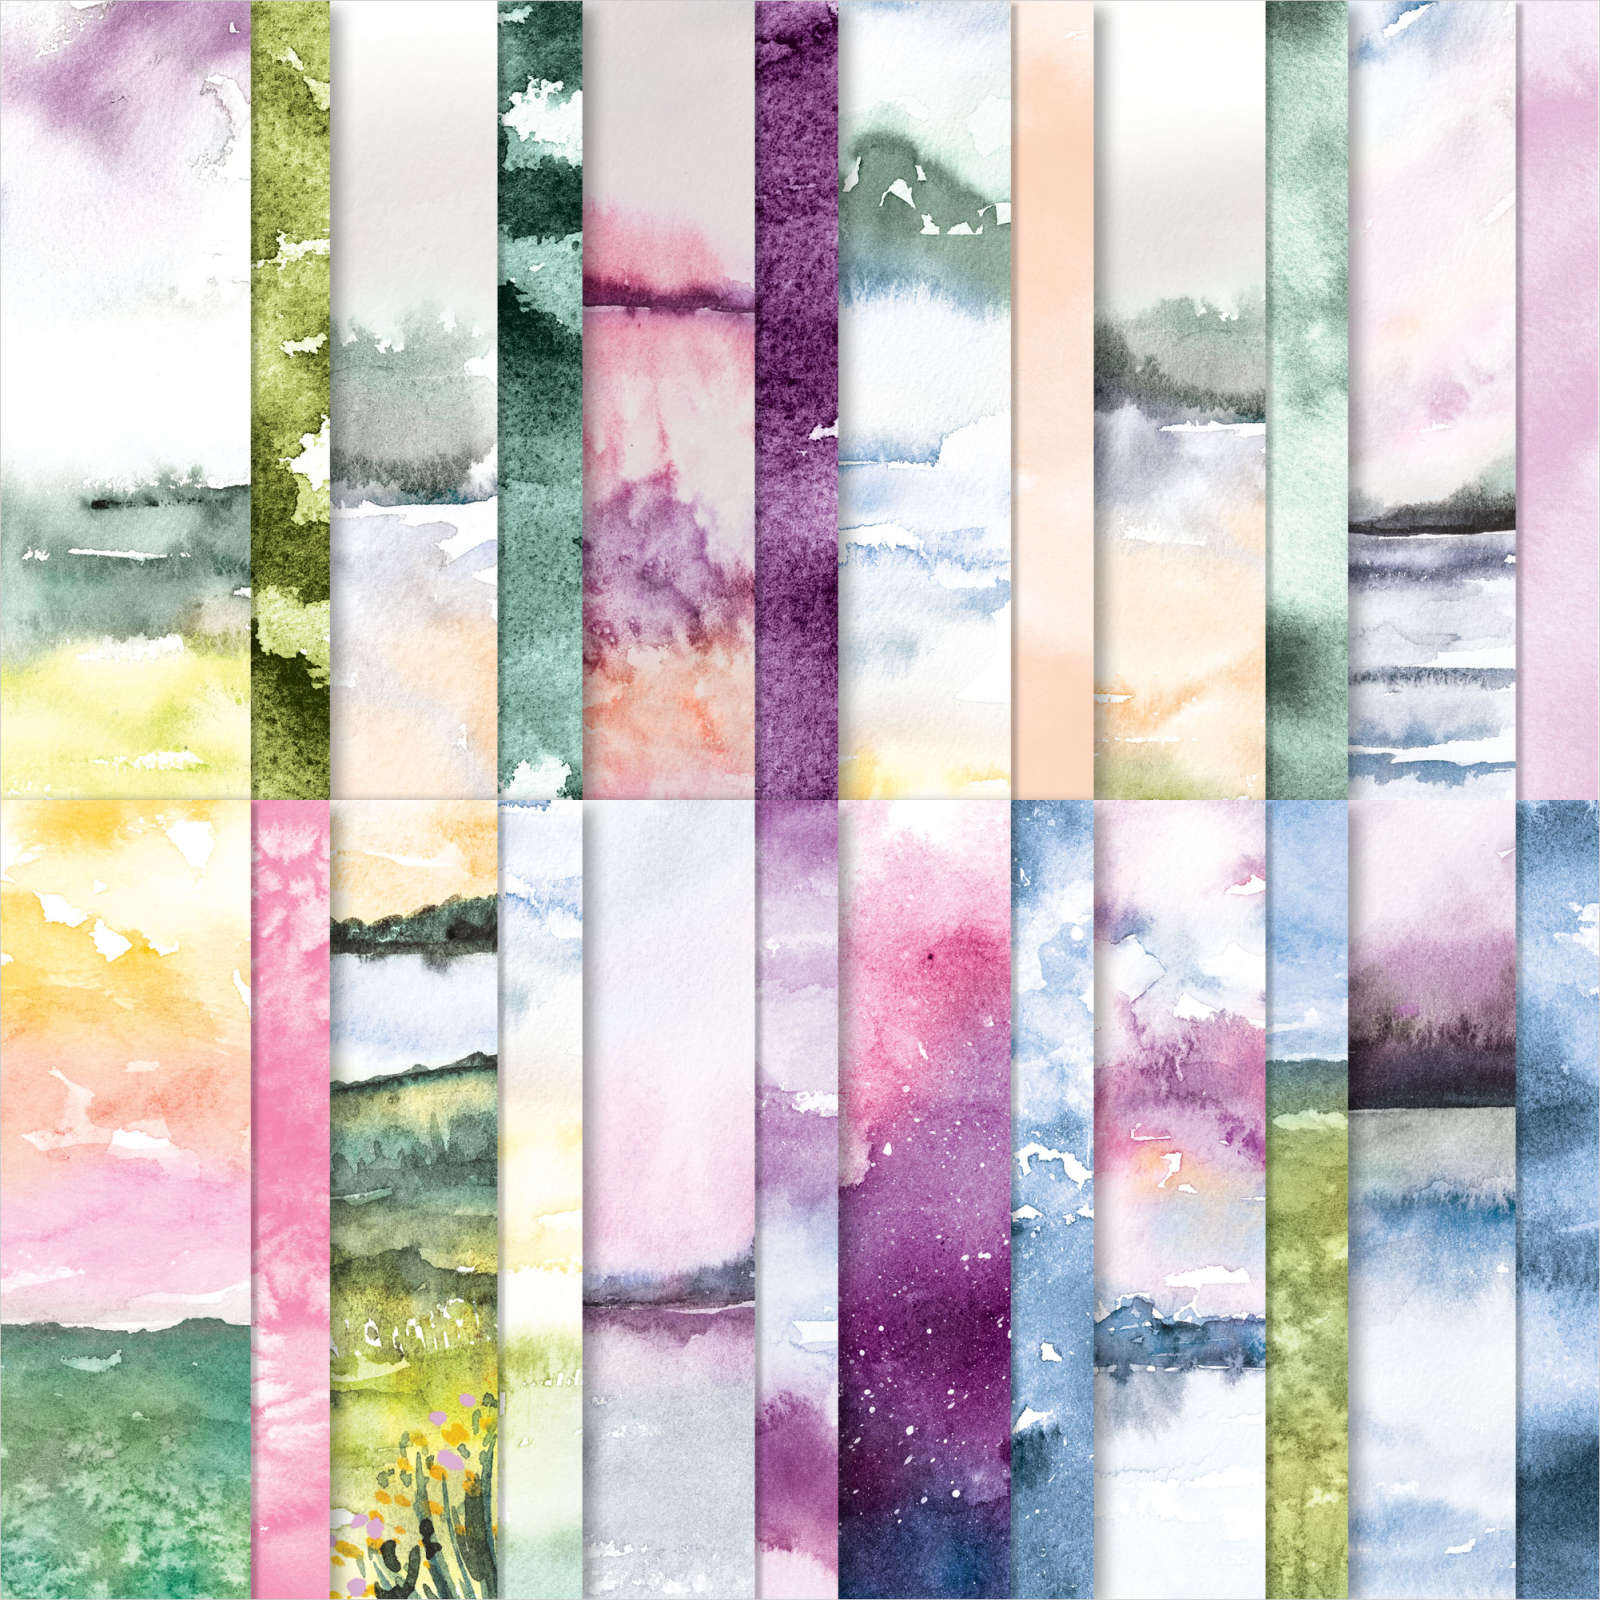
    If you look closely at the cards with the trio of trees on them you'll see a 'watery' reflection. It's so easy with this New Horizon Designer Series Paper.  I shared how in the video here. 

    The New Horizons paper is on low inventory at this time. If they run out the item will be shut off until they restock.  

    Here's how this simple reflection is done. 

    1. Stamp the tree on the horizon line using full ink.
    2. Do not ink again. 
    3. Turn the stamp upside down and simply stamp under the first image.  Easy, instant reflection.  

    Measurements:

    • White card base 4 1/4" X 11" scored in half at 5 1/2"
    • Designer paper 3" X 4 1/2"
    • Card stock layer 3 1/8" X 4 5/8"
    • greeting strips 5/8" X 3" 

    Click on the photo below to watch this video tutorial.  

    ~~~

    March Specials: 

    Host codes: EU76H4H7

     *click here to order 

    If your order is over $50 you'll receive a free embellishment

    from the Jan-June catalog in your thank you card.

    Email me to opt in for my Waves card kit to go here; it includes the Waves bundle!

    Or the Flowering Fields kit seen here. 


    Don't forget about my loyalty rewards! 

    Click here to download yours and earn a $50 shopping spree!  

    Leave a Reply

    Your email address will not be published. Required fields are marked *

  • Waves of Inspiration scene with masking & blending techniques


    I made this card for an online swap I participated in last month.  When I create for a swap I tend to make a few different cards and decide which one I'll use for the swap.  Well once I made this one the decision was made!  

    Although after stamping, masking, blending and sponging over 20 cards I was regretting my decision! But I am proud of it so it was worth my efforts.  

    This card is part of my Waves of Inspiration kit to go this month.  I share how to make it in the video and it's also part of the pre-cut kit to go as well. 

    If you're interested in it please message me here by March 17th. 

    Here's a link to see all of the Waves of the Ocean collection.  Heads up!  The stamp & dies bundle will be in the new catalog but the papers & gems will not!  


    The Waves of Inspiration kit to go is $82 and includes:

    • the Waves of Inspiration stamp & dies bundle (value of $51).  *Substitute other product if you already own it. 
    • 6 beautiful pre-cut cards ready for you to stamp & assemble
    • all pre-cut pieces (you'll receive the paper needed to die-cut your own waves, birds etc using your new Waves dies) 
    • PDF tutorial with 11 projects
    • Exclusive video featuring the 10 projects with multiple techniques
    • Priority shipping

    Anyone who orders the Waves of the Ocean collection from me will receive the PDF tutorial and exclusive videos.

    *This kit, tutorial or videos are not available separately at this time.  

    ~~~

    March Specials: 

    Host codes: EU76H4H7

     *click here to order 

    If your order is over $50 you'll receive a free embellishment

    from the Jan-June catalog in your thank you card.

    Email me to opt in for my Waves card kit to go here; it includes the Waves bundle!

    Or the Flowering Fields kit seen here. 


    Don't forget about my loyalty rewards! 

    Click here to download yours and earn a $50 shopping spree!  

    Leave a Reply

    Your email address will not be published. Required fields are marked *


Notice: LeeAnn Greff, Independent Stampin’ Up! Demonstrator, Manager. The content of this website is my sole responsibility as an independent Stampin’ Up! demonstrator and the use of, and content of, the classes, services, or products offered on this website is not endorsed by Stampin’ Up! Copyright 2025