/


Latest Post

Sale-a-Bration starts today!!! Paper Blooms Descending Layers technique


From today through February 28th you can earn free product with your Stampin' Up! orders!  For every $50 or $00 you spend you can choose a free item.  Check it out here.

The new Mini Cut & Emboss machine is now available!  And when you purchase it you can choose a free SAB item too!

It's small, light weight and fits on your work surface so nicely!  It also fits many of our dies and you can see which ones by the special icon in the catalogs. 

This cute machine has a compact footprint for easy storage and travel. The 3-1/2" (8.9 cm) platform works with many of Stampin' Up!'s smaller dies and embossing folders. Includes 1 Mini Base Plate, 2 Mini Cutting Plates, 1 Mini Embossing Plate, and 1 Mini 3D Embossing Plate

Are you enjoying these sneak peaks from the new 2021 Stampin' Up! Spring & Sale-a-Bration catalogs?  It's always fun to play with brand new products.  Today I'm playing with new 2021 Sale-a-Bration (or SAB) items.  

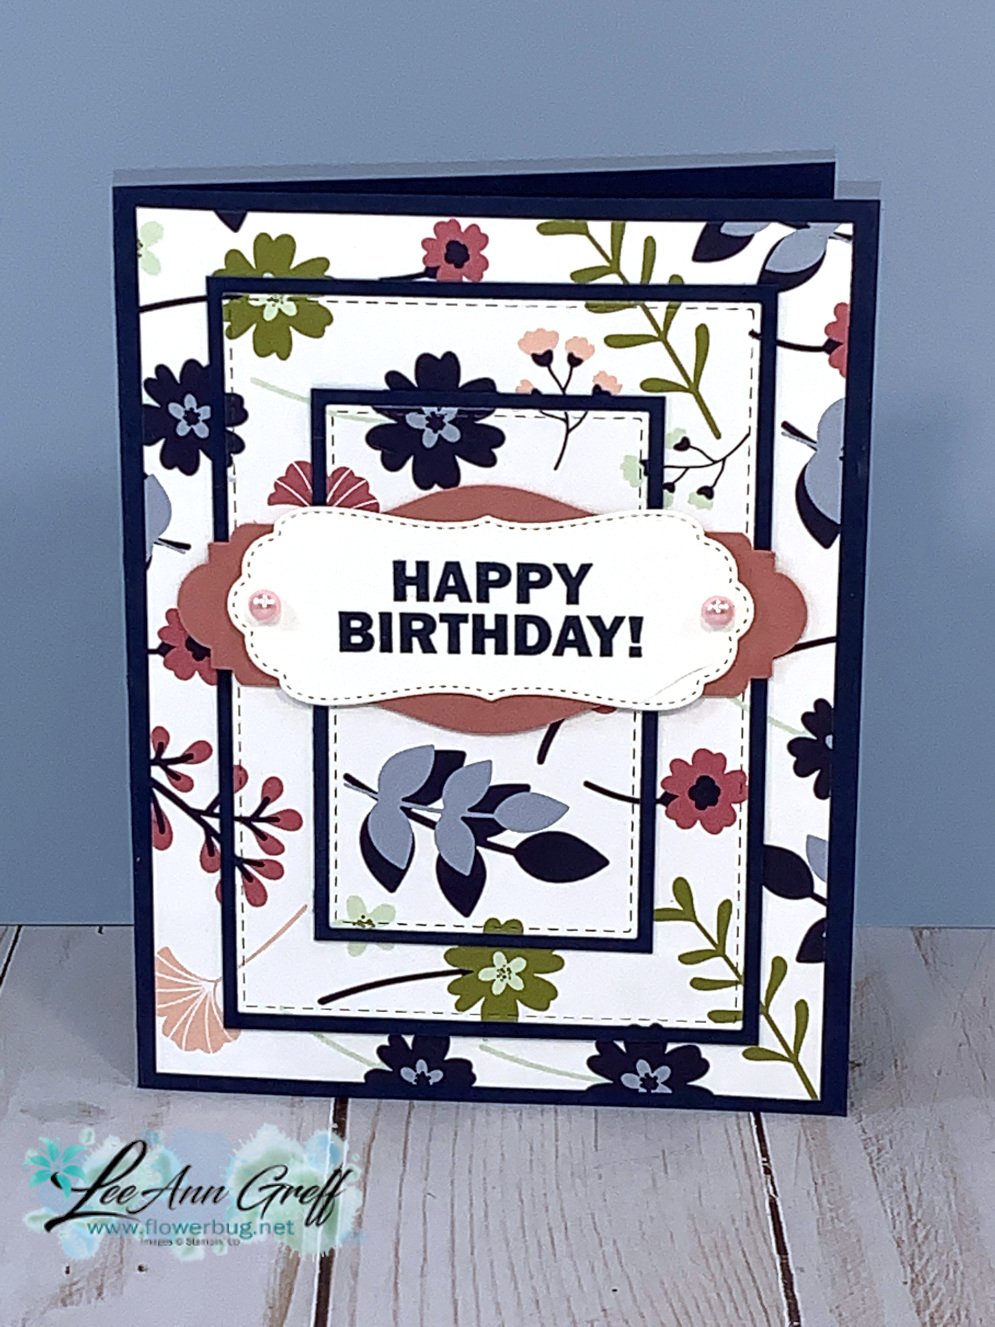
The Paper Blooms Designer Series Paper is full of flowers and fun color combos!  I decided to use my Stitched Rectangle dies to create this layered effect.  If you want to watch a video on how to do this click here. 

I used the third smallest and the third largest die in the Stitched Rectangles set.  It looks like I wasted a ton of paper but the entire card is made with one piece of DSP measuring 5 1/4" X 4".  It's so cool!  

Navy layers are:

  • Main card 5 1/2" X 8 1/2"
  • Smallest rectangle is 3 3/8" X 2", middle is 4 1/2" X 3 1/8" 

You might wonder what I used for the greeting.  The White piece is a new die from the Potted Succulent dies seen here. The Rococo Rose layers are punched pieces; 2 of them.  I used a 1" X 3 3/4" strip and the Lovely Labels Pick a Punch for the ends.  The center piece is the Story Label punch.  The pearls on the label are the NEW Pastel Pearls on page 19 of the new Spring Catalog seen here. 
Thanks for stopping in today; stay tuned for more projects tomorrow! 

~~~

January Specials: 

Join my Flowerbug's Team during Sale-a-Bration and

get 5 packs of 6" Designer Paper FREE!  

Go here to read about it

~~~

Current Host code is JQAFYSUW

Order online here

Get a package of 200 Pastel Pearls from me with an online order over $50 using the host code above.

*If your order is over $150 do not use the code; you'll still receive a gift! 

Below are the Multipurpose Glue stands we're making. They're $6 each and available in my Shop here.  

All Posts

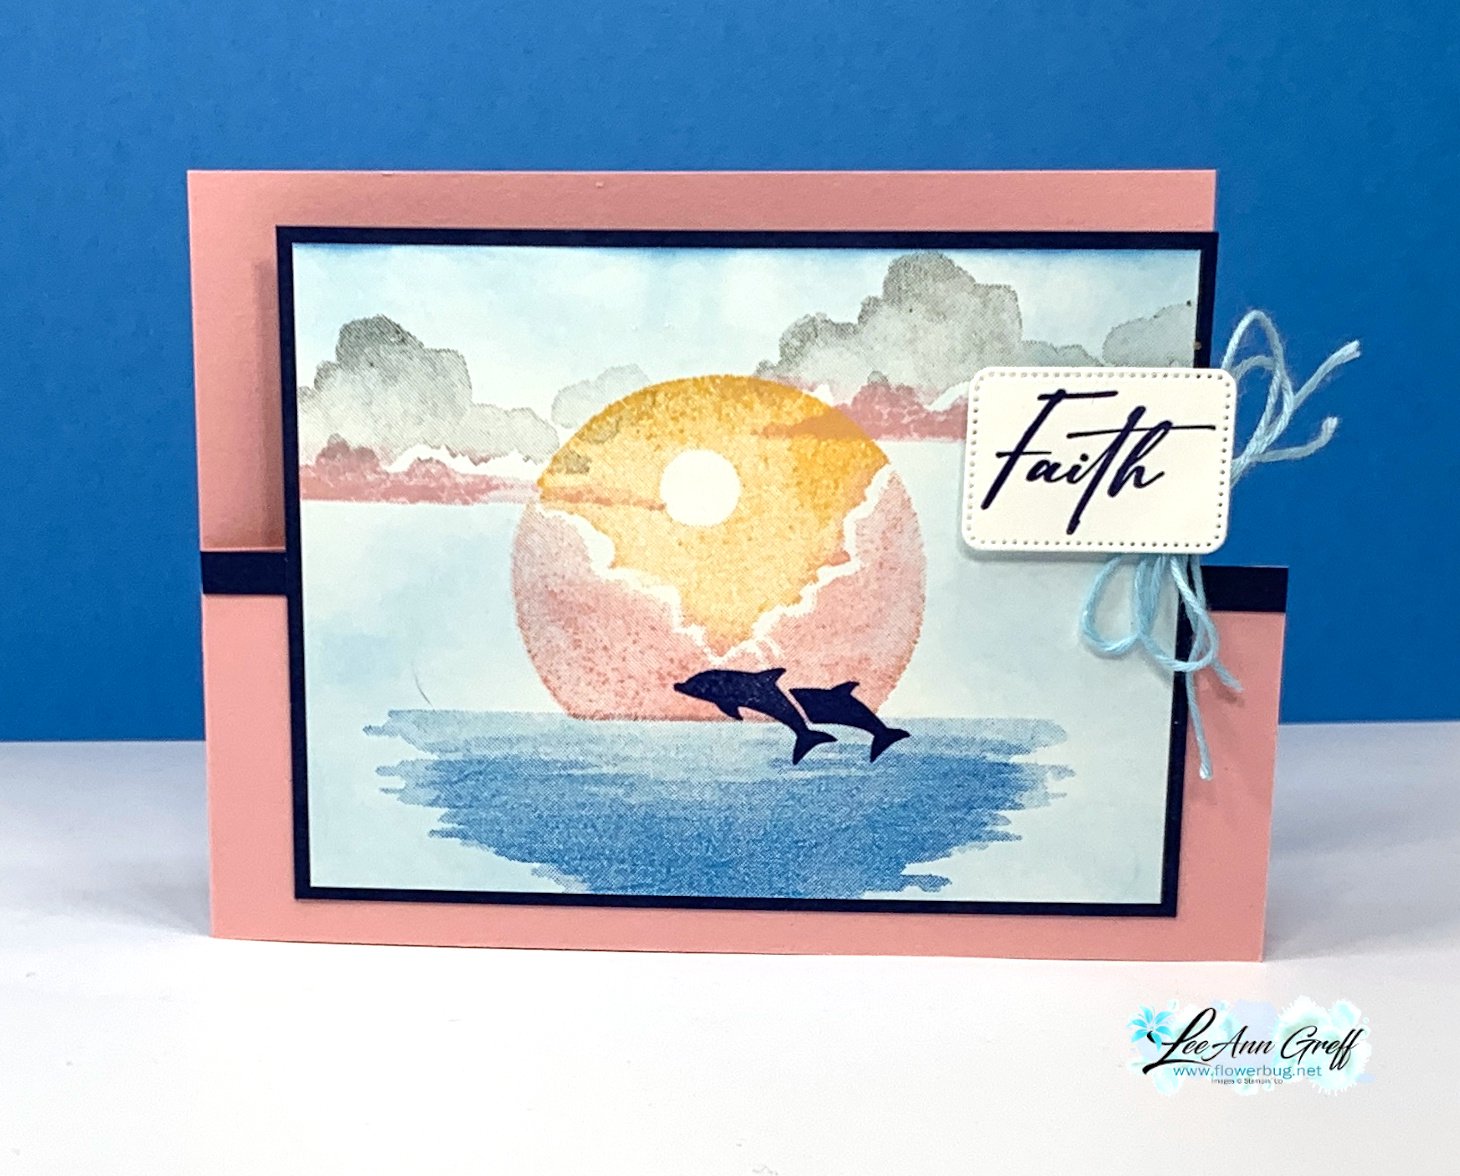
  • Under the Moon Dutch-door card with video & free project tutorial


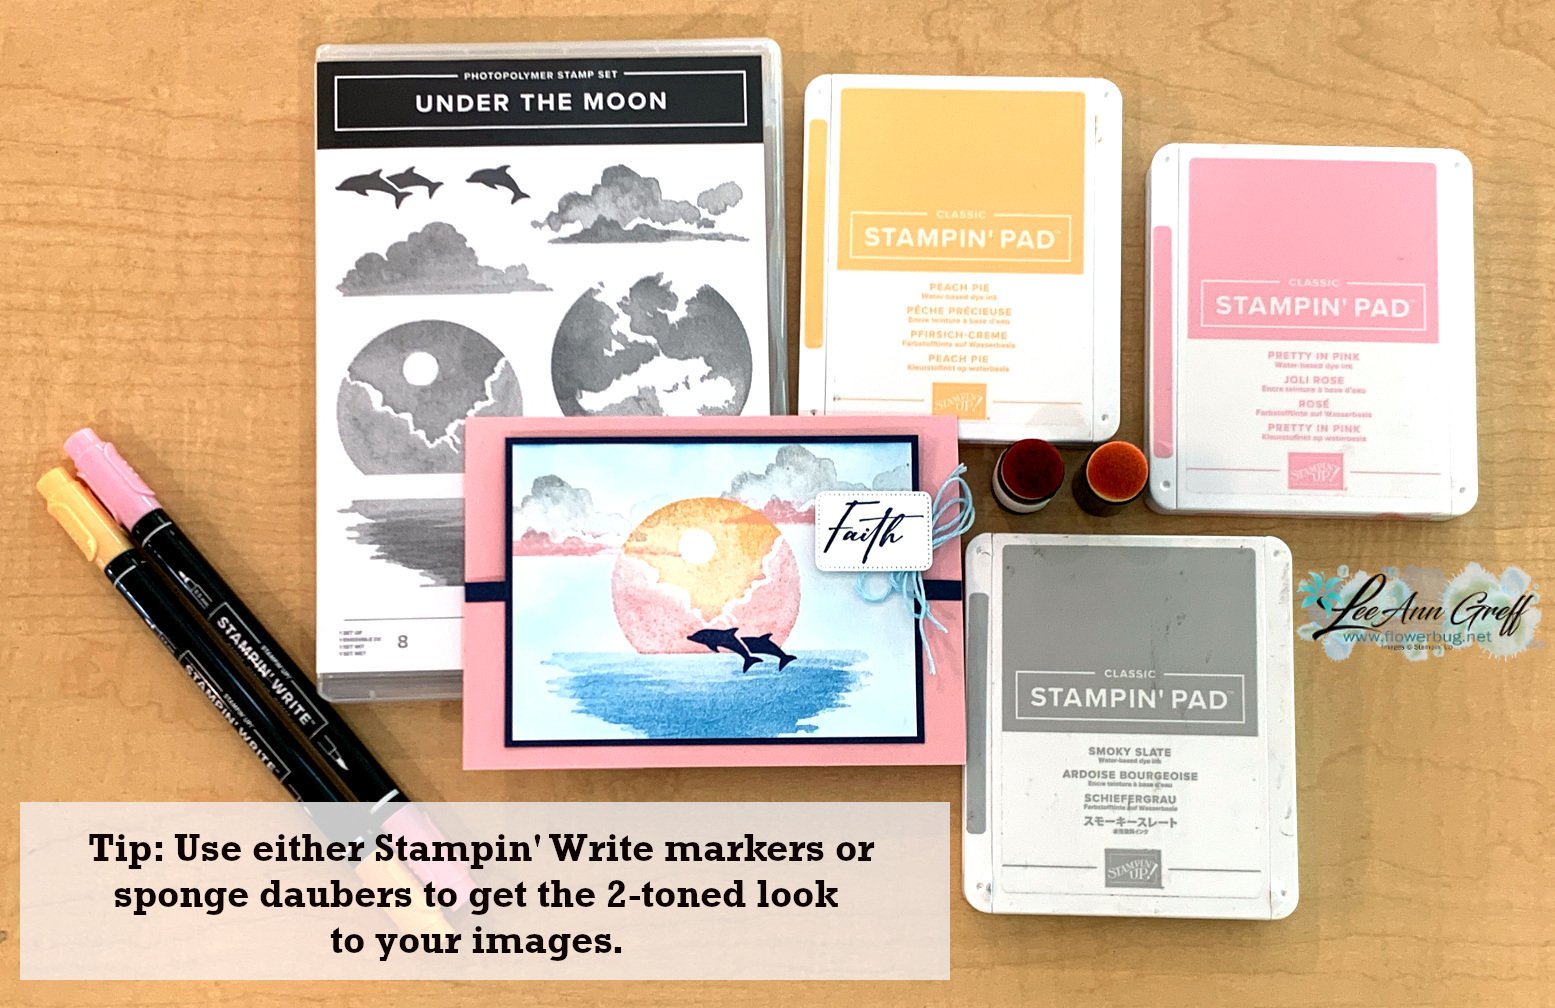
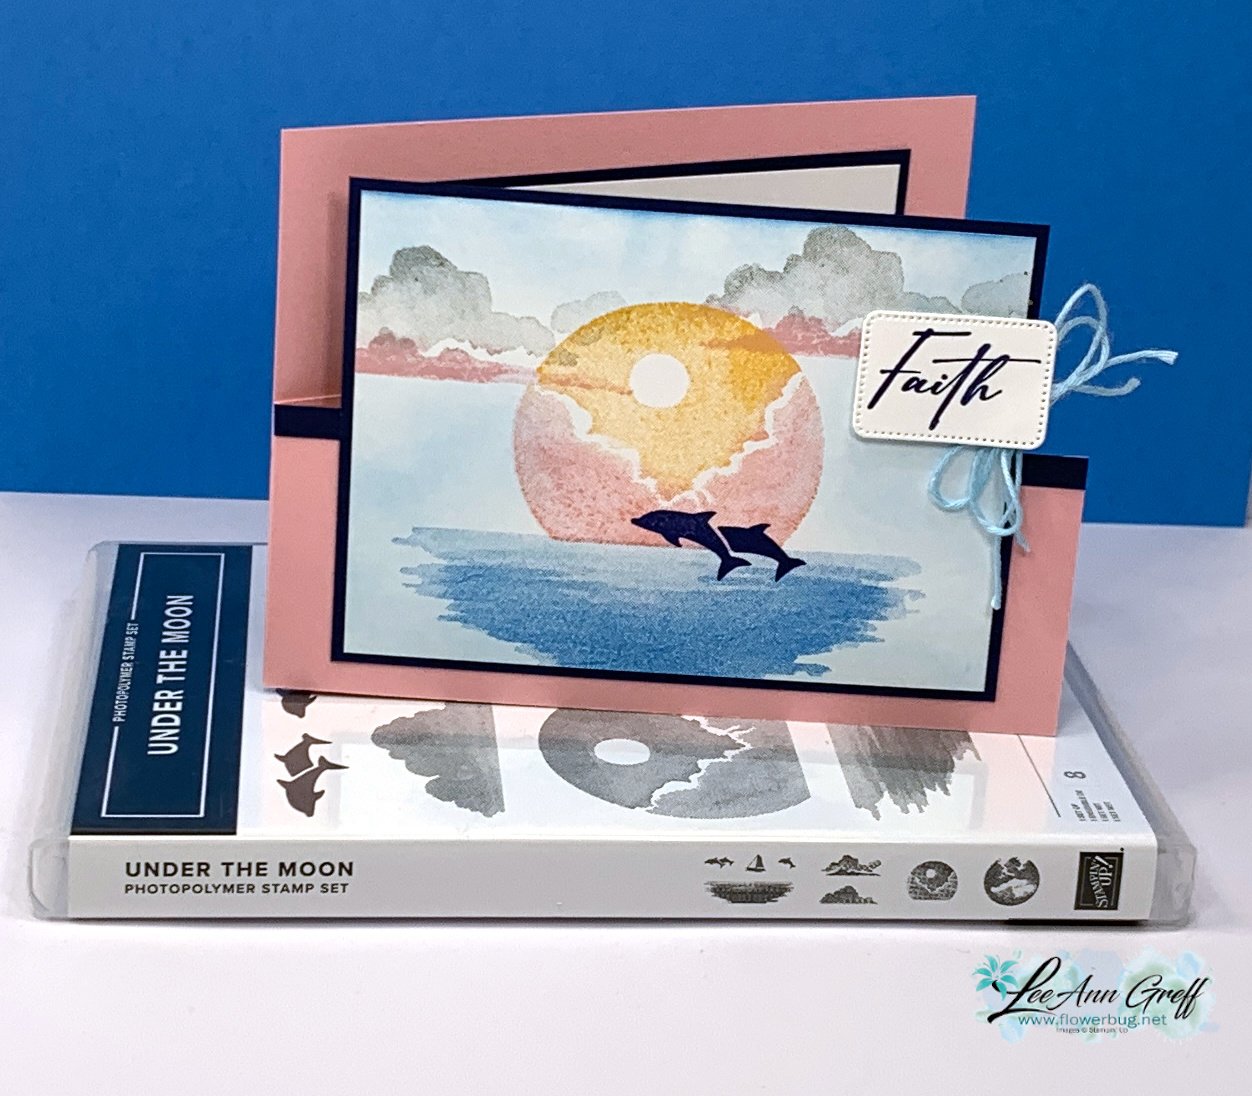
    I shared how to make this pretty card on last week's video. It features the Under The Moon stamp set which is what I refer to as a 'scene builder' set – one of my favorites to play with.  It's super fun & easy to create with! 

    See the two toned clouds & moon?  I used sponge daubers and 'direct to ink' techniques for this. You can see how it's done in the video here or below. 

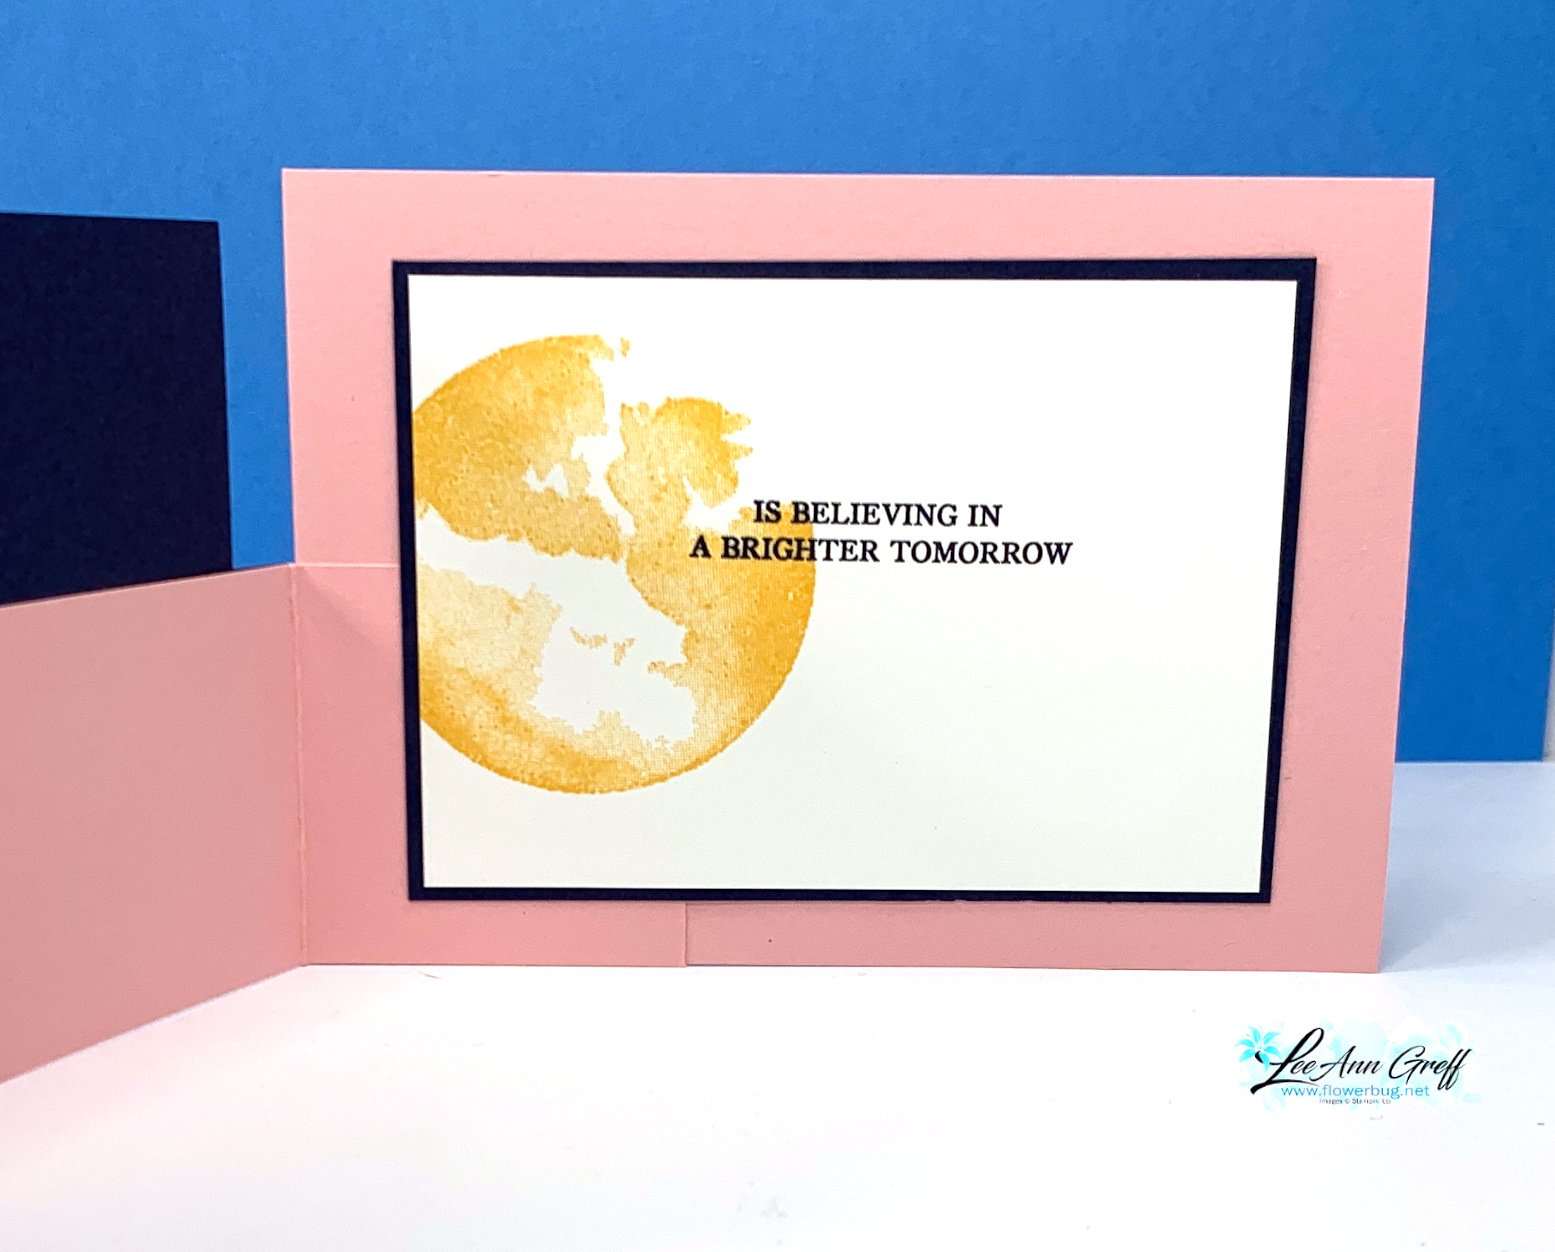
    Below is the view when the card is open.

    When making a Dutch door fold you have a few choices on adding the front half. You can make your 'door' an inch or so wider than 5 1/2" so you can add the score line. Or make it 11" wide and score it at 5 1/2".  Or the other option is to cut a full size card – 4 1/4" X 11", score it at 5 1/2" and cut off the section you do not want.  

    Here's the free project tutorial you can download & print: Download Under the Moon Dutch Door card

    My card stock colors include: Pretty in Pink, Night of Navy and White.  To these I also added these inks: Azure Afternoon (water & sky) & Peach Pie (moon) and Smoky Slate (clouds). 

    See the Under the Moon stamp set here.  I also used the Unbounded Love bundle for the greetings & dies seen here.  Remember that starting Wednesday all stamp & die bundles are an extra 10% off and will be 20% off through June.

    Below is the video for this card tutorial and another.  I hope you watch it to see how easy it is to create with this beautiful stamp set. 

    ~~~

    June Specials: 

    *current host code links: FERX3EKC or GF24T6XG

    All online orders receive my free tutorial of the month & if your order is over $55 you'll also receive a free gift from me


    Leave a Reply

    Your email address will not be published. Required fields are marked *

  • Basic Beige; a beautiful new neutral color in our line. Last day for the In Color deal!


    Everyone is loving the new Basic Beige color Stampin' Up! added to our basics line this year.  

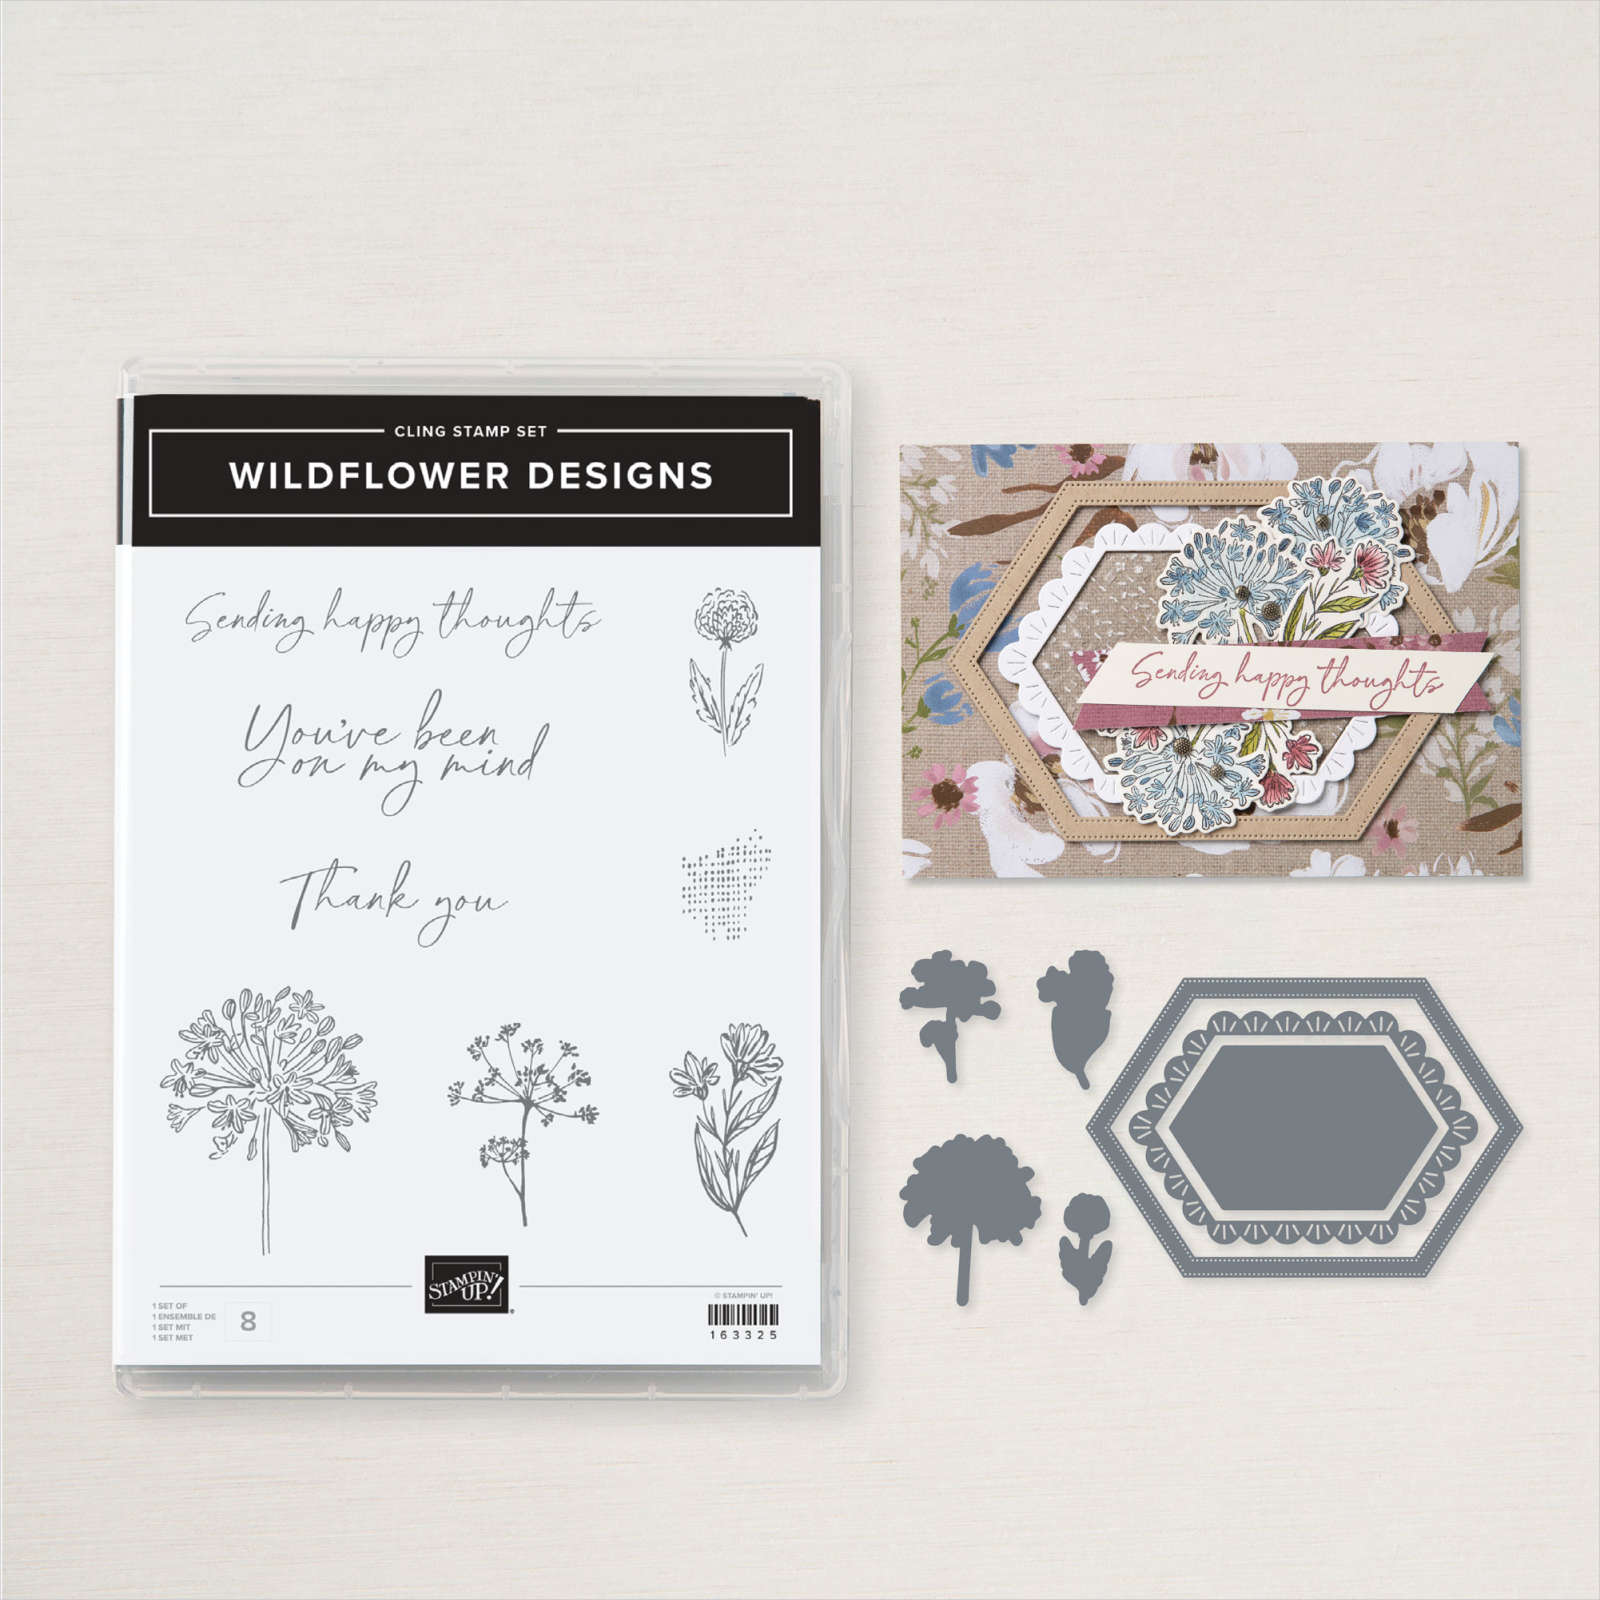
    I created this card for a recent online swap I joined. It features one of my recent favorite sets; Wildflower Designs. 

    I paired it with Copper Clay and White here.  We have four new products in Basic Beige – card stock, ink, ink refill and ribbon. It's a beautiful neutral! 

    There are coordinating dies to go with this pretty set too.  See this bundle  here:

    Details on this card:

    • The wood designer paper on the sides is from the Meandering Meadows 6" paper pack. 
    • The rectangle die-cut is from the Radiating Stitches dies which recently retired from our Online Exclusives. 
    • The background was made by stamping the little hashtag type stamp repeatedly in Basic Beige ink. 

    ~~~

    May Specials: 

    *current host code link:  9AWSF9T9 or FERX3EKC

    ~~~

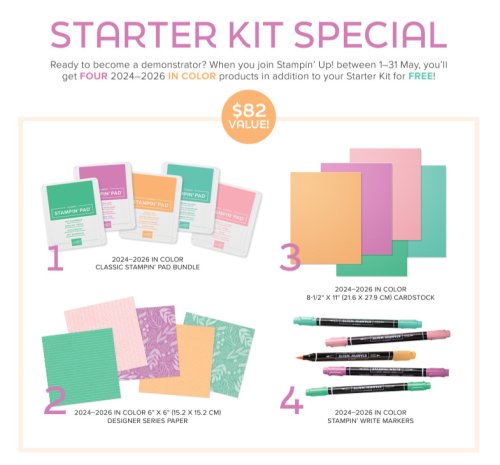
    Today is the last day to get over $200 in products for just $99 & free shipping too! 

    You'll get tons of new In Color products plus choose $125 in products of your choice! 

    ~~~

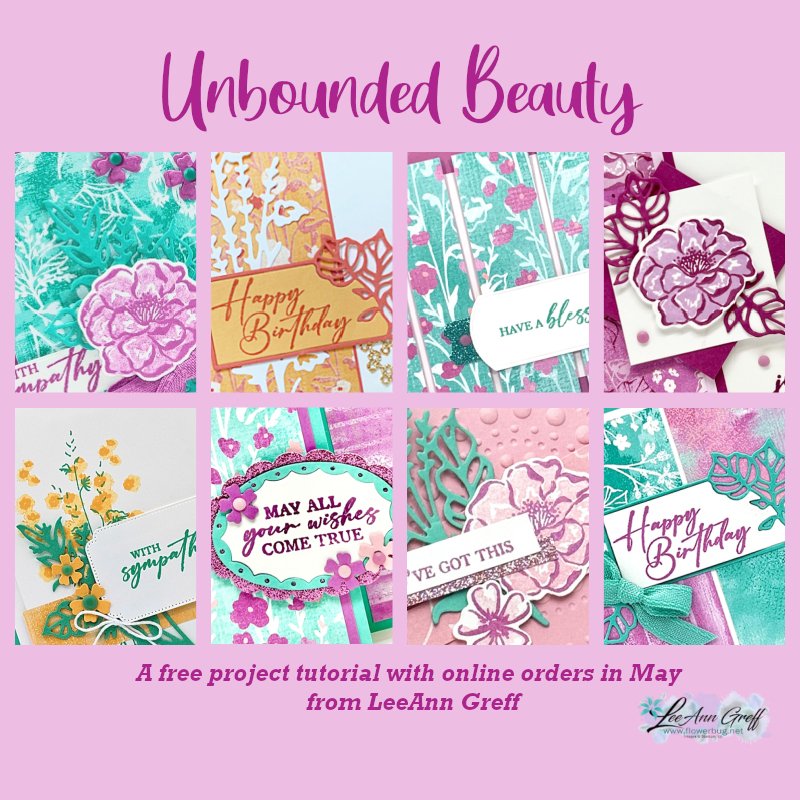
    All online orders in May will receive a free project tutorial and if your order is over $50 I'll also send you a pre-cut card kit!

    Leave a Reply

    Your email address will not be published. Required fields are marked *

  • A Little Latte cards – all made from leftovers on my desk!


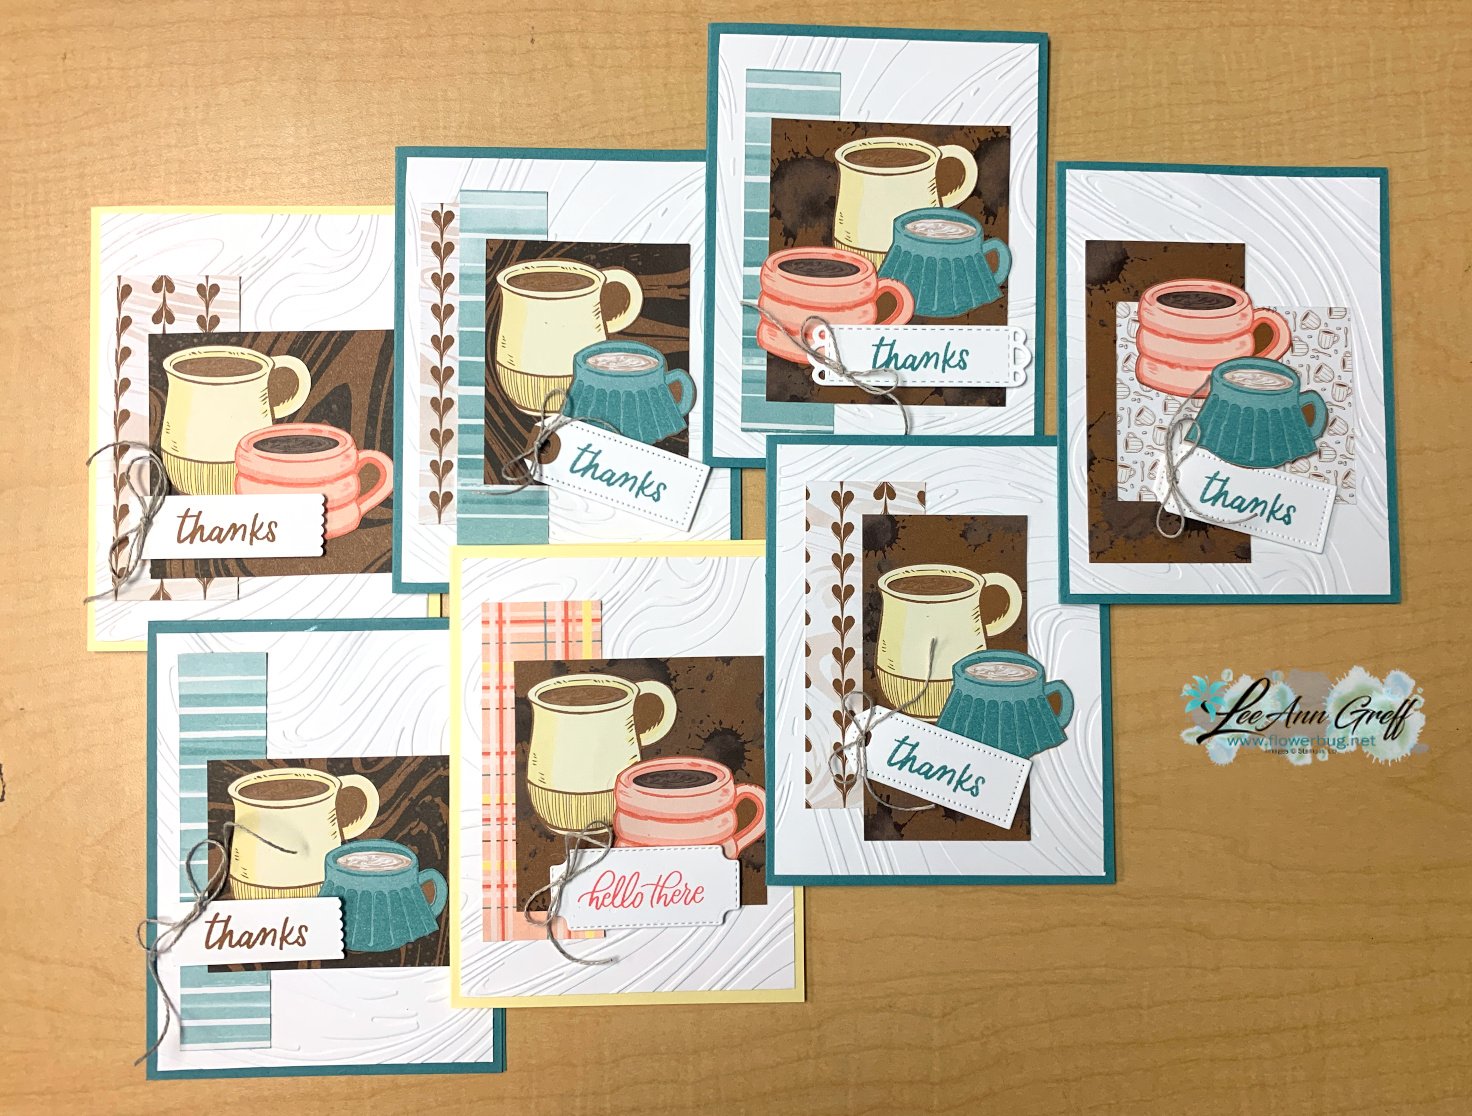
    I decided to have a staycation this last weekend. I rarely take a day off at home; it seems like the only time I take an entire day off is if I leave town.  I tried my hardest to stay out of my studio on Saturday.  I lasted until 5 pm; then I couldn't resist playing a bit. 

    I had a bunch of fussy cut coffee cups in a baggie and thought they'd make great thank you cards. So I pulled out my A Little Latte designer paper pack and some extra greeting tags and made these cards. 

    The designer paper pieces were either strips or squares so I arranged the fussy cut coffee cups over the largest pieces.  I think they turned out great for cards made without a plan!


    The only thing I purposefully prepped were the card bases and White textured layers (So Swirly embossing folder seen here). The rest are all scraps! 

    Do you ever play with what's on your desk and get creative? 

    ~~~

    May Specials: 

    *current host code link:  9AWSF9T9 or FERX3EKC

    ~~~

    Get over $200 in products for just $99 in May & free shipping too! 

    You'll get tons of new In Color products plus choose $125 in products of your choice! 

    ~~~

    All online orders in May will receive a free project tutorial and if your order is over $50 I'll also send you a pre-cut card kit!

    Leave a Reply

    Your email address will not be published. Required fields are marked *


Notice: LeeAnn Greff, Independent Stampin’ Up! Demonstrator, Manager. The content of this website is my sole responsibility as an independent Stampin’ Up! demonstrator and the use of, and content of, the classes, services, or products offered on this website is not endorsed by Stampin’ Up! Copyright 2025