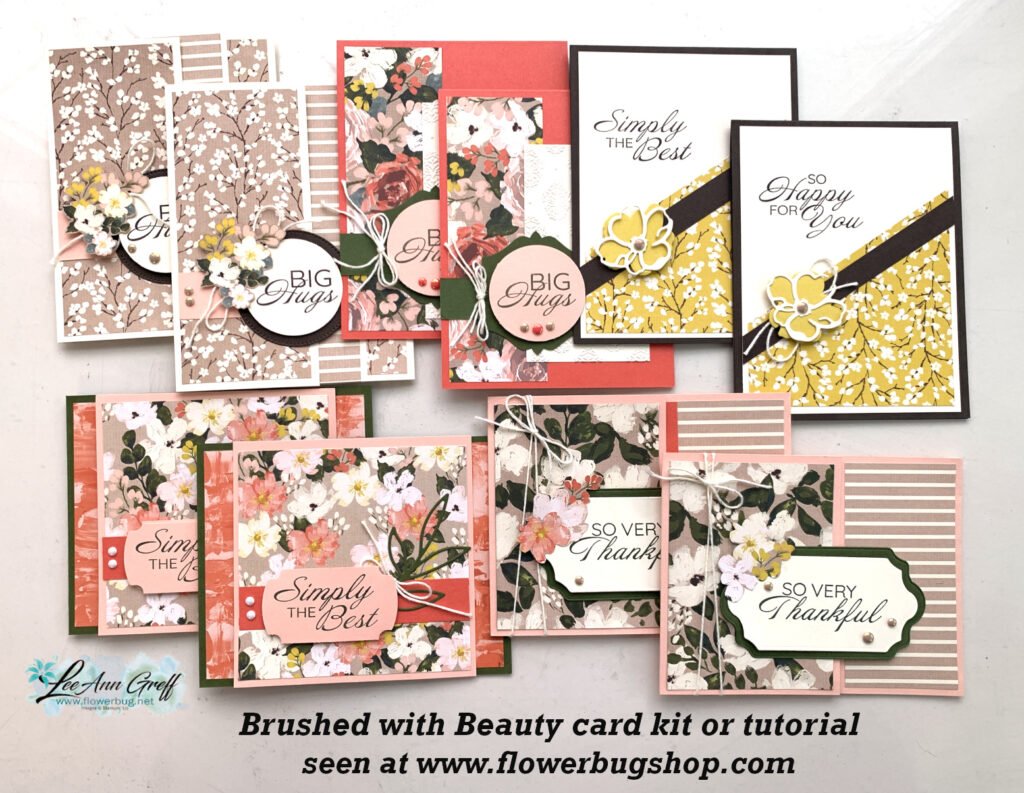
As many of you know we hold a big paper crafting sale in June of each year where my customers can sell their excess or unwanted stamping items. This year we added a second sale that we held on Saturday. Why? Sadly one of my best friends passed away last fall and together with her family we sold her collection of stamping & scrapbooking items.
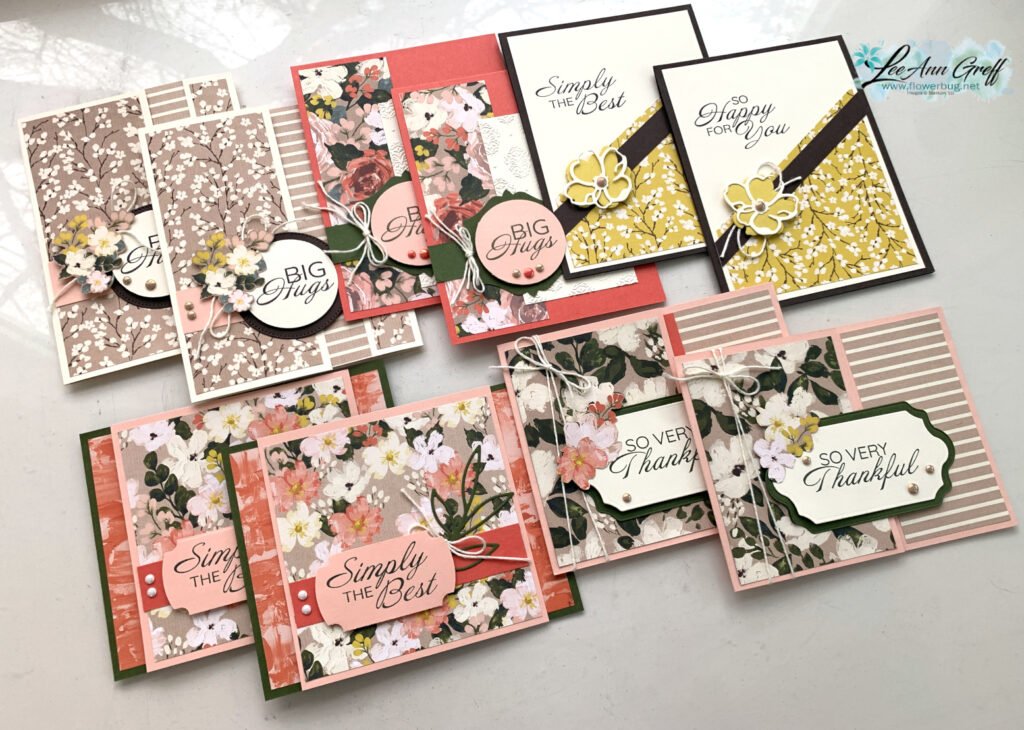
Here's a picture of some of it!

We did add some items that were generously donated by my customers from the big June sale. 100% of this sale was donated to charities in Minot.
Click on the bold names below to read about them. Feel free to donate to any of these non-profits if you'd like to.
- Matthew 25 – a nonprofit that seeks to match gifts of clothing and household items with those in need in our community at no cost.
- Hairball Haven – non-profit feline rescue. We primarily pull cats and kittens from the Minot, ND
- Project Bee – has provided overnight housing for women at local motels and apartments for chronically homeless women with mental health issues.
The craft items were marked down drastically and people noticed! Not many items were over $3 and the majority was .25 – .50 cents! Our goal was to sell as much as we could to raise money for our charities. It was the biggest success we've ever had at a sale! I am still in awe and shock at how fast the items sold. Over $1800 will be donated to these amazing organizations.
My friend was a nurse and amazingly kind & generous. She would be so happy to know we used her craft items to support others in need in our city.
We had so little left; just 6 small boxes! And the leftovers will go towards another group of ladies that make cards for prison inmates, elderly & others in need. Their group is called Folding Angels.
I apologize to those of you who could not take part due to long distance or poor timing. I know it's a tease and I'm sorry about that. But I did want to share it with you.
Special thanks to my friend Clarisse's daughter, Devin, who helped gather and sort the items to be sold. Also to my faithful and generous helpers that spent hours marking & sorting – Marilyn, Lori, Pat, Becky & Joanne plus the many that helped at the sale. It would not have been a success without the many hours of help and guidance you provided.
~~~
New! Inventory update from Stampin' Up!:
Non-Orderable items:
- Rays of Light stamp set – TBA (to be announced)
- Evening Evergreen card stock available mid August
- Holly Berry dies – available late August
- Split Card Texture dies – available late August
- Barn dies – available late August
- Gnomes dies – available late August
Low Inventory items:
- Lights Aglow specialty 6 X 6" DSP
- Bows of Holly 12 X 12" DSP
- 2022-24 In Color Matte Decorative dots
- Stylish Shapes dies
- Palms dies
- Sending dies
- Blossoming Happiness dies
~~~
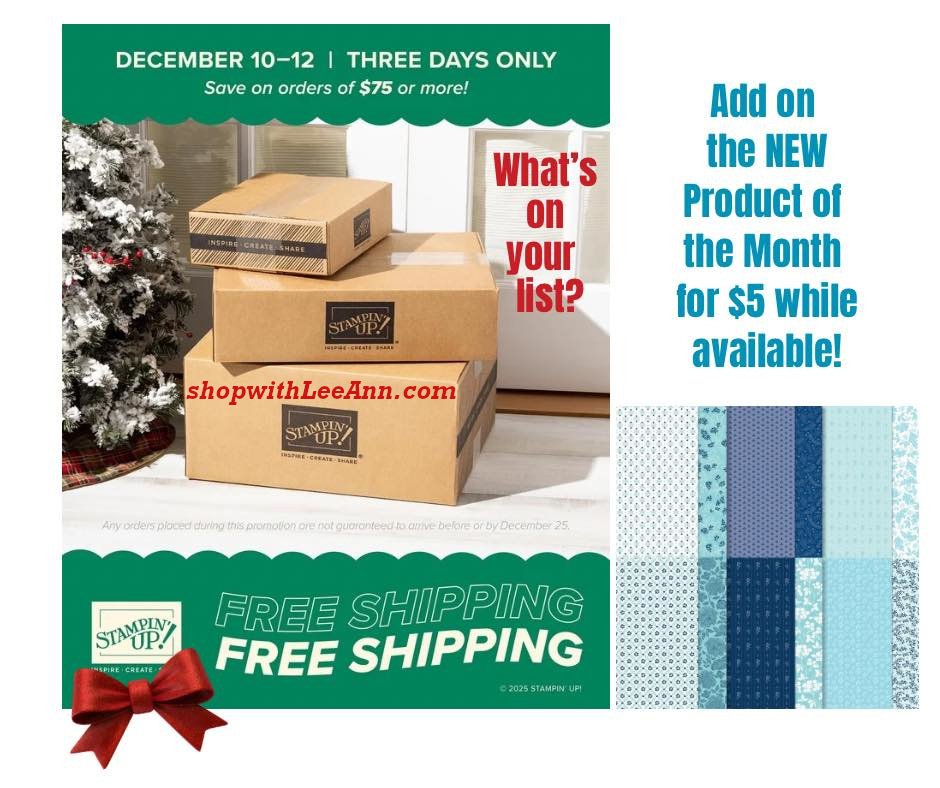
August Specials
Get free items here in August during Sale-a-Bration!

Host code: YFR367QW

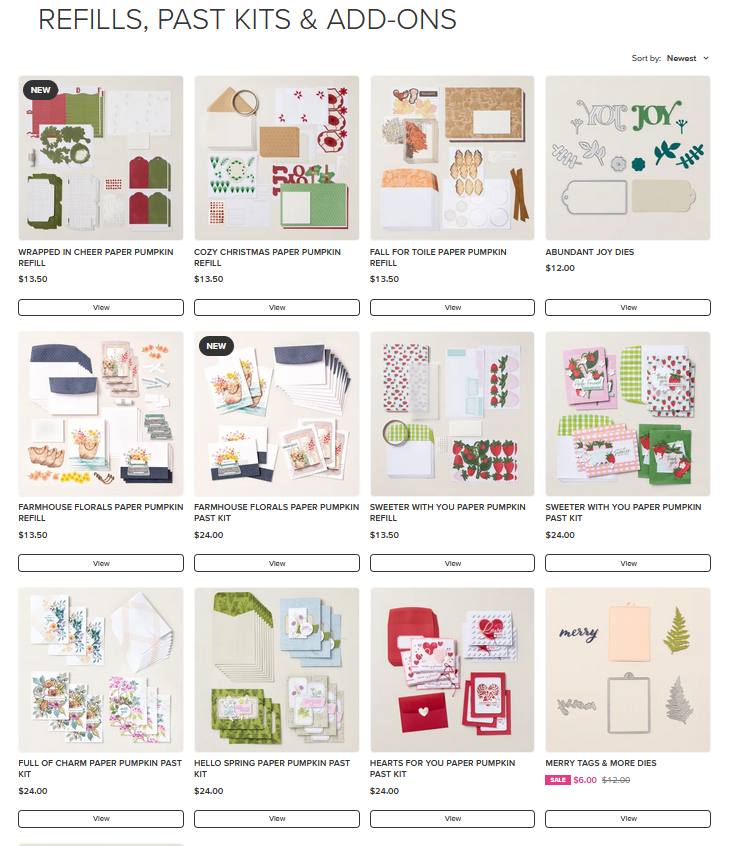
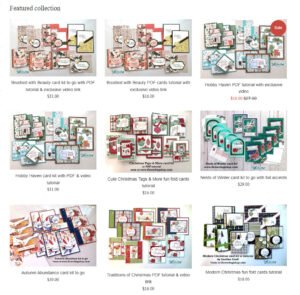
See everything available here – click on the 2 BOGO photo albums
Or watch the video here. Basically for every $ you spend online you get my retired items FREE!
Please use the host code when ordering: YFR367QW
Earn free products with my loyalty rewards!
Click here to download yours and earn a $50 shopping spree!
~~~
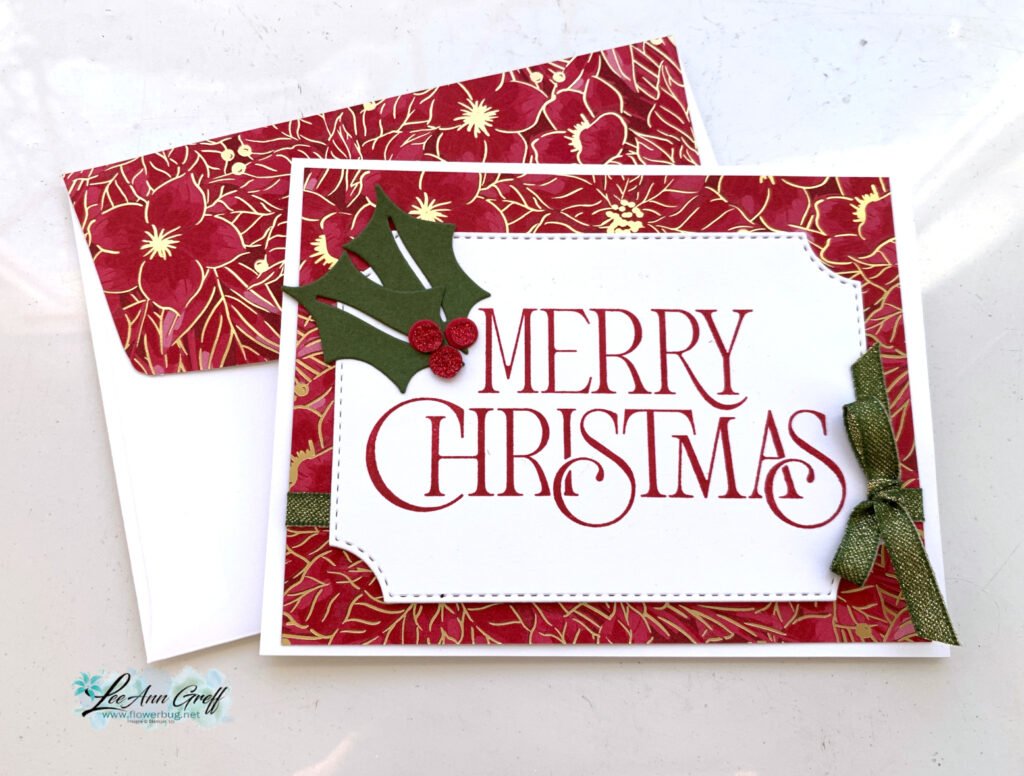
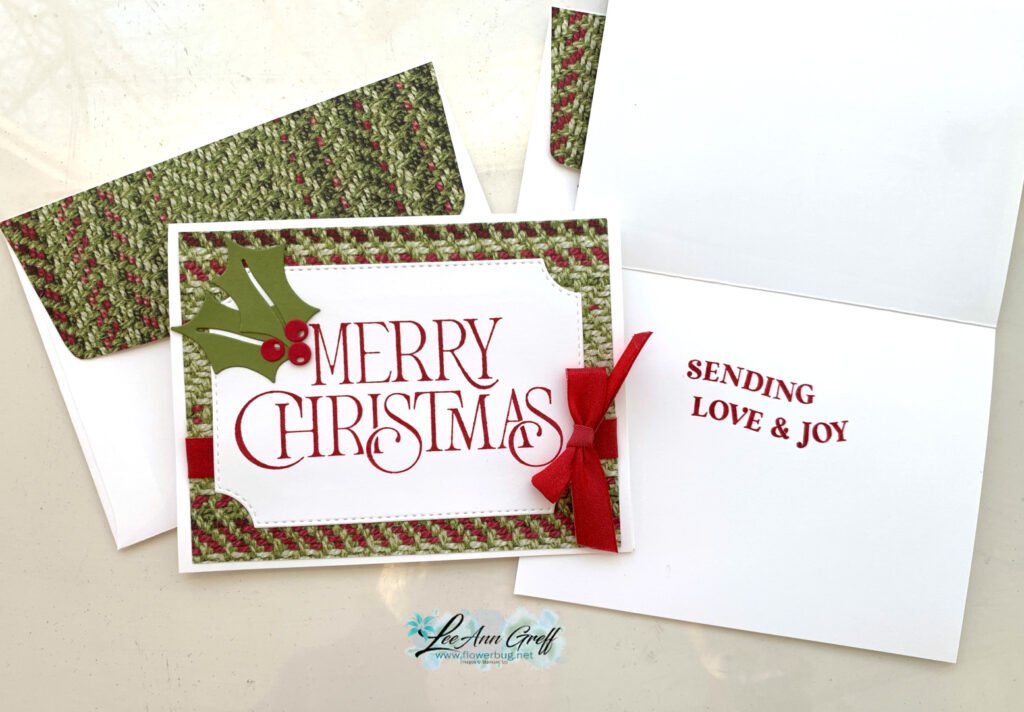
I have 2 spots left in my Holiday Designer Paper share; contact me here


Leave a Reply