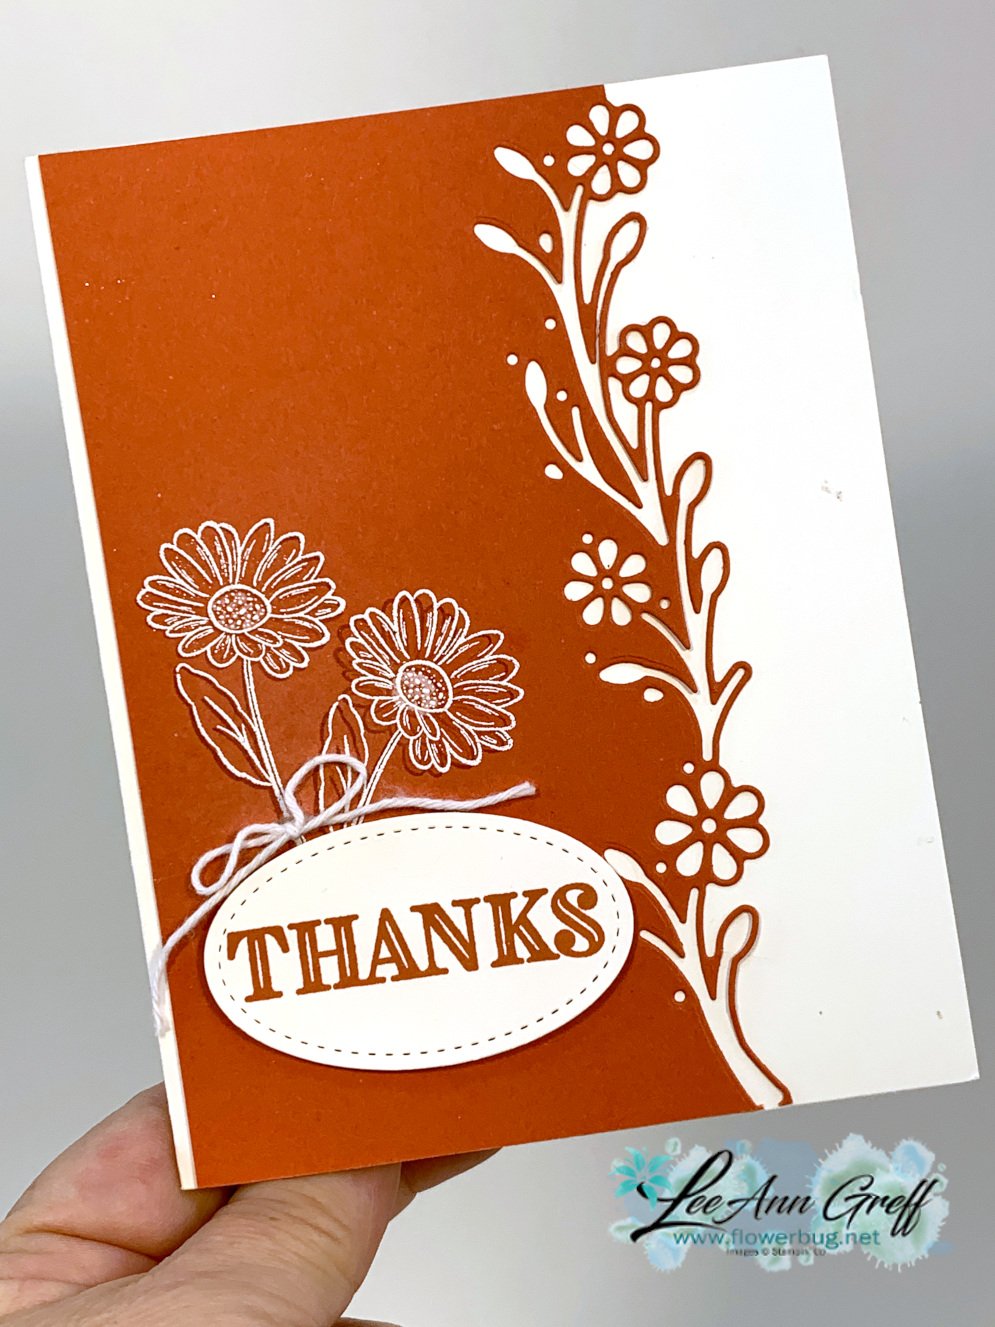
Today I have another card featuring the new Ornate Garden products; the new early release from the upcoming 2020 Annual Catalog. You can see all of it here.
For this card I chose to use the Ornate Border dies for the pretty edge. The greeting is from the Ornate Thanks set and the embossed daisy is from the Ornate Style stamp set.
You might see a little halo around the right daisy…. I first stamped it in Terracotta Tile, but it didn't show up well enough. So I tried to stamp again to heat emboss it in White. I was off a bit but I'm okay with it anyway. The stitched oval is a die from the Stitched Shapes dies.
I made a bunch of these for a swap last month; it's a pretty easy card with just a few special 'extras'.
The first 10 people in April to order over $100 using this exclusive party host code 49HFZ6G3will get a free Little Ladybug cards class that includes the stamp set and a 4 cards pre-cut kit!
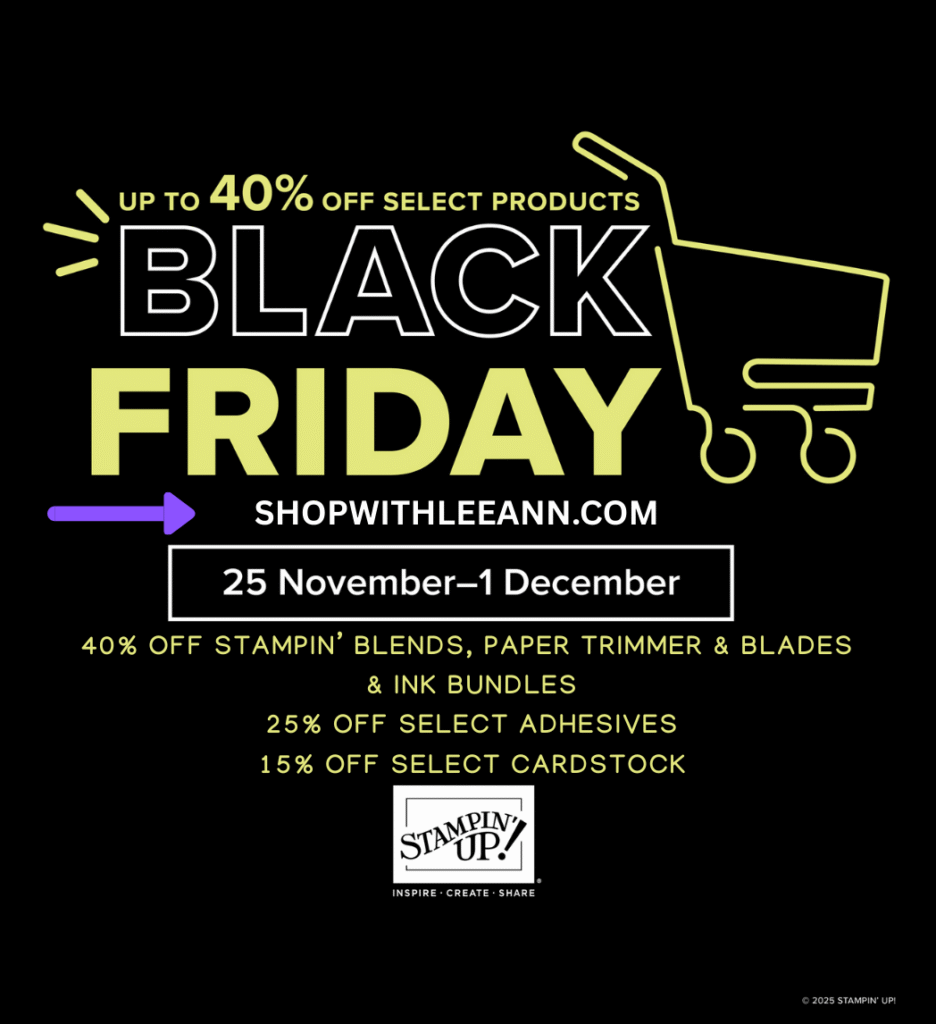
The Black Friday sale starts today!! Nov 25th – Dec 1st!
Grab deals on lots of Stampin’ Up! products during the big sale this week. From November 25th through December 1st you can save up to 40% off select products!
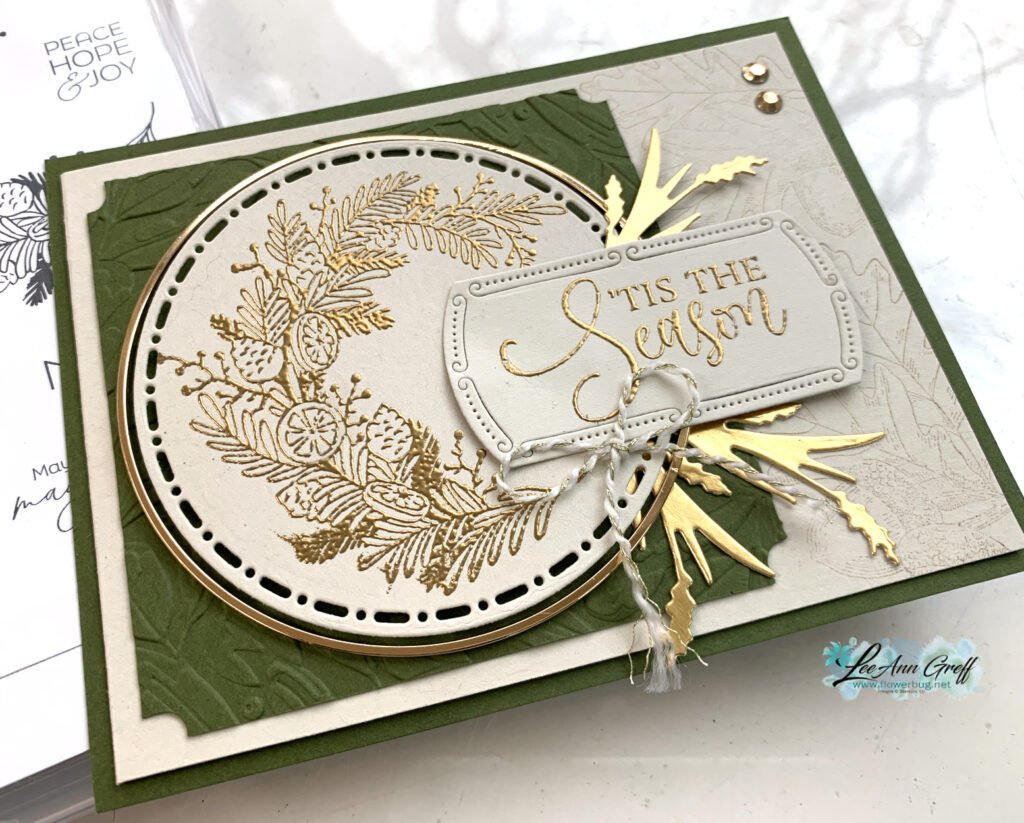
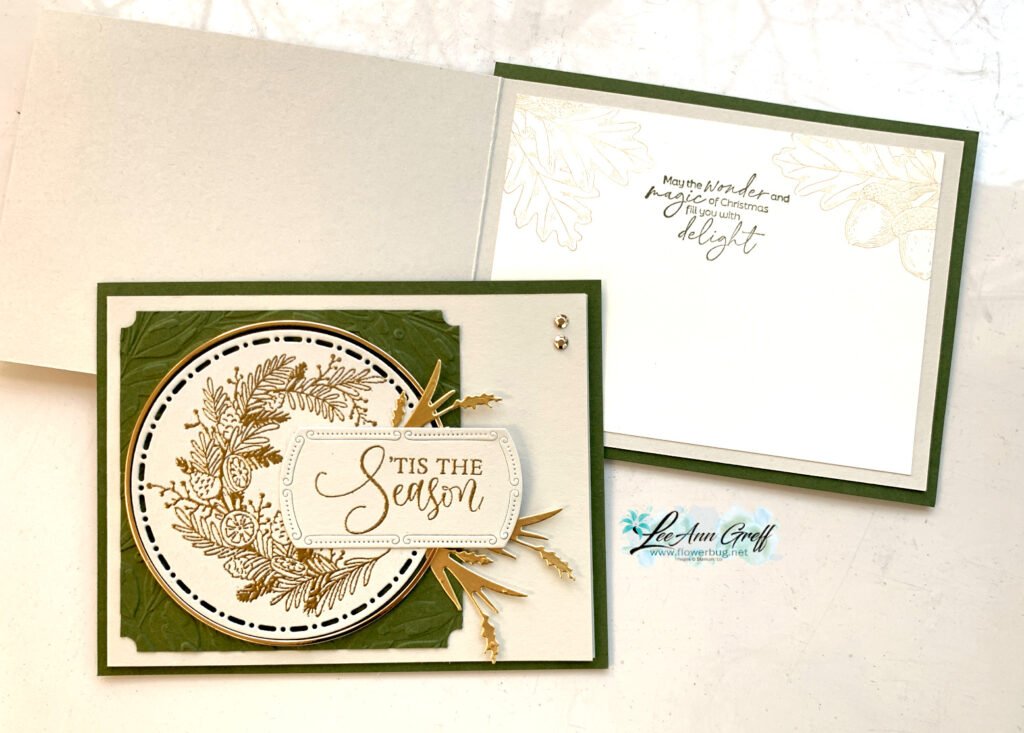
It was originally created for our November Team swap. The theme was to use foil or metallic heat embossing. I did both!
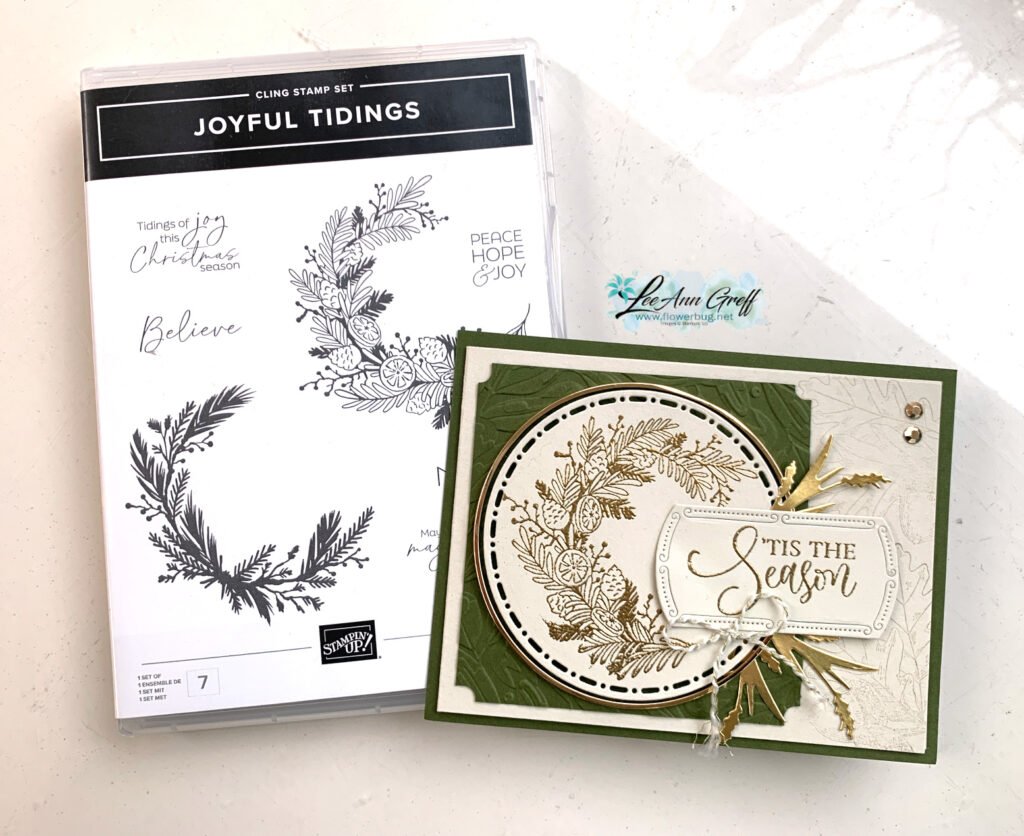
Notice the background stamping on the right side; I used the Amber Autumn set with Versamark ink. The greeting is from the Ornamental Christmas set. The gold foil ‘wheat’ die-cuts are from the Amber Autumn dies The wreath stamp set is Joyful Tidings and can be seen here. I’ve always loved wreaths and used to collect them.
Here I simply heat embossed the partial wreath in Gold embossing powder. It’s stamped on a die-cut from the Spotlight on Nature dies. See the pretty gold hoop? Those are available here and are applied with either mini glue dots or thin lines of Multipurpose Liquid Glue (which I did).
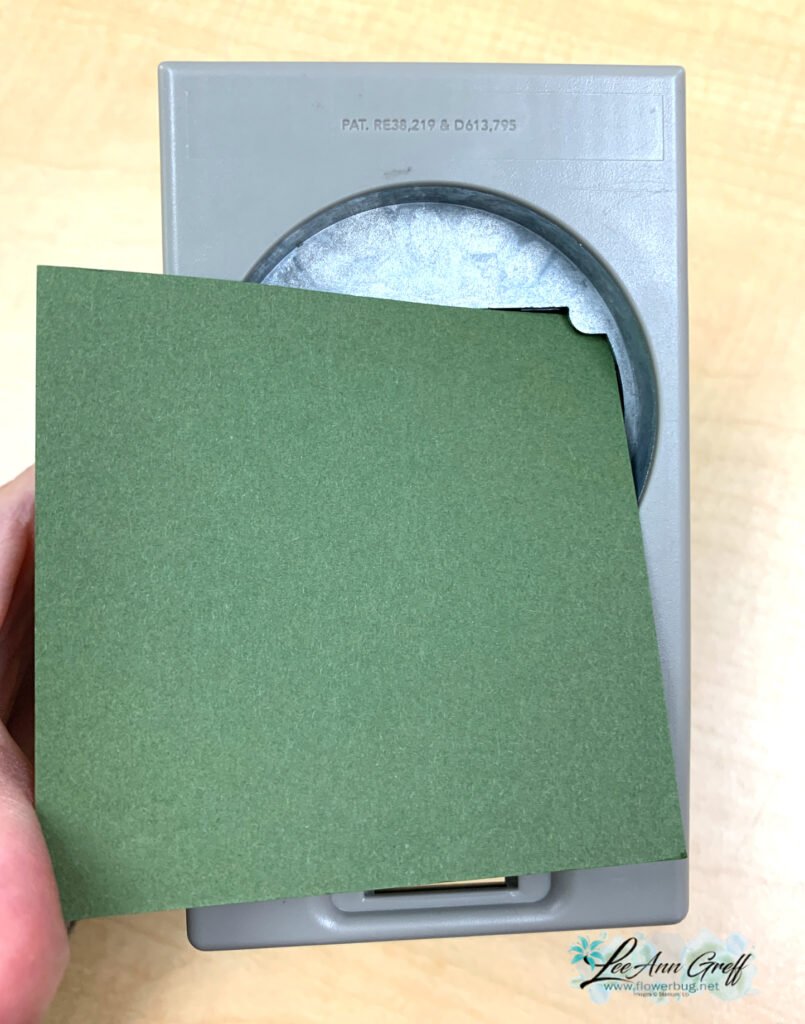
My colors include Basic Beige, Mossy Meadow and Gold foil. I textured the Mossy Meadow layer with the Wreath 3D embossing folder. I also used the Labeled with Love punch to achieve the ‘ticket’ shaped corners. *look at your punches to see if you can use them in new ways!
This card is a slightly different fold because the second layer is what opens. I created a free project sheet for this card for you. Click here to download or print it.
I also have a video tutorial seen below for this beautiful card and one more beautiful card featuring the Joyful Tidings stamp set that I’ll share Wednesday.
~~~
November Specials
New Online products are available on November 4th. See them here.
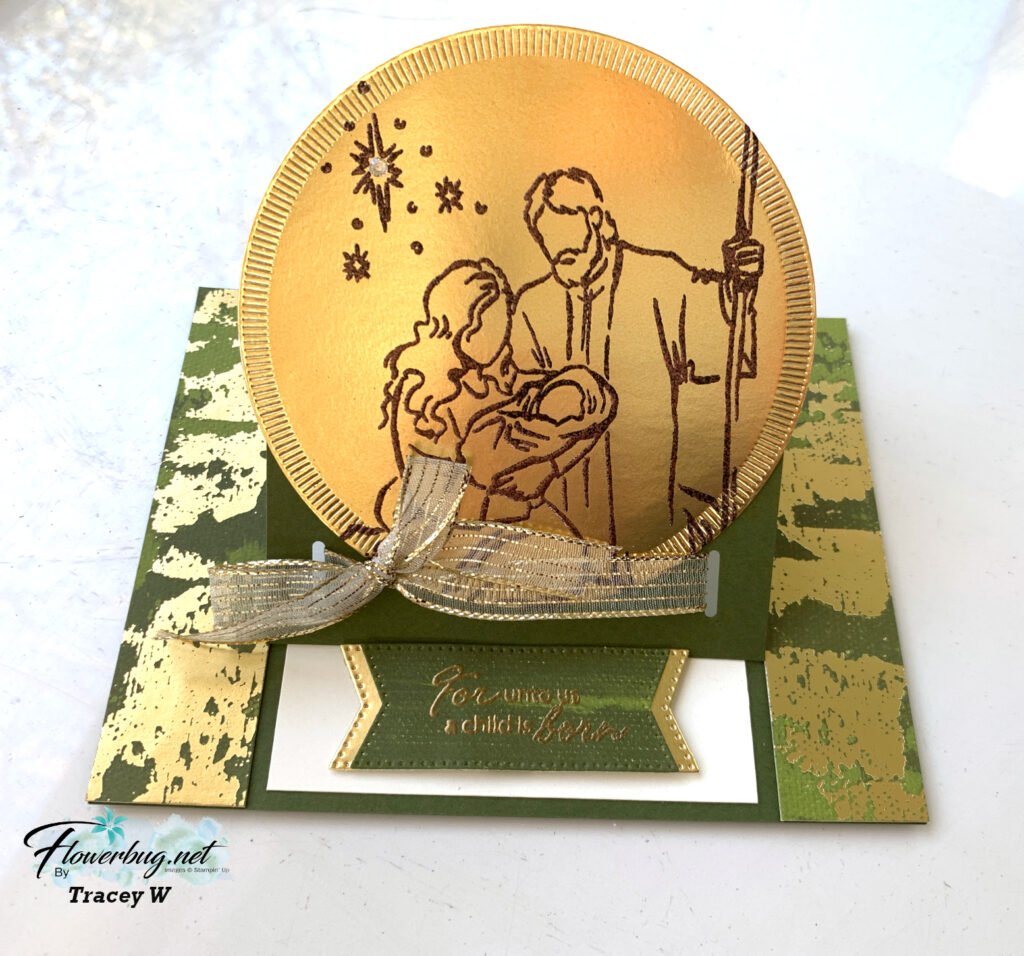
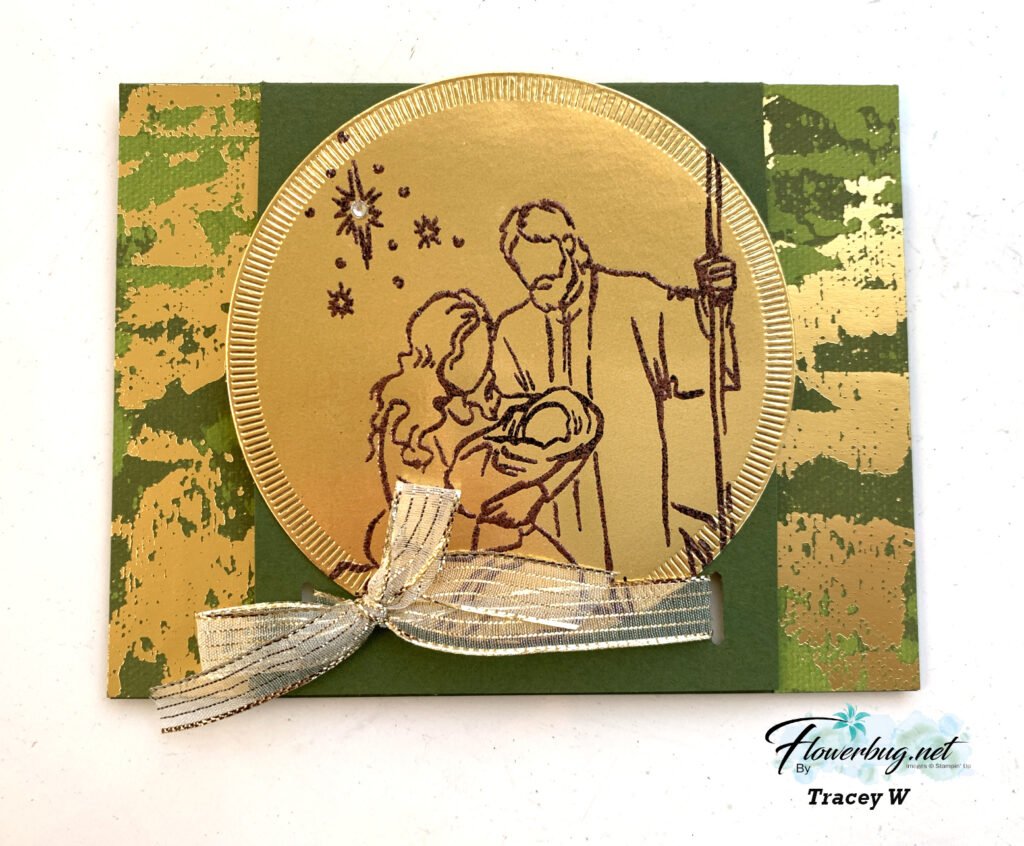
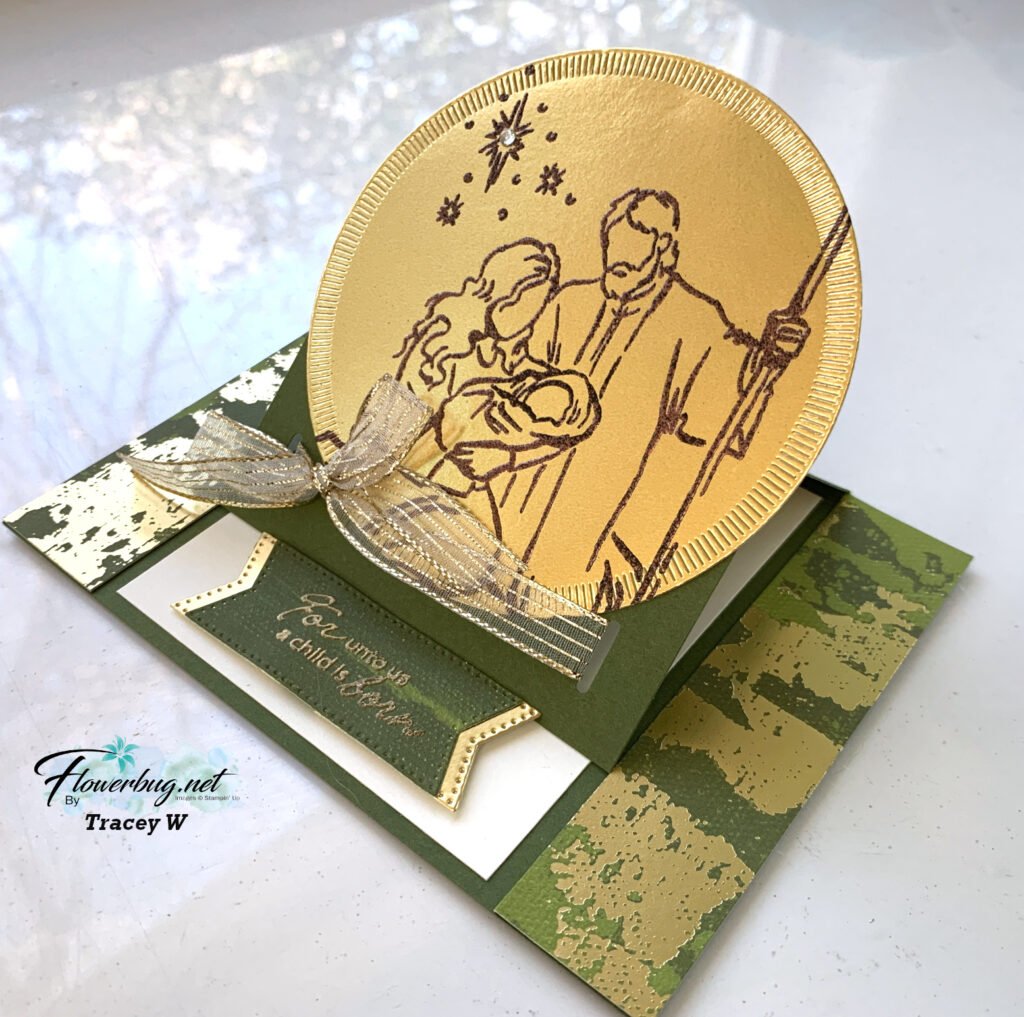
She featured the ‘A Child is Born’ stamp set and heat embossed it on a Gold foil die-cut from the Spotlight on Nature dies. There are tons of details on her gorgeous card; I’ll highlight a few:
I think my favorite thing about her card is what she heat embossed the greeting with. Gold embossing powder wouldn’t show up very well so she mixed Copper and Black embossing powders and used that. Genius!
Measurements: – Mossy Meadow card base 5 1/2″ X 8 1/2″ scored at 4 1/4″. Cut from the center score line down one side at 1″ and again at the other side at 1″. Now score that center piece at 2 1/8″ – DSP strips are 1″ X 4 1/4″ – Gold circle die-cut is approximately 3 7/8″ – inside vanilla is 3 1/4″ X 4″ – Greeting die-cuts are 2 1/2″ long X 7/8″ tall
A stunning Christmas card Tracey!
~~~
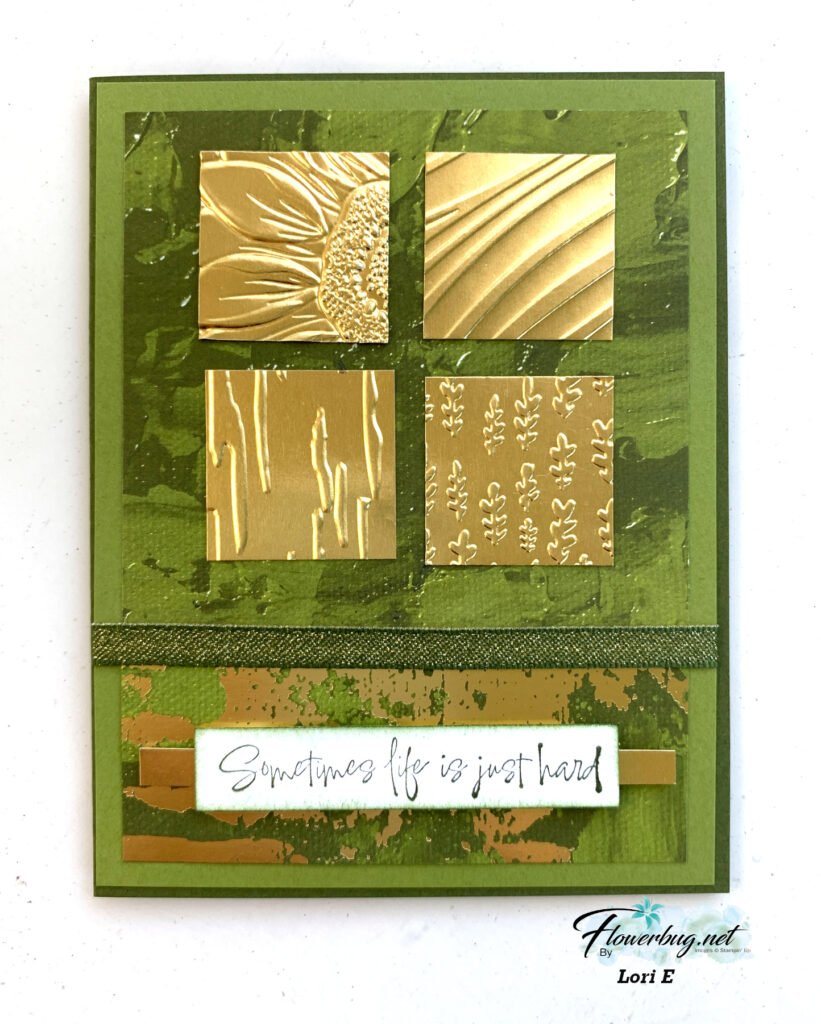
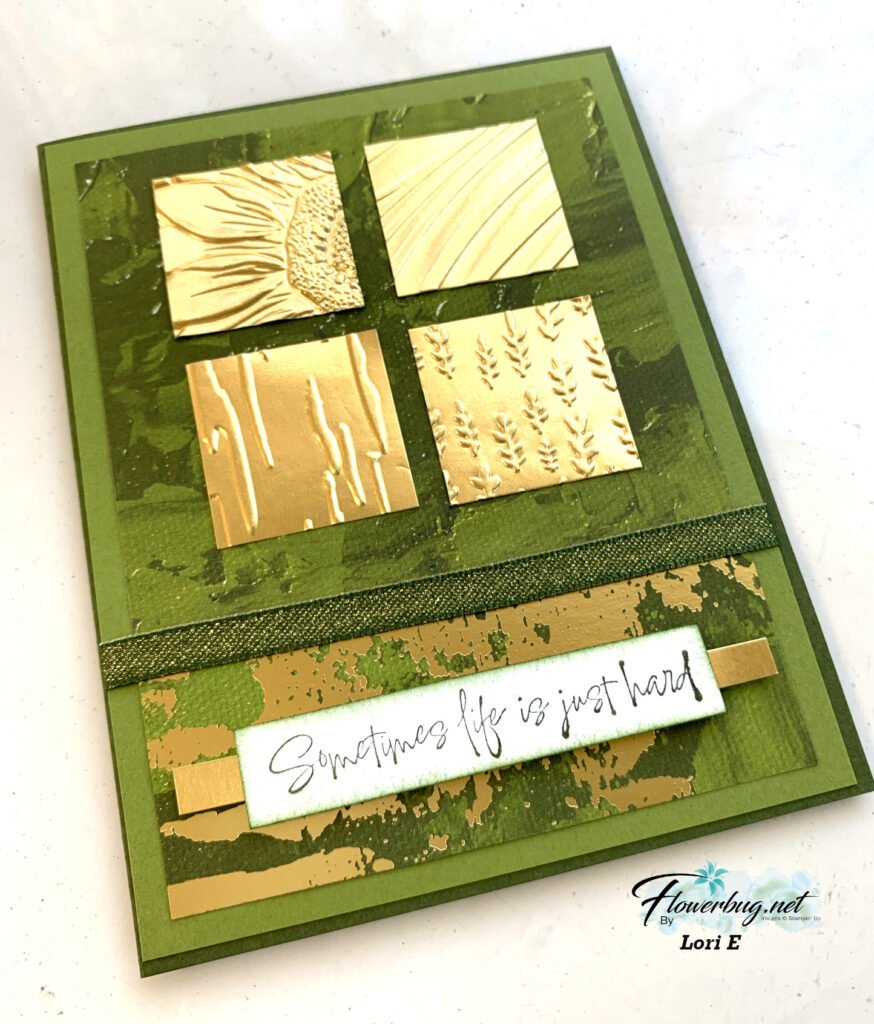
Next is a pretty card made by Lori who used a few of the same products on her card.
She added lots of texture to her card with four different embossing folders. Those include the Sunflower 3D, Birchwood, Gathering Leaves & Soft Waves folders. These are in 1 1/4″ squares.
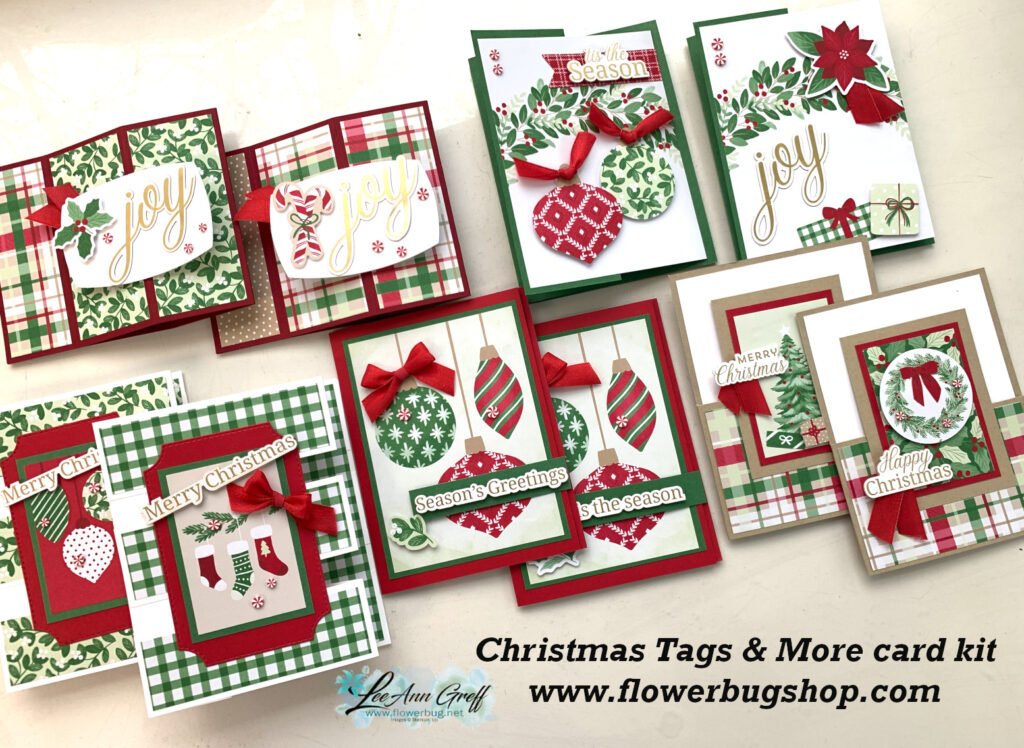
This kit to go includes a share of the festive designer paper, the ribbon, the peppermint gems, the ephemera greetings, the PDF tutorial and video too. Plus the pre-cut 10 cards that are all fun folds. All for $30 plus shipping. It’s a fabulous deal!
Don’t wait long; I have just a few left.Go here to get yours. *You will need to cut your new designer paper for the cards but my directions make that simple.
~~~
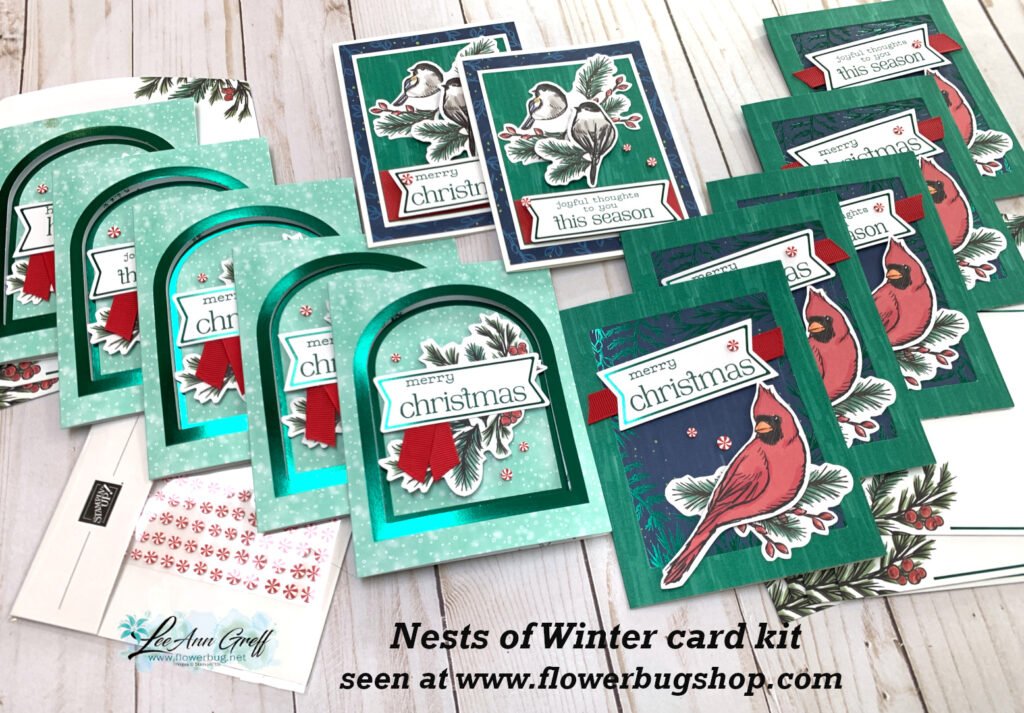
The other kit I created this month is also easy but does require stamped greetings. But there is very little prep & just a little trimming of the card bases to create these beautiful wintery cards:
These cards could be winter or holiday; it’s your choice when you stamp the greetings.
This kit originated from a former Paper Pumpkin kit but I jazzed up the cards and added more to create 12 gorgeous cards. This kit includes 12 envelopes and a share of Peppermint gems plus the PDF tutorial. I have a few left so grab yours soon. This kit is $29 and you can see it here.
**Remember to check out all of my kits to go and tutorials here at my shop; choosing more than one will save on shipping.
~~~
~~~
November Specials
New Online products are available on November 4th. See them here.
Notice: LeeAnn Greff, Independent Stampin’ Up! Demonstrator, Manager. The content of this website is my sole responsibility as an independent Stampin’ Up! demonstrator and the use of, and content of, the classes, services, or products offered on this website is not endorsed by Stampin’ Up! Copyright 2025

















Leave a Reply