/


Latest Post

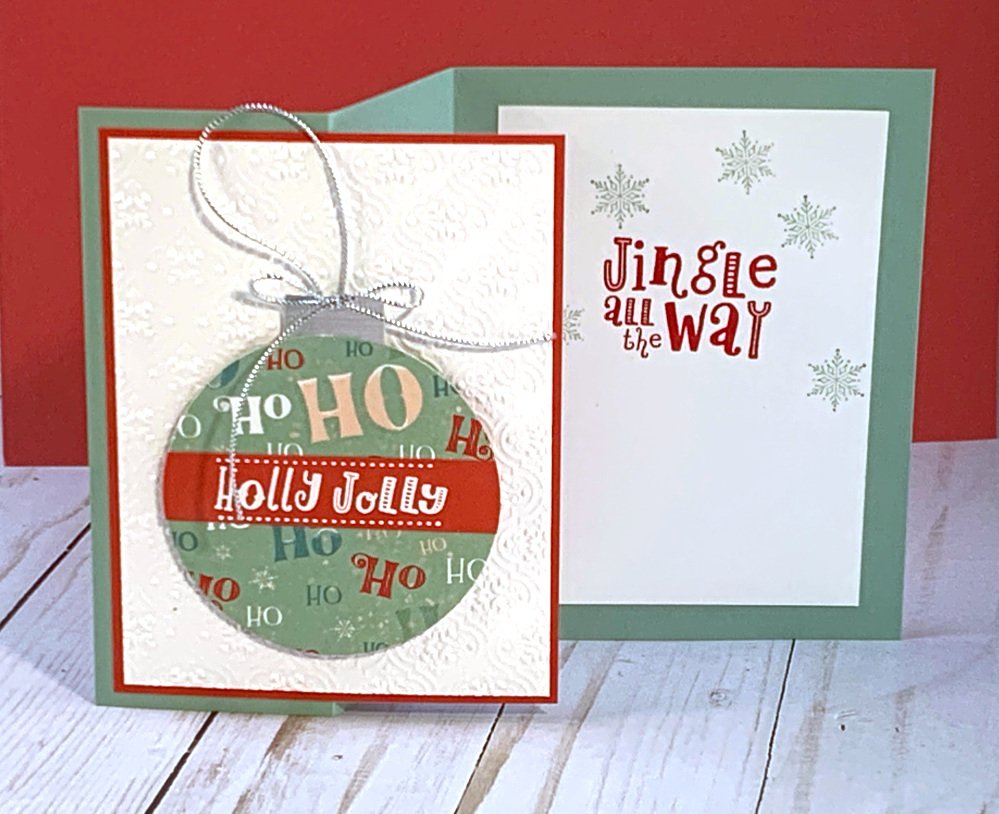
‘Ornament’ Christmas cards for quick & easy card making!


We're making ornament cards on tonight's Stamp with Me Live.  It's a quick & easy idea for your Christmas cards!
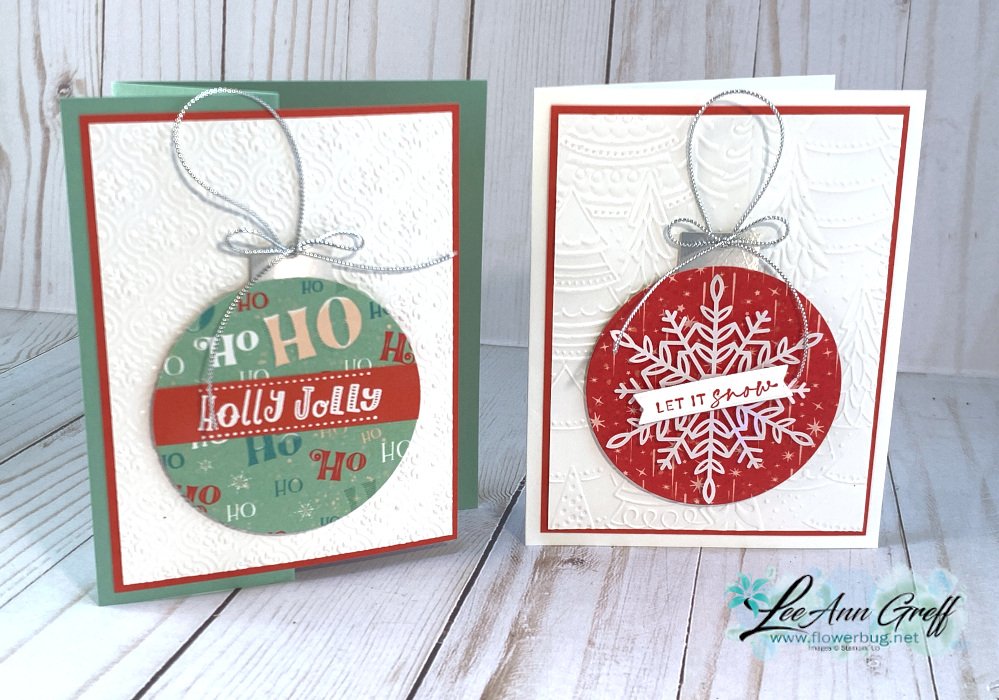

The designer paper is the Santa Express seen here.  It's filled with lots of great patterns; not just Santas & trains.  

Join me here Live at 7:30 pm CT.  The video will be on my YouTube channel by Tuesday, November 29th too. 
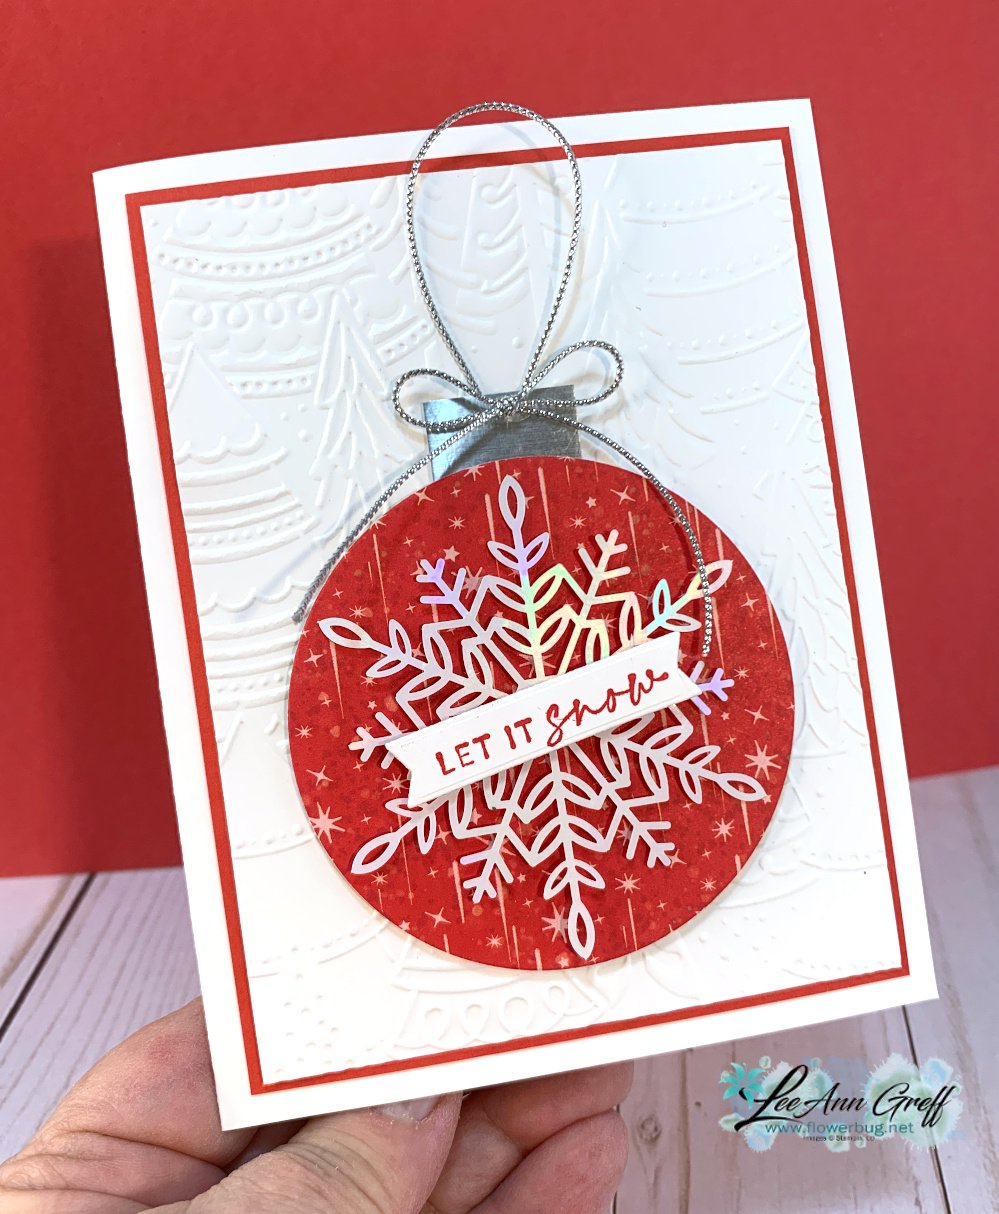
I chose an 'easy' card so those who feel rushed in getting their Christmas cards made. Plus these cards use your DSP and an embossing folder too; both make a card special. 
 
I added a Wonderful Snowflake to the designer paper circle for a quick, beautiful iridescent element.  These snowflakes will be well discounted on Thursday with the Last Chance List seen here: Download 2022 Holiday Catalog Last Chance
 
The greeting is from the Joyful Flurry stamp set. 
 
Join me here when I share some tips on making these fun and easy cards tonight. 
 
Gather these supplies:
  • Card bases 5 1/2" X 8 1/2"
  • White or neutral background layer 3 3/4" X 5", will be textured
  • Another layer 4" X 5 1/4"
  • 'ornament' circles cut from DSP – mine are almost 3" around
  • Silver or gold paper (or other) for the top of the ornament
  • Twine or thin ribbon
Other items: Greeting stamps, ink, embossing folder, snowflakes
 
I made one card into an easy fun fold by folding the front of the card base back on itself. For this one I chose to add greetings from the Holly Jolly Wishes stamp set. 

The card base is Mint Macaron with White & Poppy Parade accents. 

To catch all of my videos, follow me on my FB page here.  Or on YouTube here.   
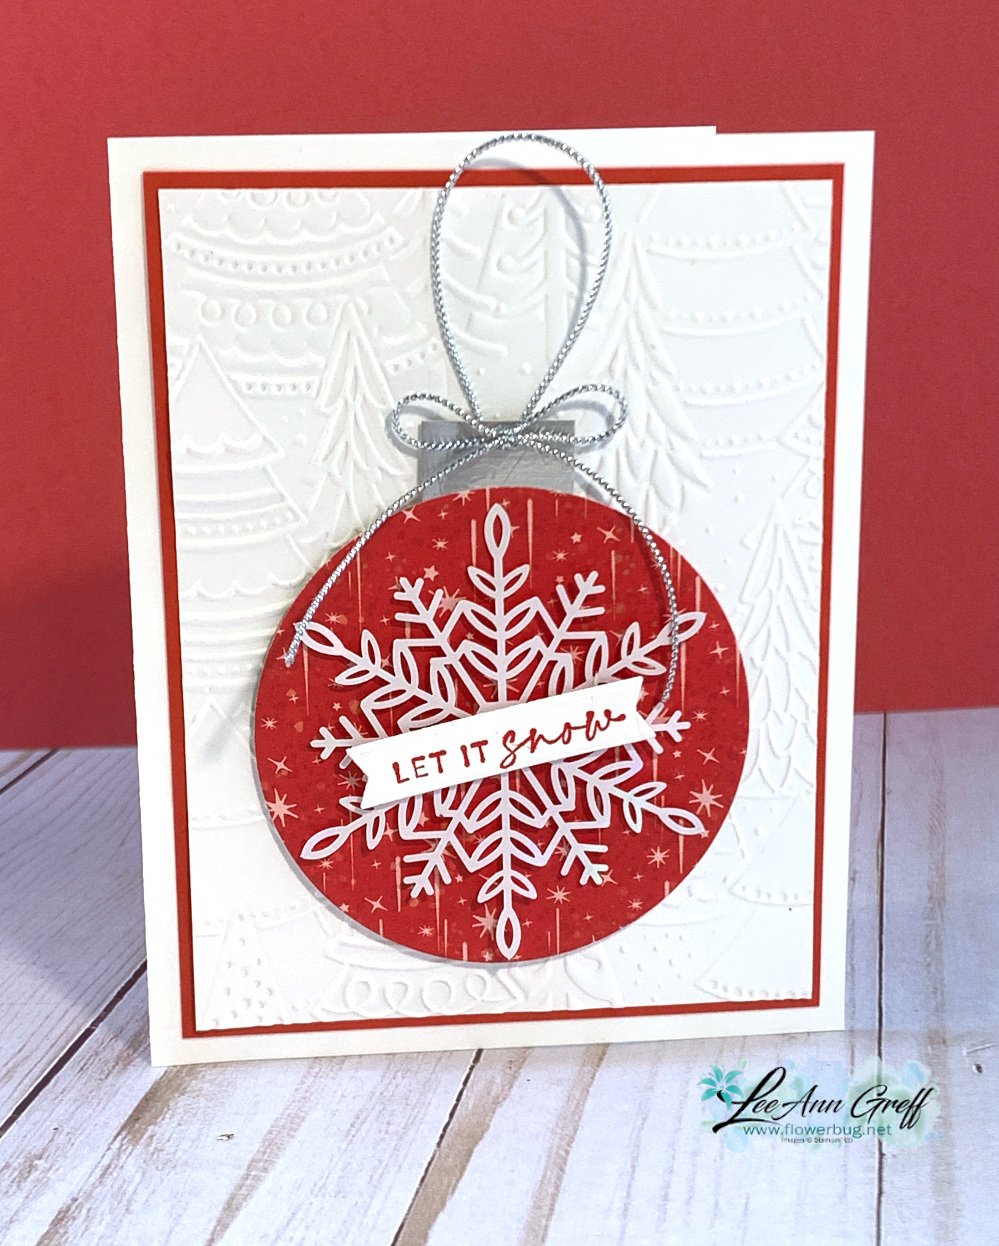
  

Which do you like better?  

~~~

Order online here

Host code link: KA9ZYZB6

November Specials: 

Check out the Last Chance items from the Holiday Catalog; it starts December 1st

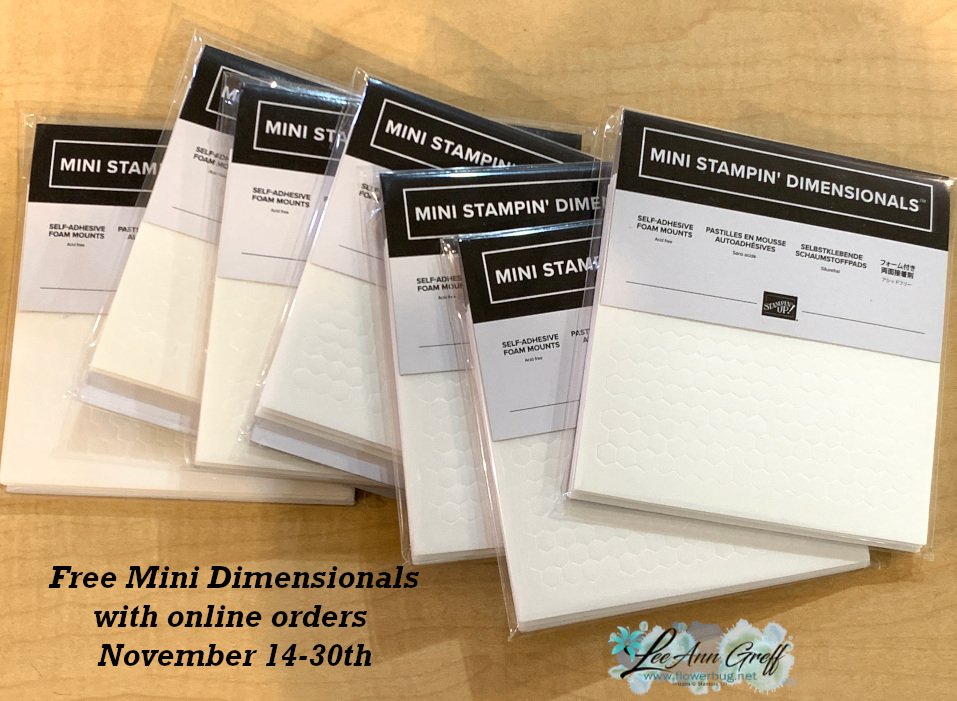
1. Get a pack of mini Stampin' Dimensionals from me with online orders over $55!

2. All orders in November will receive a big project tutorial – a collection of 12 cards featuring this new collection of products.

Earn free products with my loyalty rewards! 

Click here to download yours and earn a $50 shopping spree!
All Posts

  • Live tonight! Show off your Designer Paper with this fun layout!


    We're making these cards tonight on Facebook Live here.  Every other Monday I host a 'Stamp with Me' Live where we use our Designer Paper in fun ways.  

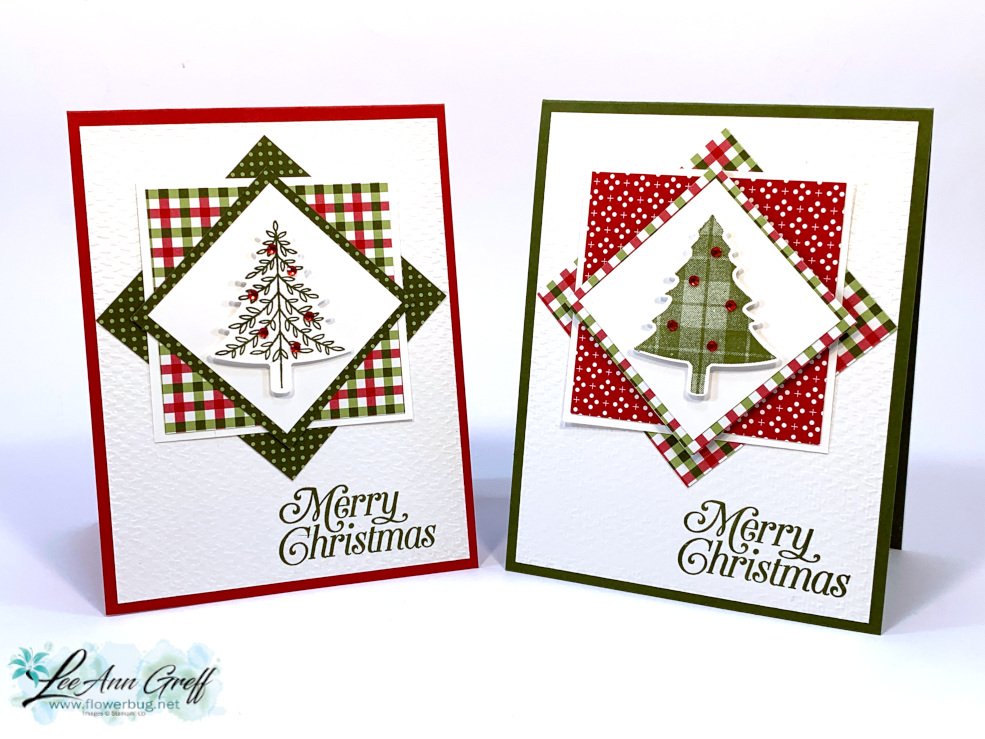
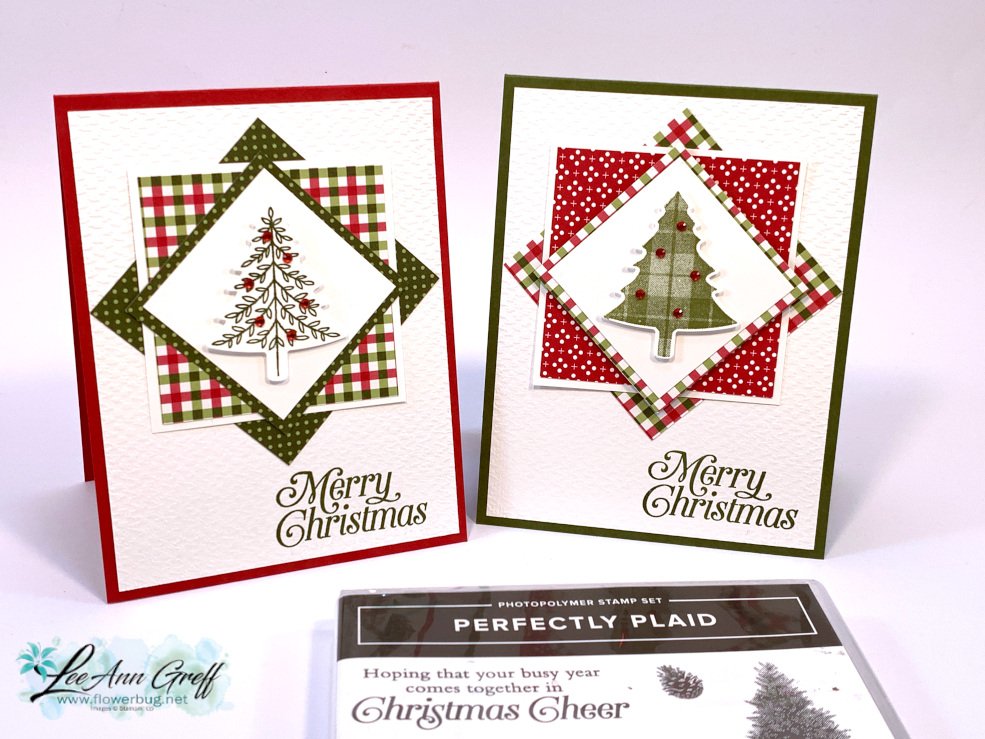
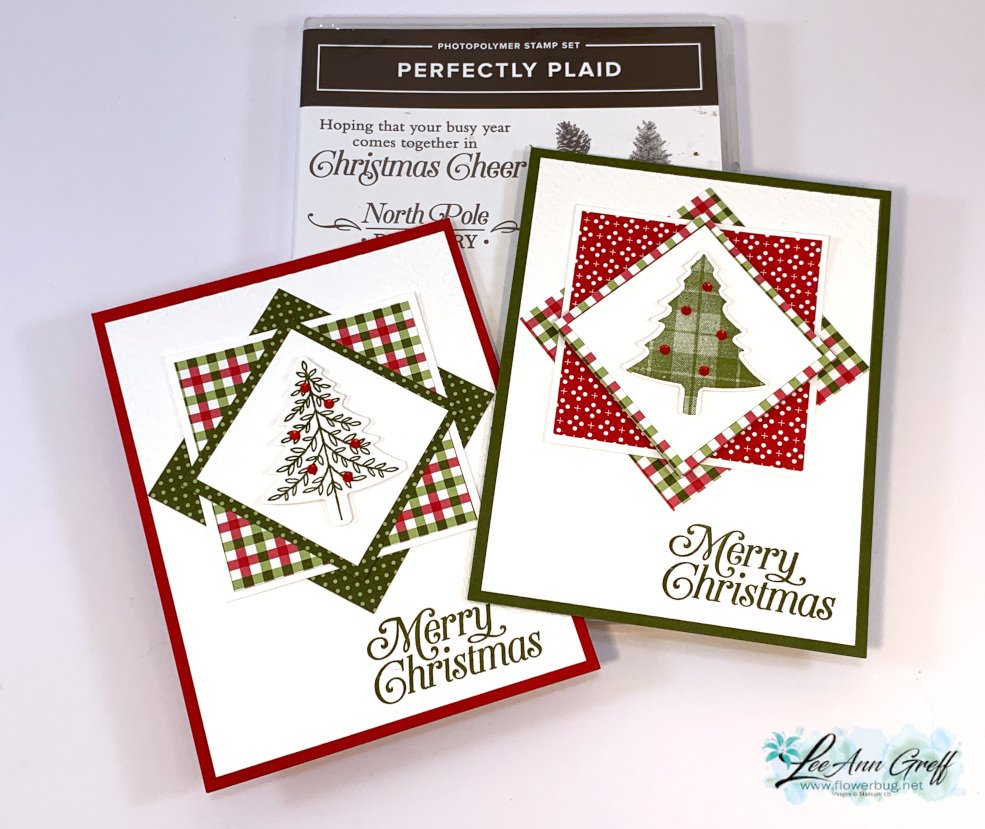
    I love this layout!  It is perfect for small patterns of Designer Paper. Turning squares on the angle adds a lot of playful interest to your card and showcases one main image, die-cut or punch in the center. 

    I post the measurements a few days before the Live event so you have the time to prep your pieces so we can complete them together.  

    I chose to use the Heartwarming Hugs designer paper from the Holiday catalog. (see it here)  And the Perfectly Plaid stamp set & Pine Tree punch.  

    Card stock is Real Red, Mossy Meadow & Basic White; ink is Mossy Meadow. 

    Measurements:
    Card base 4 1/4" X 11" scored at 5 1/2" 
    White CS – 2" square, 2 7/8" square, 4" X 5 1/4" plus a scrap for the punched piece
    DSP (Heartwarming Hugs) – 2 1/4", two different patterns at 2 3/4"

    See all of my videos here on my YouTube channel. 

    You can see this one here; click on the photo below: 

    ~~~

    November Specials: 

    Host codes: Z2RQ7BB6

    *click here to order

    Online orders over $50 get a pre-cut card kit of 4 cards & PDF tutorial.
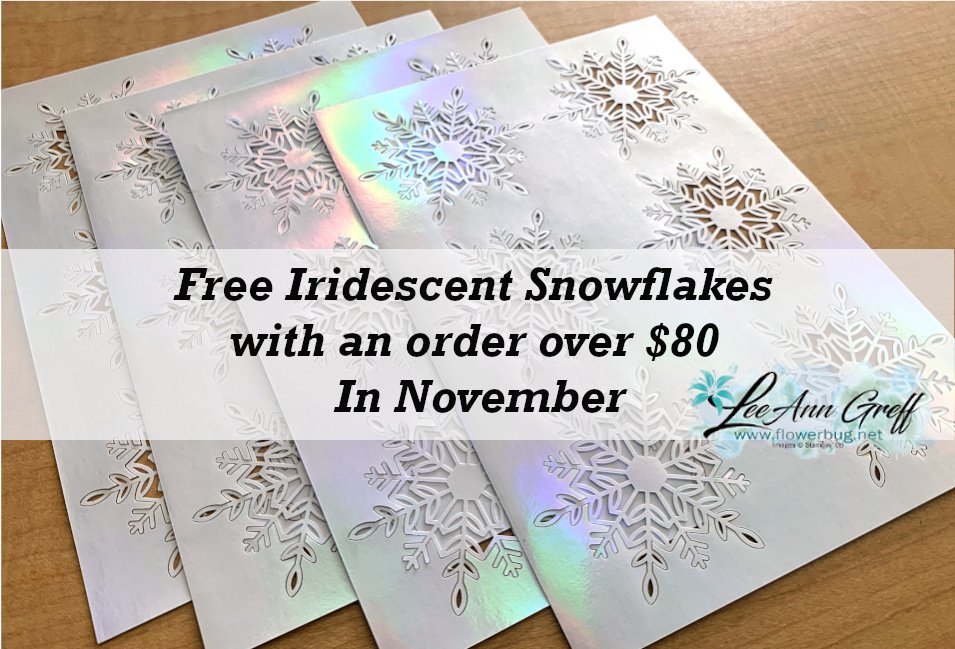
    *Orders over $80 will receive the card kit PLUS 24 Iridescent snowflakes!

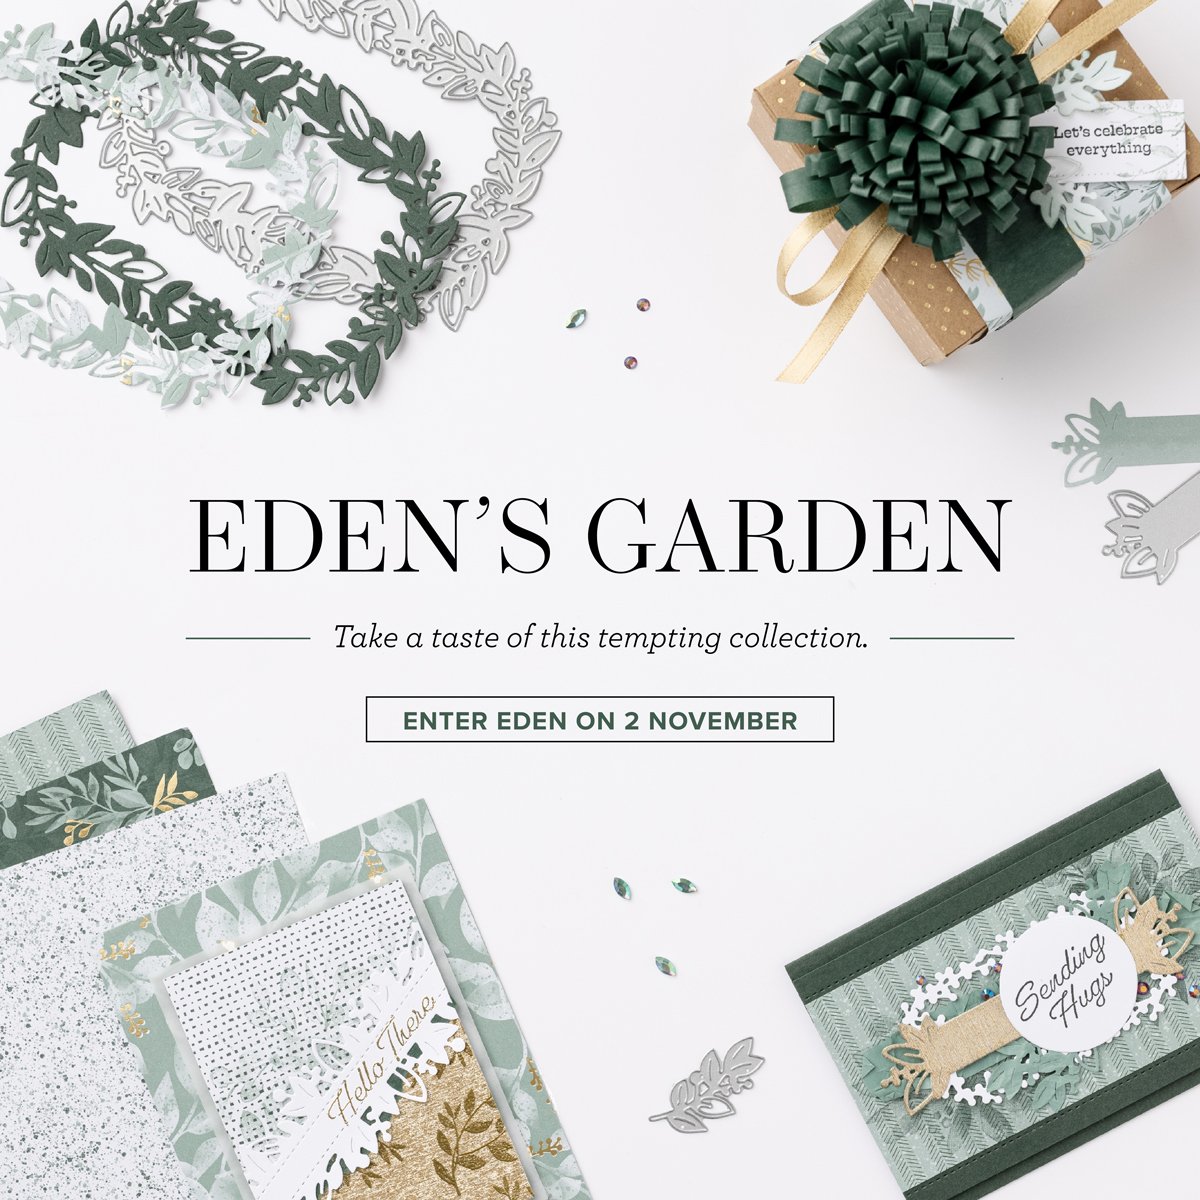
    All online orders will receive my Eden's Garden PDF 22 project tutorial free! 

    Get the deal on the Starter kit here!  $125 in product for $75 plus free shipping!

    Get any of the tutorials or kits to go below in my Kit & Tutorial shop here:

    Peaceful Wishes Christmas – limited supply available; 20 cards!


    Christmas cards stamp a stack; limited supply! 

    Leave a Reply

    Your email address will not be published. Required fields are marked *

  • A treat bag from an envelope? Yes!


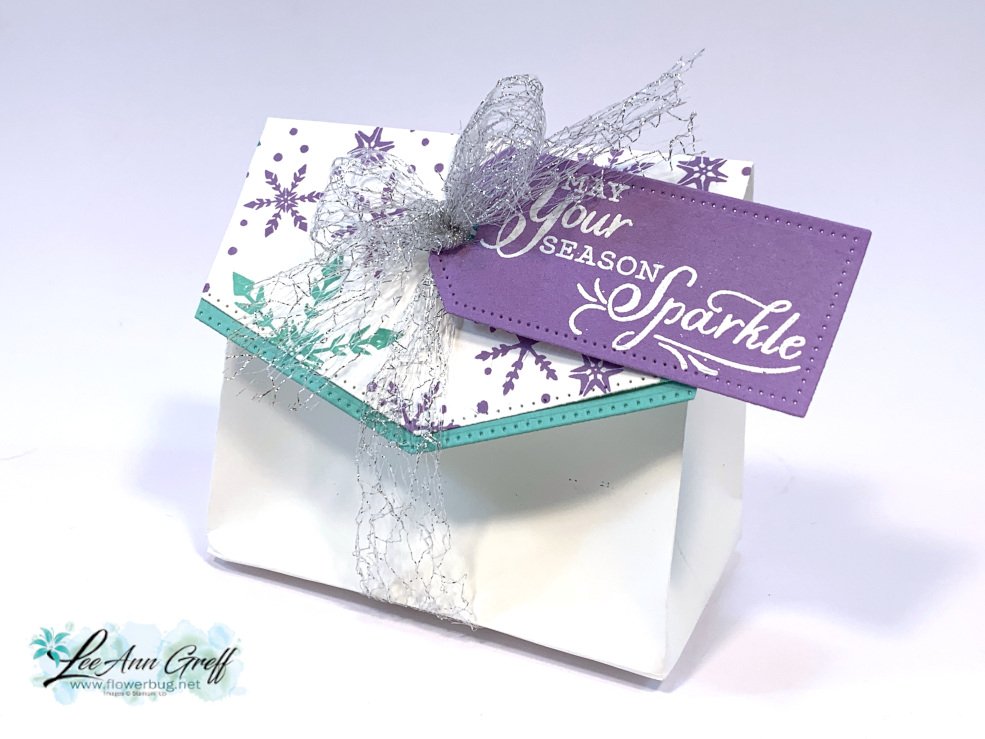
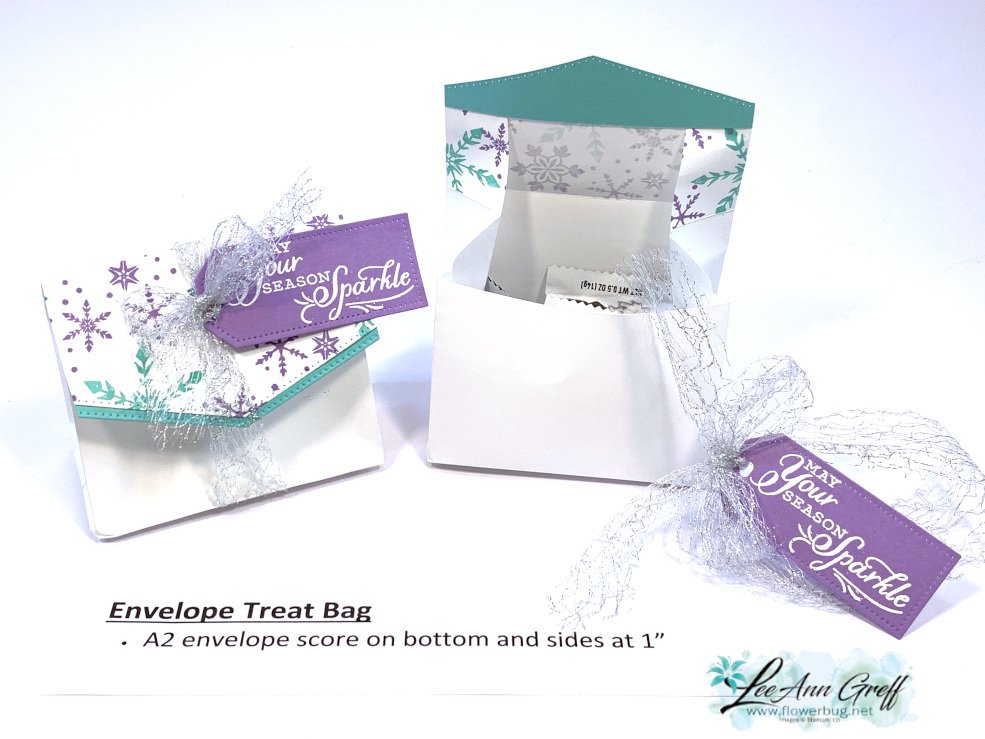
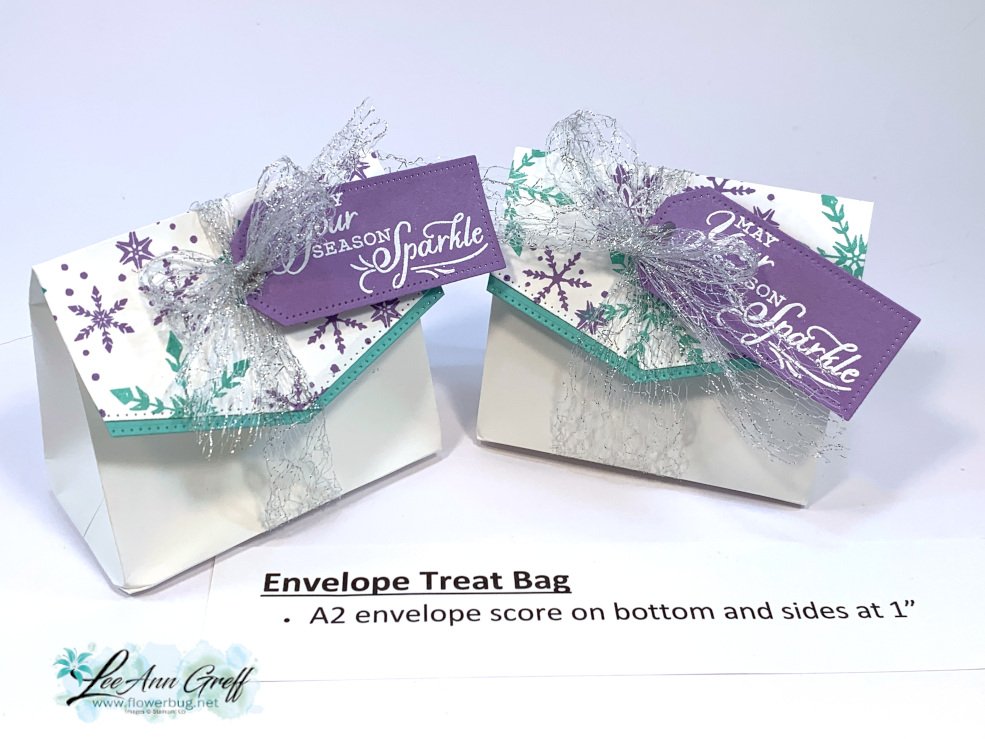
    I cannot believe what a nice size this treat bag is – all from an A2 size envelope!  

    Steps:

    1. First I stamped just the flap with snowflakes from the Snowflake Wishes stamp set using Coastal Cabana and Highland Heather inks.  Then I stamped the Highland Heather tag and heat embossed it with White embossing powder.  

    2. Next score 1" on the bottom and up both sides while the envelope is flat.  Fold on the score lines and press each fold well. 

    3. Open up the envelope into a box. Secure the bottom corners to the flat bottom. 

    4. Die-cut the flap using the Basic Border dies. Add a second layer of Coastal Cabana – also die-cut.  

    5. Fill the bag with treats, wrap the mesh ribbon around it and add the tag.  Tie it into a bow.  Done!

    And below is the video; it's the last project I share on this FB Live replay! 

    ~~~

    Host codes: RY3EDVMZ

    *click here to order

    Online orders over $50 get a pre-cut card class of 4 cards & PDF tutorial.
    *Orders over $80 will receive the card kit PLUS 24 Iridescent snowflakes!

    All online orders will receive my Eden's Garden PDF 22 project tutorial free! 

    Get any of the tutorials or kits to go below in my Kit & Tutorial shop here:

    Peaceful Wishes Christmas – limited supply available; 20 cards!


    Christmas cards stamp a stack; limited supply! 

    Leave a Reply

    Your email address will not be published. Required fields are marked *

  • CUTE package shaped fun fold card!


    The Seasonal Sale ends tonight; do not miss out on the discounts on Classic ink pads, card stock and dies! 

    ALL of the dies in the Annual Catalog are 20% off! Woo hoo! 

    Download the November Seasonal Sale here to see the list and prices. 

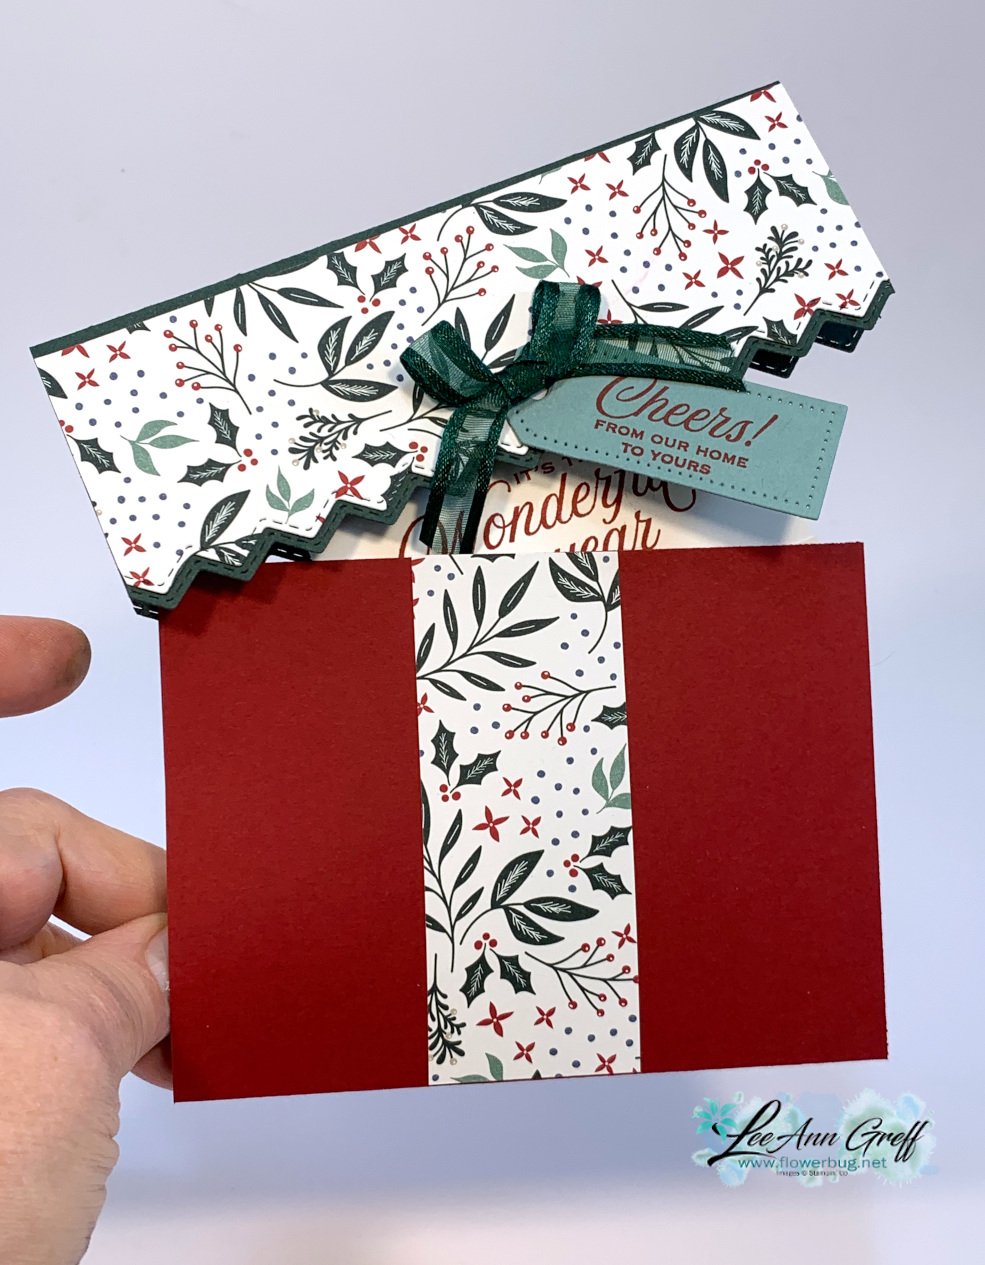
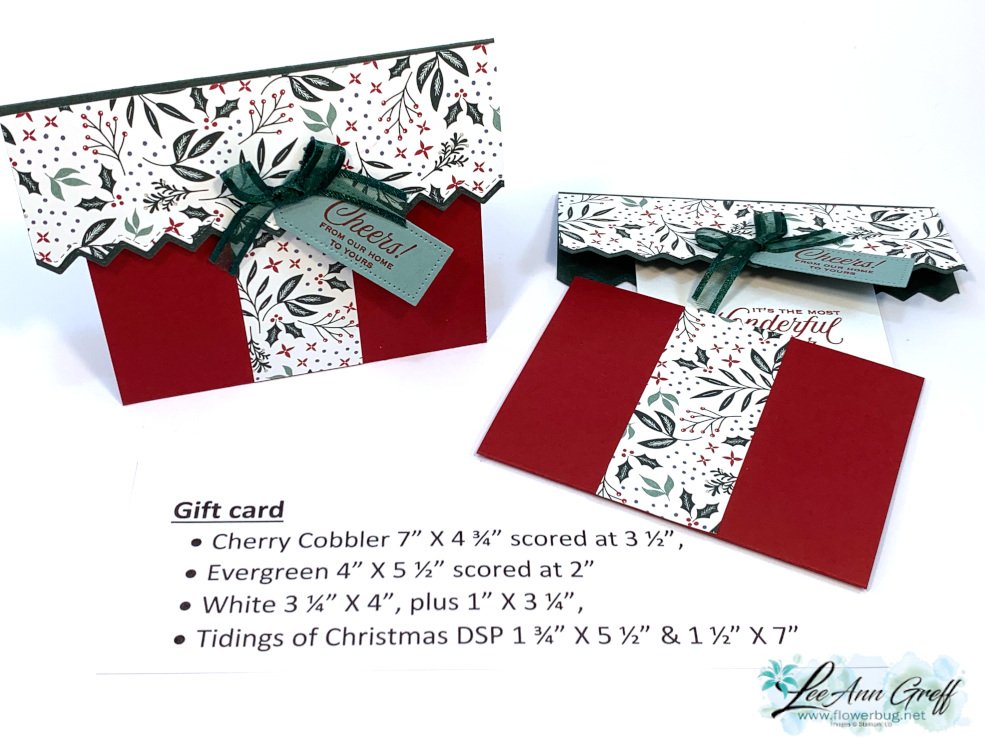
    Have you ever made one of these 'gift shaped' fun fold cards?  They're so unique & look just like a boxed gift!  You could do this card for birthday's, babies or weddings also.  

    Yesterday I focused on the Basic Border and Tailored Tags dies for this projects. See that neat zig zag trim?  I also used the Tidings of Christmas DSP and Tidings & Trimmings stamp set.  

    I show how to put this together on the video below.  You can also see it here on my YouTube channel. 

    The Basic Border and Tailor Made tags I used here are discounted through Thursday, November 18th.  

    • Basic Border dies seen here were $29 and are now $23.20
    • Tailor Made Tag dies seen here were $22 and are now just $17.60 

    The measurements are in the photo above but watch the video below to see how to assemble it.  There are a few tricks on this unique fun fold card! 

    And below is the video; it's the first project I share on this FB Live replay! 

    ~~~

    Host codes: RY3EDVMZ

    *click here to order

    Online orders over $50 get a pre-cut card kit of 4 cards & PDF tutorial.
    *Orders over $80 will receive the card kit PLUS 24 Iridescent snowflakes!

    All online orders will receive my Eden's Garden PDF 22 project tutorial free! 

    Get any of the tutorials or kits to go below in my Kit & Tutorial shop here:

    Peaceful Wishes Christmas – limited supply available; 20 cards!


    Christmas cards stamp a stack; limited supply! 

    There are a few Eden's Garden kits left here!

    Leave a Reply

    Your email address will not be published. Required fields are marked *


Notice: LeeAnn Greff, Independent Stampin’ Up! Demonstrator, Manager. The content of this website is my sole responsibility as an independent Stampin’ Up! demonstrator and the use of, and content of, the classes, services, or products offered on this website is not endorsed by Stampin’ Up! Copyright 2025