Origami card fold with Flowers for Every Season with video
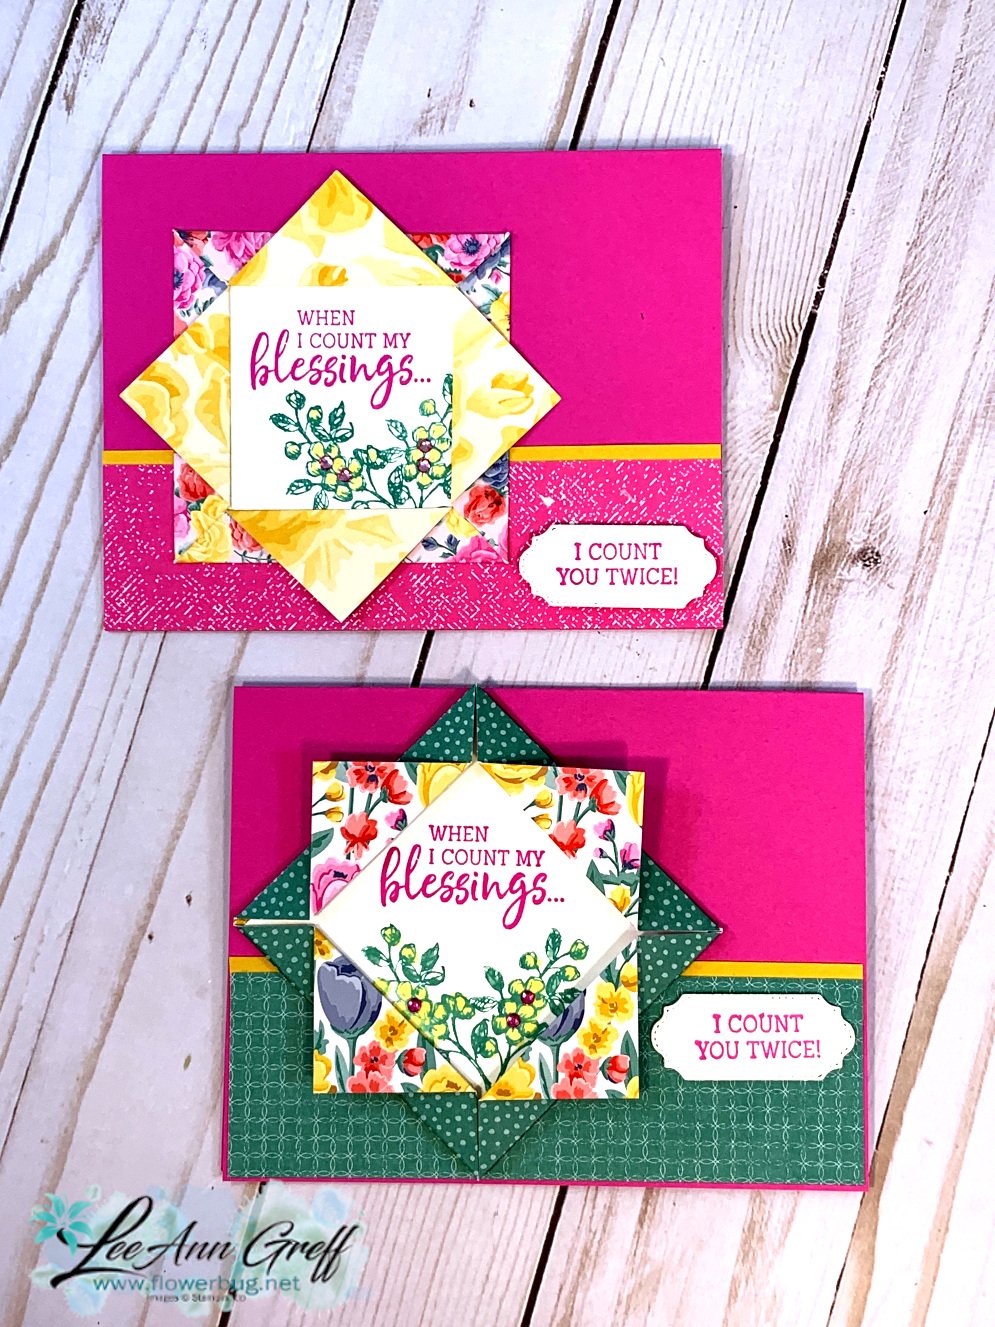
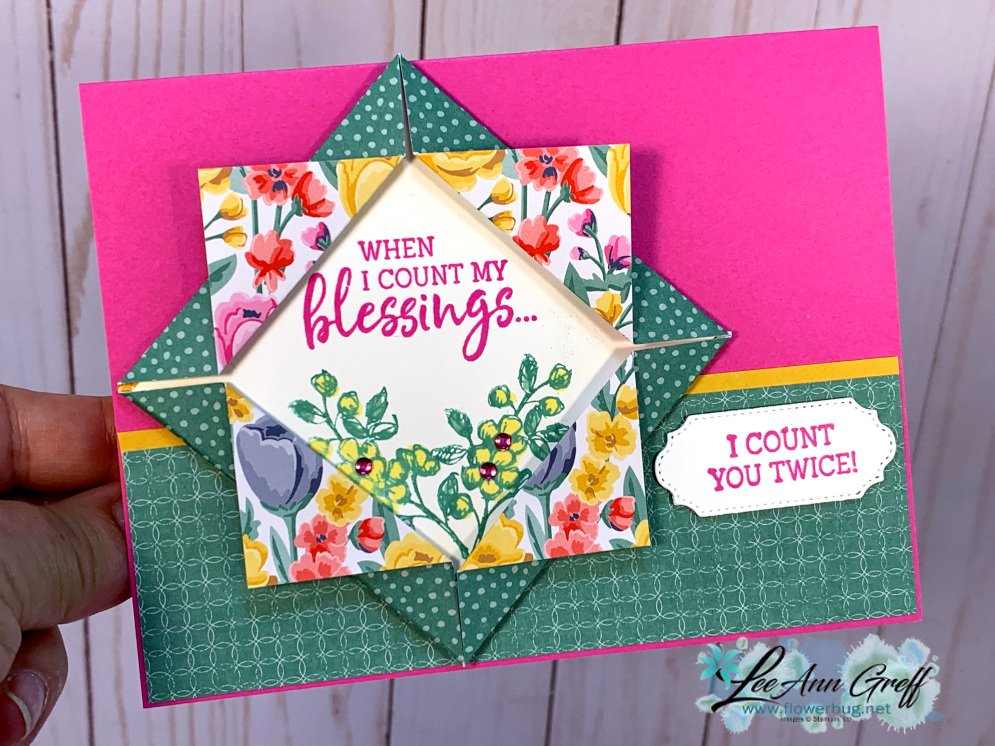
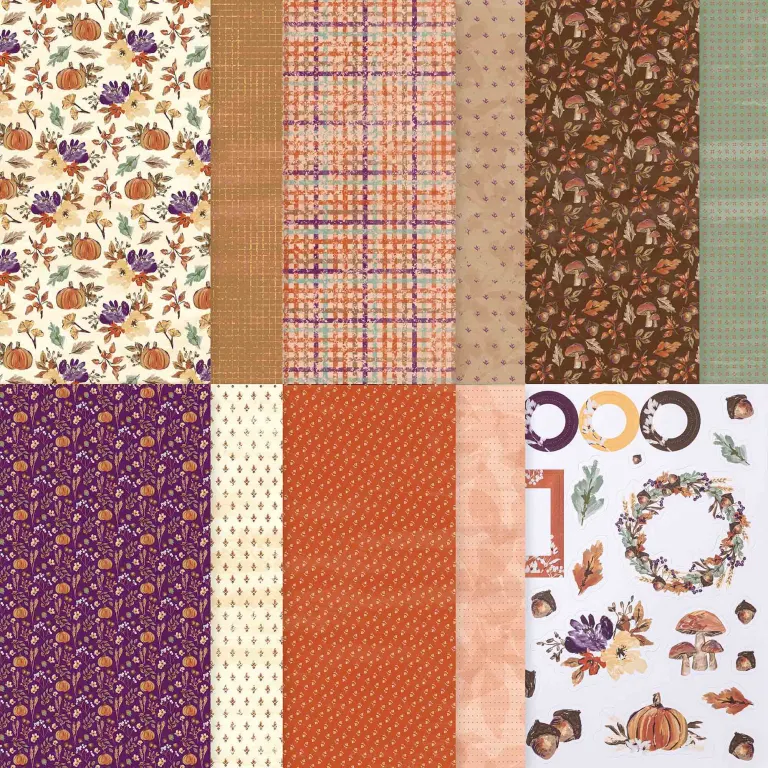
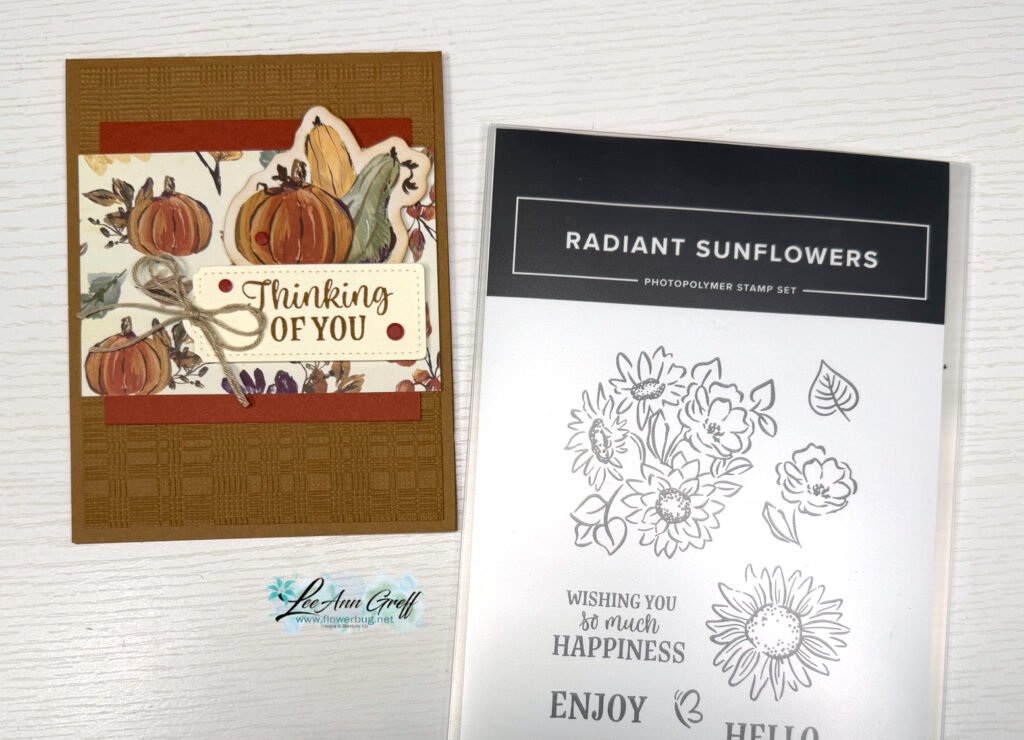
Here's another card I made on FB live last week using the pretty Flowers for Every Season designer paper. It's an origami fold that creates a perfect place for your stamped image in the center.
It starts out with a 4 1/4" piece of designer series paper and you place it on a score board on the diagonal so the points are at 3" on the top and the left. You can do this with a paper cutter too. See here or watch the video below:
It includes directions, photos and measurements for 10 cards!
All Posts
Two more card kits & tutorial are now available for pre-order!
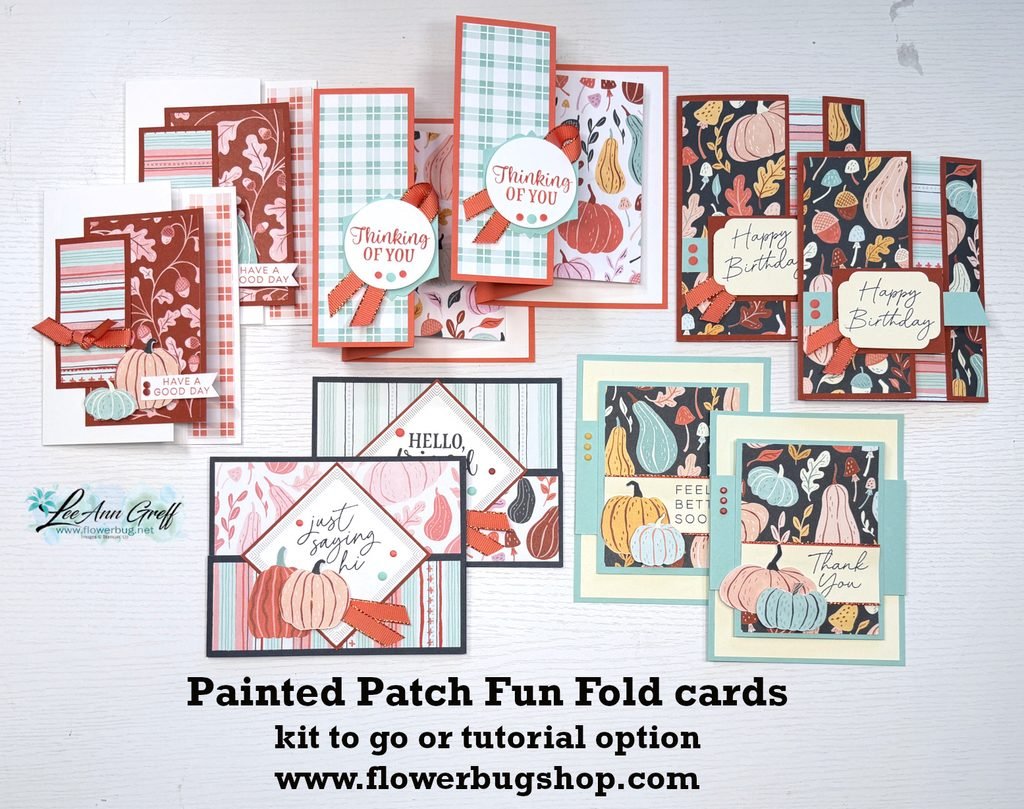
I chose the Painted Patch designer series paper for one of my October card kits & tutorials (I have 3 this month!). The colors are incredible together and the patterns are fresh & fun. Look at these Fun Fold cards!
This card kit includes 5 sets of cards and you’ll make 2 of each one. This kit is all unique fun fold layouts.
I paired the Painted Patch DSP with the Painted Patch gems and the Calypso Coral & Copper ribbon. You’ll get a share of each of these products along with the 10 pre-cut cards and the PDF tutorial. Everything is pre-cut for you except the package of DSP. You’ll use the directions in the tutorial to cut your new paper. It’s so easy to create these cards when it’s all ready to go.
I create my kits so you do not need a specific stamp set to finish them. All you need are some greeting images and a few inks.
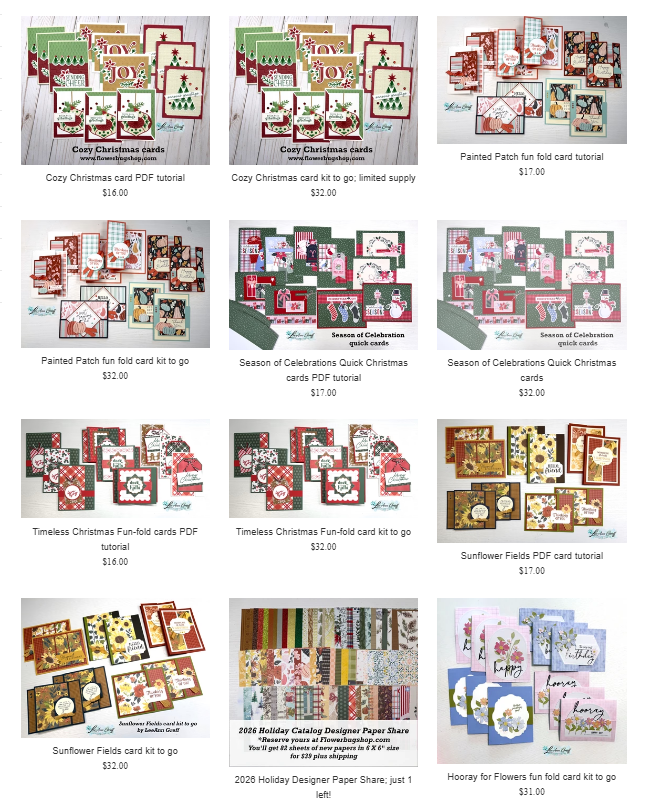
This kit can be seen here. It’s $32 plus shipping (order more than one to save $$). There is also a PDF tutorial available for $17. See that here.
The tutorials are emailed to you immediately after payment. The pre-cut kits are mailed out at the end of October.
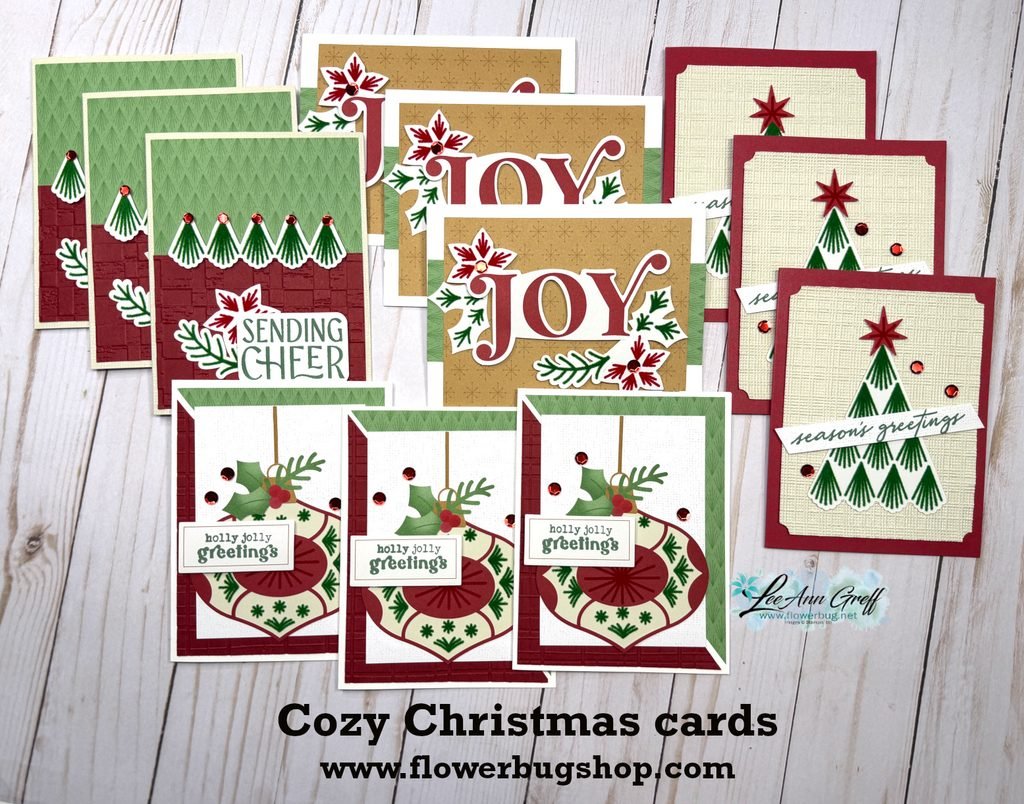
I’ll share the third card kit tomorrow; it’s a Christmas card kit! Here’s a sneak peek:
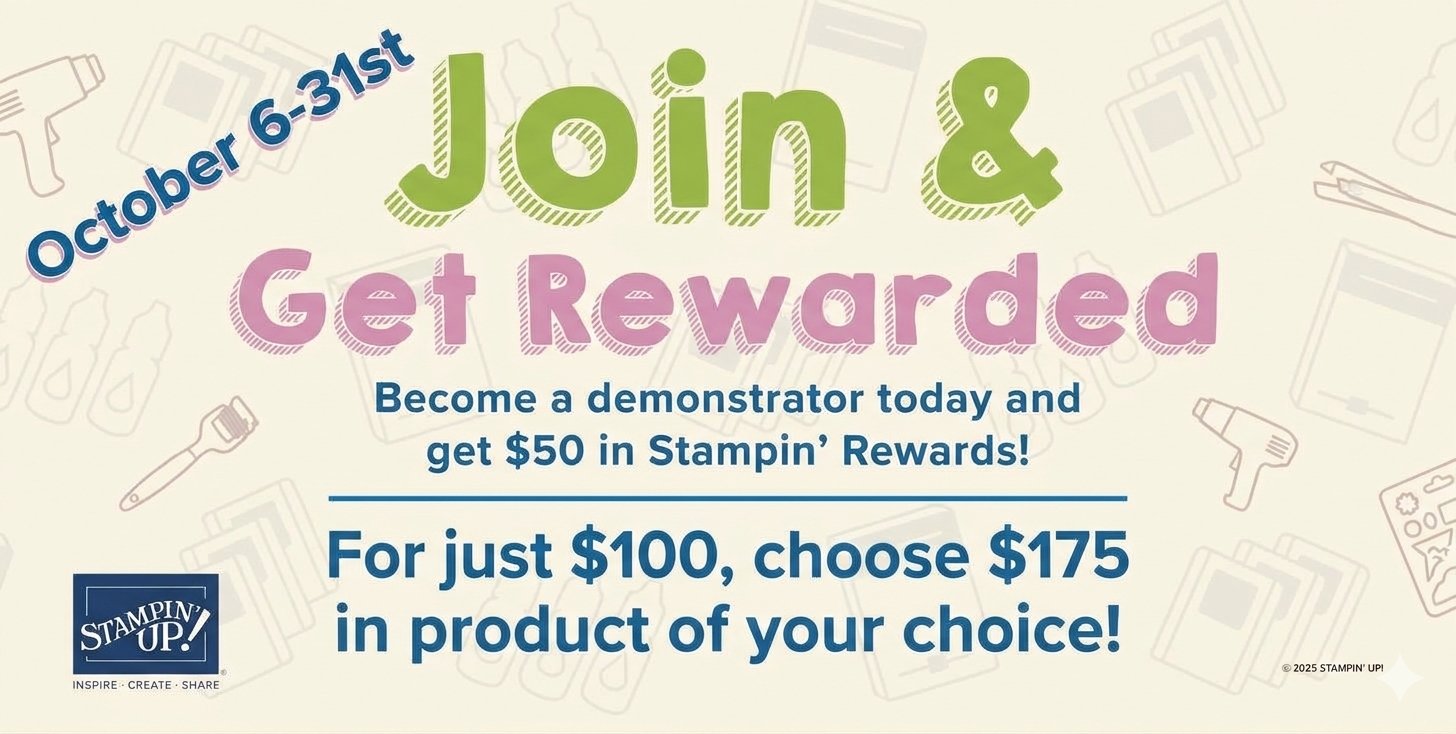
Bonus! Pick out $175 in product of your choice for just $100!
Yay!! Stampin’ Up! is offering EXTRA free stuff in the starter kits in October. Starting today you can pick out $175 in products of your choice for just $100!
The Stampin’ Up! demonstrator opportunity is always an amazing deal. New demonstrators already get a $125 USD coupon code and for our first-time demonstrators only, a Welcome Box filled with goodies and tools to help them get started. With this join offer, we’re piling on the perks by extending their shopping power with an additional $50 USD in Stampin’ Rewards!
I hope you’ll consider joining my Flowerbug’s Team this month! We have an amazing group of both Hobby & Business minded demos. I can assure you that you’ll not regret it! Click here to get yours!
Details:
New team members who join between October 6–31 will receive $50 USD in Stampin’ Rewards in their Stampin’ Up! account immediately after signing up as a demonstrator. These rewards are only available for three months after their sign-up date.
New demonstrators who submit their Independent Demonstrator Agreement (IDA) before October 6 or after October 31 will not be eligible for this offer.
The new Welcome Box is exclusive to first-time demonstrators.
As part of the new join process, we’re introducing an elevated onboarding experience. All first-time demonstrators (beginning July 1, 2026) will receive a surprise Welcome Box—a gesture of appreciation and a warm welcome into the global Stampin’ Up! creative community.
You’ll receive the Get Started Bundle, which includes:
a coupon code valued at $125 USD.
an 8-pack of catalogs.
About the Coupon Code
Coupon code can be applied to any demonstrator order.
Order can exceed the coupon code value.
Any amount above the coupon code value:
receives the demonstrator discount.
counts toward the quarterly sales minimum.
earns Stampin’ Rewards if it meets the qualifying purchase amount.
Step 2: Shop
Once their information has been reviewed and approved (usually very quickly), their Welcome Box ships, and the new demonstrator receives an email with:
Notice: LeeAnn Greff, Independent Stampin’ Up! Demonstrator, Manager. The content of this website is my sole responsibility as an independent Stampin’ Up! demonstrator and the use of, and content of, the classes, services, or products offered on this website is not endorsed by Stampin’ Up! Copyright 2025


















Leave a Reply