/


Latest Post

One more Petal Park and Kind & Sincere sneak peek card


There are still lots of bargains on the Clearance Rack and Last Chance list.  Click on the pictures below to see them all.  Remember they're while supplies last!  Be sure to use this host code when you order:   QFTB9AST


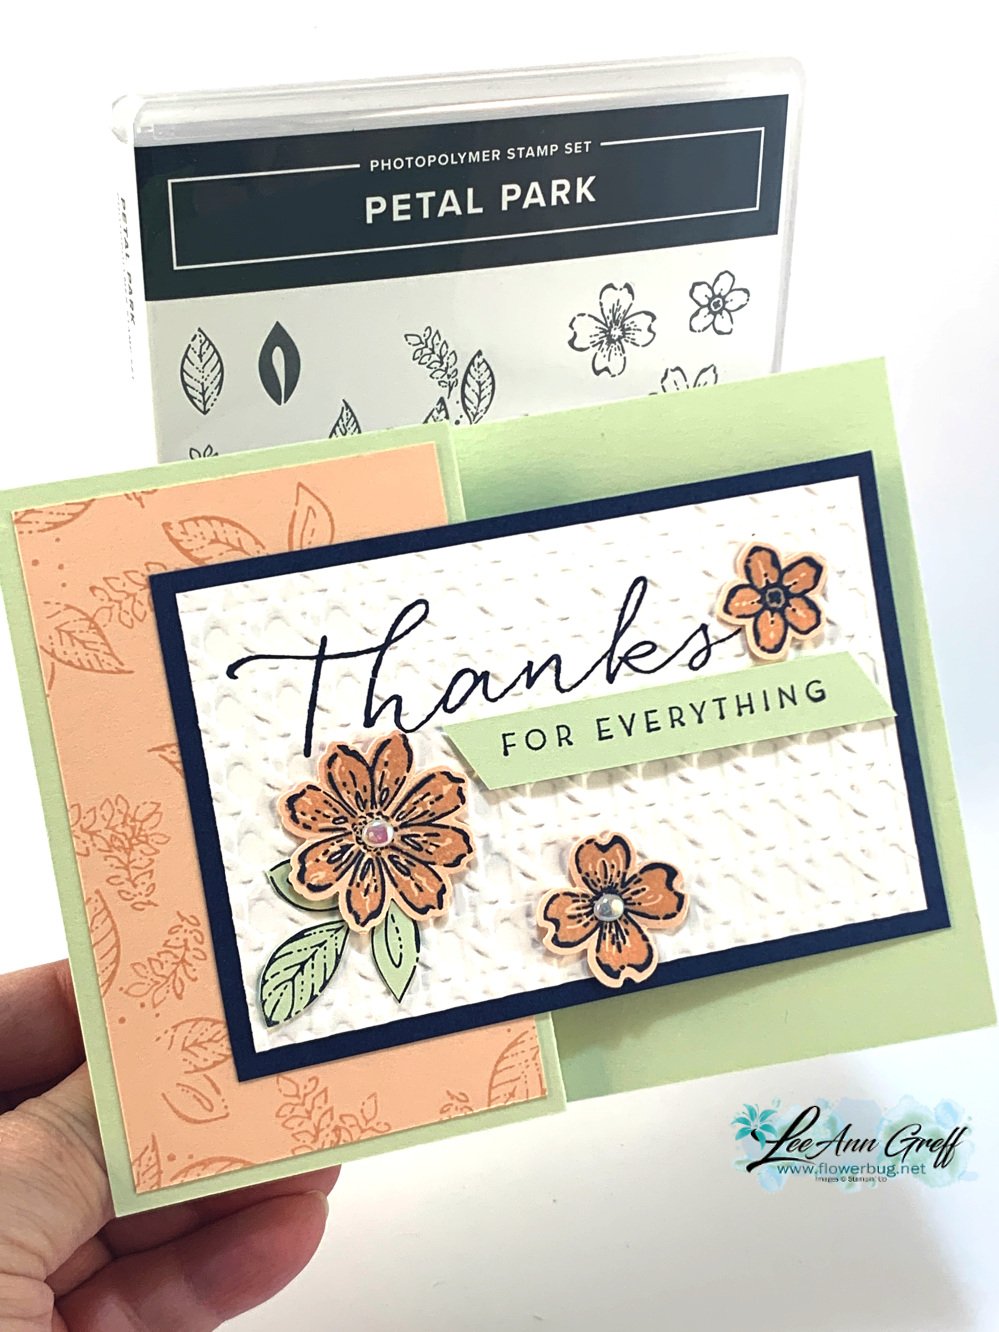
Yesterday I shared a card seen here made with these two new products and today I'm sharing another one.  I found it easy to create with the Petal Park bundle and the Kind & Sincere stamp set.  They're coming out in the upcoming 2023 Spring Catalog by Stampin' Up!. I love them both! 


Details:

  • I stamped the 'Thanks' greeting on the White panel before I textured it with the new Cane Weave 3D embossing folder.  
  • The flowers are stamped in Petal Pink and Night of Navy.  The leaves are fussy cut. 
  • The 'for everything' greeting is stamped and die-cut with the new Something Fancy dies
  • The Soft Sea Foam green card base is 4 1/4" X 11" and scored at 2 3/4" & 5 1/2"
  • The white panel is 4 1/4" X 2 3/4"; the Navy is 4 1/2" X 3". 
  • The Petal Pink layer is 2 1/2" X 4".  I used the outline leaf image to stamp a background using Petal Pink ink. 

I think I'll get a lot of use of the Kind & Sincere stamp set.  I love that you can create your own greetings by putting together the large cursive words with the smaller printed words.  So versatile!

Here are the 22 swaps I made.  The two main colors are soft & fresh yet the addition of Navy brings it all together & makes it pop. I feel like Navy is slightly softer than Black, which is another of my favorite ways to add a depth of color.  

Thanks for reading up to this point; I hope you're excited about the upcoming Spring catalog.  It's filled with all kinds of fresh, new products!  

**If you don't have a local demonstrator I'm happy to send you the new 2023 Spring & Sale-a-Bration catalogs for $5.  If you've ordered from me in the past year; I'll send them to you free.  

~~~

Clearance Rack Refresh!

Last Chance list is here!  

Order online using the link below:

Host code link:  QFTB9AST

Earn a free stamp set with online orders over $55 when using the host code above! 

 Earn free products with my loyalty rewards! 

Click here to download yours and earn a $50 shopping spree!

All Posts

  • Use your nesting dies to create a designer paper window – video & free project sheet


    On last week's Live video I shared a neat way to use nesting dies to create a frame with your double sided designer series paper. 

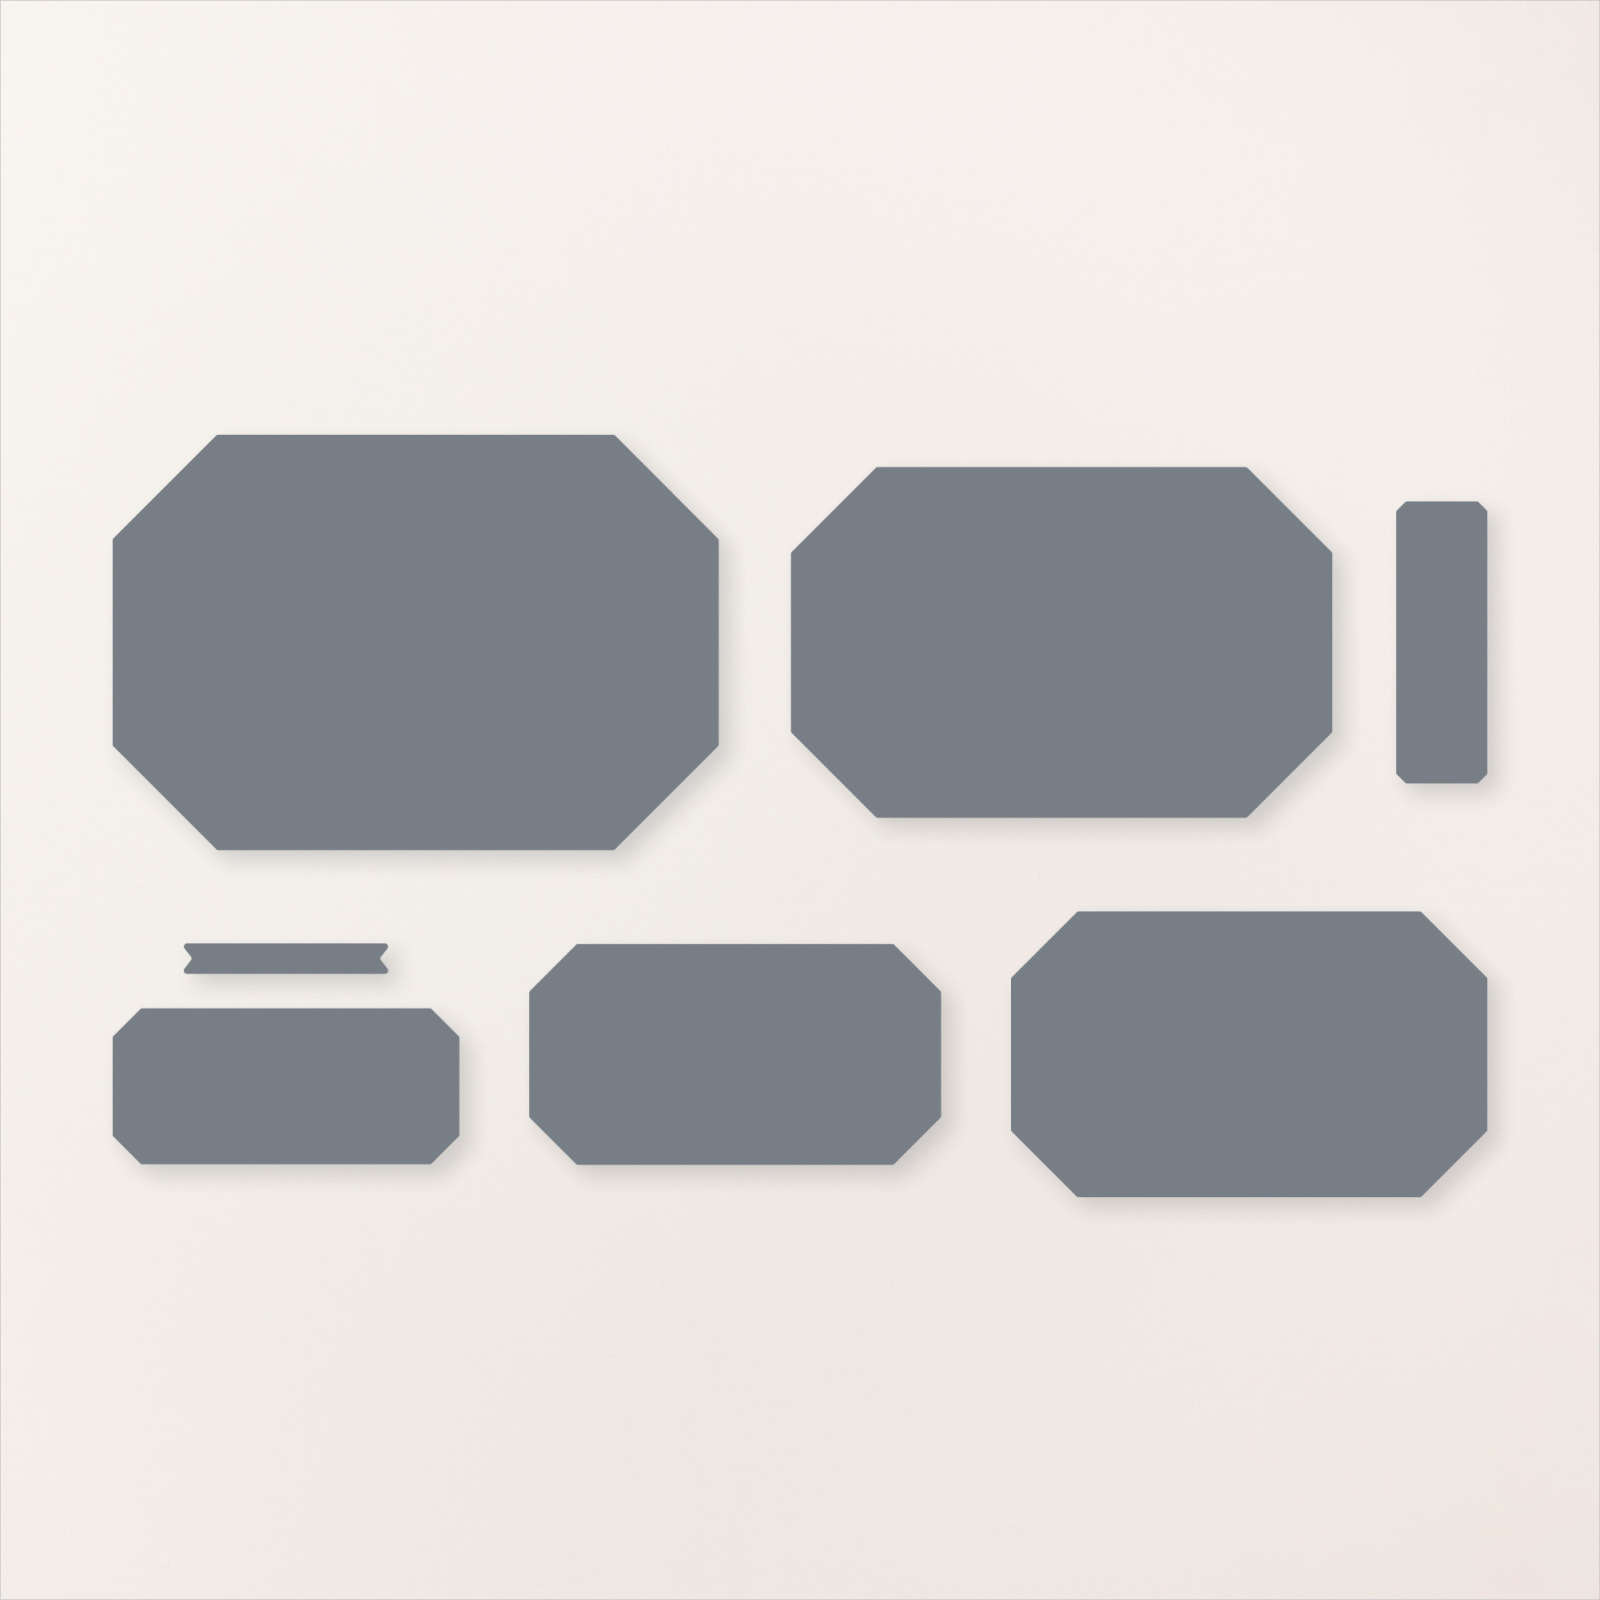
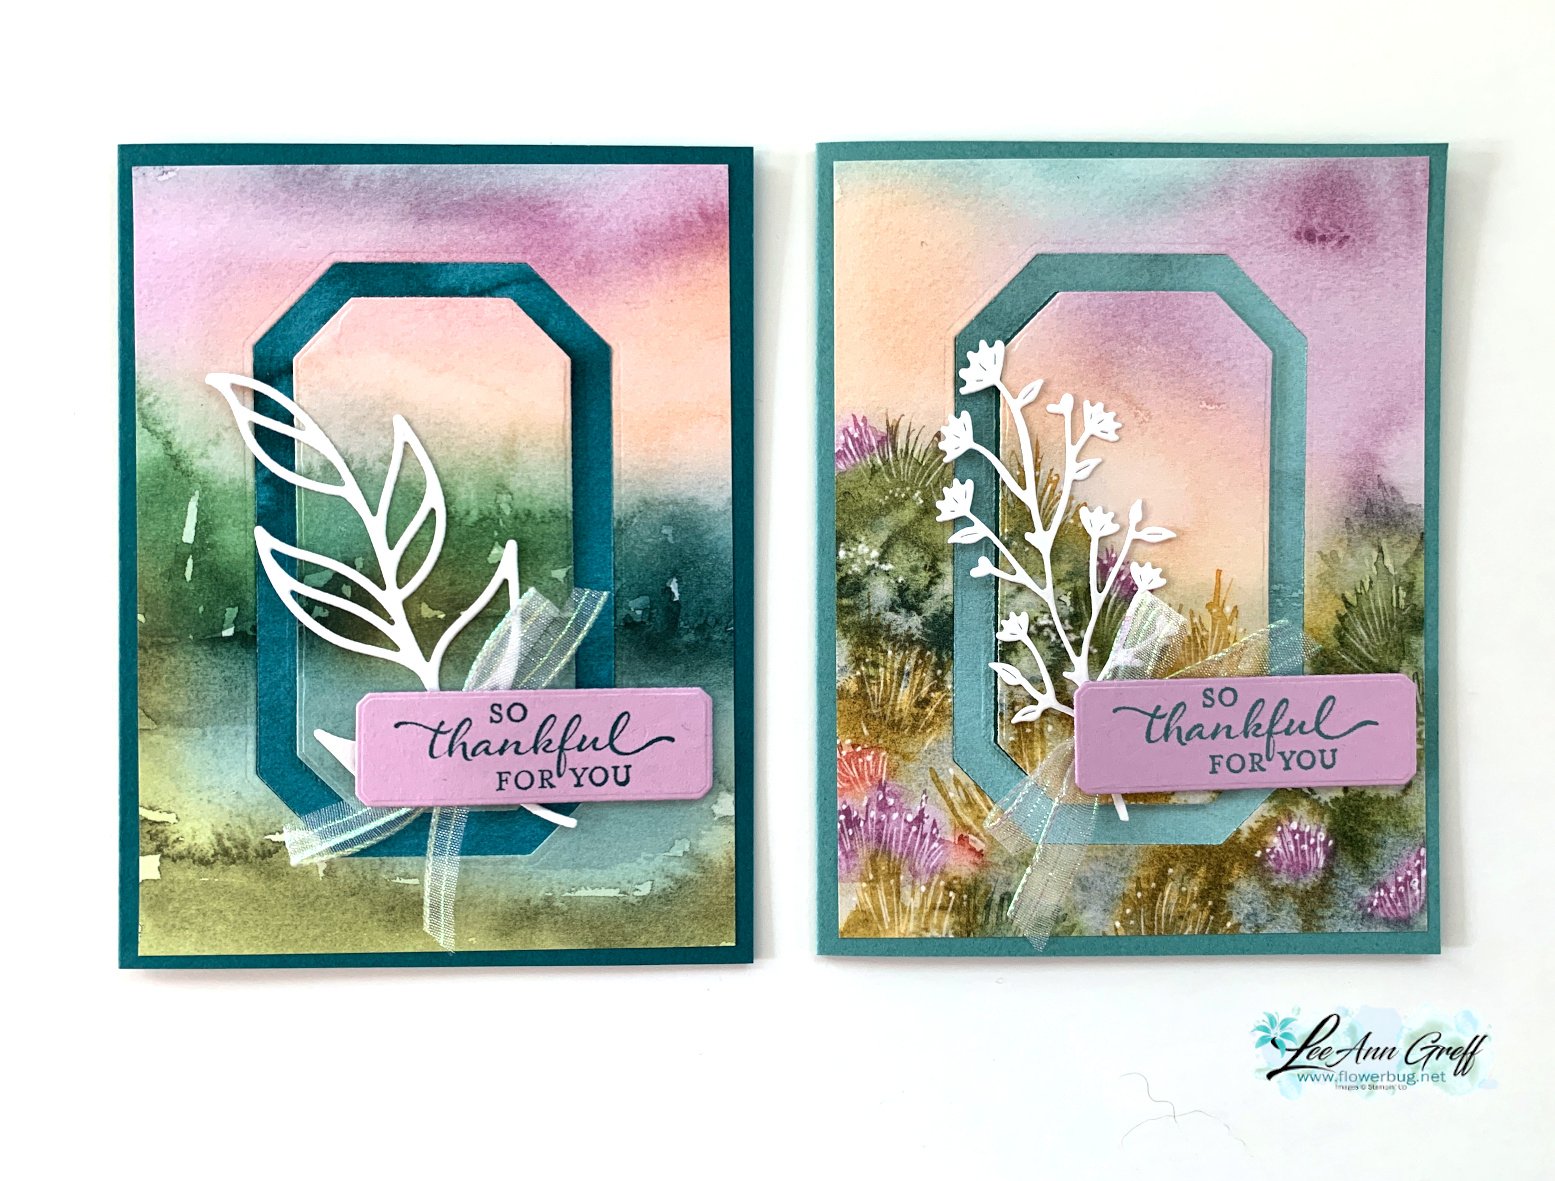
    I chose to feature the Thoughtful Moments DSP with this neat technique. Simply choose two dies that are the same shape and about 1/4-1/2" apart.  Die-cut and then flip over the narrow frame to reveal the opposite side of the Designer Series Paper. It's so neat! 

    **This Designer Paper and many more will be on sale starting Tuesday, August 6th! Details will be shared tomorrow. 

    The leaf die is from the Friends for Life dies. My nesting dies are called Countryside Corners and can be seen here.

    Tip – be sure the color of the opposite side of your paper coordinates with the front. I chose the card base to match the frame – Pretty Peacock. My greeting is in Fresh Freesia. 

    Here are both cards shown on the video; the second card on the right has a Lost Lagoon frame & card base.  The White die-cut on the right card is from the Thoughtful Wishes bundle.

    Here's the free project sheet you can download or print: Download Thoughtful Journey Window card

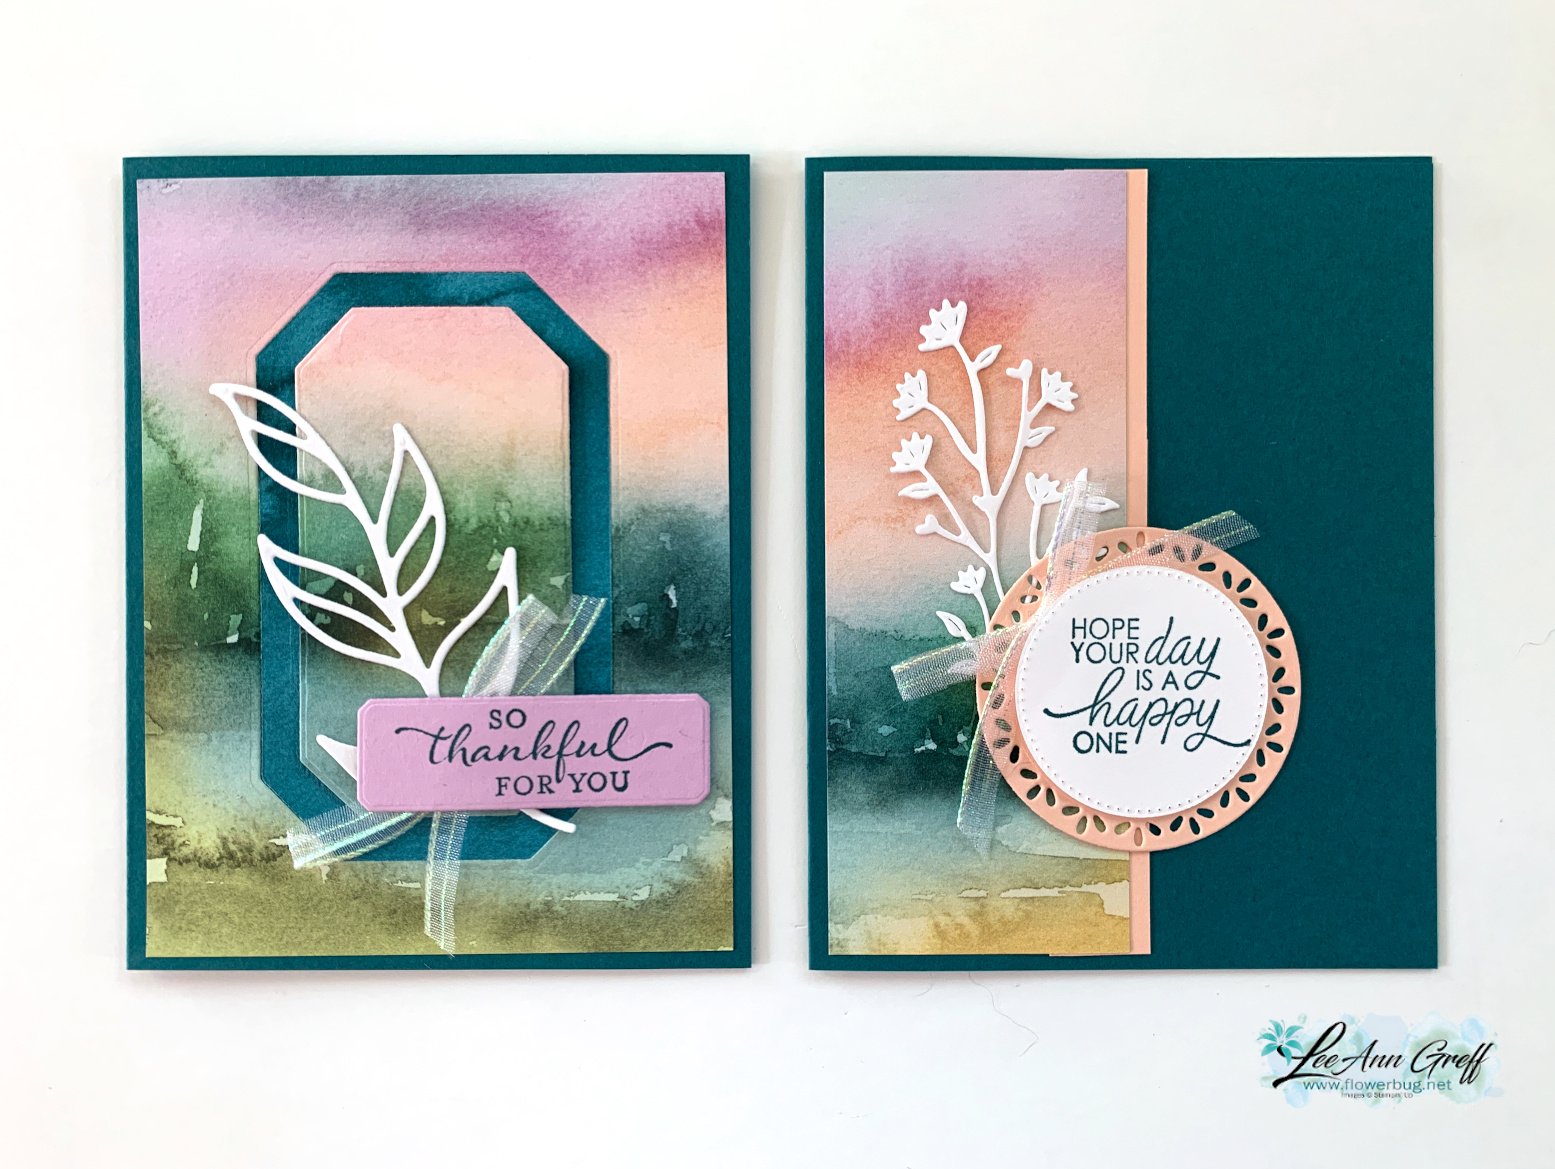
    The designer paper for these cards is 4" X 5 1/4" which leaves a 2" strip for another project.  I wanted to share a quick card to use up that leftover piece:

    I simply added it to the card base with a coordinating card stock strip on the edge. Then added layering circles for my greeting.

    If you're wondering about the ribbon, it's the pretty Iridescent 1/2" striped trim seen here.  I cut it in half to get 1/4" thick trim. It has been unavailable for awhile but it's back now.

    Here are all 4 cards I shared in the video you can see here. 

    Here's the video below to see how this is done plus another card idea with the beautiful Thoughtful Journey designer paper.  I'll share the second card Wednesday. 

    ~~~

    August Specials:

    *current host code link: BDGBJHAE


    Redeem your $5 coupon now! 

    ~~~

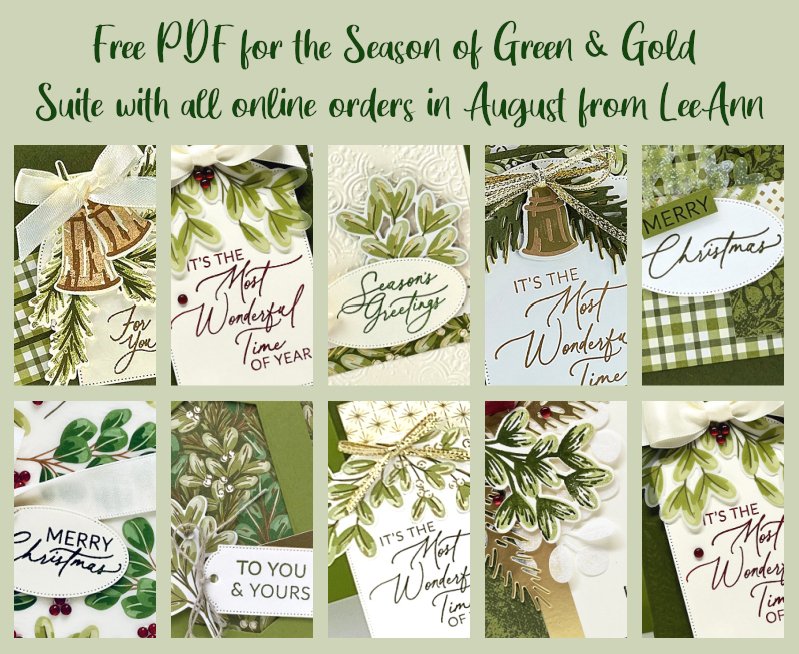
    All online orders will receive a free PDF tutorial featuring the

    Season of Green & Gold suite

    Leave a Reply

    Your email address will not be published. Required fields are marked *

  • Check out the Last of the July Team swaps


    Today I'm sharing the last of our July Team swap cards. Our theme was thank you cards without flowers. 

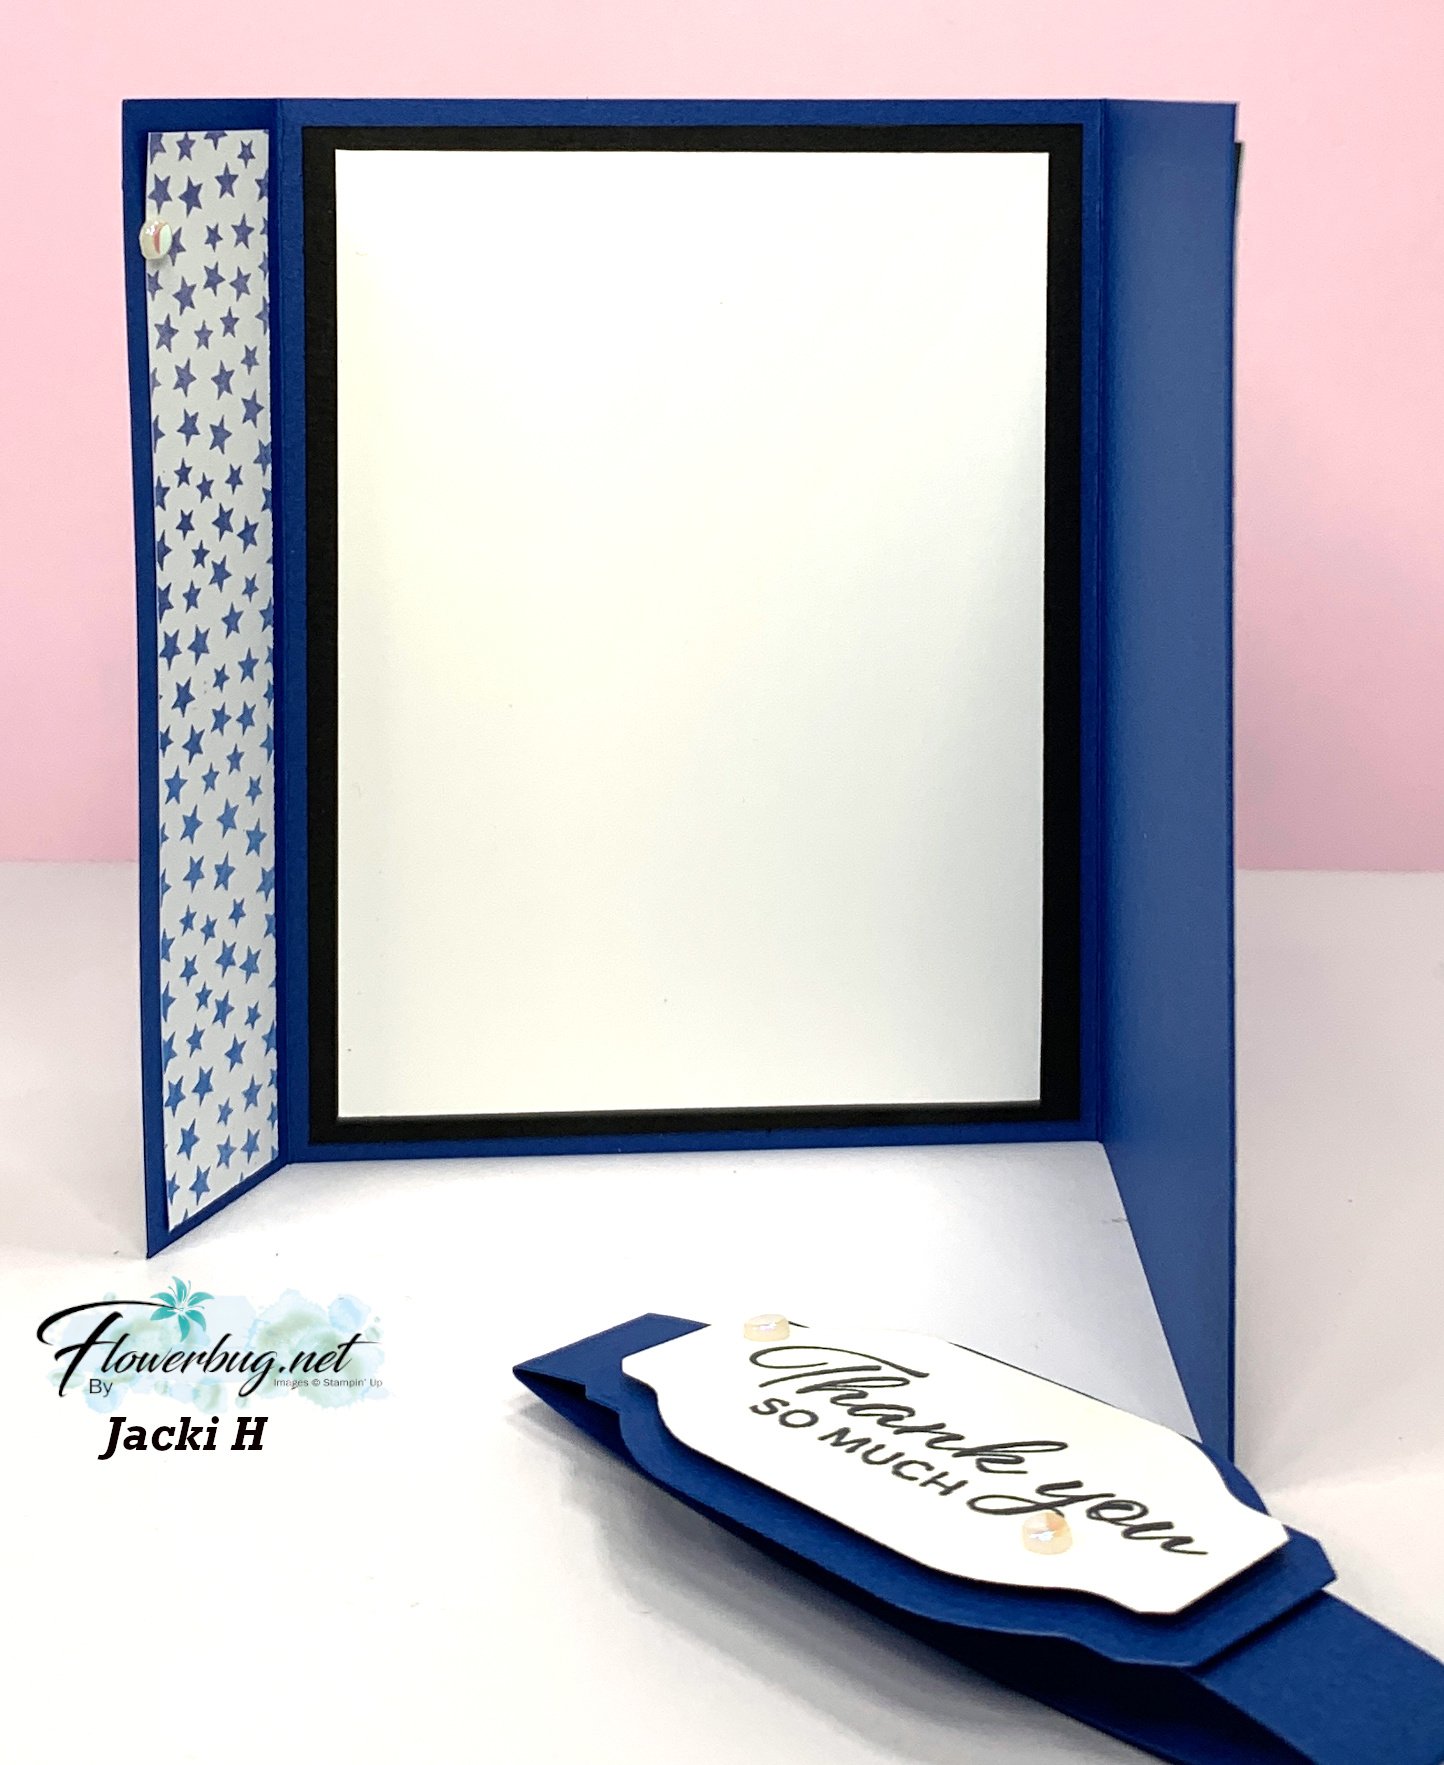
    Jackie made this special fun fold card that has a gift card option: 

    It's held together with a belly band with a greeting attached. She used the Bright & Beautiful designer paper – it carried over from last year's annual catalog and can be seen online here. 

    Products used:

    • Her greeting is from the Layering Leaves set
    • Greeting dies are from Something Fancy seen here
    • The texture is from the Cane Weave 3D embossing folder seen here

    The front right flap folds back and is secured at the top and bottom leaving space to add a gift card or money if you'd like. 

    Measurements:

    • Blueberry Bushel card base 11" X 5 1/2" scored at 1 1/4", 5 1/2", 9 1/4"
    • Designer paper left front & inside panels 1" X 5 1/4", right front panel is 1 1/2" X 5 1/4"
    • White inside 3 5/8" X 5", textured right panel 3 1/4" X 5"
    • Black inside 4" X 5 1/4"
    • Belly band 7 1/2" X 3/4" 

    ~~~

    Ginny made this cute card with the A Little Latte designer paper

    Her colors include Calypso Coral and Pecan Pie. She cased this card from Karen Ksenzahovie from Creative Stamping Designs. I like the little details of the three DSP strips under the coffee cups. Her greeting is heat embossed in White. 

    ~~~

    Mary also featured the A Little Latte designer paper and the Latte Love bundle.  These products can be seen online here. 

    Her colors include Pecan Pie with Lost Lagoon and White.  She trimmed off an inch from the left front to reveal the cute trio of die-cut coffee cups inside.  Cute detail! 

    Thanks for hanging in with us to see all of the July Team swaps!  

    ~~~

    August Specials:

    *current host code link: BDGBJHAE


    Redeem your $5 coupon now! 

    ~~~

    All online orders will receive a free PDF tutorial featuring the

    Season of Green & Gold suite

    Leave a Reply

    Your email address will not be published. Required fields are marked *

  • Fun Summery card swaps by my Team


    This week I've been sharing our July card swaps made by my Flowerbug's Team.  Our theme was thank you cards without flowers. 

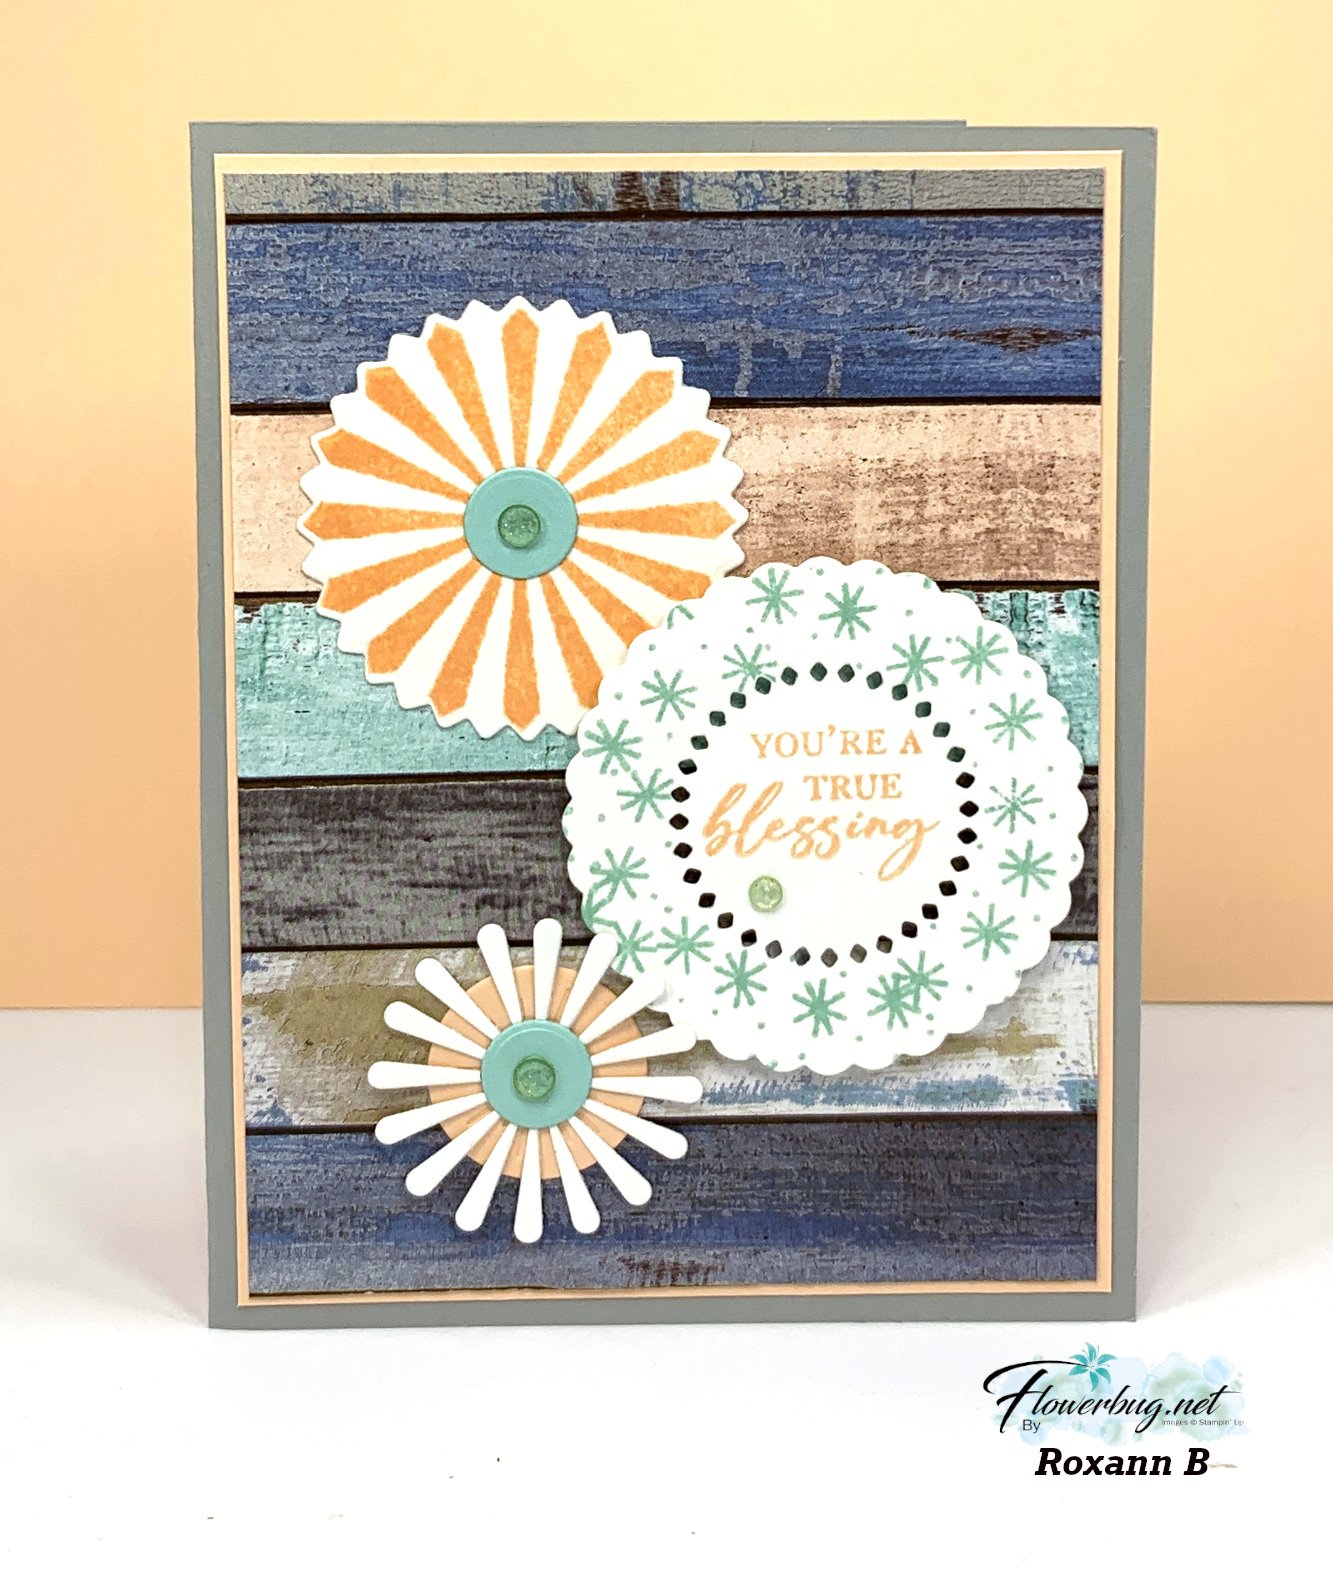
    Roxann made this adorable card with the Round we Go bundle:

    See the Round we Go bundle here. Her background paper is from the Country Woods DSP seen here. Her colors are Smoky Slate, Petal Pink and Pool Party with White. What a fun and eye-catching card!

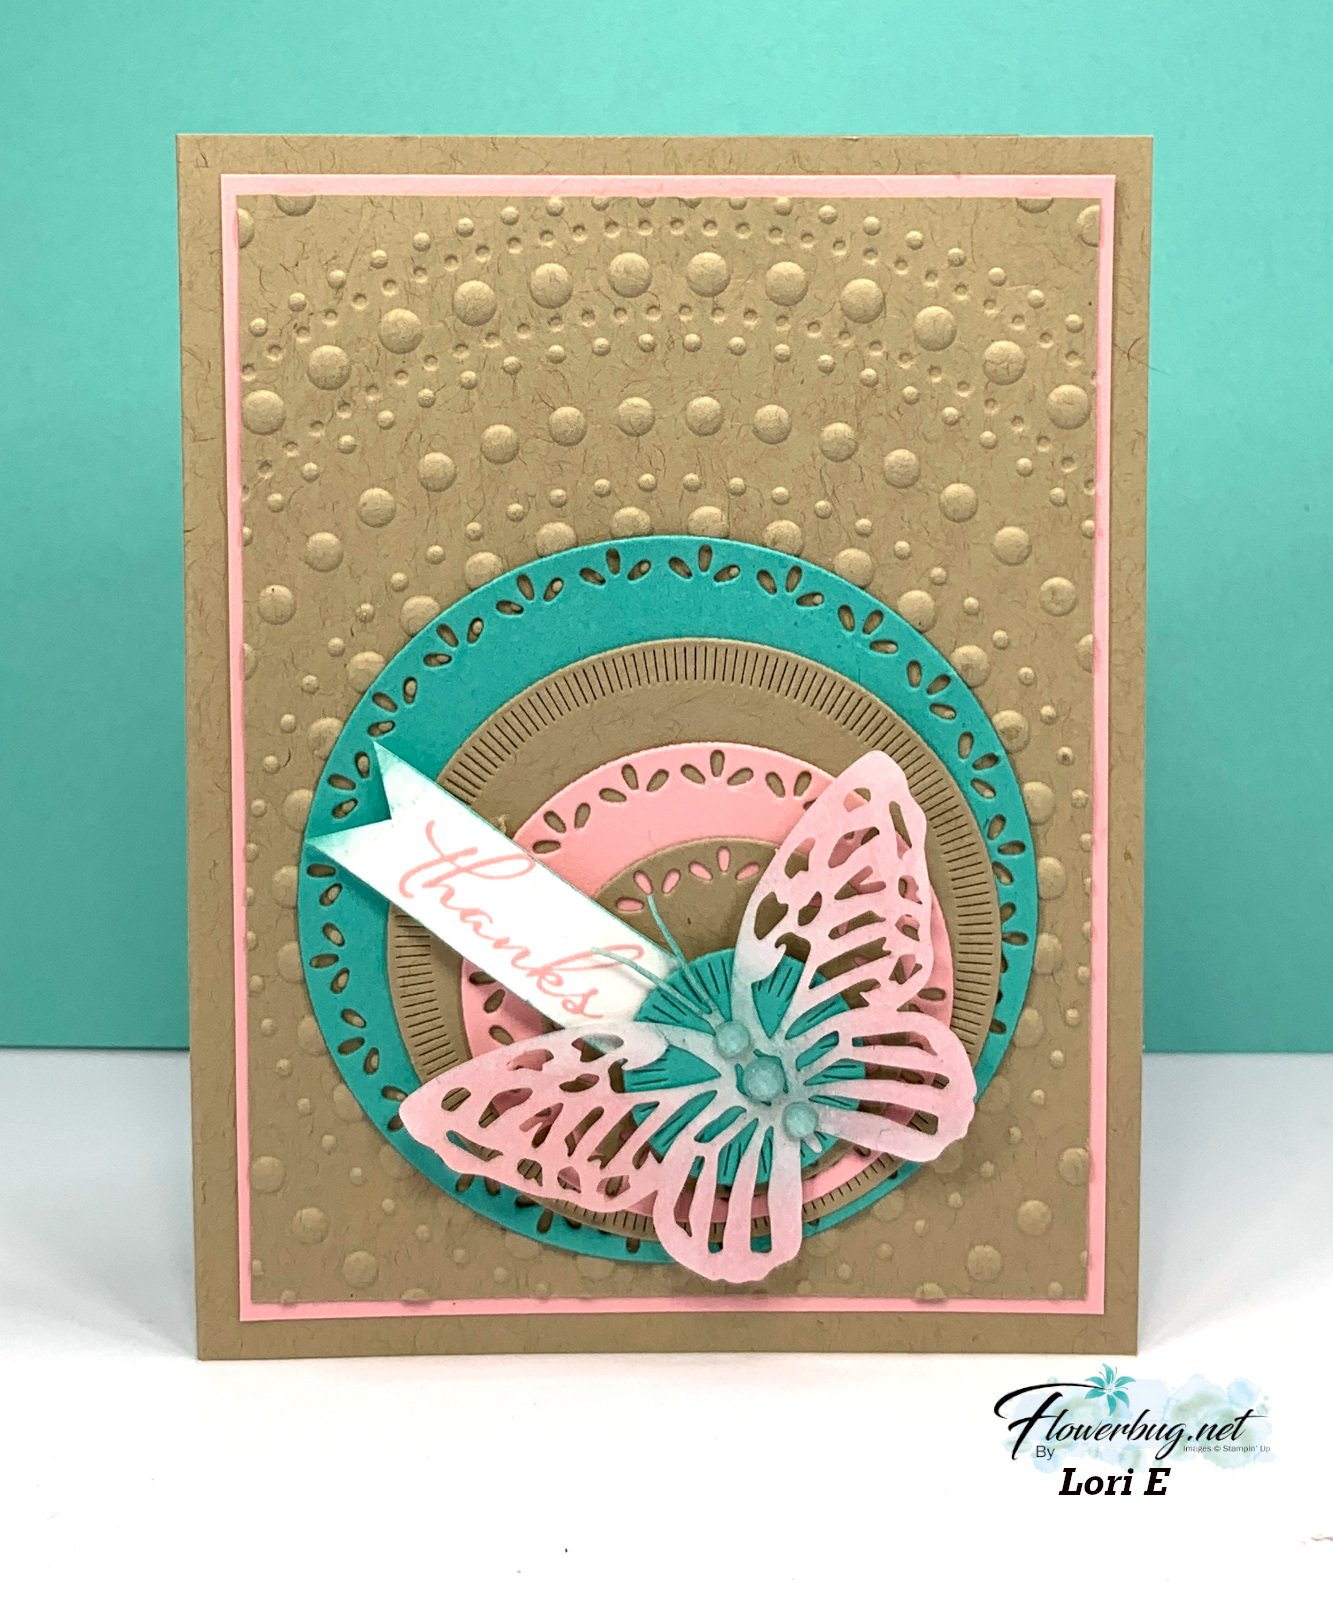
    Lori made this one with the Spotlight on Nature dies and the Butterfly Paper Accents seen here.  

    Unfortunately the Spotlight on Nature dies are unavailable again – this must be the third time since they were released! Her colors include Crumb Cake, Pretty in Pink and Summer Splash with White. The amazing Dotted Circles 3D embossing folder is featured on her background.  Love how it fits so perfectly with the circles! It's in low inventory but you can see that here. 

    ~~~

    Candy made this beautiful card with the Sketched Butterfly bundle seen here. 

    I love her soft colors of Lost Lagoon with Smoky Slate, Black and Very Vanilla.  She used Lost Lagoon & Smoky Slate Blends markers to color that pretty butterfly. She also used the dark Lost Lagoon blends marker to color her Black & Very Vanilla large check ribbon. 

    Tomorrow I'll post the last of the July Team swaps. 

    ~~~

    August Specials:

    *current host code link: BDGBJHAE


    Redeem your $5 coupon now! 

    ~~~

    All online orders will receive a free PDF tutorial featuring the

    Season of Green & Gold suite


    Leave a Reply

    Your email address will not be published. Required fields are marked *


Notice: LeeAnn Greff, Independent Stampin’ Up! Demonstrator, Manager. The content of this website is my sole responsibility as an independent Stampin’ Up! demonstrator and the use of, and content of, the classes, services, or products offered on this website is not endorsed by Stampin’ Up! Copyright 2025