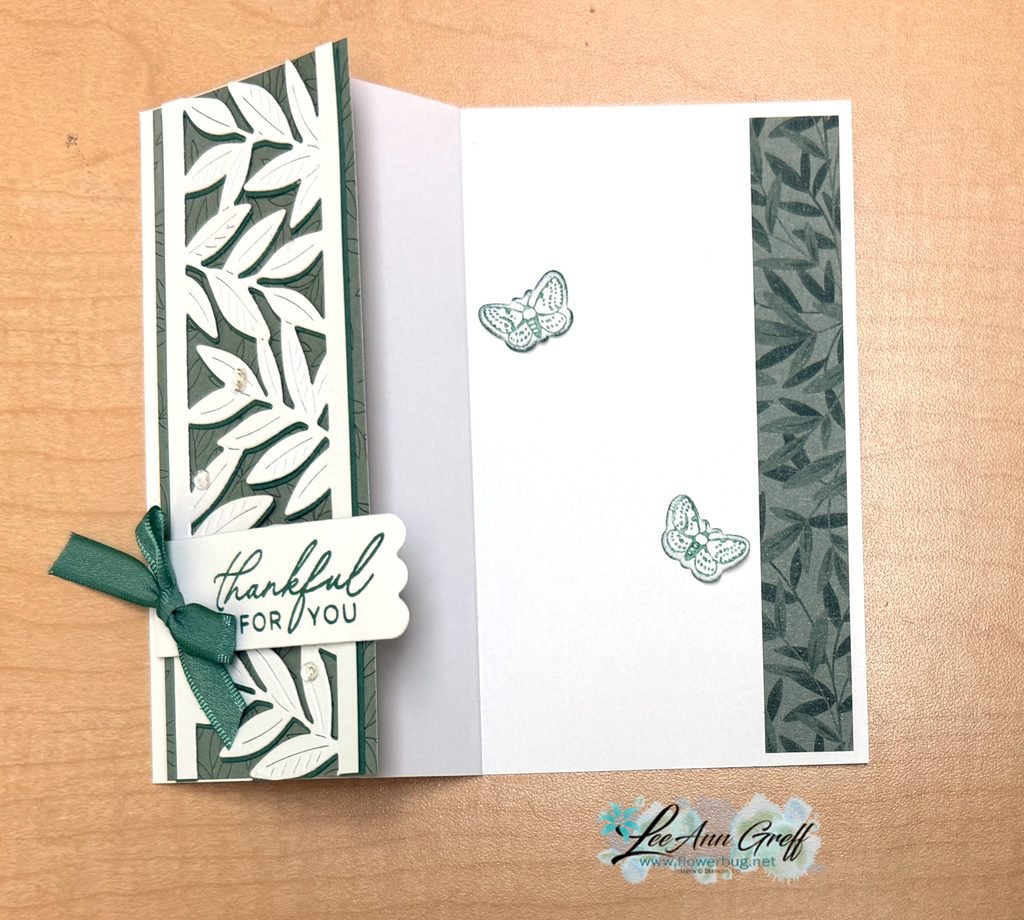
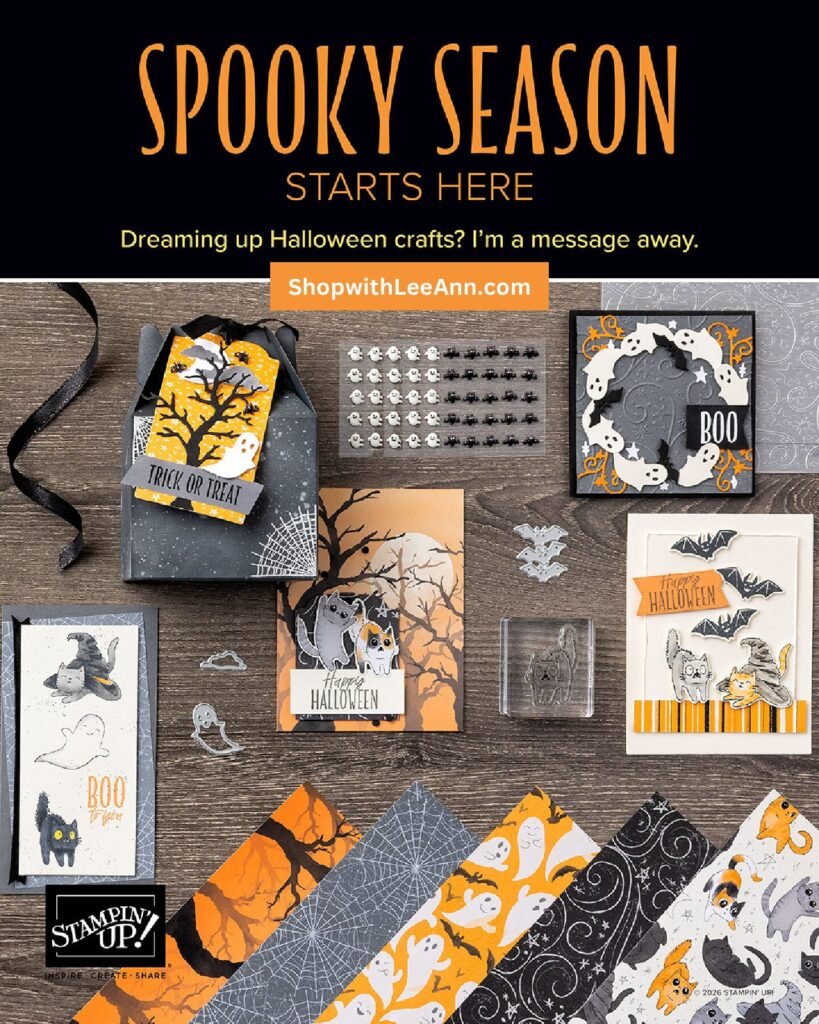
She cut the treat box dies into separate pieces (Garden Green & Vanilla) for her card front. It also opens up to reveal a gift card holder inside. Lots of texture with the Winter Snow embossing folder too!
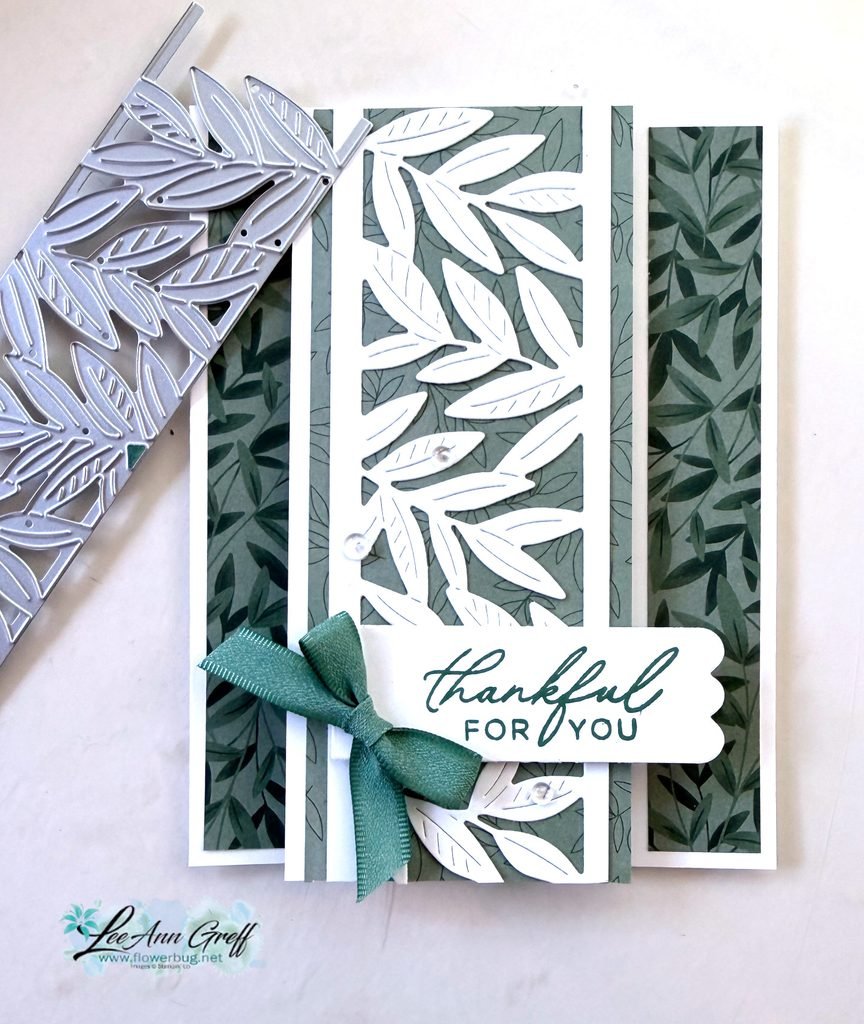
You can see a glimpse of the die in the photo above. It cuts the leaves out but not the edge, so you can make the leaf element as wide as you’d like. See this die here.
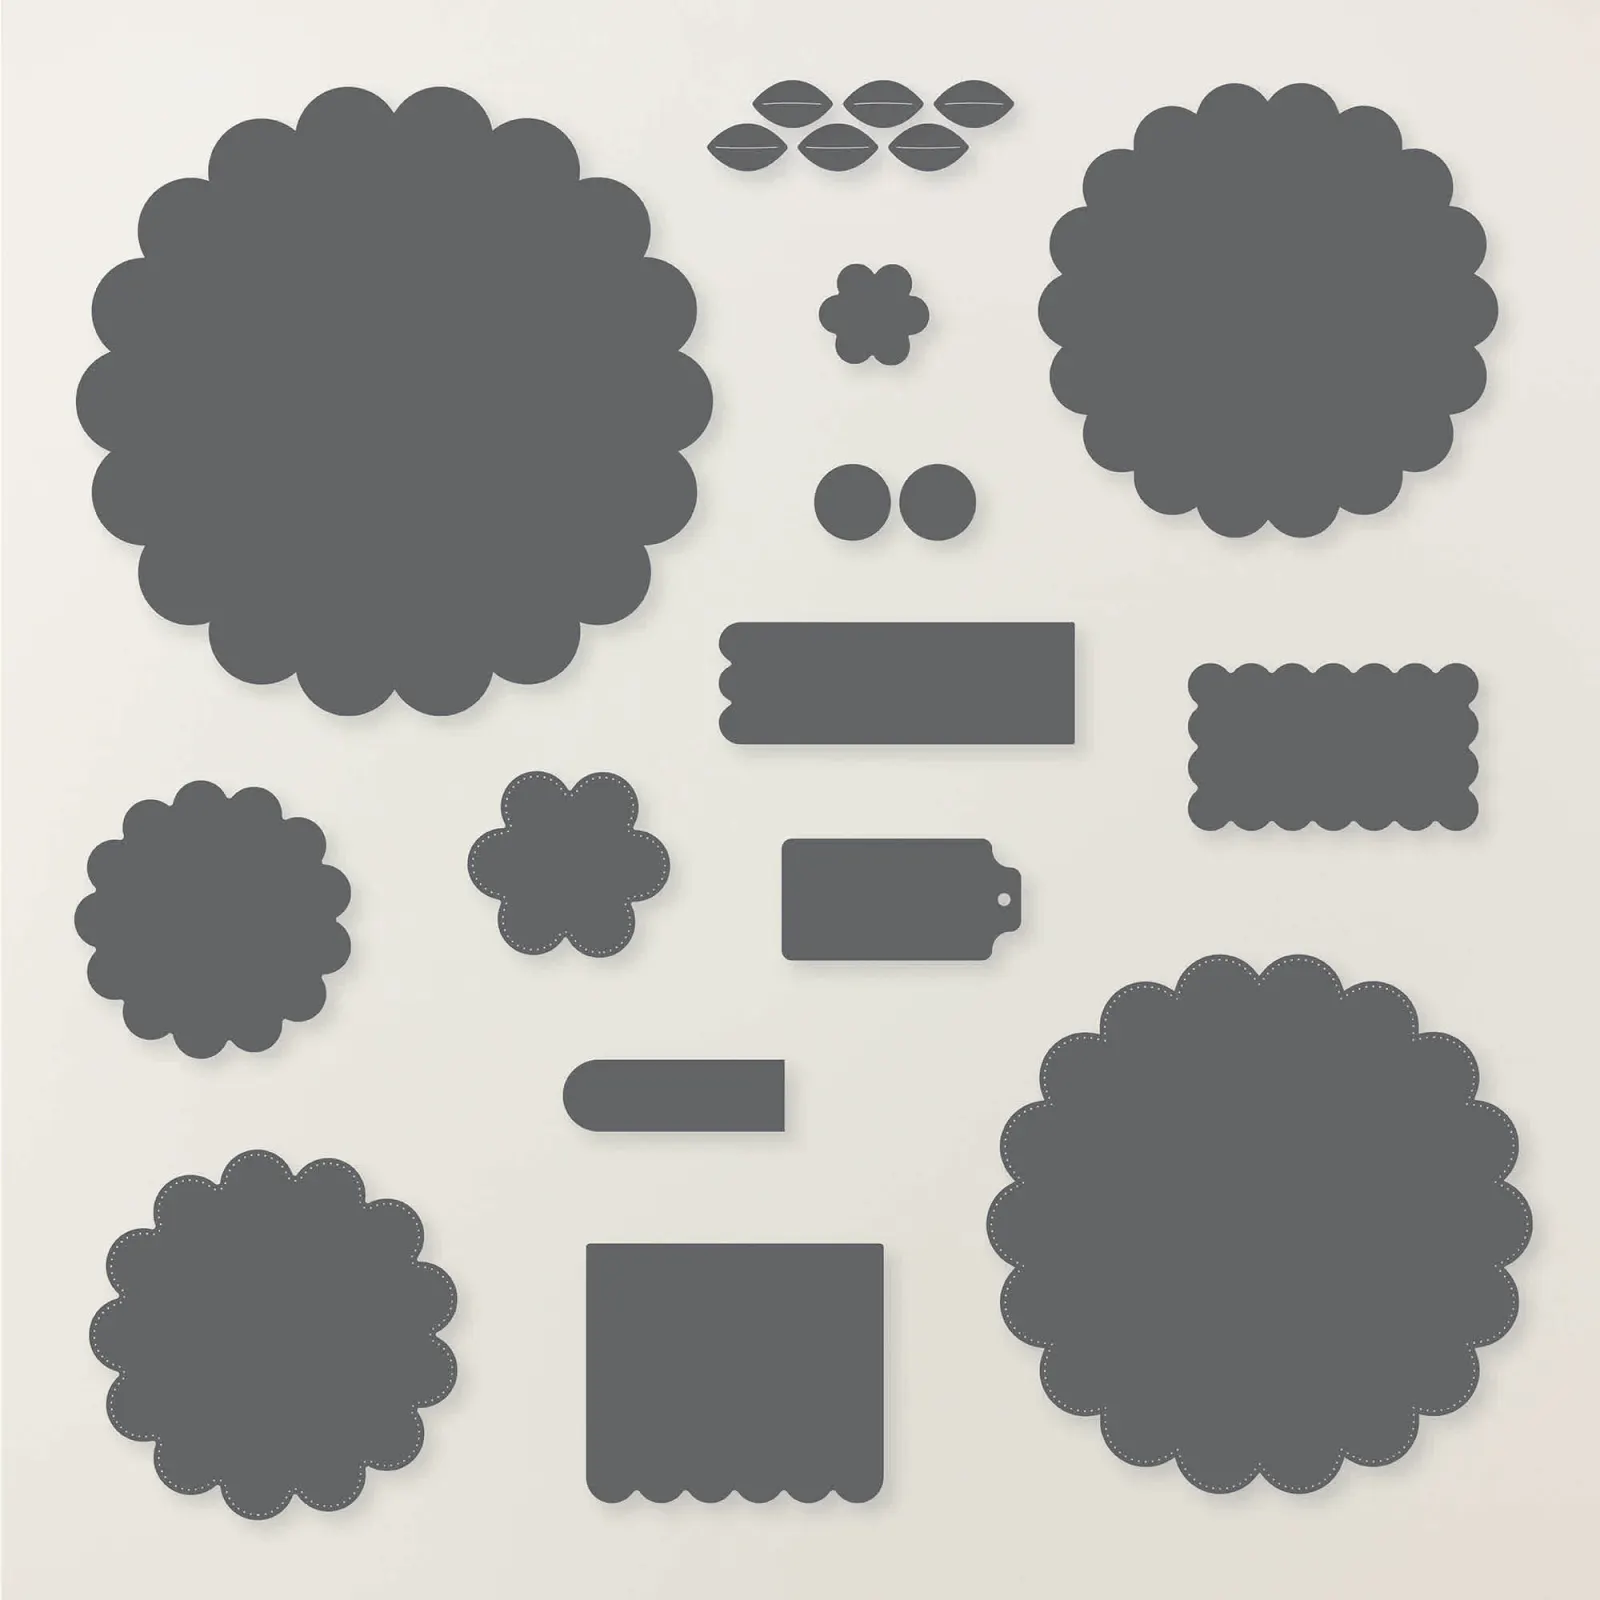
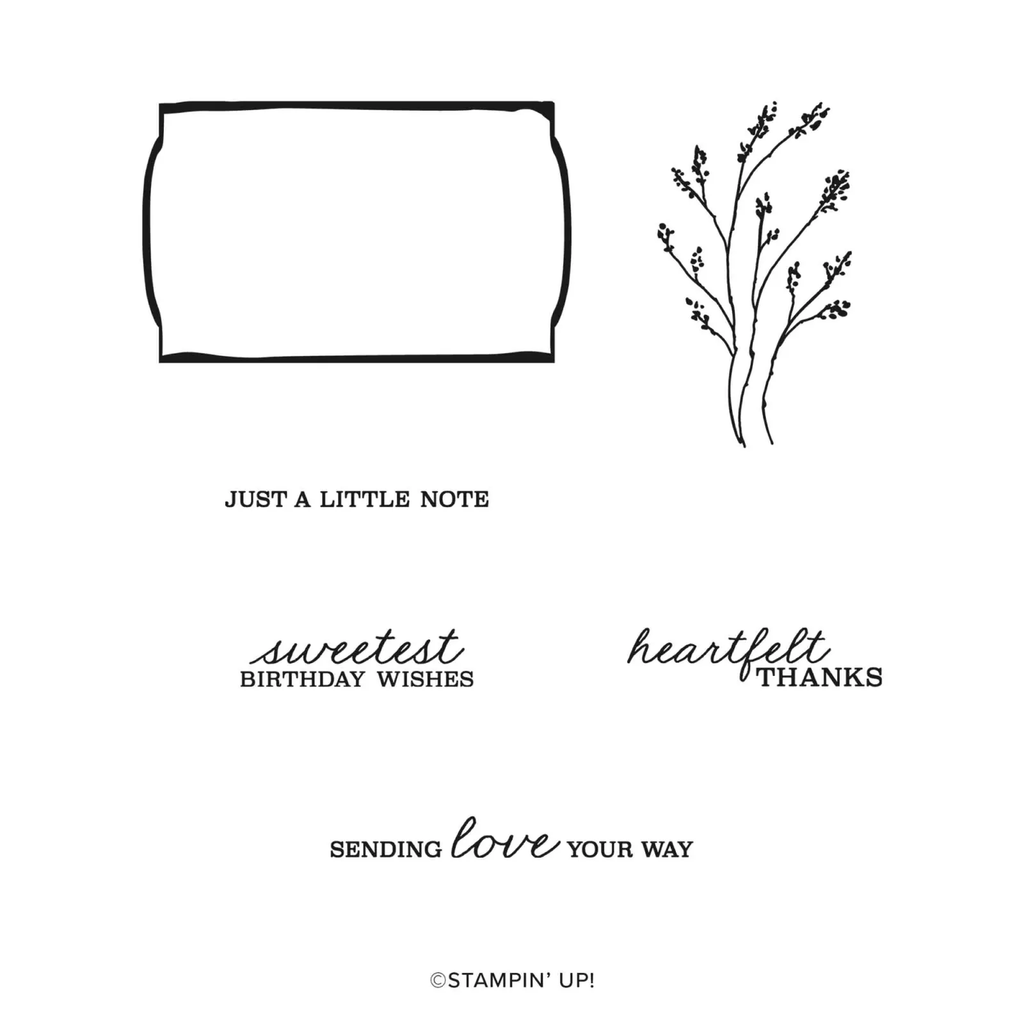
My colors include White with Peaceful Pine. The designer paper is the Moonlit Flora DSP seen here. The greeting tag is from the Scalloped Blooms dies. I’ve been using the greeting tags in this set of dies a lot.
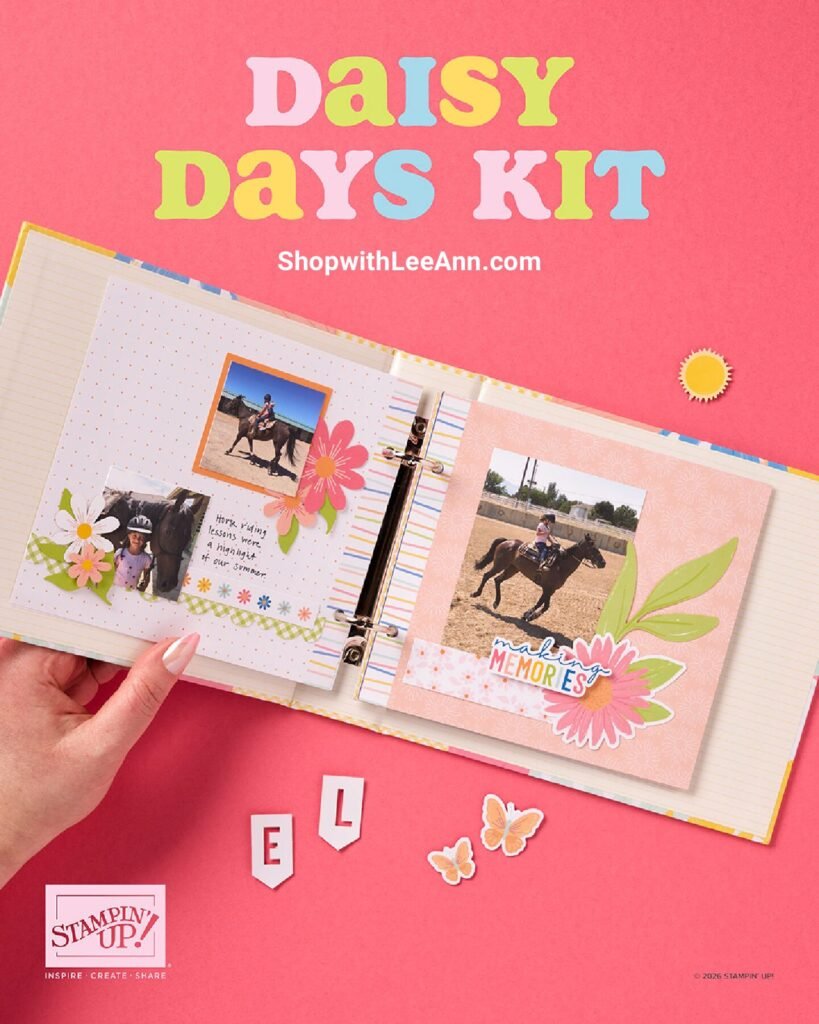
DETAILS – Makes 1 album with 28 pages – Album size: 7-3/4″ x 7″ x 1-7/8″ – Page size: 6.5″ x 6″ – Colors: Blueberry Bushel, Crisp Cantaloupe, Crushed Curry, Granny Apple Green, Pool Party, Strawberry Slush, Timid Tiger – Sentiments printed in English, French, and German
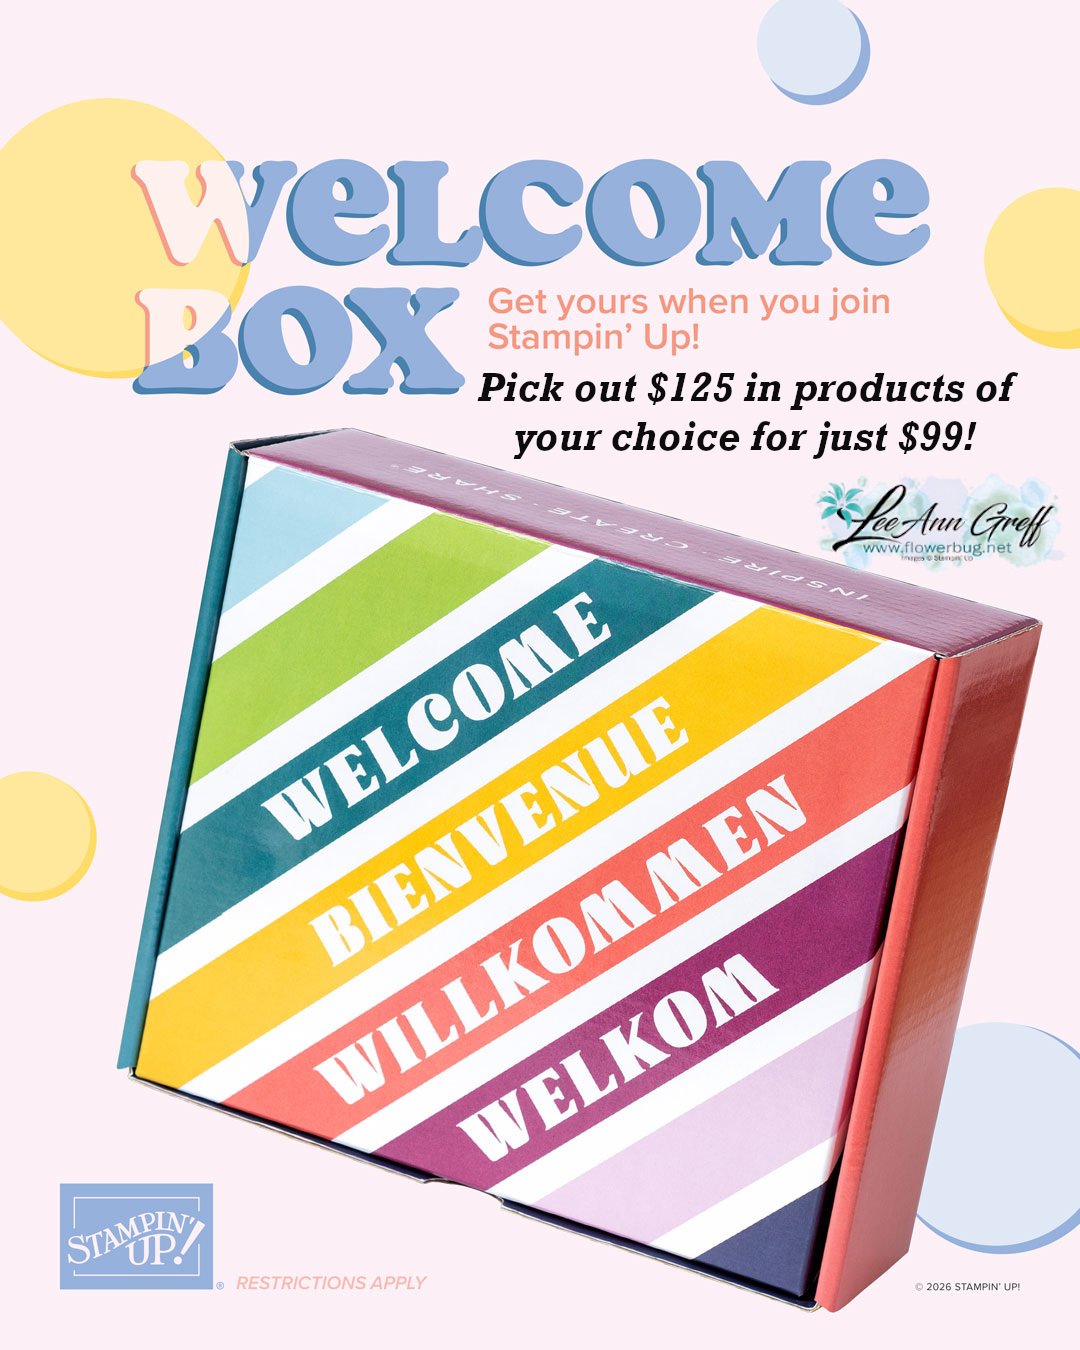
This is super exciting news! All first-time demonstrators (beginning July 1, 2026) will receive a surprise Welcome Box—a gesture of appreciation and a warm welcome into the global Stampin’ Up! creative community.
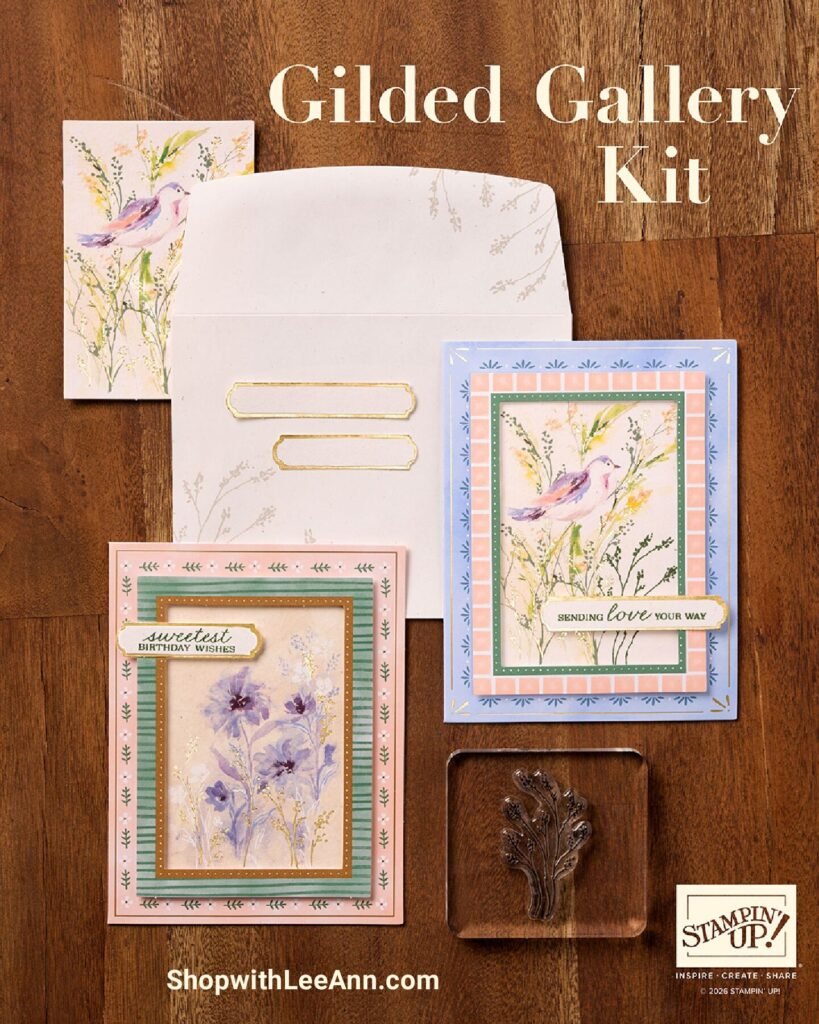
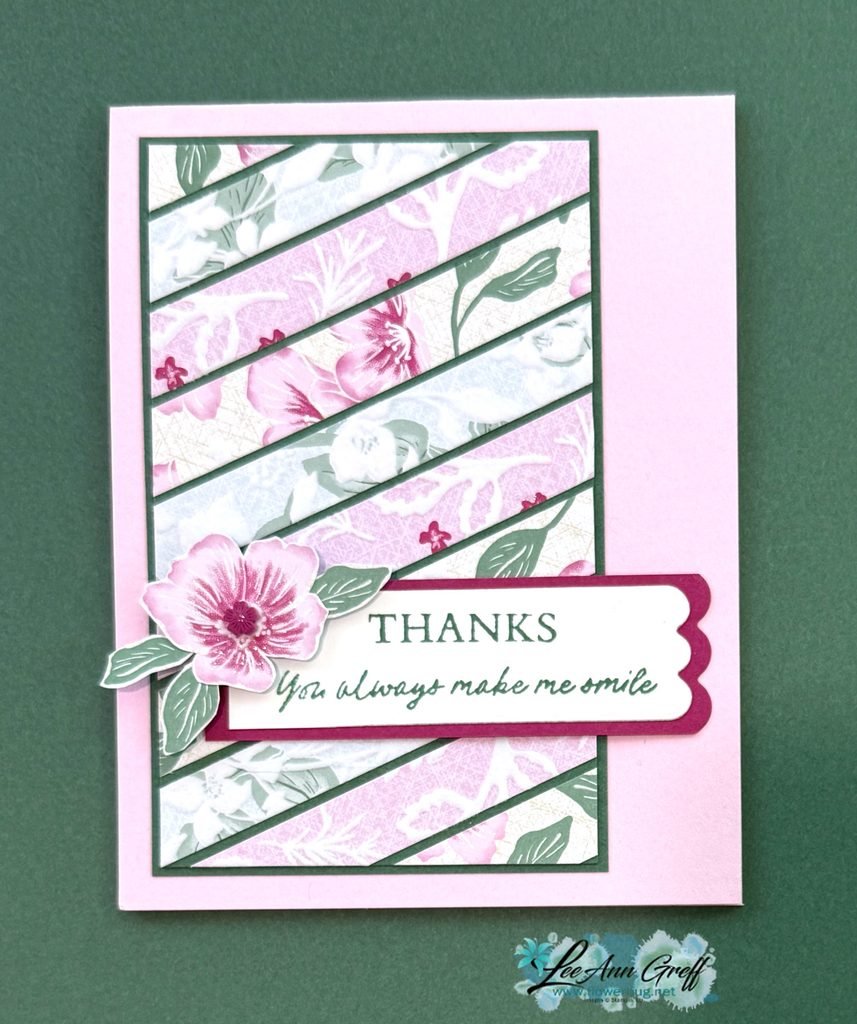
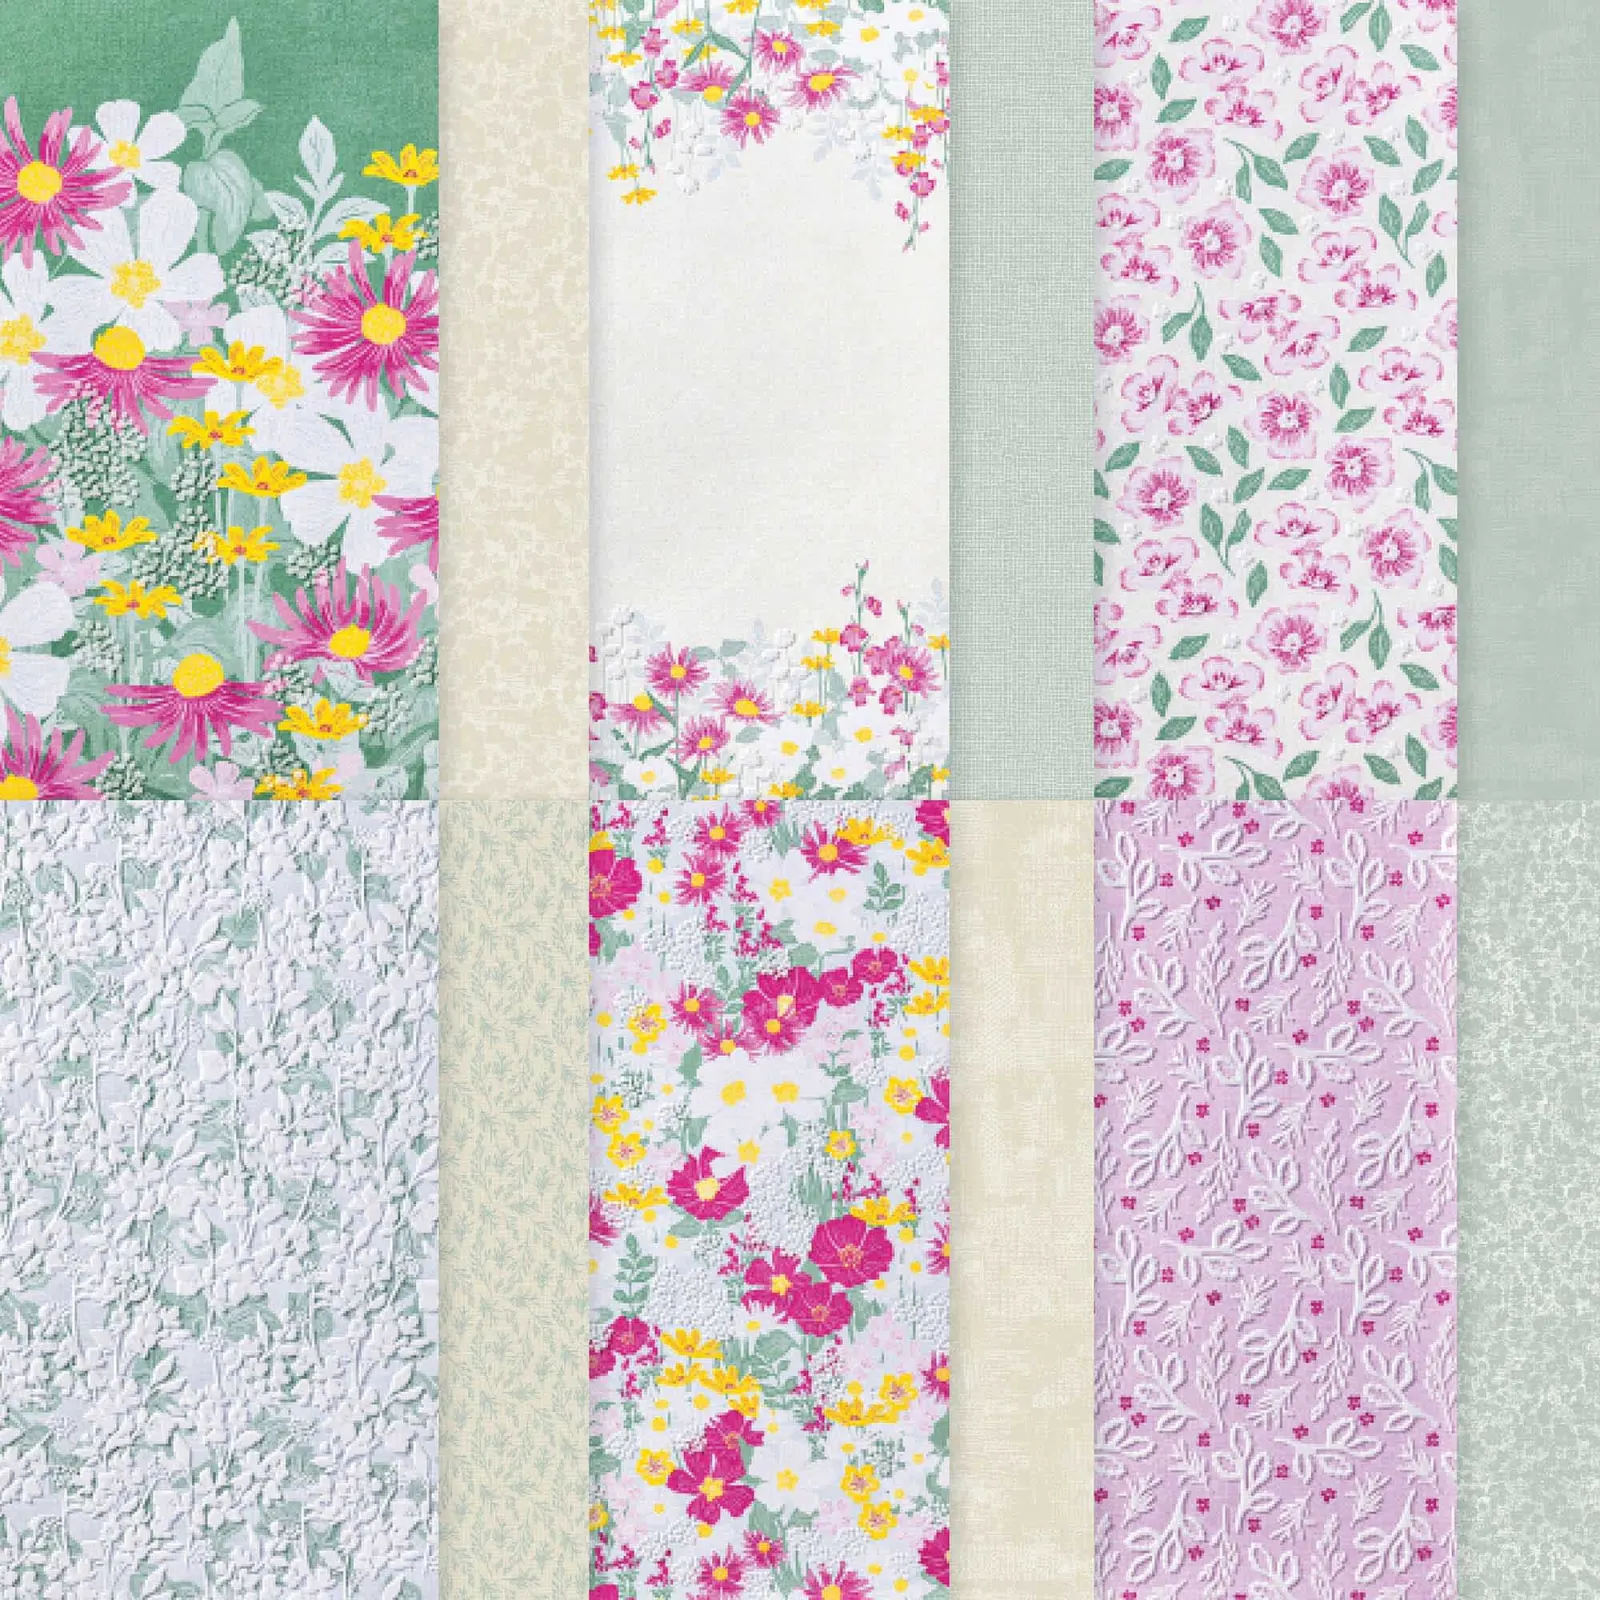
Here are the products I used: Velvet Meadow DSP, Bubble Bath, Berry Burst & Peaceful Pine CS. The greeting is from the Flowering Meadow stamp set and the scalloped tags are from the Scalloped Blooms dies seen here.
When using up your strips you can adhere them diagonally across your card stock, leaving a small space between each. Once this CS is filled in, trim off the excess on the edges.
The Velvet Meadow specialty paper has a fuzzy, flocked feel to the flowers and some leaves. It’s luxurious! Check it out here. I fussy cut the flower and leaves to add to the greeting.
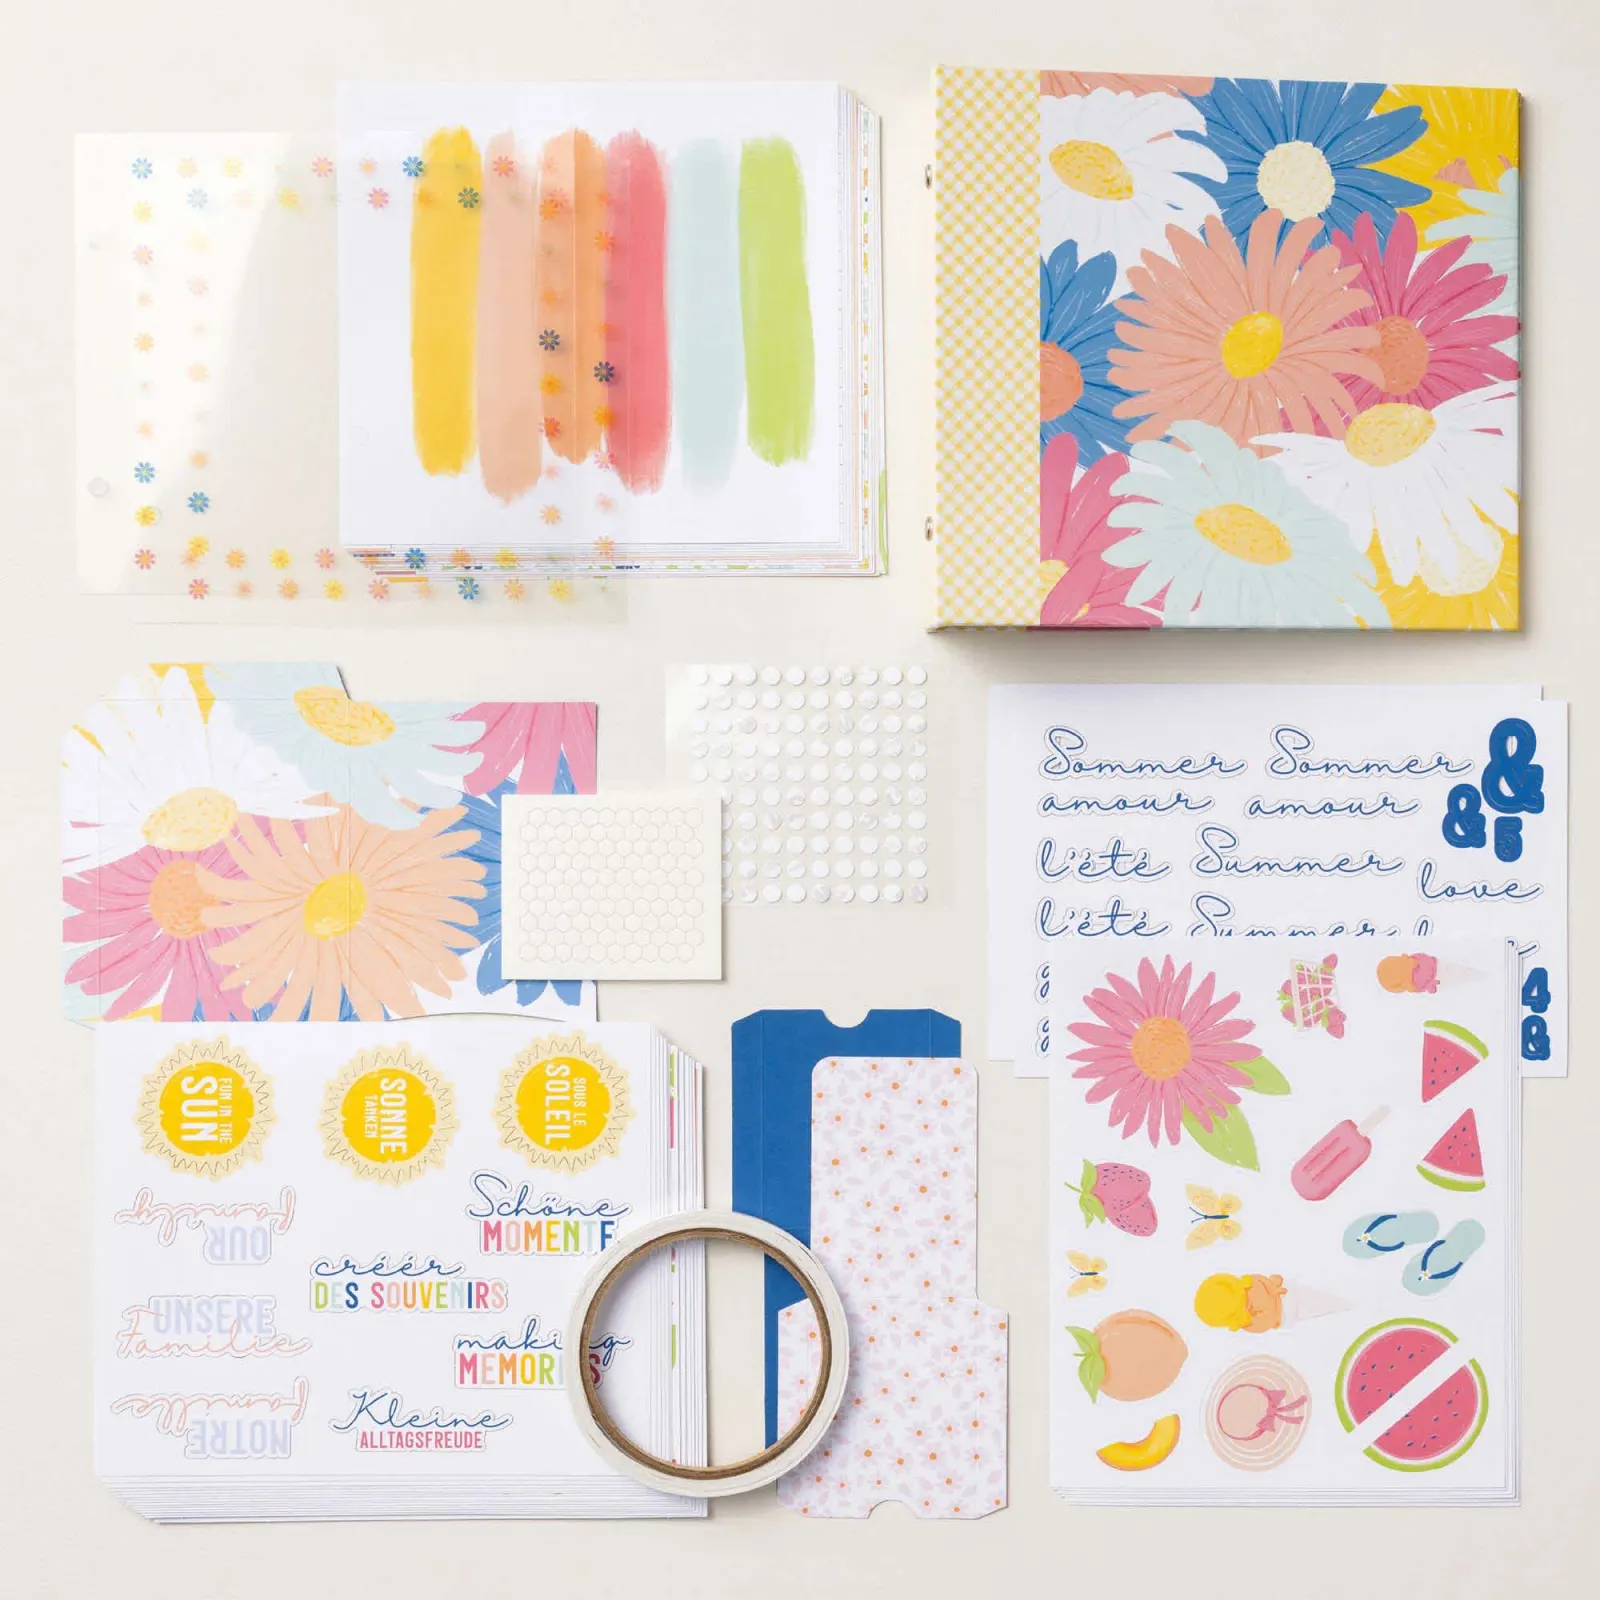
DETAILS – Makes 1 album with 28 pages – Album size: 7-3/4″ x 7″ x 1-7/8″ – Page size: 6.5″ x 6″ – Colors: Blueberry Bushel, Crisp Cantaloupe, Crushed Curry, Granny Apple Green, Pool Party, Strawberry Slush, Timid Tiger – Sentiments printed in English, French, and German
This is super exciting news! All first-time demonstrators (beginning July 1, 2026) will receive a surprise Welcome Box—a gesture of appreciation and a warm welcome into the global Stampin’ Up! creative community.
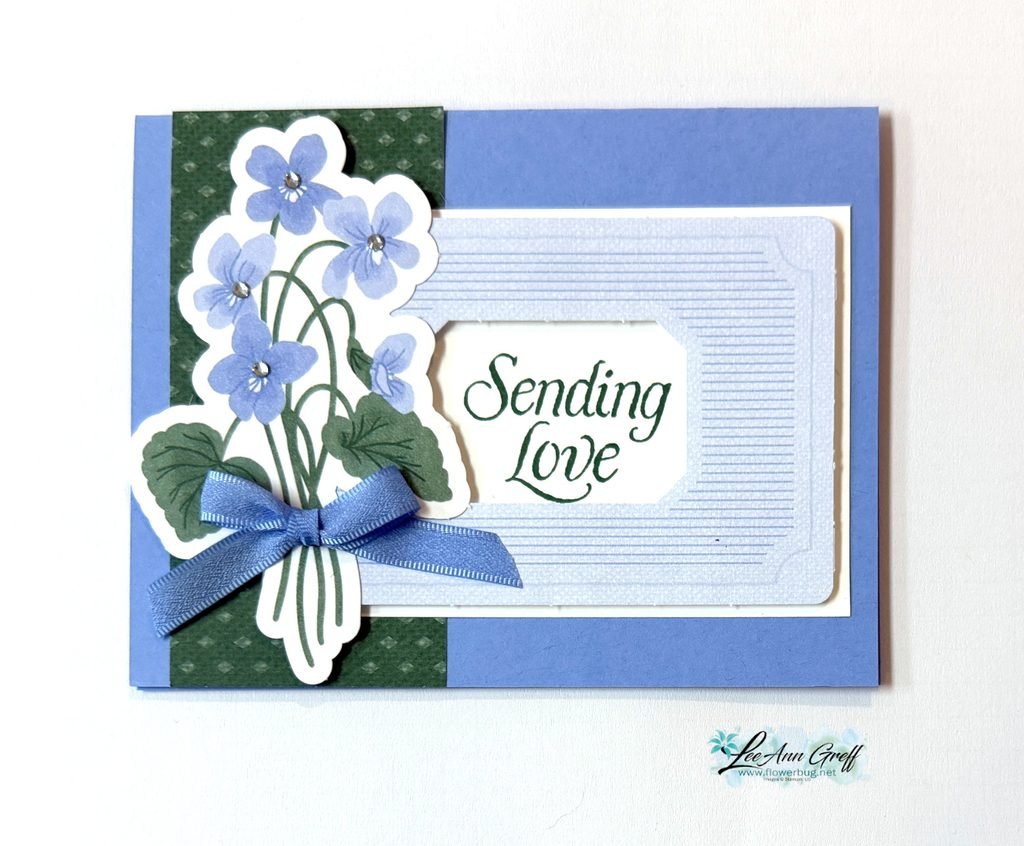
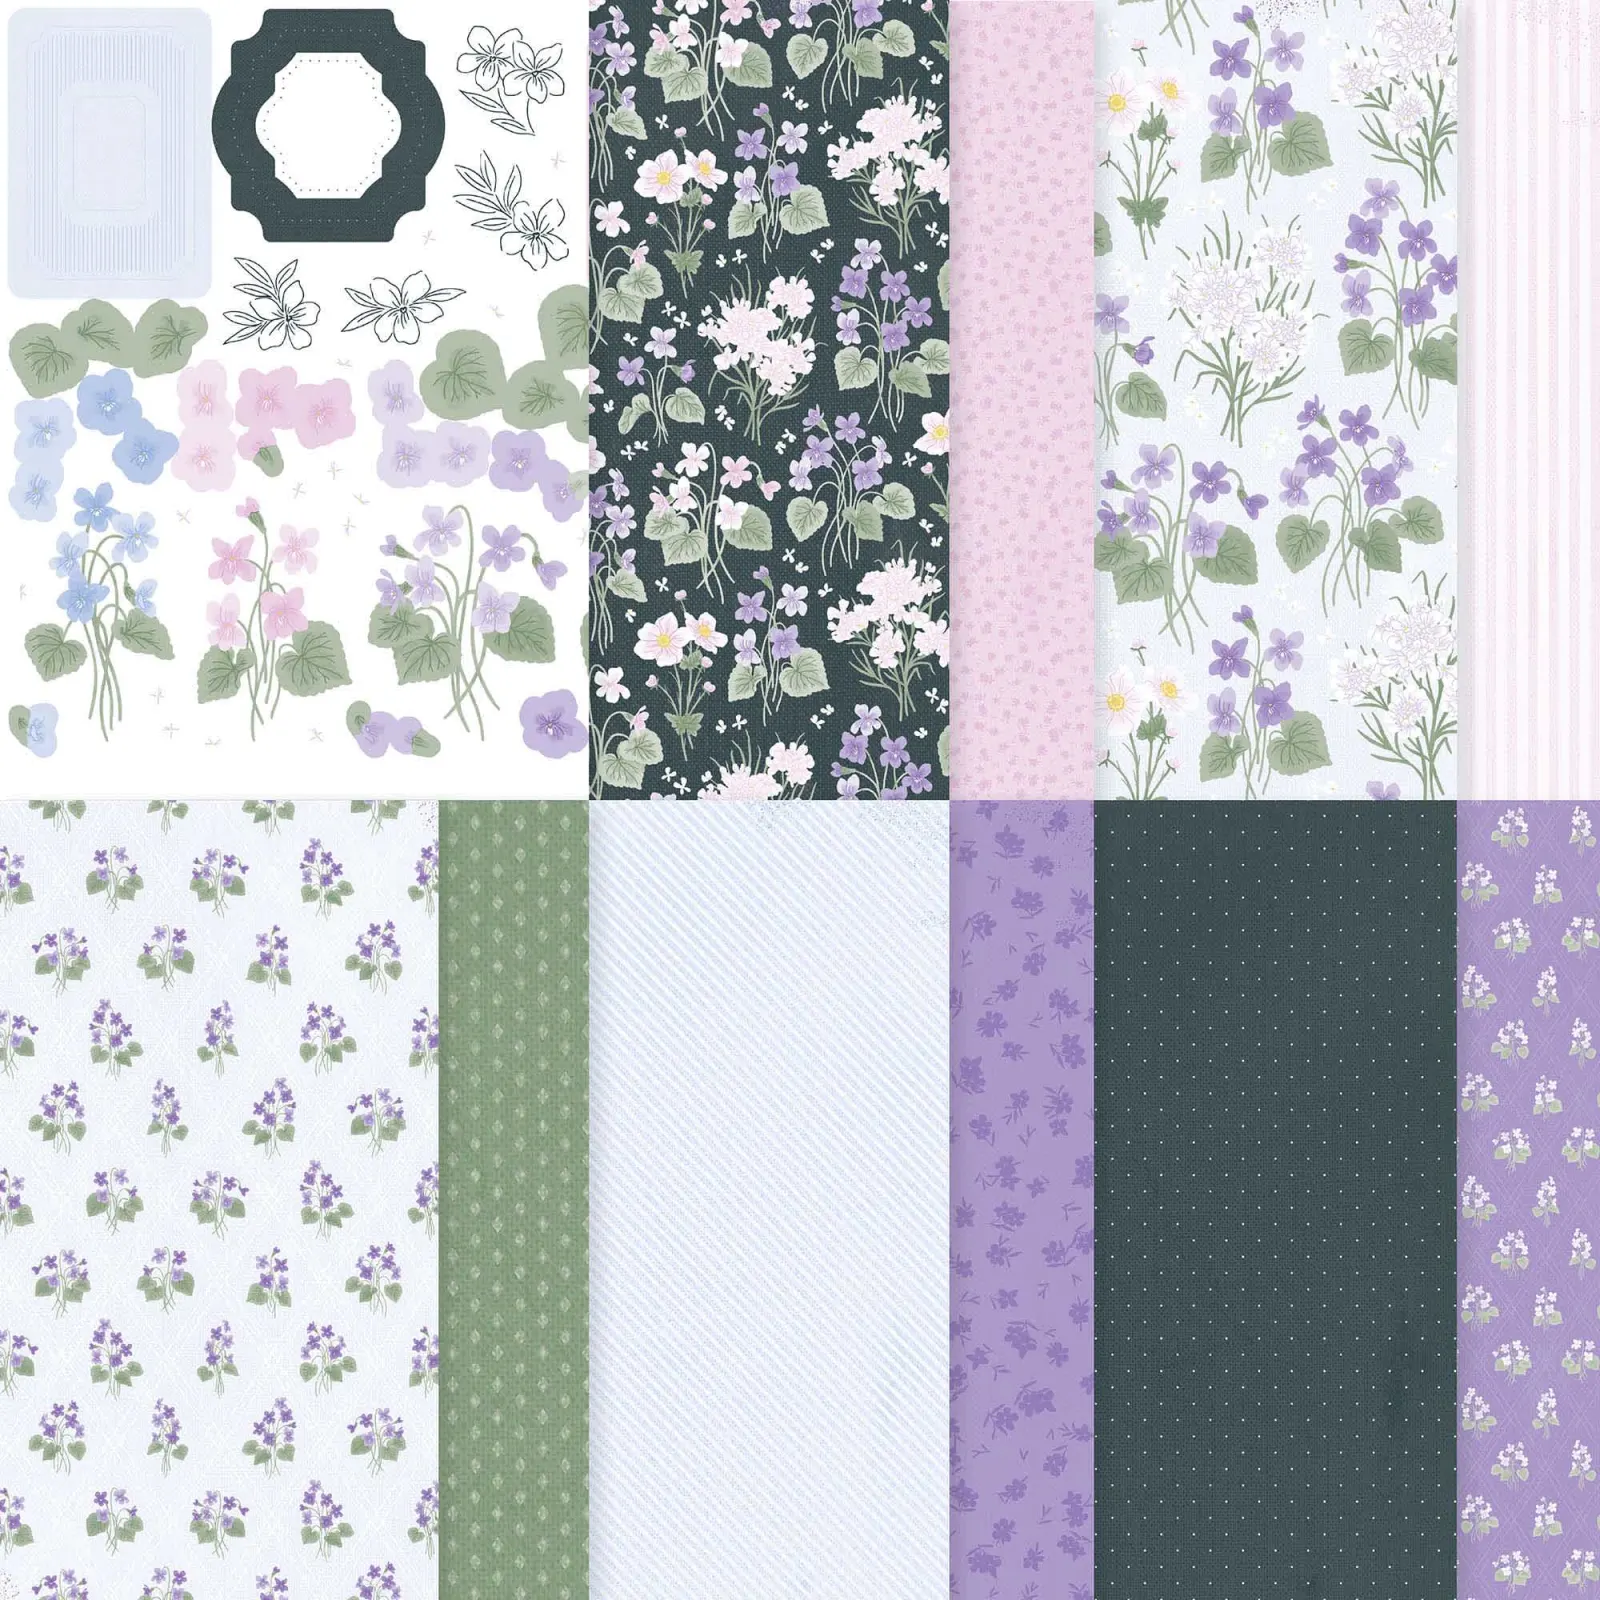
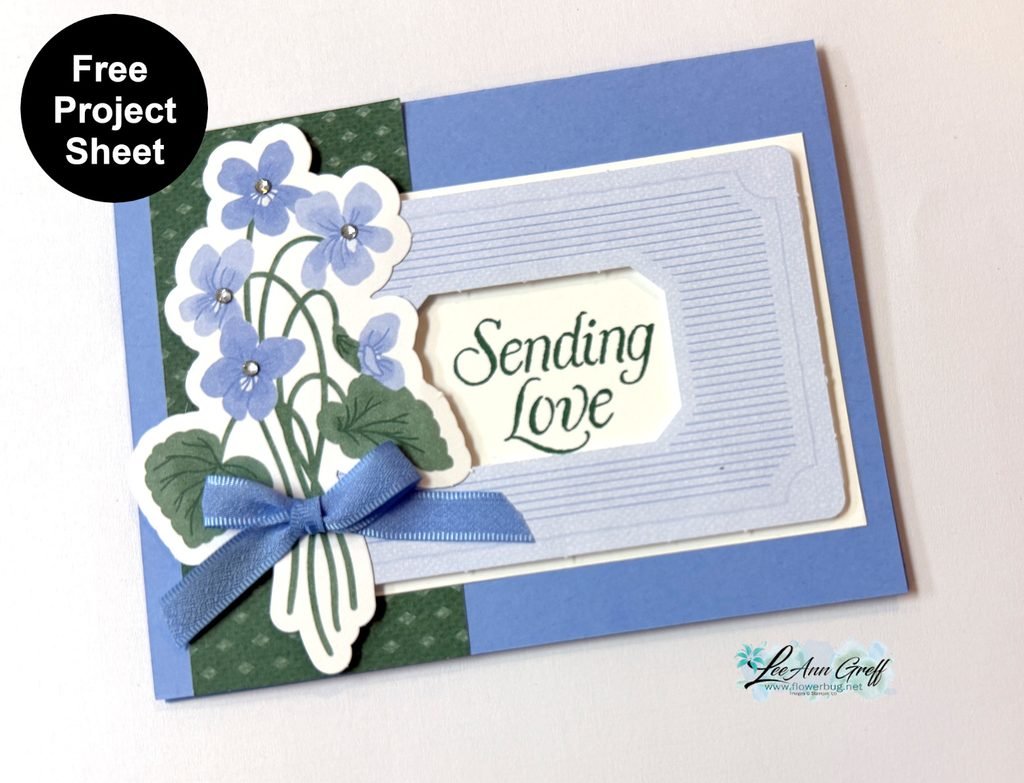
It showcases the pretty Violet Dreams DSP seen here. There are 3 pieces from the DSP on this card: the violets die-cut, the striped frame and the green DSP strip. This DSP has 2 sheets of die-cut ephemera included in the package. I love that; it opens up so many options when creating.
Look closely at the coordinating colors on this card. Stampin’ Up! makes it so easy to create with perfectly matching colors. It’s my very favorite thing about SU. I used the violets as the starting point and simply repeated each color once or twice on my project for a wonderfully cohesive look.
Tip: If you struggle with color coordination pick two colors and repeat them at least once if not twice on your project. This works!
Check out the video below where I shared on more pretty card featuring DSP strips.
Notice: LeeAnn Greff, Independent Stampin’ Up! Demonstrator, Manager. The content of this website is my sole responsibility as an independent Stampin’ Up! demonstrator and the use of, and content of, the classes, services, or products offered on this website is not endorsed by Stampin’ Up! Copyright 2025


Leave a Reply