/


Latest Post

October comes with TWO Stampin’ Up! specials!


Stampin' Up! has two new October specials 

First is our Kit Collection sale:

Save up to 30% on kits!  I honestly love our kits. They're a nice change of pace for us seasoned stampers – no thinking!  See them all here. 

Other reasons to consider getting a kit:

  1. No thinking, planning or other product needed. They're all inclusive for quick creating!
  2. They're perfect for gift ideas. Some are super easy with no stamping and others are more involved.  You choose!
  3. Have one or two on hand for friends or kids to make. No prep for you!
  4. If you're wanting to get a friend or two to start stamping with you, kits are the way to go. 

I'll highlight a few of my favorites tomorrow. 

~~~

2nd October special is a deal on the Stampin' Up! Starter Kit:

Whether you have a big wish list or need to stock up on card stock, inks or a few other essentials I hope you consider purchasing the Starter Kit.  It's the best deal we offer!  It is basically an order.  You choose if you want to purchase more later – or not.  You're in full control!

The deal is this: For $99 you can choose up to $155 in products of your choice.  Shipping is free too! You only pay tax.  

After you receive your starter kit you'll get at least 20% off further purchases. There are more perks as well: 

The top 10 reasons to purchase the Starter Kit right now are….

  1. The 20% discount on all future purchases is most people's favorite reason. 
  2. The 2nd favorite perk is pre-ordering NEW product a month before everyone else!
  3. Direct access to demonstrator only websites & FB groups with TONS of project sharing you won't see anywhere else. 
  4. Get $56 in free product of your choice with the $99 kit purchase!  
  5. As a member of my Team you have access to some exclusive benefits including:
  6. An exclusive Team Facebook group where we share inspiration and ideas.
  7. Access to each and every project tutorial I create (at least 4 per month – 40 ideas minimum) including all previous tutorials! 
  8. The option of monthly card swaps with my Flowerbug's Team.
  9. Monthly creative & business challenges with Prize Patrol. 
  10. Monthly Team meetings & Facebook Lives just for my Team!
  11. Optional business training if you want to sell or hold classes. *Oops; that's 11! 

October Specials:

*current host code link:  EDFYB333 or 3U6NZJFZ

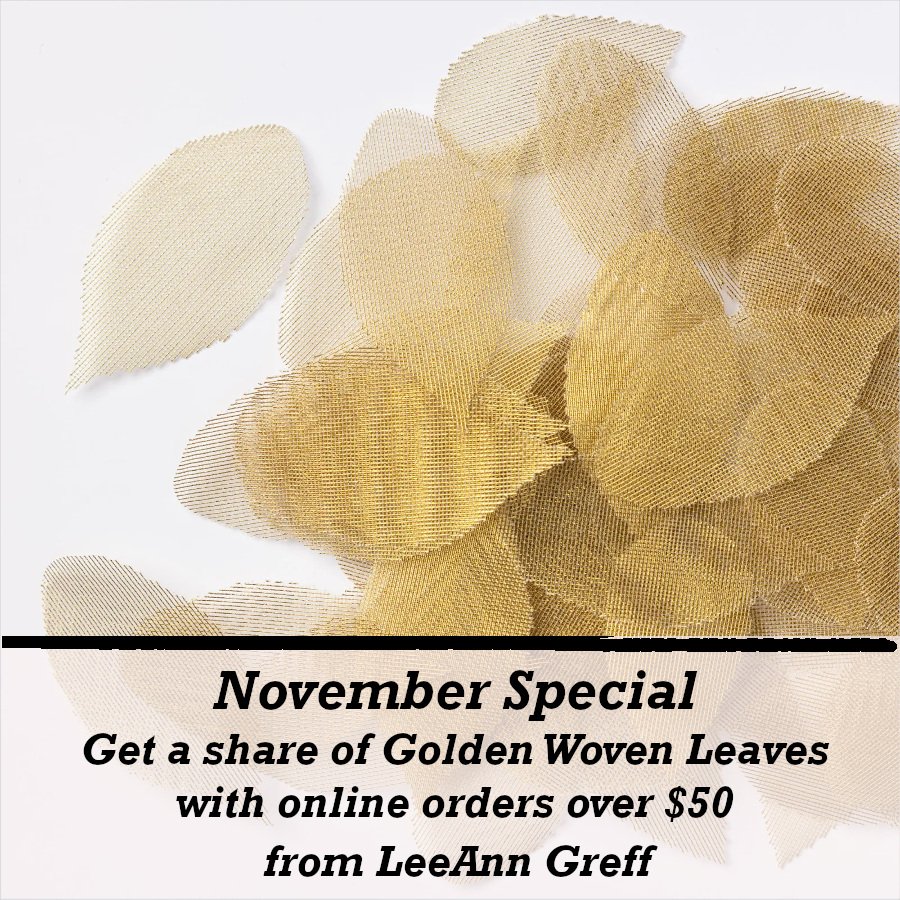
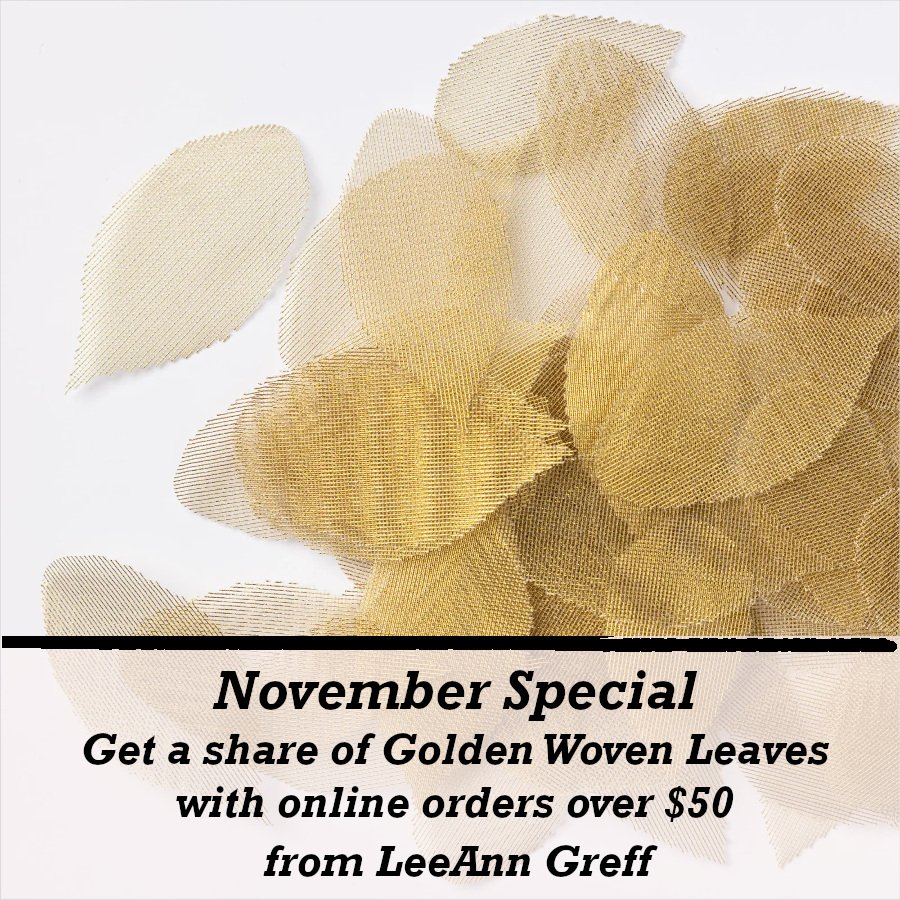
Get a share of Woven Golden Leaves  

~~~

Get an extra $30 in your Starter kit in October!  Click here to read more

~~~

The Kits Collection is on sale!  Check it out here.

~~~

       All online orders in October will receive a free PDF tutorial featuring the Season of Elegance suite

All Posts

  • Peaceful Cabin; beautiful!


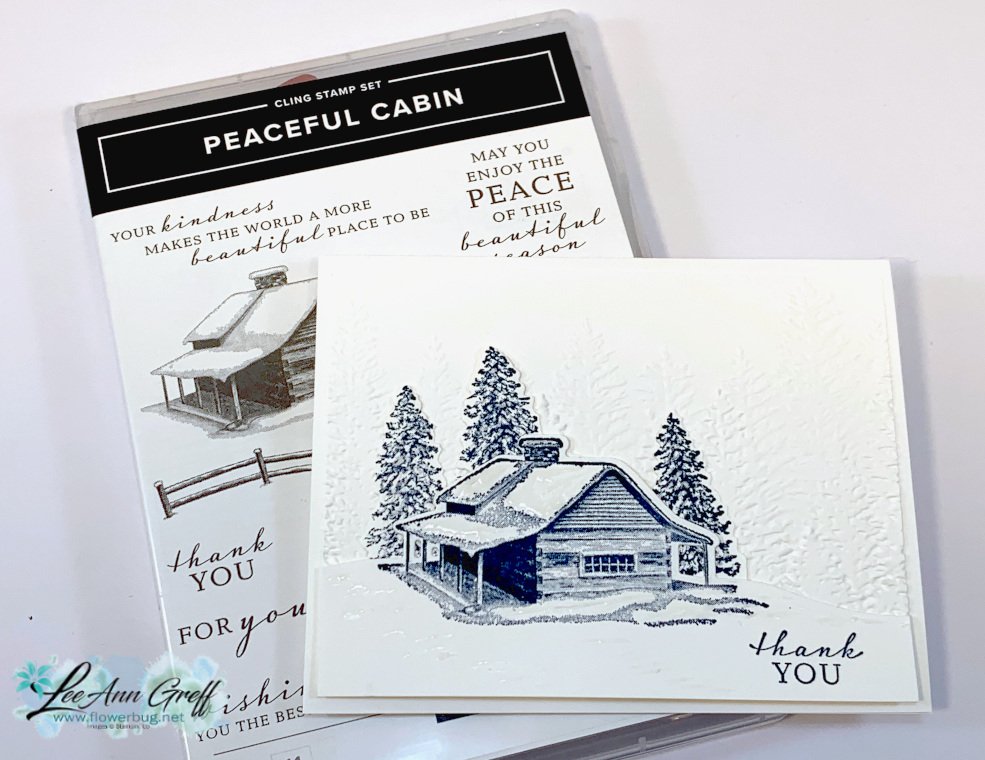
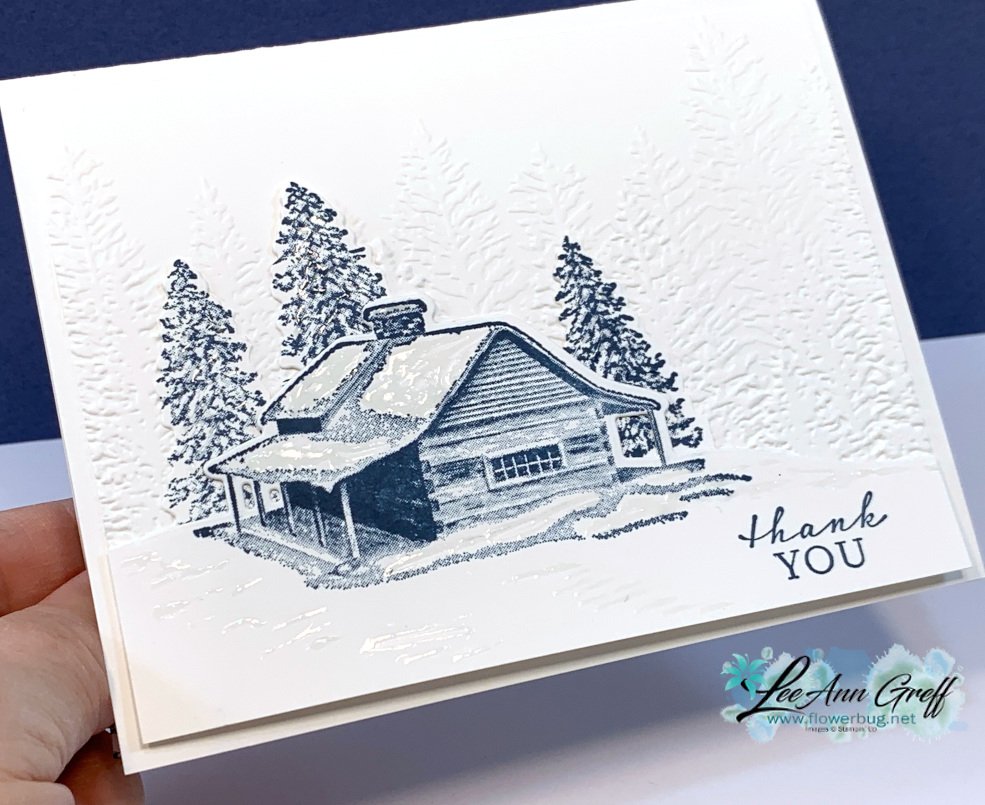
    We made this beautiful card at my December card clubs; it features the Peaceful Cabin bundle.  Unfortunately the stamp set is already sold out and unavailable. So sad; it's just gorgeous! 

    I used only White card stock and Misty Moonlight ink. A monochromatic card can be so simple & soothing to the eye.  And there's something about a mostly white card that is rich and elegant. It’s cased from a card made by Helen Reed  


    The texture on the background is made with the Evergreen Forest 3D embossing folder.  That is also currently unavailable. But it is in the annual catalog and will be back. 

    There are two pieces that you stamp first and then die-cut.  The background trees is one layer and the cabin and foreground is another.  It's so neat how the dies cut the silhouettes out so perfectly. 

    Measurements:
    White card base 5 1/2" X 8 1/2"
    White layers – for trees – 3 3/4" X 2 3/4", for cabin 2 3/4" X 5 1/4", embossed layer is 4" X 5 1/4"

    ~~~

    December Specials:

    Host code:  6YCWV7QN

     *click here to order 

    Use the host code above & get a free card stock sampler ring with a $50 order in December! 

    See the last chance list here

    See the July-December catalog carry over list here

    Leave a Reply

    Your email address will not be published. Required fields are marked *

  • Star & Snowflake Ornaments; so pretty!


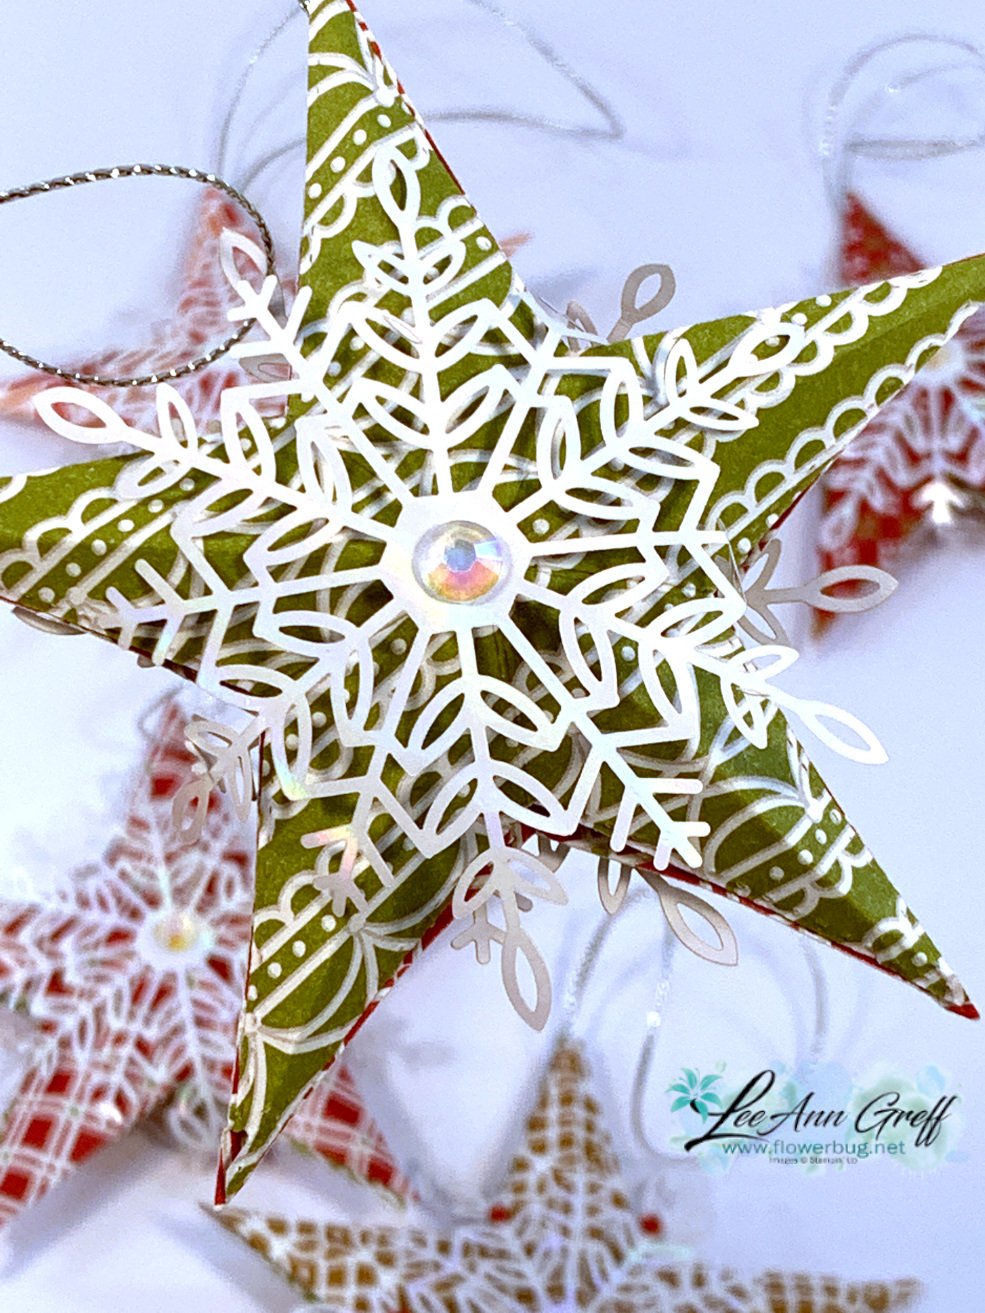
    I had to give these gorgeous star projects a try!  Sara from Stampin' Up! made them for a tree topper but they were one sided.  I decided to turn her idea into ornaments by making them 2-sided.  

    They're made with our Stitched Stars dies seen here.  I used the largest and third smallest to make these. I used the Gingerbread & Peppermint DSP but unfortunately it was on the retired list and is sold out now. 

    You probably wonder where the snowflakes come from.  They are called 'Wonderful Snowflakes' and they also just sold out! The retiring list can be so hard; items you want can be gone in an instant! 

    You need a good stack of Dimensionals between each layer like this: 

    You can see why you need a smaller star inside; to support the stacks of Dimensionals. *There's a second stack under that smaller star.  You'll add a second large star on top of the dimensional stack seen above. 

    Tips:

    • I found a stack of 4 to work best.
    • I added a rolled up mini glue dot to the tip of each star point to secure them together.  It's not necessary but does finish if off so they stay closed. 
    • Add the cord with a glue dot to one of the star points. 

    They were so fun to make I couldn't stop! I plan to add these to my cookie trays or to Christmas presents instead of a traditional bow. 

    I thought this last one would look sort of ho hum in this pattern.  But once I added our Red Rhinestones to the snowflake it sure came to life!  

    Below is the video to see exactly how to make these pretty ornaments.  They're the third project I share. 

    ~~~

    December Specials:

    Host code:  6YCWV7QN

     *click here to order 

    Use the host code above & get a free card stock sampler ring with a $50 order in December! 

    See the last chance list here

    See the July-December catalog carry over list here

    Leave a Reply

    Your email address will not be published. Required fields are marked *

  • Origami Christmas Tree card; soooo easy!


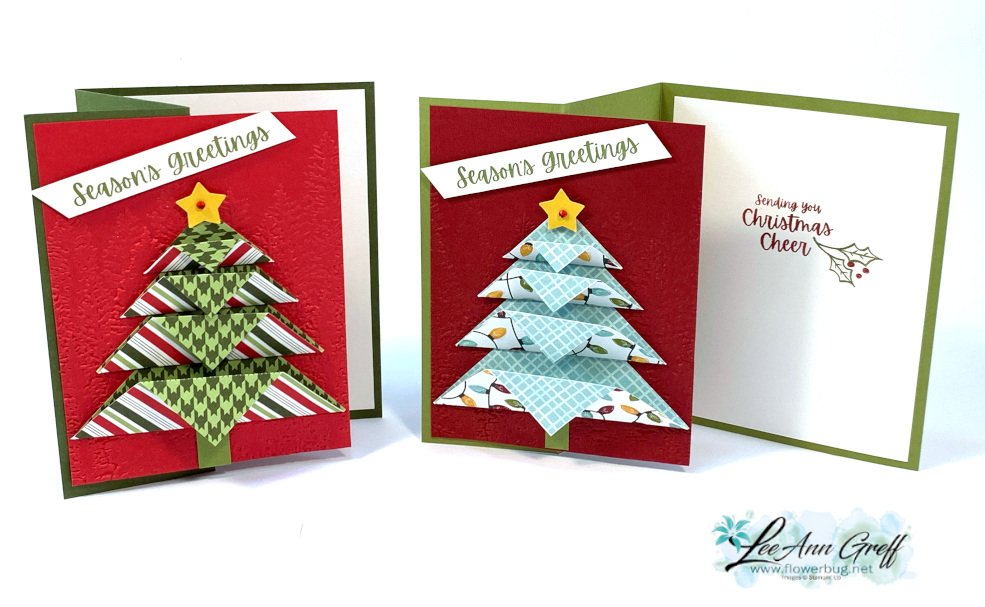
    I make one of these trees almost every year.  Why? Because they are easy & fun and we always have new Designer Paper for me to play with. 

    All you need are four squares of DSP. No scoring or other measurements.  Watch the video here or below to see how it's done. 

    Here are the supplies:

    • Card stock – Old Olive & Mossy Meadow card bases, Real Red & Cherry Cobbler layers, White greeting strip & inside
    • Designer Paper – Heartwarming Hugs (out of stock now) and Sweet Stockings
    • Greeting image from the Christmas Cheer stamp set
    • Star topper from the Starlit punch
    • Embossing folder – Evergreen Forest (out of stock temporarily) 

    Measurements: 

    • Card base 5 ½” X 8 ½”
    • DSP – 4 square pieces at 1 ¼”, 1 ¾”, 2 ¼” & 2 ¾”
    • Textured front & White inside are 4” X 5 ¼”

    Below is the video for you. I share another special card project and some pretty star/snowflake ornaments as well.  

    ~~~

    December Specials:

    Host code:  6YCWV7QN

     *click here to order 

    Use the host code above & get a free card stock sampler ring with a $50 order in December! 

    See the last chance list here

    See the July-December catalog carry over list here

    Leave a Reply

    Your email address will not be published. Required fields are marked *


Notice: LeeAnn Greff, Independent Stampin’ Up! Demonstrator, Manager. The content of this website is my sole responsibility as an independent Stampin’ Up! demonstrator and the use of, and content of, the classes, services, or products offered on this website is not endorsed by Stampin’ Up! Copyright 2025