/


Latest Post

TWO new June specials! more Norway cruise photos


Stampin' Up! has two NEW promotions in June & they both start today

First is a Starter Kit Promotion – an extra $30 in free product with purchase of the $99 starter kit.  This means that you can choose up to $155 in product of your choice for $99.  Yes; all of your choice plus FREE shipping too!  

Click here to get yours.  Or message me here with any questions you may have. 

Remember that purchasing the starter kit does not mean you have to hold classes or 'sell' Stampin' Up! products.  It just means you want the 20% discount on your purchases.  You can be any sort of Demonstrator you want – enjoy the discount only or hold events, or turn it into a business.  YOU are in charge and whatever you choose to do is just fine with me and Stampin' Up!.   

I'd love to have you join my team of Flowerbug's!  We're a fun group consisting of all types of Demo's.  

~~~

The second promotion is the Designer Paper Sale!  13 different packs of DSP are discounted 15%.  

Here's the flyer with prices & item numbers for you.  Download June DSP flyer

~~~

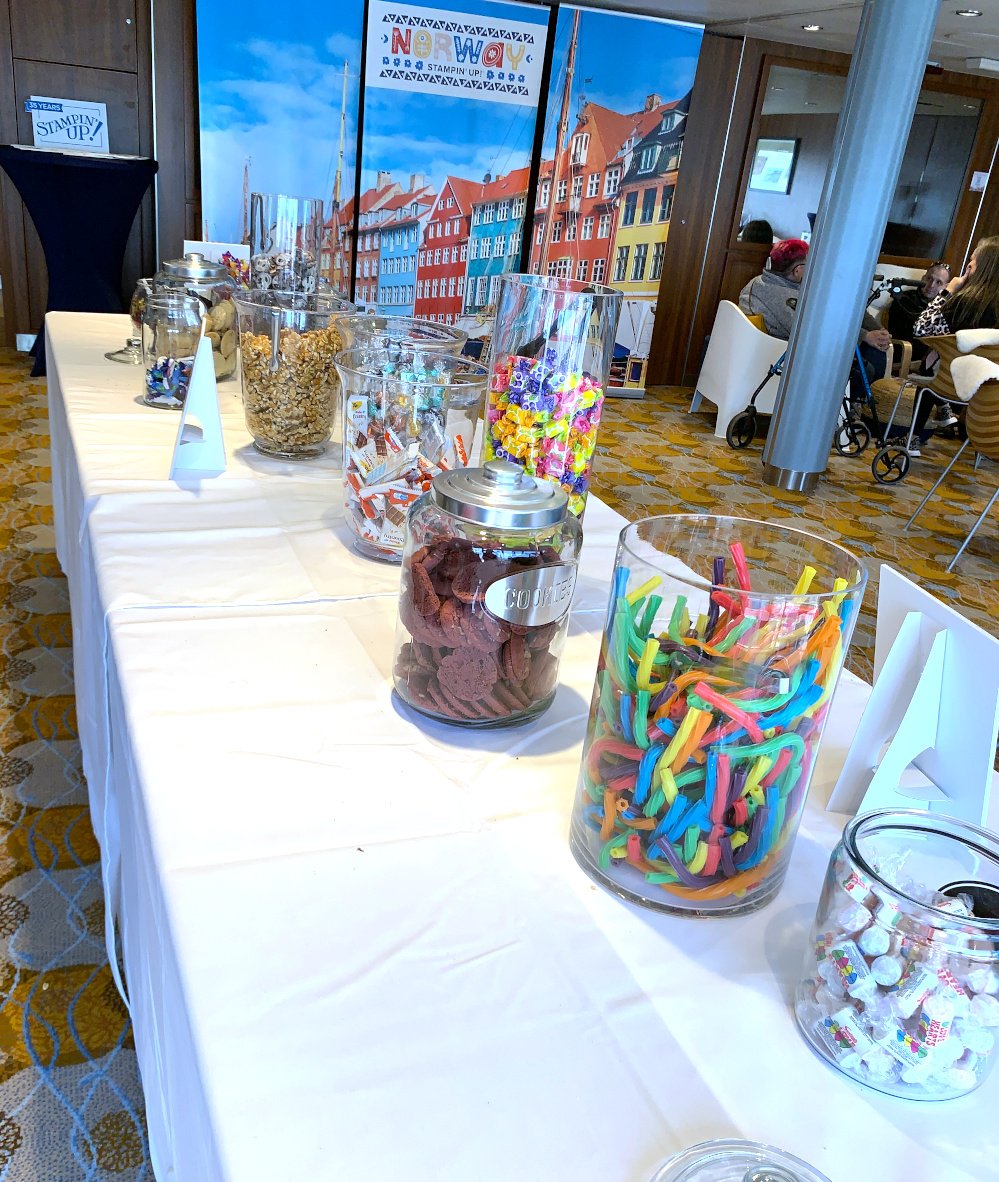
Continuing on from my post yesterday where I shared photos of our visit to London and some from the Norway cruise…..I thought you'd like to see some photos of the hospitality suite on the ship. We were on the Anthem of the Seas, a Royal Caribbean's ship.  

We were invited to stop in each day to spin for a prize.  Prized were SU logo items like mugs, towels etc.  

They had lots of goodies for us to enjoy each day.  Jars & jars of candy & treats many of them unique to us as they were from the UK. 


In the hospitality suite they displayed our swap cards, had games & chairs for us to hang out to visit our friends.  

We are treated royally by Stampin' Up! but honestly the best things about the trip were time to relax and also spending time with new and old friends we've made over the years.  


To stay within direct sales compliance I need to add that earning the incentive trip is not typical for Stampin’ Up! Demonstrators. Fewer than 1% of demonstrators actually achieve this extraordinary result. I appreciate my customers and team members that make this possible for me each year! 

~~~

June Specials:

Designer Paper is 15% off in June!

WOW – get $155 in product for $99 with free shipping! click here!

Get a package of In Color pearls with online orders over $55 using a host code.

*current host codes: ZHZ6CPYU or AJVB3B3V 

 Earn free products with my loyalty rewards! 

Click here to download yours and earn a $50 shopping spree!

All Posts

  • Stunning Prairie Grass sunset scene with a masked moon & video tutorial


    I'm thrilled to share this amazing card with you today.  We made it at my July card clubs. 

    I created a beautiful sunset with stamps, ink and a 'moon mask'.  I used Blending Brushes with Secret Sea, Darling Duckling and Timid Tiger inks.  

    It features the beautiful Prairie Grass stamp set seen here.  Since I'm from North Dakota where we have tons of 'prairie' this set was a must have!  *Unfortunately it is now out of stock but you can add your email to be informed when it's available. It should be back around August 11th. 

    After stamping the grassy image we added a post-it note mask made from a circle punch. Then we blended the inks on little by little.  It's important to use less ink and more time to get this pretty soft effect. 

    See the flap on the left side of the card above?  That flap holds down the front of the card.  So simple but a fun technique. Notice the light sponging on the greeting inside?  

    I created a free project sheet for this card.  You can print or download it by clicking on the following link: Download Prarie Grass July 2025

    And here's the video below where I share how to create this gorgeous card and two other cards featuring this amazing Prairie Grass stamp set. 

    ~~~

    July Specials:


    New Online Exclusives are here!  Click here

    ~~~

    Get my Turtle-y Cute PDF tutorial free with any online order in July!

    Leave a Reply

    Your email address will not be published. Required fields are marked *

  • Gorgeous Prairie Grass Joy Fold card with video & free project sheet


    I shared this pretty card on last week's Live video.  

    Isn't it pretty?  The colors include Fresh Freesia with Black accents. All of my projects featured the brand new Prairie Grass stamp set seen here.  

    I also used the amazing Thoughtful Journey DSP seen here.  It's absolutely perfect for scene builder stamps like this one and has some of the best and easiest backgrounds to start with.  

    This card is called a 'Joy Fold' – who knows why but it's actually one fold name I haven't forgotten. Basically it has two flaps that overlap each other. It gives you multiple opportunities to use your Designer Papers or textured layers.  

    The embossing folder here is called Glass & Gardens seen here.  It's unavailable right now but you can add yourself to the list to be notified when it's back in stock.  

    Here's the free project sheet for this card with measurements, directions and supplies.  Click on the following link to print or download it.  Download Prairie Grass JoyFold card

    And here's the video below where I share two other cards featuring this amazing Prairie Grass stamp set. 

    ~~~

    July Specials:


    New Online Exclusives are here!  Click here

    ~~~

    Get my Turtle-y Cute PDF tutorial free with any online order in July!

    Leave a Reply

    Your email address will not be published. Required fields are marked *

  • WOW! Check out this Beautiful Butterflies stained glass technique


    I was amazed by Candy's card swap this month!  Look at this beauty!!


    It's called the Stained Glass technique and she made it for our July Team swap featuring Window Sheets.  

    Her colors include Pretty Peacock with Highland Heather. The bundle is called Beautiful Butterflies and can be seen here. 

    Steps:

    • She stamped the butterfly image on a window sheet using Black Stazon ink. 
    • Turn it over and color with Blends markers. 
    • Add adhesive sheet to the Blends side. Press onto slightly crinkled aluminum foil. 
    • Adhere to a second butterfly stamped on White CS for support and to cover the foil. 
    • Fussy cut; add to card. 

    Other products used here:

    Measurements:

    • Card base 11" X 4 1/4" score at 4 1/4" & 5 1/2"
    • Highland Heather 4" square
    • DSP strip 1 1/8" X 4"
    • inside 4" square

    Thank you for creating your incredible swap card Candy!  Great job!!

    ~~~

    July Specials:


    New Online Exclusives are here!  Click here

    ~~~

    Get my Turtle-y Cute PDF tutorial free with any online order in July!

    Leave a Reply

    Your email address will not be published. Required fields are marked *


Notice: LeeAnn Greff, Independent Stampin’ Up! Demonstrator, Manager. The content of this website is my sole responsibility as an independent Stampin’ Up! demonstrator and the use of, and content of, the classes, services, or products offered on this website is not endorsed by Stampin’ Up! Copyright 2025