/


Latest Post

Noel Tidings fun fold Christmas card with video & free project sheet


Here’s the card I shared on last week’s video; it’s one I made for a long distance card swap I joined.
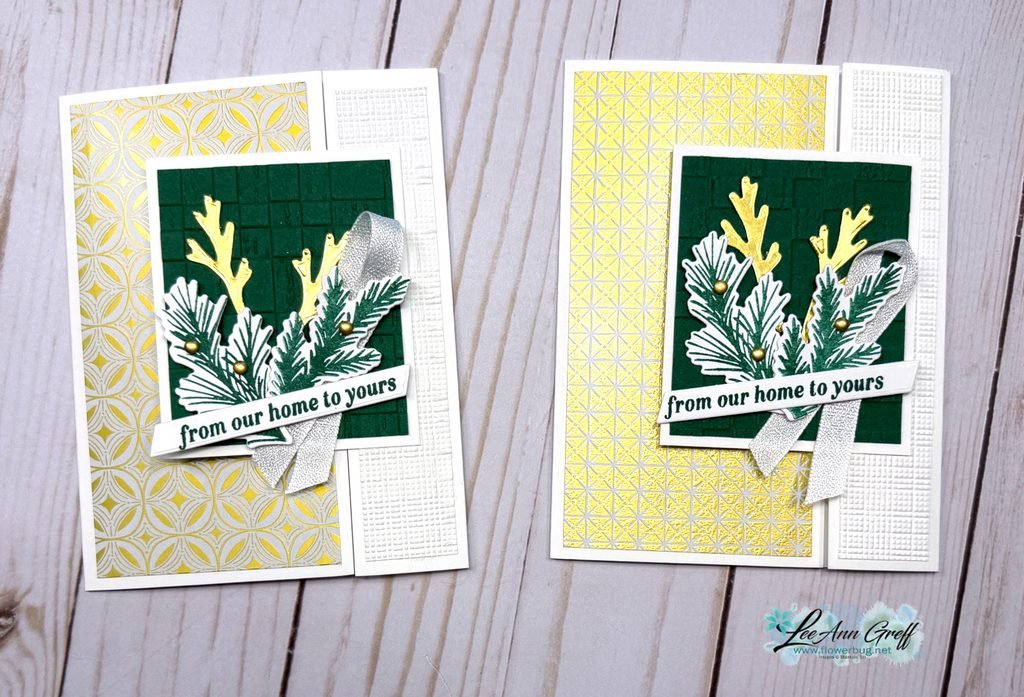
It features the Neutral Noel suite seen here. I used the Noel Tidings bundle along with the Neutral Noel specialty designer paper seen here. My colors include Shaded Spruce, White and Gold.

Notice the textures on the Shaded Spruce and White layers. These are new embossing folders from the 2026 Holiday catalog; however both are unavailable right now. They’re out of stock but returning later this month.

*Remember that when you want to know when something is back in stock you can opt in to be notified; this is right on the product item page online. See the Rustic Check folder here and the Softly Woven folder here.

This card opens in a unique way; the center panel is attached to the right side instead of the usual left side. It’s fun to switch things up now & then.
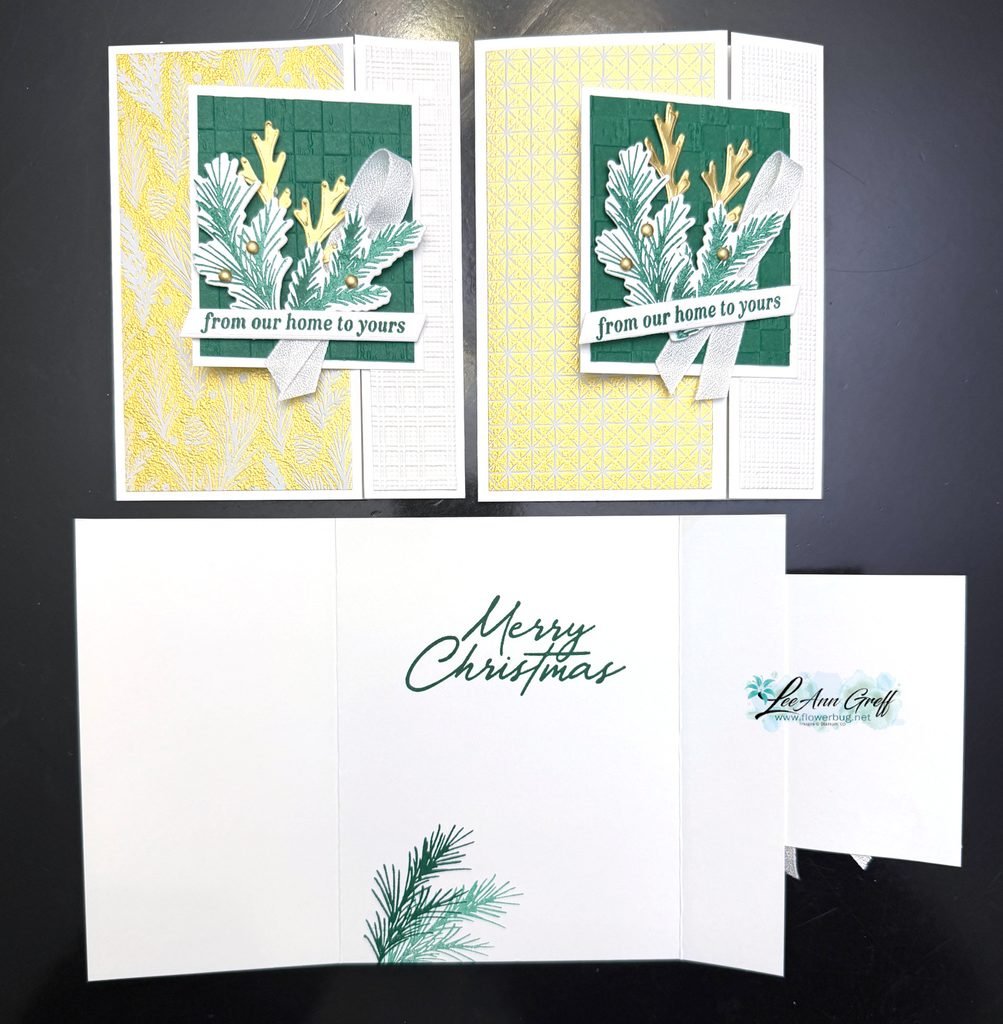
I stamped the pine boughs and the greetings using the Noel Tidings stamp set; the dies coordinate with many of the images. See the bundle here.
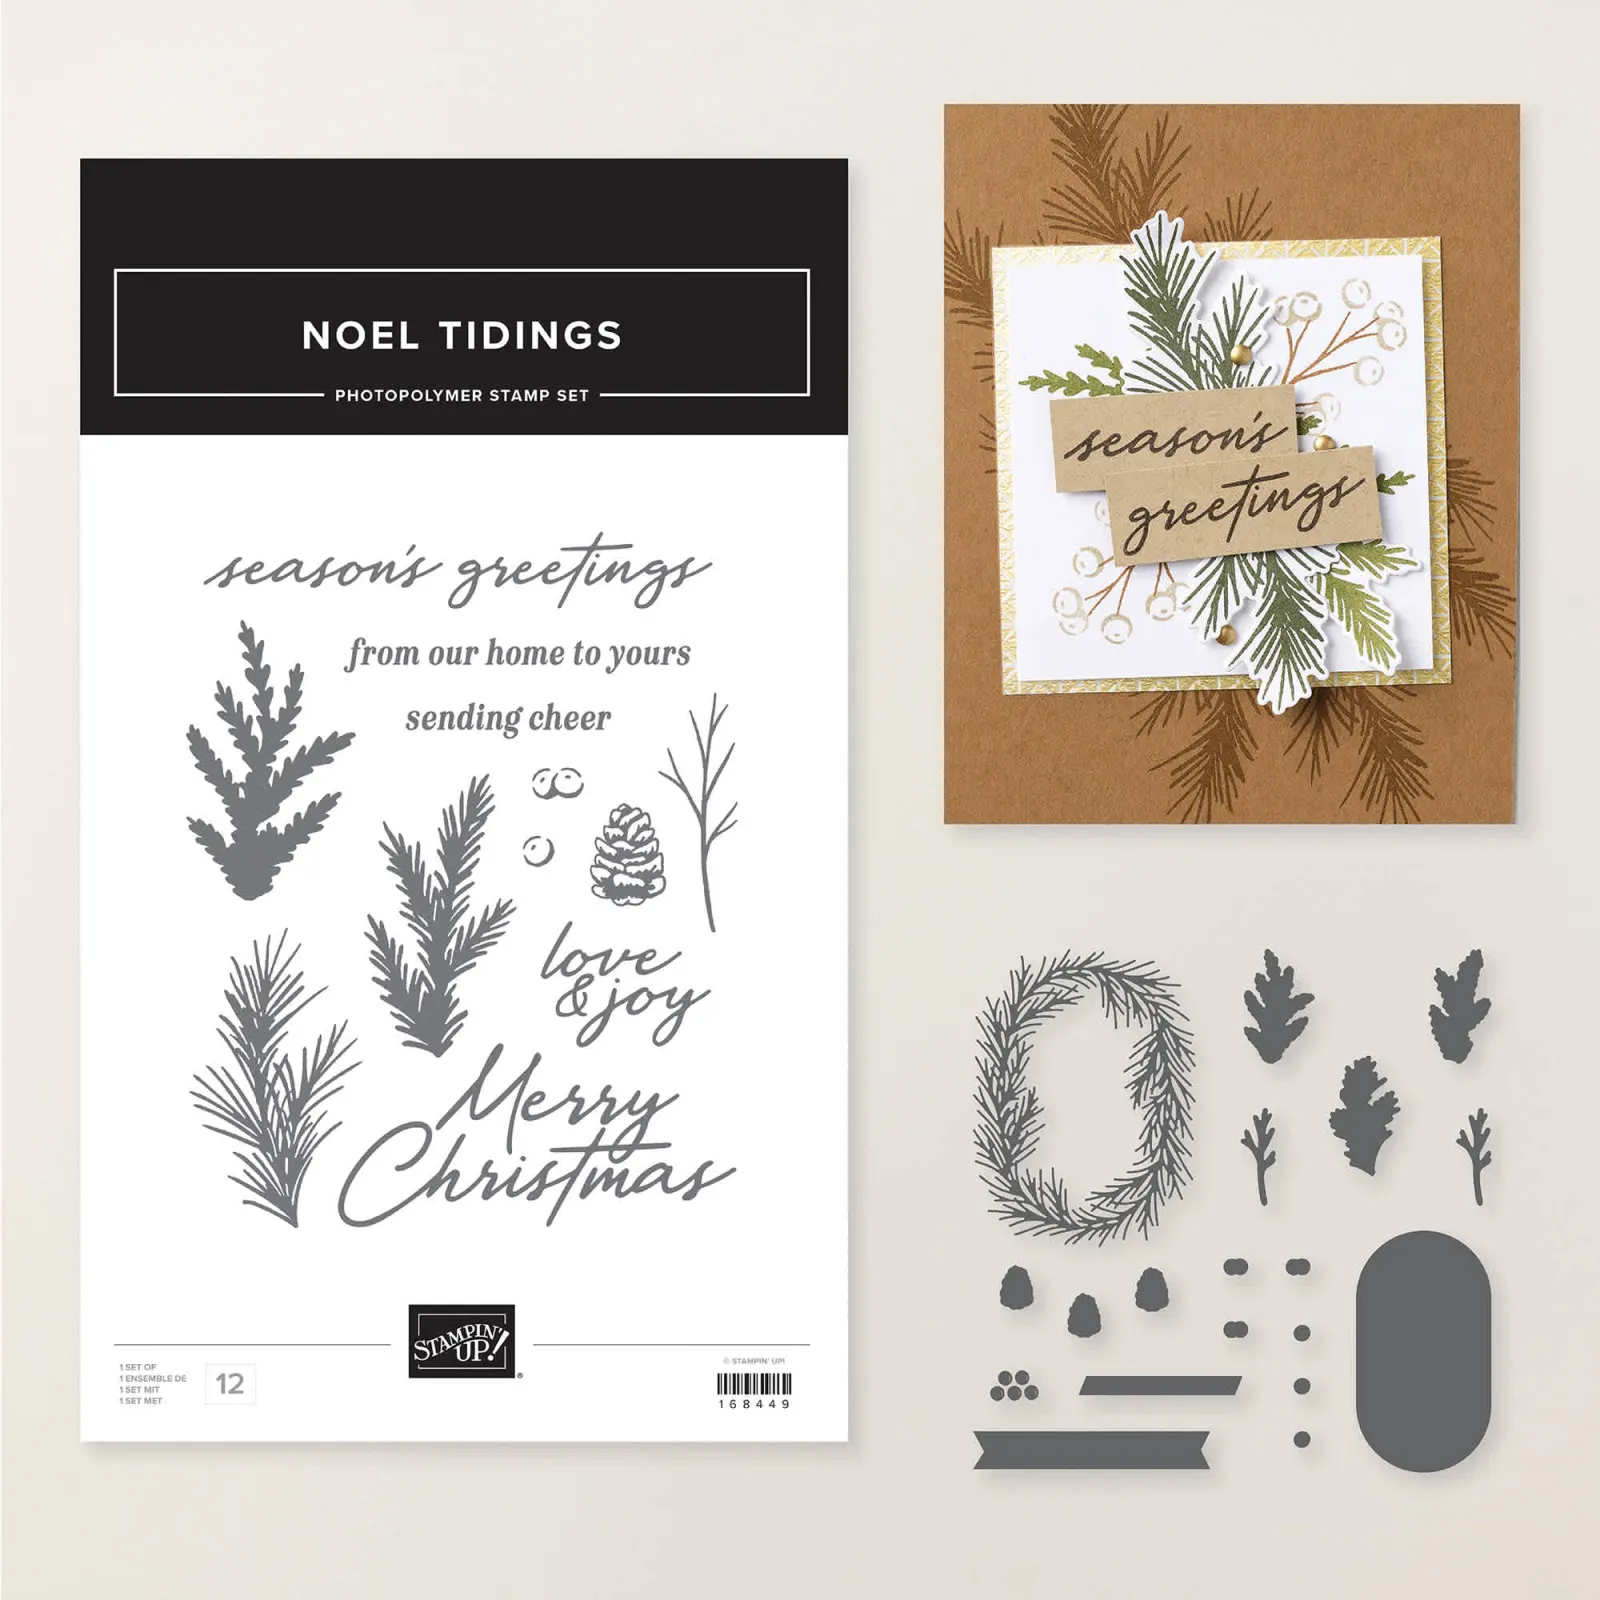
I shared how to make this card on last week’s video. You can see it here or click on the link below.

I also created a free project sheet with measurements. Click here to download or print it. *Remember that I have a bunch of these free project sheets stored on my blog here.
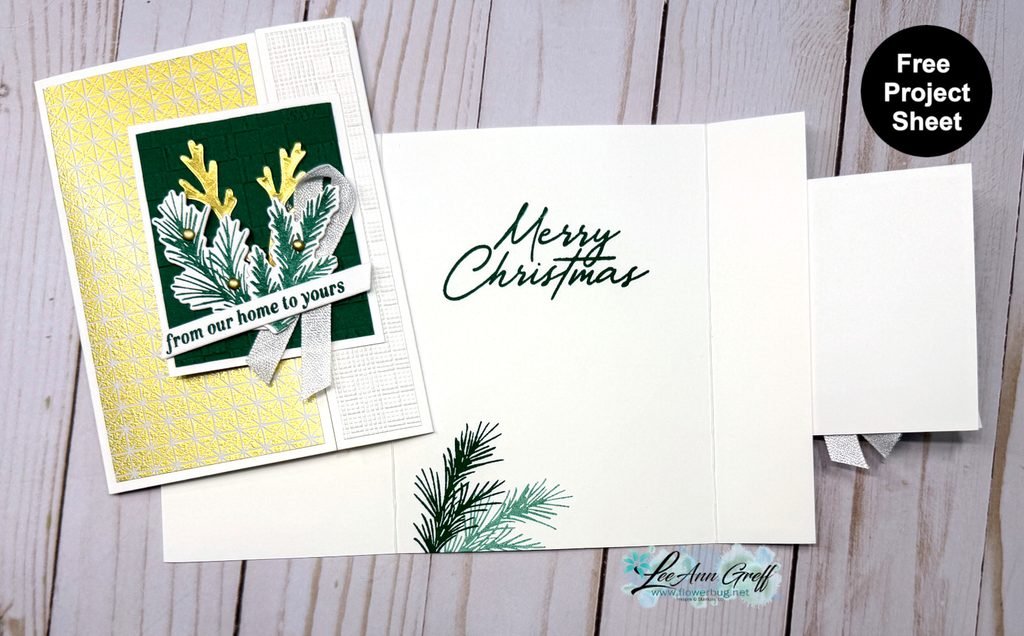
Below is the video tutorial for this card. You’ll get a few stamping tips from me as usual.

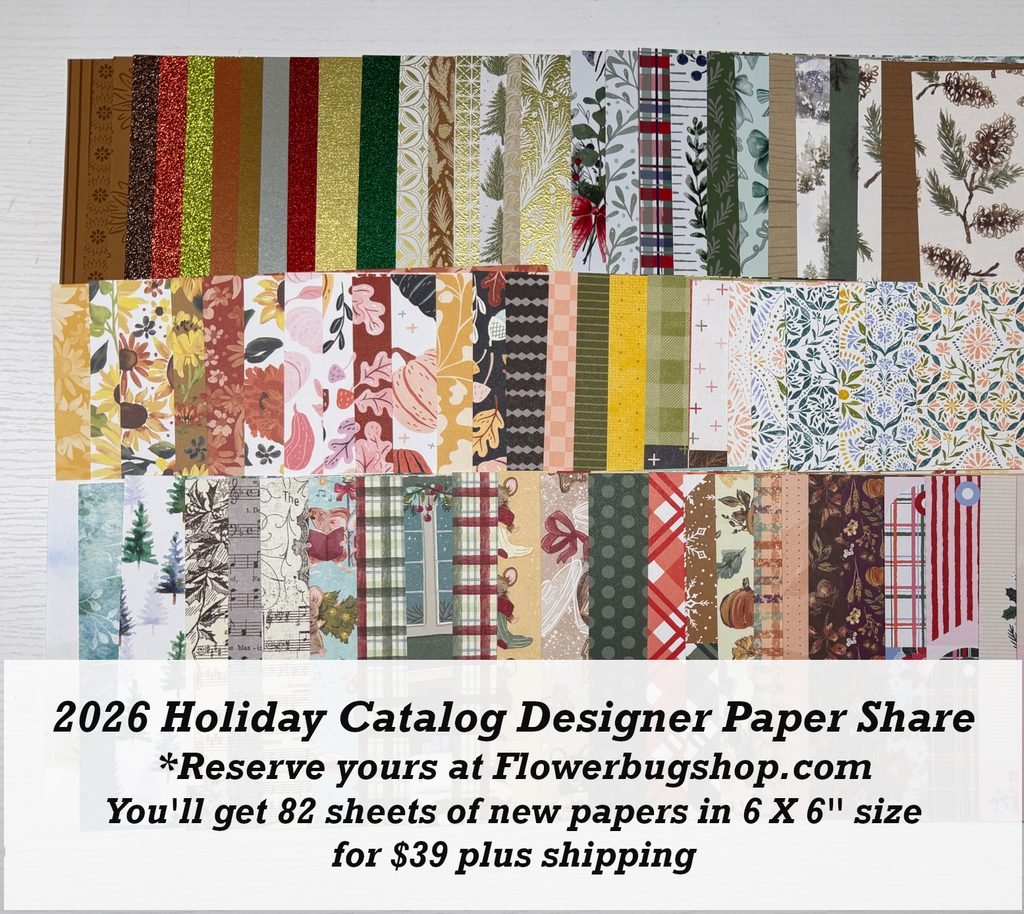
I still have spots left in my Holiday designer paper share. Opt in for it here; it’s the last share I’ll offer this year.
All Posts

  • Autumn Garland Kit


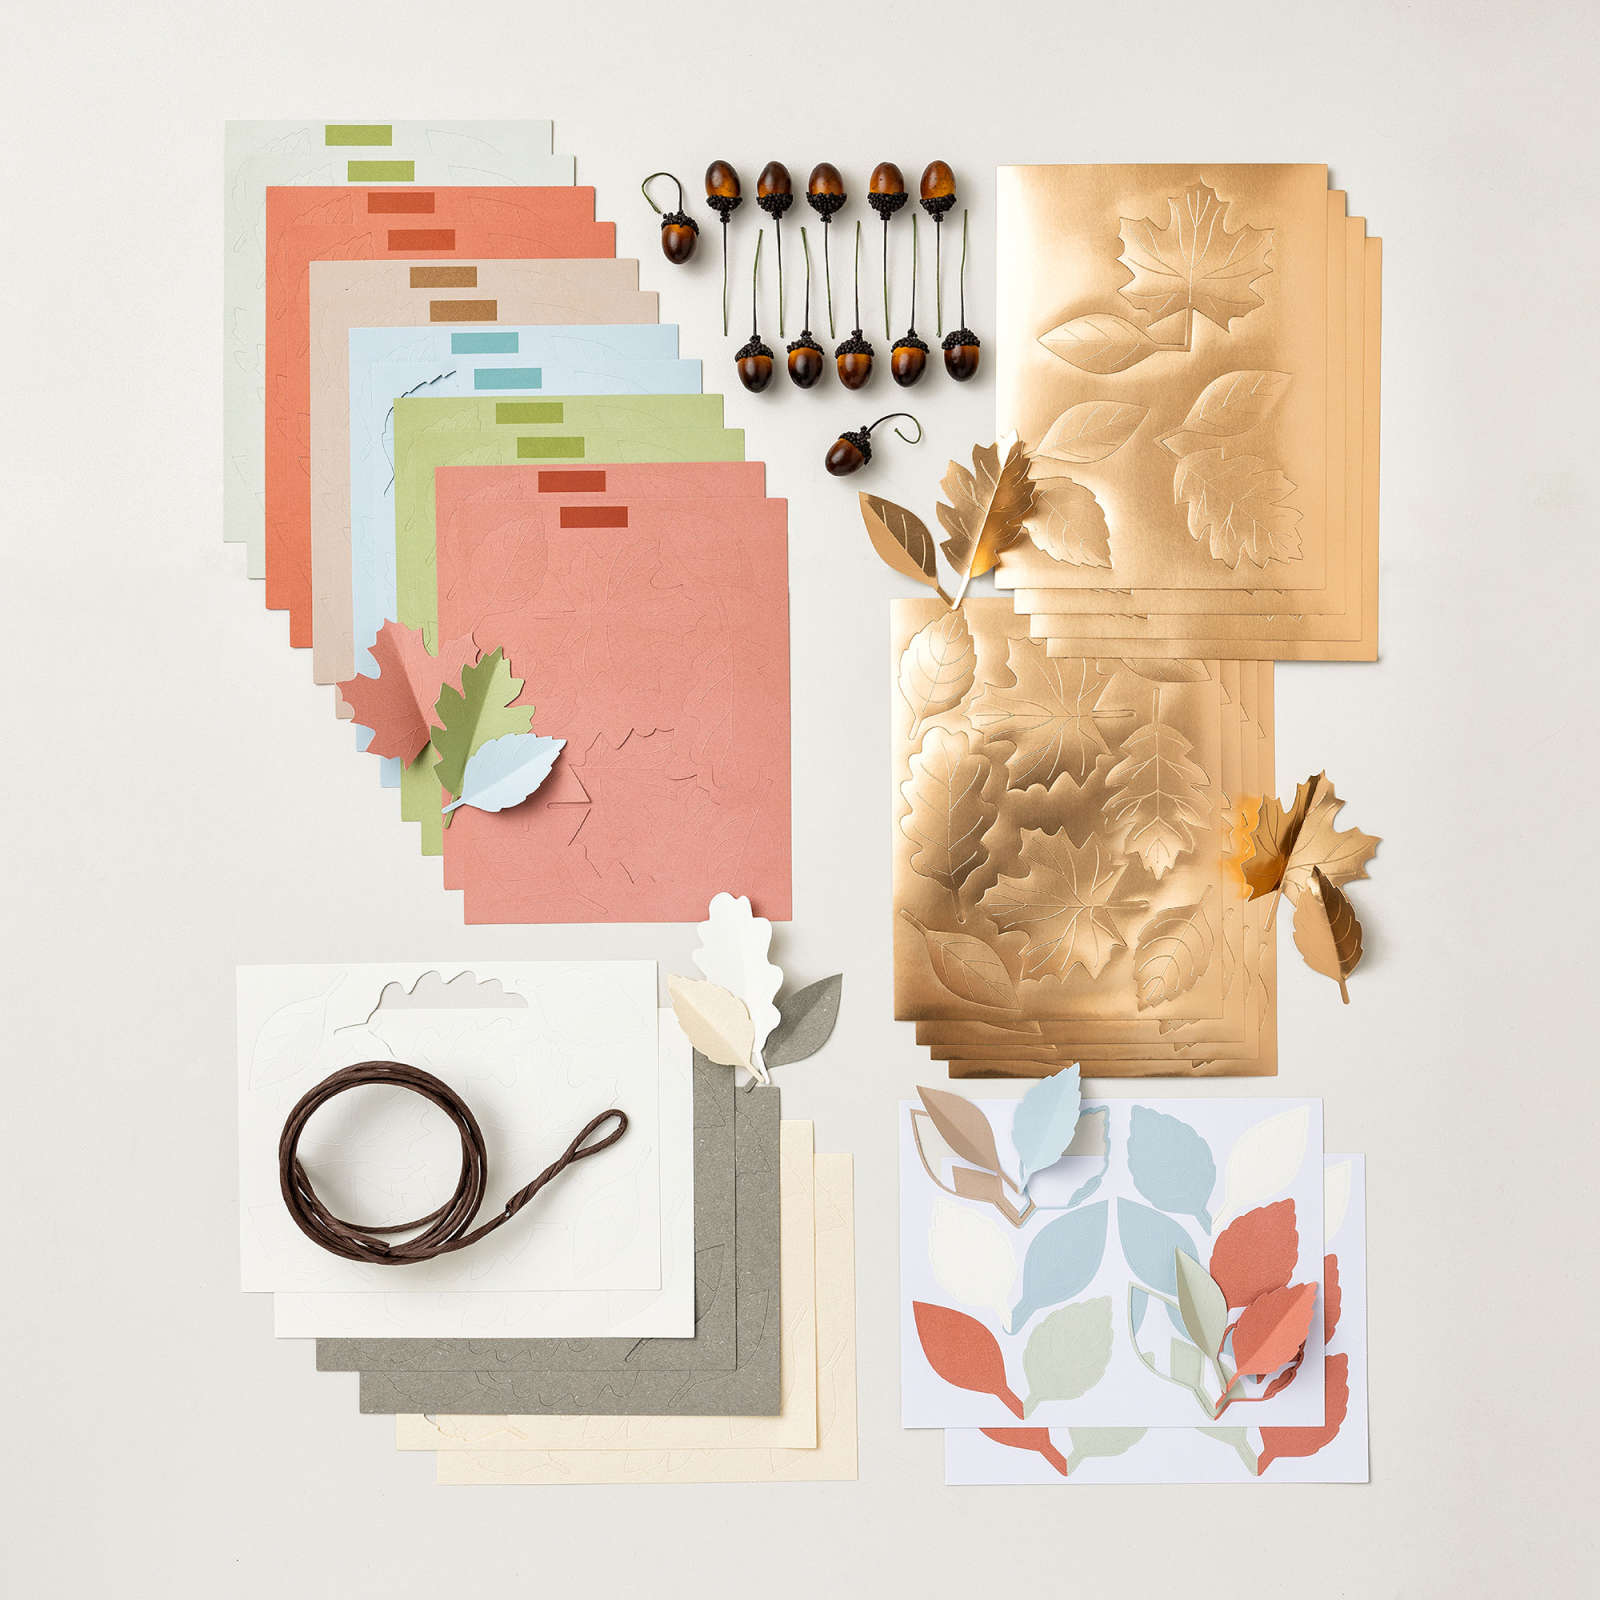
    I love this autumn garland kit!  I made it for my open house display and am in love! 

    I’ll show my own photos soon but wanted to share the video for it here.  It took me about 1 hour and 15 minutes to make and it’s huge & gorgeous!  I had many extra leaves left. The copper leaves and acorns add beautiful accents.  

    It comes with everything you need but hot glue. 

    You can see it online here.  

    ~~~

    ~~~

      To see all of the new Online items click here.  Or download & save the Download Online Exclusives flyer 

    Get a free project tutorial with any online order in September! 

    ~~~

      To see all of the new Online items click here.  Or download & save the Download Online Exclusives flyer 

    Leave a Reply

    Your email address will not be published. Required fields are marked *

  • Holiday Catalog Open House displays!


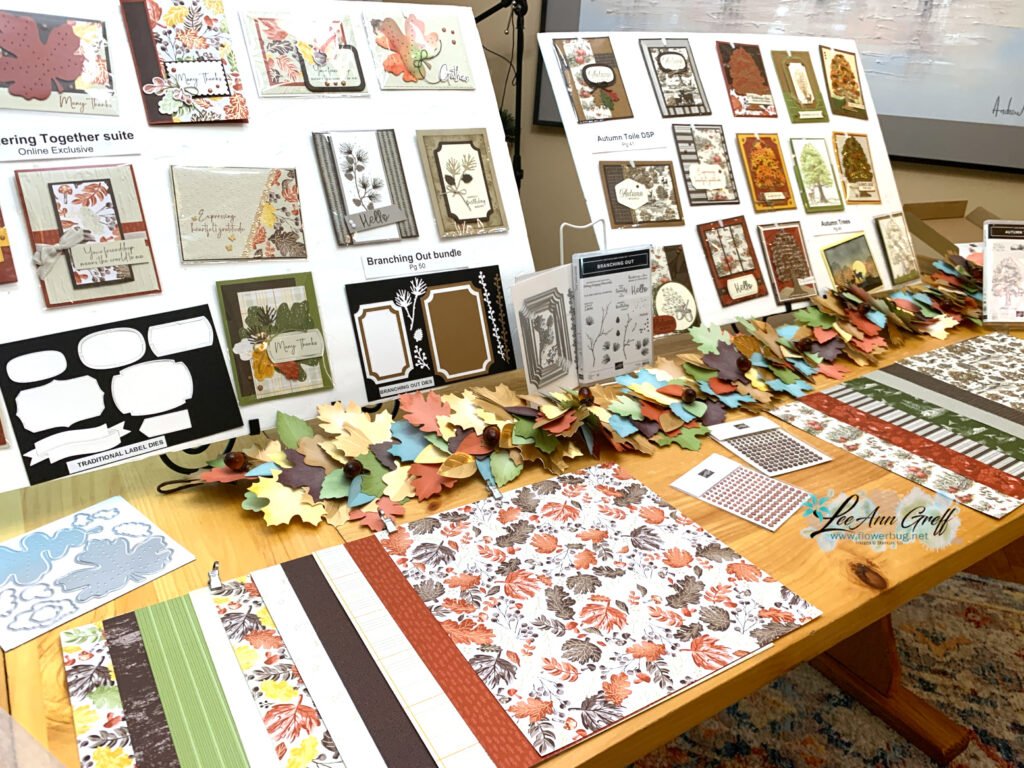
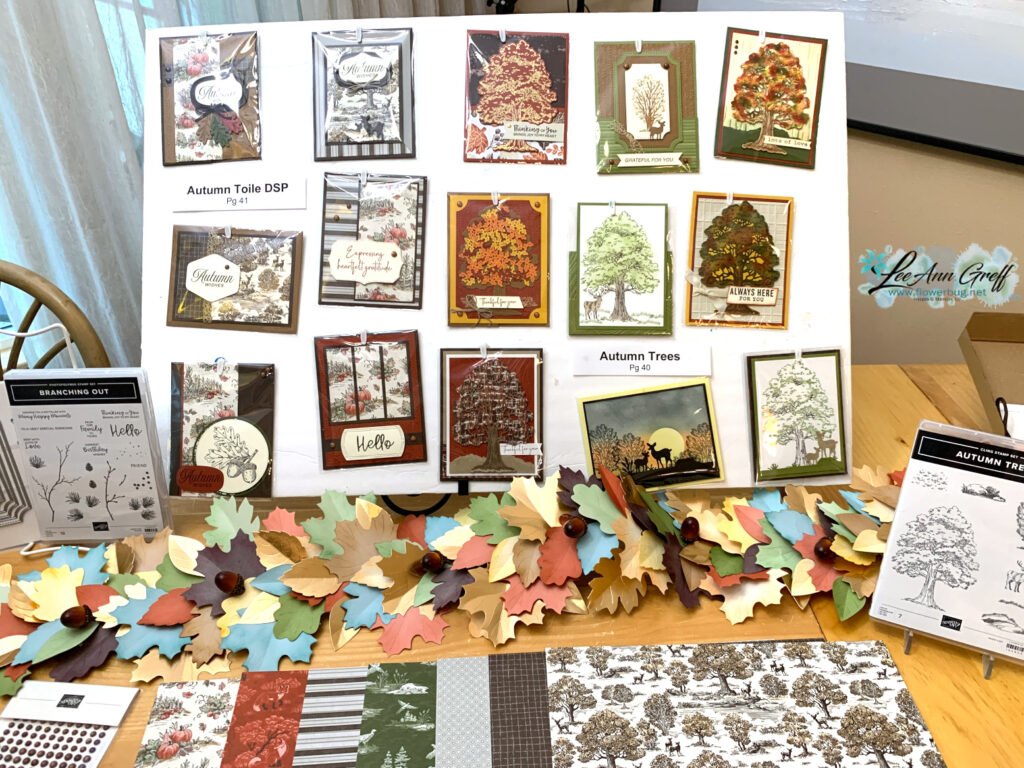
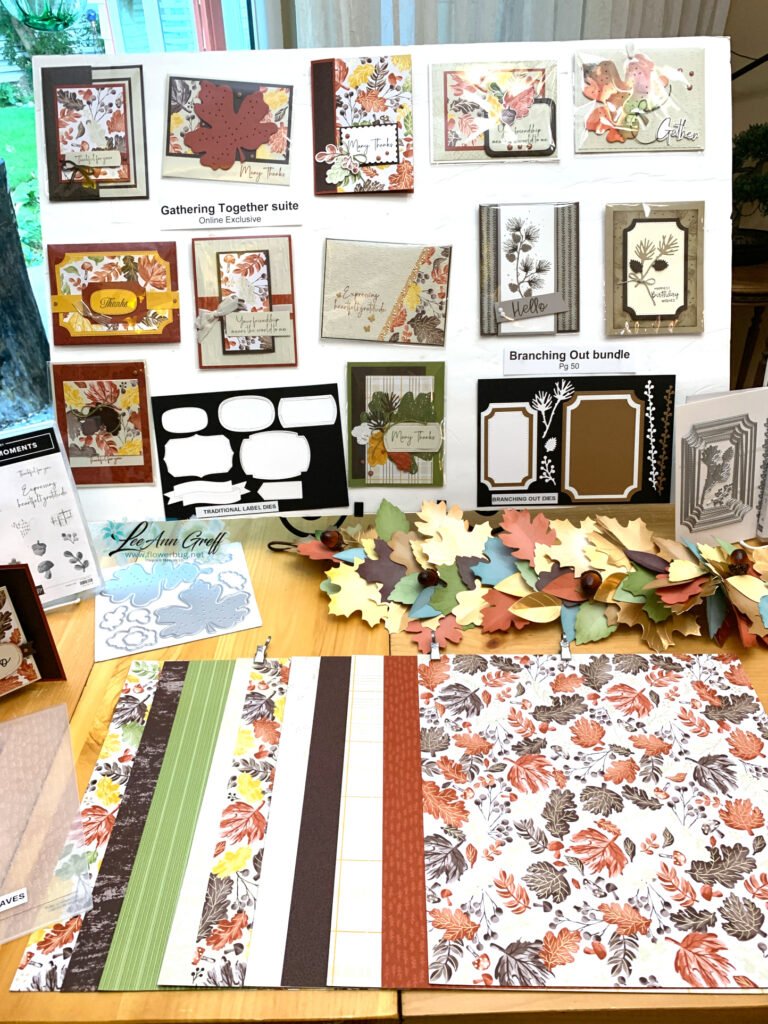
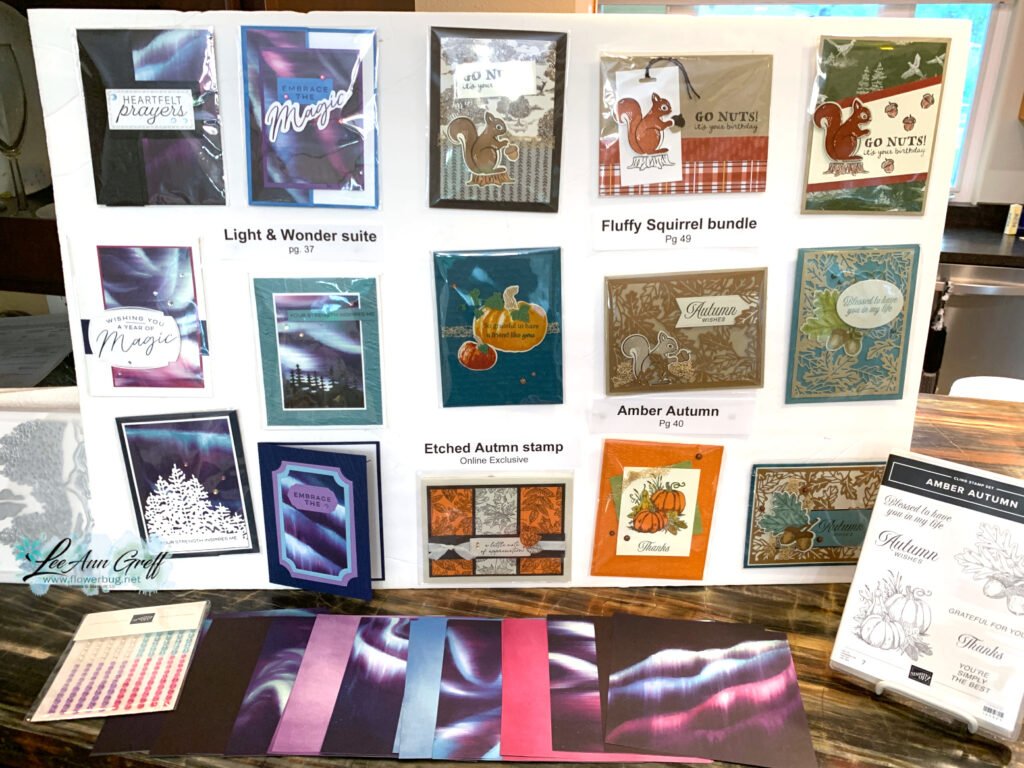
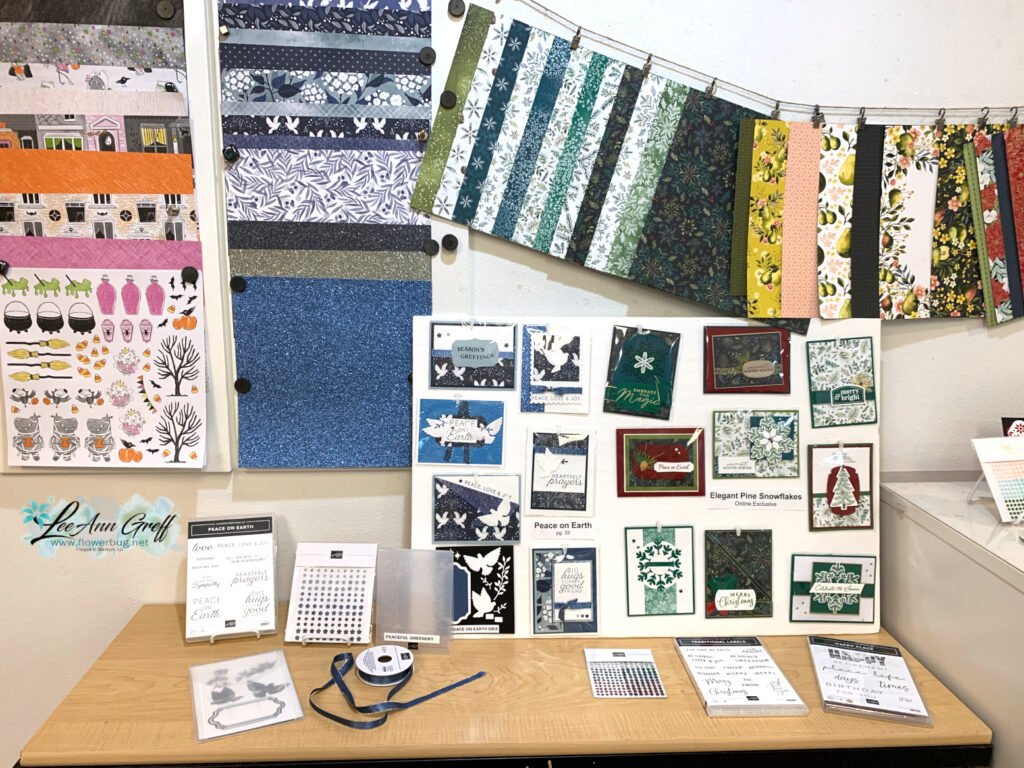
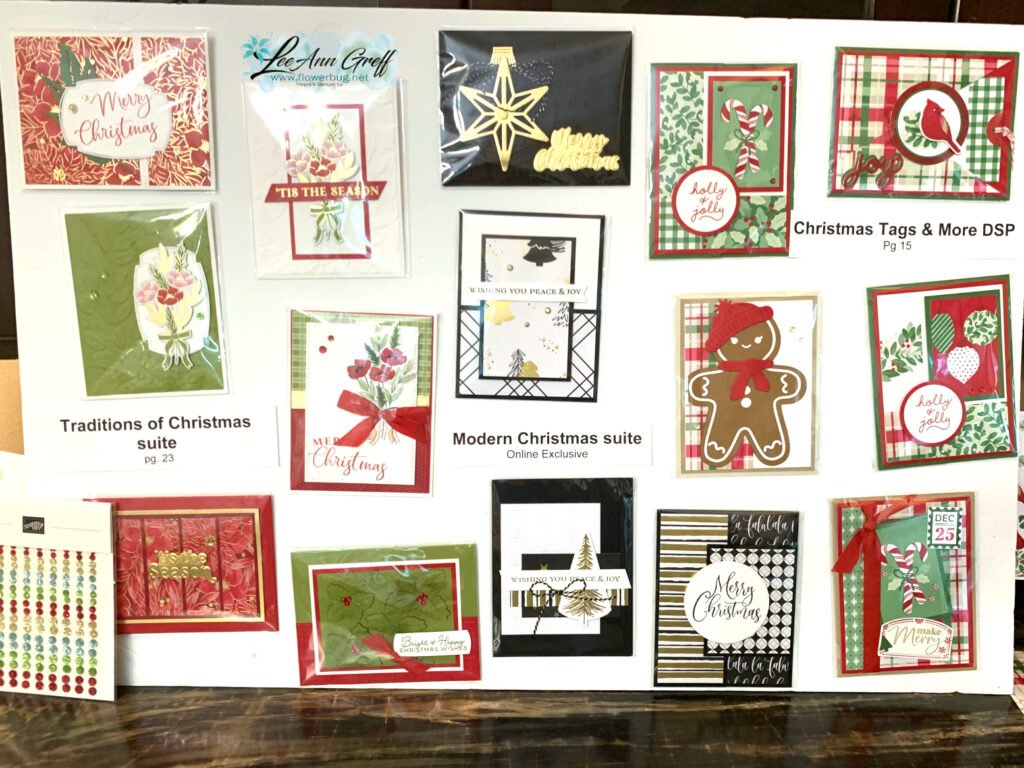
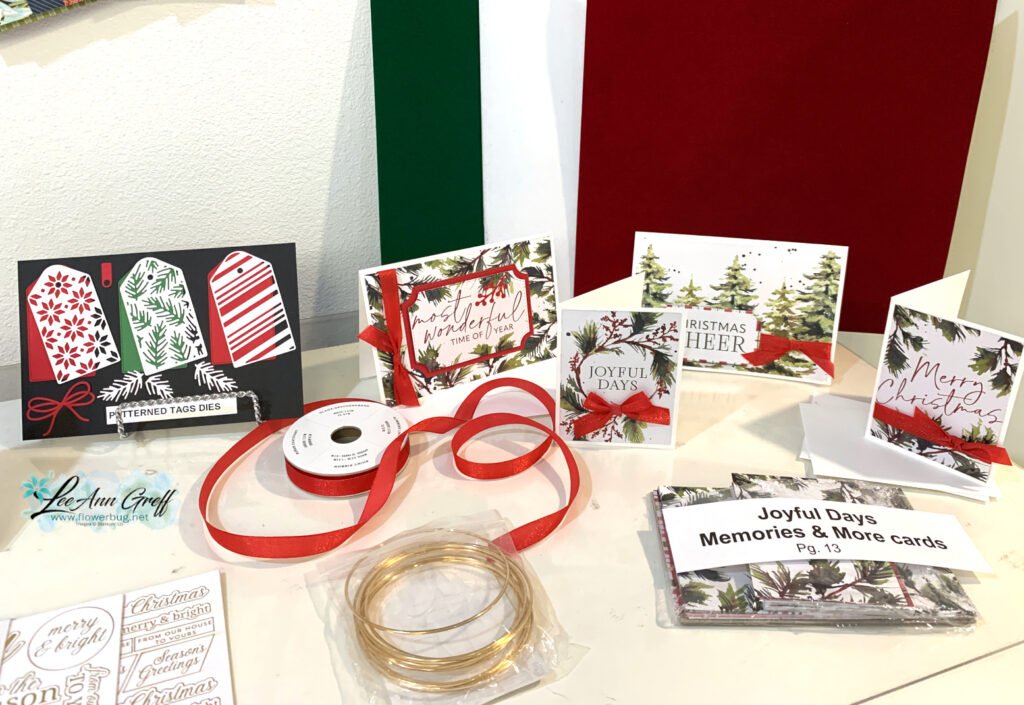
    Saturday I held my new catalog launch party & open house.  I had a wonderful turnout!  Best thing was how much they loved the new products I displayed.  Here are some photos of my projects and swap cards:

    These first few photos show the autumn themed products including the Gathering Together suite and the Autumn Toile sweet. 

    Next is the beautiful Lights of Aurora, the Fluffy Squirrel and Amber Autumn projects: 

    This next photo shows the display in my studio wall.  I always have multiple packs of designer papers hanging on the wall or on my magnet boards.  

    Next up are a few displays with Holiday themed products: 

    I loved playing with the new Joyful Days Memory & More cards. Such pretty pine themed cards!  

    I hope you enjoyed seeing some of my new Holiday displays.  I love holding these open houses because I get to see customers & friends I don’t see regularly.  And I get to cook for them too, which I totally enjoy! 

    ~~~

    ~~~

    ~~~

      To see all of the new Online items click here.  Or download & save the Download Online Exclusives flyer 

    Get a free project tutorial with any online order in September! 

    Leave a Reply

    Your email address will not be published. Required fields are marked *

  • Colorful Autumn Trees card with a baby wipe technique


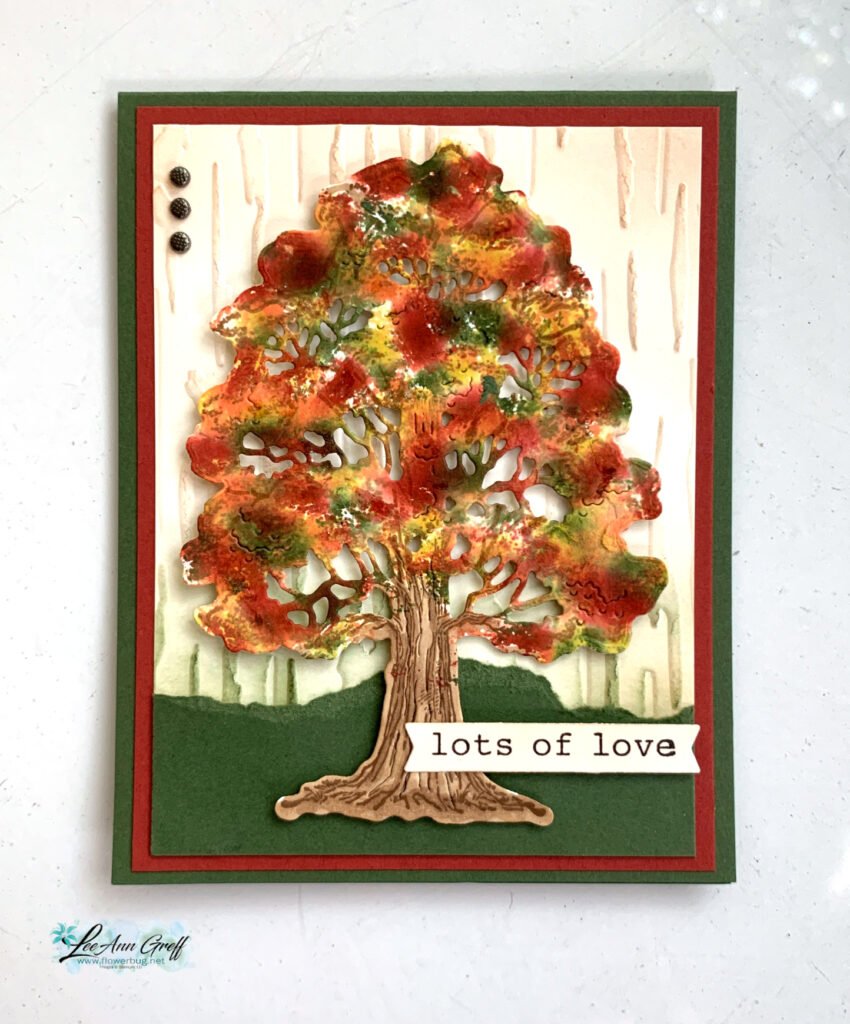
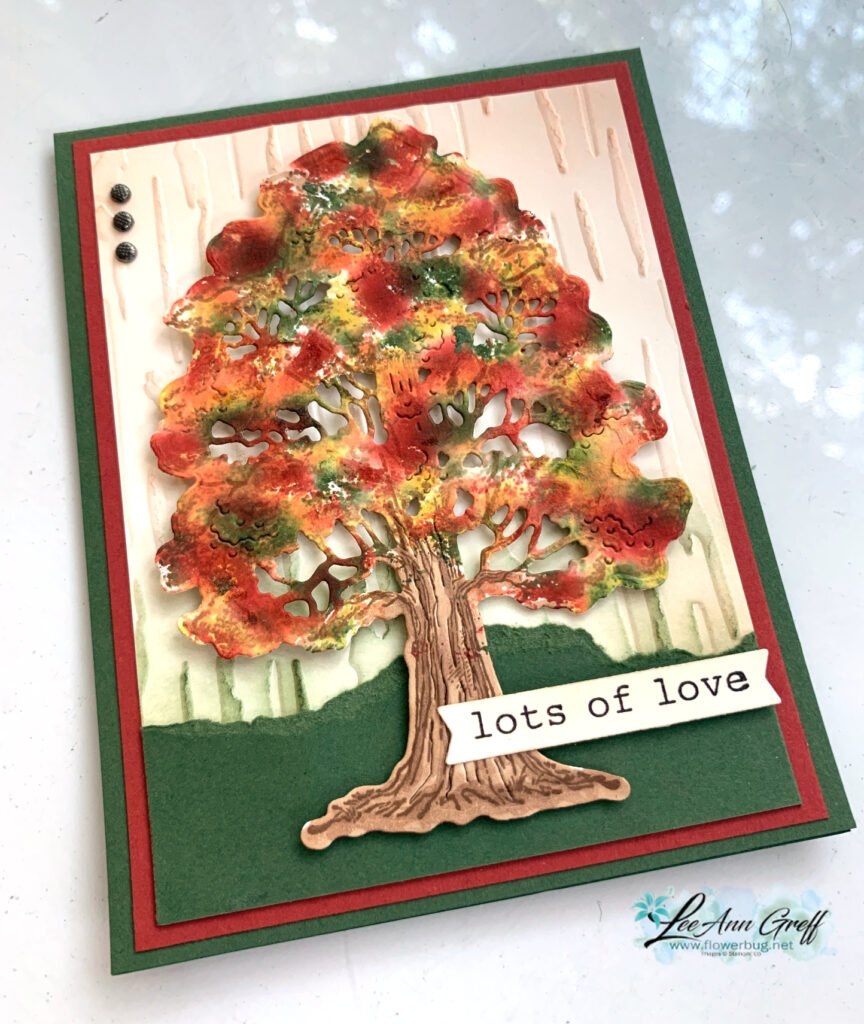
    Fall is in the air here in North Dakota.  Look at this gorgeous & colorful autumn tree!  

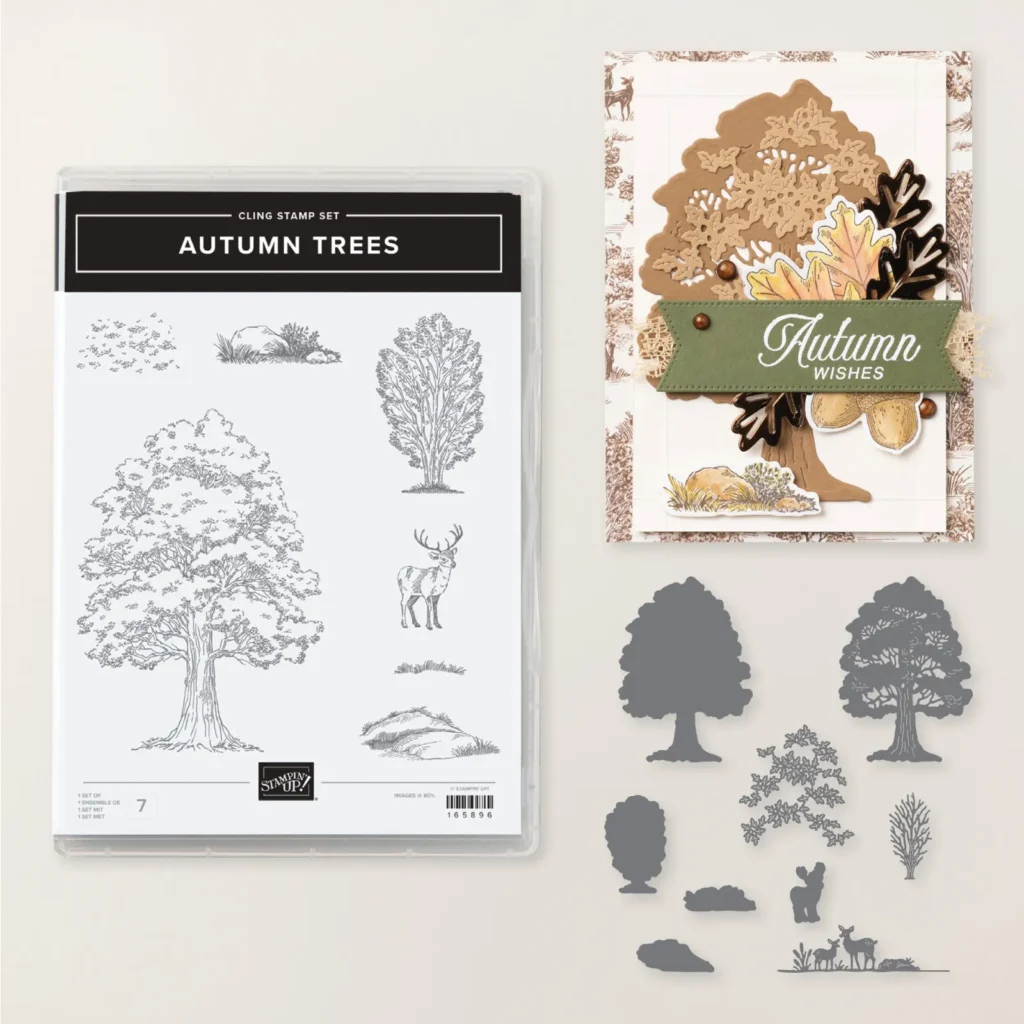
    It’s made with the new Autumn Trees bundle seen here.  Here’s how I did the tree:

    1. I stamped the tree onto Crumb Cake card stock using Crumb Cake ink.
    2. Then die-cut it with the tree die from the bundle. 
    3. Next I inked up a baby wipe with fall colors of Garden Green, Crushed Curry, Pumpkin Pie and Cajun Craze.  I rolled it up and pressed it onto the tree die-cut repeatedly. 
    4. Lastly I used a Crumb Cake Blends marker to add more detail to the trunk.  

    I used the Birch Wood embossing folder on the Vanilla background and lightly blended Cajun Craze ink over it.  The greeting is from the More Messages bundle. 

    Thanks for stopping in today!  

    ~~~

    ~~~

      To see all of the new Online items click here.  Or download & save the Download Online Exclusives flyer 

    Get a free project tutorial with any online order in September! 

    ~~~

    Leave a Reply

    Your email address will not be published. Required fields are marked *


Notice: LeeAnn Greff, Independent Stampin’ Up! Demonstrator, Manager. The content of this website is my sole responsibility as an independent Stampin’ Up! demonstrator and the use of, and content of, the classes, services, or products offered on this website is not endorsed by Stampin’ Up! Copyright 2025