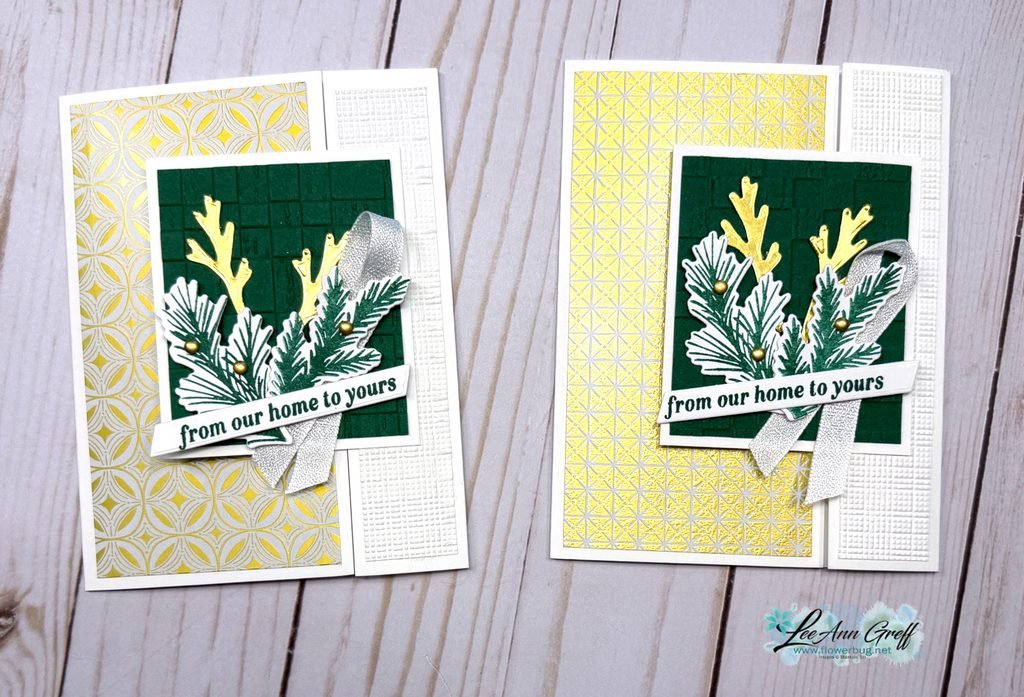
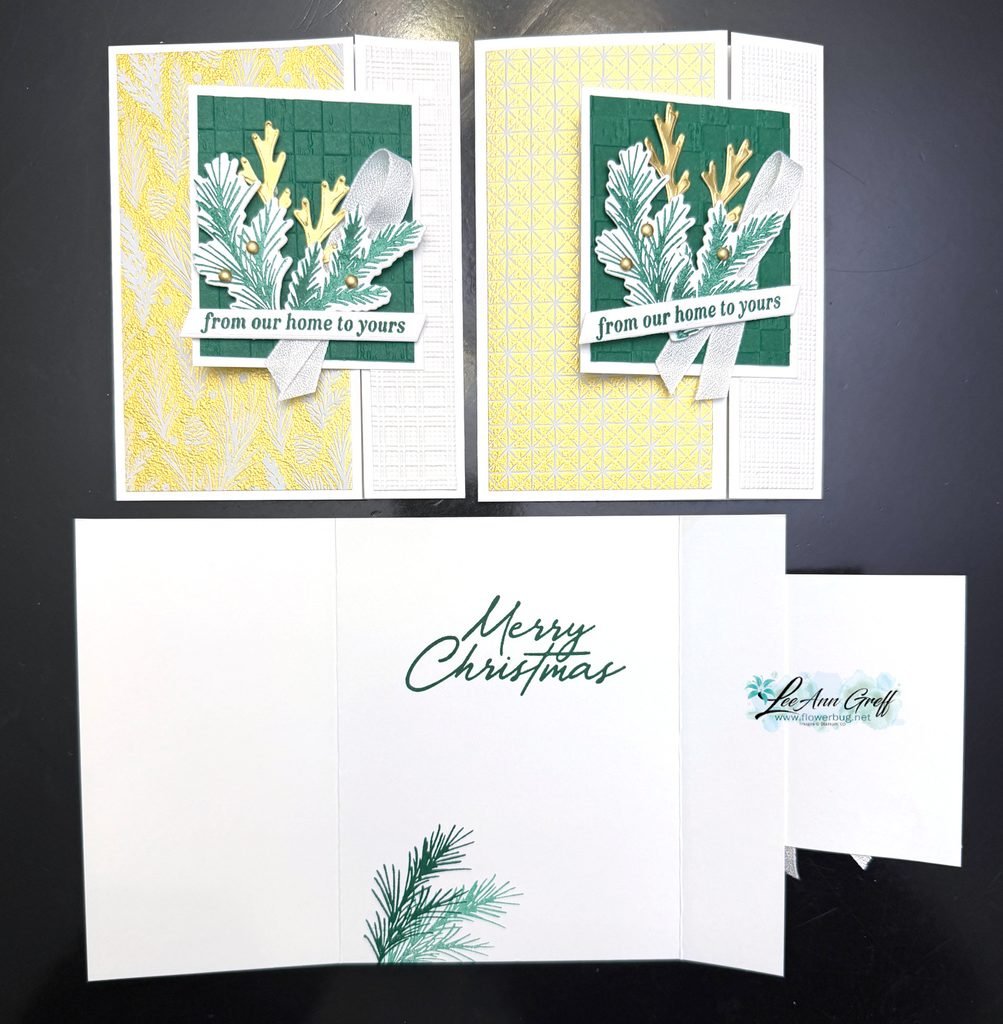
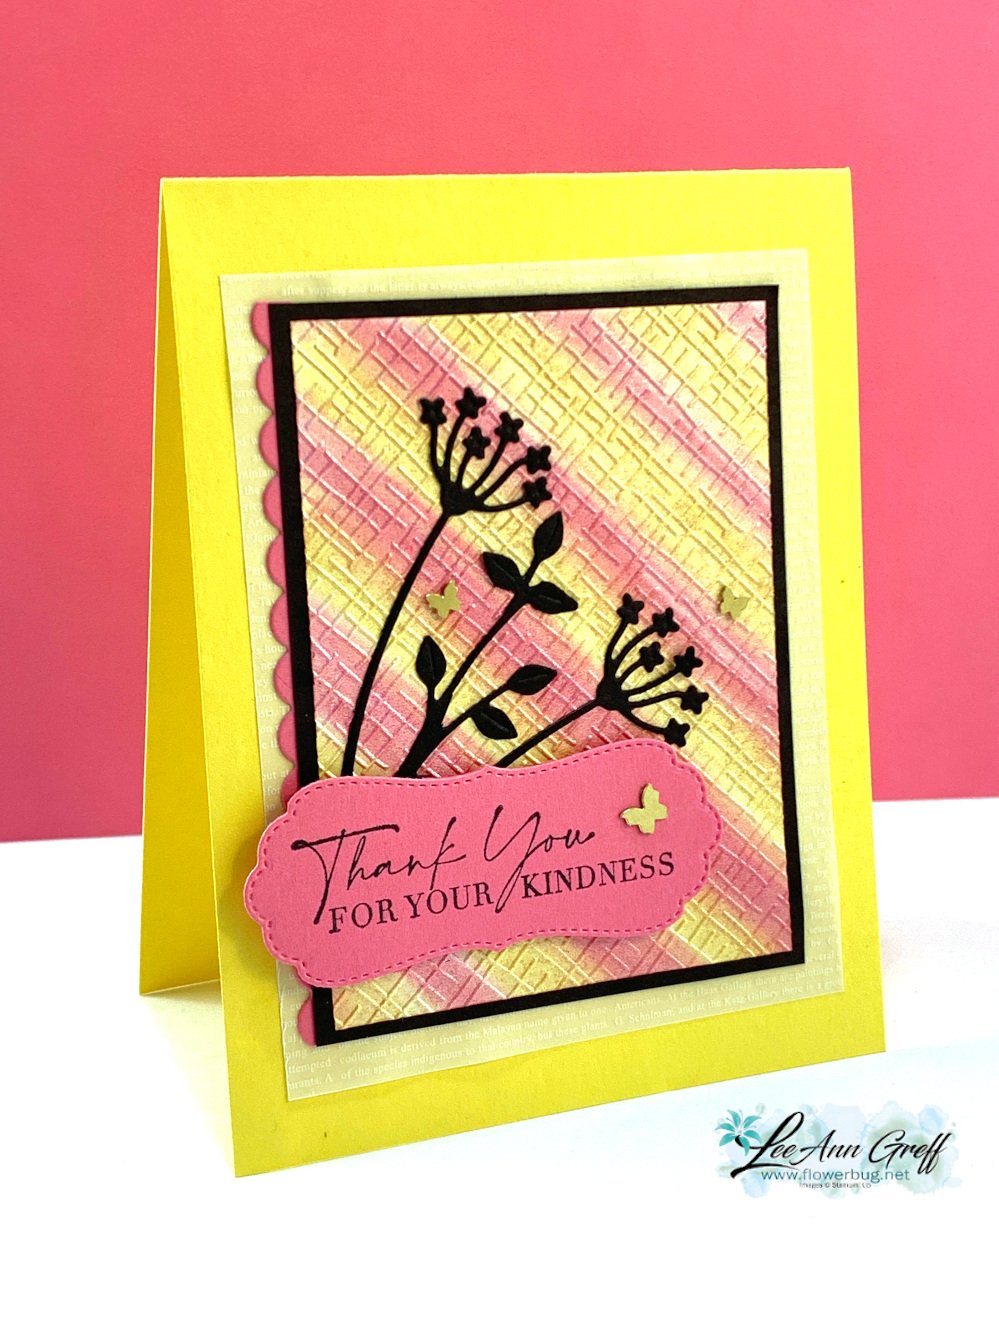
Notice the textures on the Shaded Spruce and White layers. These are new embossing folders from the 2026 Holiday catalog; however both are unavailable right now. They’re out of stock but returning later this month.
*Remember that when you want to know when something is back in stock you can opt in to be notified; this is right on the product item page online. See the Rustic Check folder here and theSoftly Woven folder here.
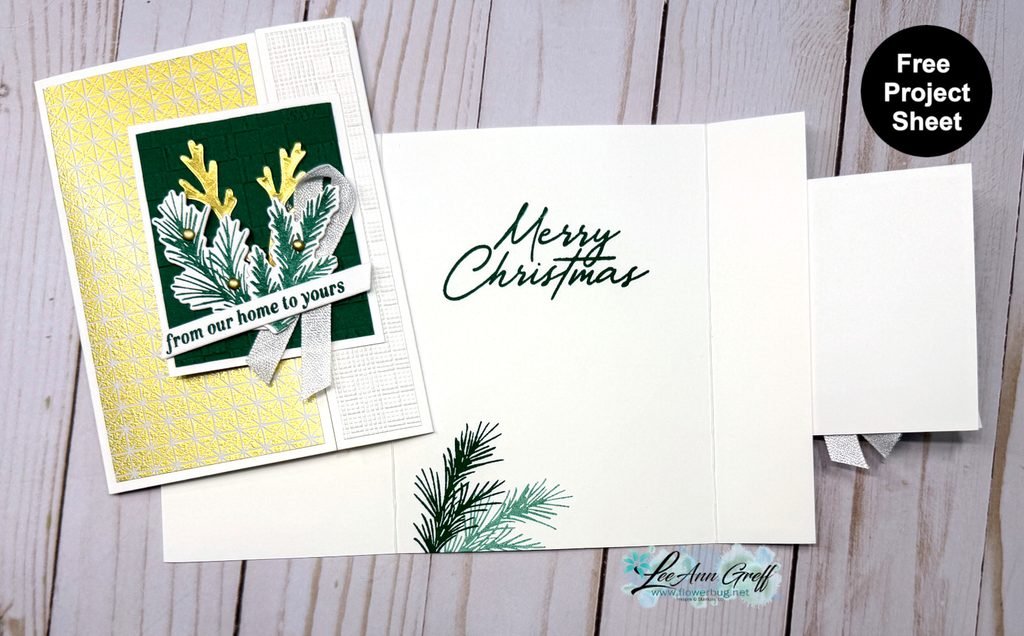
This card opens in a unique way; the center panel is attached to the right side instead of the usual left side. It’s fun to switch things up now & then.
I shared how to make this card on last week’s video. You can see it here or click on the link below.
I also created a free project sheet with measurements. Click hereto download or print it. *Remember that I have a bunch of these free project sheets stored on my blog here.
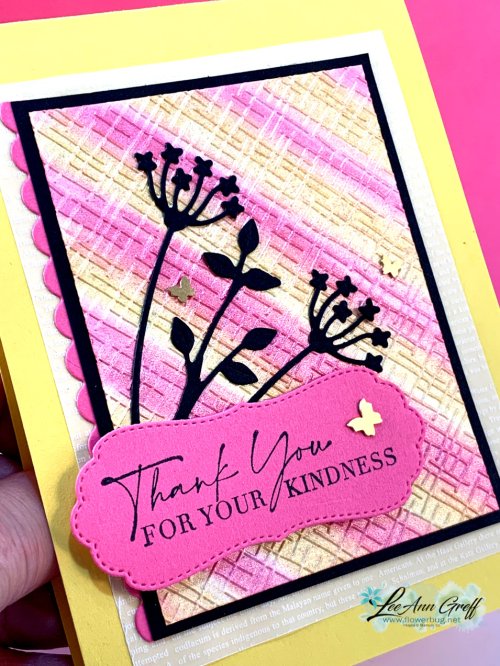
Can you spot the shimmer? I used the Pearlescent paper from the Annual Catalog. See it here.
It was the perfect sheen for this technique as the moist ink did not absorb quickly like it might for regular card stock. Glossy paper would also work well.
After I added the color, I let it dry for an hour or so. Then I textured it with one of the embossing folders in the 3D Basics pack seen here. These are currently out of stock but they'll be back in May.
Below you can see the difference in my cards; especially the colors. One is soft and subtle and the other more vibrant. This happens as you work with your baby wipe; the first few swipes are bold and the next few are much softer.
Tips for success:
Fold and roll your baby wipe in a tube. Hold it tightly and add a few drops of ink refills.
Add each color separately in a row. I tend to add enough for about 1/2" of surface.
Start swiping off your paper and then onto it. You can do straight swipes or get creative and add curves or swirls. Let dry.
Shimmery, pearlescent or glossy works best. But you can do it on regular card stock too.
Notice the colors of the butterflies? I colored the Brass Butterflies with a Polished Pink blends marker for the left card. I wasn't sure I liked it or not so left them uncolored for my swap cards.
Watch the video hereor click on the image below to see this technique. It's the last technique I share in the video.
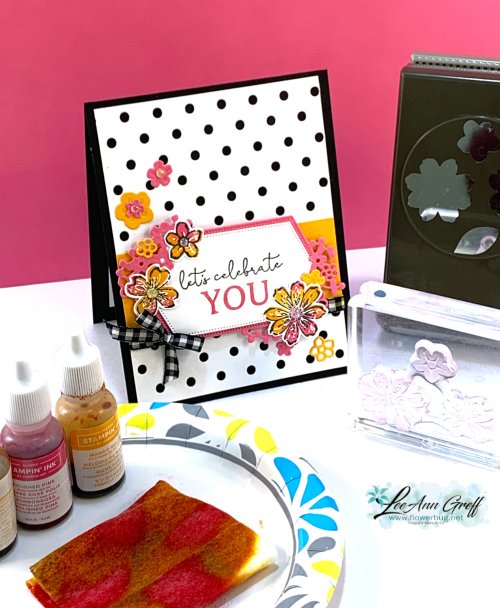
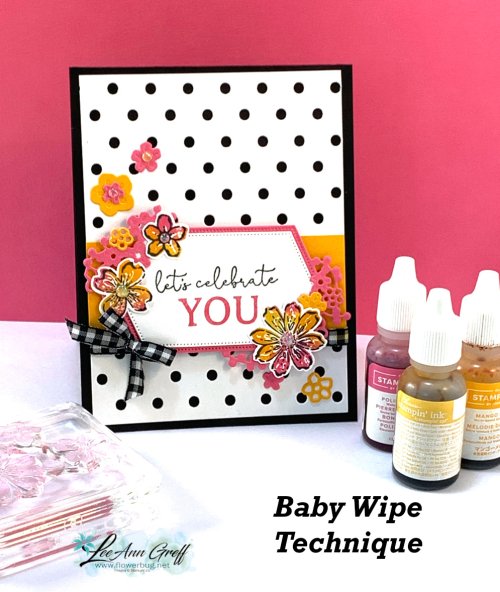
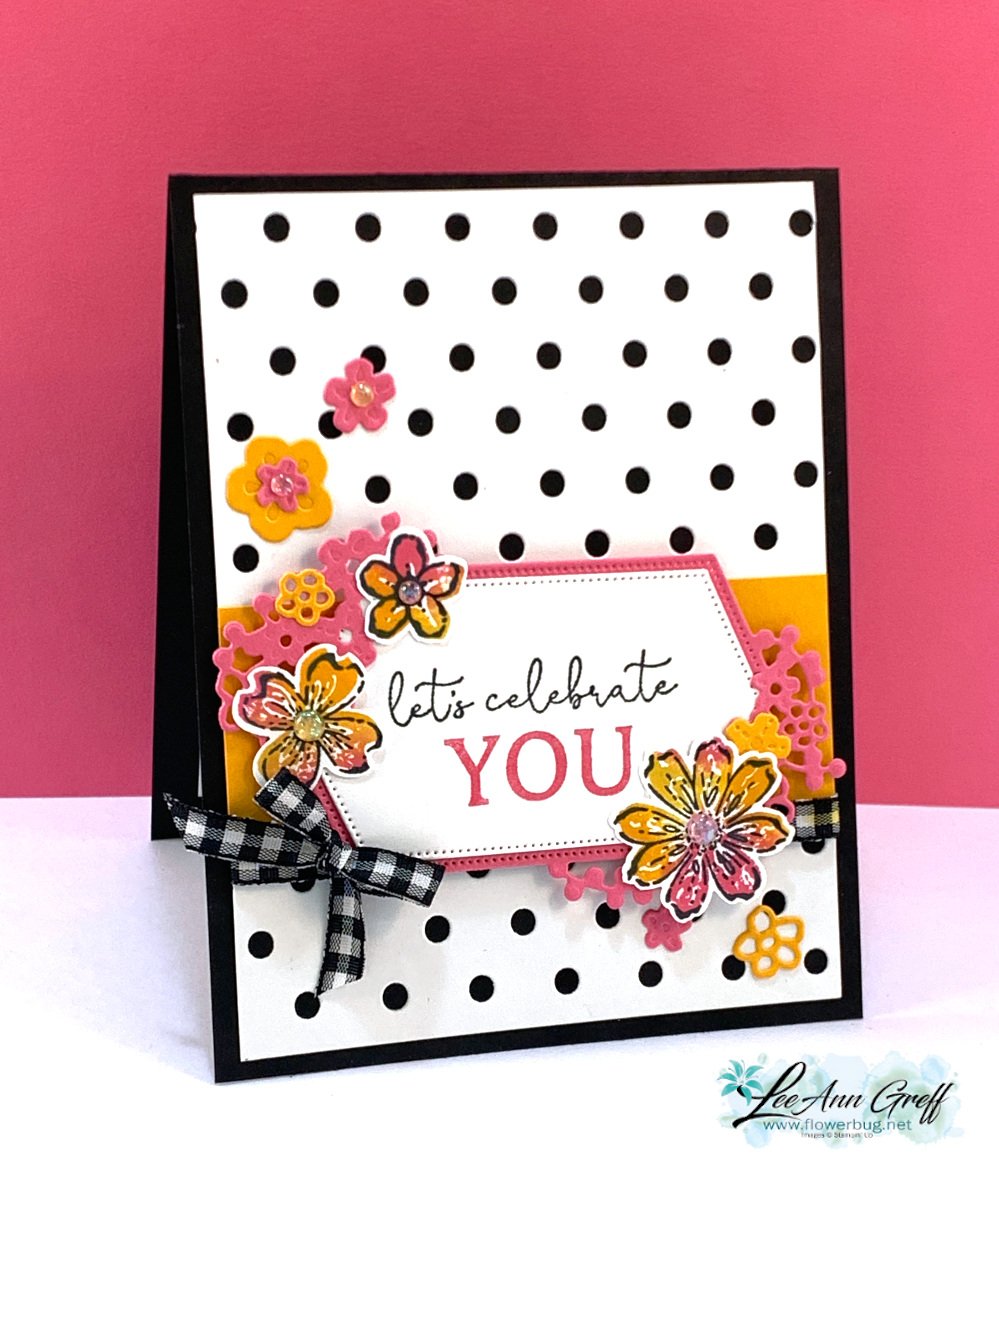
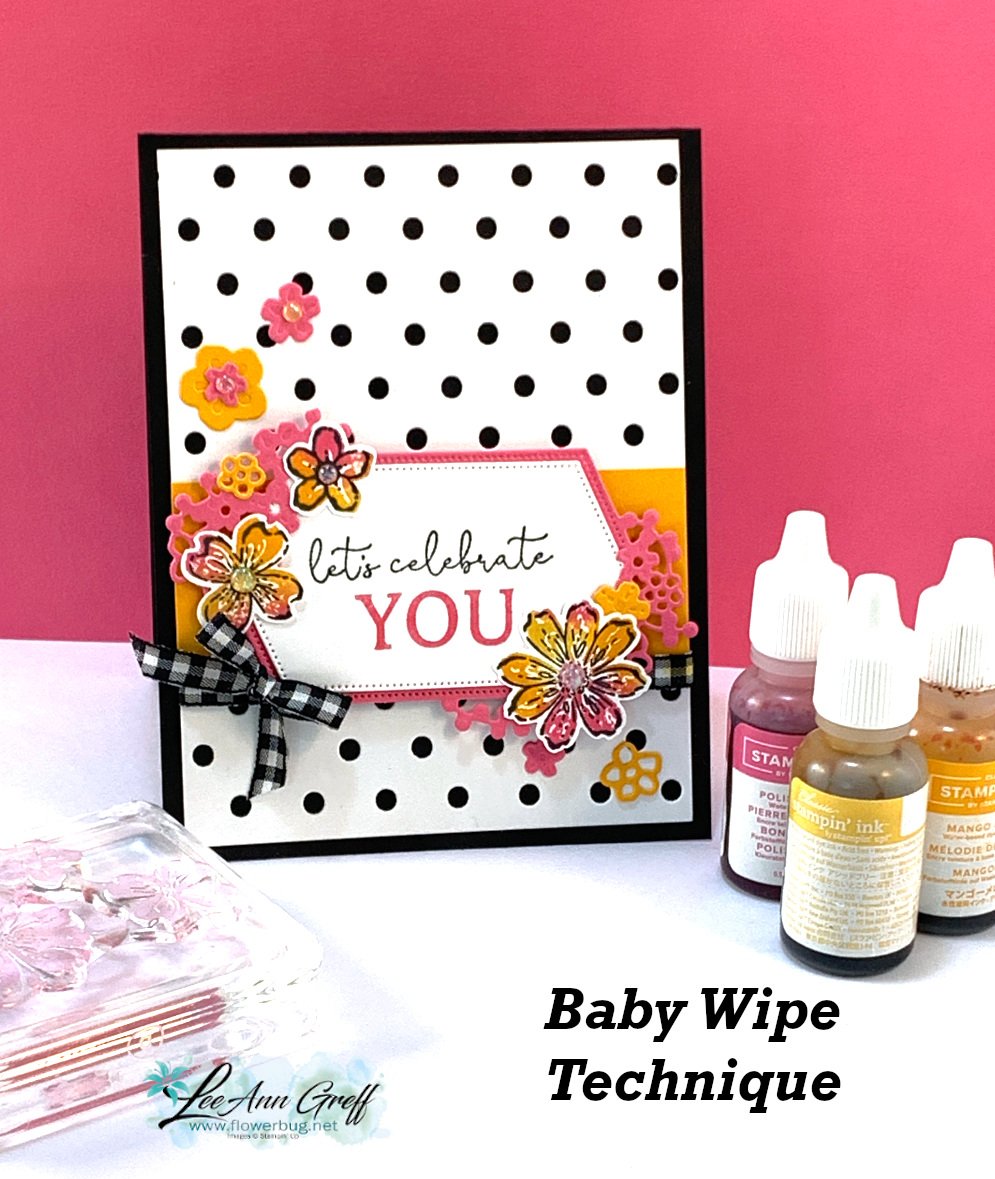
During March our Flowerbug's Team has been focusing on using re-inkers. I hadn't played with the 'baby wipe' technique for awhile. I chose the Regency Park suite when creating this cute card:
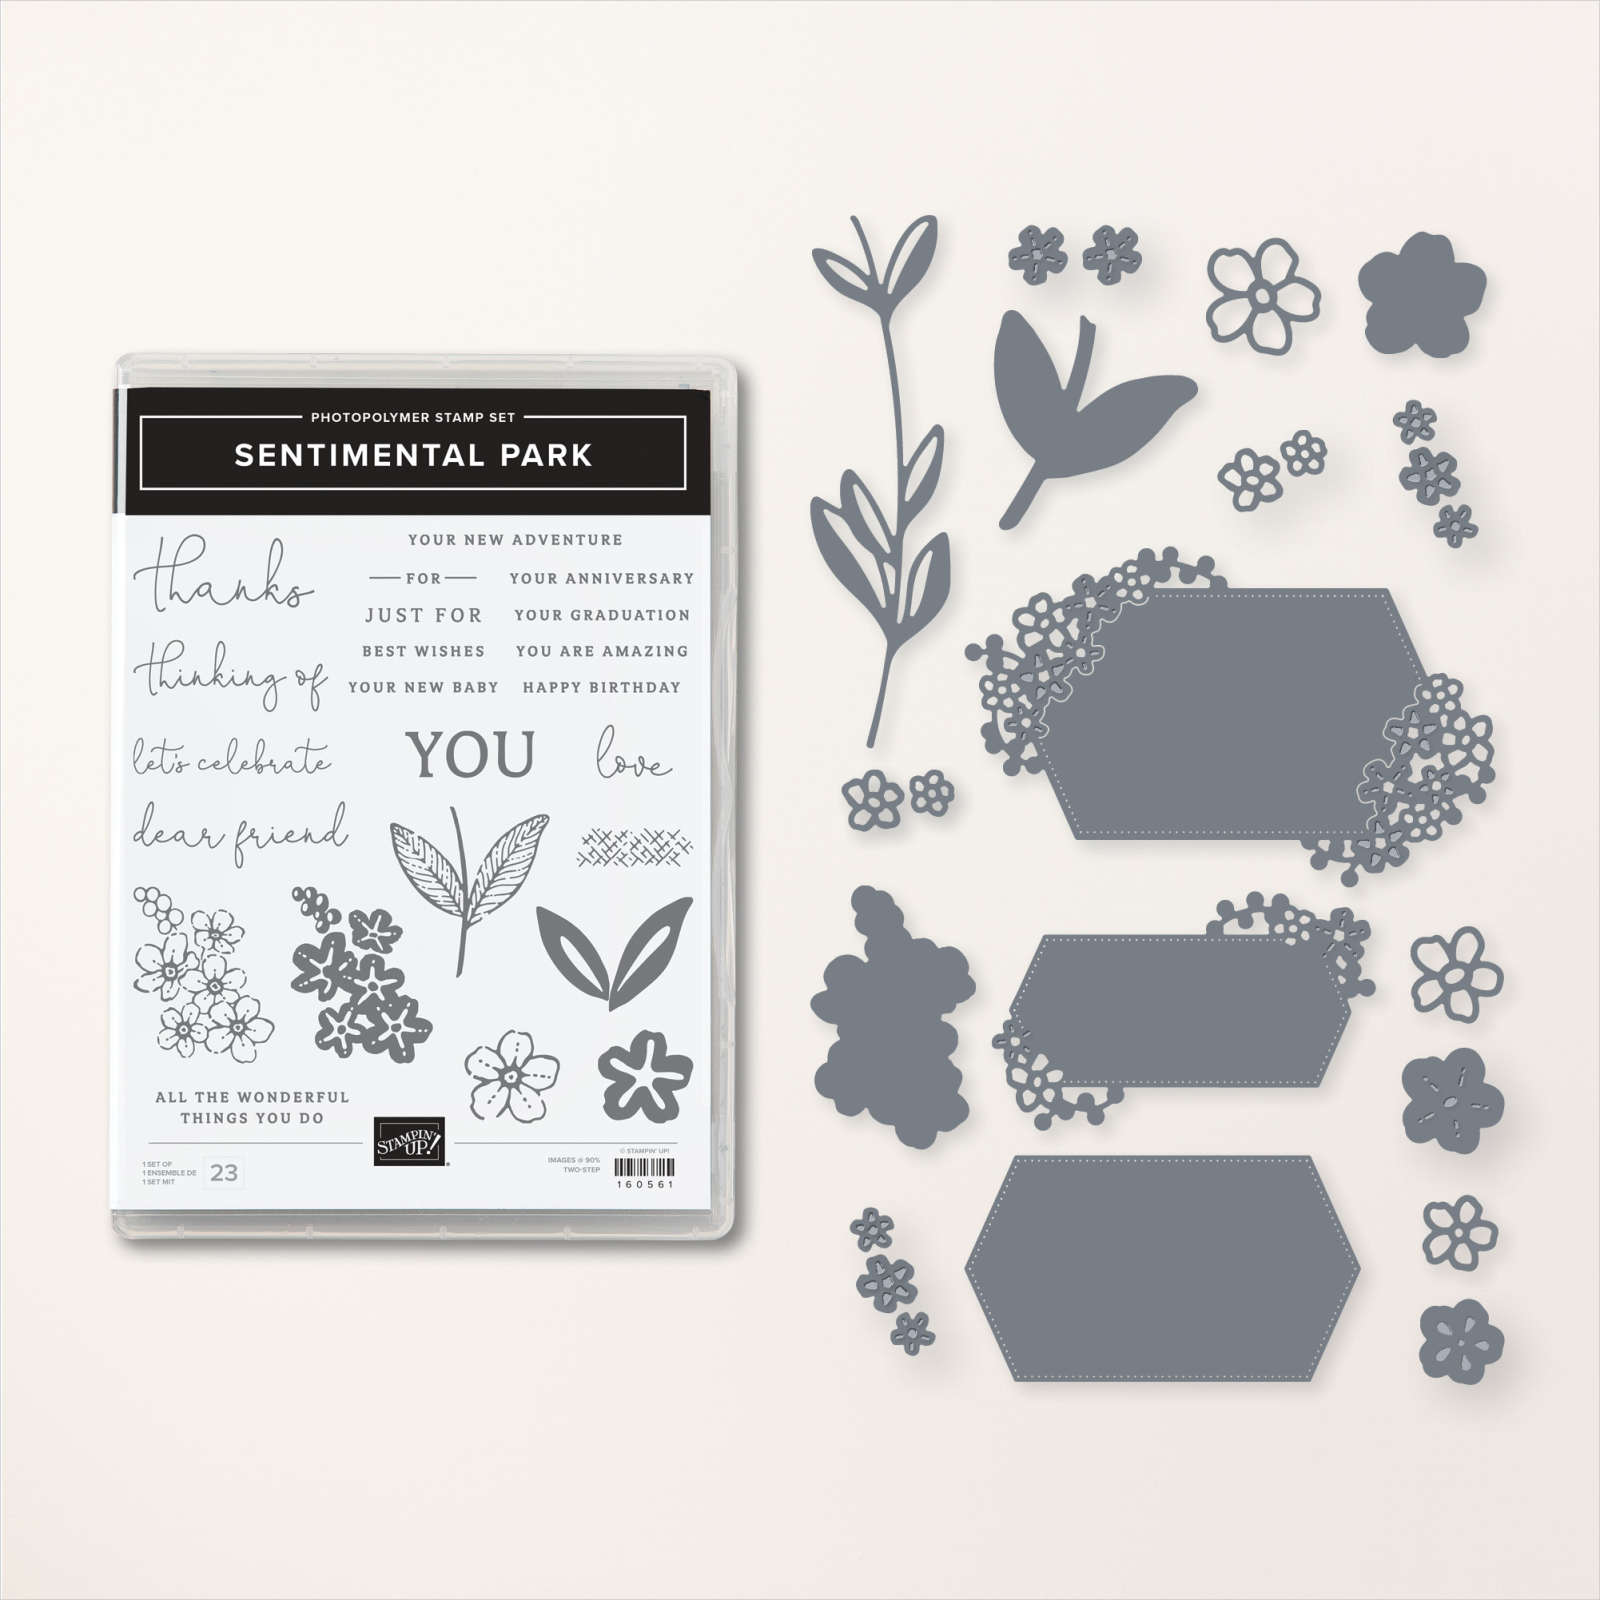
It might not show up well here but the White greeting die-cut is 'caught' and held in place by the larger die & the outer two corners of flowers. These dies fit together perfectly! *you can see the dies in the photo below; the bottom most label nestles into the largest one with flowers on two edges.
Here's the Sentimental Park bundle as well, with the greeting & die-cuts. This bundle was one of my first purchases from the Spring catalog and I've used it a lot!
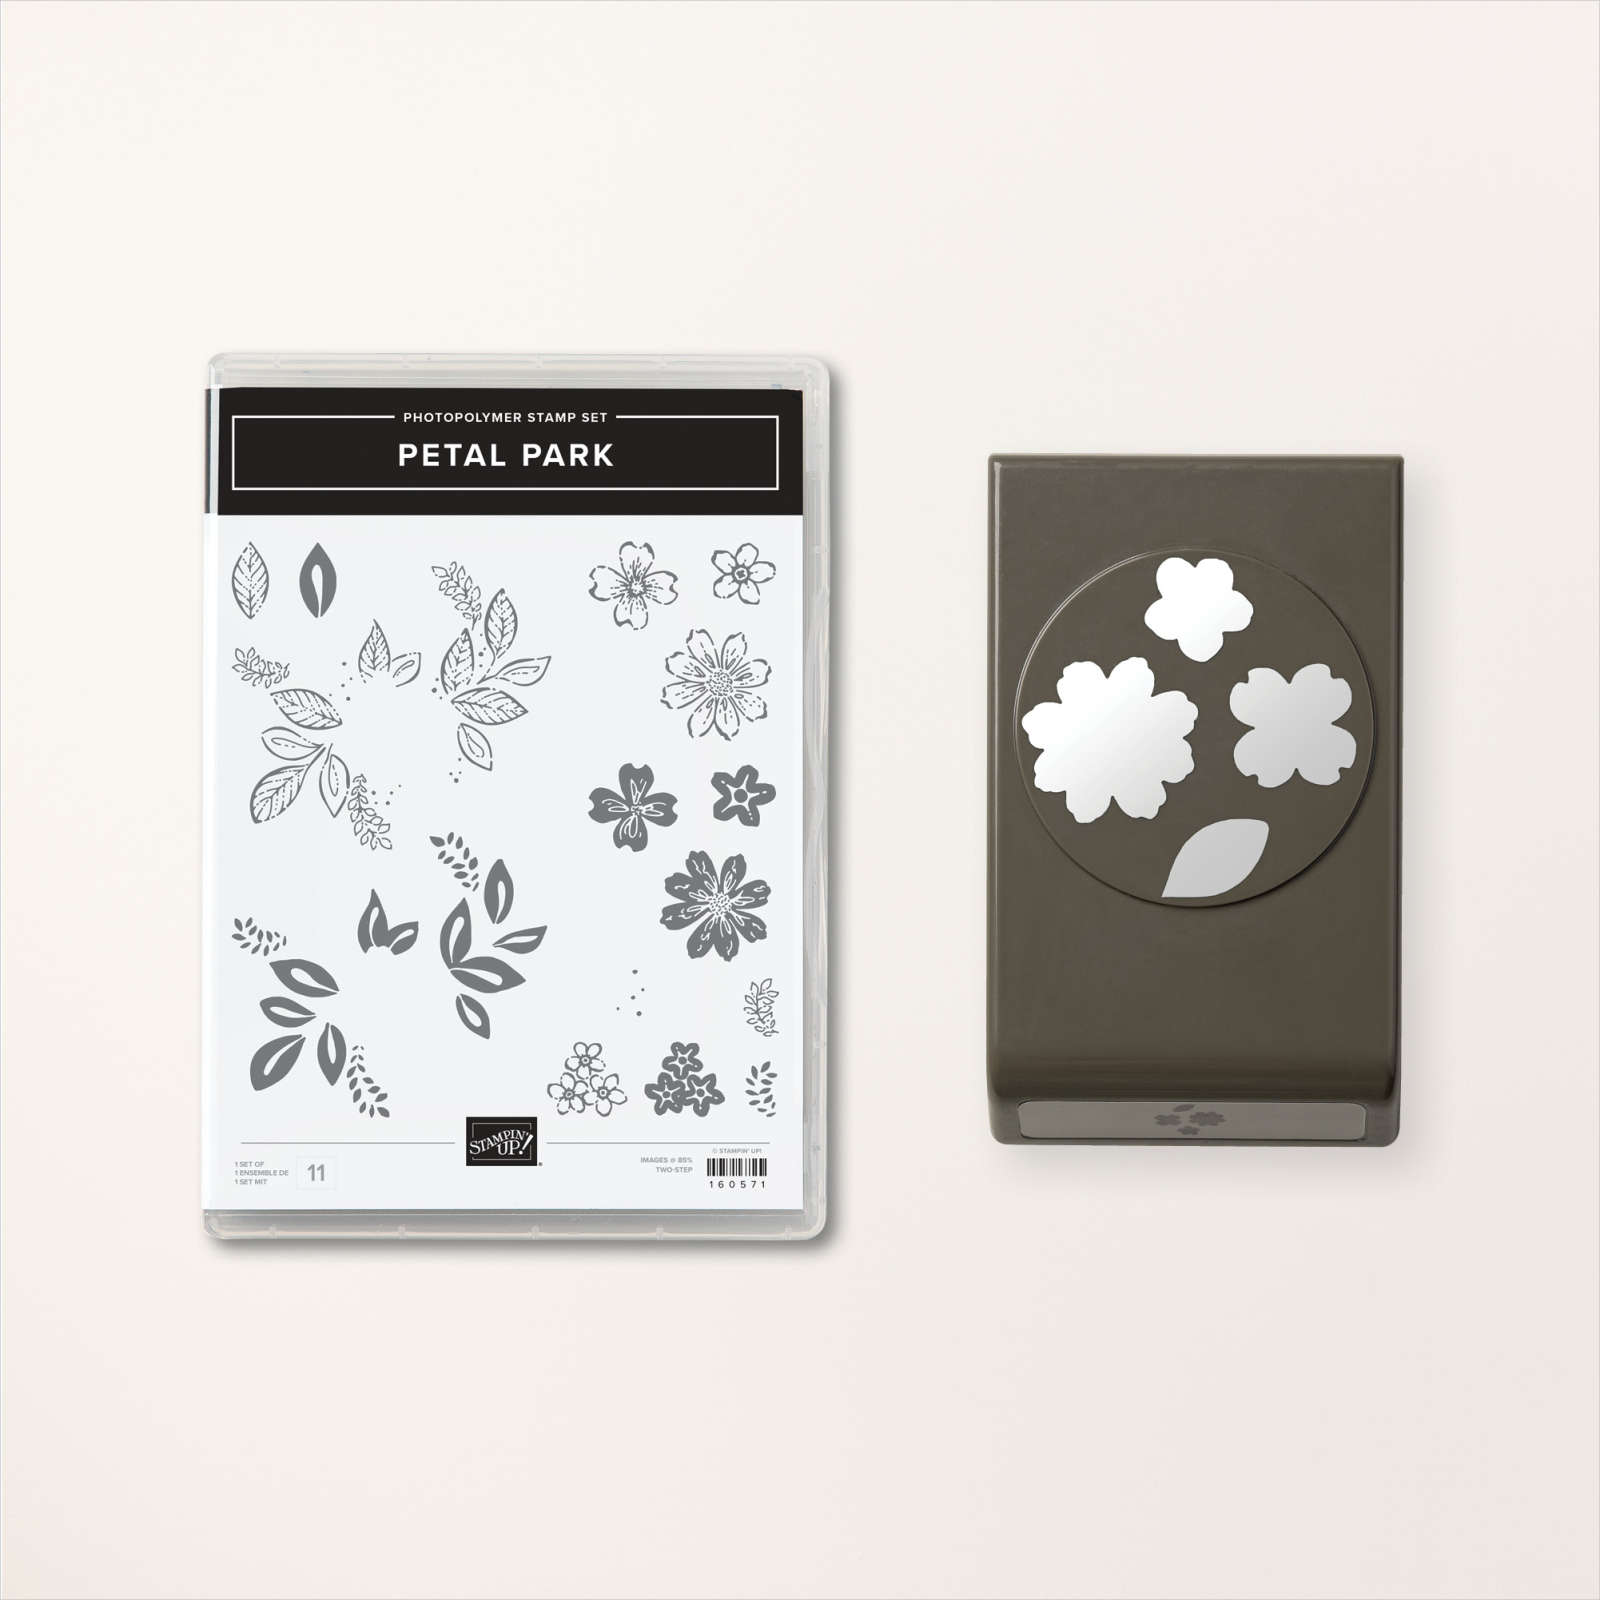
The other bundle in this suite is the Petal Park bundle seen here. It includes the stamp set & coordinating flower punch. I used the solid flowers on the middle right for my baby wipe technique and added the outline flowers (top right) in Black.
What supplies do you need for the Baby Wipe technique?
A baby wipe or two
At least 2-3 colors of ink refills
A stamp and card stock
Success tips for the 'Baby Wipe' technique:
Choose colors that work well together. I tend to choose 3 of my favorites like yellows with pinks, blues with greens, purples with blues etc.
Pick a stamp with a solid image; lots of rubber. An outline image will not show your colors well.
Fold the moist baby wipe into an ink pad; I use at least 4 layers.
Drop multiple drops of each color in each area. For example – 4 drops of yellow, move over a bit, 4 more drops of yellow etc. Then fill with the second color in the same manner. Fill in any empty areas with the 3rd or last color.
When inking your image stamp it in your 'baby wipe' handmade ink pad multiple times, trying to keep it in the same place as much as possible. Moving the image around too much can muddy your colors.
Huff the image and stamp!
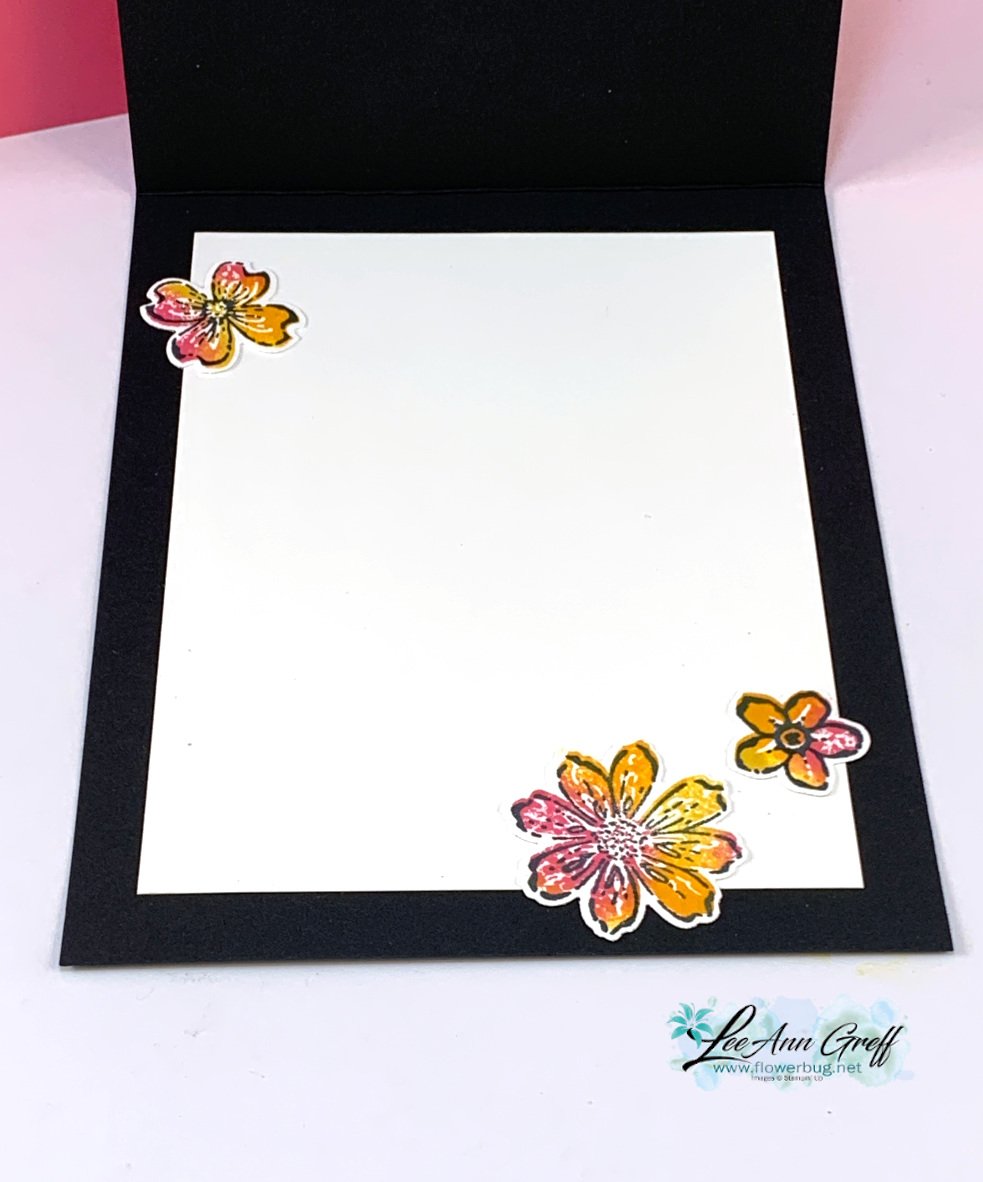
Here's the inside of my card; I added a few more of the multi-colored punched flowers.
Notice: LeeAnn Greff, Independent Stampin’ Up! Demonstrator, Manager. The content of this website is my sole responsibility as an independent Stampin’ Up! demonstrator and the use of, and content of, the classes, services, or products offered on this website is not endorsed by Stampin’ Up! Copyright 2025






























Leave a Reply