I recently held a BOGO event for my local customers, and I wanted to extend a similar offer to you.
Here’s how it works: If you place an order over $100, I will send you a mystery box filled with Stampin’ Up! products for free. I’ll even pay the shipping to you! It’s an amazing deal!!

Don’t wait to grab yours! I have a limited supply.
Each box includes at least $200 in product value and includes these items:
- 2 stamp bundles with either dies or punches
- 1-2 stamp sets in photopolymer or red rubber
- 1 thick bunch of 6 X 6″ designer paper
- an embossing folder or set of dies
- 2 ribbons or twines
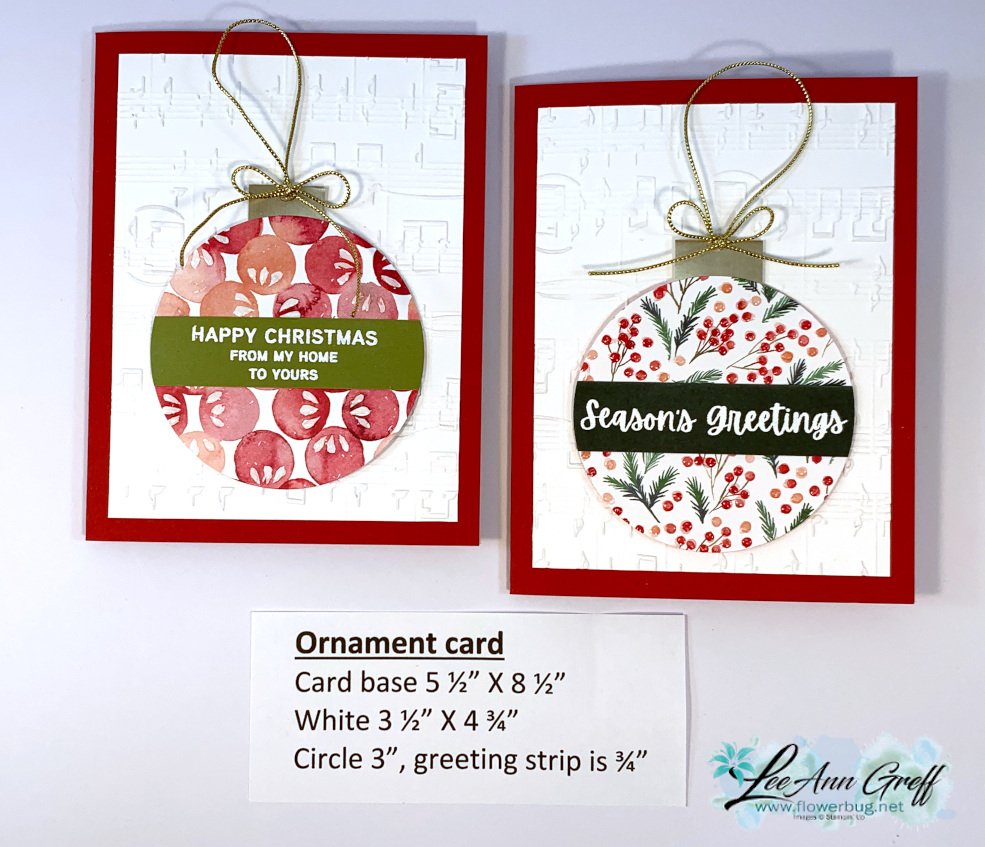
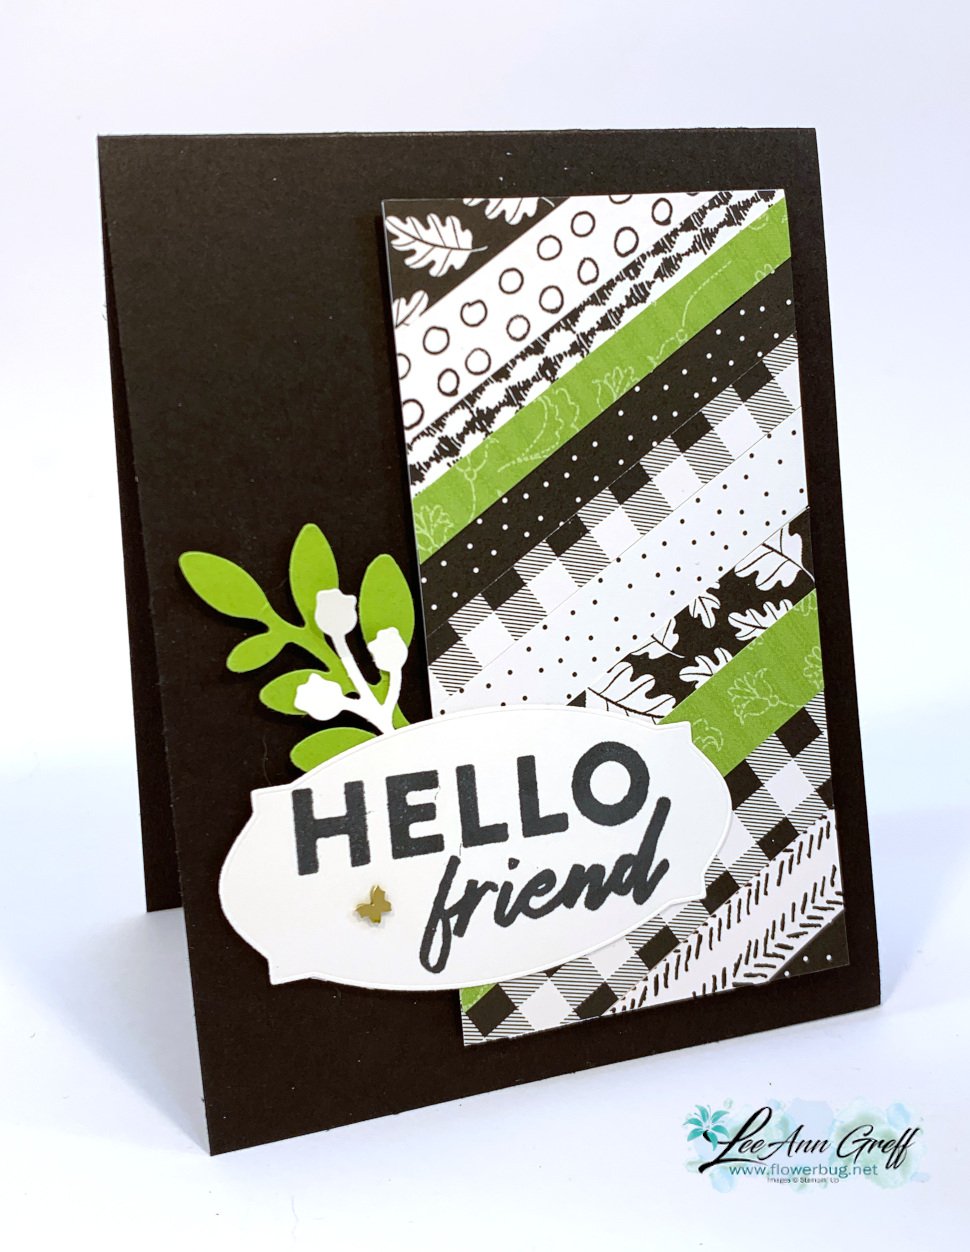
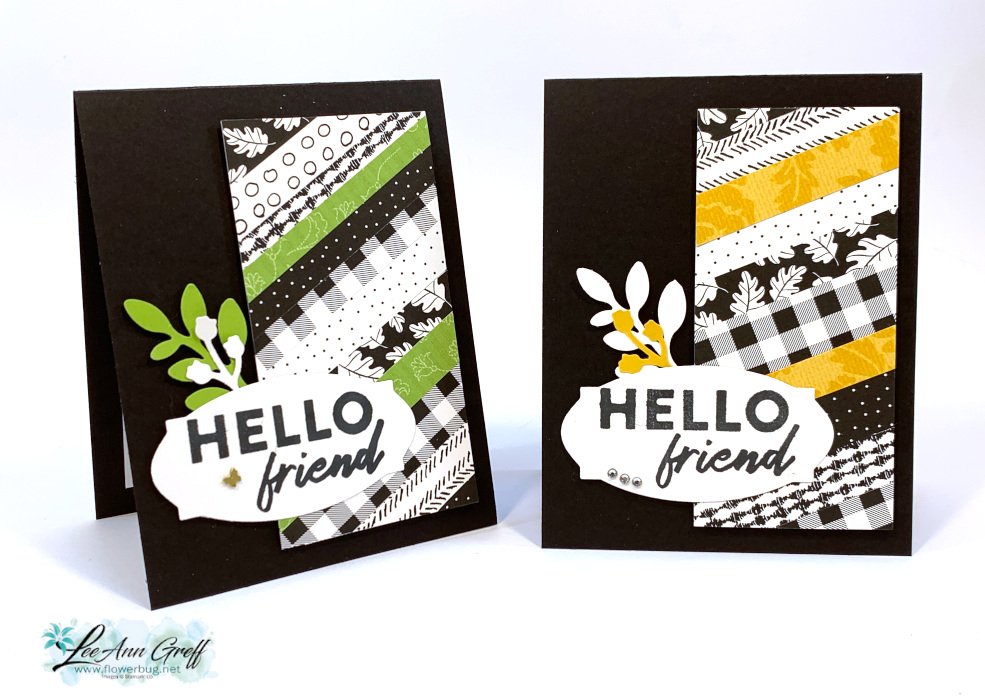
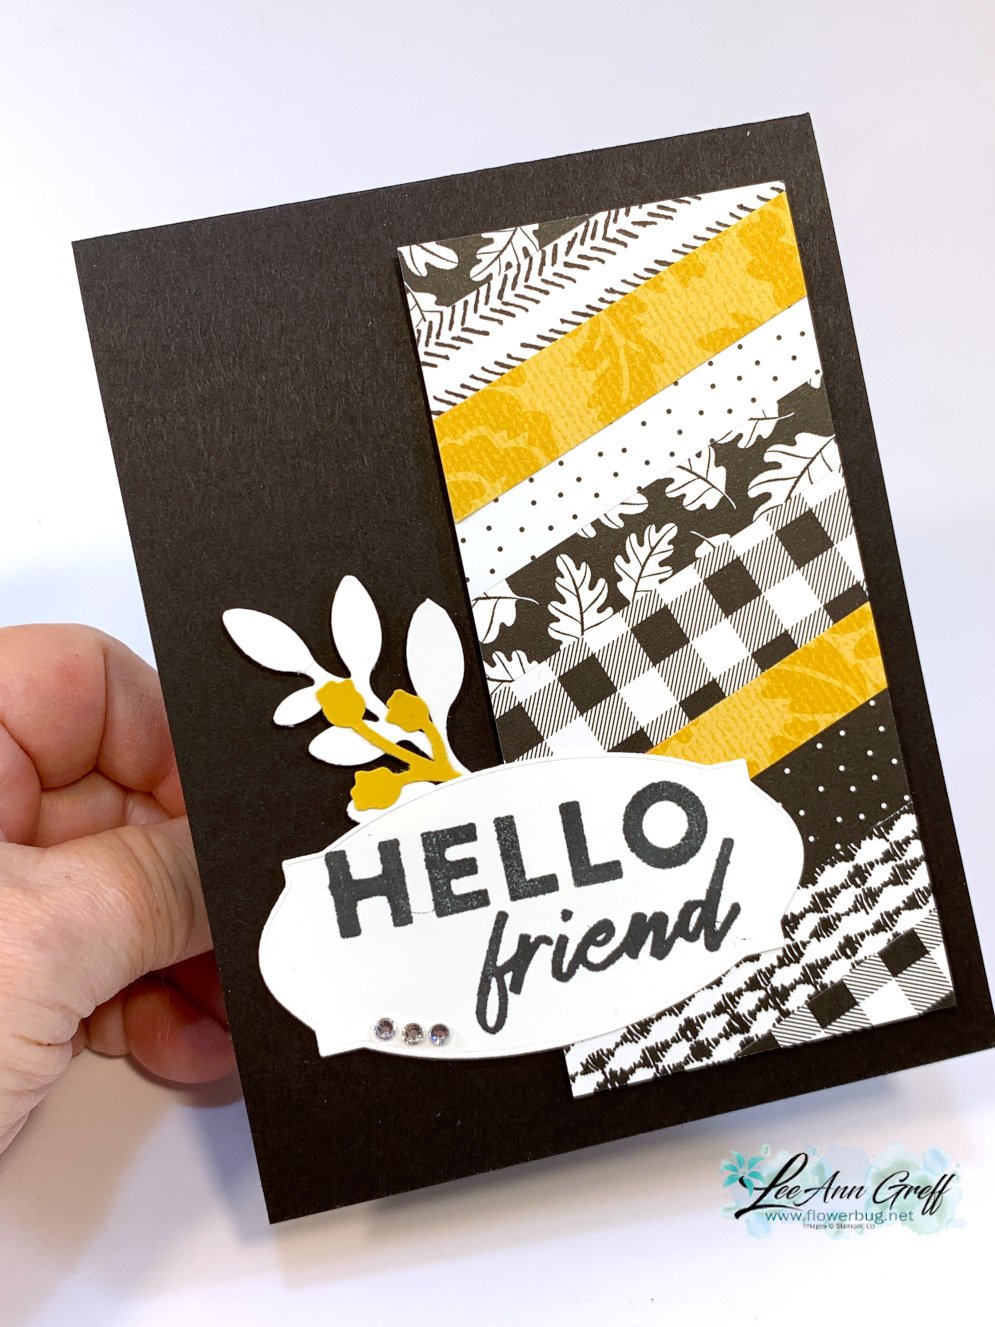
- 8 handmade cards
- 2-3 hand-cut acrylic clear blocks
- many will include the following – a Paper Pumpkin card kit, gems, ink, ephemera, cards & envelope pack or stencils
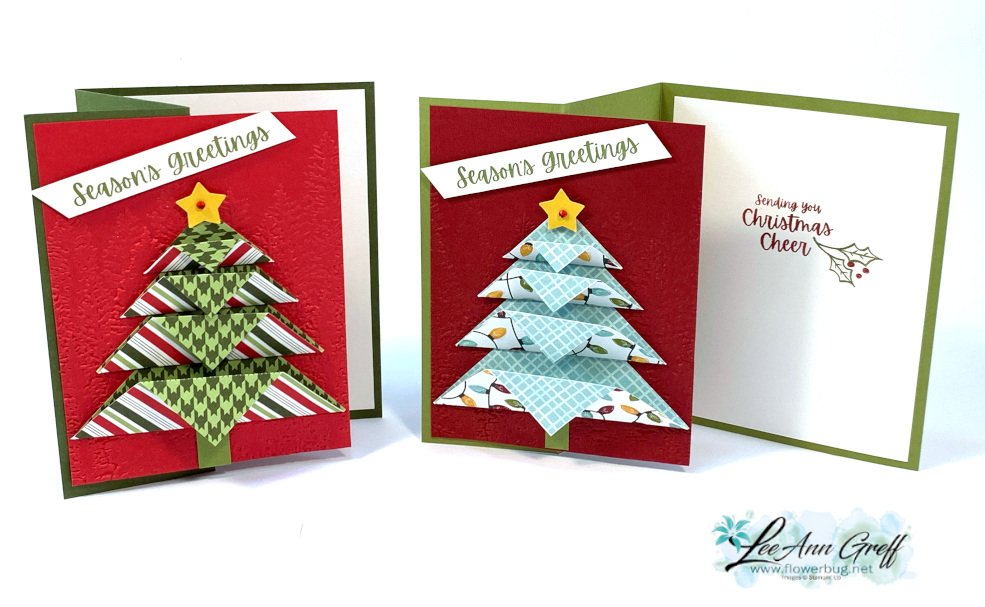
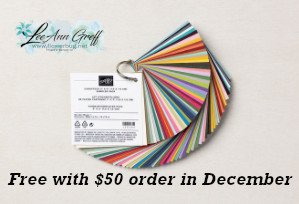
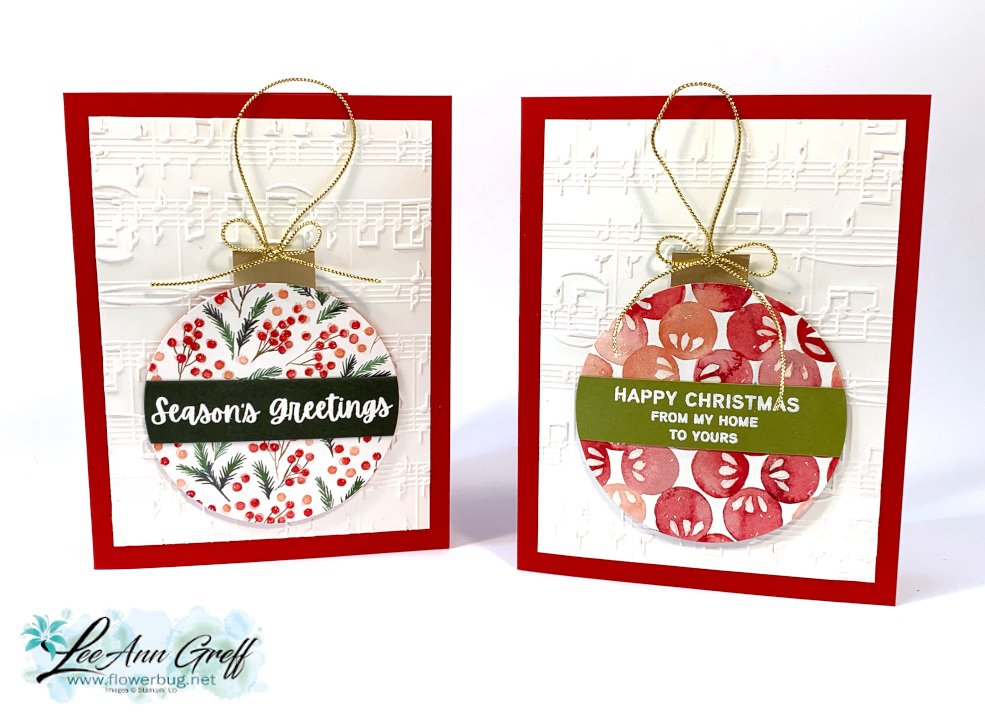
This is a sample photo of what your box might include:

Go here to shop; I still have some left! Before you order; message me to see if I have some left.
Don’t forget to add on one of the Products of the Month for just $5!
Remember; you can shop the NEW CATALOG, the new Online Exclusives, the Last Chance List or the new kits!


Leave a Reply