/


Latest Post

Neat card layouts you’ll love on these Team swaps!


Today I'm sharing more of our Team swaps from our latest gathering.  

First up is Tracey's swap featuring the Full of Life designer paper.
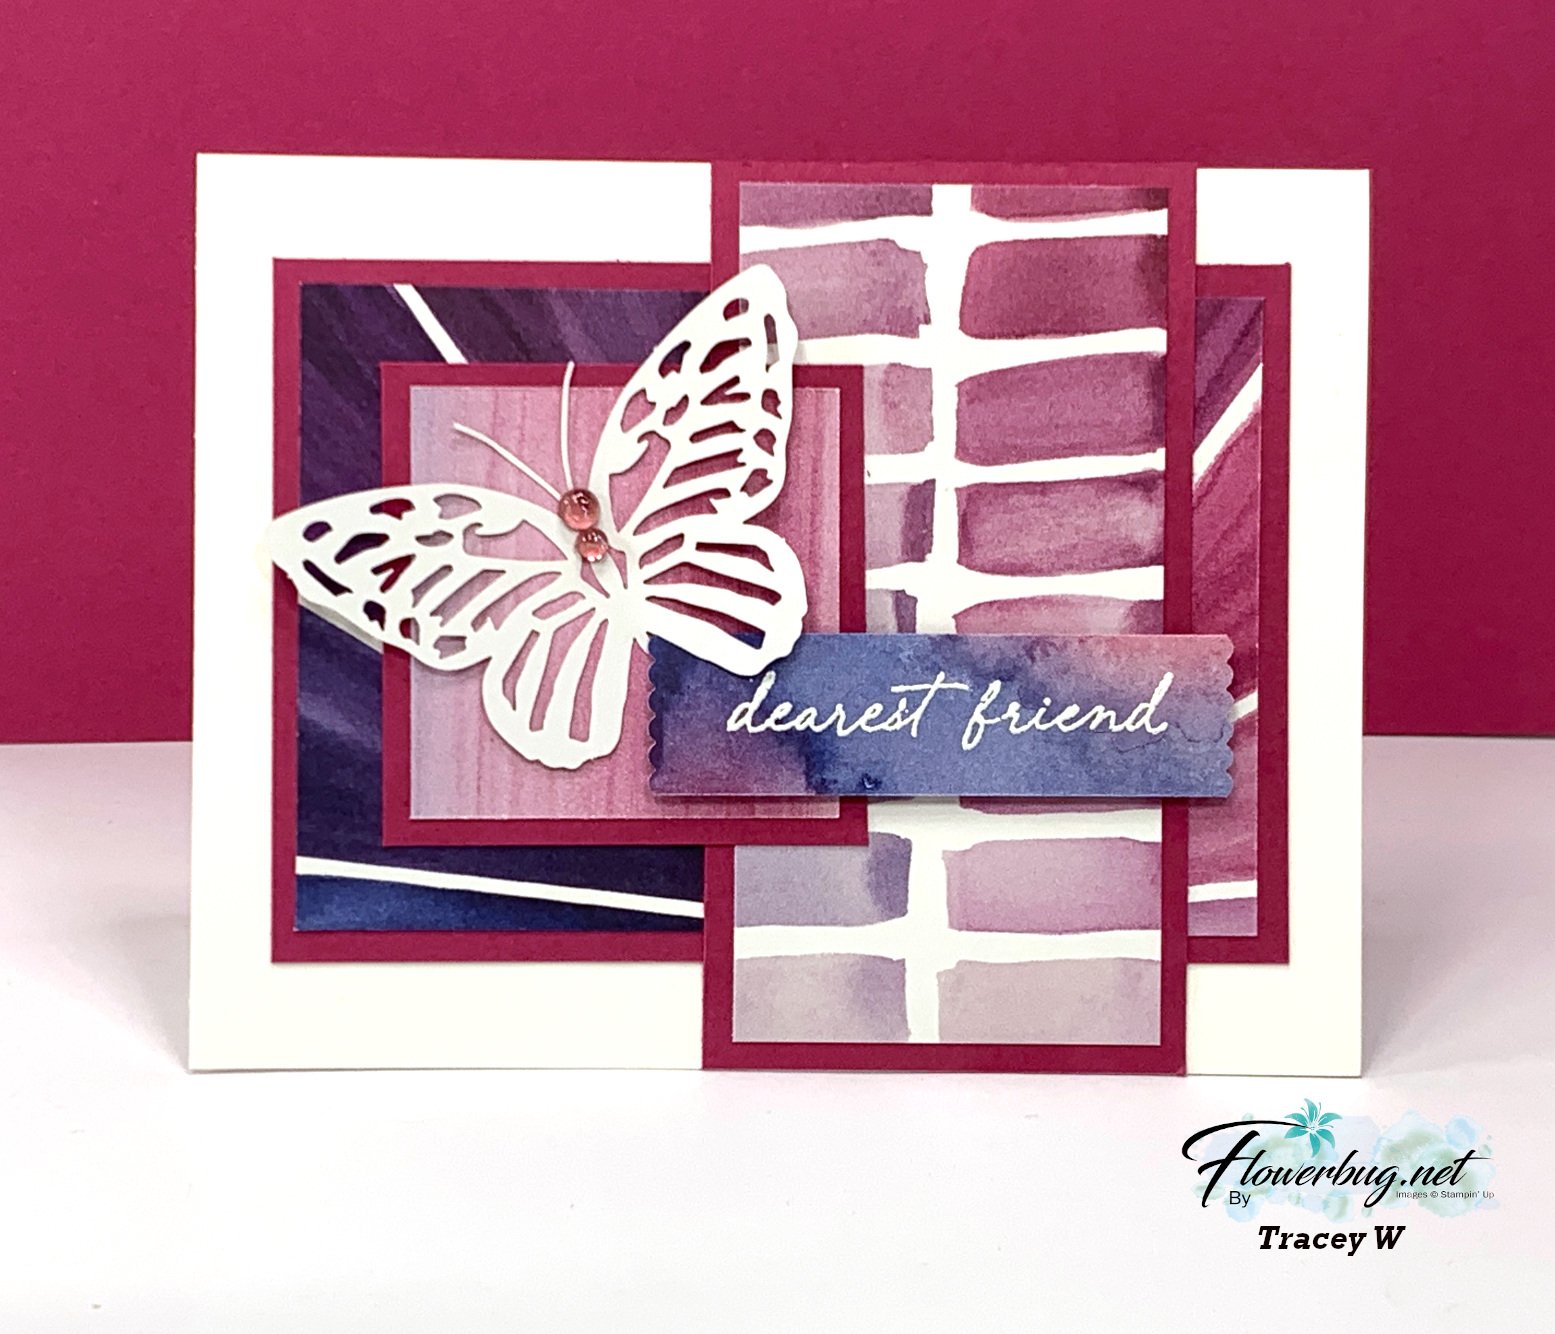
This pack of paper is filled with bold patterns and bright colors; see it here.  She layered 3 pieces of designer paper with Berry Burst card stock. The greeting is heat embossed on the back side of one of these patterns.  

The butterflies are from the Paper Butterfly Accents seen here. They are available in the online store now. 

Measurements:

  • White card base 5 1/2" X 8 1/2" score/fold at 4 1/4"
  • DSP – largest 4 1/2" X 3", tall 2" X 4", 2" square
  • cardstock layers – largest 4 3/4" X 3 1/3", tall 2 1/4" X 4 1/4", 2 1/4" square
  • Greeting is 3/4" X 2 3/4" (used the Happy Labels Pick a Punch on the ends) 

Next is a beautiful card made by Ginny; she chose the incredible Thoughtful Journey designer paper (out of stock & unavailable until the week of May 27th).
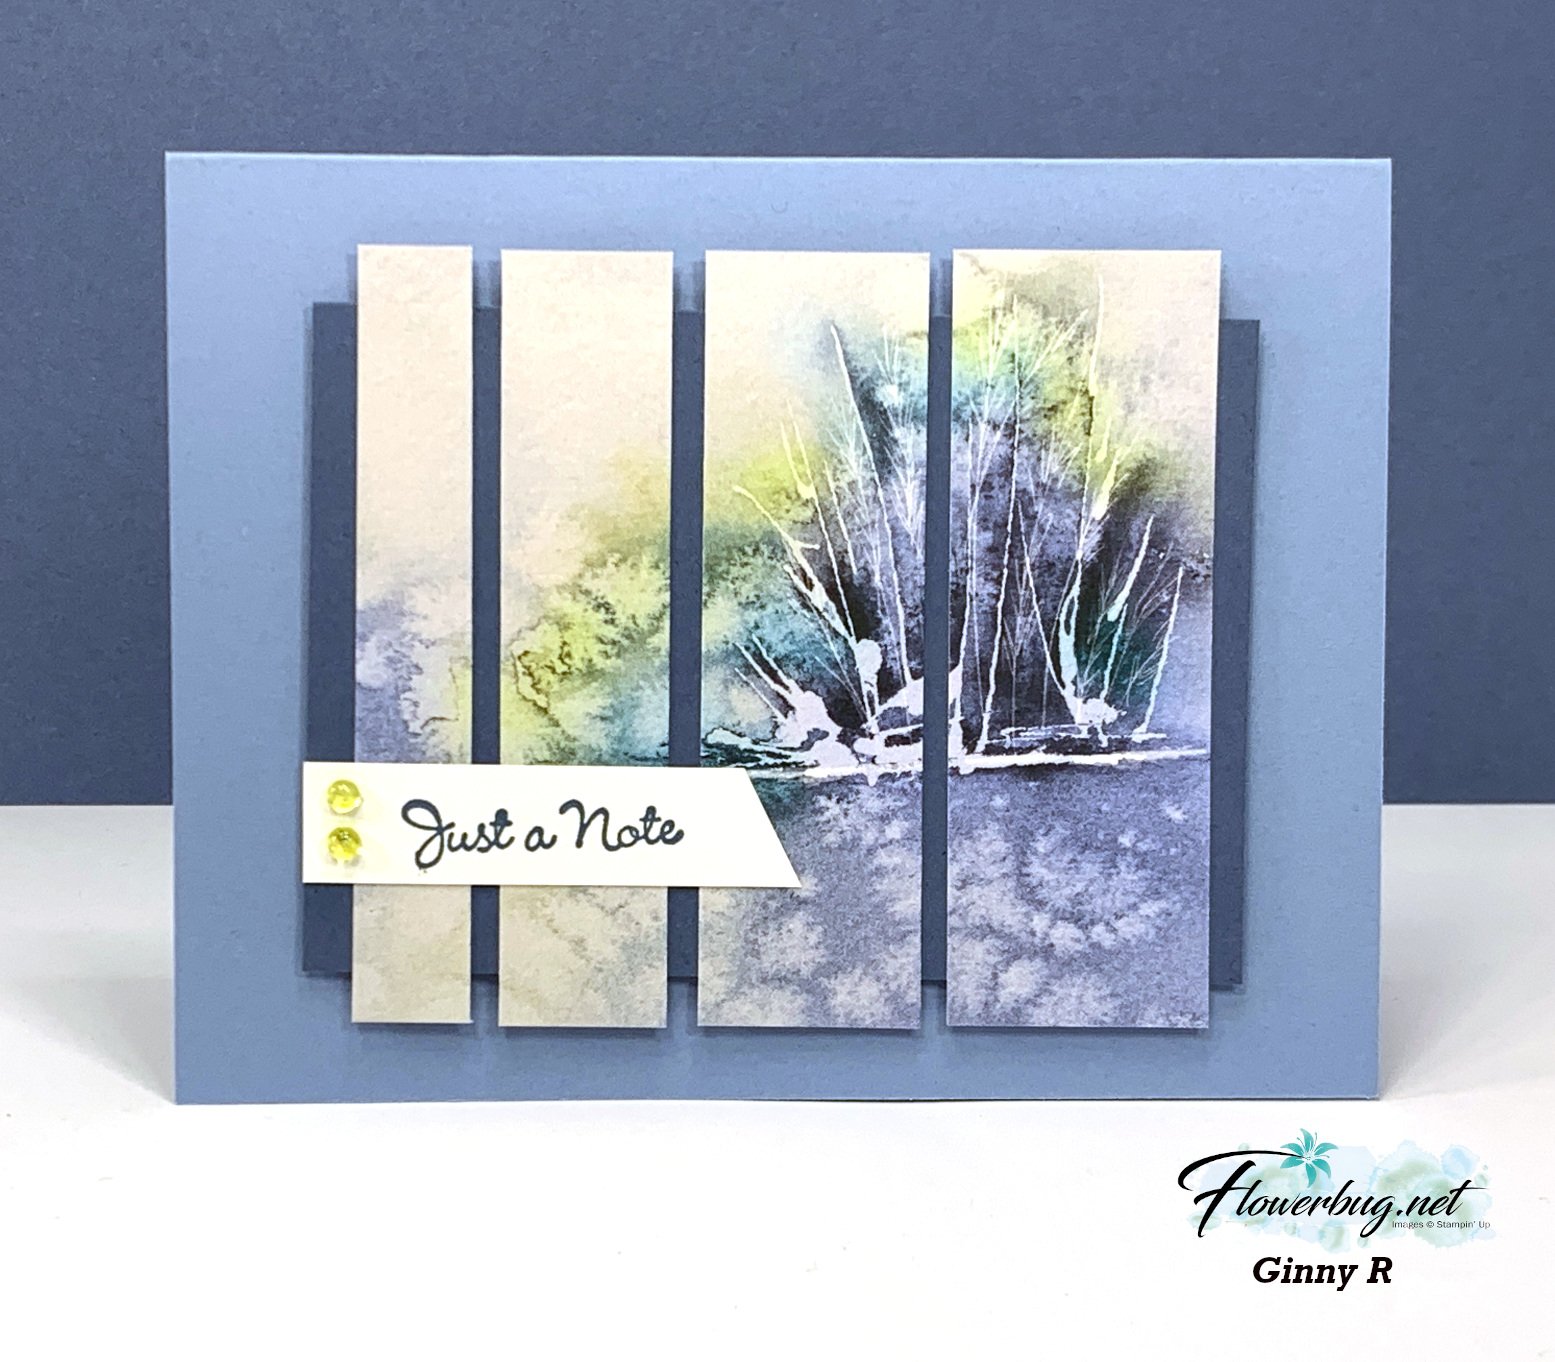
I shared another version of this card here last week.  

To make this card you need just a few pieces of paper to start with, plus your greeting. 

  • Card base 5 1/2" X 8 1/2" score/fold at 4 1/4"
  • DSP 3 1/2" square – cut from the left side at 1/2", 3/4", 1" and 1 1/4"
  • Misty Moonlight card stock is 4 1/4" X 3" 

Next is a soft & pretty card made by Jonna. She chose to feature the Cheerful Daisy stamp set & coordinating dies seen on page 75 of the Annual Catalog. 


Her fresh color combination is Lemon Lolly with Soft Sea Foam. She added this pretty soft yellow ink to the daisy centers and layered the dies so nicely they look super realistic!  The embossing folder is the Exposed Brick 3D which is currently out of stock; but it will be back! 

Measurements:

  • Card base 5 1/2" X 8 1/2" score/fold at 4 1/4", upper layer is 5" X 2 1/4"
  • Lemon Lolly layer 5 1/4" X 4"
  • White textured is 5" X 3 3/4", stamped White is 5" X 2"

I'll be back with more swaps tomorrow! 

~~~

May Specials: 

*current host code link:  9AWSF9T9 or FERX3EKC

~~~

Get over $200 in products for just $99 in May! 

You'll get tons of new In Color products plus choose $125 in products of your choice! 

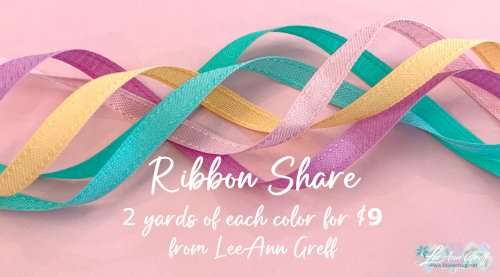
Click on the pictures above or below to get to my new catalog shares – choose from designer papers or a ribbon share. 
~~~
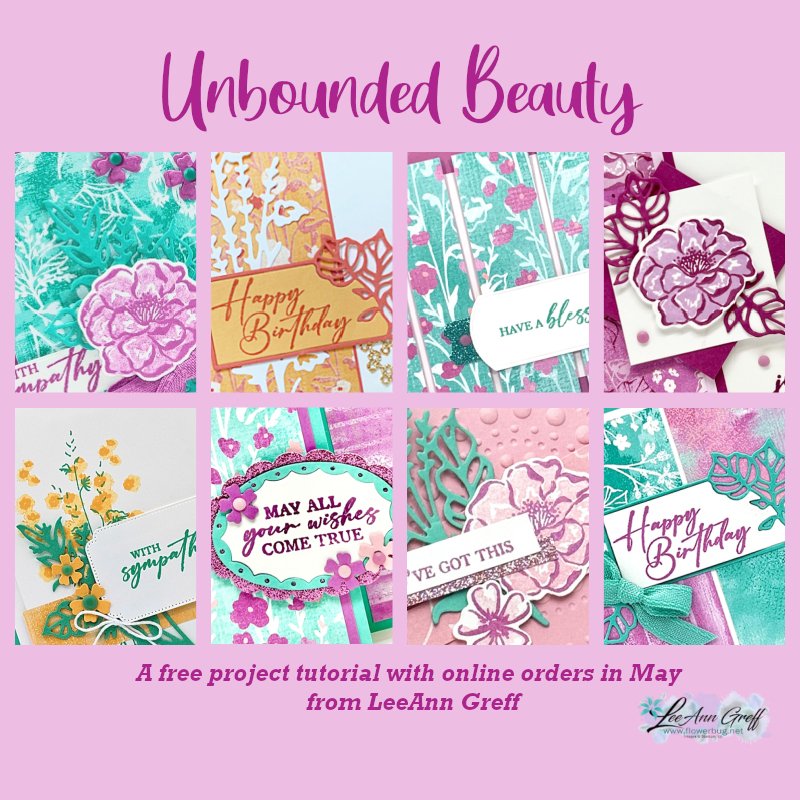
All online orders in May will receive a free project tutorial and if your order is over $50 I'll also send you a pre-cut card kit!


All Posts

  • Fun Latch Fold card with Music From the Heart


    I had to use my friend Dawn Olchefske's new stamp set for January club. It's the set she designed for her million dollars in sales achievement!  It's a fabulous music themed set called Music From the Heart.  Look!

    Look at this fun latch fold card!


    The Classic Label punch is perfect to create the 'latch' for this card closure.  We did have to widen the opening a bit by punching off to the side an extra 1/4" on each side as I wanted a larger front layer than the punch allows for.  If you watch the video below you'll see what I am referring to.  

    I decided to offer a choice of card themes for my gals; Valentines, Anniversary and Birthday.  I used the Heart to Heart set for the Valentine's greeting. This pretty foiled paper is called From the Heart specialty designer paper.  You can see it here. 

    Did you know that you can 'play or stamp' Happy Birthday with the individual notes in this set?  Isn't that the best idea ever?! Although creating a 'guitar' from two stamps in this set is even more clever! If you have a musical person in your life you need this set! 

    Be sure to watch my video to see how to make this fun fold card.  It's amazingly easy! 

    Measurements:

    • Real Red 4 1/4" X 8 3/4" scored at 5 1/2"
      White inside 4" X 5 1/4", front and inside flaps 2" X 3 3/4"
      Black 2 1/4" X 8" scored at 4"
      From My Heart Specialty DSP 3" X 4"

    ~~~

    Three January Specials just for you besides Sale-a-Braton! 

        1. All January online orders will earn a ticket in the drawing for a free Little Ladybug stamp set!

    Order online here

    2. All online orders will receive a 10 cards pdf tutorial in an email.

    3. And if your order is over $65 you'll get a free Coastal Weave embossing folder too!

    January Host Code is GEEFZCZV

    Order online here

    Leave a Reply

    Your email address will not be published. Required fields are marked *

  • Sponge Brayer on an embossing folder? Cool effect!


    Have you ever used a sponge brayer?  Did you even know we carry them?  We do!  On page 181 of the annual catalog. Click here to see them. 


    I used Pool Party ink and the sponge brayer to add ink to the flat side of the Parisian Flourish embossing folder seen here.  Then I inserted my card stock or envelope flap into the folder and ran it through the machine.  Super easy!  Then just rinse the ink off your embossing folder when you're done.  Our ink colors are water based so it comes off easily. 

    Click below to watch the video; it's at the end of this one below:

    I used another 'stitched heart' on the front of this card using the Heart Doilies seen here. The few die-cuts are from the Stitched Be Mine set of dies in the annual catalog. See those here. 

    I shared how to do this stitched heart doily in a previous FB live video.  Click here to see it.  It took me about 8 minutes to stitch and I do NOT stitch by hand much at all. Maybe once a year.  That should tell you it's easy! 

    ~~~

    Three January Specials just for you besides Sale-a-Braton! 

    1. All January online orders will earn a ticket in the drawing for a free Little Ladybug stamp set!

    Order online here

    2. All online orders will receive a 10 cards pdf tutorial in an email.

    3. And if your order is over $65 you'll get a free Coastal Weave embossing folder too!

    January Host Code is GEEFZCZV

    Order online here

    Leave a Reply

    Your email address will not be published. Required fields are marked *

  • Fancy Fold Accordion Heart Doilies!


    I dreamed of doing this fun accordion fold with the Heart Doilies in my sleep.  I rarely do that!  Do you?  


    I shared how in this week's Facebook Live yesterday.  My FB Live's are usually on Tuesdays at 11 am but I was out of town so switched to Wednesday this week.  It's so simple!  And you could do this with many of our dies too!  Click below to see it.

    I also traced the flap of my envelope onto the From My Heart specialty designer paper to make this card extra, extra special!  

    Details:

    • The pretty soft scallops on the edge of the DSP are from the new Braided Border punch.  I did one length of it and cut it in half for both cards. 
    • The greeting is stamped on a Timeless Label punch and added to another Heart Doily.  The stamps are from the Heart to Heart stamp set seen here. 
    • I used the new sparkly Faceted Gems from the From My Heart Suite.  See them here
    • You get 40 Heart doilies in one package for $5.50; a great deal at .14 cents each.

    Cutting:

    • I cut a strip of the From My Heart designer paper at 3" X 12" and cut that into two pieces 3" X 5 1/2" long.  The hearts are the reverse side of the pretty foil double sided designer paper on the envelope.  When you use these measurements you can get 8 cards from one sheet!  It's a great way to use up the designer paper you may be 'hoarding'. 
    • The white layer inside is 3 1/2" X 4 3/4"; my favorite size for inside cards as you can get 5 from one sheet of 8 1/2" X 11".  

    I folded each doily in half and glued each one to the next just on the outer curve.   I adhered the folded doilies to the card with either Tombo liquid adhesive or Tear & Tape; it's super strong!

    ~~~

    Three January Specials just for you! 

    1. All January online orders will earn a ticket in the drawing for a free Little Ladybug stamp set!

    Order online here

    2. All online orders will receive a 10 cards pdf tutorial in an email.

    3. And if your order is over $65 you'll get a free Coastal Weave embossing folder too!

    January Host Code is GEEFZCZV

    Order online here

    Leave a Reply

    Your email address will not be published. Required fields are marked *


Notice: LeeAnn Greff, Independent Stampin’ Up! Demonstrator, Manager. The content of this website is my sole responsibility as an independent Stampin’ Up! demonstrator and the use of, and content of, the classes, services, or products offered on this website is not endorsed by Stampin’ Up! Copyright 2025