/


Latest Post

Nature’s Prints 5 sheet wonder; these 5 templates make creating so easy!


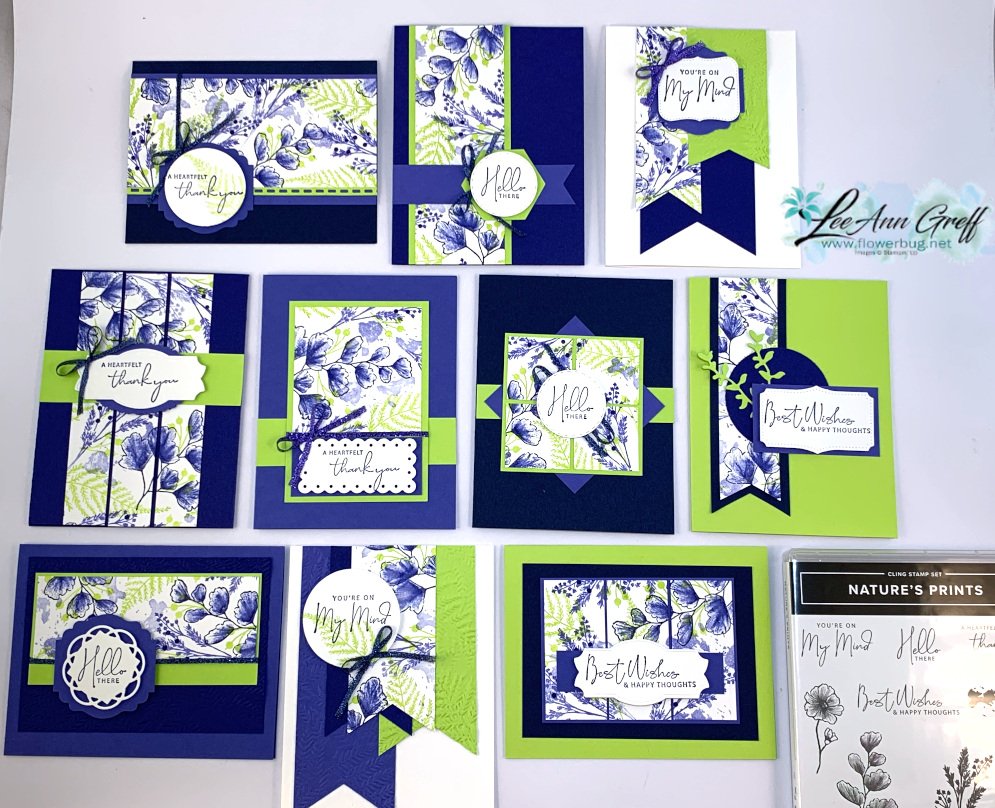
It's been awhile since I made a group of cards with my 5 sheet wonder templates.  The Nature's Prints stamp set was a perfect choice for it.  

And playing with three of our newest In Colors paired with Navy & White helped create these beautiful cards. 
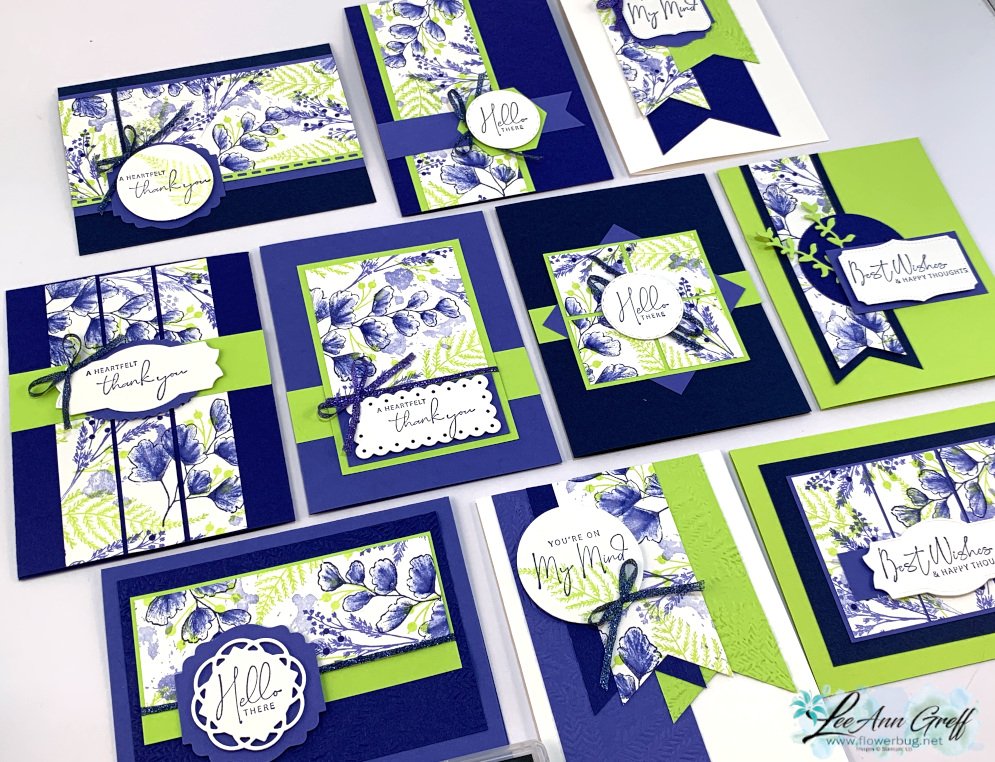
I'm holding a class on Wednesday, May 25th at 6 pm here in Minot, ND for my local customers. RSVP to attend by May 22nd. You can see my PDF tutorial on my shop here.  I am not offering it as a kit to go at this time. 

I chose the new colors of Starry Sky, Parakeet Party & Orchid Oasis to start with.  I needed a 4th color and wanted to stick with the blues and greens so I added Navy to the mix.  

My greetings and images are all from the Nature's Prints stamp set seen here.  

How do my 5 sheet wonder templates work?  Here are the steps:

  1. Choose at least 4 colors of ink and card stock for your cards.  
  2. Choose a stamp set that has a variety of images, from large to small. It helps if they are non directional (okay stamped in different directions). 
  3. Print out Template A on White CS and stamp the non printed side with the images and inks you chose creating your own paper. *You could use DSP but you'll want to print on the reverse side. Here is mine below: 

3. Turn the stamped piece over and cut on the printed lines.  (I print my card stock with a printer but if your printer will not work with card stock you can have a copy place print them for you.  Or just use the template measurements as a guide. 

4. You'll also print templates B-E on four other colors of card stock.  Cut on the printed lines (you'll use the reverse side for your cards).  

5. You'll need 10 card bases in the colors you chose.  Place them on the table and add all of the cut pieces over each card base.  Tip; Use contrasting colors.  If there are many dark pieces I use a light card base and if there are mostly light pieces like the examples below, I'll use a dark card base.  
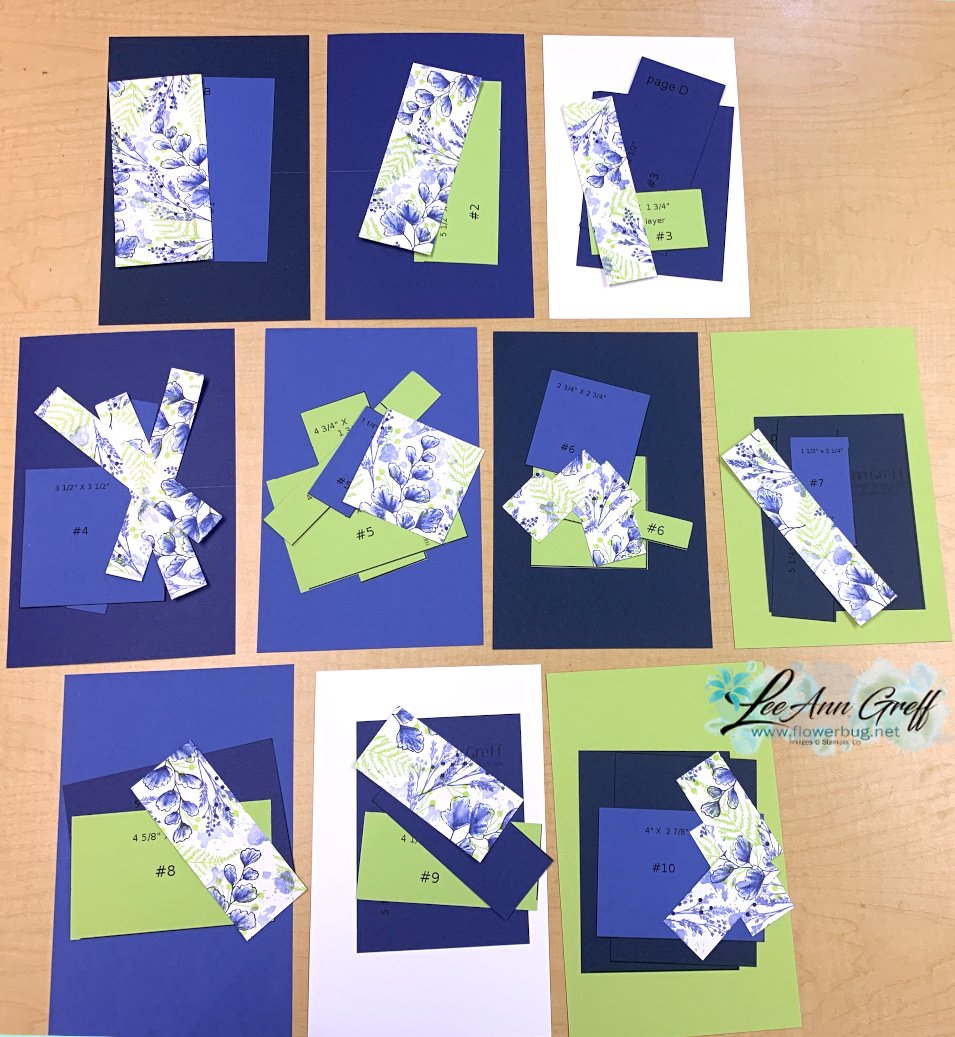
6.  Now you'll assemble the cards using my finished samples as a guide. 

7.  You'll stamp your greetings using a variety of punched or die-cut pieces and finish your cards, adding ribbon or gems as desired.  

Easy, no measuring cards that are BEAUTIFUL and multi-layered.  You can see my 5 sheet wonder PDF tutorial here on my Shop site.  The PDF tutorial includes multiple card and color examples. 
~~~

Get a bunch of NEW In Color products FREE in your Starter Kit! 

It's $99 for $213 in products!!!  And Free Shipping! Click here. 

Host codes: HUNR9DB6

 *click here to order 

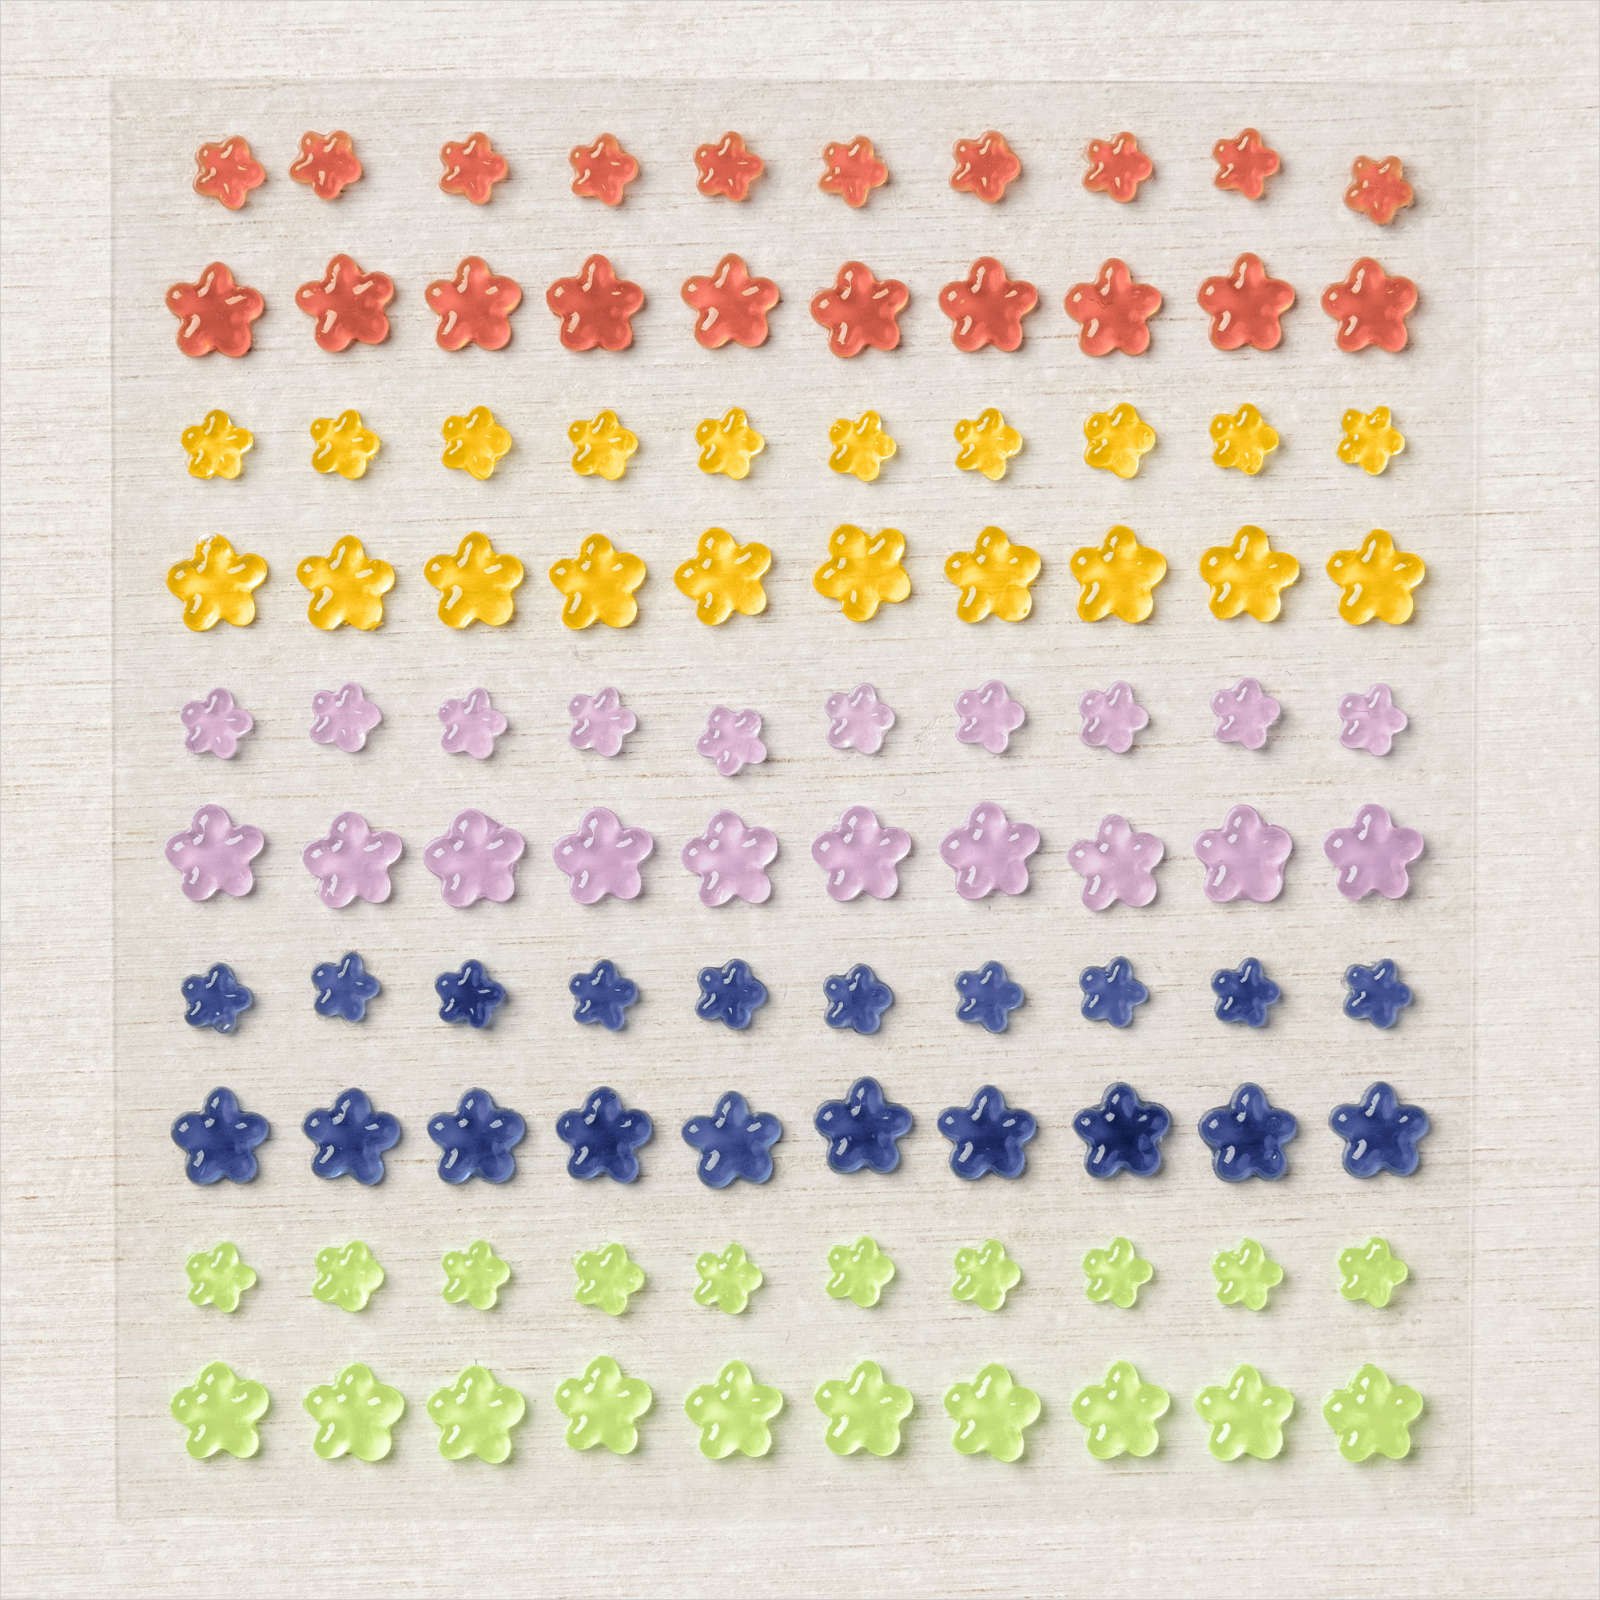
If your order is over $50 you'll receive a set of NEW embellishments from me.
Don't forget about my loyalty rewards! 

Click here to download yours and earn a $50 shopping spree!  
All Posts

  • Double Flap fun fold with free project sheet & video tutorial


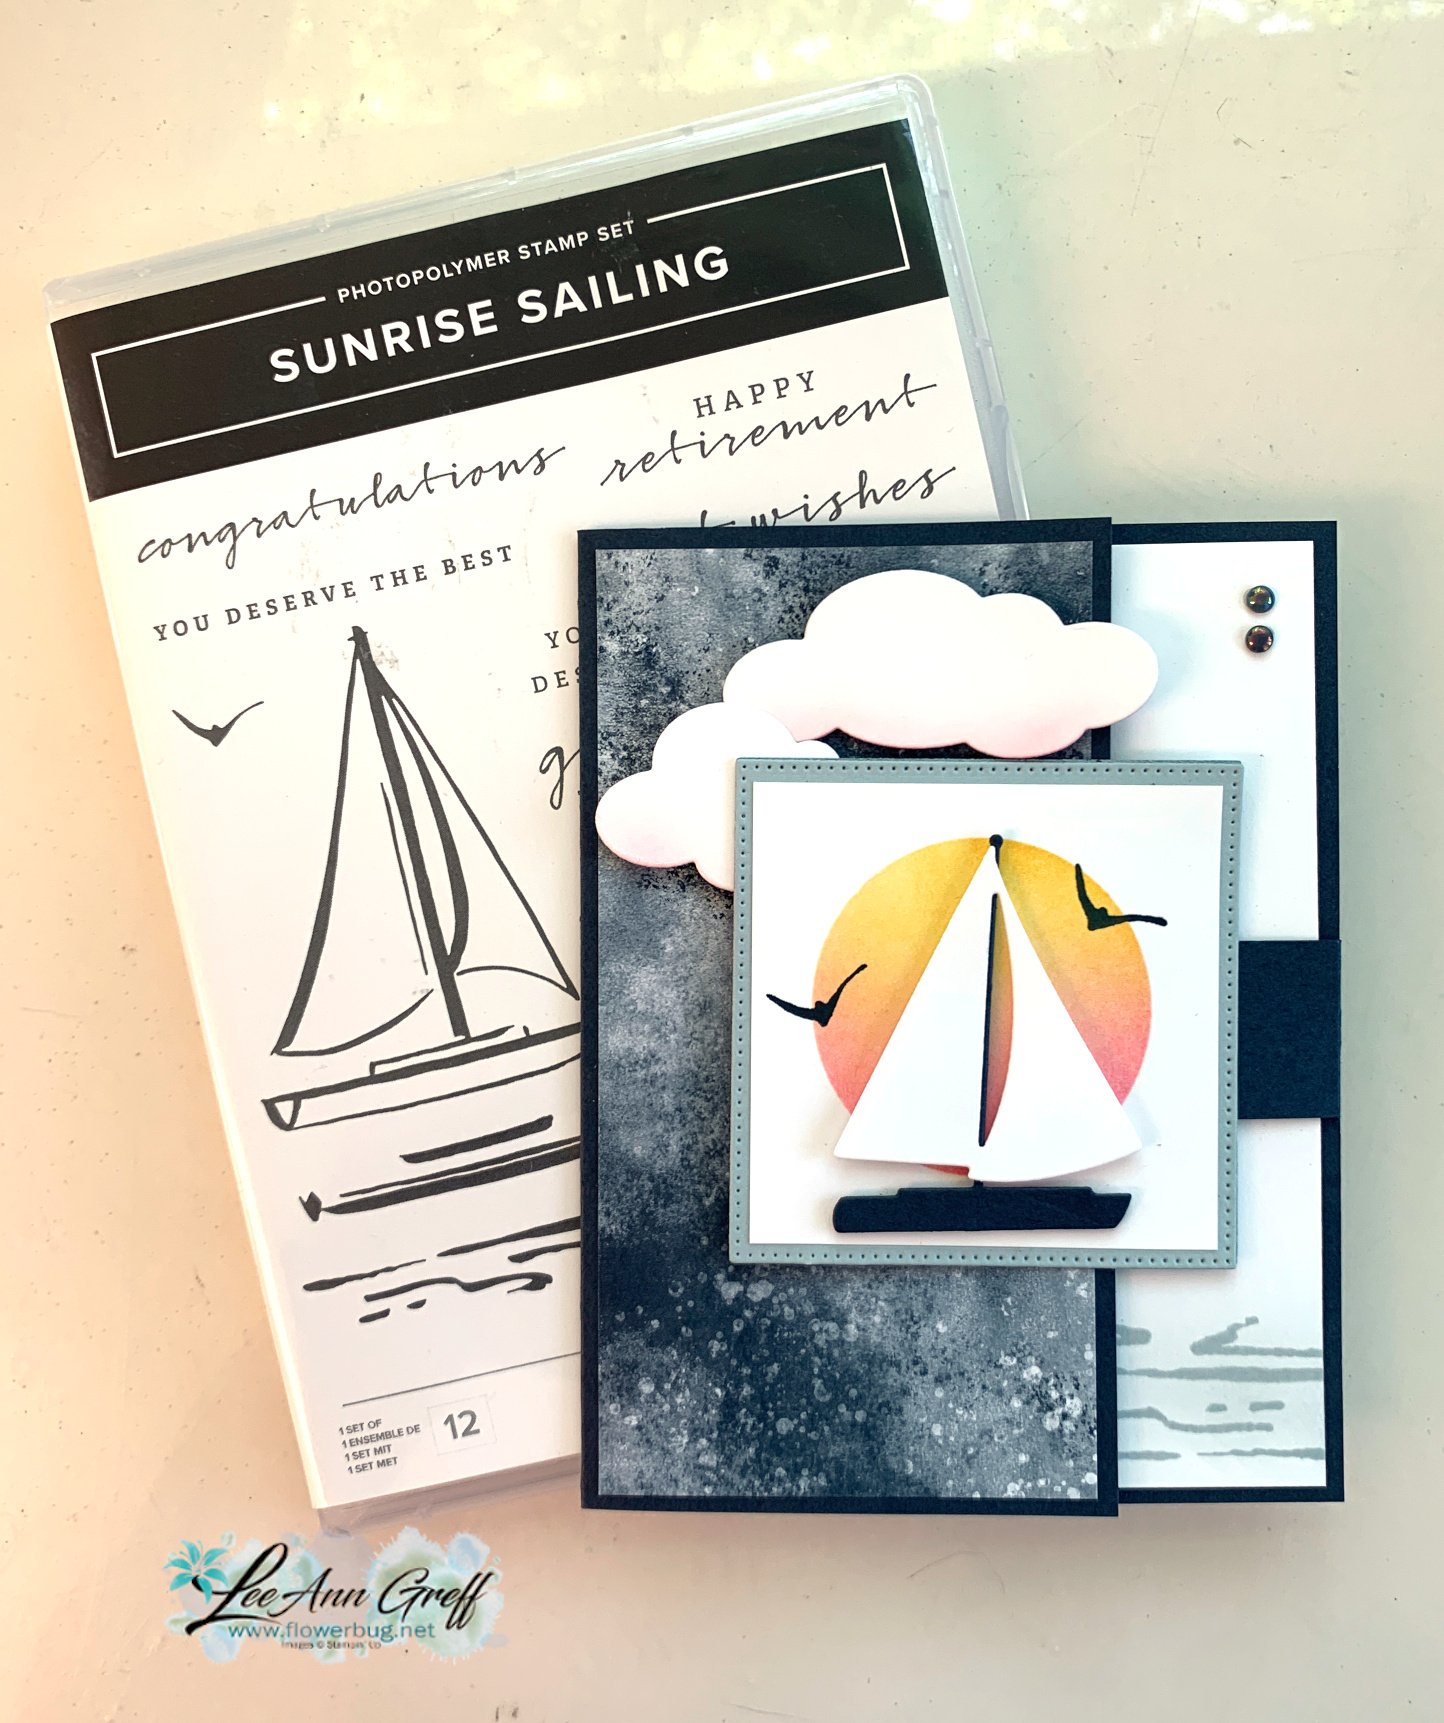
    Today I'm sharing the second card I made on last week's video.  It's a double flap fold card featuring the Sunrise Sailing bundle.

    The colors include Cloud Cover, Secret Sea, Strawberry Slush and Daffodil Delight.  

    I created a mask for the sun with a 1 7/8" circle punched from a post-it note. I used blending brushes & Strawberry Slush and Daffodil Delight inks. I also added just a hint of Strawberry Slush ink on the bottom of the cloud die-cuts. 

    The Designer Paper is our new 6 X 6" In Color designer paper seen here.  

    I showcased the Sunrise Sailing bundle seen here.  I love the stamp images AND the dies in this bundle.  They're wonderful and really spark creativity. There are THREE different size sailboats in the dies!  

    As you can see in the sample in the photo below you can make a card with just the embossing folder! 

    You can see in the photo below how the front square flap lifts to the right to reveal a peek at the inside. I added the cloud to the back of this square and placed it so it could 'latch' on the larger cloud to hold the card closed.   

    I create a free project sheet for this card. I also share it on the same day as my video on my Flowerbug's Stamp & Share FB group here .       Download Sunrise Sailing Latch card

    You can see the card fully opened below.  I love this easy but fun card fold.


    You'll find the video tutorial for this card and another Sailing card below. Don't forget to subscribe to my YouTube channel while you're watching!  

    I'll share another card with this bundle on Wednesday. 

    ~~~

    July Specials:

    New Online Exclusives are here!  

    ~~~

    Last Chance List has been updated!  see it all here. Don't miss out on the deals!

    ~~~

    Get my Turtle-y Cute PDF tutorial free with any online order in July!


    Leave a Reply

    Your email address will not be published. Required fields are marked *

  • July Specials include new Online Exclusives & 2 new kits


    July Specials include the following:

    Lots of New Online Exclusives are here!  

    The photo above show the three new suites. There are so many more new products including designer paper, lots of amazing stamps & die bundles plus embellishments too.

    Check it all out here.

    ~~~

    Two brand new kits are available!

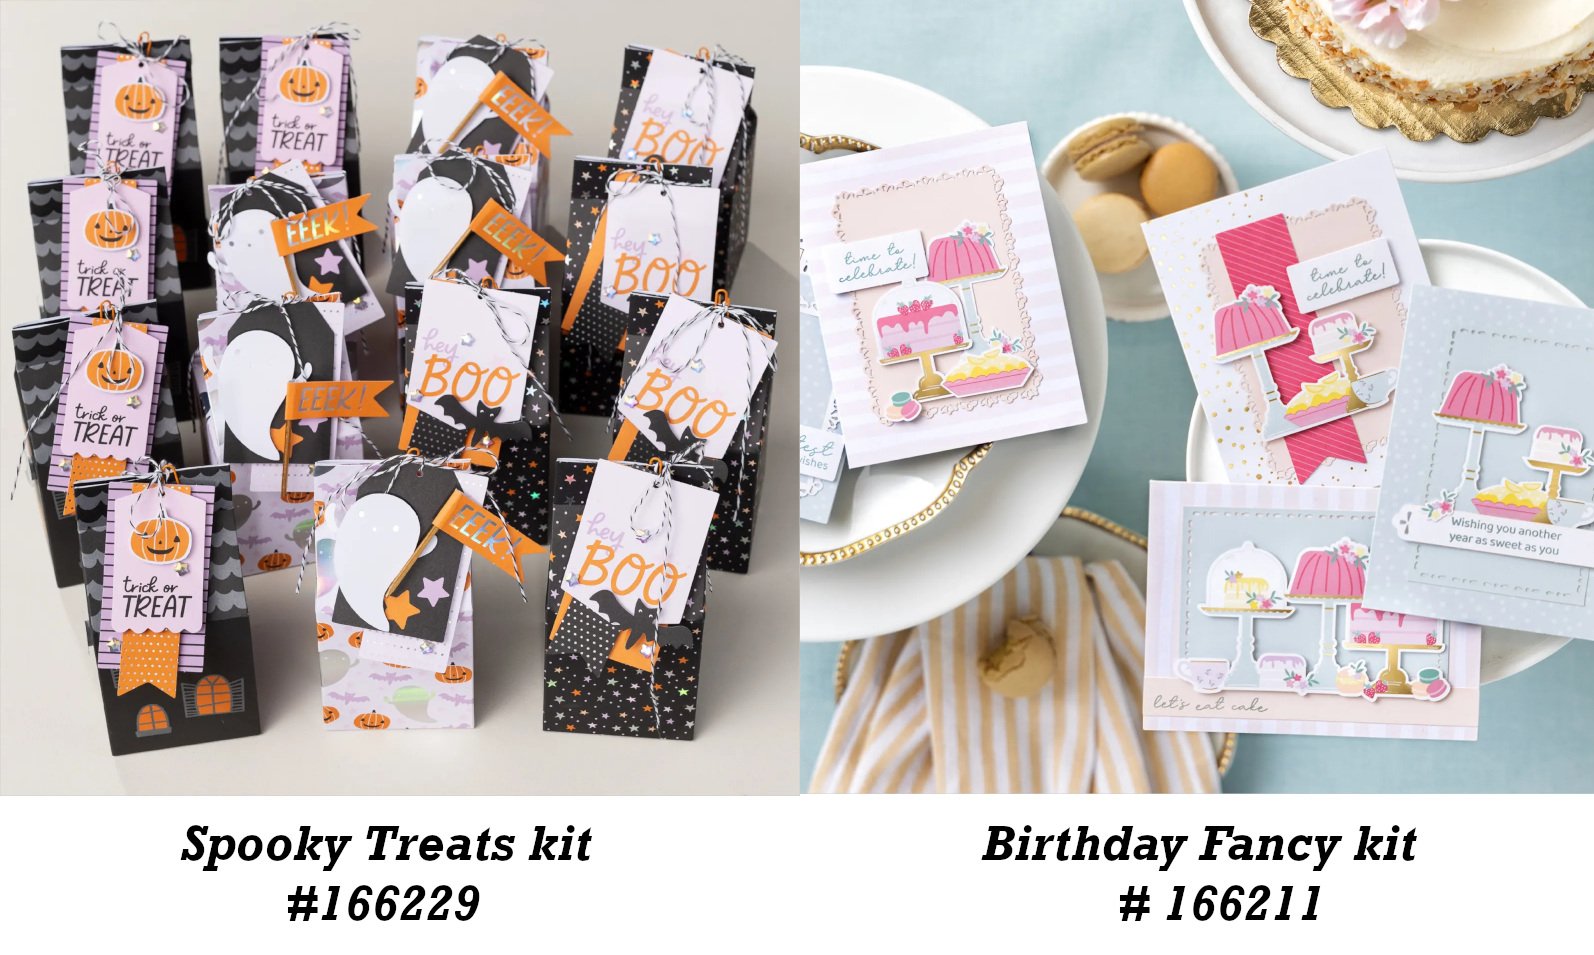
    *There are 15 treat boxes & 10 cards in these two fun kits!

    ~~~

    Get my Turtle-y Cute PDF tutorial free with any online order in July!

    ~~~

    Last Chance List has been updated!  see it all here. 

    Leave a Reply

    Your email address will not be published. Required fields are marked *

  • Beautiful Sunrise Sailing card with multiple techniques and free project sheet


    Today is the last day of the June Specials:

    Today I'm sharing one of my June Club cards.  It's super fun to make because we did multiple techniques.

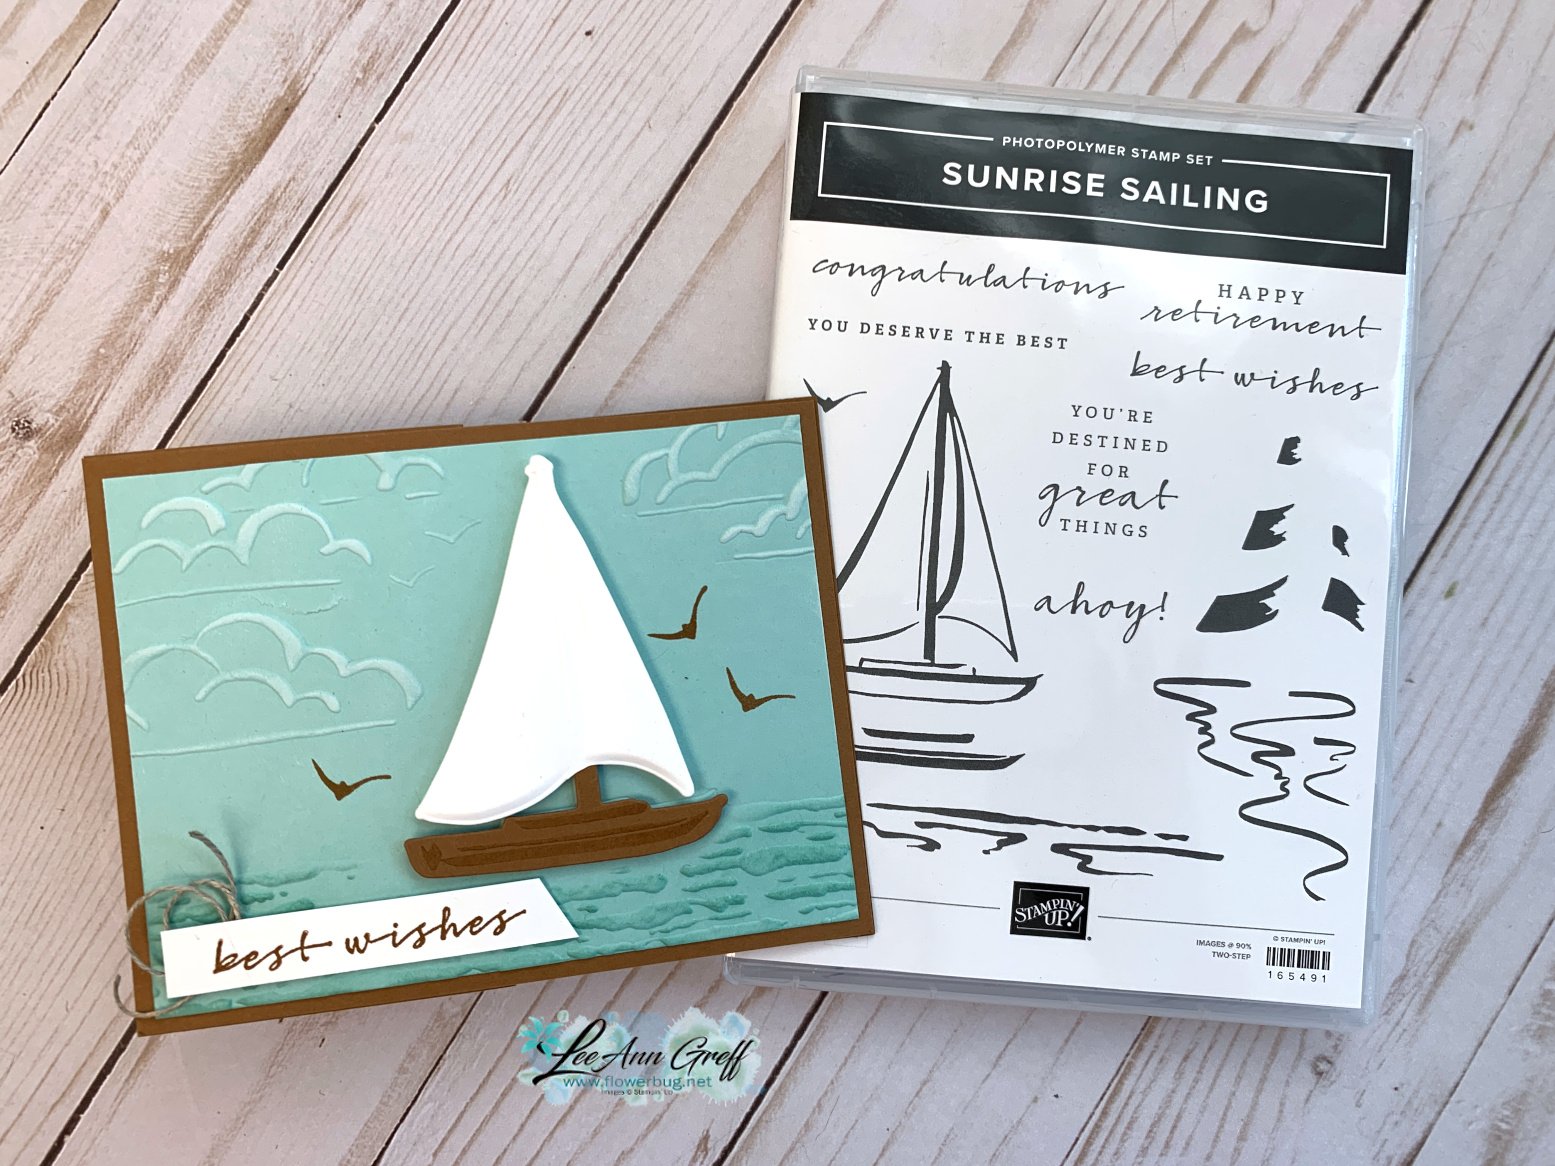
    I showcased the Sunrise Sailing bundle seen here.  I love the stamp images AND the dies in this bundle.  They're wonderful and really spark creativity. 

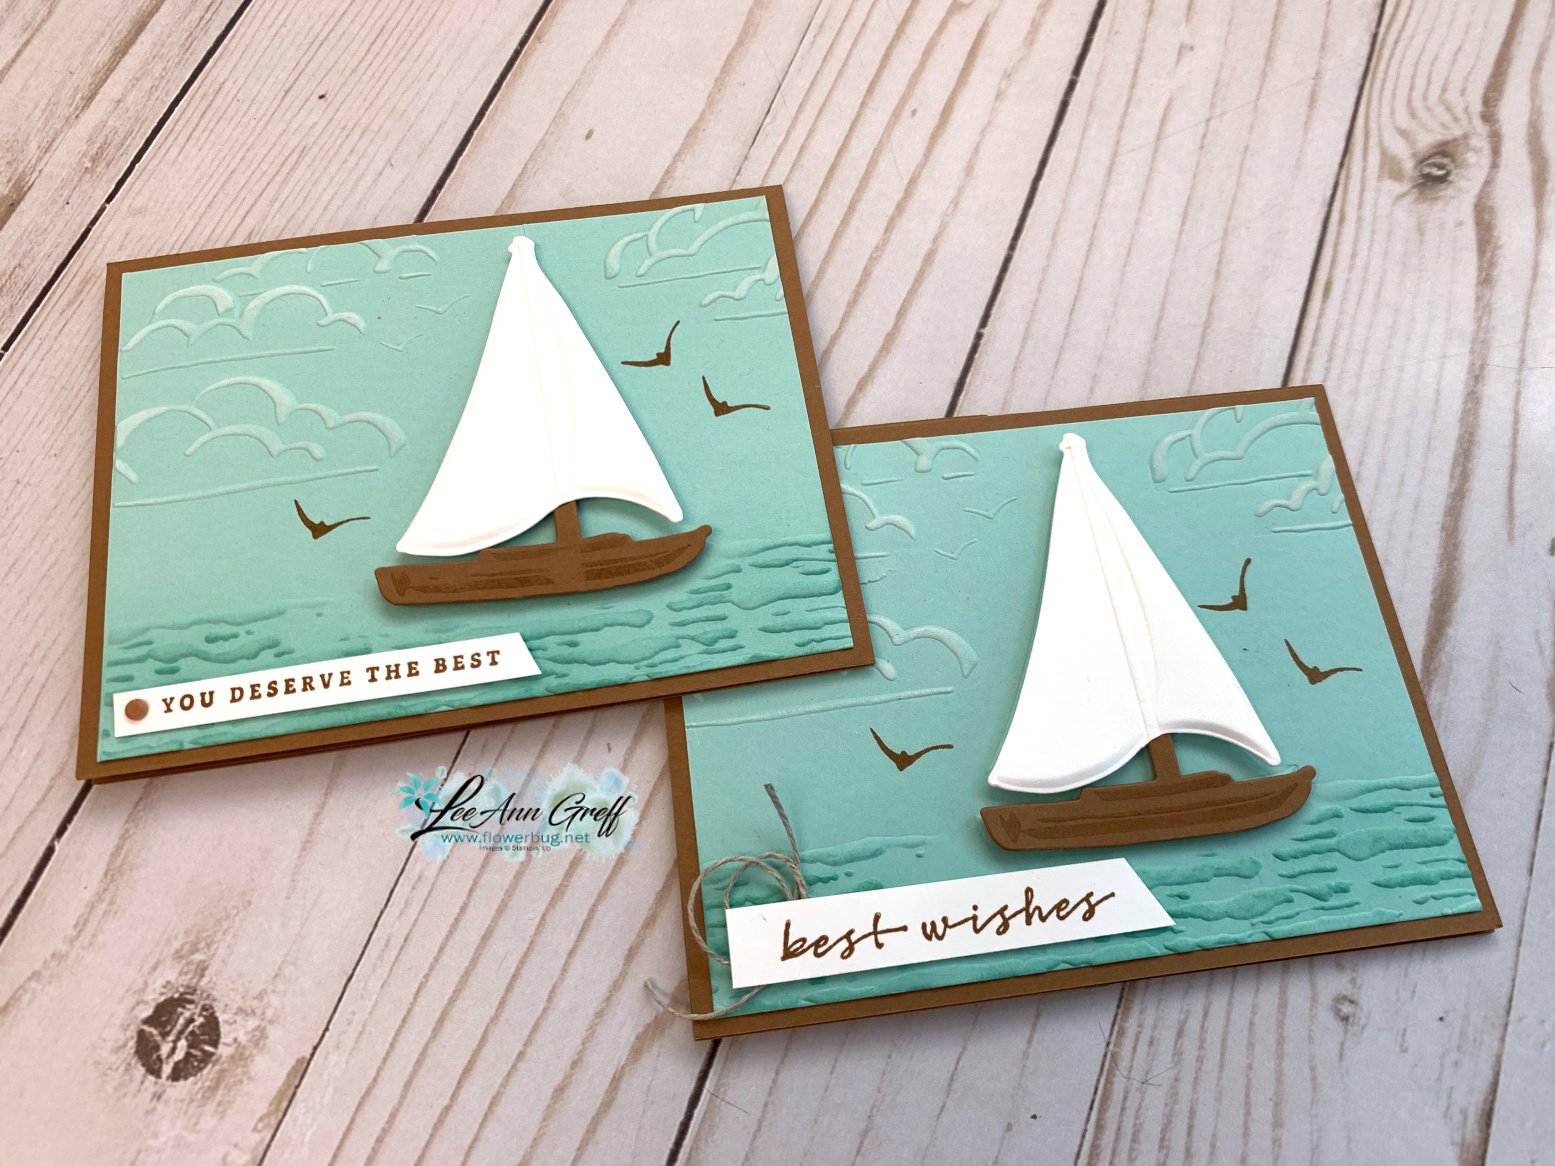
    My colors include Pool Party, White and Pecan Pie. The Hybrid embossing folder in this bundle allows you to get a textured sailboat – you can cut & texture all at once!  Watch the video to see how it's done.  

    Notice the textured clouds in the sky. I rubbed my White Craft ink pad directly on the textured Pool Party card stock.  I show how in the video below.  I also added Pool Party ink to the textured waves on the bottom of the card using a blending brush. 

    Look at the loop of Linen Thread on the greeting above.  This was a fun & easy way to add something else that is a bit nautical. 

    I create a free project sheet for my Card Clubs each month and then share it with you once I do the video tutorial. I also share it on the same day as my video on my Flowerbug's Stamp & Share FB group here . 

    Download Sunrise Sailing project sheet 

    You'll find the video tutorial for this card and another Sailing card below. Don't forget to subscribe to my YouTube channel while you're watching!  

    I'll share another card with this bundle on Wednesday. 

    ~~~

    June Specials:

    The Suite Sale is on! 

    Buy one get 50% the second item – on all available suite products. 

    Shop here or see products below: 

    ~~~

    Last Chance List has been updated!  see it all here. Don't miss out on the deals!

    ~~~

    Earn free card kits in June with online orders! Get 4 kits with a $50 order and orders over $80 receive all 6 cards. All you need are greetings, gems and adhesives to assemble. 

    Order here 

    ~~~

    Get my Celebratory Sips PDF tutorial free with any online order in June!

    Leave a Reply

    Your email address will not be published. Required fields are marked *


Notice: LeeAnn Greff, Independent Stampin’ Up! Demonstrator, Manager. The content of this website is my sole responsibility as an independent Stampin’ Up! demonstrator and the use of, and content of, the classes, services, or products offered on this website is not endorsed by Stampin’ Up! Copyright 2025