/


Latest Post

Nature’s Harvest card with embossed vellum


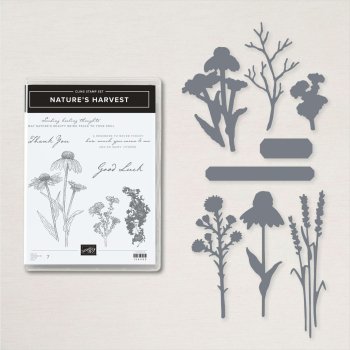
I just realized I hadn't shared this pretty card we made in September at my Card Clubs.  It features the Nature's Harvest bundle seen here in the 2021 Stampin' Up! Holiday catalog. 
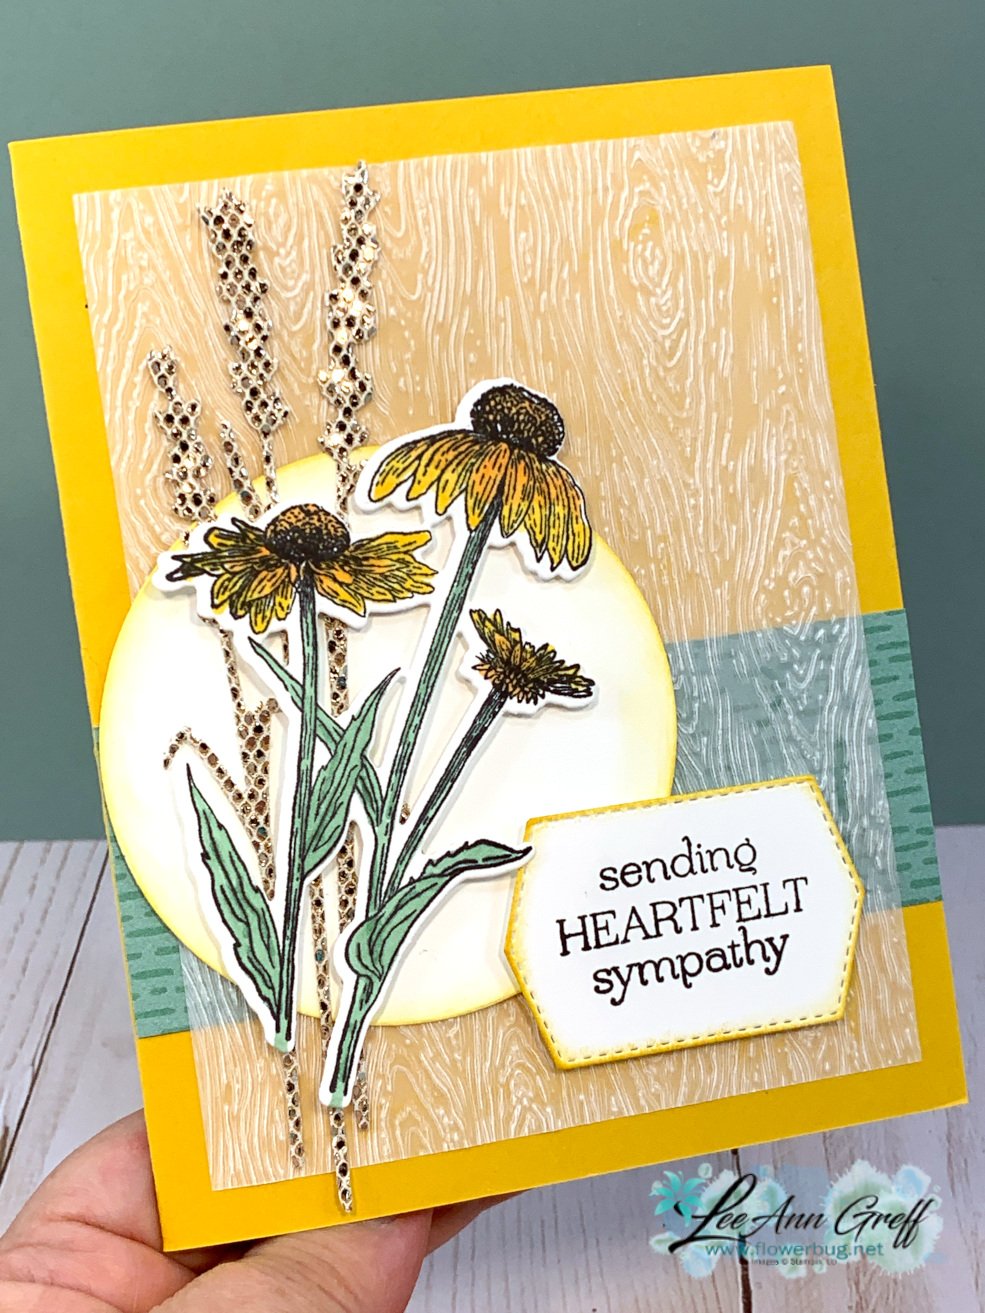
The colors include Bumblebee, Just Jade, White, Gold & Vellum. When I use vellum I always think 'Why don't I use it more?'  It can be the perfect layer without adding 'too much'. 

Details:

  • The Vellum card stock is embossed with the Timber 3D embossing folder.
  • The coneflowers are colored with Stampin' Blends markers. 
  • That glitzy wheat stalk is part of the Harvest dies and from the Be Dazzling specialty paper that was available during Sale-a-Bration. 
  • The greeting is from the Delicate Dahlias (Sale-a-Bration) stamp set on a Tasteful Label die-cut 

Measurements:

  • Bumblebee card stock 5 1/2" X 8 1/2" scored at 4 1/4"
    • Vellum CS 3 3/4" X 5"
    • White scraps for circle, greeting and flower
    • Be Dazzling paper scrap for stems
    • Penguin Playmates DSP 1 1/2" X 4 1/4"

And here's the video!  

~~~

October Specials

Host code: EXBDBRGY

*click here to order

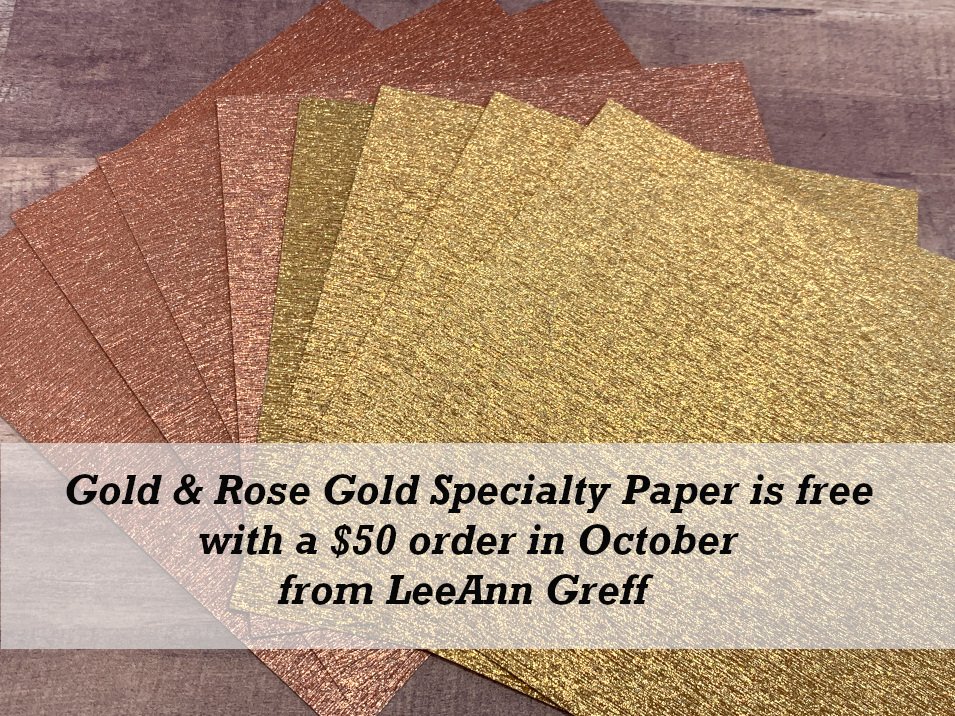
Get a free package of Gold & Rose Gold Metallic specialty paper from me with a $50 online order in October! 
All online orders will receive my October Gingerbread & Peppermint PDF tutorial free! 


All Posts

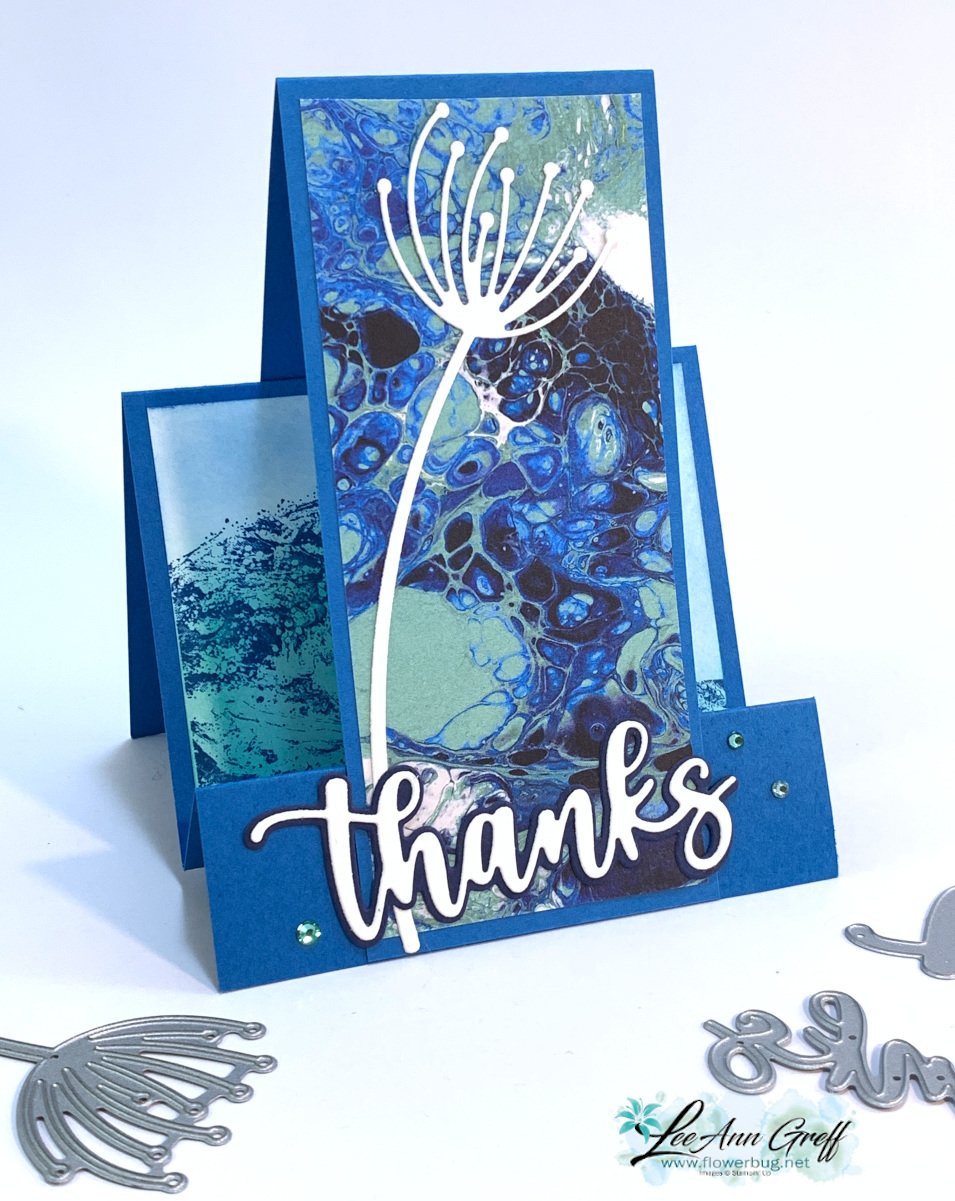
  • Amazing Side-step Vertical Easel card with Waves of the Ocean suite


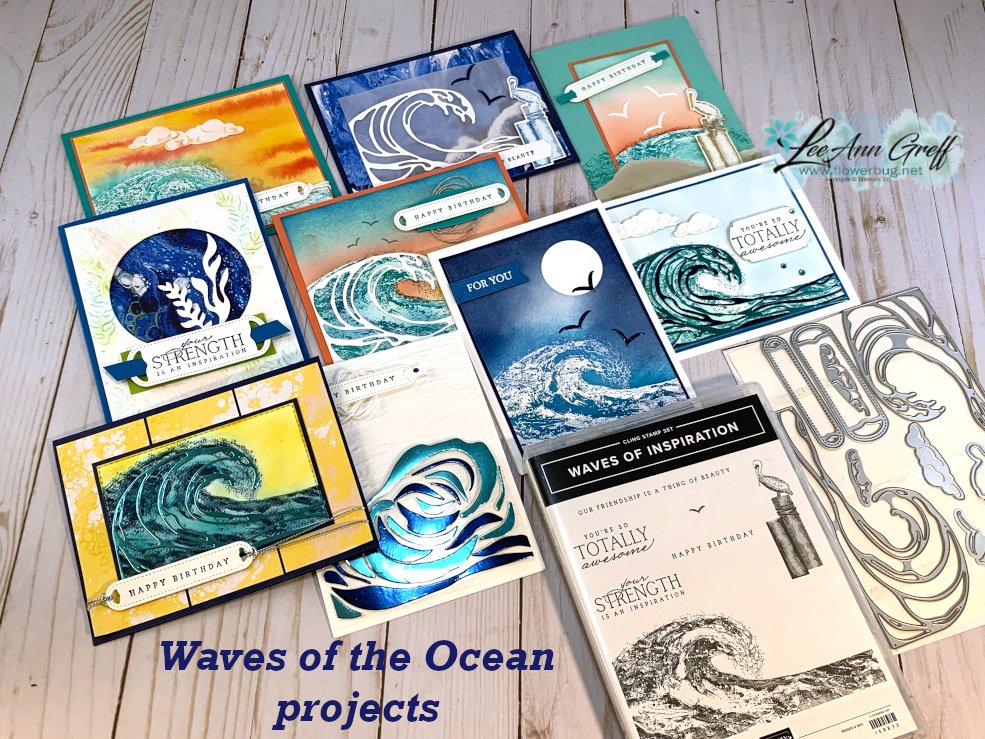
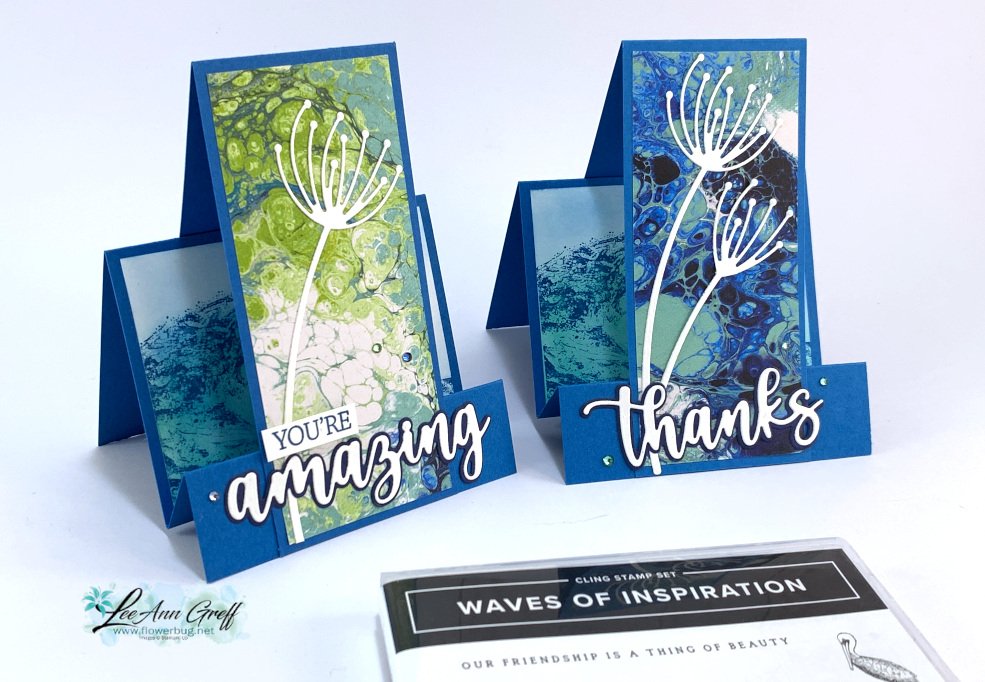
    We made this remarkable fun fold card at my March card clubs. It features the Waves of the Ocean suite seen here. 

    Dies featured here:

    • The Dandy Wishes dies in  the Garden Wishes bundle is 20% off right now. You can see that here.  I just love the die-cuts and greetings in it.  *I wonder if this will be on the retiring list tomorrow….. 
    • The 'Thanks' and 'Amazing' dies are from the Amazing Thanks dies in the 2022 Jan-June catalog.  You can see them here.  I love the double layering you get with them!!  

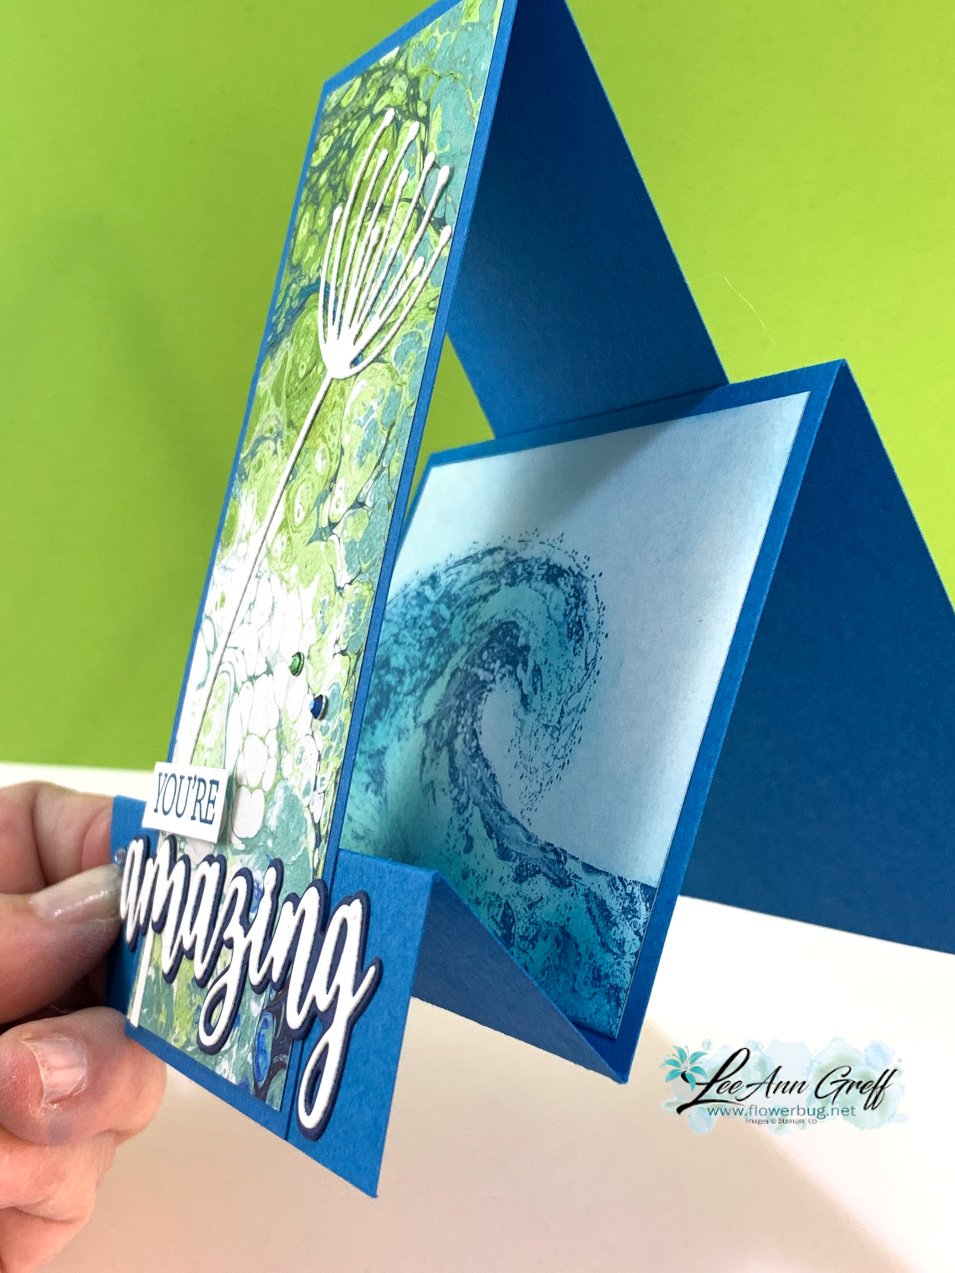
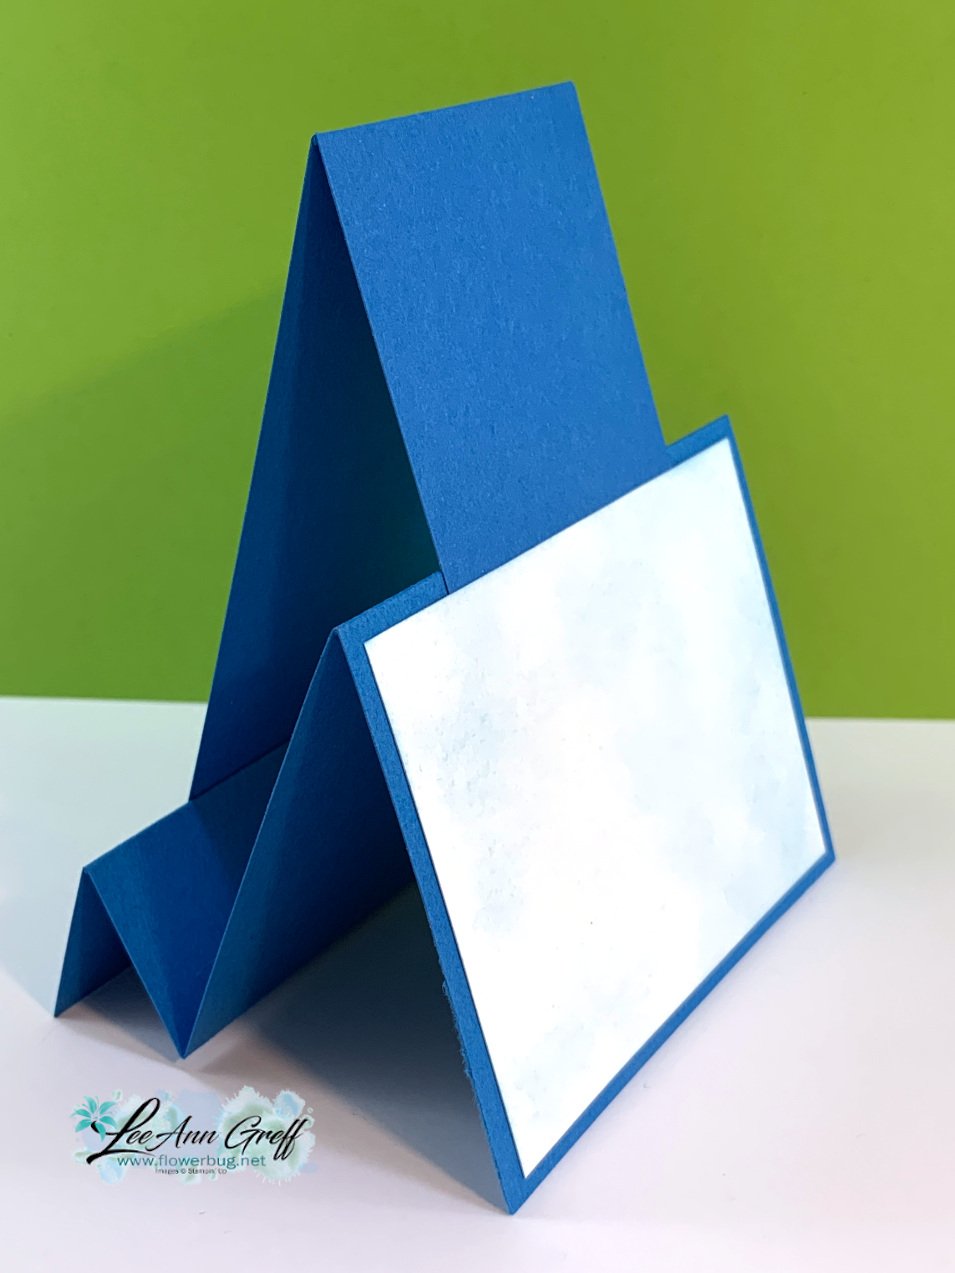
    This card is 4 1/4" X 5 1/2" when finished and lays flat for mailing but stands up beautifully for display.  

    You can see how this is assembled in the video below.  I also list the measurements below too. 

    The card includes two white panels; one for the middle and one for the back.  We stamped the wave from the Waves of Inspiration stamp set using Pacific Point ink on the middle layer.  We added some Bermuda Bay ink on the wave using a Blending Brush.  We also added a soft bit of Pacific Point for the sky.  

    Some left the back empty so they could add a greeting later; depending on what they needed at the time. 

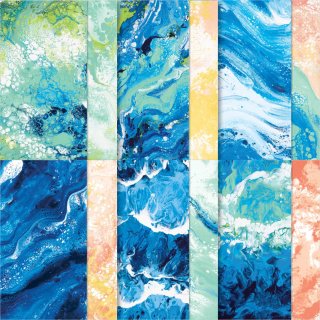
    As you can see below the gorgeous Waves of the Ocean designer paper includes a variety of 'paint poured' designs & colors.  I wanted it to be the main feature of the card and this fun fold made it happen!  This designer paper is available through May 1st or while supplies last.  This pretty paper, the foil and Waves rhinestones will not be in the new Annual catalog. 


    Everyone who orders the Waves of the Ocean suite collection from me will receive my exclusive PDF & video for 11 beautiful projects!  


    I used the Dandy Wishes dies for the 'flower heads'.  For the right card below I trimmed off a few of the side pieces to create a smaller flower head. 

    Measurements:

    • Pacific Point 4 1/4" X 9" scored at 1 1/4, 2 1/2" & 2 1/2" X 8 1/4" scored at 5 1/2" 
      Waves of the Ocean DSP 2 1/4" X 5 1/4"
      White X2 – 3" X 4" (front & back)
      scraps of White & Navy for die-cuts

    ~~~

    March Specials: 

    Host codes: FS239K9C

     *click here to order 

    If your order is over $50 you'll receive a free embellishment

    from the Jan-June catalog in your thank you card.


    Annual Catalog Retiring List is out tomorrow!  Deep discounts coming! 

    Don't forget about my loyalty rewards! 

    Click here to download yours and earn a $50 shopping spree!  

    Leave a Reply

    Your email address will not be published. Required fields are marked *

  • Easter Friends; simply adorable! Video tutorial included.


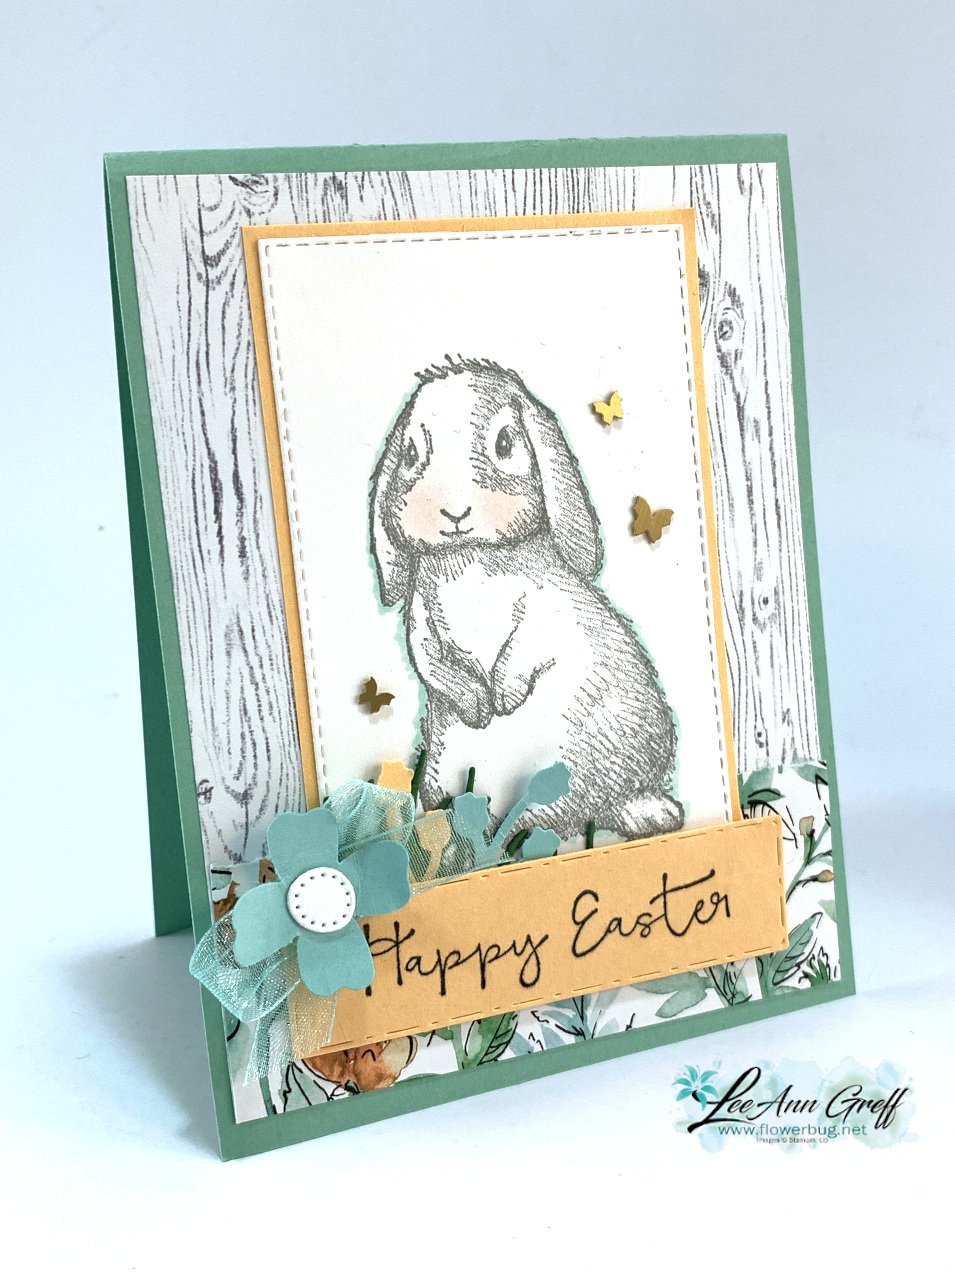
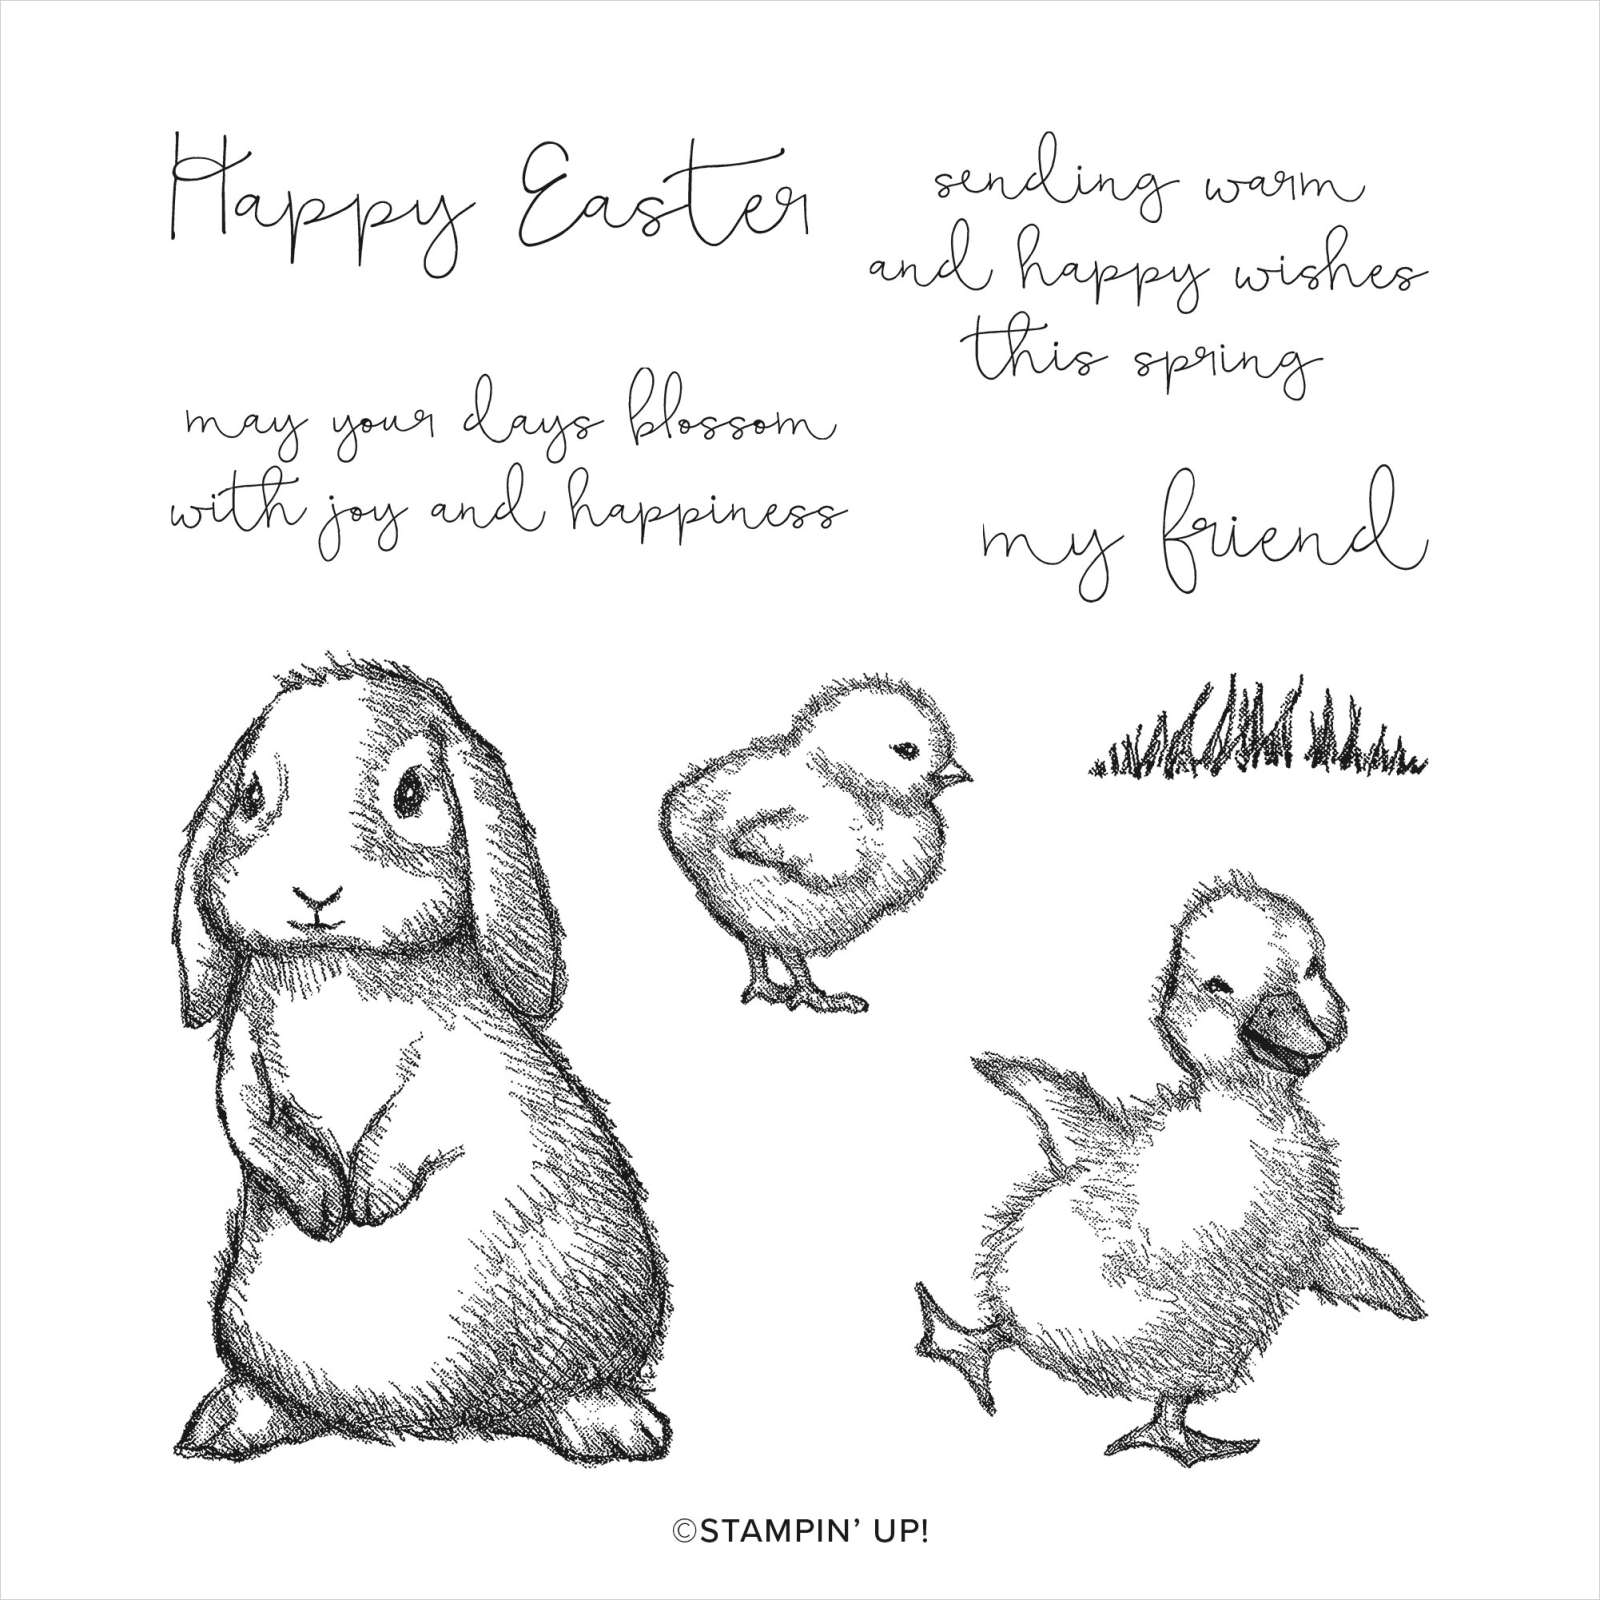
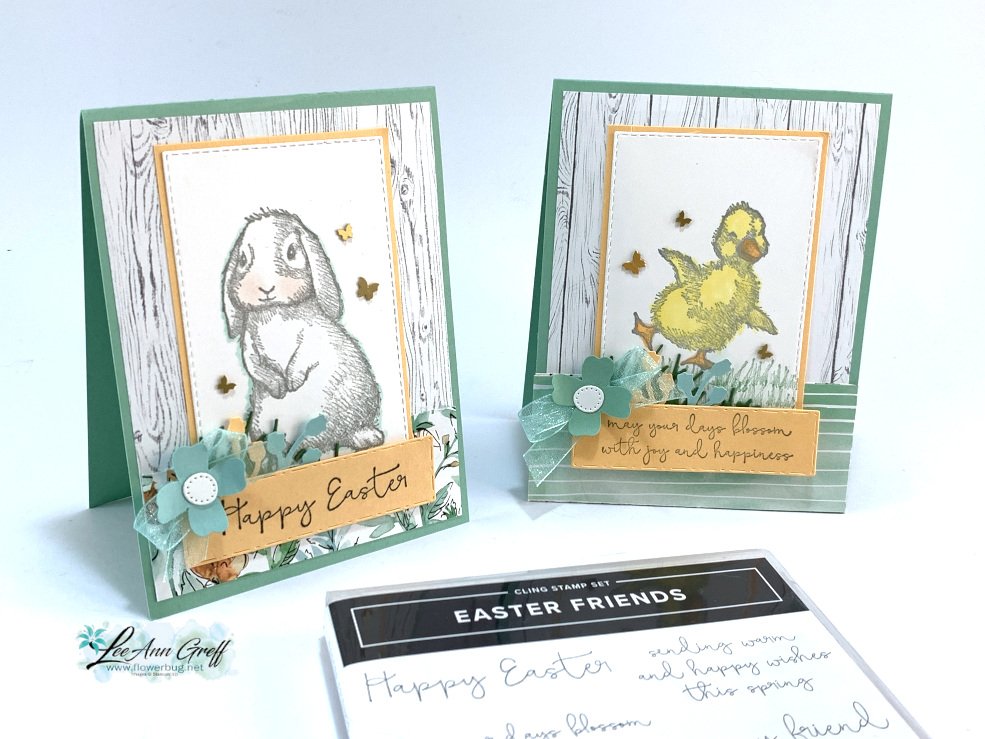
    I chose the Easter Friends stamp set for one of our Club cards in March.  It truly has adorable images!  See it here.

    I shared a few other projects during a recent Facebook Live. Click here to see it.  

    Look at this sweet bunny image!  

    I stamped him/her in Smoky Slate and added a tiny bit of blush on his cheeks.  I added a light line of Pool Party blends marker around the edge. The designer papers on this card include the Heart & Home and Hand Penned DSP's.  These will likely be on the retiring list which comes out on Wednesday, March 23rd. 

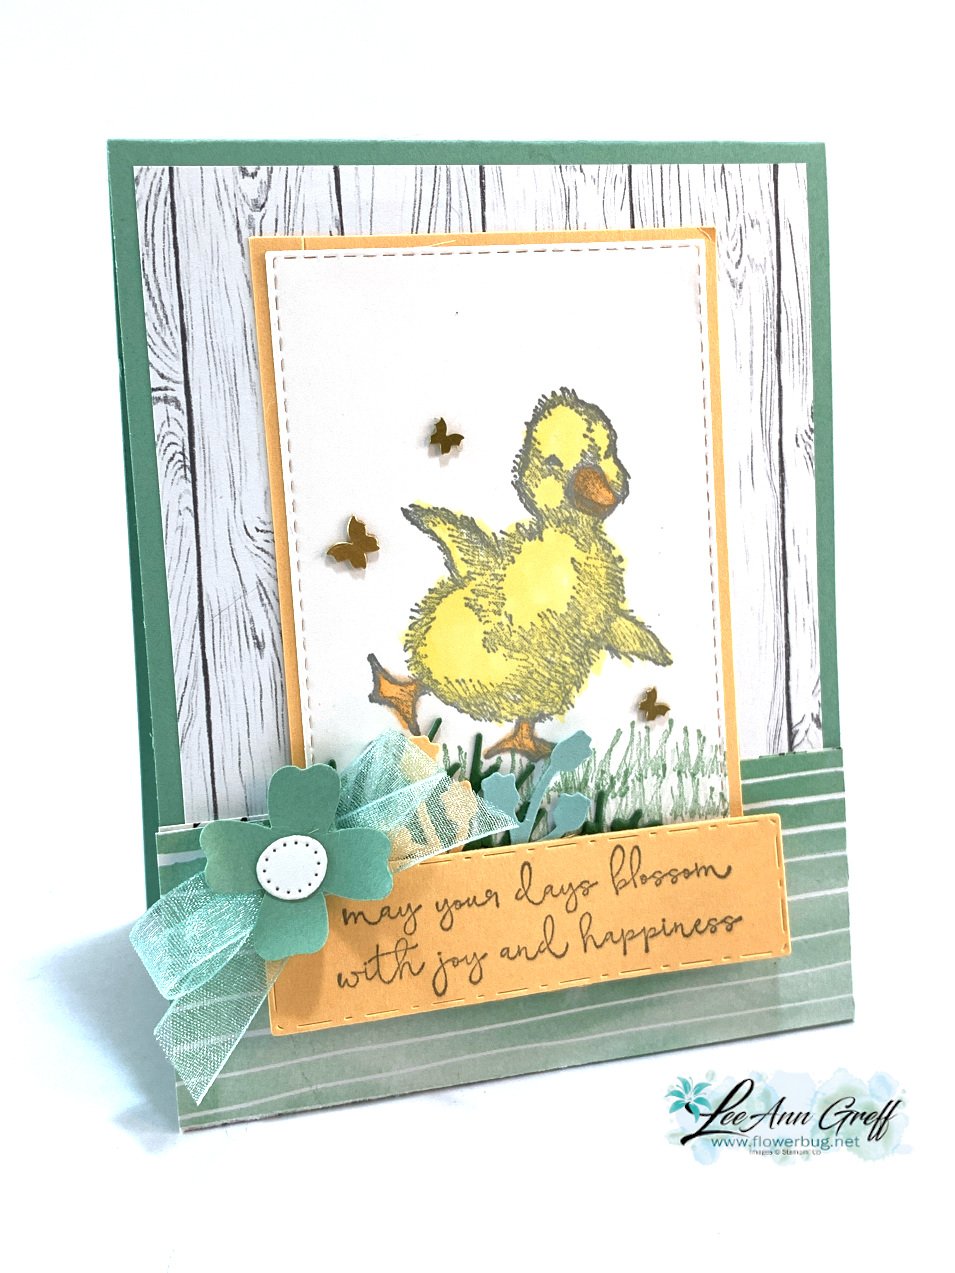
    They could choose between the bunny or the duck. The duck is colored in with Blends markers; So Saffron & Pale Papaya. All greetings are from the Easter Friends stamp set; stamped in Basic Gray.  


    Other details: 

    • Stitched Rectangles for the White & Pale Papaya stamped pieces
    • Flower & Leaves punch for the large flower
    • Bough punch for the little bitty tulips
    • Brass Butterflies scattered around the duck or bunny; see them here
    • I made a 'faux bow' by folding sheer Pool Party ribbon back and forth, adhering the folds with mini glue dots.  No bulk! 

    Click on the photo below to watch the video: 

    ~~~

    March Specials: 

    Host codes: FS239K9C

     *click here to order 

    If your order is over $50 you'll receive a free embellishment

    from the Jan-June catalog in your thank you card.


    Annual Catalog Retiring List is out March 23rd!  Deep discounts coming! 

    Don't forget about my loyalty rewards! 

    Click here to download yours and earn a $50 shopping spree!  

    Leave a Reply

    Your email address will not be published. Required fields are marked *

  • Sentimental Swirls; a super fun stamp set with a Video for multiple card ideas!


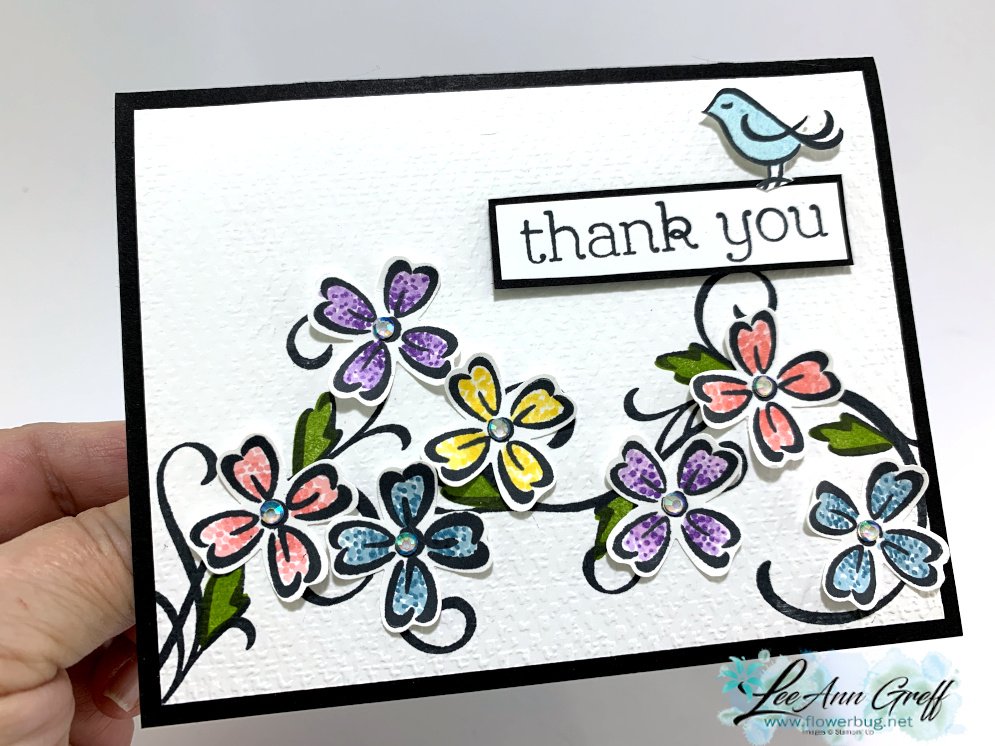
    I played with the Sentimental Swirls stamp set on last Tuesday's FB Live video.  Honestly I didn't want to stop!  This set is so friendly and easy to create with.  

    Here I stamped the swirls and leaves first using Black Memento ink. I added the solid leaf image using Granny Apple Green.  Then added texture with the Tasteful Textile embossing folder. 

    The flowers were stamped on scraps of White paper and colored in with Blends markers. I curled them a bit and added with mini dimensionals.  The bird is fussy cut and added with Dimensionals. 

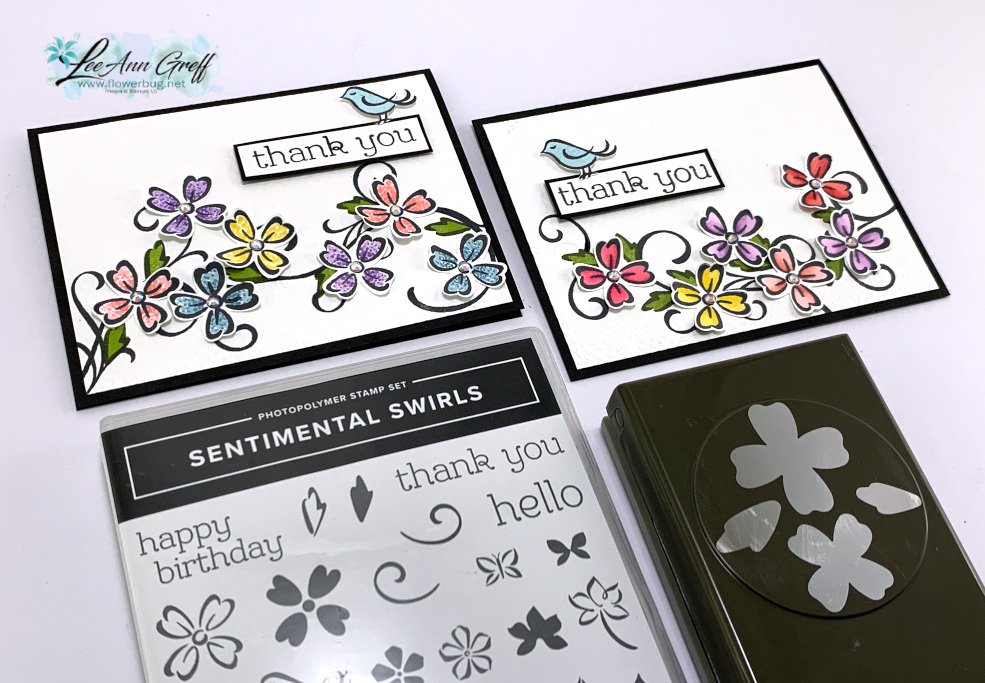
    The card on the left below features the dot coloring technique.  I used the bullet tip of my Blends markers to color the flowers.  Fun technique!  Watch the video below to see it in action. 


    This set coordinates beautifully with the Flowers & Leaves punch in the Annual Catalog.  Below you see both cards along with the coordinating stamp set & punch. 

    I love that this stamp set includes outline & solid images to match.  

    For the next card I again stamped the lovely swirl in Black Memento ink onto a scalloped rectangle from the Scalloped Contours dies.  I added a few sets of leaves here and there among the swirls.  The flowers were stamped on a separate scrap of White and punched out.  

    I sure love the greetings in this set!  Versatile and such cute font.  


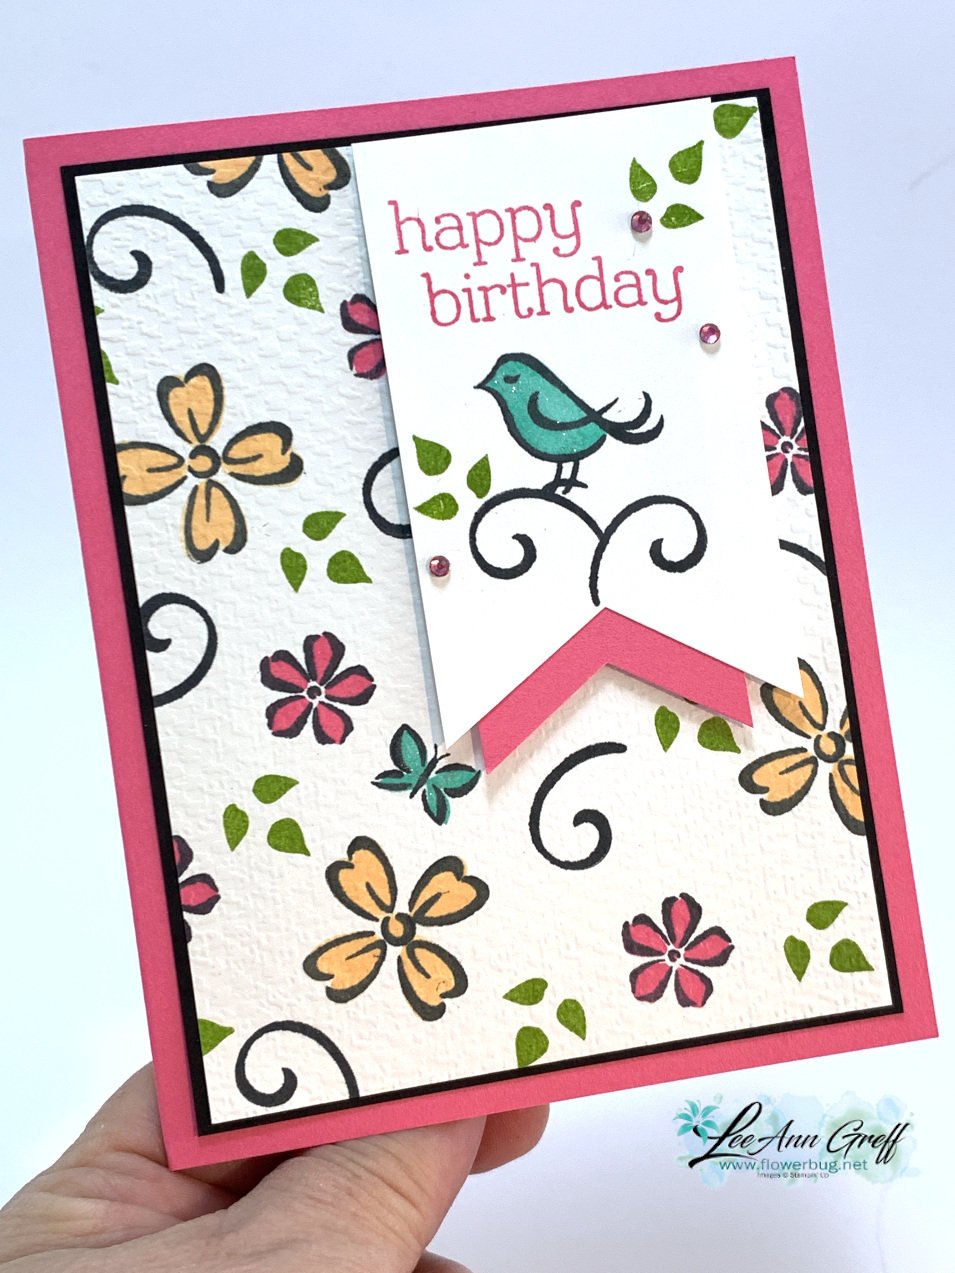
    I also shared this cute card too.  I stamped a scattered background on a piece of White CS before texturing it with the same Tasteful Textile embossing folder.  It is my 'go to' choice for a simple texture.  

    The color here is Polished Pink with bits of Pale Papaya, Granny Apple Green & Coastal Cabana. The White tag is 2" X 3 1/4"  & the smaller Polished Pink is 1 3/4" wide.

    Click on the photo below to watch the video for these projects & more too!

    ~~~

    March Specials: 

    Host codes: FS239K9C

     *click here to order 

    If your order is over $50 you'll receive a free embellishment

    from the Jan-June catalog in your thank you card.


    Annual Catalog Retiring List is out March 23rd!  Deep discounts coming! 

    Don't forget about my loyalty rewards! 

    Click here to download yours and earn a $50 shopping spree!  

    Leave a Reply

    Your email address will not be published. Required fields are marked *


Notice: LeeAnn Greff, Independent Stampin’ Up! Demonstrator, Manager. The content of this website is my sole responsibility as an independent Stampin’ Up! demonstrator and the use of, and content of, the classes, services, or products offered on this website is not endorsed by Stampin’ Up! Copyright 2025