/


Latest Post

Multiple ideas for the new Meandering Meadows DSP; with free project sheet & video


Last week's Live video featured the new and stunning Meandering Meadows designer paper. I shared 4 great ways to use it from quite simple to a special fun fold card. This designer paper is a new release among our Online Exclusives. There are lots of new products out this week; see them all here. 

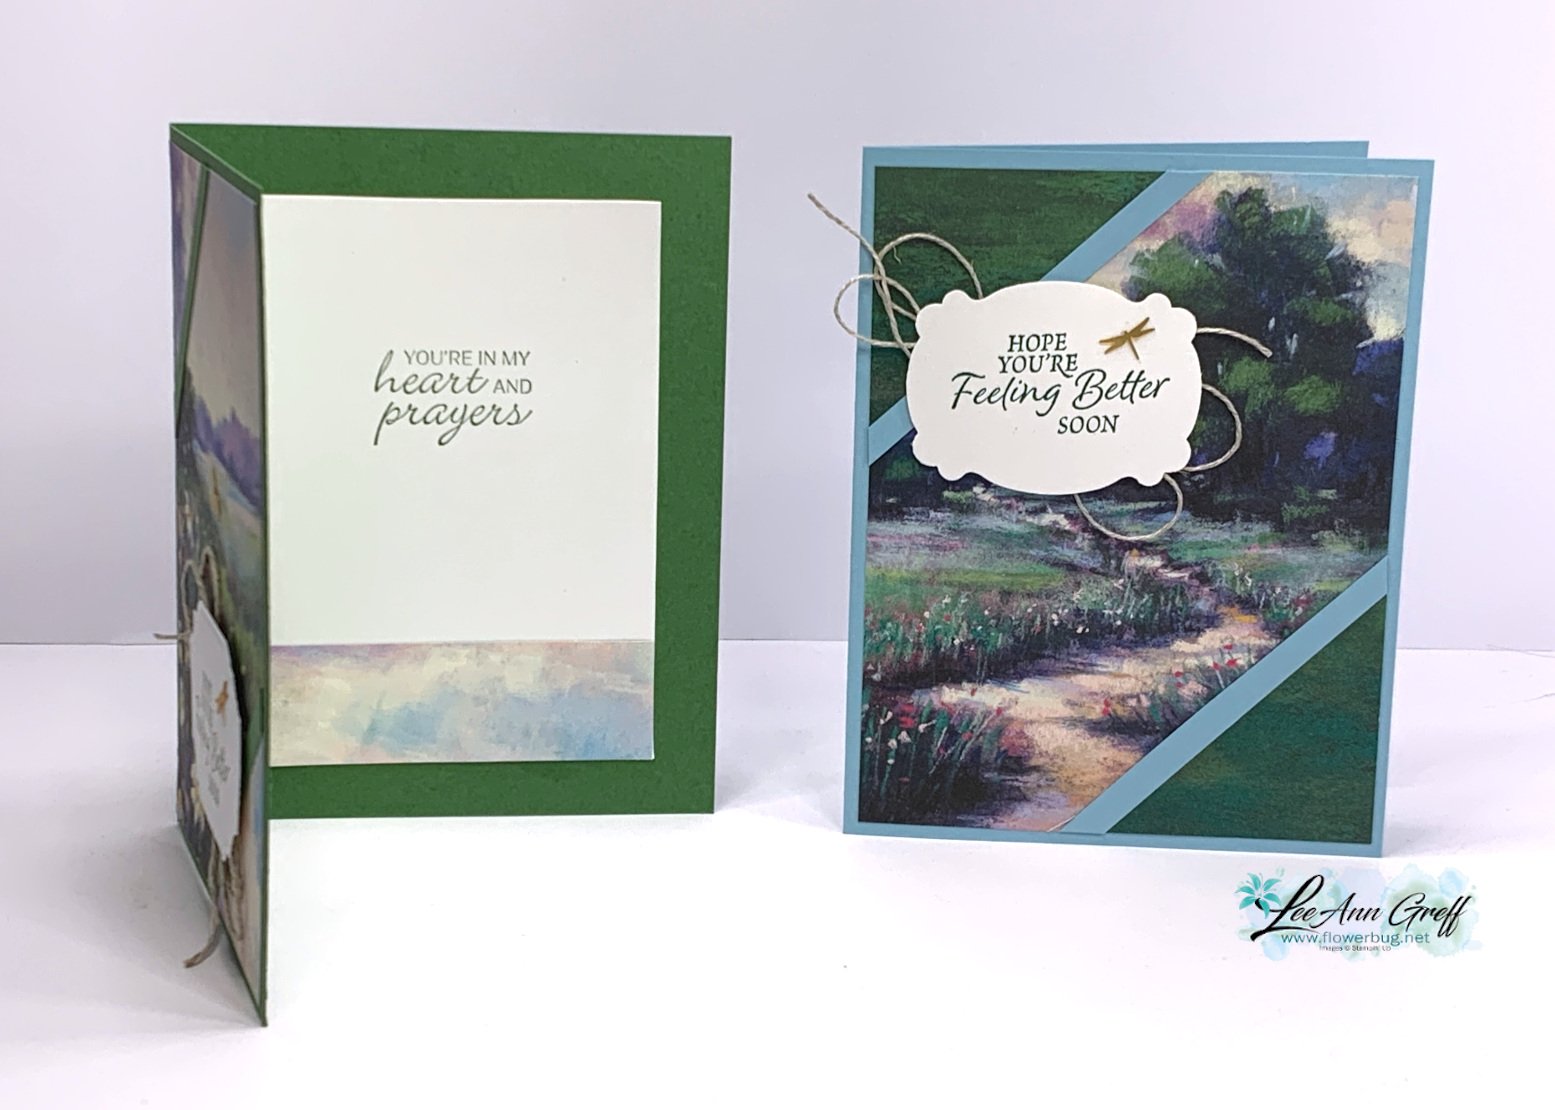
Today I'm sharing this card; a new way to feature both sides of your designer paper.
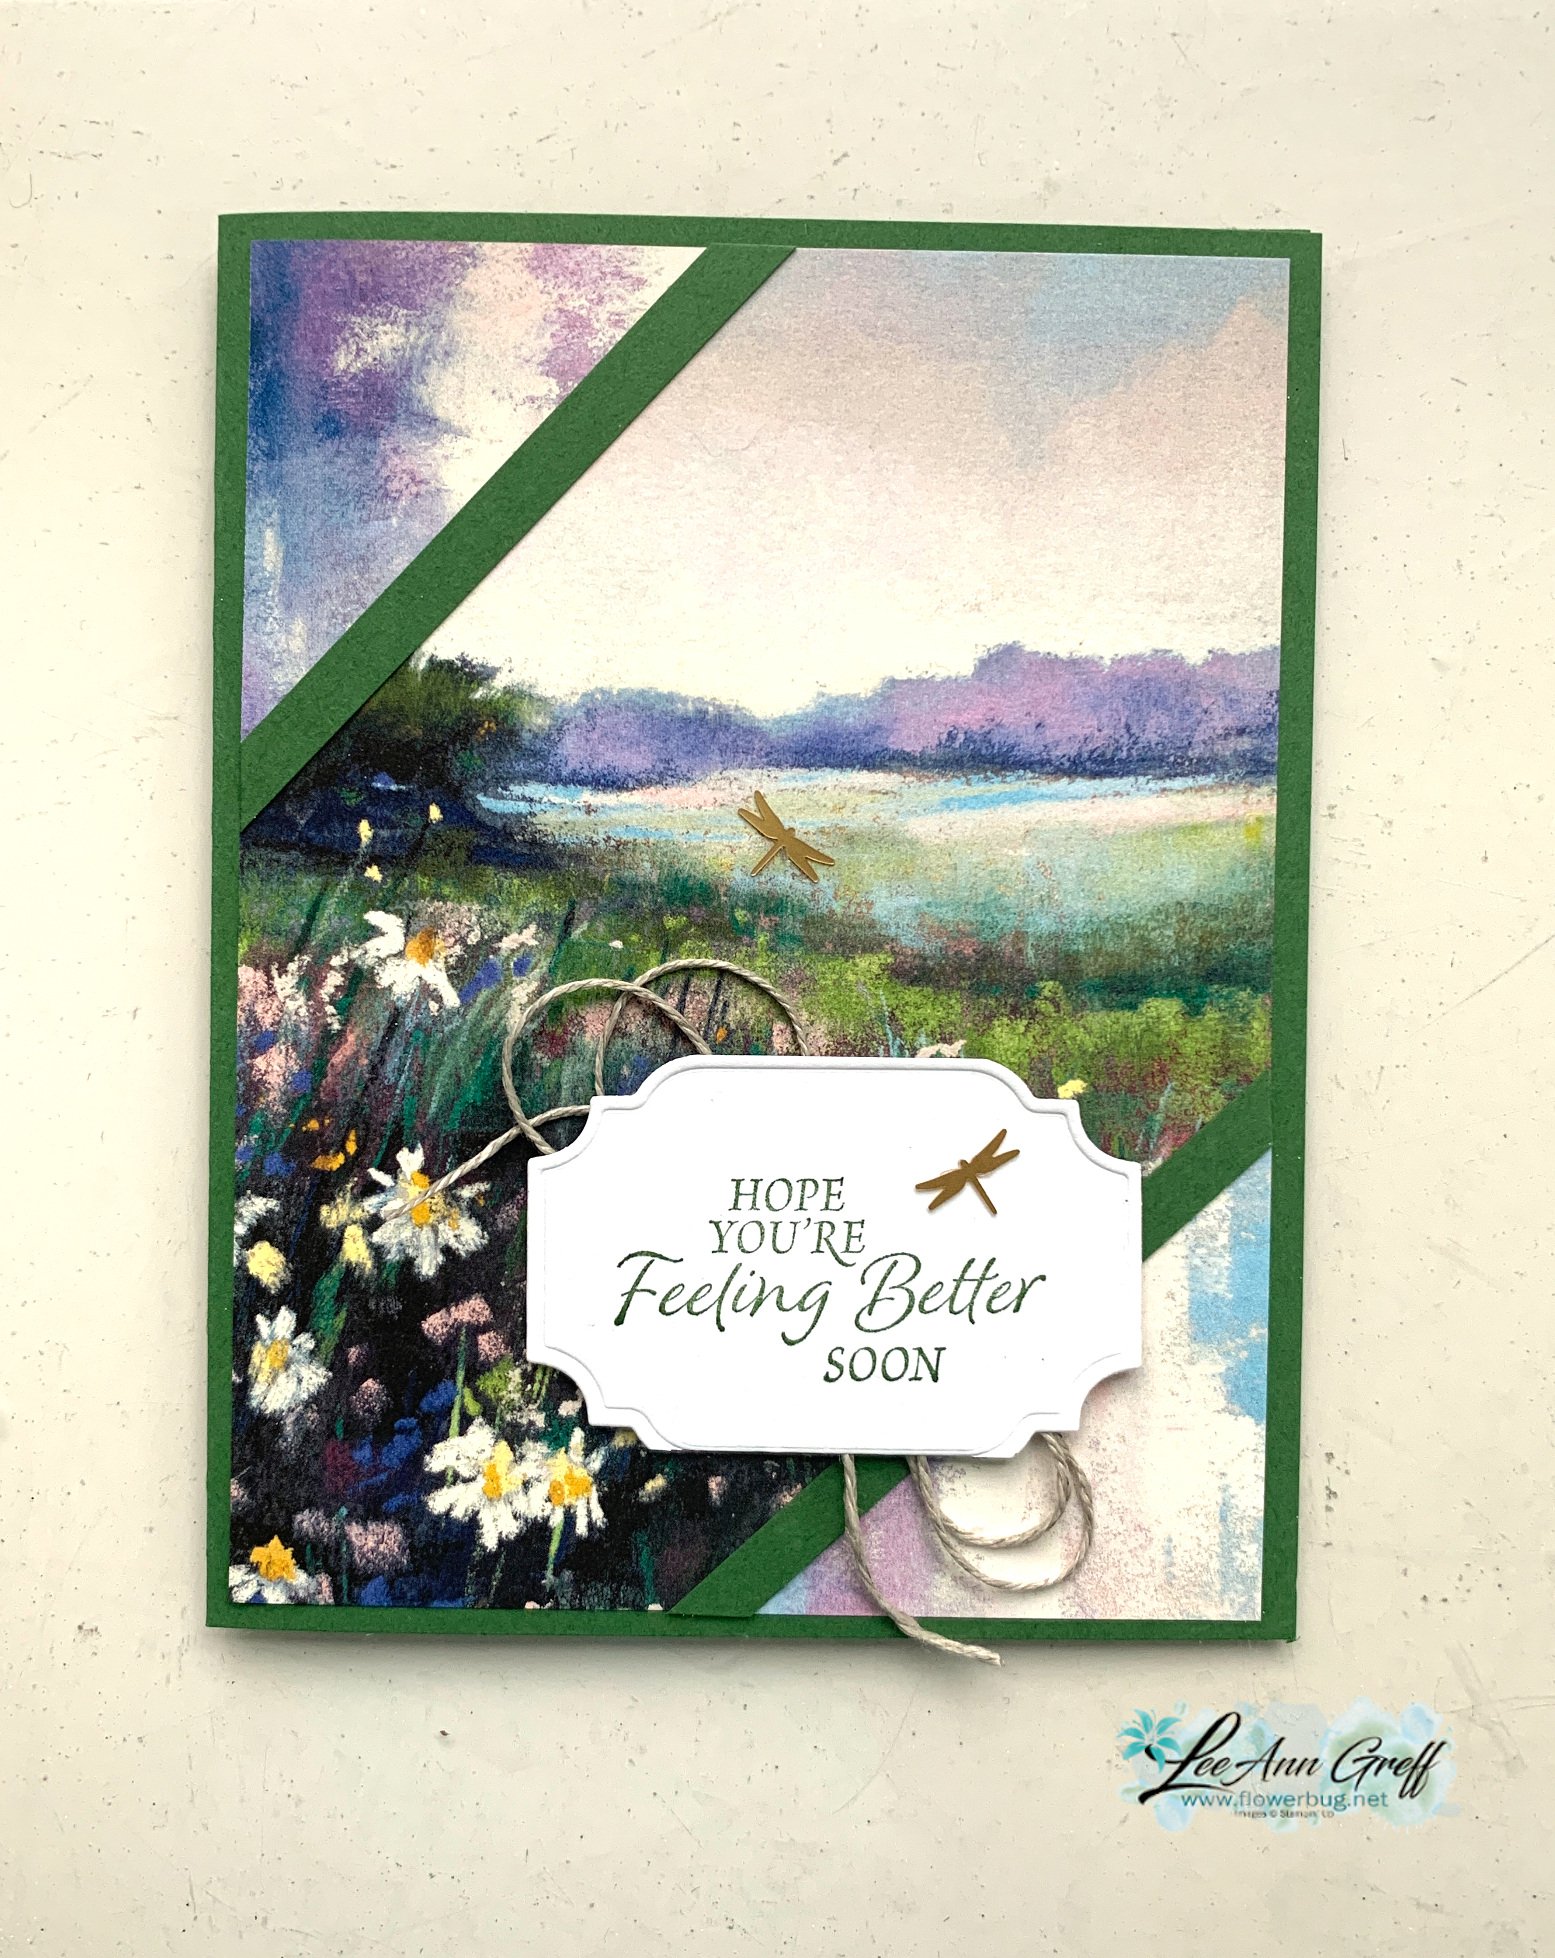
See how the upper left and lower right corners are flipped?  I simply marked the edges at 2 1/2" and cut off each corner.  Then flipped it over to show the opposite side of the designer paper.  

Next add a thin strip of coordinating Garden Green card stock.   
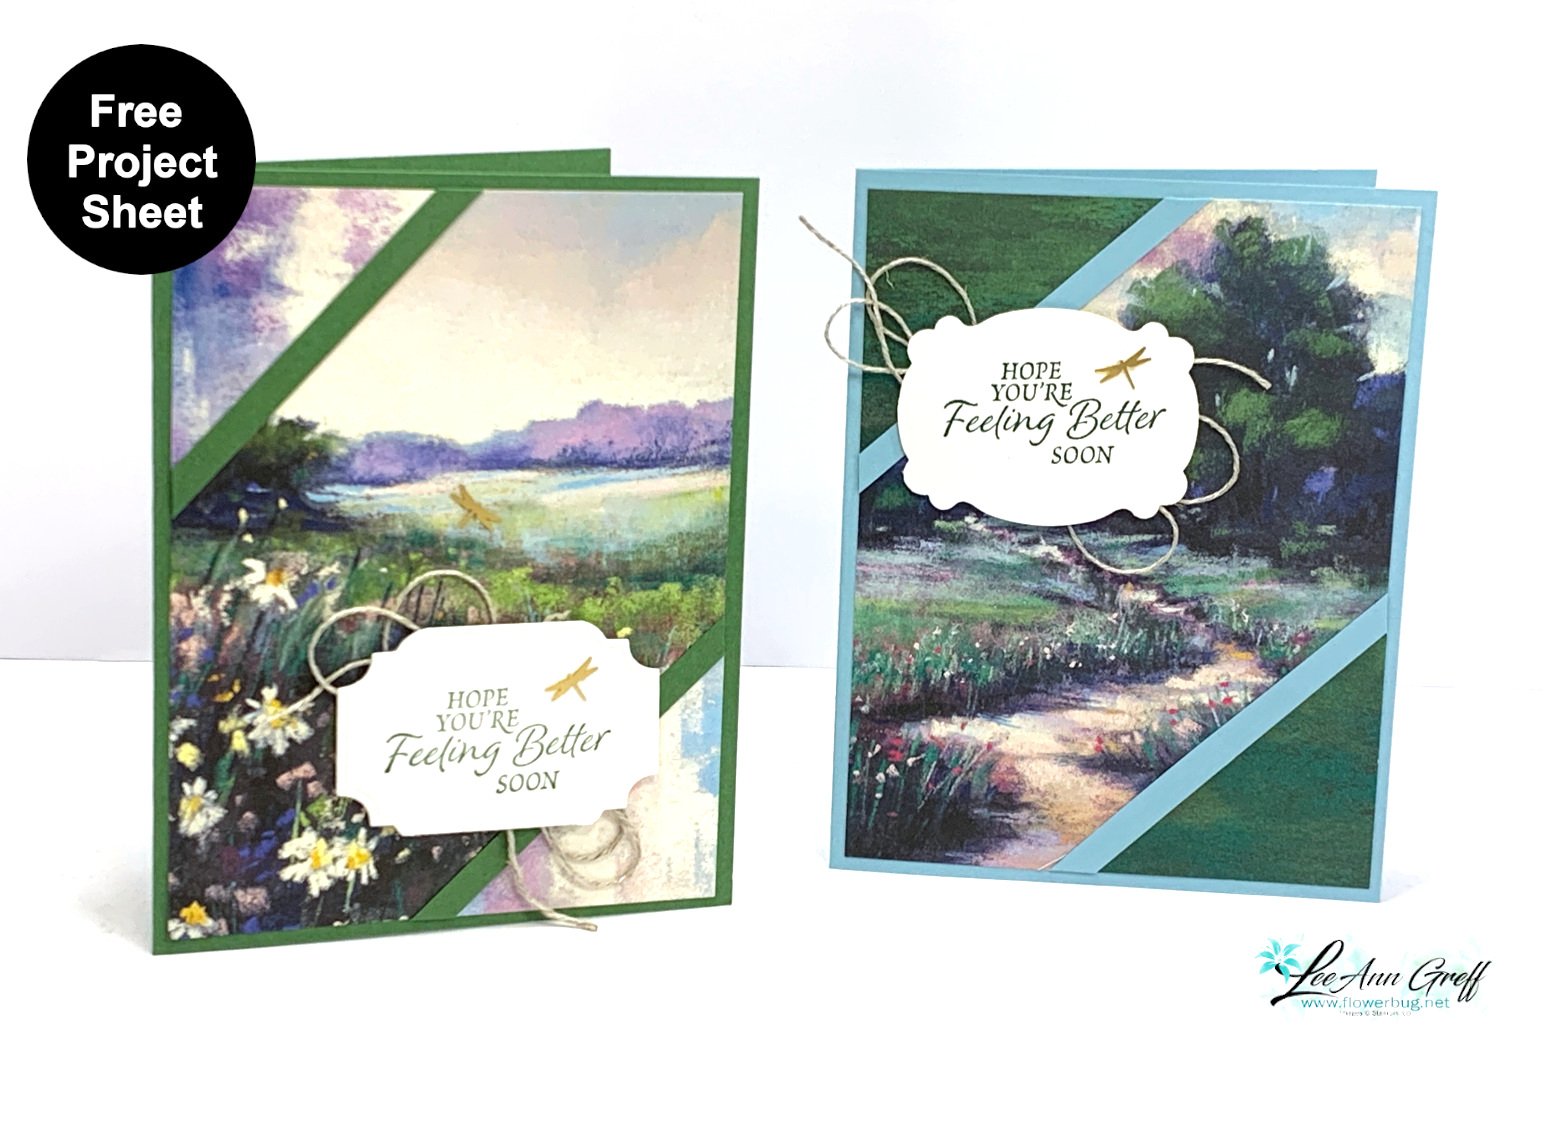
The second card above is made with Balmy Blue. The greetings are from the So Sincere stamp set in the 2023 Holiday catalog; a go to favorite of mine.  The greeting die-cut on the left is the 'All That' dies and the right is the Lasting Label punch.  

Click here to get the free project sheet; save it or print it out. Download Meandering Meadows diagonal corner flip card
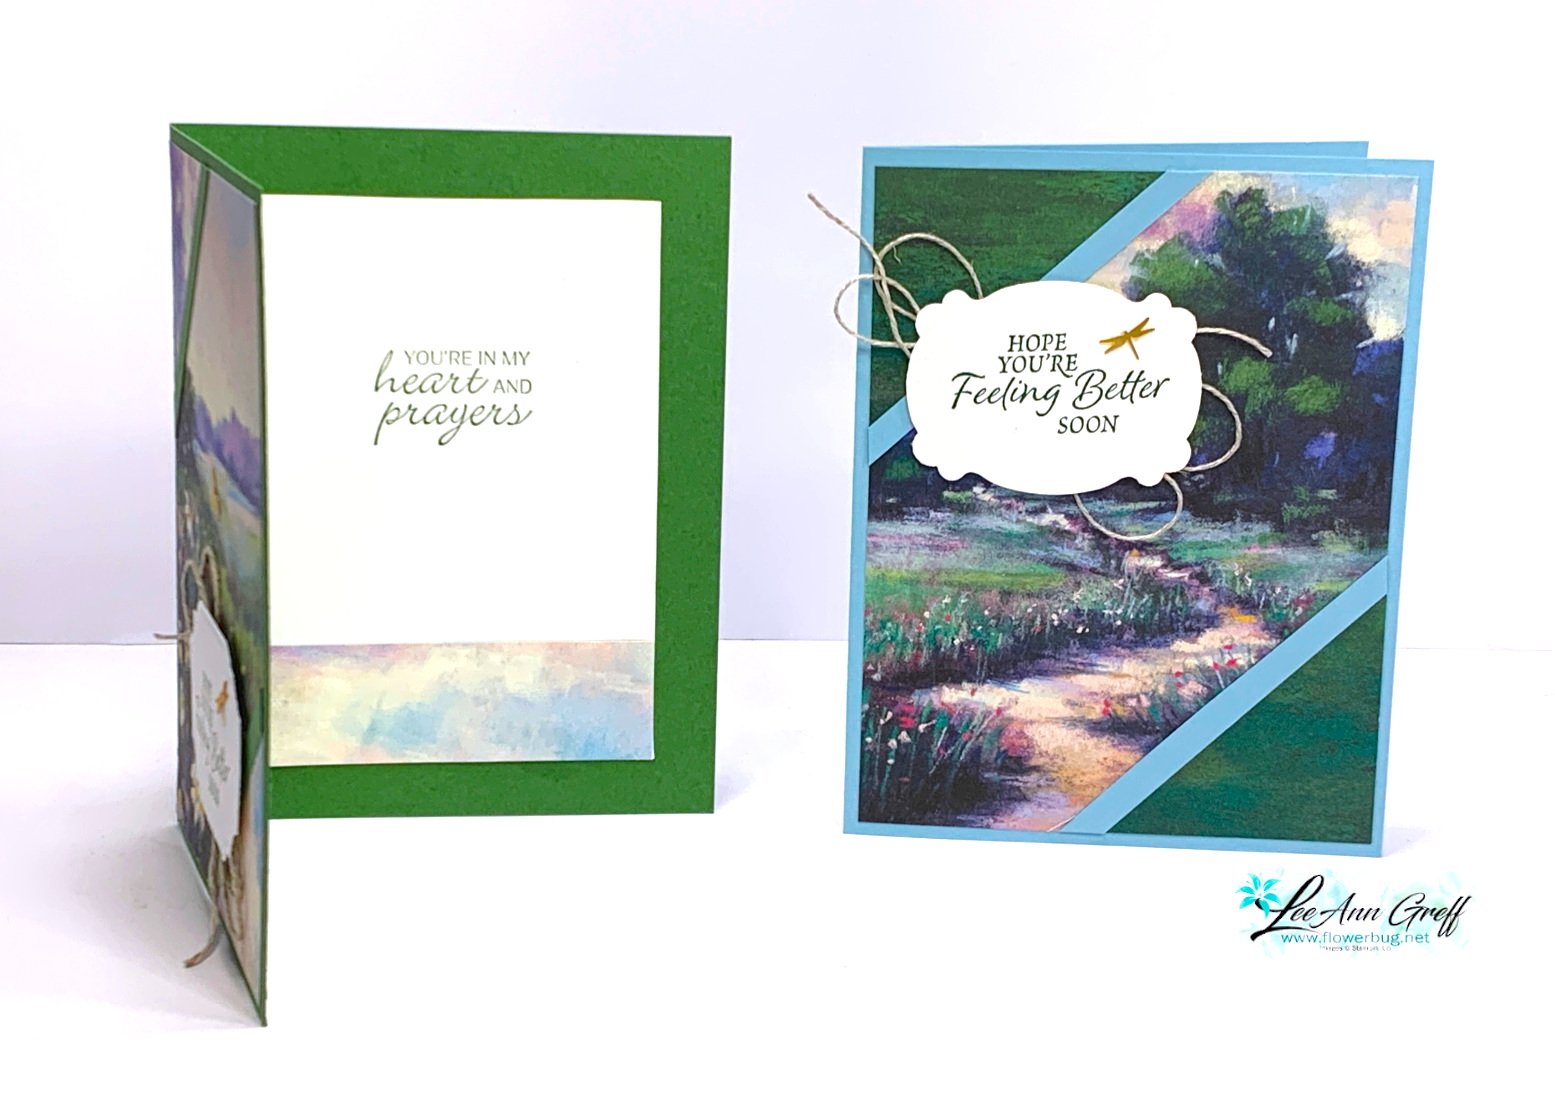
You can see a glimpse of each sheet in the photo below.  It's 6 X 6" in size and filled with watercolor scenes. This type of designer paper allows you to let the pretty scenes do the work for you. Click here to see it. 


You can see the video tutorial for this card and two more below and if you click here. 

~~~

November Specials: 

The Seasonal Sale starts tomorrow; ends Thursday!

Get a stack of free cards from me with online orders:

*current host code:  4GHXYSDQ or 4D2ZDS6Q
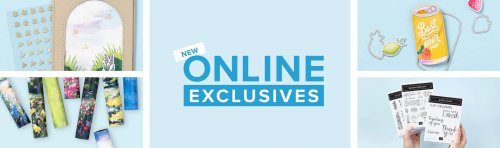
Click on the photo below to see all of the new online products
All Posts

  • Bonus days are almost over! Pretty card ideas with the Changing Leaves bundle


    There are just a few days left of the Bonus Days special! Don't miss out on the savings!

    ~~~

    This week I'm sharing our wonderful array of Team card swaps from July. This month our theme was 'thank you cards' without flowers. 

    The two cards on this post both feature the new Changing Leaves bundle from our online exclusives. I shared a few ideas in a recent video you can see here. 

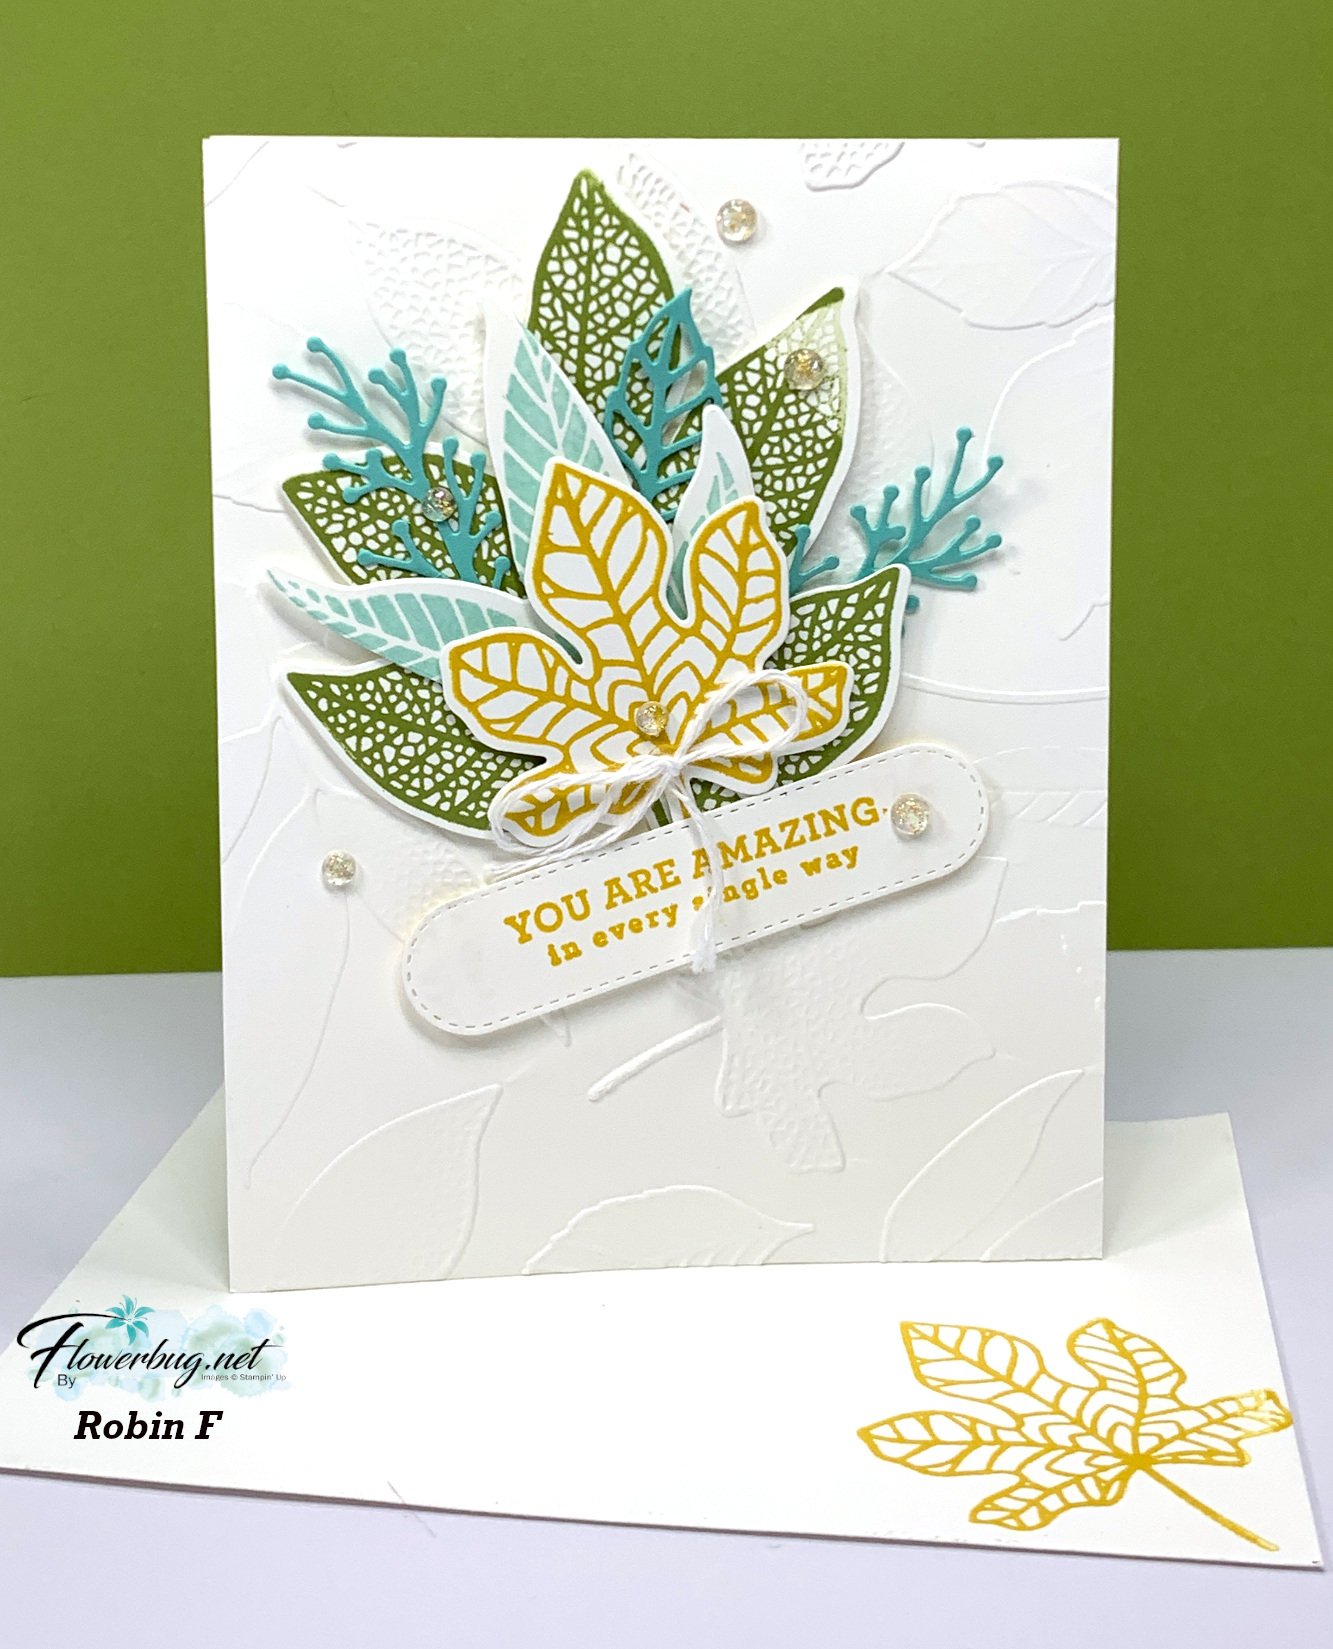
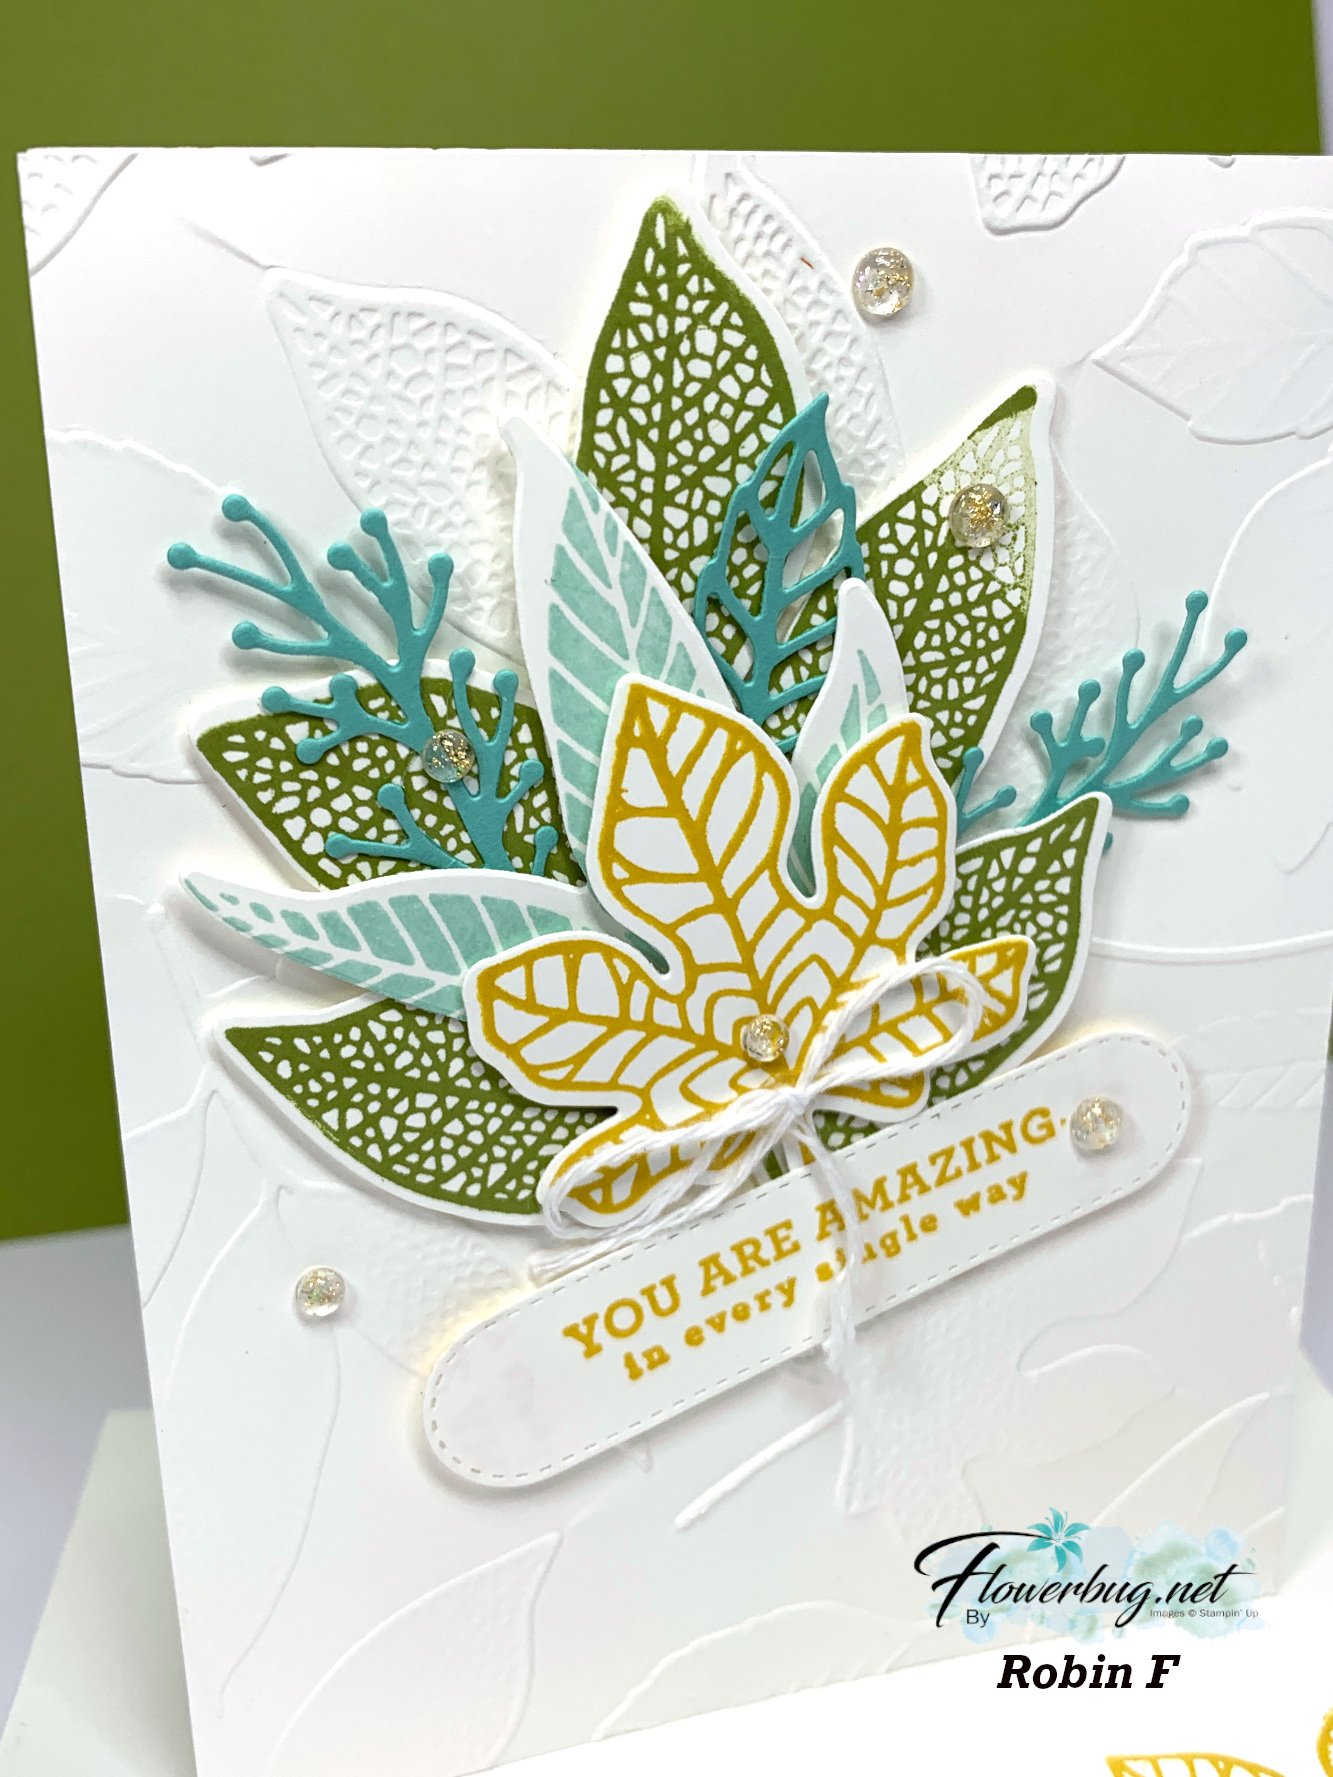
    Robin made this first card; it's simply gorgeous! 

    Her colors include Old Olive, Coastal Cabana and Wild Wheat. I love the pretty textured White background so much; it really shows off the leaves & die-cuts.  

    The greeting & die-cut are included in the Changing Leaves bundle. 

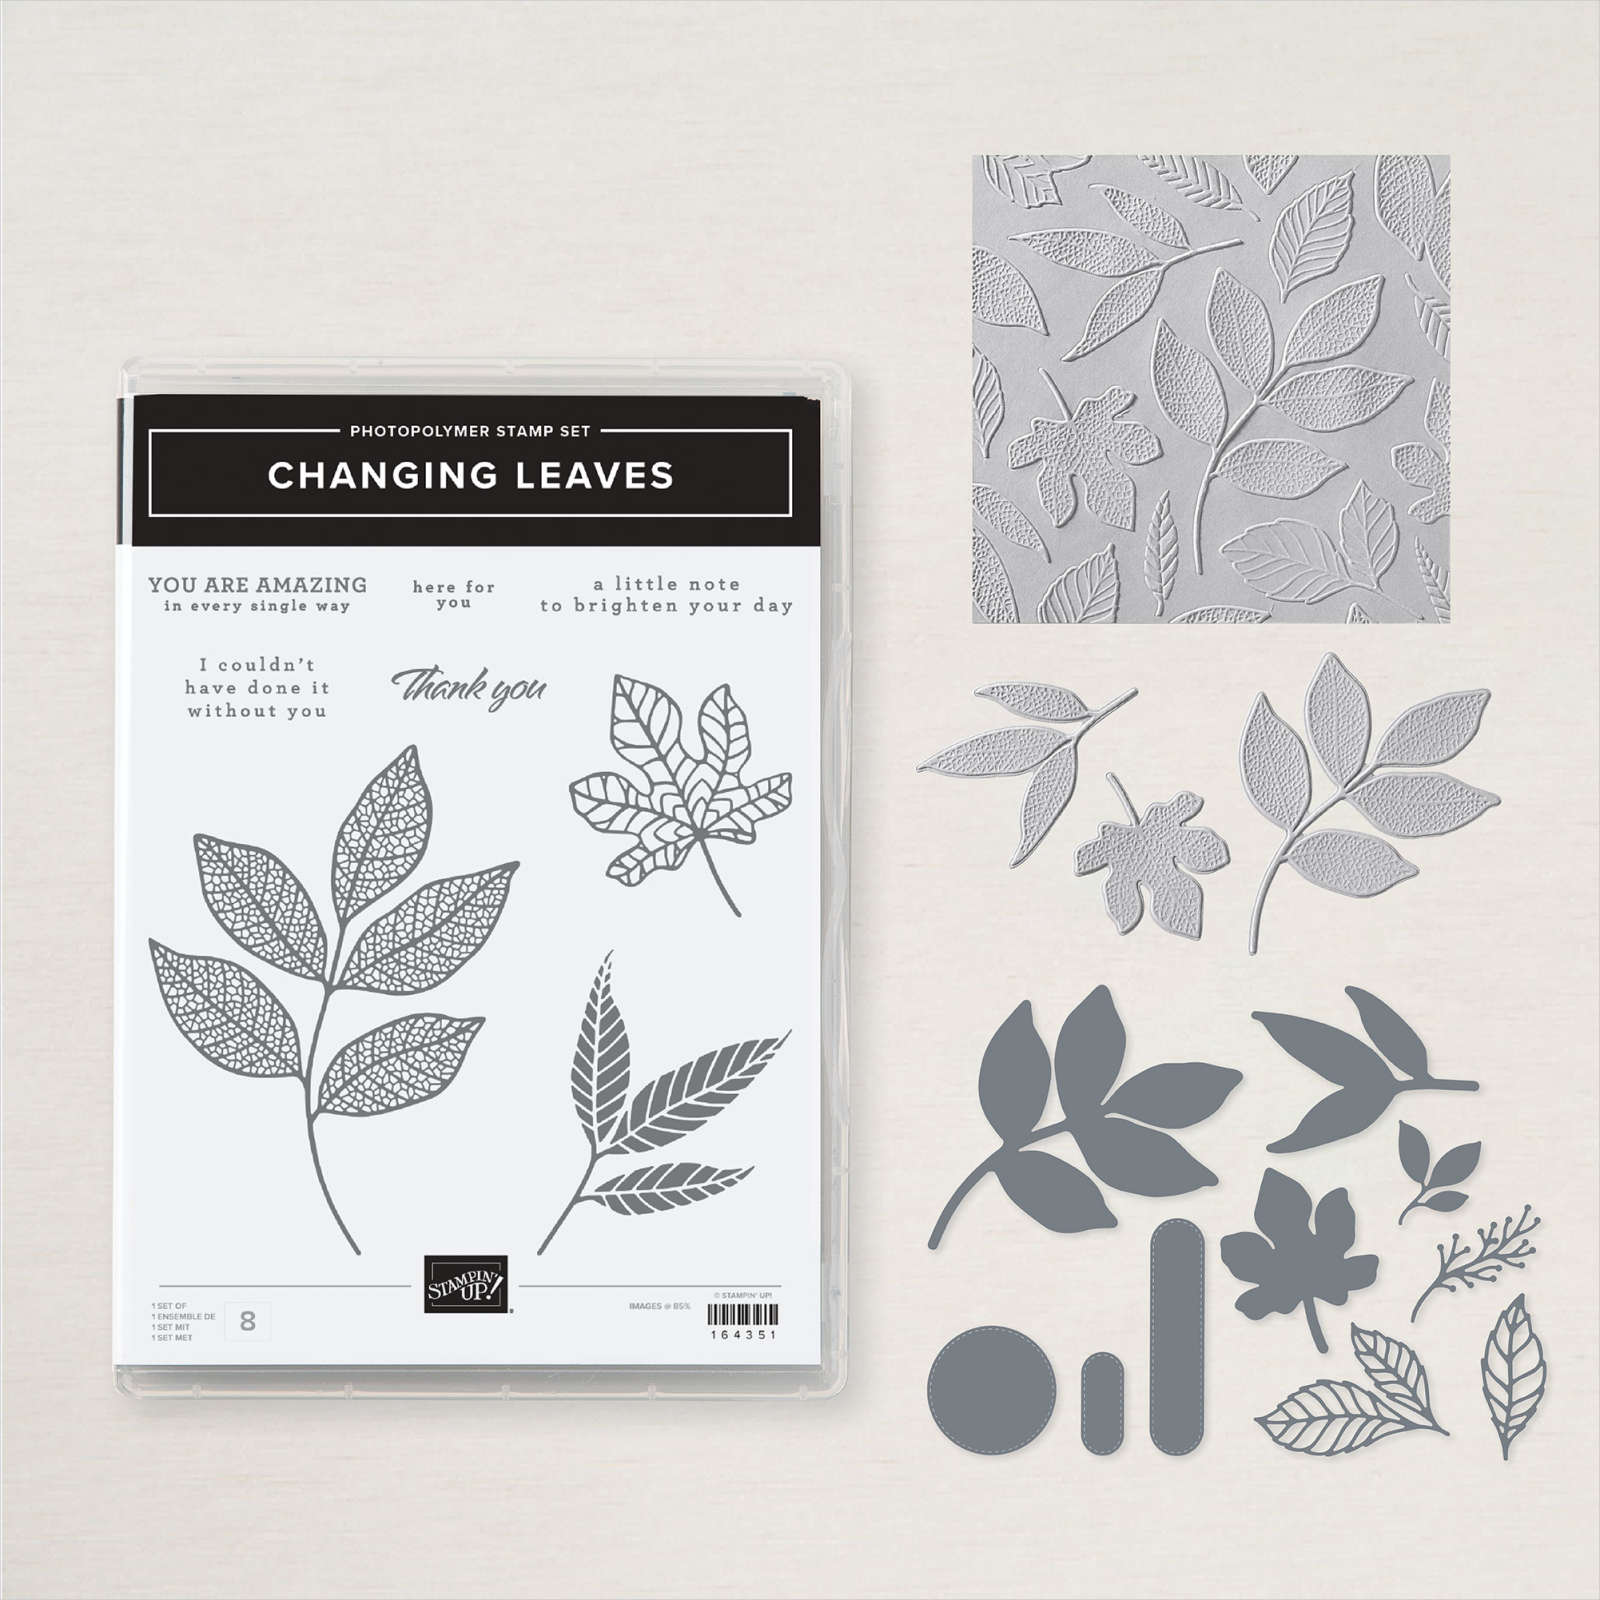
    Here's a link to the Changing Leaves bundle. It includes the stamp set, dies and matching hybrid embossing folder. See the link to my video above to see how a hybrid embossing folder works. 

    Next is Rita's pretty card. She used the same bundle.

    Her colors include Highland Heather, Shy Shamrock and Basic Beige. She also used the Spotlight on Nature dies for her circles. She sponged a bit of Basic Beige ink onto the embossed layer to highlight the texture.  

    Stay tuned for more fabulous Team swaps all this week! 

    ~~~

    July Specials:

    *current host code link: BDGBJHAE


    Earn $5 coupon for every $50 you spend in July; redeem in August. 

    ~~~

    All online orders will receive my PDF tutorial featuring the Full of Life suite

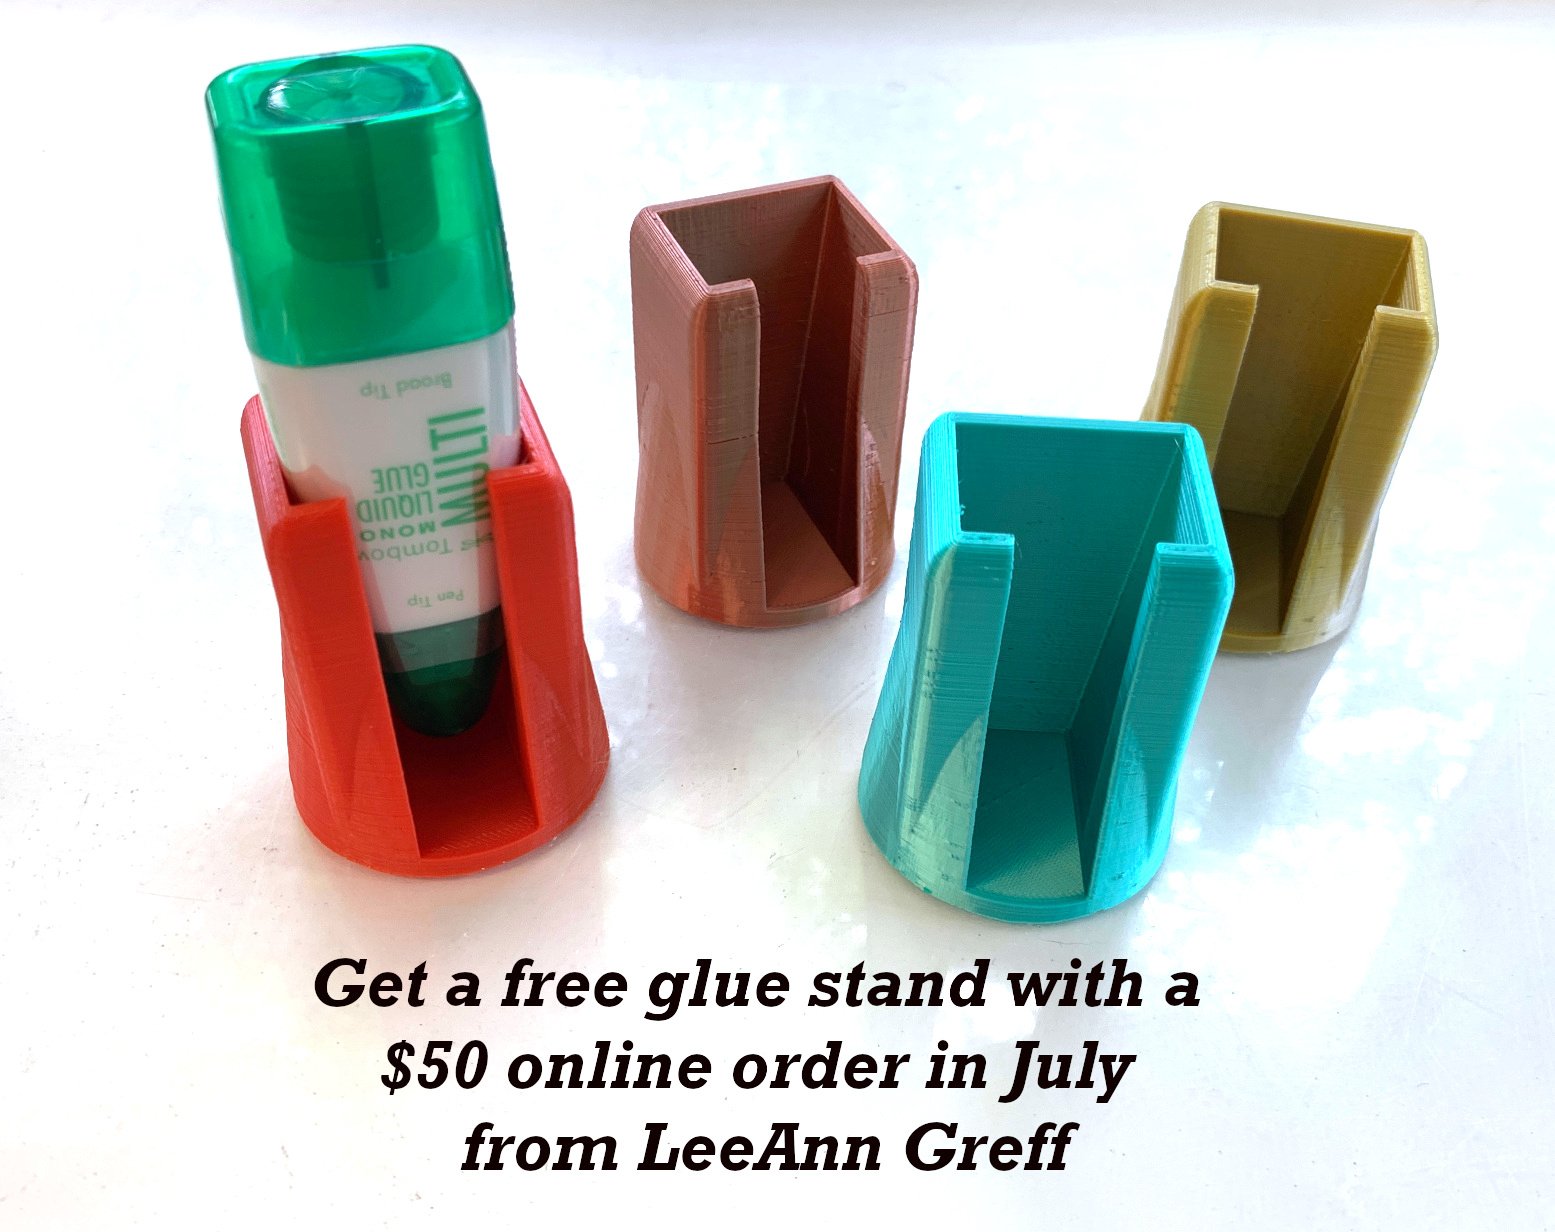
    Choose a free glue stand from me!

    Leave a Reply

    Your email address will not be published. Required fields are marked *

  • Save this template! 4 quick cards with the new Iconic Celebrations DSP. Video & free project sheet too


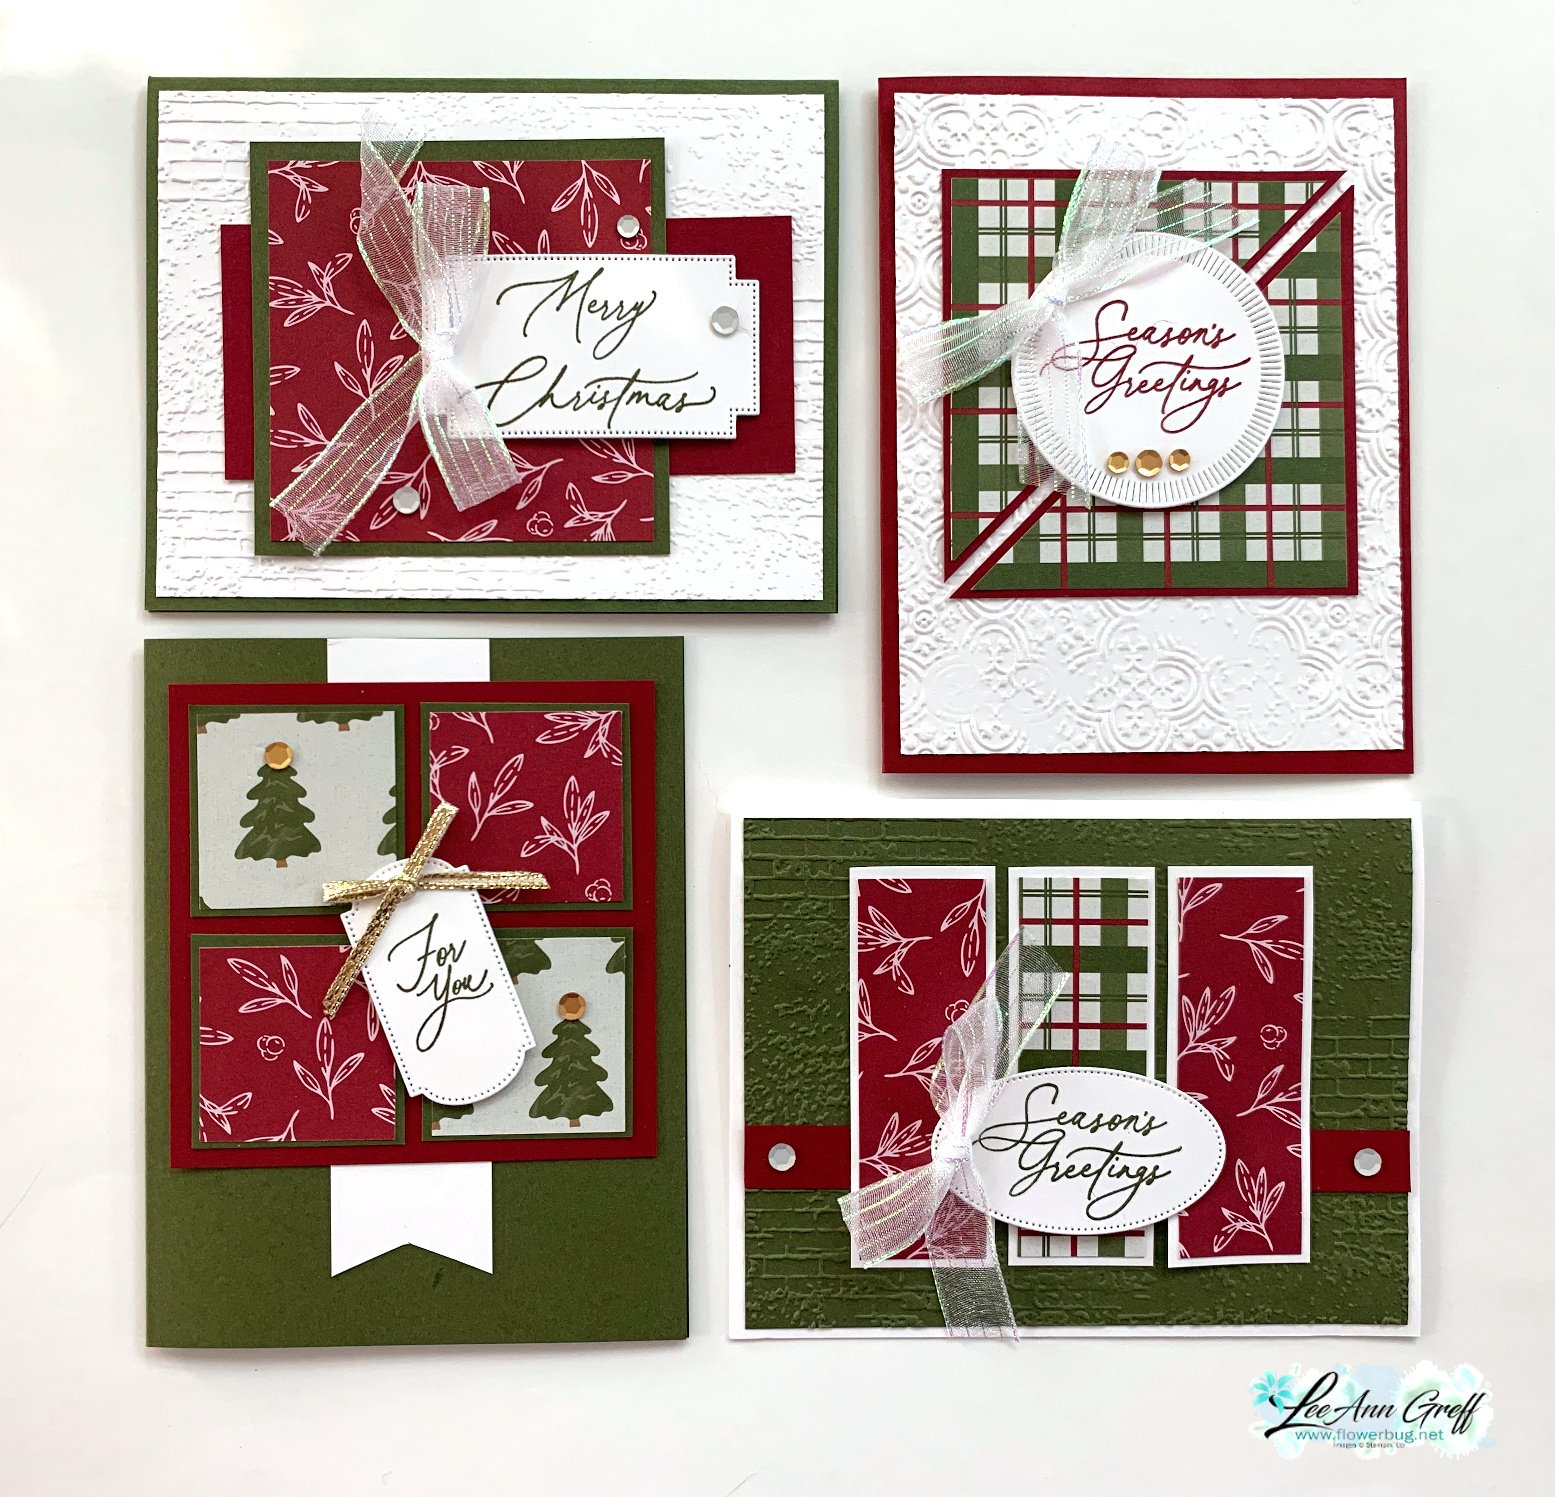
    I have something brilliant to share with you today. How would you like to use two 6" sheets of DSP to make 8 easy but multi-layered cards?  I used an easy template with simple measurements to create some fabulous cards. Here's one of my favorites:

    And here are all of the blue cards in order left to right.  My colors include Misty Moonlight, Boho Blue, Mossy Meadow & White.  

    It starts out with two sheets of 6 X 6" DSP; in this case the new Iconic Celebrations from the Online Exclusives seen here.  *Two sheets of 6" DSP will make 8 cards.  You can opt to use just one sheet and not have any variation.

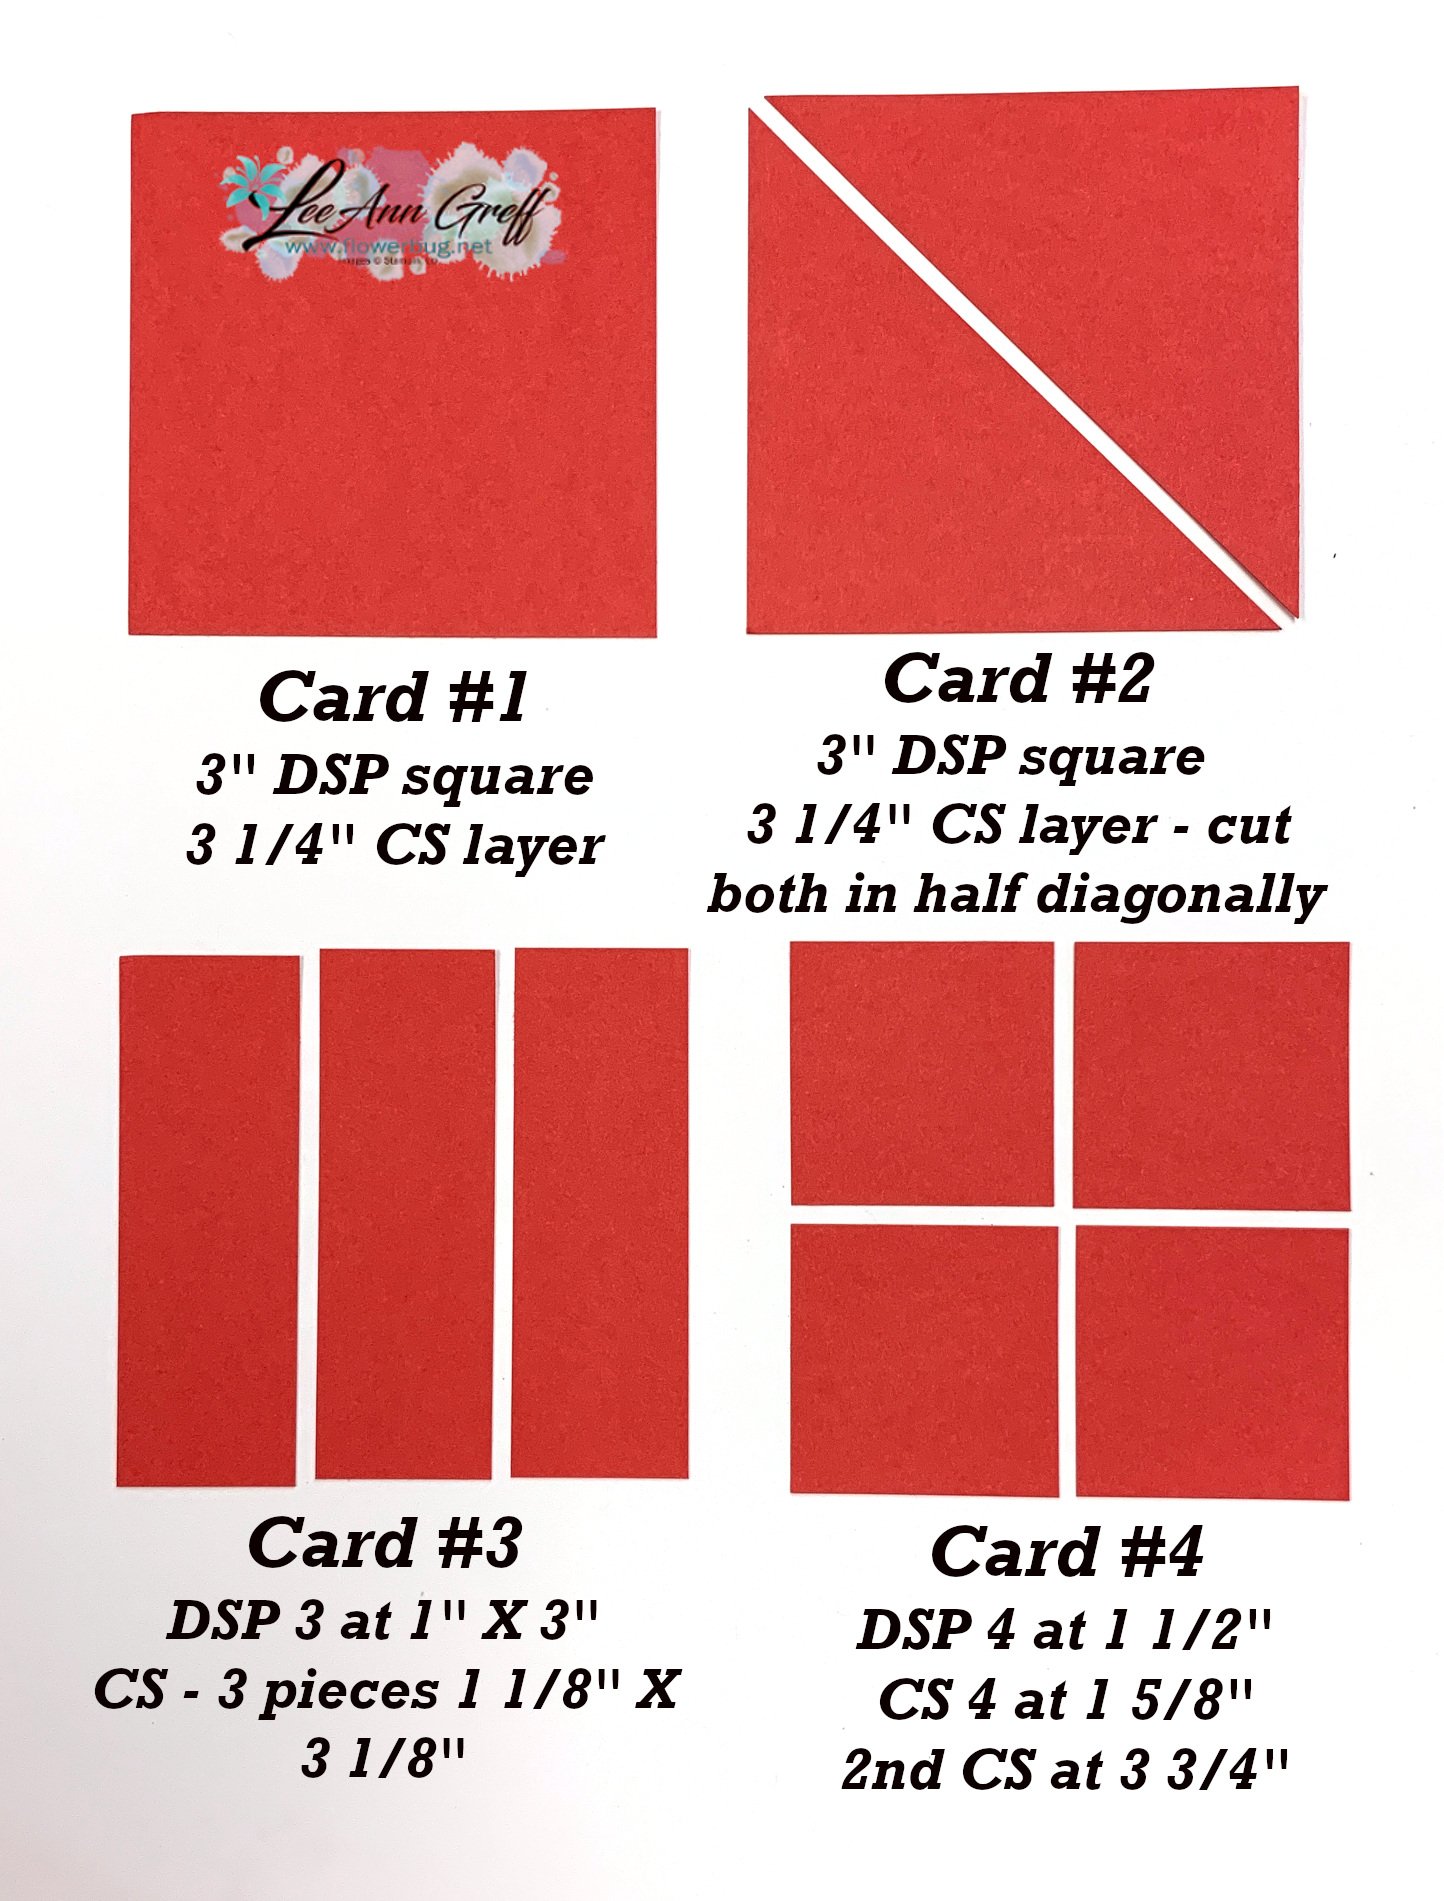
    You'll cut each 6 X 6" designer paper piece into four 3" squares. Then cut three of those into a few pieces like this (one is left whole):

    The photo above gives you the DSP AND layering cardstock measurement.  You can find the other measurements for the supporting layers on my free project sheet. 

    Click on the following link to see, print or download the project sheet: Download 4 Iconic Celebrations cards with template

    Besides the Iconic Celebrations DSP, I used a few other new Online Exclusives products – the Everyday Greetings stamp set and the Greetings of the Season bundle seen here. 

    Click here or on the video below to watch how these cards are made.  I share a second version in Cherry Cobbler & Mossy Meadow during the video.

    On the project sheet it lists the products I used. The ribbons here are the Iridescent 1/2" striped trim and the Gold & Silver 1/8" trim combo pack from the Annual Catalog. 

    Click on the photo below to watch the video and see how I used the easy template for these multilayered cards. 

    ~~~

    July Specials:

    *current host code link: BDGBJHAE


    Earn $5 coupon for every $50 you spend in July; redeem in August. 

    ~~~

    All online orders will receive my PDF tutorial featuring the Full of Life suite

    Choose a free glue stand from me!

    Leave a Reply

    Your email address will not be published. Required fields are marked *

  • Do you ever make cards made from leftover pieces?


    Today is the last day of the Paper Pumpkin sale – refills and add-ons are up to 75% off! See it all here

    ~~~

    I had a bunch of fussy cut coffee cups leftover from a previous project plus a stack of A Little Latte designer paper layers too.  Here are some of the cards I made with them.  

    Aren't they great?  You'd never know I made these with leftover pieces! It's a fun challenge to put random layers together in a pleasing way. I really enjoyed making these as thank you's for my online orders. 

    Here's a photo of the cute A Little Latte designer paper. There are two sheets of coffee cups you can fussy cut.  Or get the Latte Love bundle that has dies to match. 


     I knew I needed a neutral base to add the layers to so I started out with a textured White layer added to my card bases. I chose the So Swirly embossing folder seen here. After adding the DSP pieces & coffee cups I finished the cards with greetings and a twine bow. 


    I keep a small bag of White die-cut greeting pieces on my desk so I grabbed some of those for my greetings.  Done! 

    I think they turned out great.  Do you ever grab your leftovers to create with? 

    ~~~

    July Specials:

    *current host code link: BDGBJHAE


    Earn $5 coupon for every $50 you spend in July; redeem in August. 

    ~~~

    All online orders will receive my PDF tutorial featuring the Full of Life suite

    Choose a free glue stand from me!

    Leave a Reply

    Your email address will not be published. Required fields are marked *


Notice: LeeAnn Greff, Independent Stampin’ Up! Demonstrator, Manager. The content of this website is my sole responsibility as an independent Stampin’ Up! demonstrator and the use of, and content of, the classes, services, or products offered on this website is not endorsed by Stampin’ Up! Copyright 2025