/


Latest Post

Inlaid technique video with Mountain View!


This gorgeous card was one of our January Card Club projects.  Of course I love the colors of Coastal Cabana, Granny Apple Green and Pretty Peacock. 

I cased the idea from Cheryl Miller at Sense of Whimsy. 

Here's how to make this pretty card. 

  1. First die-cut two trees from the main White panel one on the upper left and one on the lower right.
  2. I sponged one of these die-cut white trees with Coastal Cabana and Granny Apple ink for the center tree. 
  3. Then die-cut two more trees from the Lily Impressions designer paper (free with a $50 order during Sale-a-Bration).  
  4. Adhere the White panel to the Coastal Cabana panel and then to the main Green card base. 
  5. Insert the two die-cut trees into the left and right die-cut areas for an inlaid effect.  (I recommend Fine Tip glue or Multipurpose adhesive)
  6. There's a trick to getting this unique greeting shape with the Tailored Tag punch.  I share it on the video below. 
  7. I used the Sending you Thoughts stamp set and heat embossed the greeting. 

Watch the video below for many more tips on creating this fabulous card. 


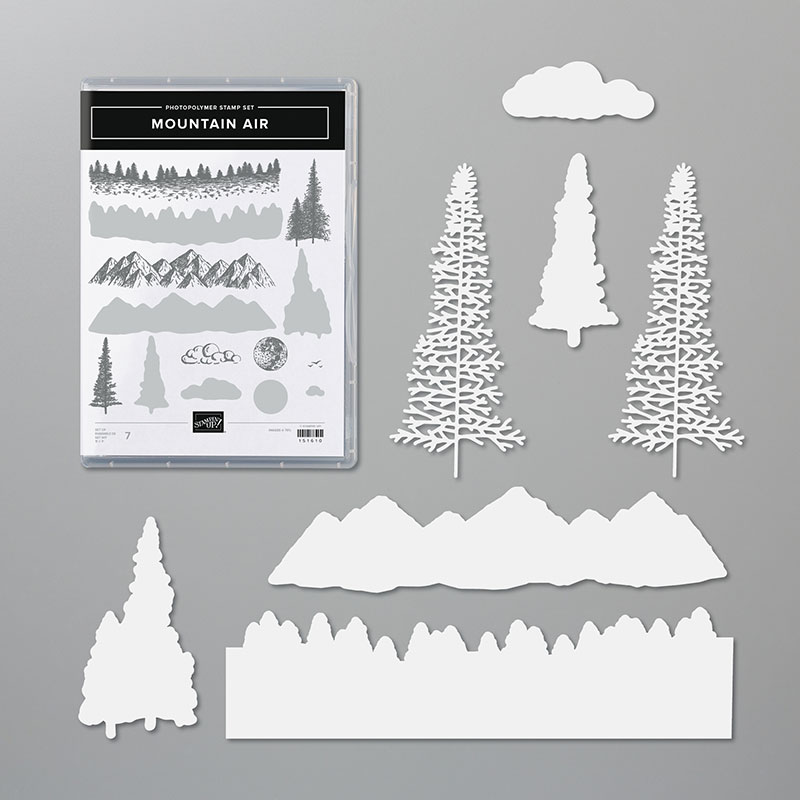
The Mountain Air bundle is my special for March.  Everyone who purchases it from me will receive a free 10 cards tutorial!  Past and present orders count!  You can see it here. 
Coordination Product Release – While supplies last!


~~~

Four February Specials just for you besides Sale-a-Braton

and the Product Coordination Release! 

    1. Earn a ticket in the drawing for each $25 you order online in February for a free Little Ladybug stamp set!

Order online here

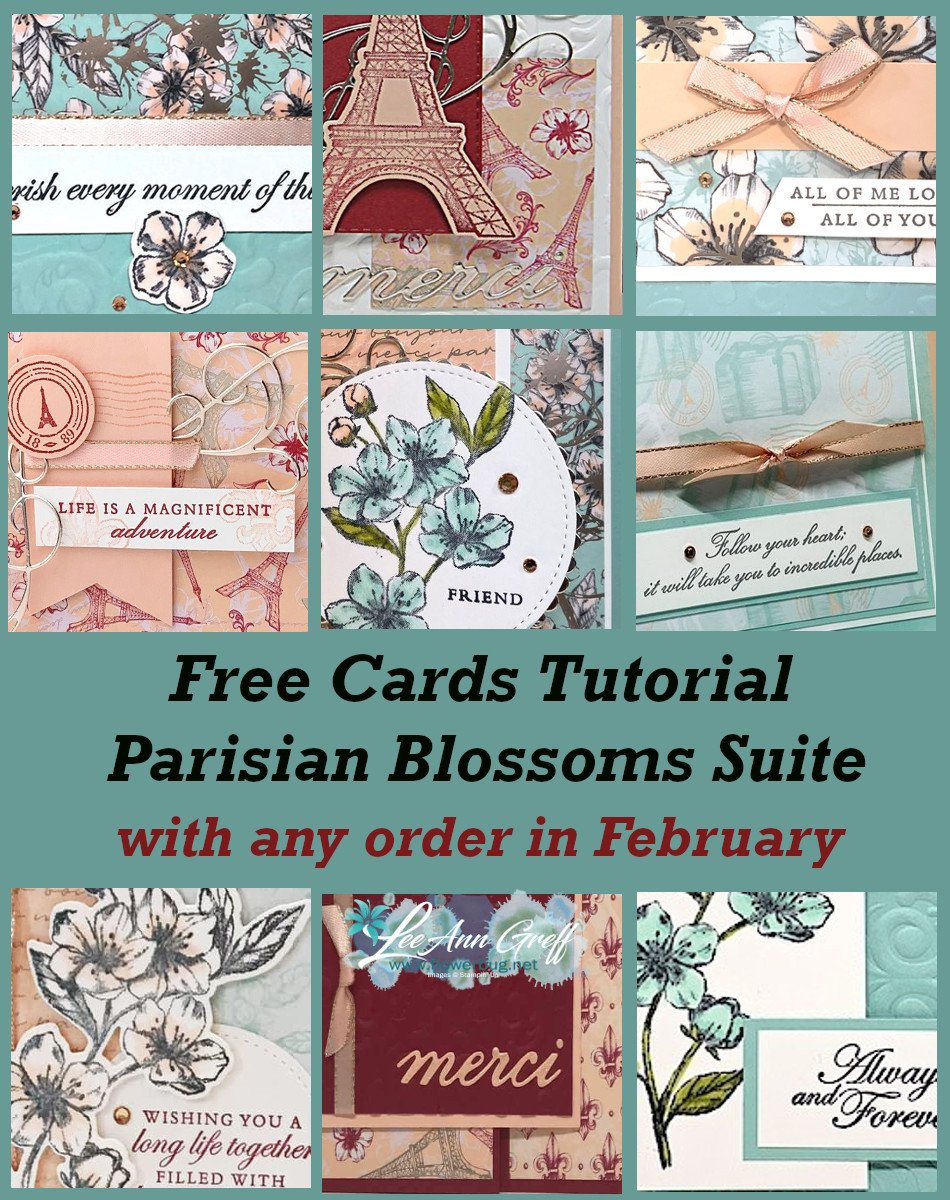
2. All online orders will receive a free pdf cards tutorial in an email.
3. And if your order is over $55 you'll get a free package of Champagne Rhinestones too!

February Host Code is 4CQKPWRV

Order online here

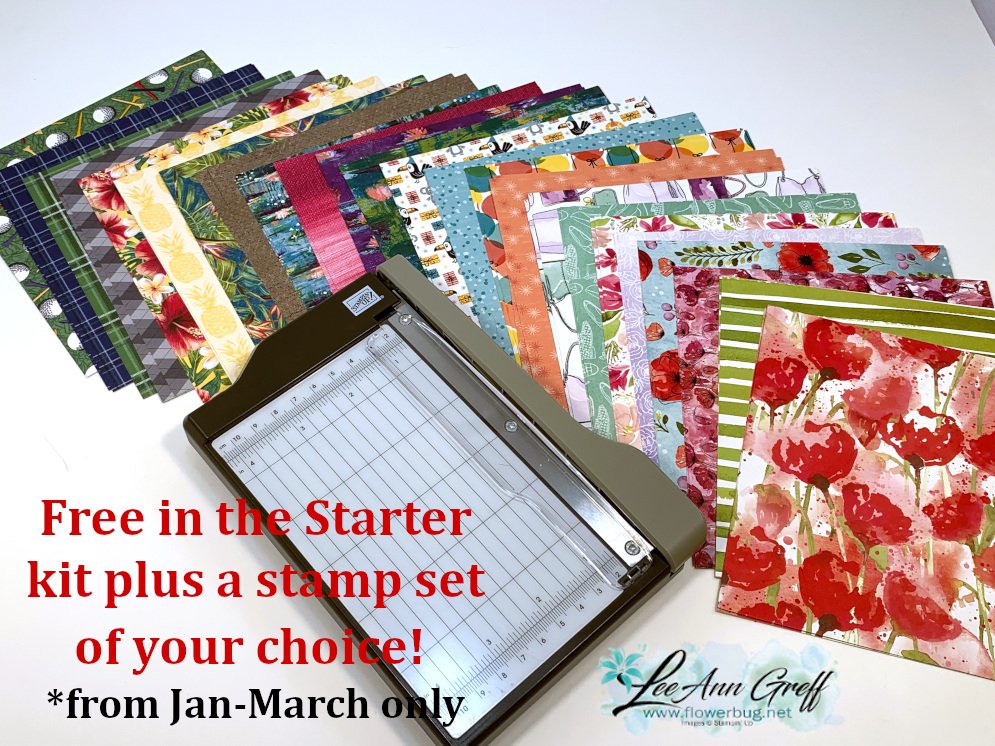
4. Choose any FREE stamp set when you purchase the Starter kit during Sale-a-Bration; of any value! Plus you'll get a free paper trimmer and a 6 X 6 sampler of new Designer Paper!  It's just $99 plus tax for $125 in product of your choice plus shipping is free!  Click here to join my awesome Flowerbug's Team! 
 

All Posts

  • Quick All Aflutter card with the Extraordinary Washi tape


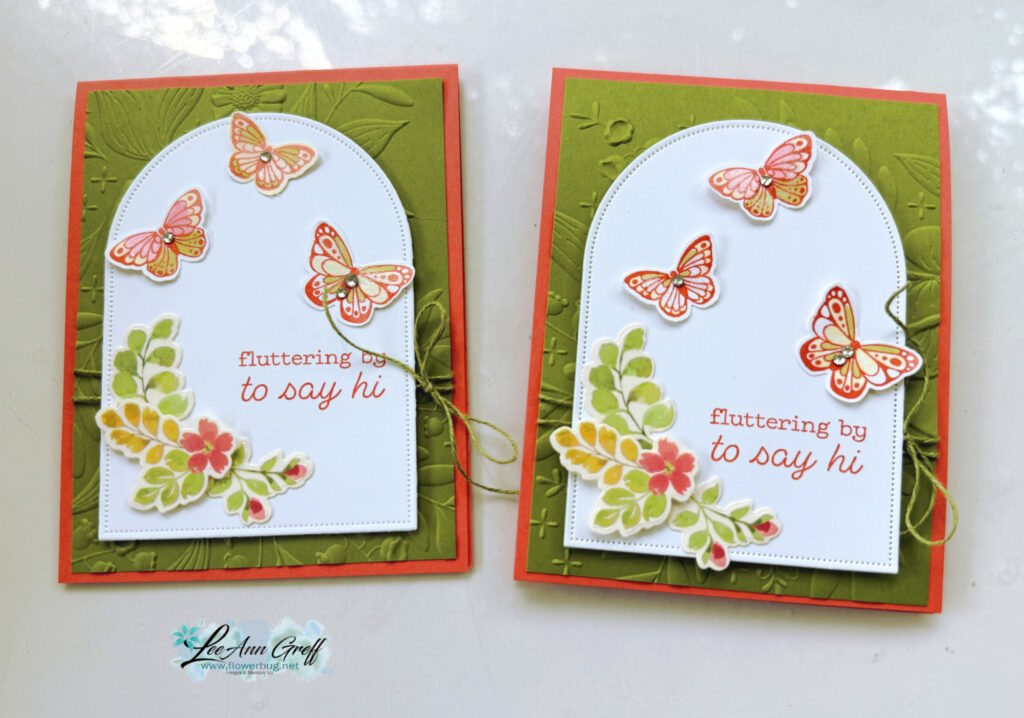
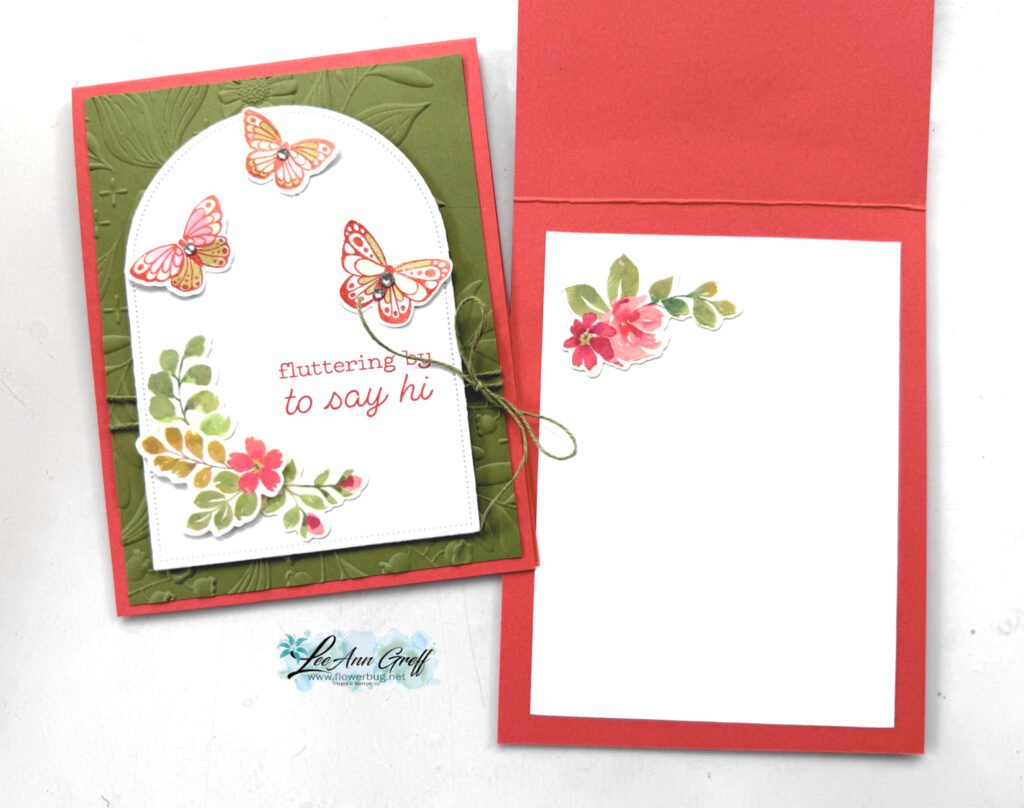
    Here’s a sweet card made with both the All Aflutter bundle and the Extraordinary Washi tape:

    My colors include Calypso Coral, Old Olive and White. The Arches dies used in White here give a wonderful focal point to highlight the butterflies, greeting and flowers from the Washi tape. Unfortunately they are out of stock currently; but see them here and put your email in to get notified when they’re back in stock.

    The background texture on the Old Olive layer is the Floral Spray 3D embossing folder. This folder is super popular and out of stock right now. Again, please add your email to be notified when it’s available.

    I love the Extraordinary Washi tape with coordinating die. You can cut out lots of colored flowers and leaves with ONE CUT! I save the extras to use them when I need just a little something extra. See the Washi tape here (you get 10 yards!) and the coordinating die-cut here. There’s also a bundle you can get here; it includes both the stamps and die-cut.

    It’s simple to use this washi tape! Start by adhering a strip of it to white card stock (vellum or window sheet also works). Then use the die-cut to cut all of the pieces out.

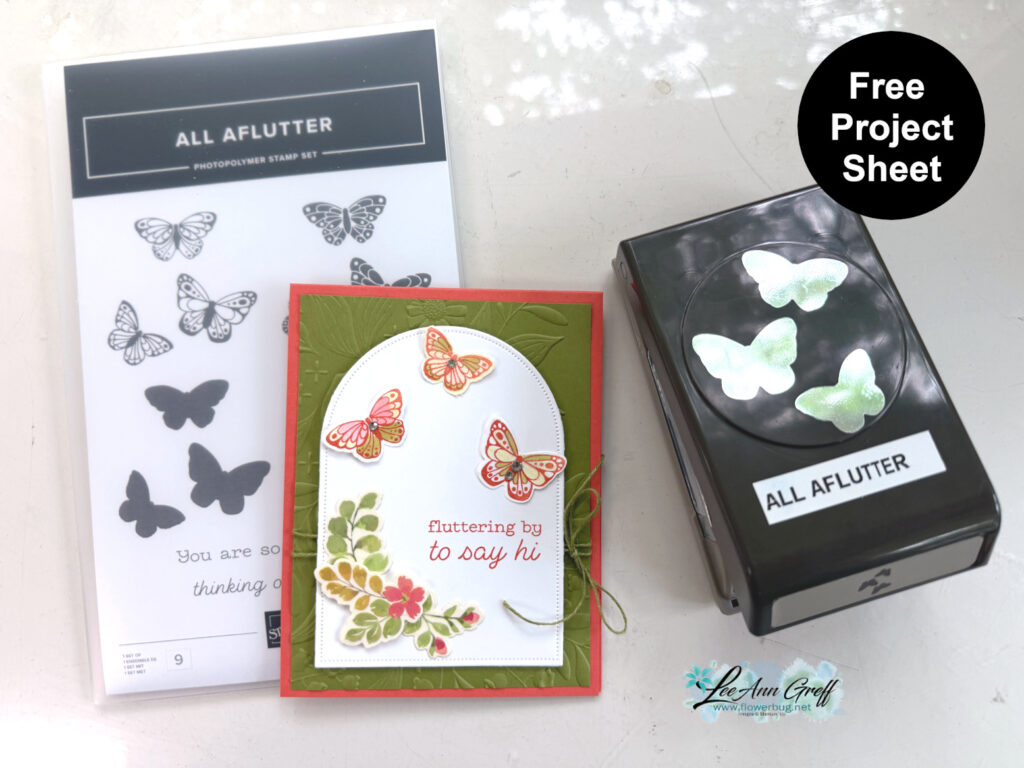
    I created a free project sheet for this card. Click here to download it or print it out.

    See the All Aflutter bundle here.

    There’s also a video tutorial for this card and another sweet All Aflutter fun fold card. See it below.

    Leave a Reply

    Your email address will not be published. Required fields are marked *

  • All Aflutter envelope-flap style card with free project sheet & video


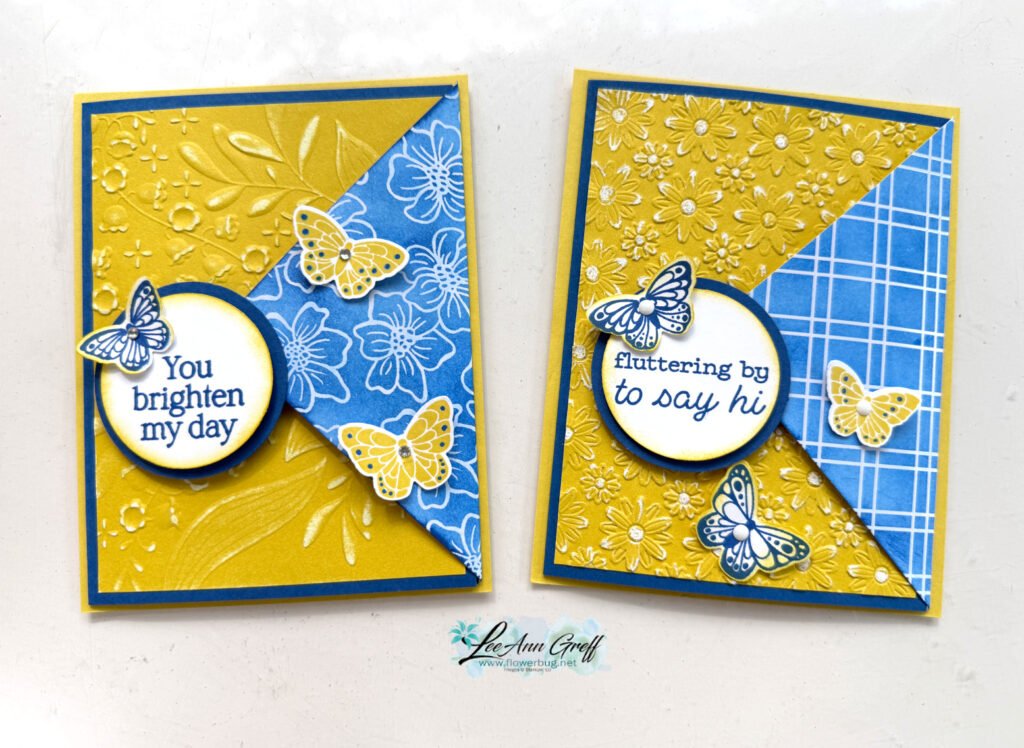
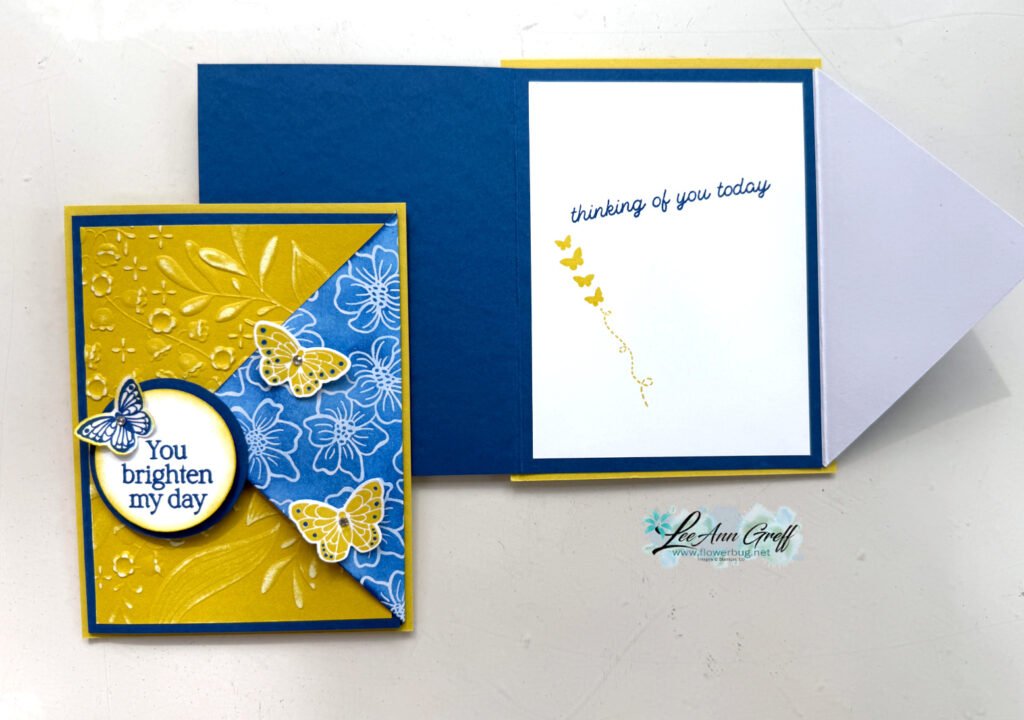
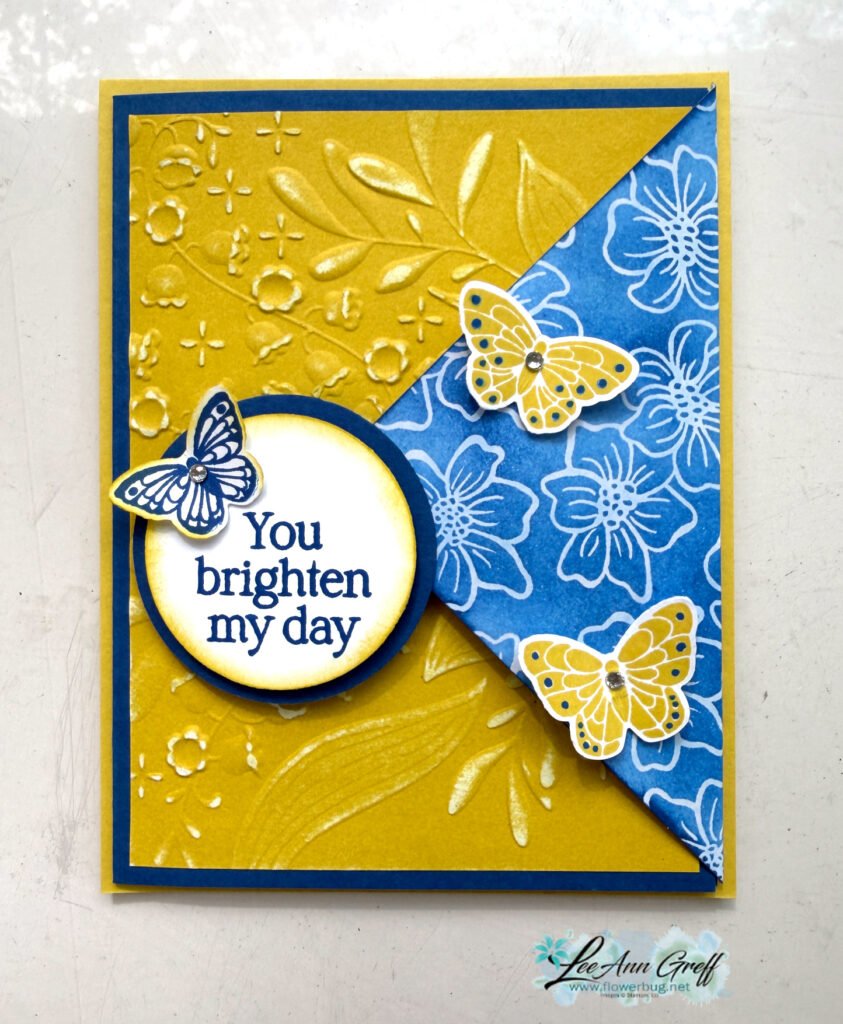
    This neat fun fold card was created for my June card clubs. I call it an envelope flap closure.

    My colors include Darling Duckling, Blueberry Bushel with White. Wonderfully bright for summer! I used quite a few products here so I’ll list them for you.

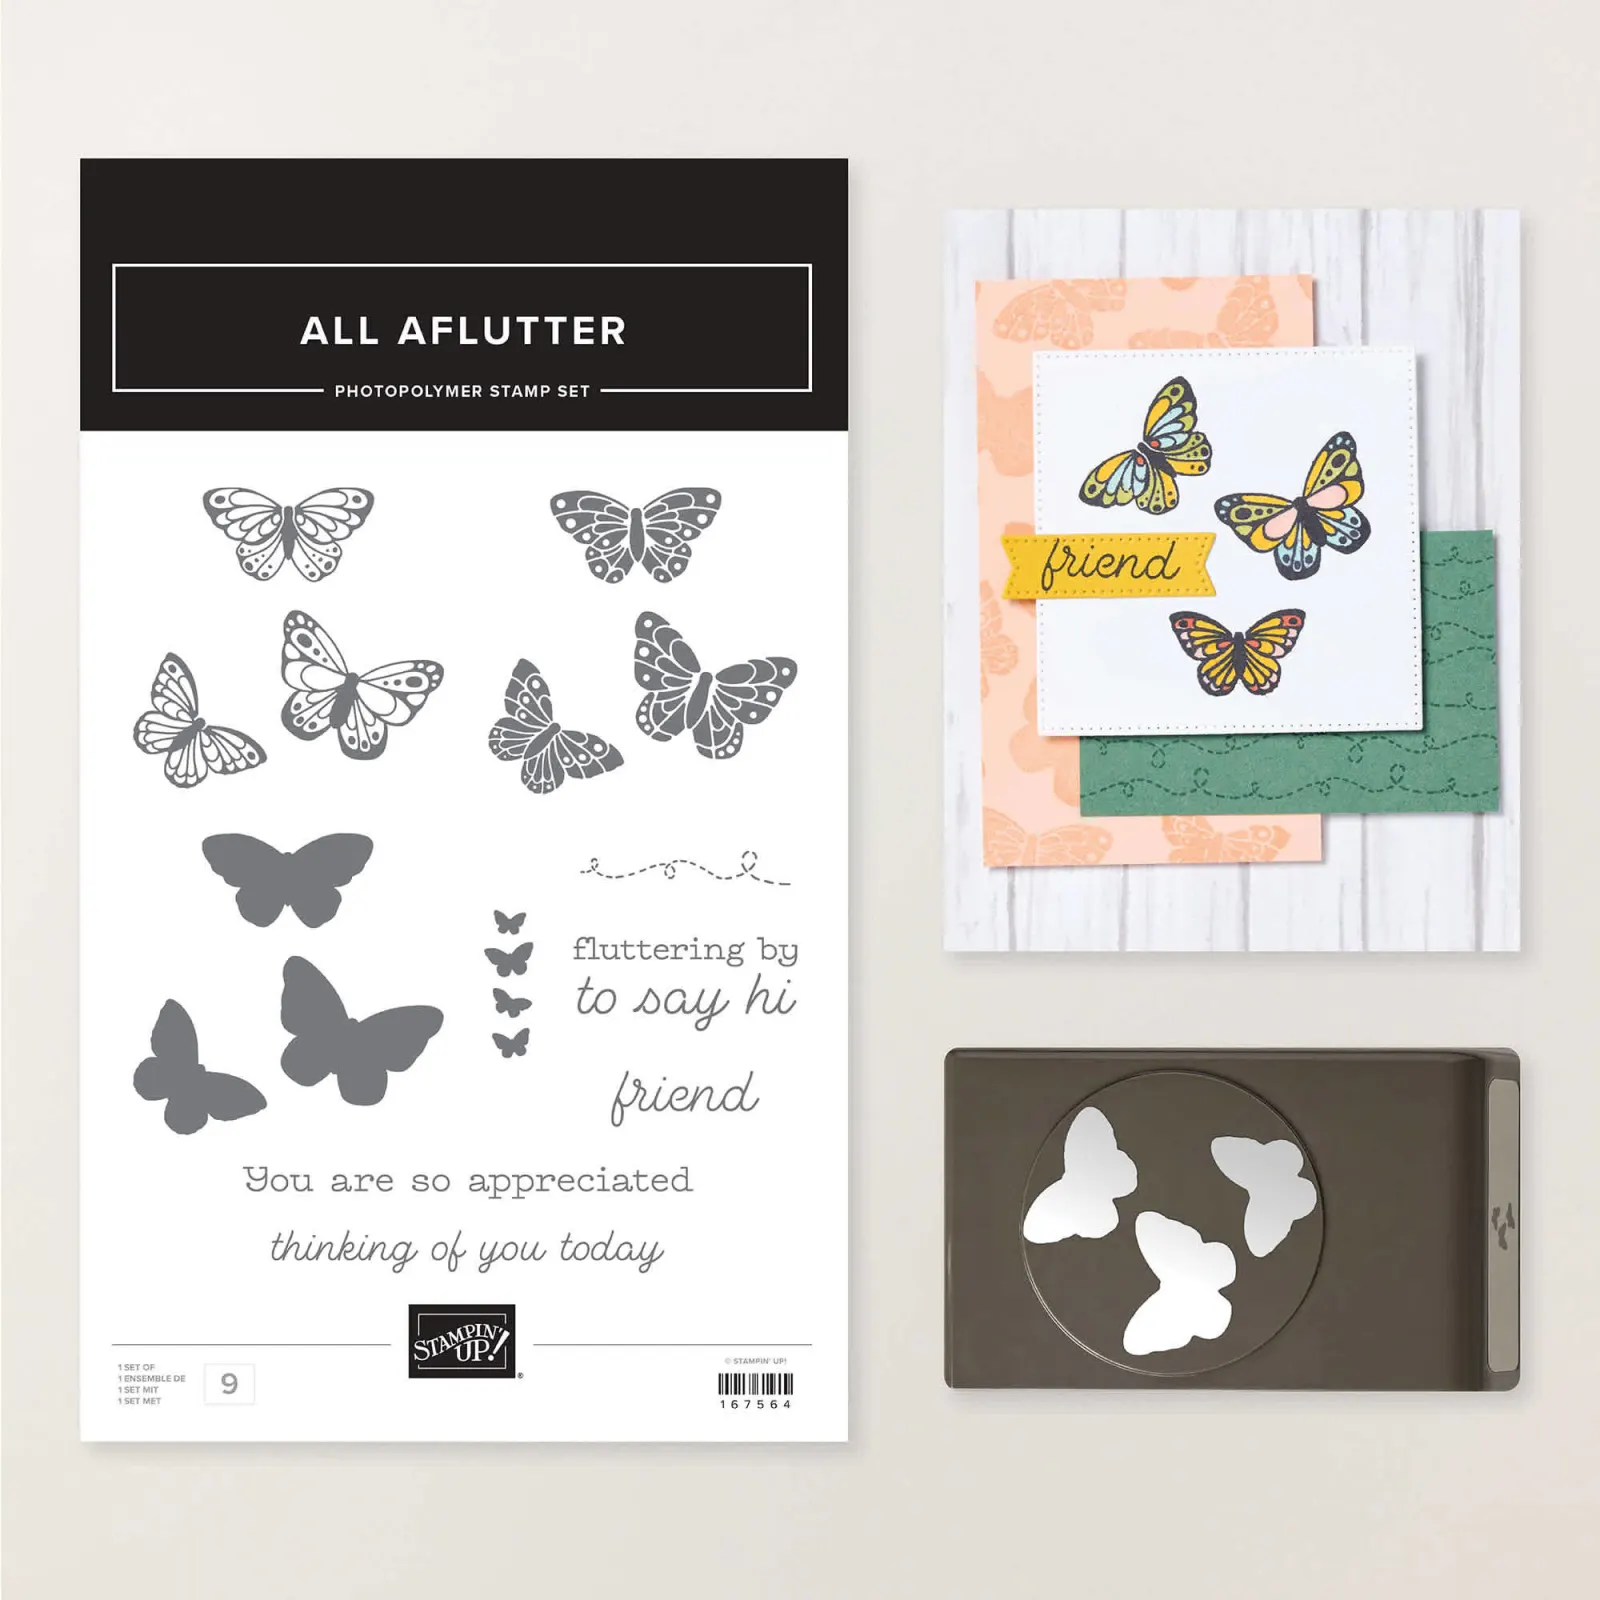
    • All Aflutter stamp and dies bundle seen here
    • Darling Duckling 12 X 12″ Two-toned card stock
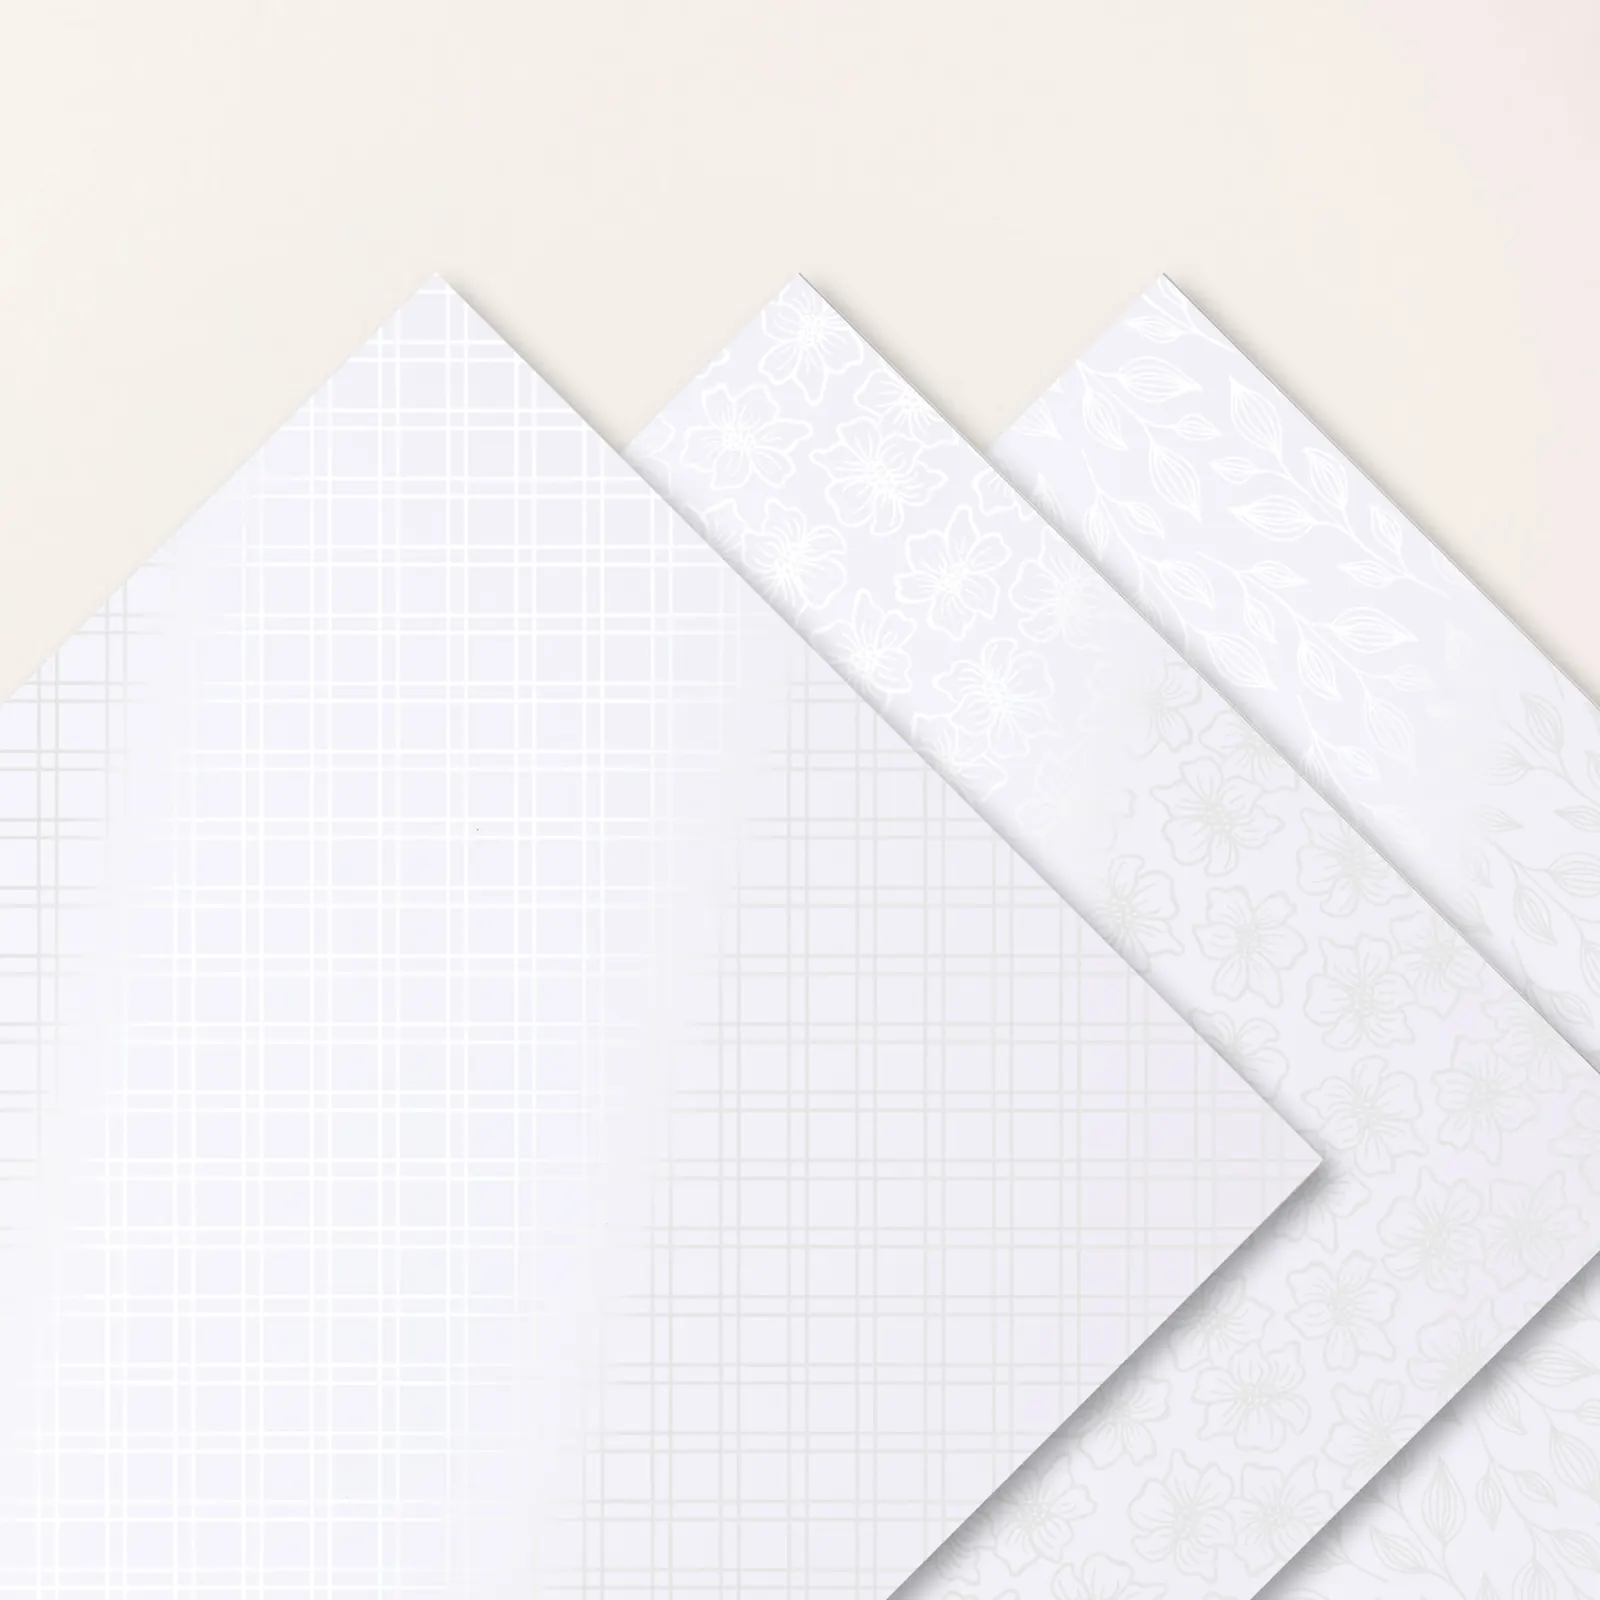
    • Irresistible specialty designer paper seen here
    • Lazy Daisy & Floral Spray 3D embossing folders
    • 1 3/4″ and 2″ circle punches
    • Blending Brushes
    • a sanding block

    The Irresistible designer paper is cut into a 3 3/4″ square and scored in the center diagonally. It’s adhered to the back of the Blueberry Bushel card base before that is adhered to the larger Darling Duckling CS.

    There are three patterns in this specialty Irresistible designer paper you can see here. When you add ink to this specialty paper it reveals the white shiny pattern.

    You can see the two patterns I used on my card here.

    And here’s the other version. Note both the blue Irresistible patterns and the embossing folders.

    After we textured the 2-toned Darling Duckling card stock we sanded it with a sanding block (from my husband’s shop) to reveal more of the White core.

    You can see the All Aflutter bundle here. I love having butterfly images with a coordinating punch! See it here.

    I created a free project sheet for this card with measurements, photos and supplies list. Click here to see it.

    Below is the video tutorial for this card and one other made with the cute All Aflutter bundle.

    I’ll share the second card with the free project sheet tomorrow.

    Leave a Reply

    Your email address will not be published. Required fields are marked *

  • How to use our Flip Flaps


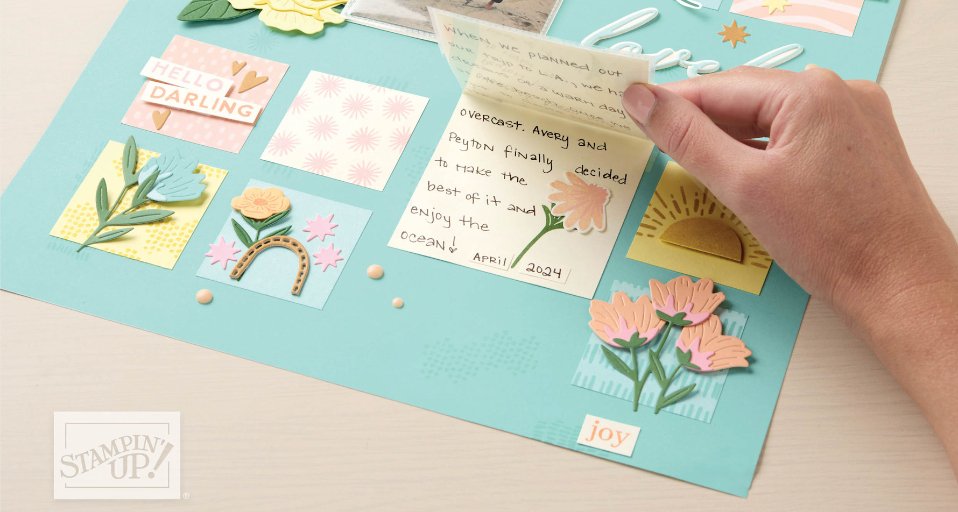
    Whether you scrapbook or make cards these Flip Flaps are super fun! A great way to add hidden layers in a surprising way.

    Stampin’ Up! created a picture tutorial on how to use them with additional ideas as well. Click here to see it.

    Here’s the link to see our Flip Flaps in the online store.

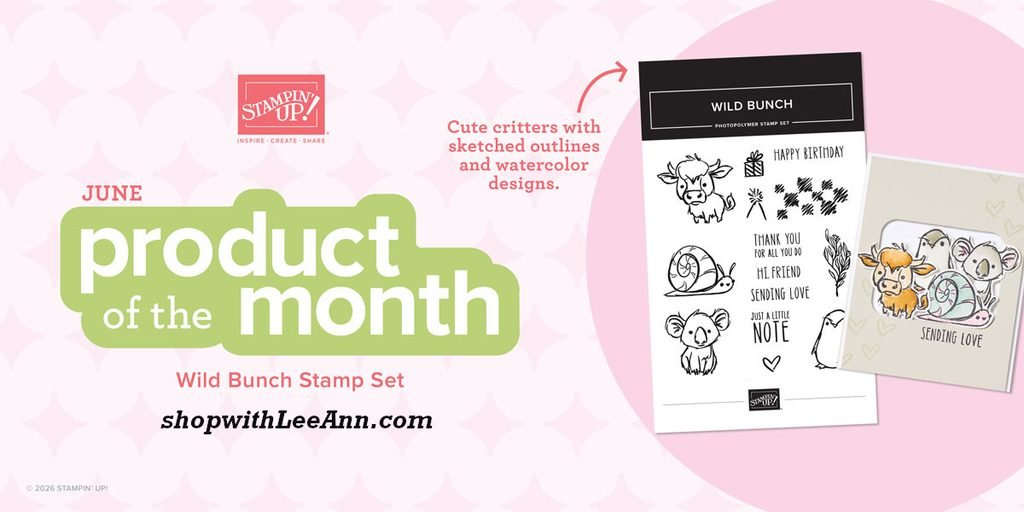
    Here’s the latest product of the month – Wild Bunch stamp set – just $5 with a $75 online order. Click here

    Leave a Reply

    Your email address will not be published. Required fields are marked *


Notice: LeeAnn Greff, Independent Stampin’ Up! Demonstrator, Manager. The content of this website is my sole responsibility as an independent Stampin’ Up! demonstrator and the use of, and content of, the classes, services, or products offered on this website is not endorsed by Stampin’ Up! Copyright 2025