/


Latest Post

Be Dazzling specialty paper is sold out! Fabulous Summer Shadow dies projects with video!


I cannot believe the many ways you can use these Summer Shadow dies seen here!  I shared two bright, fun cards yesterday here and have more yet today. 
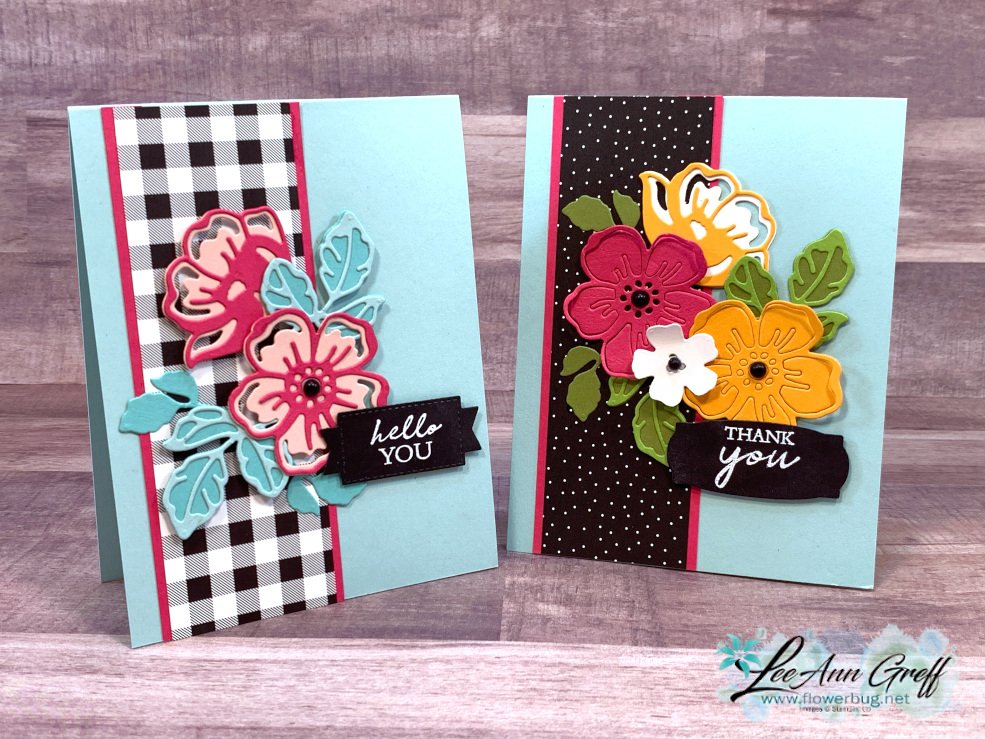
I sure love the leaves in Coastal Cabana & Pool Party!  The flowers are Melon Mambo & Blushing Bride.  

The greeting is from the coordinating stamp set in the Annual Catalog called Shaded Summer seen here. I love the greetings & font in this set! That heat embossed greeting/die-cut is from the Messages die. 

Next up I created some colorful cards using the Sale-a-Bration Be Dazzling specialty designer paper.  As of today this paper is SOLD OUT unfortunately.  They did predict they'd run out of this paper before Sale-a-Bration is over. 

Just so you know, these Summer Shadow dies (and the Sheep dies) are also expected to run out! 
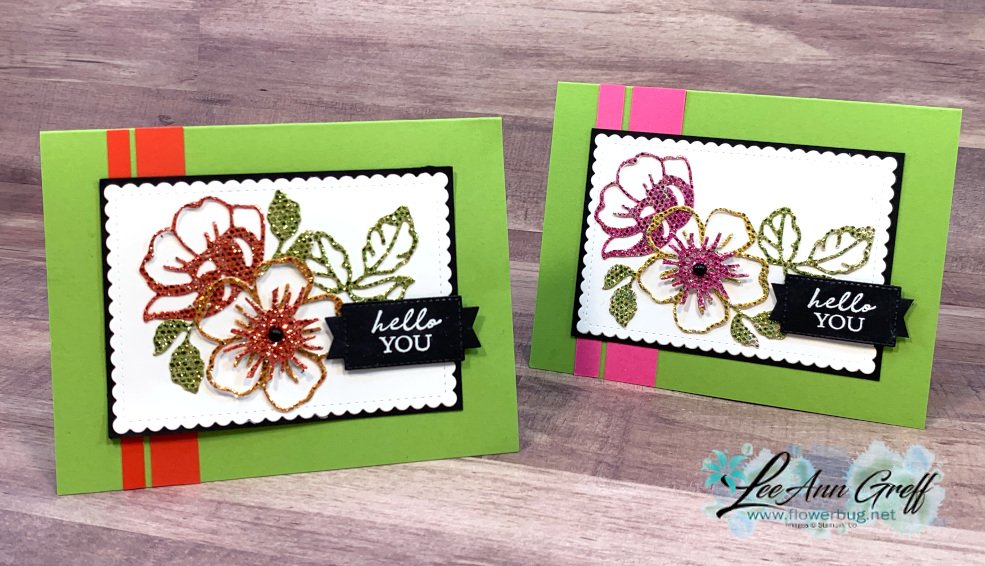
I used Blends markers to color my flowers.  You can see this in the video below.  The card base is Granny Apple Green and the vertical strips are Poppy Parade on the left & Magenta Madness on the right. 

 Which is your favorite? 
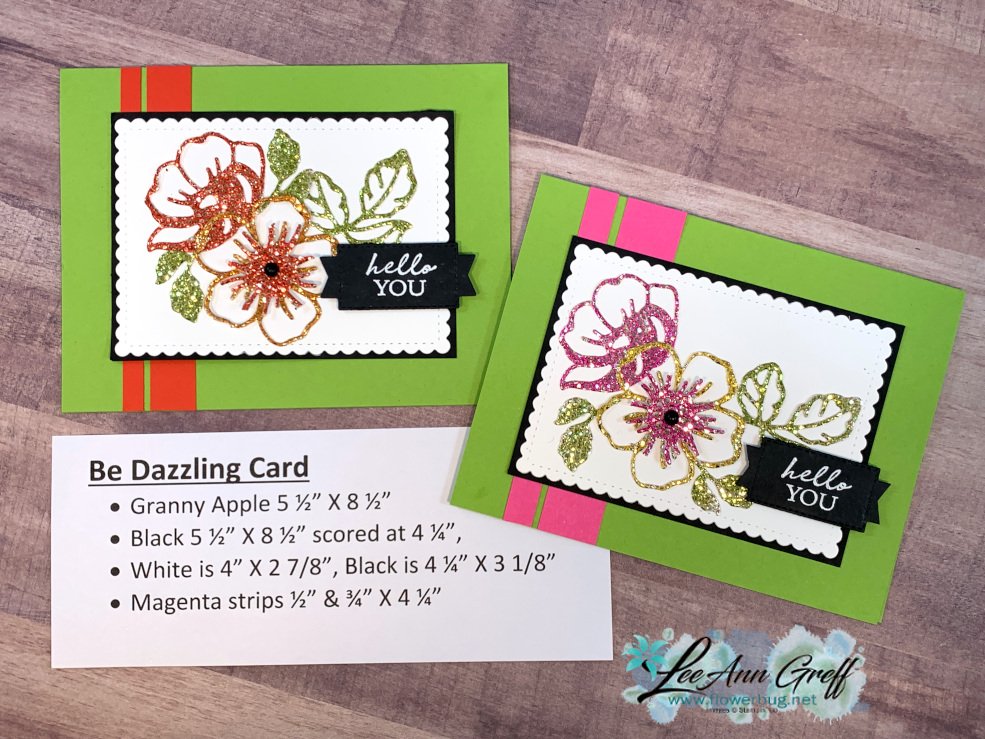
I'm so sorry that this gorgeous paper is unavailable now.  I hope most of you ordered it while you could!  
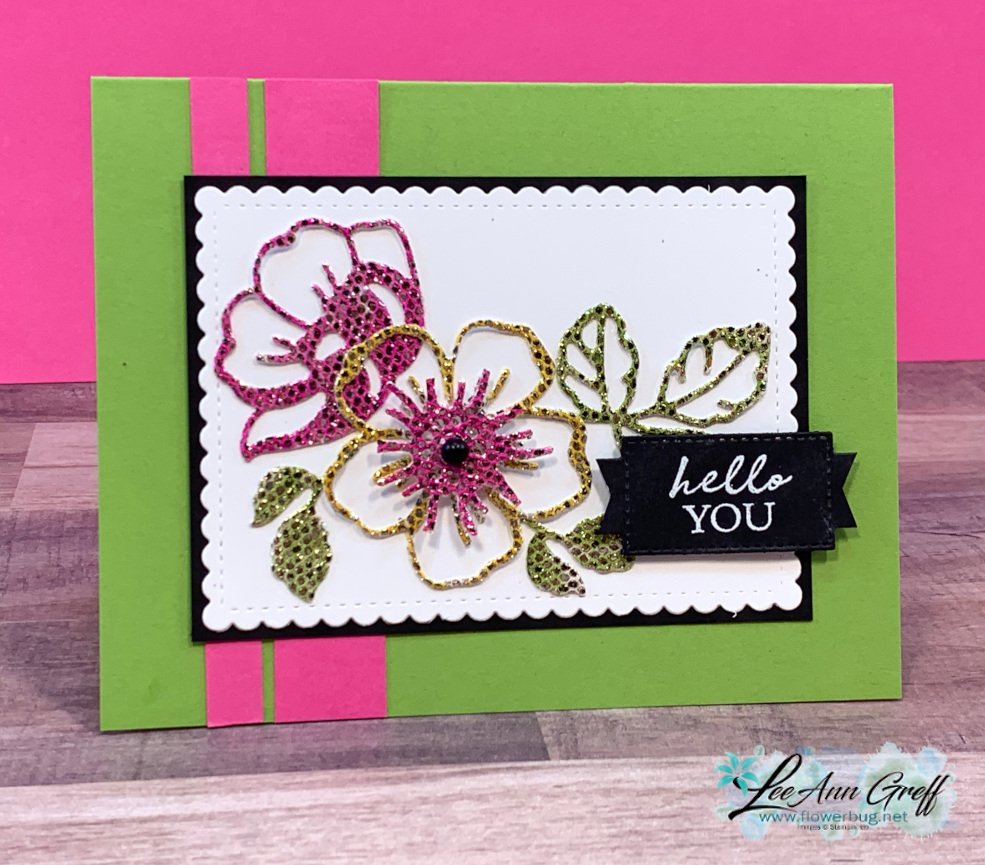
Below is the video where I share lots of cards featuring the Summer Shadow dies and the Shaded Summer stamp set. Click on the photo to watch. 

~~~

September Specials

Host code: T7VSZQ64

*click here to order

Get a pkg. of Holiday Rhinestones with a $50 online order from me in September! 

Order here

All online orders will receive a free PDF tutorial filled with projects featuring

the Painted Christmas Suite!

It's the BEST DEAL!

Get a Free Bundle from the Holiday Catalog when you choose the Starter kit!  Plus pick out $125 in product of your choice for just $99 and shipping is free! 

You're getting up to $185 in products for just $99!

All Posts

  • Joseph’s Coat technique video with the Botanical Layers


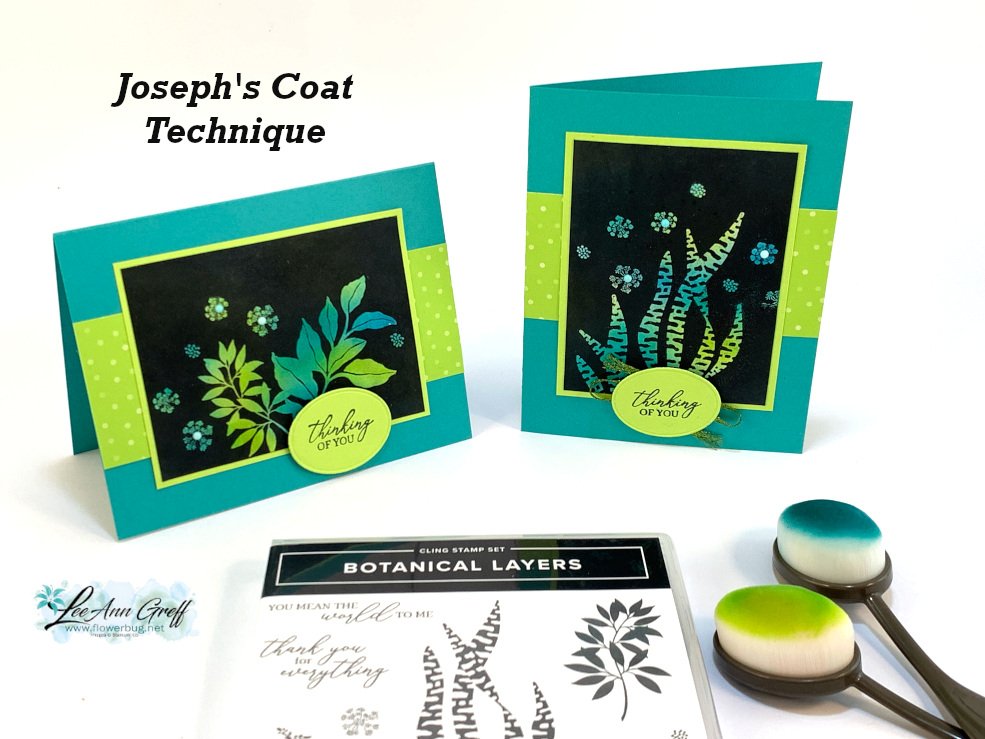
    We're making these cards tonight on Facebook Live here on my FB page!  It's a technique that will WOW you with it's magic.  

    I chose to use the new Botanical Layers stamp set along with two new In Colors of Tahitian Tide & Parakeet Party.  I also added a bit of Bermuda Bay. 

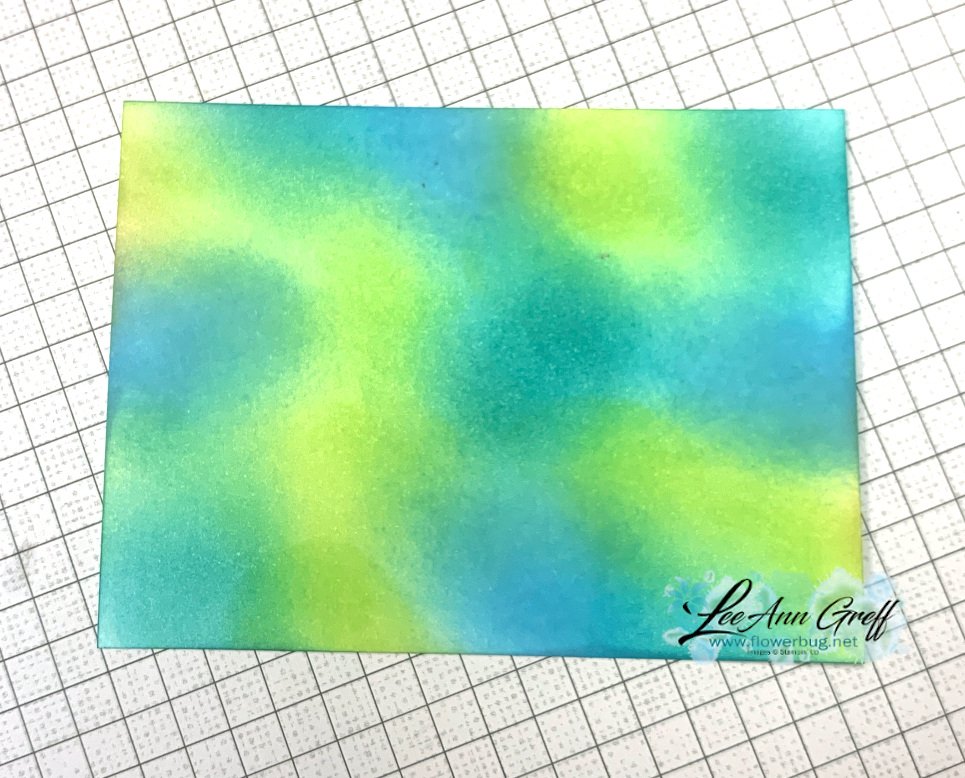
    The first step is to add color to a Basic White piece of card stock.  I used our Blending Brushes and added it randomly like this: 

    The next step is to stamp your images onto this colored card stock using Versamark ink and heat emboss using Clear embossing powder.  I highly recommend using an embossing buddy; although Stampin' Up! does not currently have them in our catalog.  It prevents excess powder from adhering to your paper before you stamp and heat emboss.  

    After your heat embossing dries you need just two things to make these colorful, magical technique.  A classic 'dark' color of ink – I used Memento Black.  And a tissue or paper towel.  

    You will take your classic/water-based ink pad (Black Memento for me here) and rub the ink pad directly over the heat embossed card stock.  Because the ink is water-based it will not adhere to the heat embossed areas but WILL adhere to the background that is NOT heat embossed. 

    Next use a tissue or soft paper towel to rub off excess ink to reveal your colorful design.  

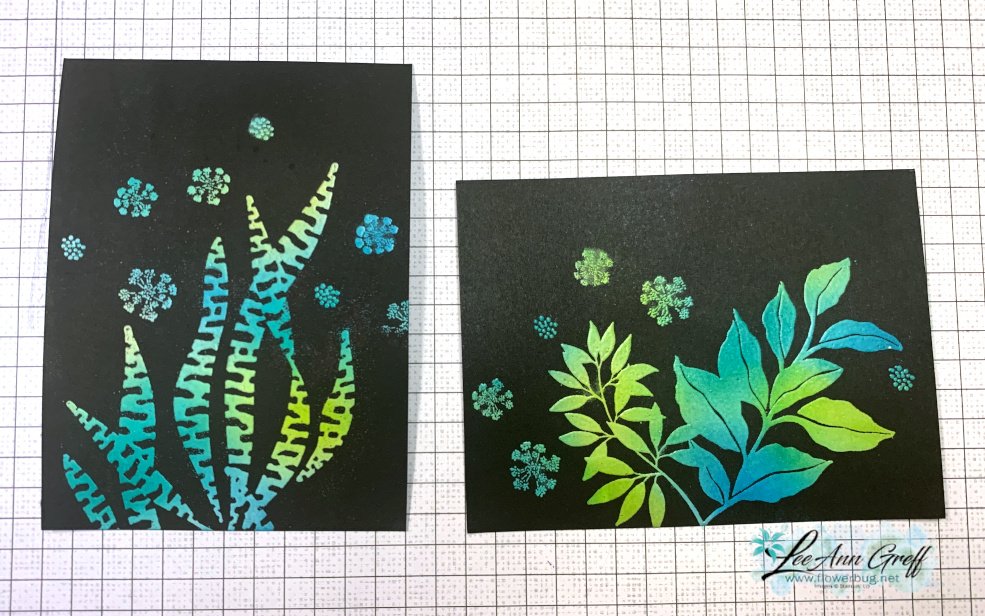
    Here are my two pieces before I finished my cards: 


    Here are the measurements:

    • Card base is 5 1/2" X 8 1/2"
    • stamped layer is 4" X 3", Parakeet Party green is 3 1/4" X 4 1/4"
    • 2 pieces DSP 2" X 1 1/2" and a greeting die-cut

    In this photo you can see a bit of the shine on the leaves from the heat embossing.  It truly is magic!  Join me here tonight at 7:30 pm CT. 


    ~~~

    Get a bunch of NEW In Color products FREE in your Starter Kit! 

    It's $99 for $213 in products!!!  And Free Shipping! Click here. 


    Host codes: HUNR9DB6

     *click here to order 

    If your order is over $50 you'll receive a set of NEW embellishments from me.

    Don't forget about my loyalty rewards! 

    Click here to download yours and earn a $50 shopping spree!  


    Opt in for my New Catalog Designer Paper Share

    It's $26 plus shipping

    Leave a Reply

    Your email address will not be published. Required fields are marked *

  • The Sending Smiles bundle is so versatile! Check out these two projects.


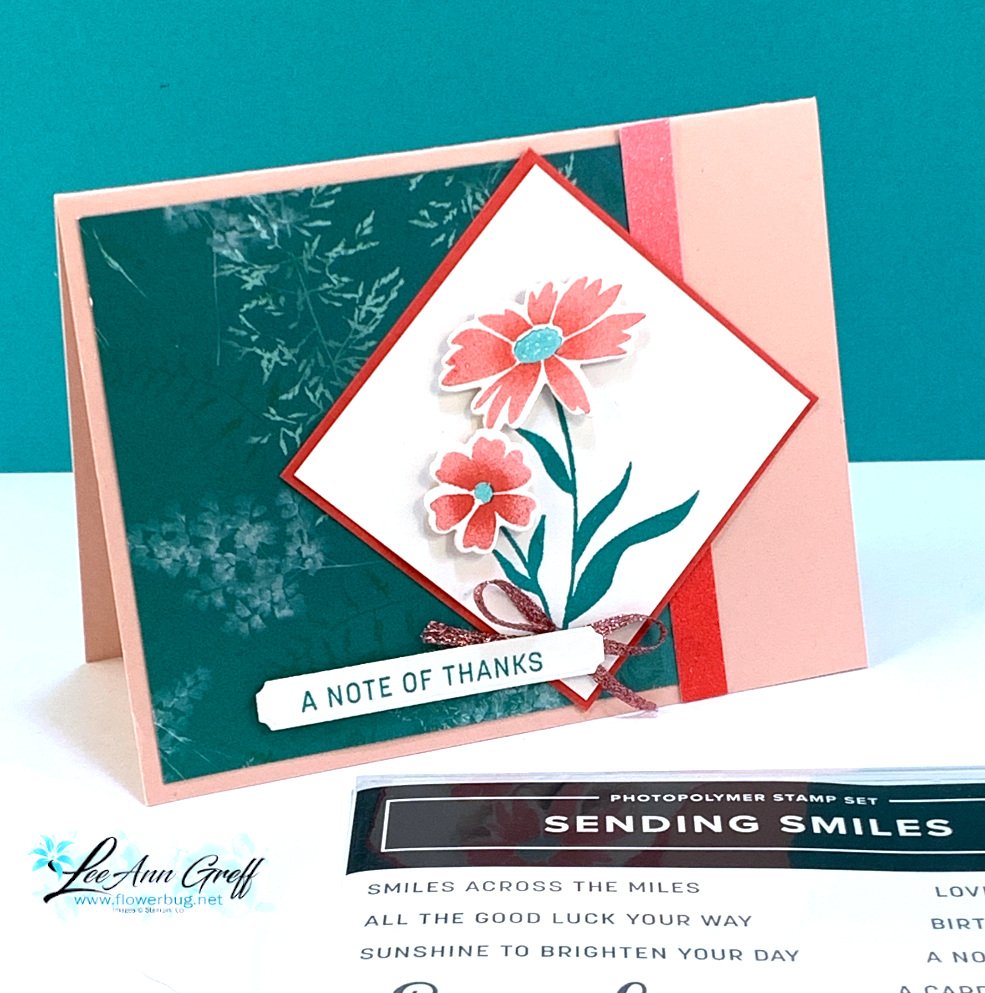
    Last week I shared three projects with the Sending Smiles bundle seen here.  I think it's one of the best choices in the new Annual Catalog by Stampin' Up!  

    I also wanted to use the Pretty Prints designer paper and chose the Bermuda Bay sheet in the package.  I also wanted to use one of the new In Colors and settled on Sweet Sorbet. 

    Next I had to choose a coordinating color to soften these two vibrant colors and settled on Blushing Bride.  I was so surprised how well these colors combined!  

    The next thing that inspired this layout was a card sketch we have been working on in my Flowerbug's Team group.  As you can see I changed the main image to be on the angle.  

    Sketches are one of my favorite ways to get inspiration on card layouts. 

    Measurements:

    • Card base 5 1/2" X 8 1/2" scored at 4 1/4"
    • DSP 4" square
    • White 2 3/4" square
    • Sweet Sorbet 2 7/8" square
    • Glimmer paper strip 3/8" X 4 1/4"  

    Can you see that the flowers are darker in the center and lighter on the outer petals?  I inked the flowers in Sweet Sorbet ink and stamped off once.  Then I used a sponge dauber to add more Sweet Sorbet ink to just the center.  You can see this technique in the video here.  

    This next card was a make & take at my New Catalog Launch party a few weeks ago.  I wanted to have a cute but easy card they could make featuring our new In Colors.  

    They were able to stamp the flowers easily and perfectly with the Stamparatus. You can see how it's done in the video below.  

    One of my favorite thing about this bundle is how versatile the greetings are; so many possibilites! 

    Measurements:

    • Card base 5 1/2" X 8 1/2" scored at 2 1/8" & 4 1/4" 
    • White layers are 3 3/4" X 5"
    • Starry Sky is 3 7/8" X 5 1/8" 

    And here's the video; click on the photo below to watch these two cards and one other too. 

    ~~~

    Get a bunch of NEW In Color products FREE in your Starter Kit! 

    It's $99 for $213 in products!!!  And Free Shipping! Click here. 


    Host codes: HUNR9DB6

     *click here to order 

    If your order is over $50 you'll receive a set of NEW embellishments from me.

    Don't forget about my loyalty rewards! 

    Click here to download yours and earn a $50 shopping spree!  


    Opt in for my New Catalog Designer Paper Share

    It's $26 plus shipping

    Leave a Reply

    Your email address will not be published. Required fields are marked *

  • Clean & Simple Blog Hop; Pretty Pop-Up dies


    Welcome to the Control Freak's May blog hop!  The theme is Clean & Simple projects. 

    You may have just arrived or hopped over from Wendy's blog.  I'm sure you loved her unique projects. 

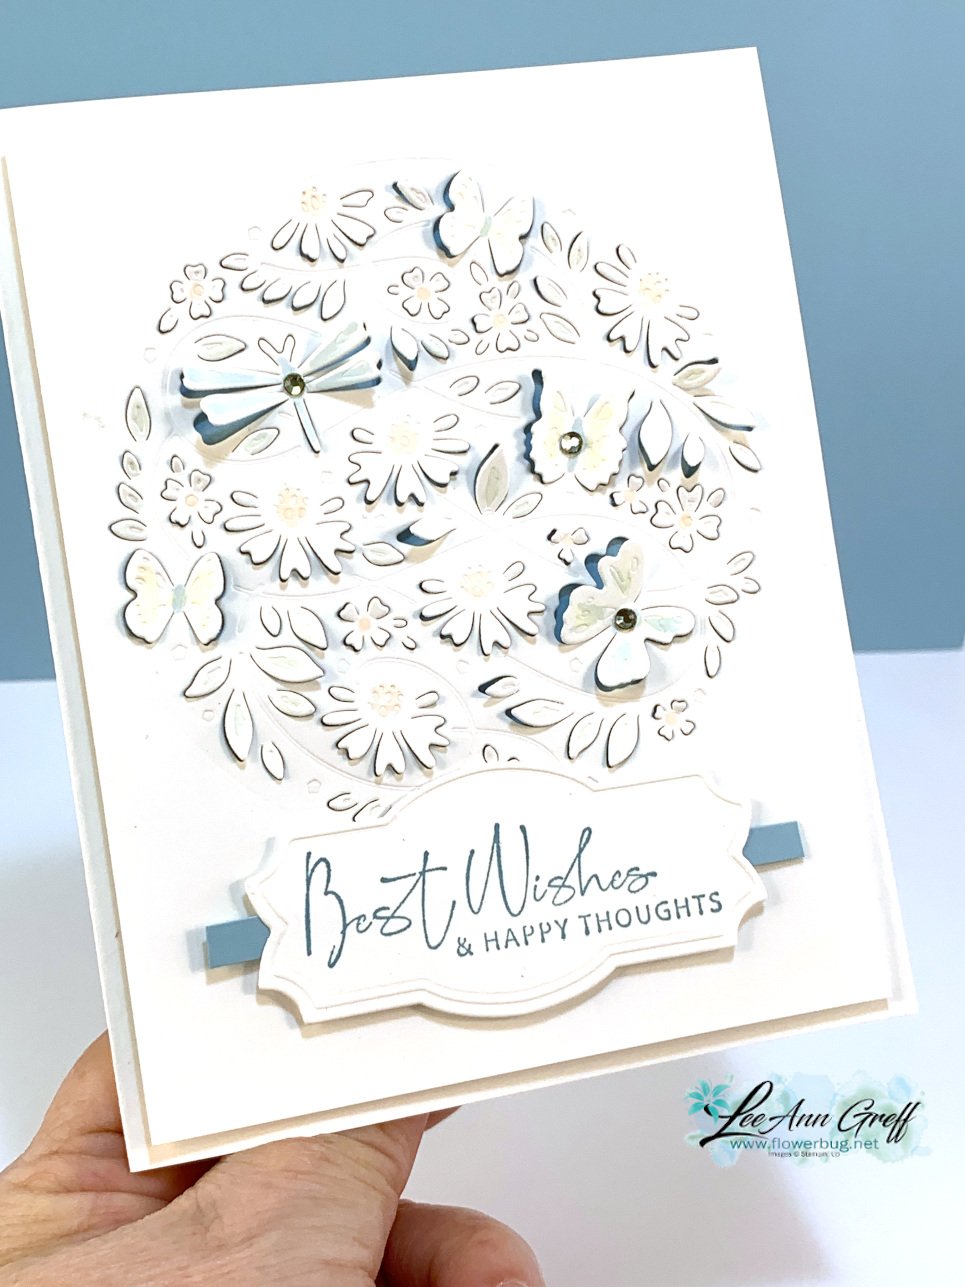
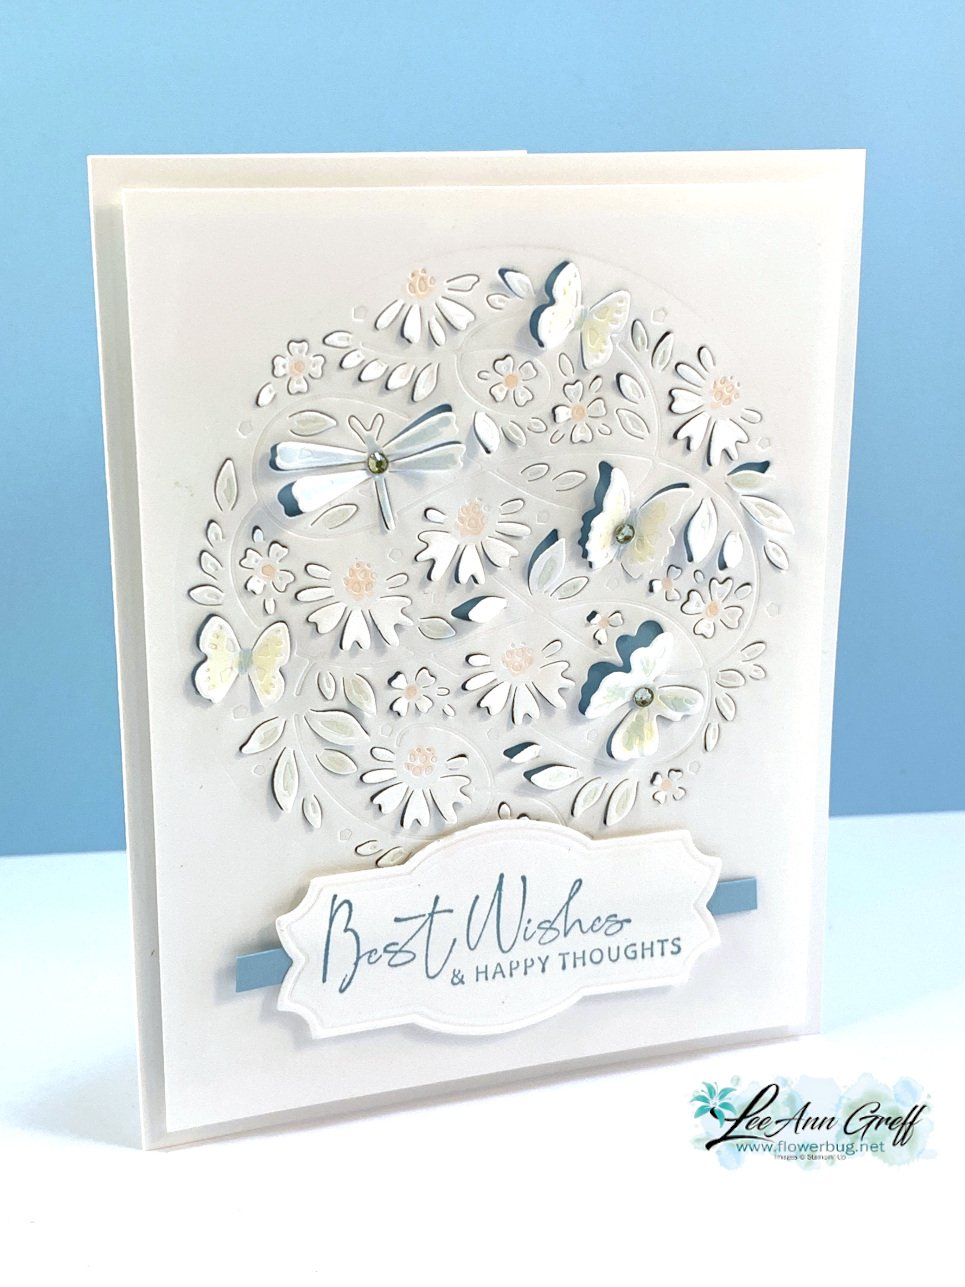
    For some reason when I think of clean & simple I lean towards mostly white projects.  I've been wanting to play with my new Pretty Pop-Up dies so here is what I came up with for my first project: 

    It's almost all white; just a few accents of Balmy Blue & Petal Pink.  These Pretty Pop-Up dies do not cut all of the way through; they provide detailed texture and a 'peak' behind the die-cuts.  

    I added a bit of color to some of the flowers and butterflies with Balmy Blue & Petal Pink light blends markers.  To get them to pop up a bit I pushed each die-cut outward with my Take Your Pick tool.  I adhered this 4" X 5 1/4" piece to a smaller piece of Balmy Blue card stock using mini dimensionals.  

    The greeting is from the Nature's Thoughts stamp set and on a die-cut from the Natural Prints dies.  I added a 1/4" strip behind this to bring in a bit of Balmy Blue. This card might not be considered true clean & simple but it does only have a few layers!  Ha!

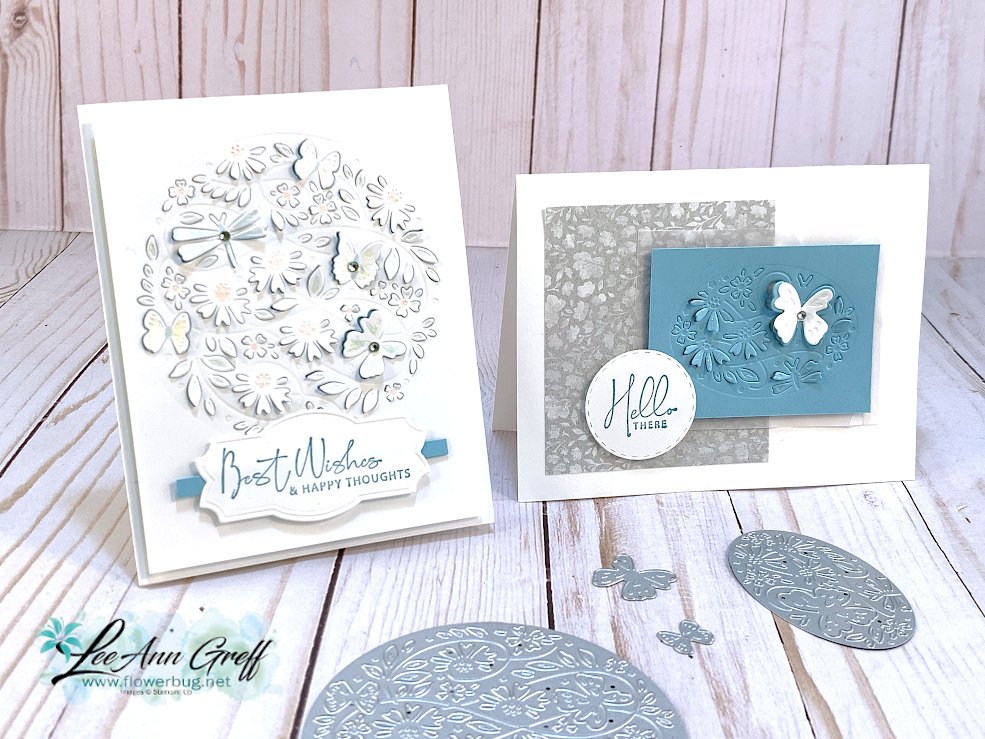
    I stuck with the Balmy Blue & White them for my second card but added a bit of Gray Granite with the Abigail Rose designer paper. 

    I used the smaller oval die for this card and used one of the single dies for the White butterfly.  

    The greeting is stamped on a circle die from the Picture This dies and is from the Nature's Thoughts stamp set as well. There is a piece of Vellum card stock behind the Balmy Blue layer. 

    You can see some of the dies I used in the photo below: 

    Thank you so much for stopping in today; I hope you enjoyed seeing these Pretty Pop-Up die projects!  

    I hope you'll stick with the 'hop' to see all of the projects!  Click here to see Melissa's projects or on the icon below.  

    ~~~

    Get a bunch of NEW In Color products FREE in your Starter Kit! 

    It's $99 for $213 in products!!!  And Free Shipping! Click here. 


    Host codes: HUNR9DB6

     *click here to order 

    If your order is over $50 you'll receive a set of NEW embellishments from me.

    Don't forget about my loyalty rewards! 

    Click here to download yours and earn a $50 shopping spree!  


    Opt in for my New Catalog Designer Paper Share

    It's $26 plus shipping


    Leave a Reply

    Your email address will not be published. Required fields are marked *


Notice: LeeAnn Greff, Independent Stampin’ Up! Demonstrator, Manager. The content of this website is my sole responsibility as an independent Stampin’ Up! demonstrator and the use of, and content of, the classes, services, or products offered on this website is not endorsed by Stampin’ Up! Copyright 2025