/


Latest Post

More Magical Meadow fun fold cards by Judith


Yesterday I shared the cards Judith made as our Team Artist of the Month and today I'm sharing more. She did a wonderful job highlighting the Magical Meadow bundle and the Winter Meadow designer paper. 

All of her cards have been fun folds; she does like to make fancy fold cards. 

This card features a center greeting layer that enfolds both front layers of her gatefold card.  She left it removeable so the recipient can add it or leave it off.  You can adhere it if you'd like; I usually add it to the left side.  

The gorgeous leaves & berries image was done with markers; it coordinates with the Magical Meadow dies perfectly! She used the Deckled Circle dies seen here. 

Below is the inside view with the center layer separate. 

Next is another fun fold card I call a double-flap card. She used the same sheet of Winter Meadow as the card above. 

She scored the right side of her double layered circles and adhered the scored flap under the inside layers. Clever!  

The greeting layers are from the Autumn Leaves dies and of course she used the beautiful White & Silver mesh ribbon – all from the 2023 Holiday catalog.  

Thank you for sharing these beautiful projects with us Judith!  

~~~

November Specials: 

*current host codes:  4D2ZDS6Q or 77277NNH

Click on the image below to see the Holiday Last Chance items 

 

All Posts

  • Shabby Chic Lovely & Sweet card with video tutorial & free project sheet!


    Here's the last card made in last week's video featuring the Nature's Sweetness suite. I absolutely love this color palette! 

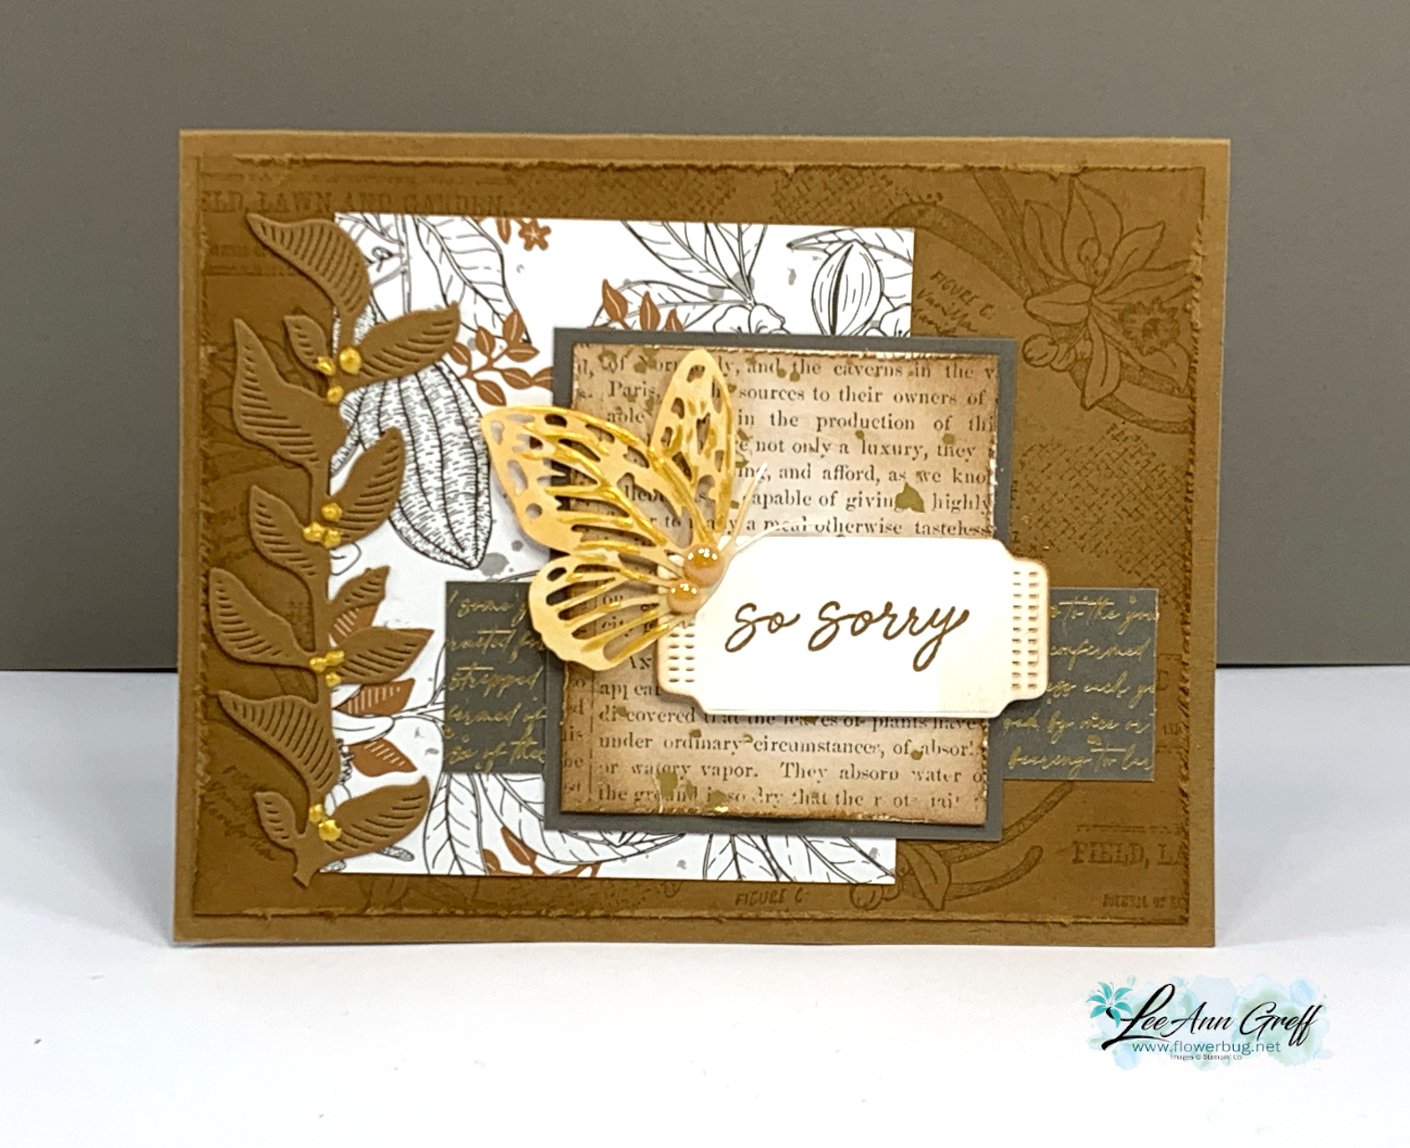
    It's Pecan Pie with Pebbled Path & Gold accents with a rich monotone look. Look closely at the layout. It's basically a few random layers with only one that's layered.  Adding a few smaller elements creates the balance here. 

    Details & tips:

    • Note the distressed edges on a few of the layers. That is done by rubbing your open scissor blade over the edge of the paper.  Fast and fabulous results! *watch how I do it in the video below.
    • The large stamped Pecan Pie layer and the DSP square are both sponged with Pecan Pie ink to age them a bit. 
    • That butterfly is one of our Paper Butterfly Accents colored with a Light Natural Tones blends marker. I added some Gold Enamel Effects in streaks all over it. *see how in the video
    • I added Gold Enamel Effects as berries on the tall leaf die-cut on the left. 

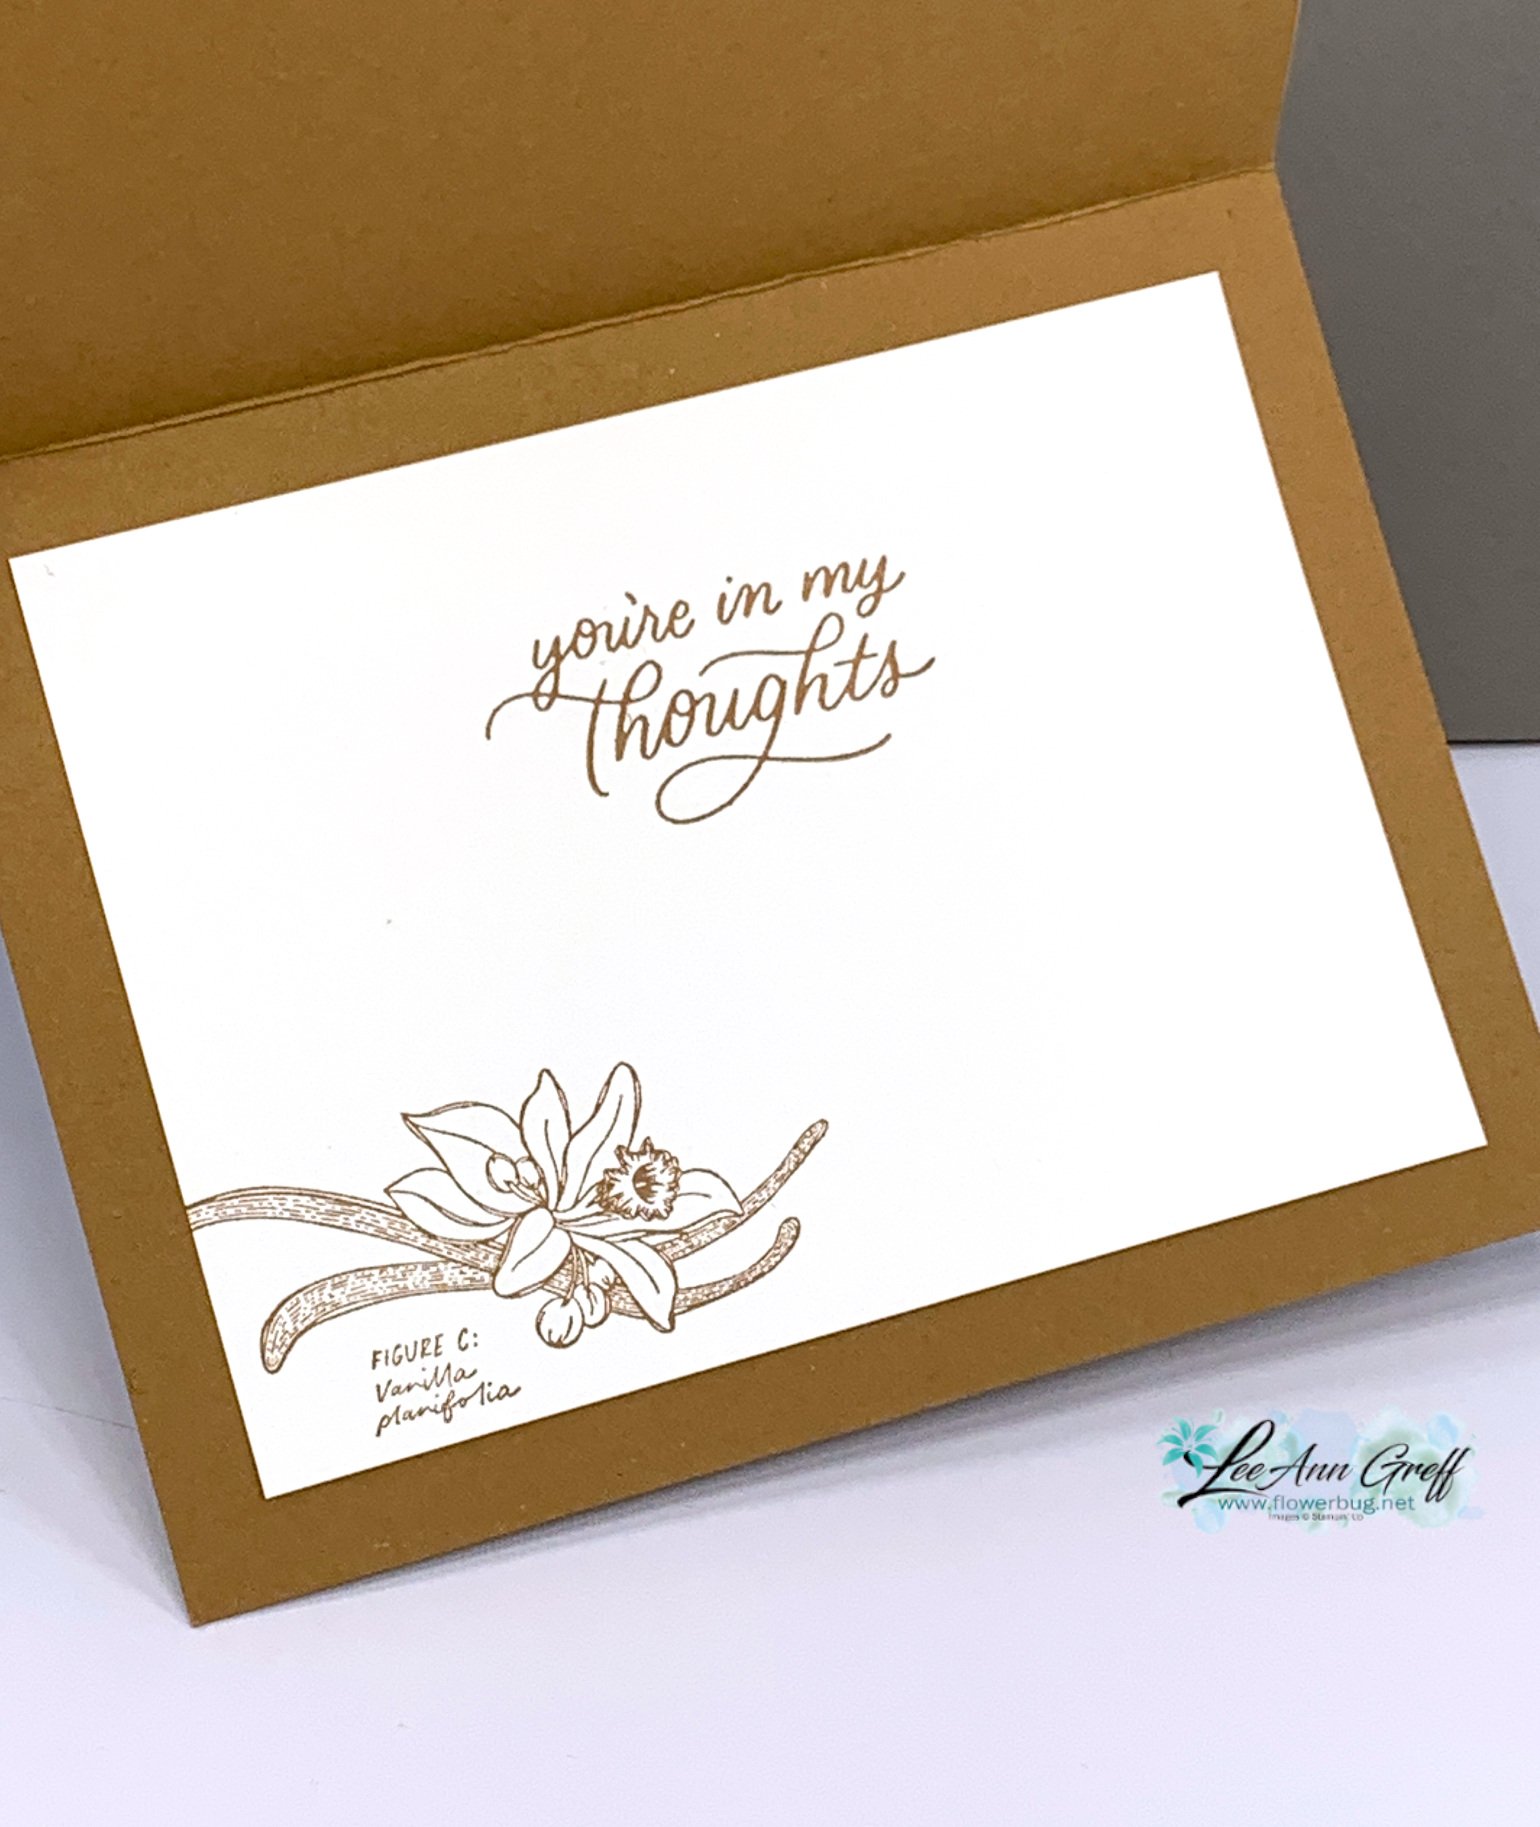
    Here's how I stamped the inside.  The greeting is from the Softly Sophisticated stamp set from Sale-a-Bration. 

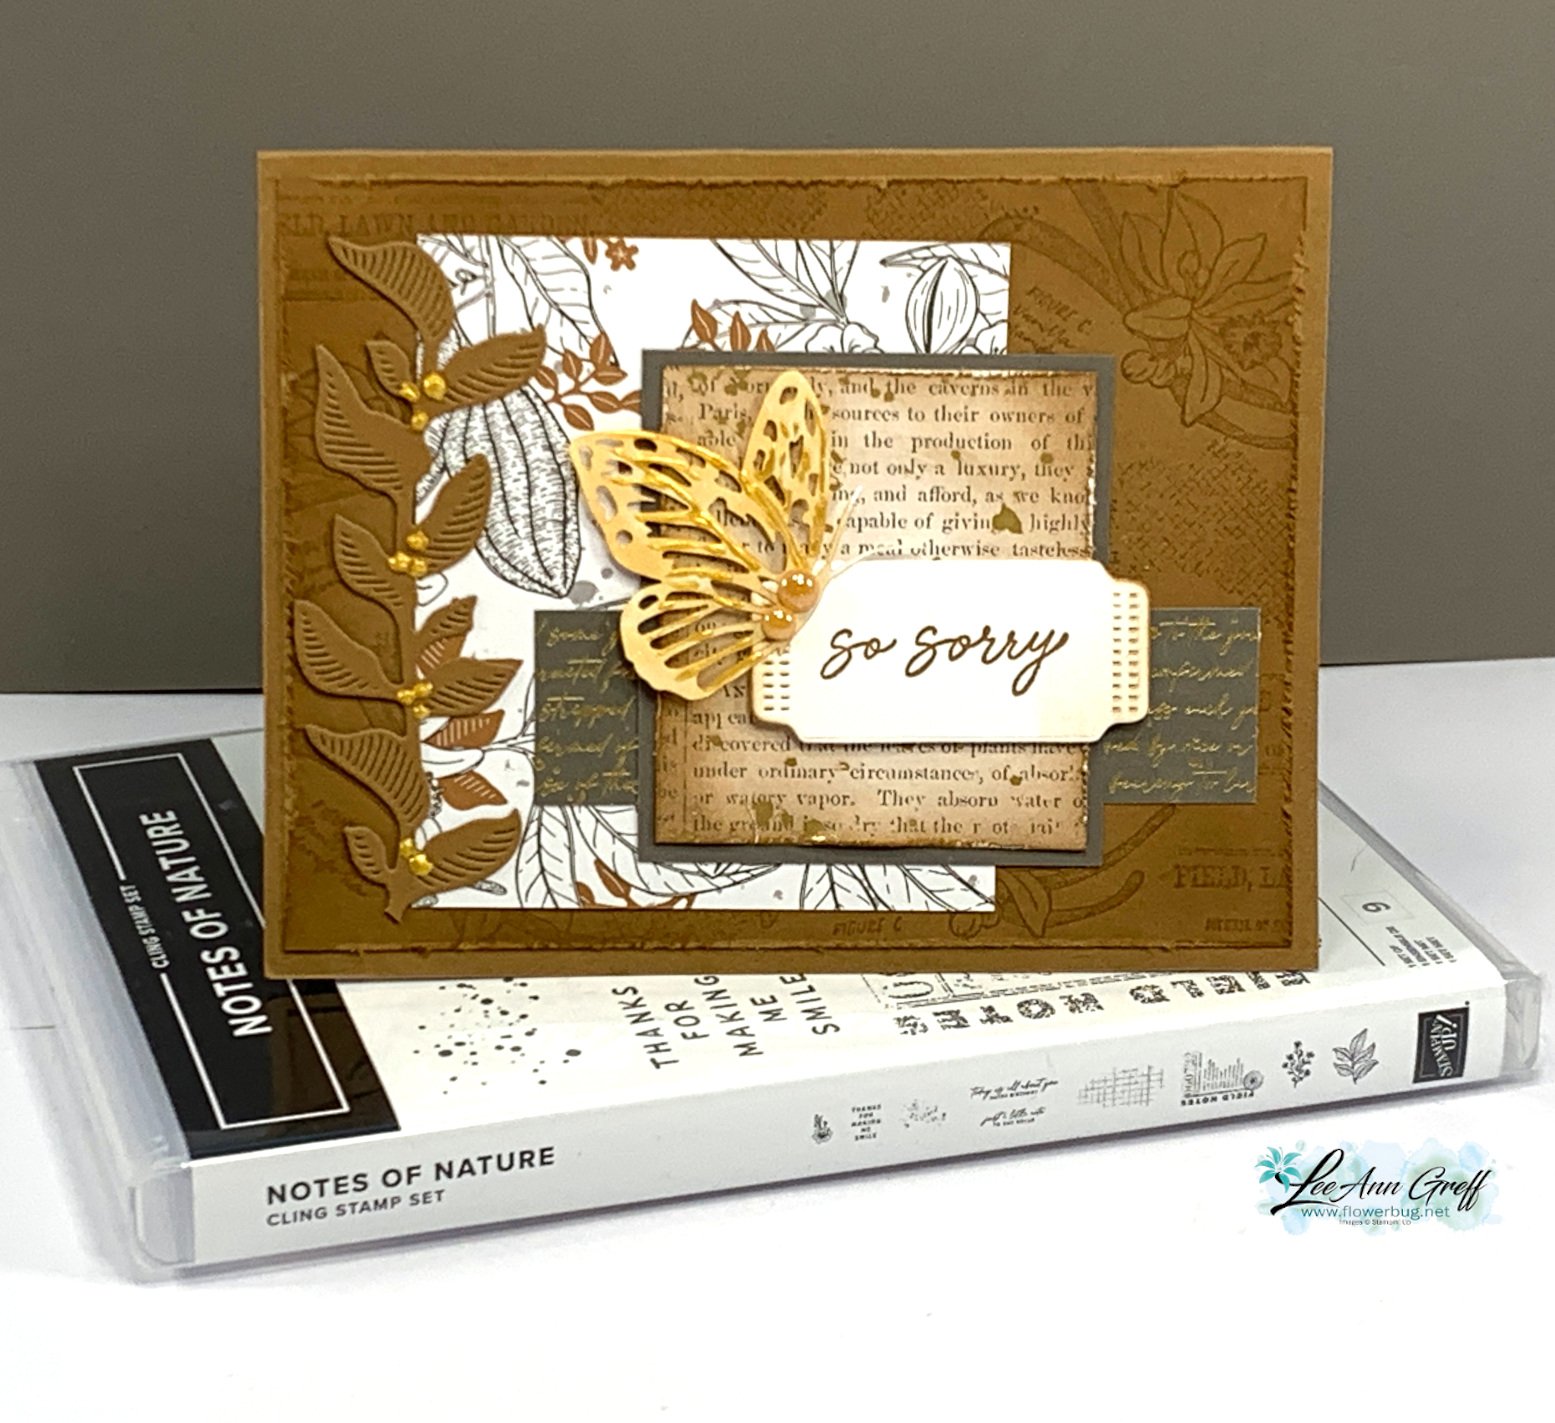
    Here's a picture of the Lovely & Sweet bundle I used here. See it online here. 

    Get the project sheet with dimensions, directions and products here: Download Lovely & Sweet Butterfly card

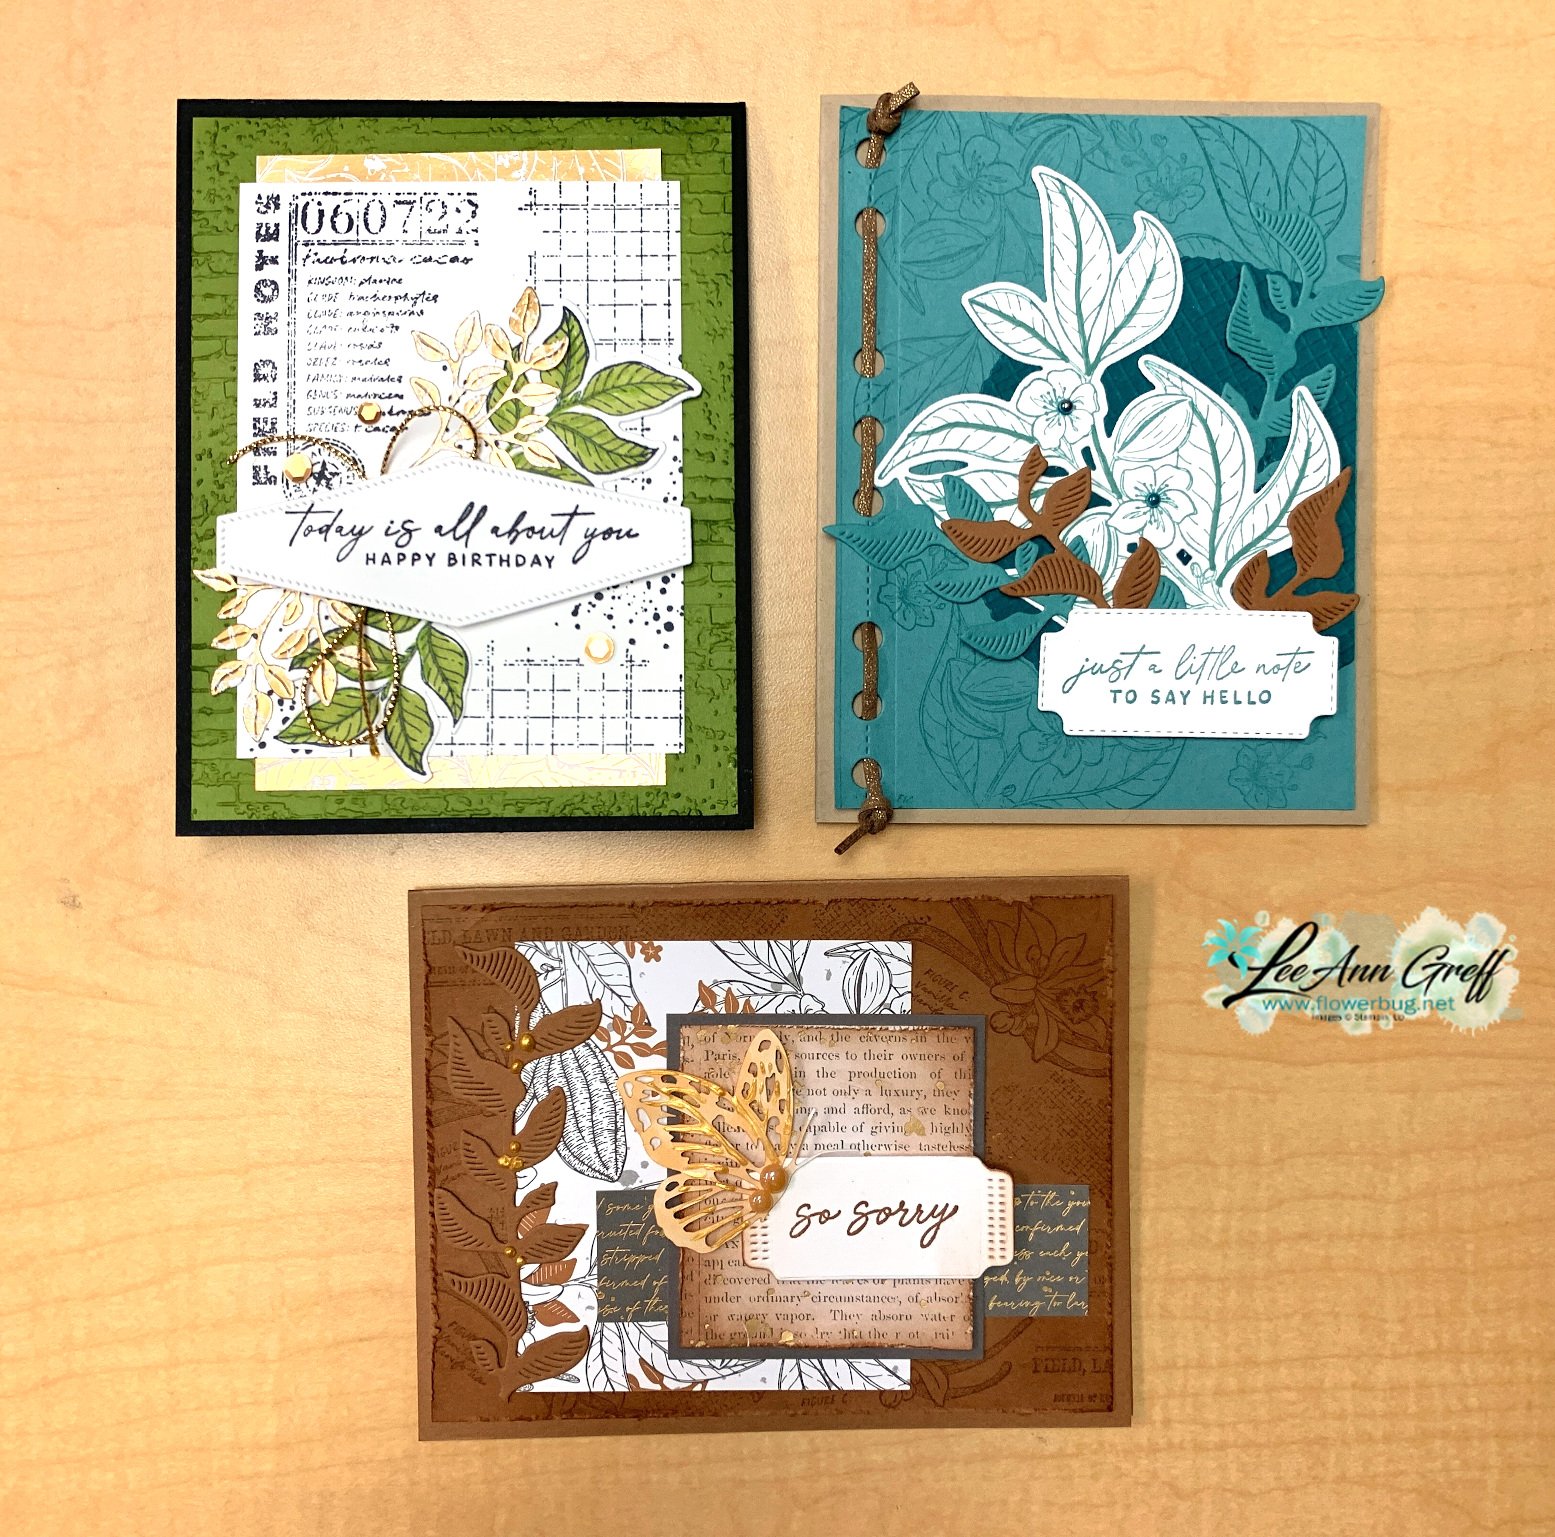
    These are the three cards I share in the video below: 


    So is the shabby-chic look for you?

    You can see how I made all of these cards in the video replay here.  Or click on the photo below to watch it.  Don't forget to subscribe to my YouTube channel! 

    ~~~

    January Specials: 

    Earn FREE products with your Stampin' Up! purchase during

    Sale-a-Bration! *click here

    *current host code link:  M7NAN4HT

    It's the best time to get a pre-paid Sale-a-Bration subscription

    & earn free Sale-a-Bration products!  


    ~~~

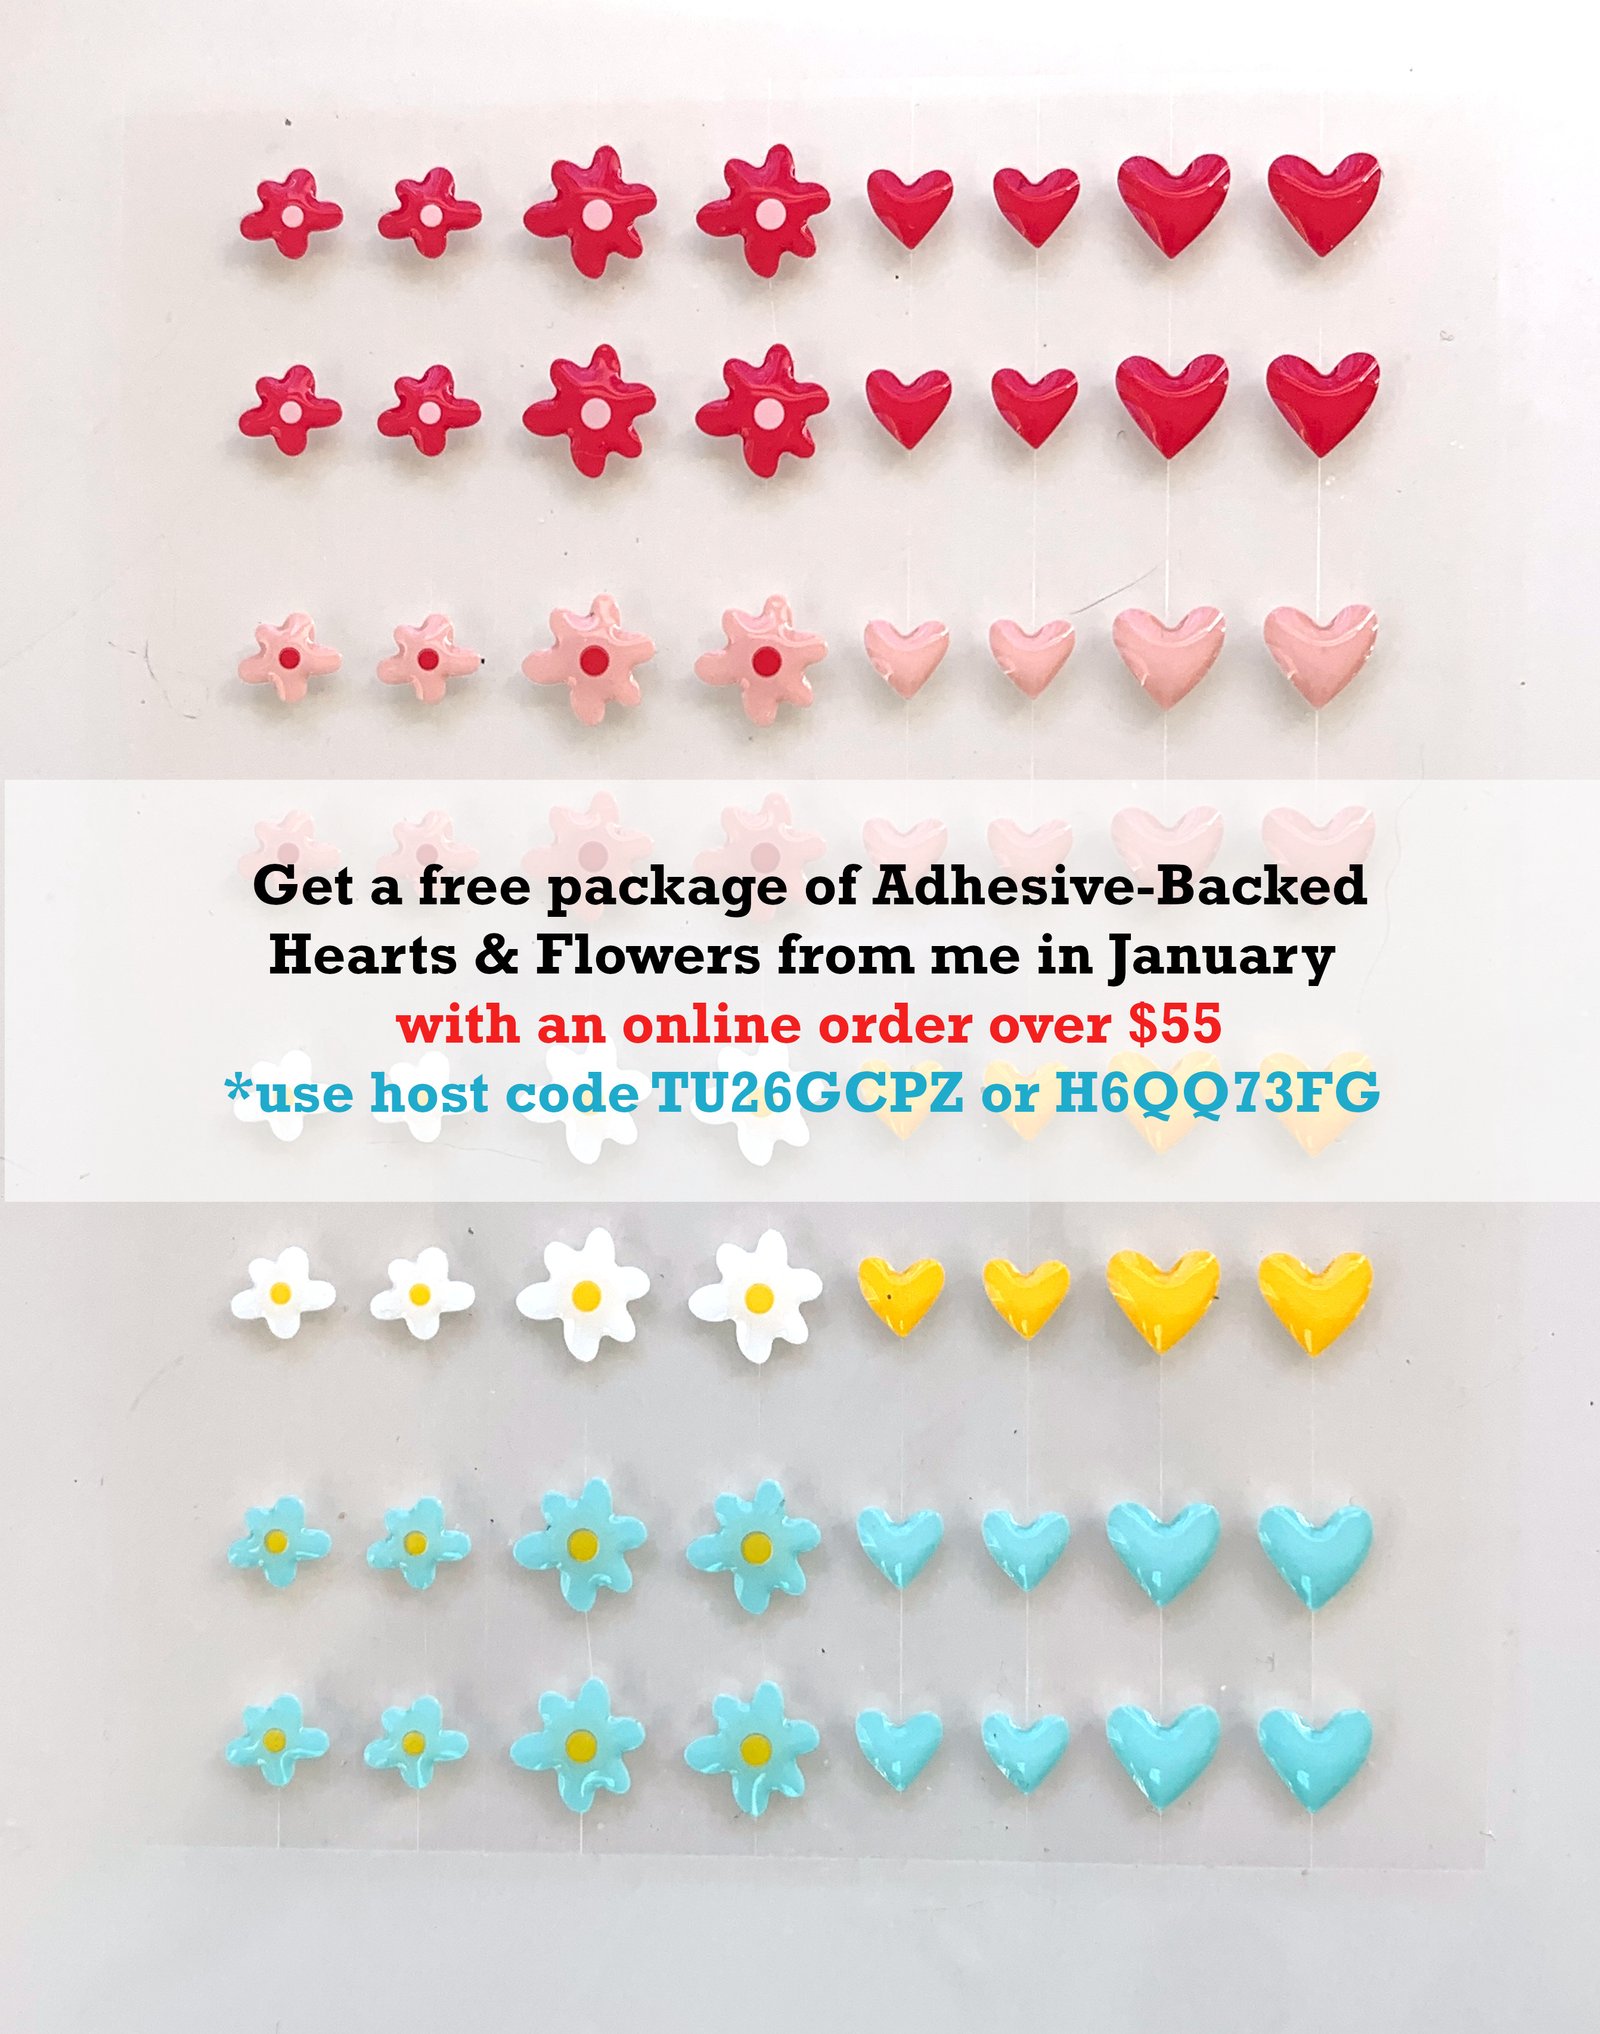
    Get a free embellishment from the 2024 Spring catalog

    with an online order over $55

    Leave a Reply

    Your email address will not be published. Required fields are marked *

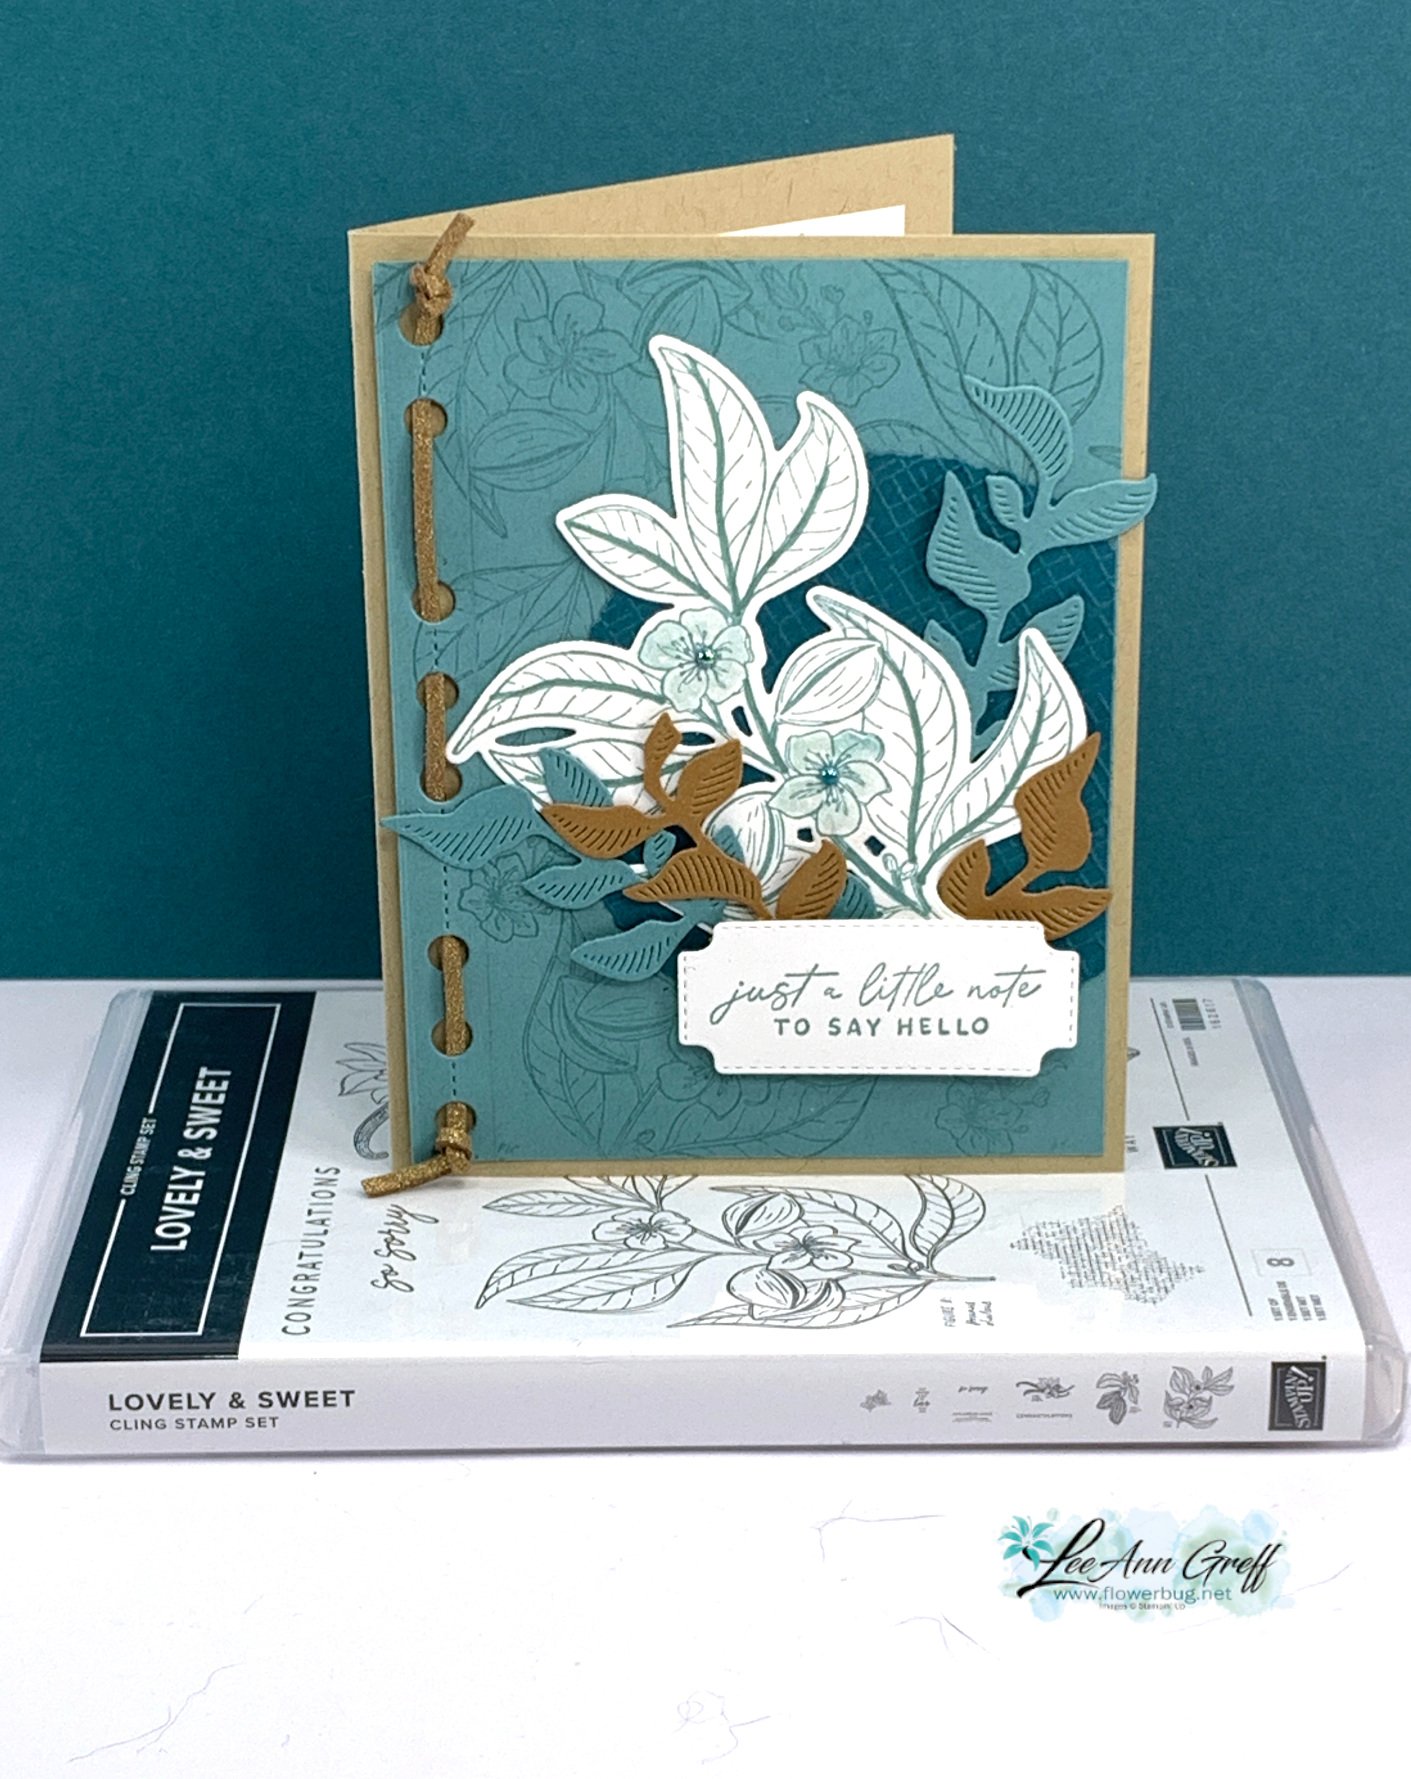
  • Lovely & Sweet card is filled with textures; get the free project sheet or watch the video


    This is one of the cards I featured on last week's Live video. I chose to showcase the Nature's Sweetness suite.  

    The colors include Lost Lagoon, Crumb Cake, Pretty Peacock, White & Pecan Pie. See the neat woven trim on the edge?  that is done with the new Faux Leather trim that has a subtle gold shimmer to it.  The holes and the leaves are made with the Notes of Nature dies seen here. 

    Below is a photo of the entire suite of products. 

    If you order this suite you'll earn two free Sale-a-Bration choices!  Or get it and almost $20 more with the Starter Kit deal! 

    Other dies include the Cheerful Daisies for the label and the Deckled Circles behind the flowers/leaves.  I also used the Wink of Stella with Lost Lagoon ink to color the flowers and added a Blooming Pearl to each one. 

    Click on this link to download the free project sheet: Download Lovely & Sweet Hello

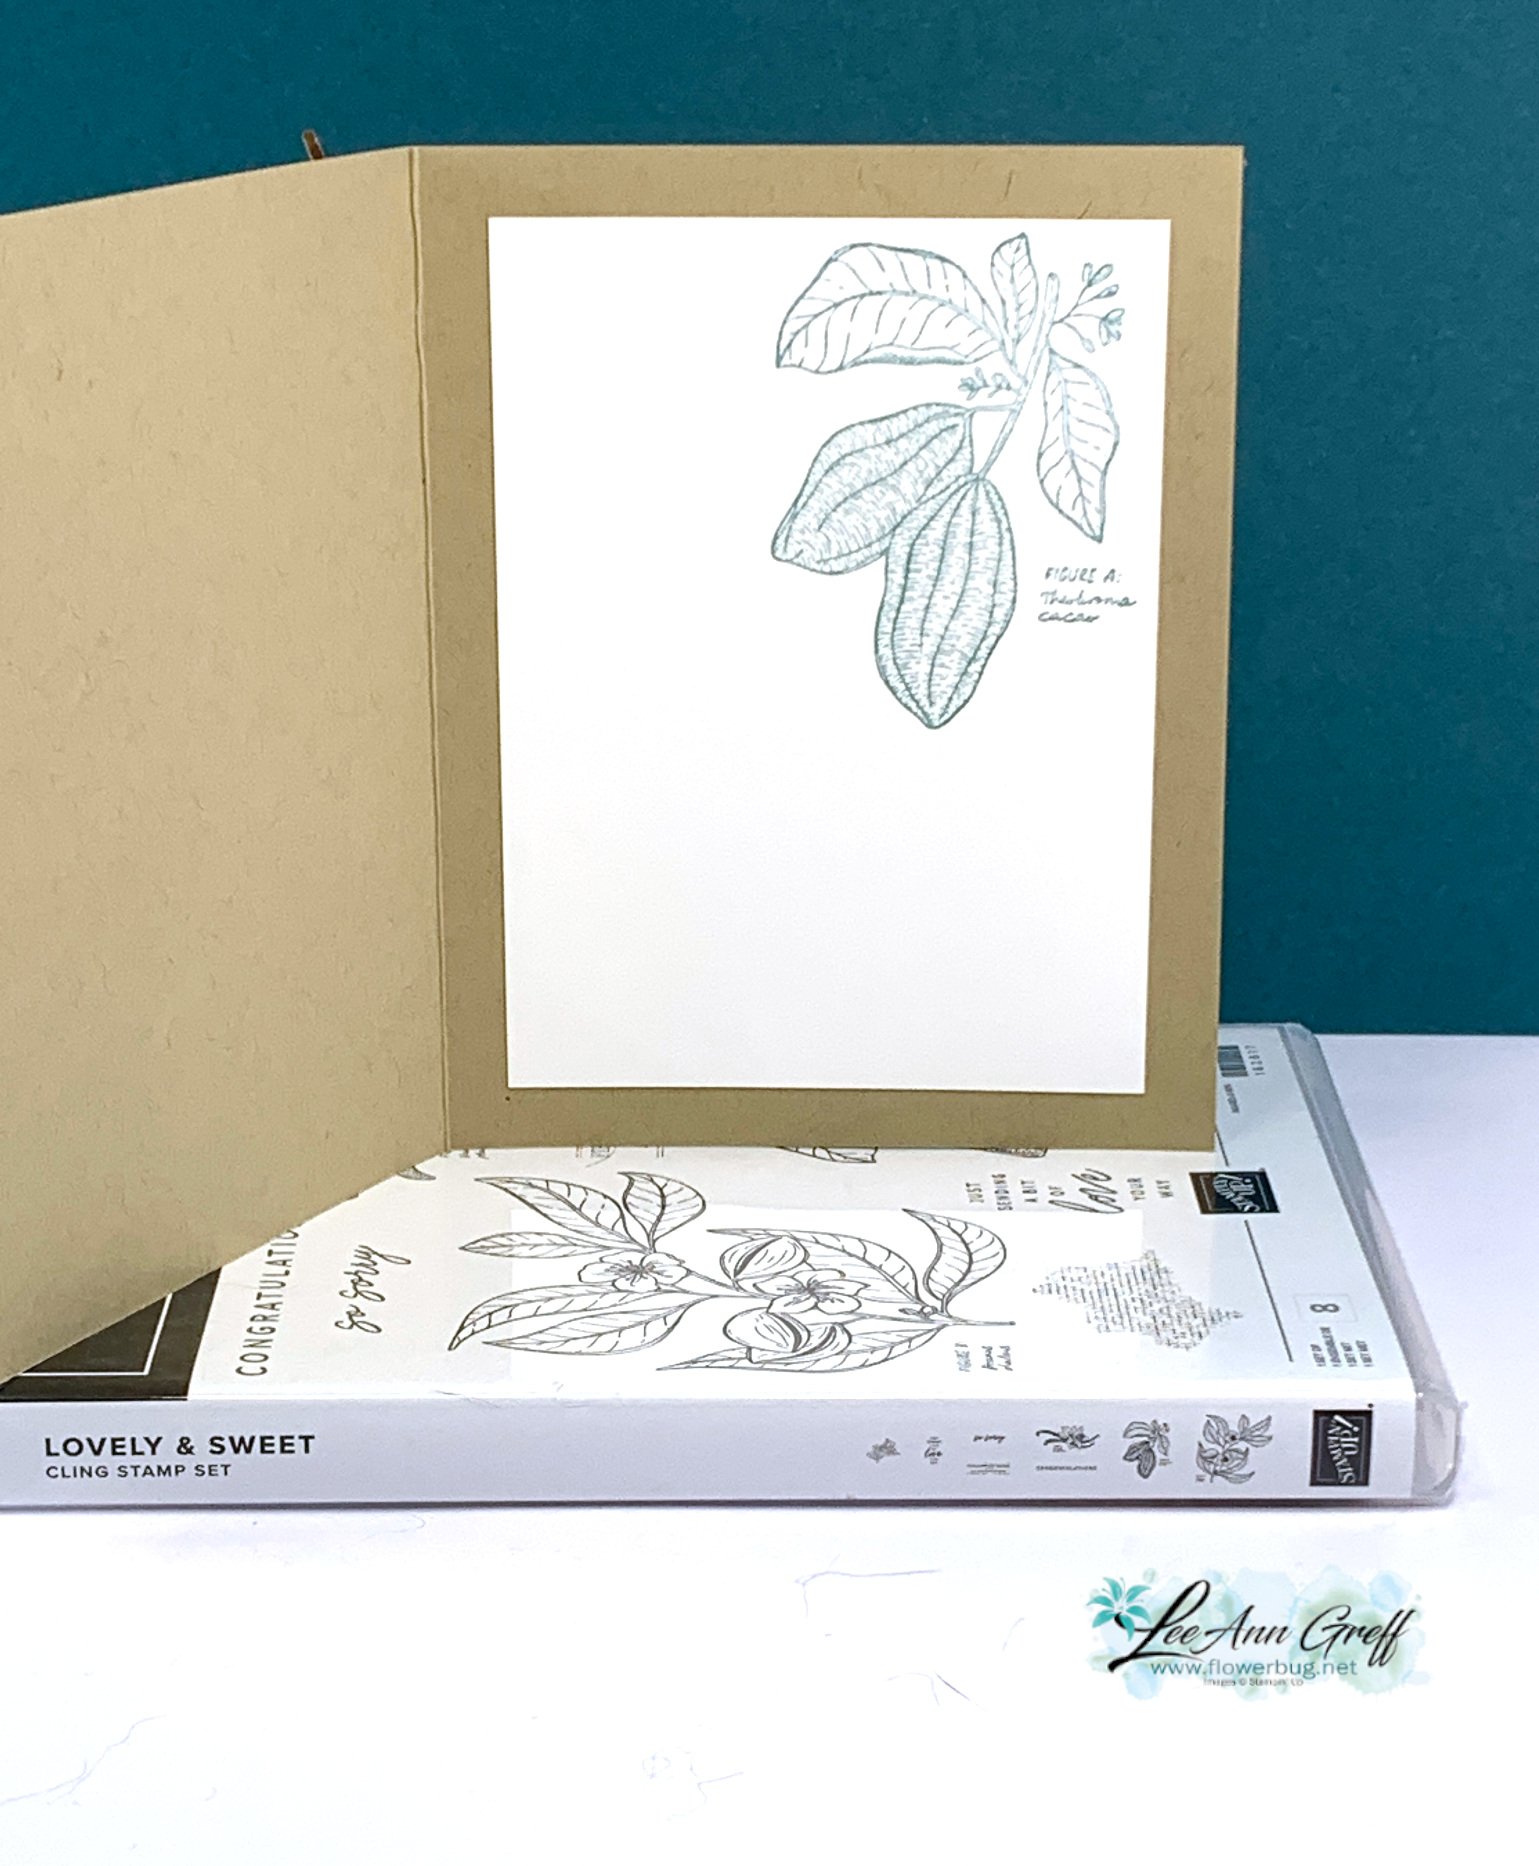
    Here's how I stamped the inside:

    You can see how I put this card together and two more in the video replay here.  Or click on the photo below to watch it. 

    ~~~

    January Specials: 

    Earn FREE products with your Stampin' Up! purchase during

    Sale-a-Bration! *click here

    *current host code link:  M7NAN4HT

    It's the best time to get a pre-paid Sale-a-Bration subscription

    & earn free Sale-a-Bration products!  


    ~~~

    Get a free embellishment from the 2024 Spring catalog

    with an online order over $55

    Leave a Reply

    Your email address will not be published. Required fields are marked *

  • Gorgeous Notes of Nature card with free project sheet & video tutorial


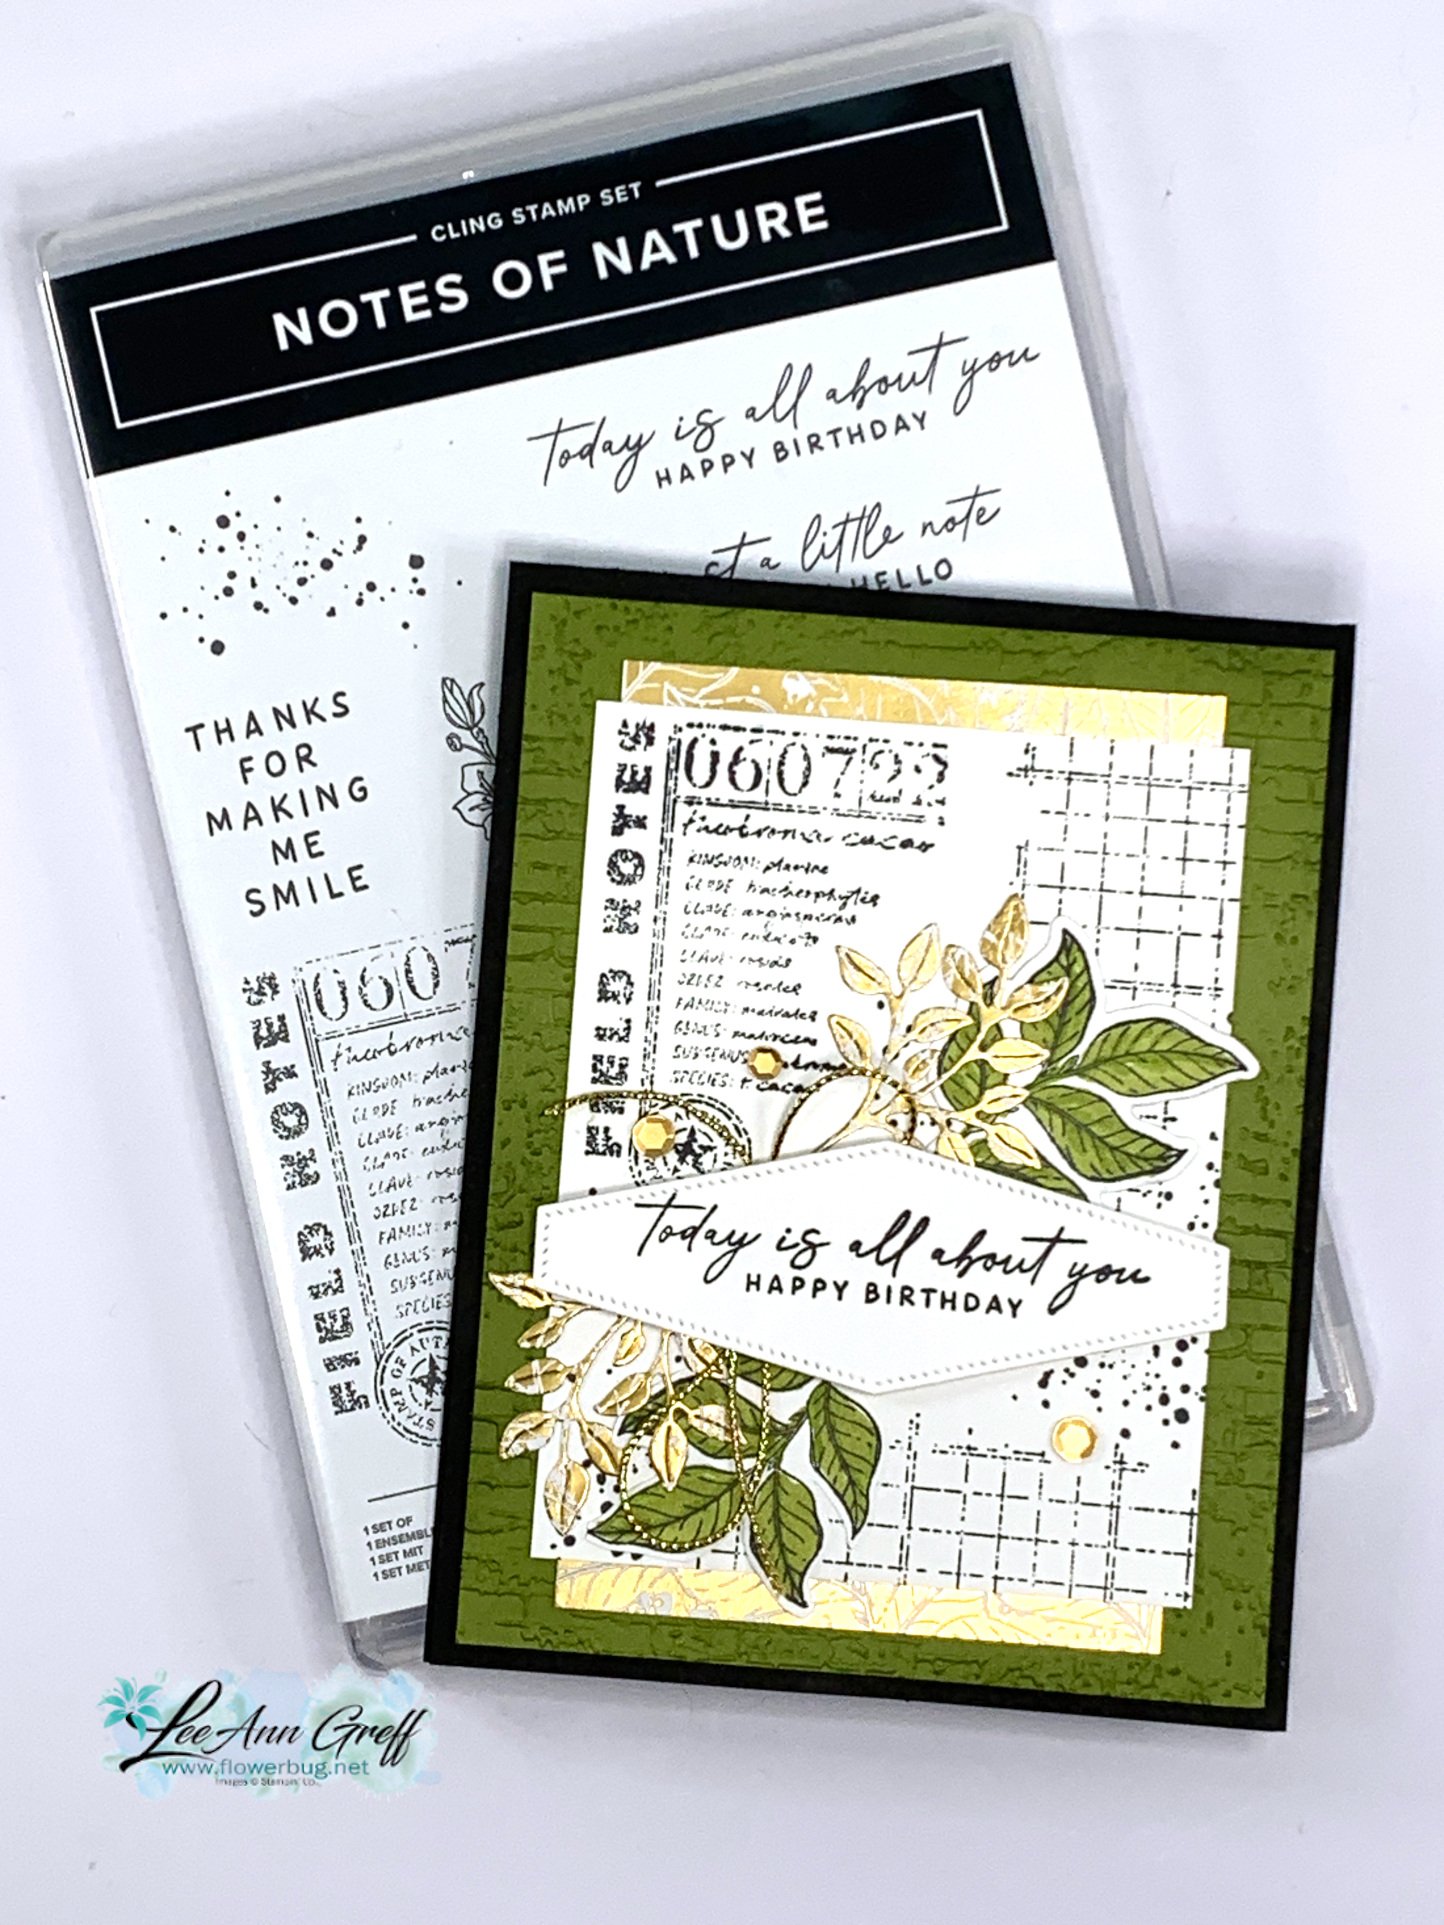
    I had no idea I would enjoy creating with the Nature's Sweetness suite as much as I did. It's not my usual style but I'm in love with it all!  

    Here's one of the cards I shared on last week's video: 

    I used the Notes of Nature bundle and Old Olive, Black and gold accents on this card.  The large white layer is made by stamping a few of the background stamps in Black ink. I added two sets of leaves – one in green and 2 the other in the Gold designer paper. 

    I want to mention what I think puts this card over the top. Of course the gold additions attract your eye but I think repeating colors a few times helps a lot. Notice how the black is repeated, the Olive is and so is the Gold. If you have trouble with color combinations, try adding one color with a neutral or two. Such as Black & White with any color. 

    More Details:

    • I textured the Olive layer with the Exposed Brick embossing folder and used a Blending Brush to add Old Olive ink to it. This really highlights the texture! 
    • Also notice the small strip of Gold designer paper on the top and bottom of the stamped white layer.  This is the Nature's Sweetness specialty paper. 
    • I added gold sequins and gold Elegant trim near the greeting.  

    Click on this link to download the free project sheet: Download Notes of Nature Birthday card

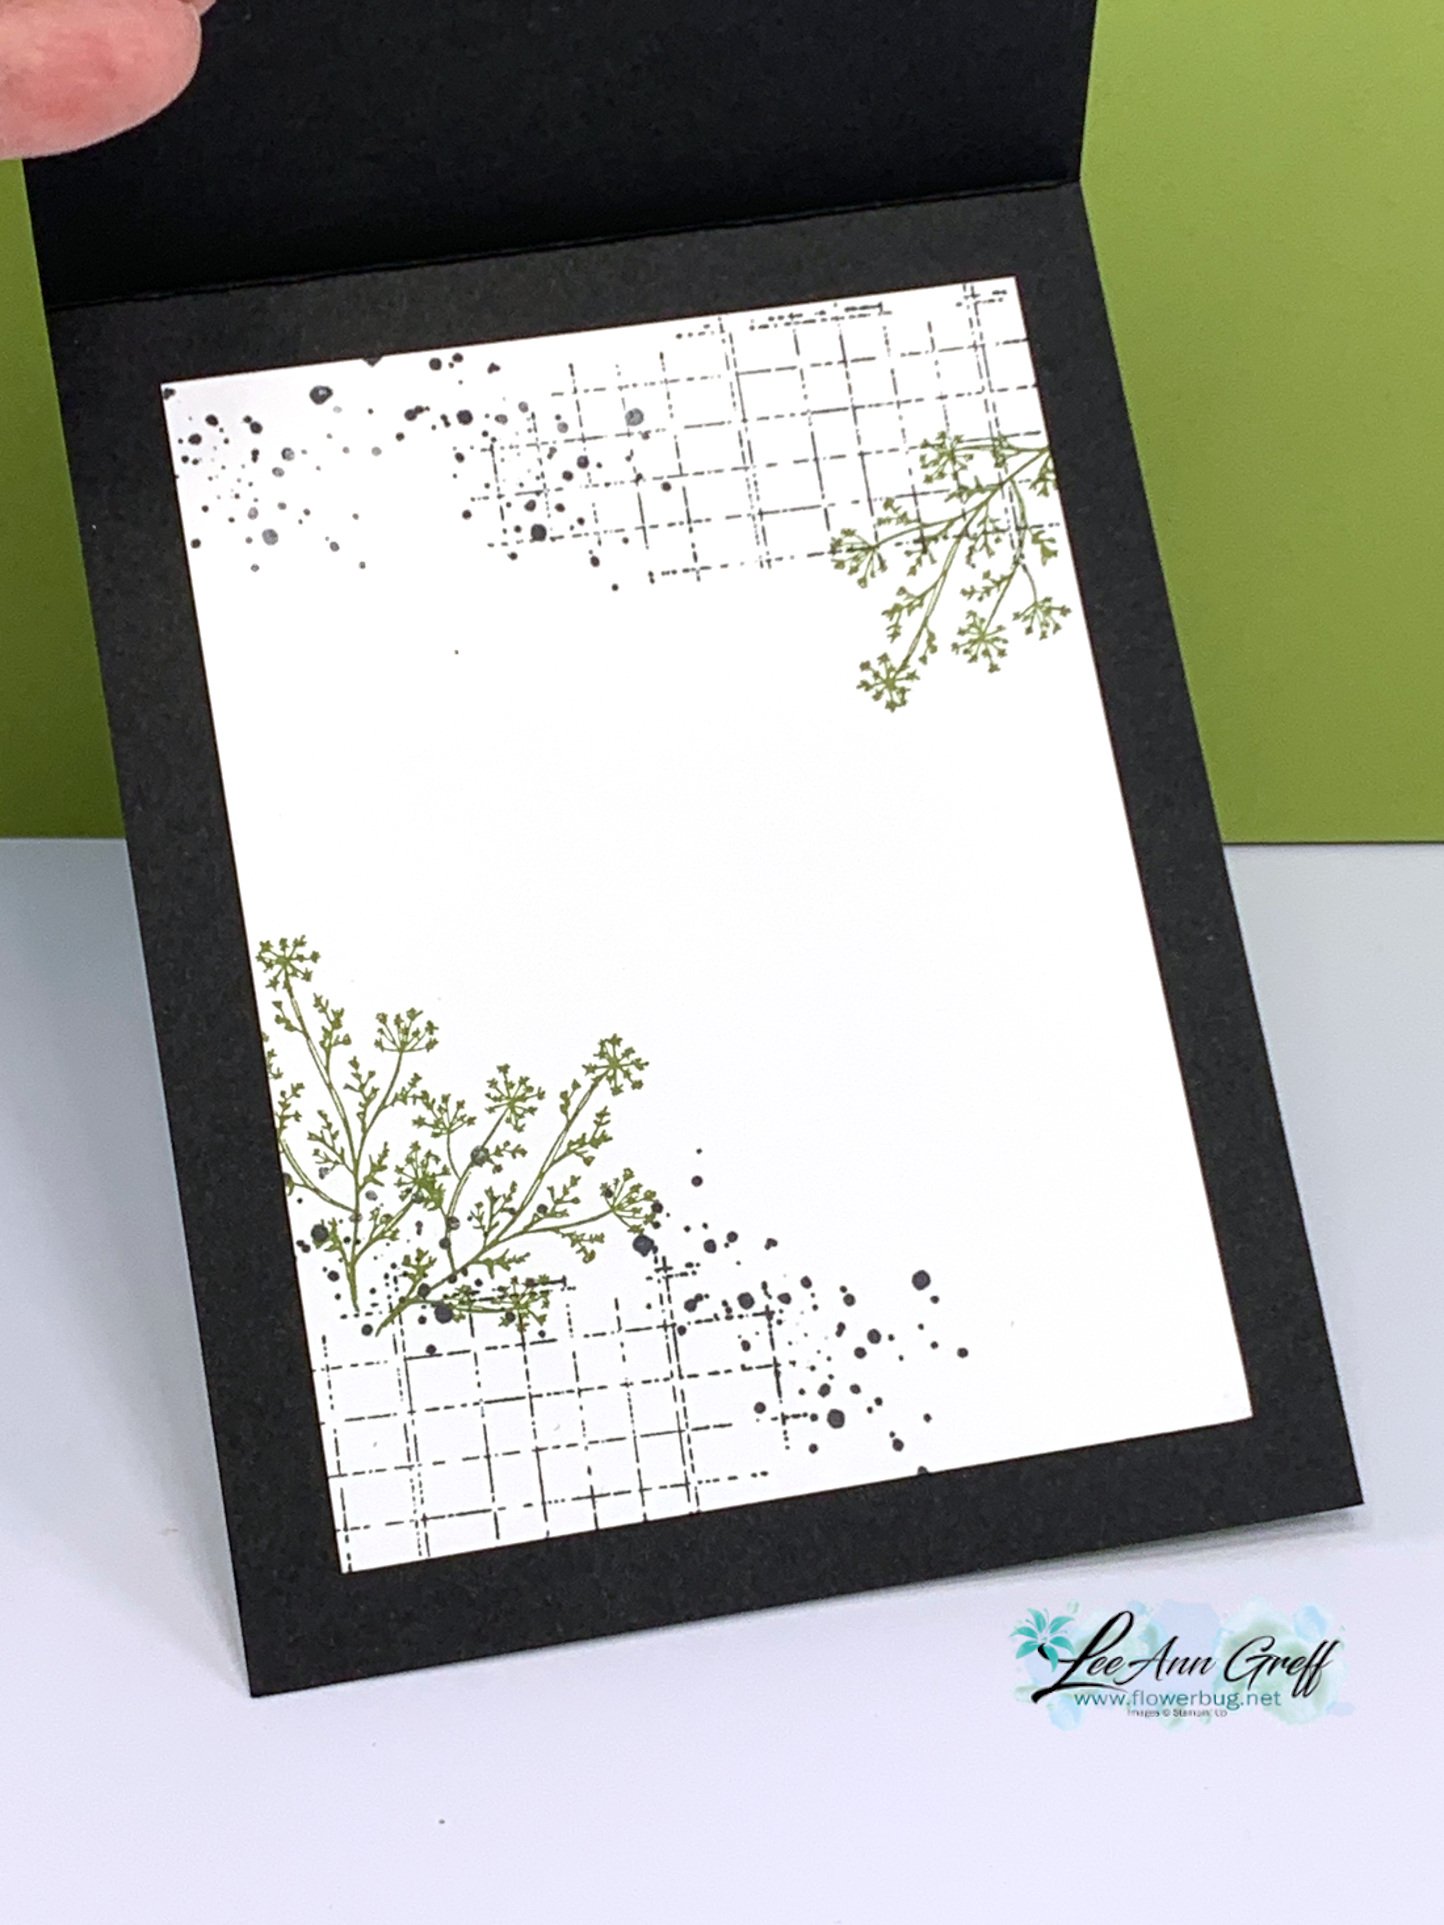
    Here's how I stamped the inside layer: 

    You can see how I made this card and two more in the video replay here.  Or click on the photo below to watch it. 

    ~~~

    January Specials: 

    Earn FREE products with your Stampin' Up! purchase during

    Sale-a-Bration! *click here

    *current host code link:  M7NAN4HT

    It's the best time to get a pre-paid Sale-a-Bration subscription

    & earn free Sale-a-Bration products!  


    ~~~

    Get a free embellishment from the 2024 Spring catalog

    with an online order over $55

    Leave a Reply

    Your email address will not be published. Required fields are marked *


Notice: LeeAnn Greff, Independent Stampin’ Up! Demonstrator, Manager. The content of this website is my sole responsibility as an independent Stampin’ Up! demonstrator and the use of, and content of, the classes, services, or products offered on this website is not endorsed by Stampin’ Up! Copyright 2025