/


Latest Post

More Magical Meadow fun fold cards by Judith


Yesterday I shared the cards Judith made as our Team Artist of the Month and today I'm sharing more. She did a wonderful job highlighting the Magical Meadow bundle and the Winter Meadow designer paper. 

All of her cards have been fun folds; she does like to make fancy fold cards. 

This card features a center greeting layer that enfolds both front layers of her gatefold card.  She left it removeable so the recipient can add it or leave it off.  You can adhere it if you'd like; I usually add it to the left side.  

The gorgeous leaves & berries image was done with markers; it coordinates with the Magical Meadow dies perfectly! She used the Deckled Circle dies seen here. 

Below is the inside view with the center layer separate. 

Next is another fun fold card I call a double-flap card. She used the same sheet of Winter Meadow as the card above. 

She scored the right side of her double layered circles and adhered the scored flap under the inside layers. Clever!  

The greeting layers are from the Autumn Leaves dies and of course she used the beautiful White & Silver mesh ribbon – all from the 2023 Holiday catalog.  

Thank you for sharing these beautiful projects with us Judith!  

~~~

November Specials: 

*current host codes:  4D2ZDS6Q or 77277NNH

Click on the image below to see the Holiday Last Chance items 

 

All Posts

  • A striking technique with the Naturally Gilded specialty paper; with video & free project sheet!


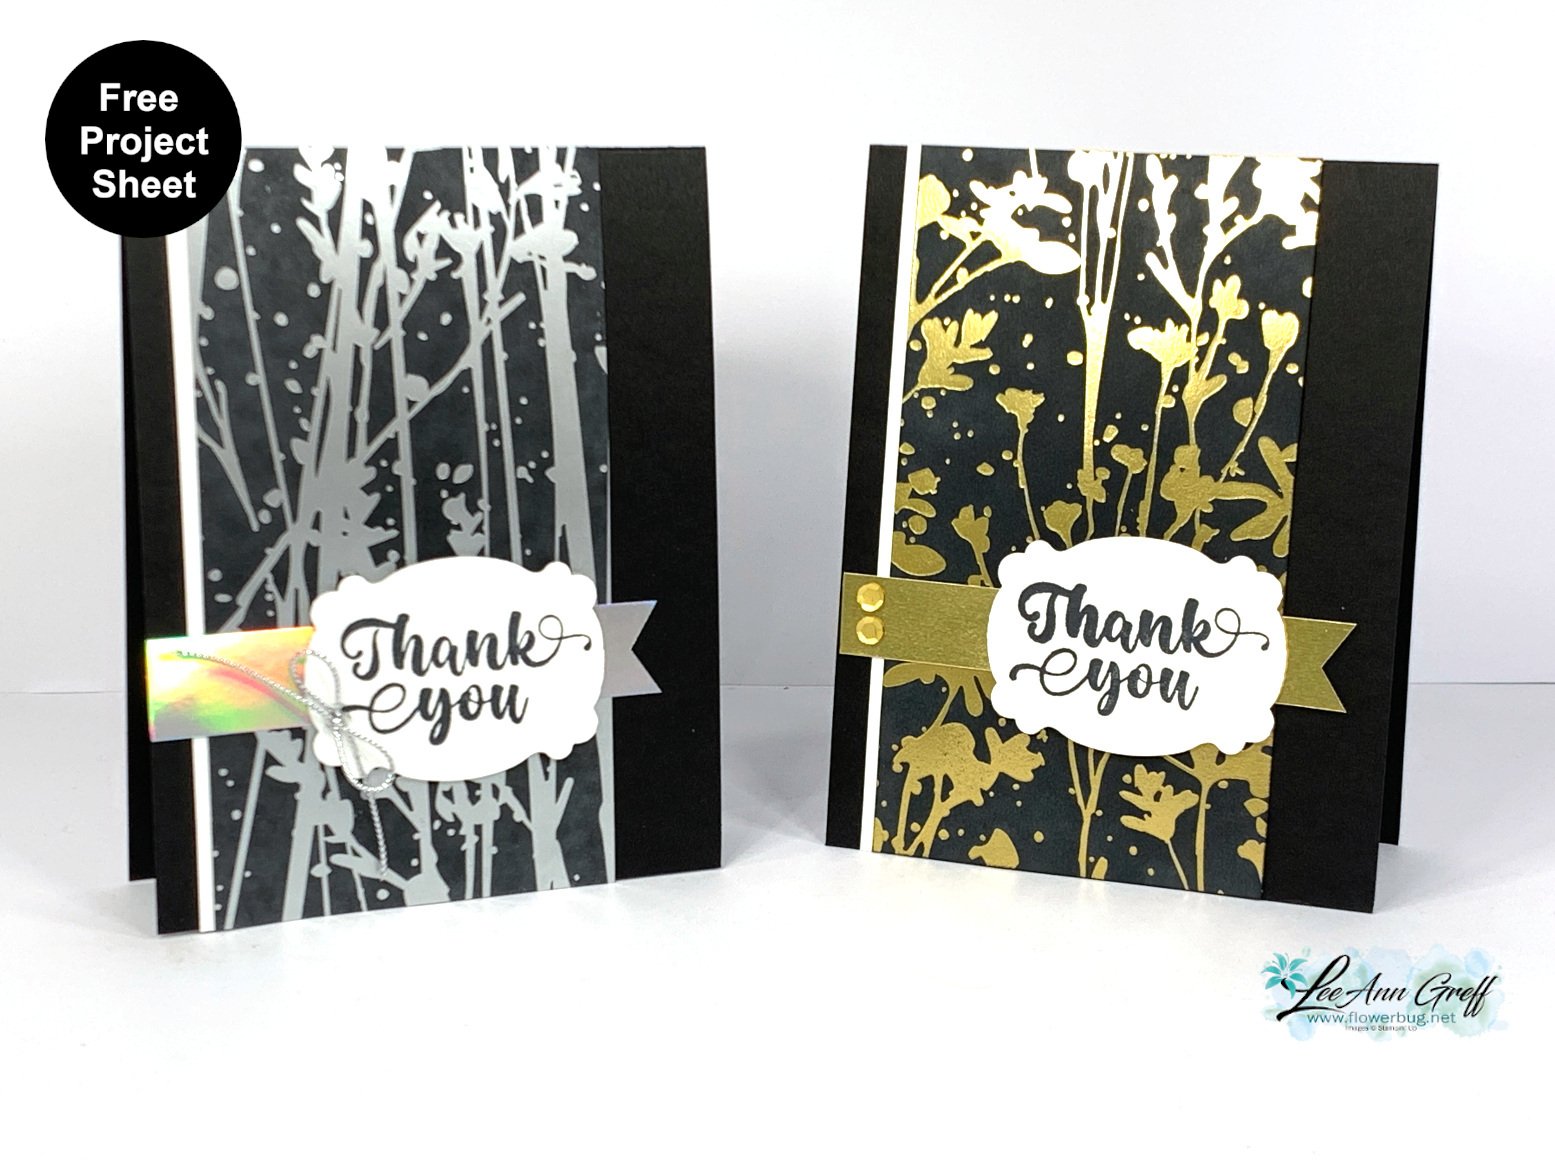
    I shared how to make this card on last week's video. It features the Naturally Gilded designer paper seen here.  

    This pretty paper has a white background and Silver, Gold or Copper foil patterns. You can see it in the Online Exclusives while supplies last. 

    I decided to do a direct to paper resist technique and change the White background to Black.  You can do this technique on any foil printed designer paper. The foil resists the ink so you can wipe it off once the background is saturated. 

    I used a Black Memento ink pad which is water-based. You can use any water-based ink but not Stazon. Stazon ink would cover the foil patterns. 

    How did I do it?  I had my paper laying face up and rubbed or tapped my Memento ink pad all over the specialty paper. Once you're done adding ink simply wipe the ink off the foil prints with a tissue or paper towel.  

    I created a free project sheet for these cards; you can download or print it here: Download Naturally Gilded Ink Resist technique

    *Below is the video where I shared this technique.  I also shared my new Annual Catalog products and lots of amazing swaps too.  Be sure to follow me on YouTube here. 

    ~~~

    March Specials: 

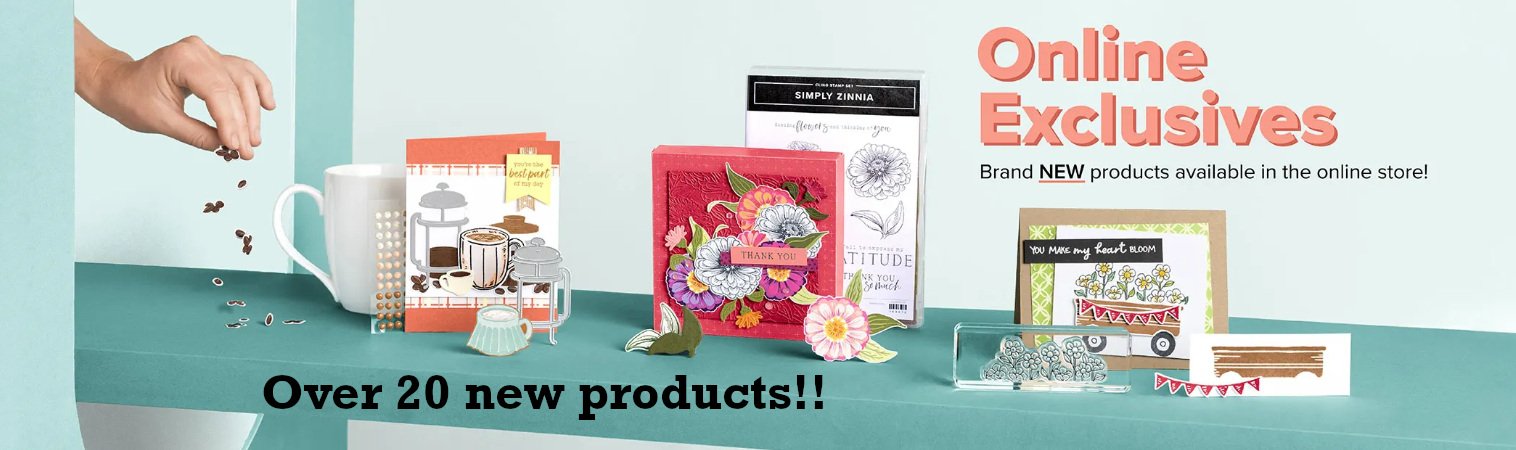
    See over 20 brand new Online Exclusive products here!

    *current host code links:   ZDUGF6KY or TQWBXR4T

    ~~~

    Get a free package of Rainbow Dots

    with online orders over $55 in March

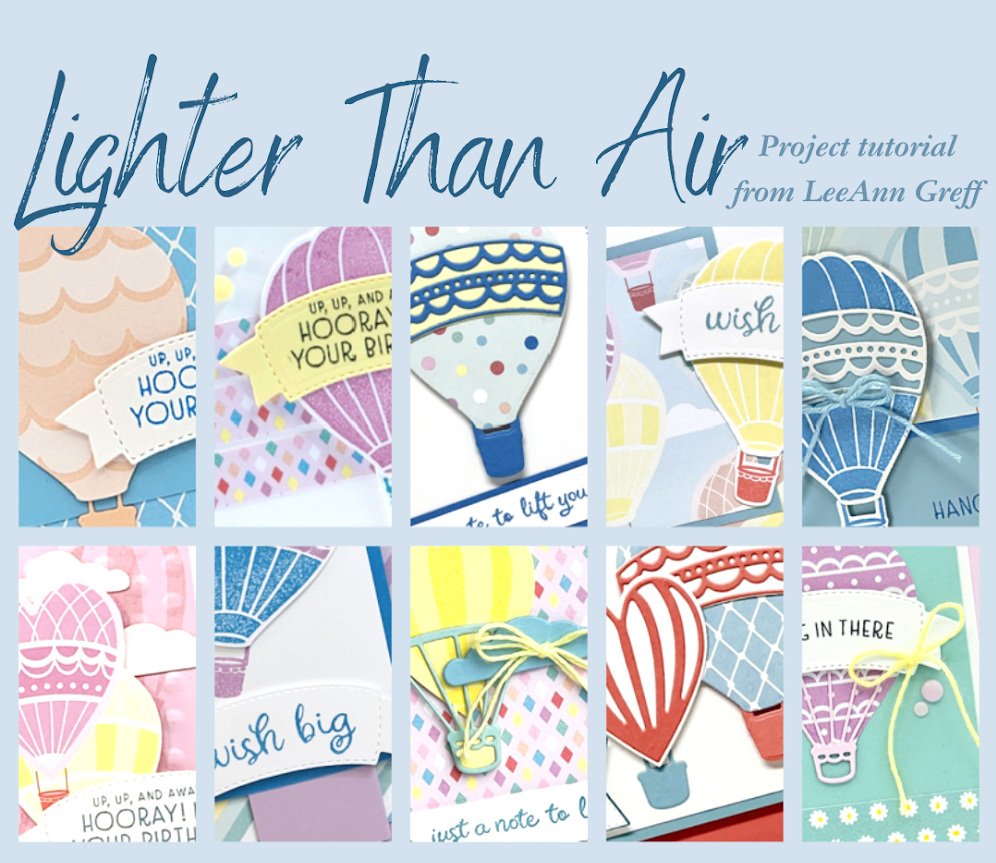
    All online orders in March will receive this free Hot Air Balloon tutorial with 8 projects!

    Leave a Reply

    Your email address will not be published. Required fields are marked *

  • Poetic Expression fun fold swap card


    Last week I shared this image on Facebook.  It was a bit of a tease to guess what the finished card would be like. 

    It has Pool Party, White, Lost Lagoon and some Poetic Expressions designer paper (retiring in April). 

    It also shows the greeting die-cut from the Thoughtful Moments Hybrid embossing folder seen here.  I feel like it makes my greetings extra special.  They're a pretty font and give texture and dimension to your projects. (I shared how to use this folder here in a video.)

    And that is the finished card.  I made 12 of these for an organized fun fold swap. I am a huge fan of monochromatic cards and these colors are at the top of my favorites list.  

    The tag is from the Something Fancy dies seen here.  I love the many label & greeting shapes this set has. 

    Here's the inside view. 

    Measurements are so simple!  Once you cut off the end of the card front you flip it 90 degrees and use it as the front layer. 

    • Card base – 11" X 4 1/4" score at 5 1/2"; cut off one end at 2 3/4"
    • DSP – 1 piece at 2" X 4", 2nd piece at 4" X 3" 
    • Inside White 5 1/4" X 4" 

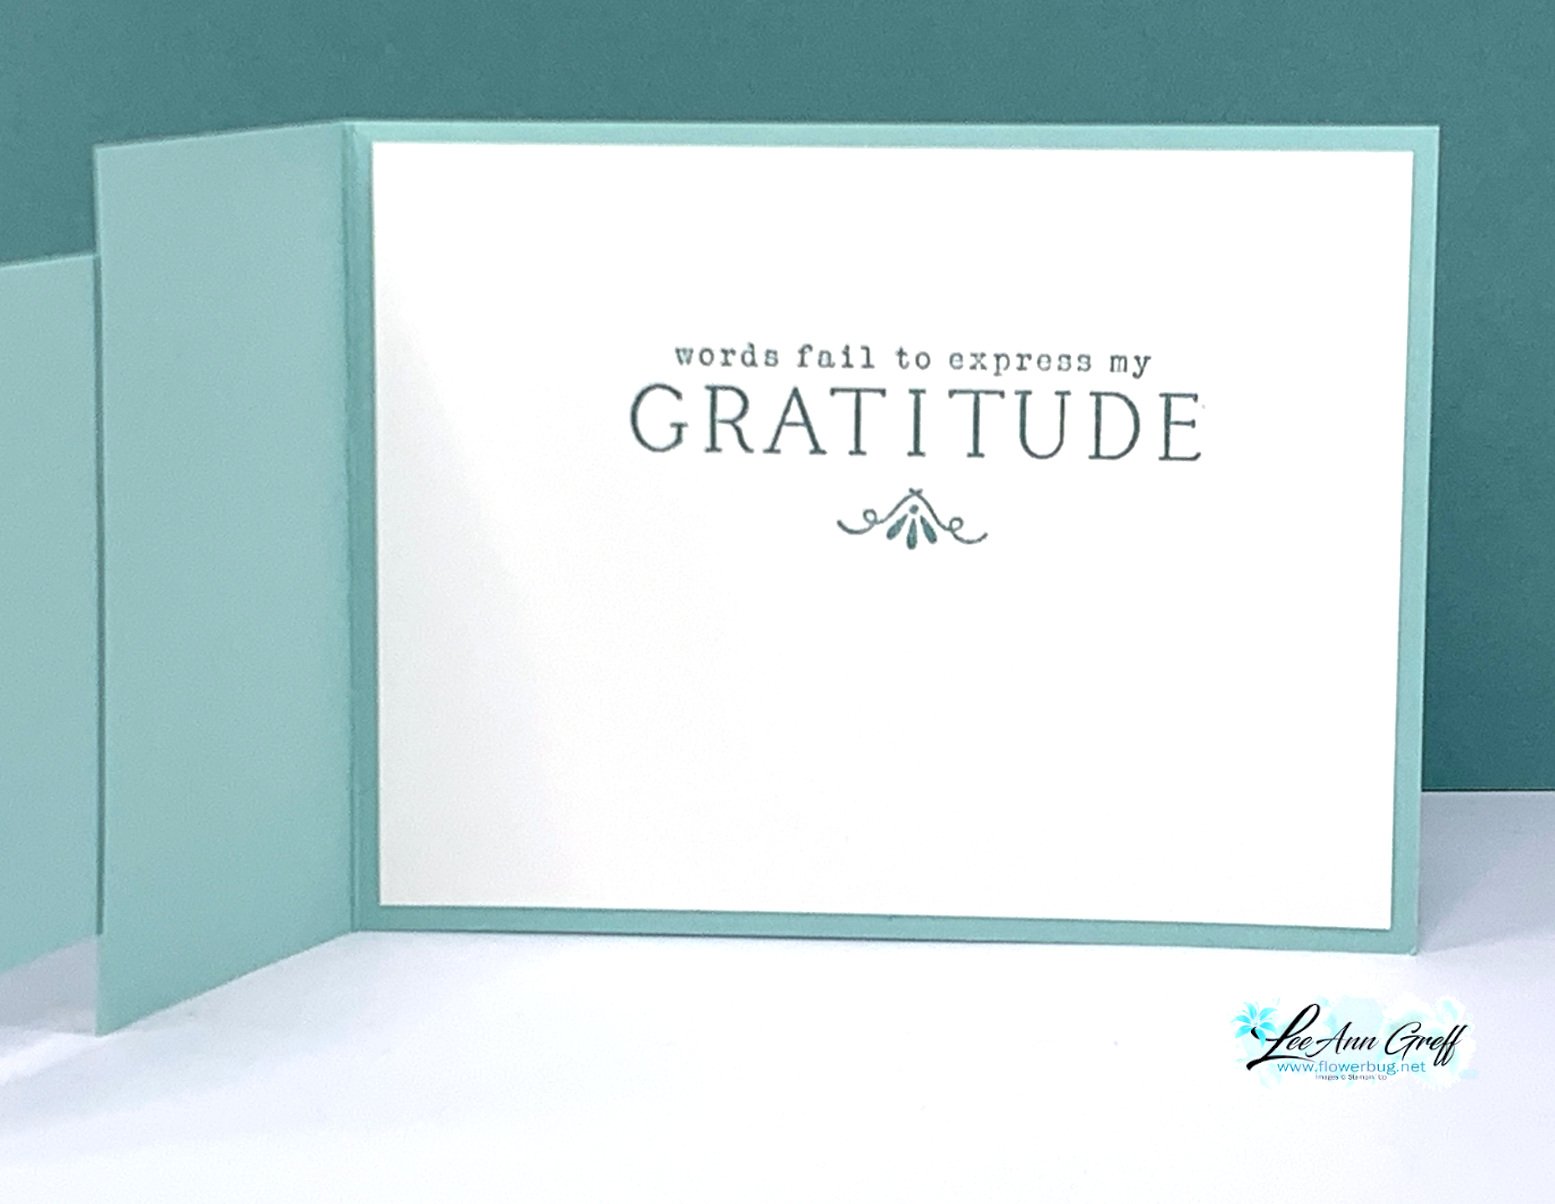
    Here's the inside view.  This greeting is from the Simply Zinnia set seen here. 

    ~~~

    March Specials: 

    See over 20 brand new Online Exclusive products here!

    *current host code links:   ZDUGF6KY or TQWBXR4T

    ~~~

    Get a free package of Rainbow Dots

    with online orders over $55 in March

    All online orders in March will receive this free Hot Air Balloon tutorial with 8 projects!

    Leave a Reply

    Your email address will not be published. Required fields are marked *

  • Last of the WOW Amazing Team swaps


    Last week (and yesterday) I shared many of our March Online Exclusive Team swaps and today is the last set. 

    This first card was made by Jacki who featured the Encircled in Nature bundle. You can find it here in the Online store.  


    Count the dies used here; she is never one to keep it simple!  Her colors include Pecan Pie, Shaded Spruce and Early Espresso. 

    The card is 8 1/2" X 5 1/2" scored at 4 1/4". Then she scored the front from bottom center to the upper left. And she added layers; two layers including the A Little Latte designer paper.  

    It opens as a stand up Easel card.  Isn't it fabulous?!!

    She also used the Sweetly Scripted stamp set seen here.  It's unavailable right now but should be back.  No date is known at this time.  She used the double oval punch to hold up the easel layers.  What an amazing card! 

    ~~~

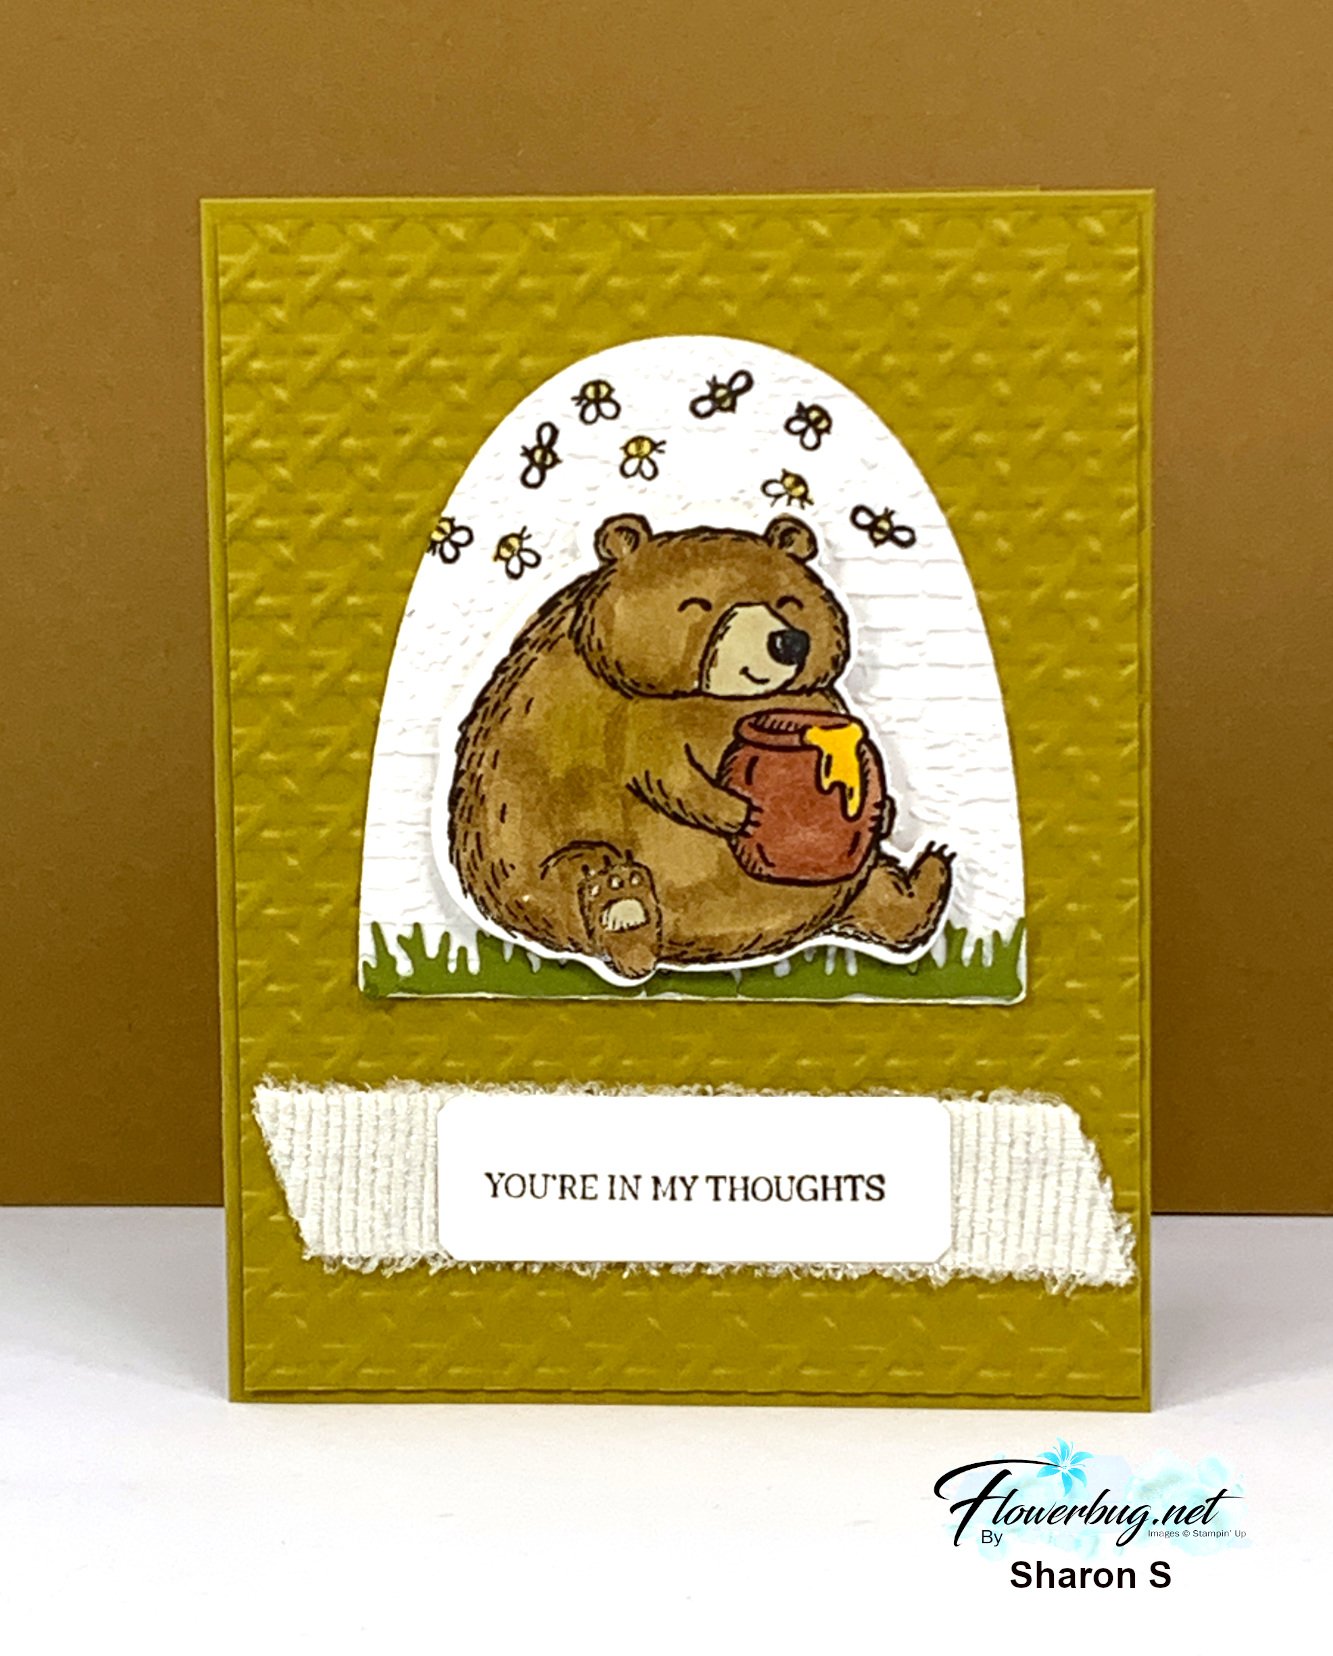
    Next is a sweet card made by Sharon who chose the Fluffiest Friends bundle seen here.

    Her colors include Wild Wheat, White & Old Olive. Lots of texture here with the Exposed Brick and Cane Weave 3D folders.

    I hope you enjoyed their creations.  I love seeing their styles and creativity! 

    ~~~

    March Specials: 

    See over 20 brand new Online Exclusive products here!

    *current host code links:   ZDUGF6KY or TQWBXR4T

    ~~~

    Get a free package of Rainbow Dots

    with online orders over $55 in March

    All online orders in March will receive this free Hot Air Balloon tutorial with 8 projects!

    Leave a Reply

    Your email address will not be published. Required fields are marked *


Notice: LeeAnn Greff, Independent Stampin’ Up! Demonstrator, Manager. The content of this website is my sole responsibility as an independent Stampin’ Up! demonstrator and the use of, and content of, the classes, services, or products offered on this website is not endorsed by Stampin’ Up! Copyright 2025