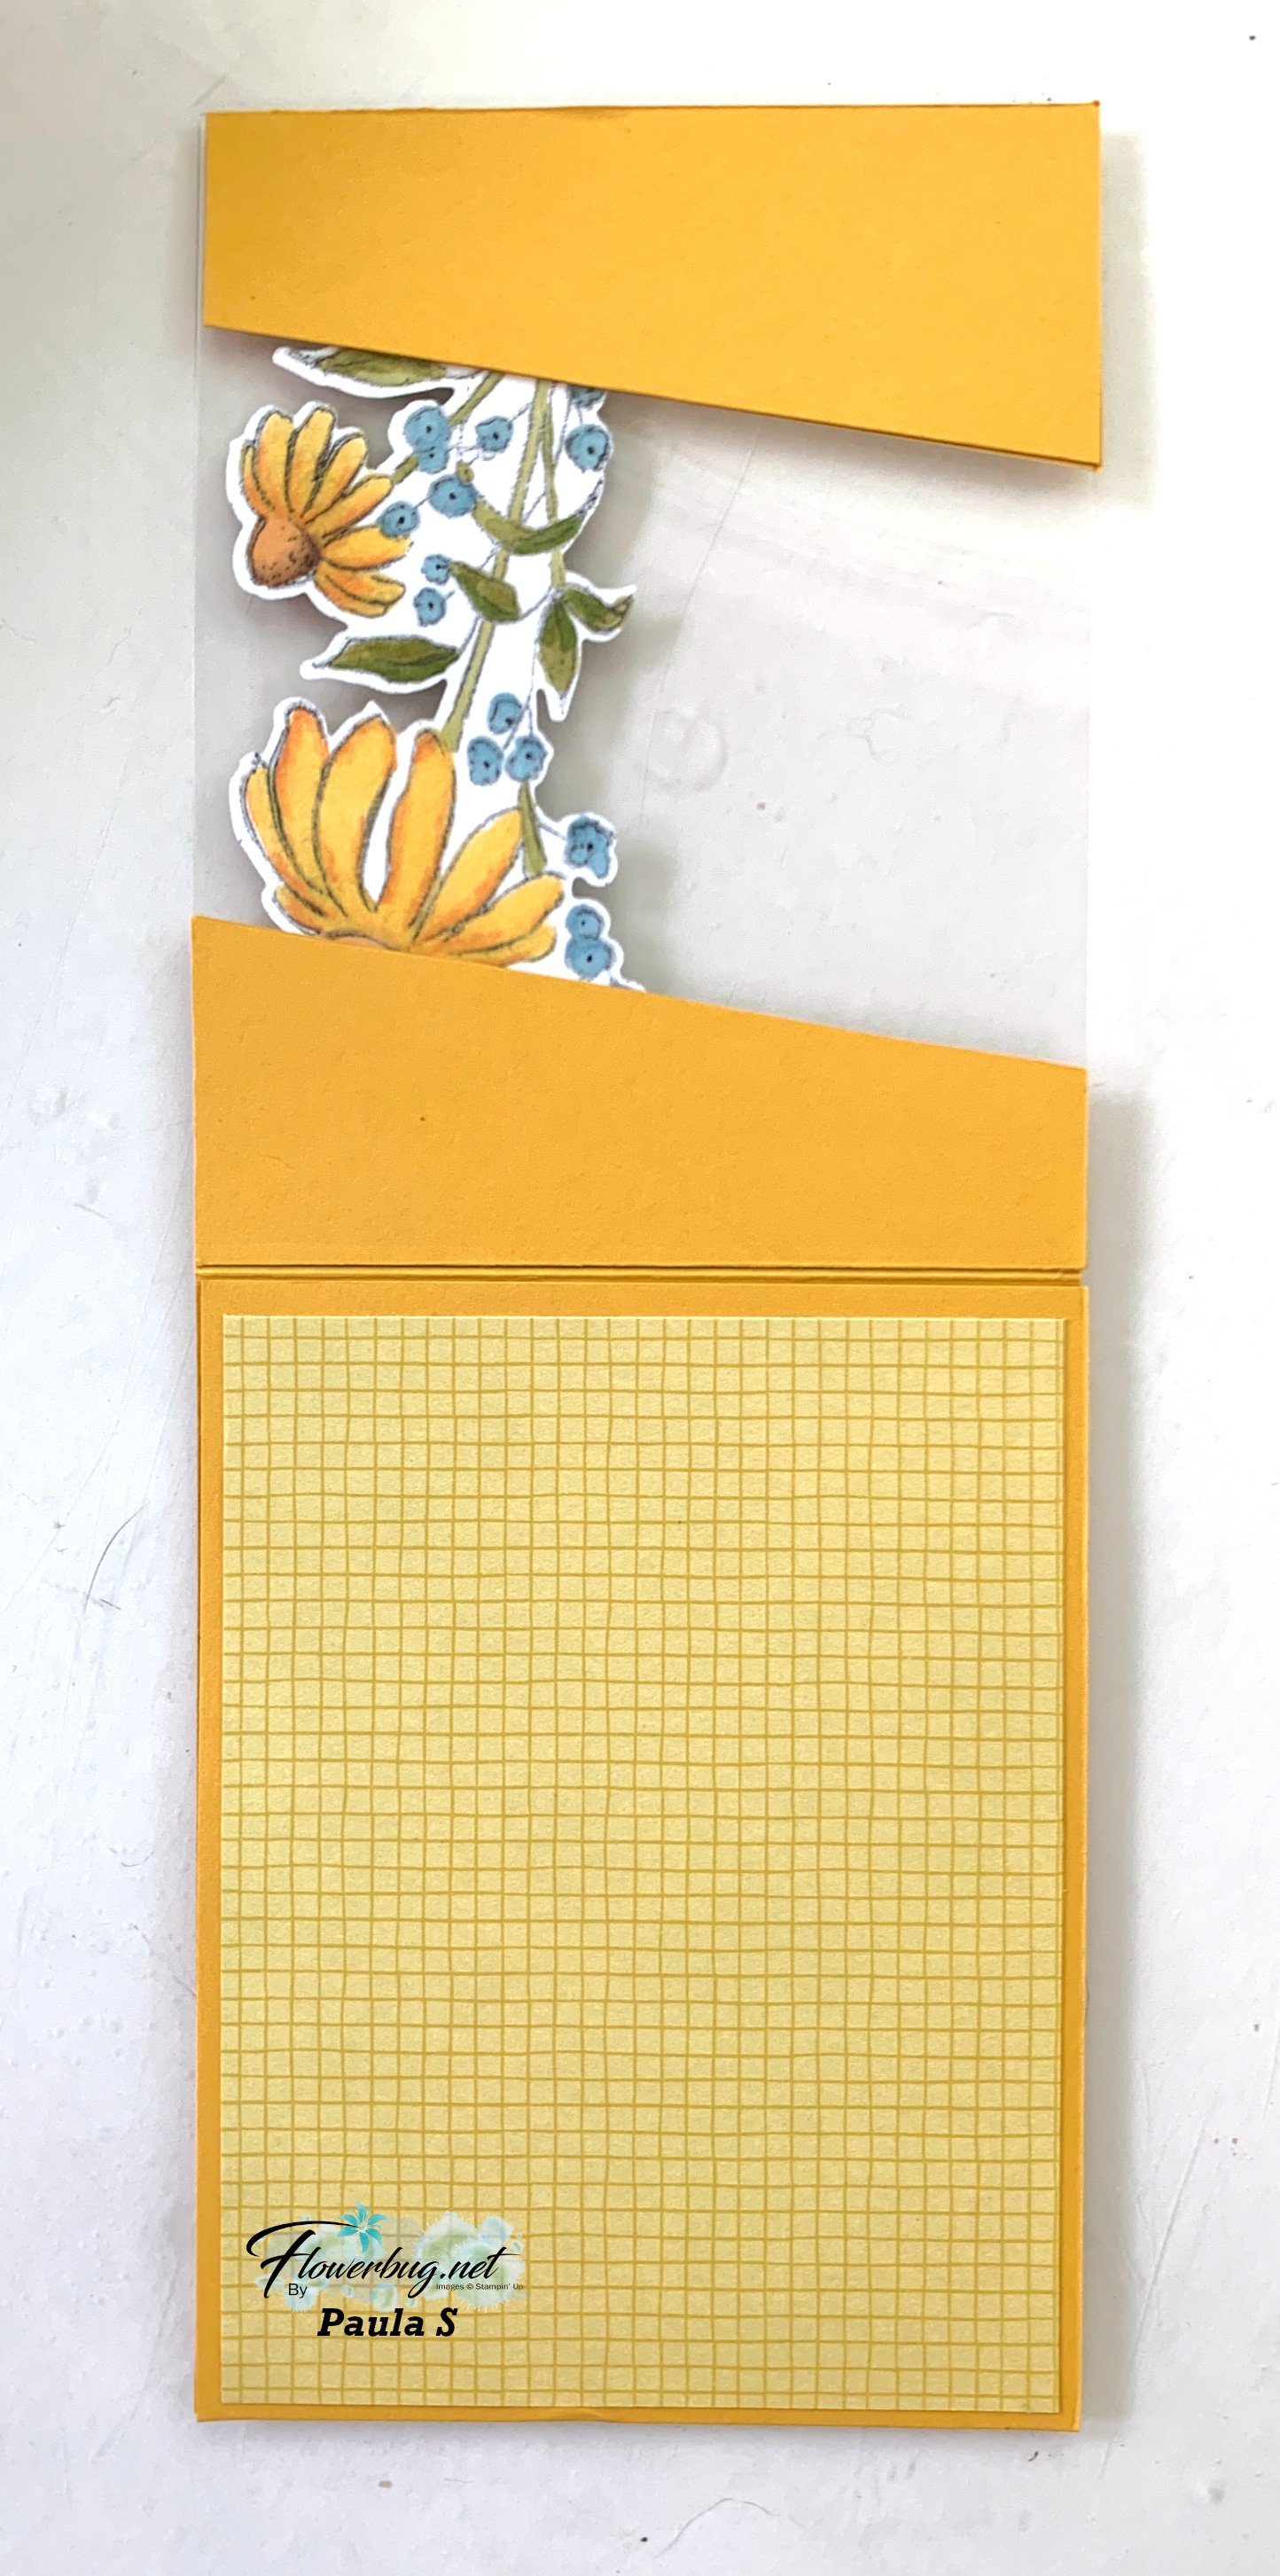
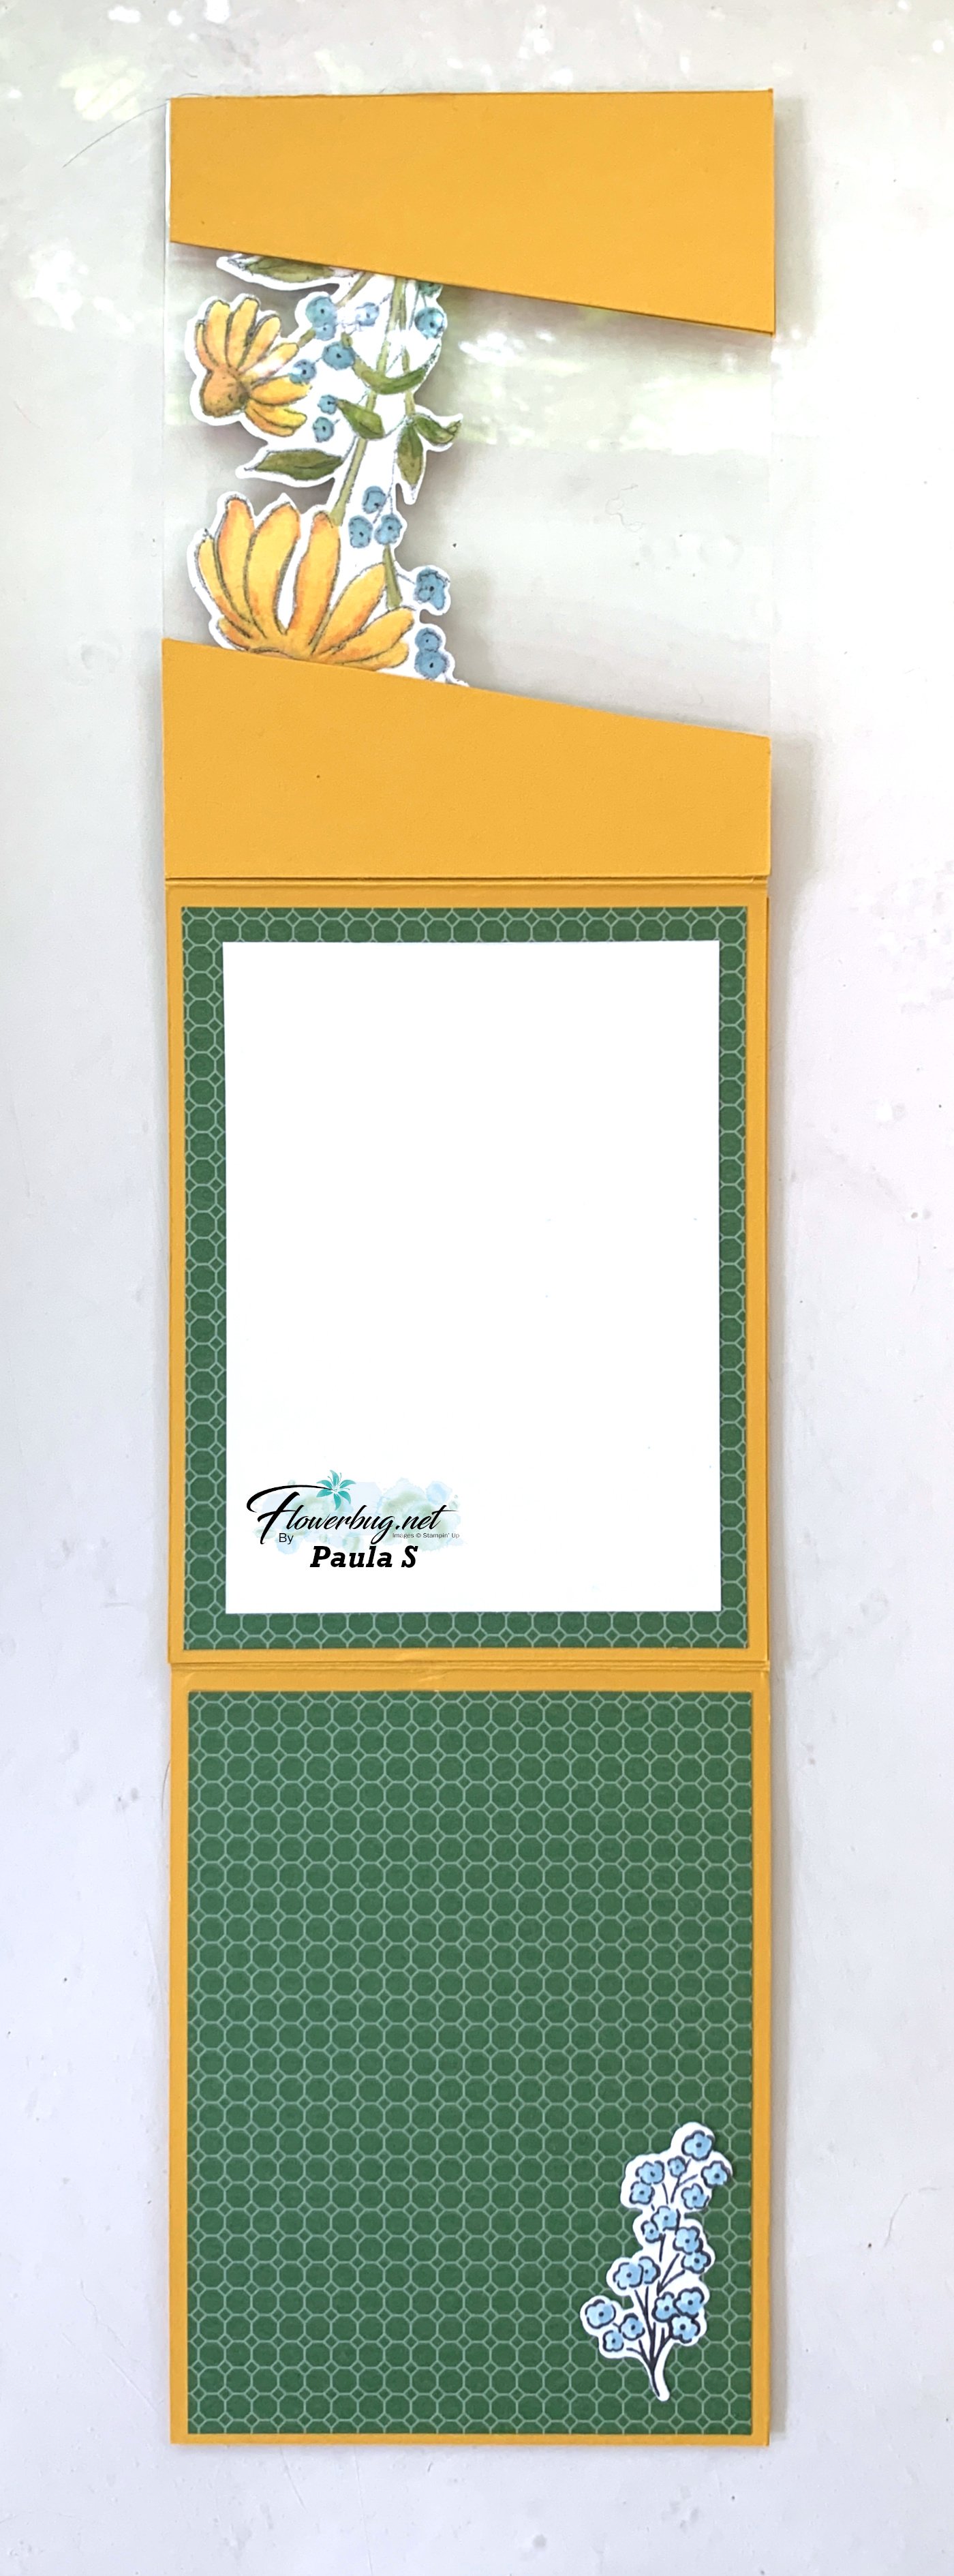
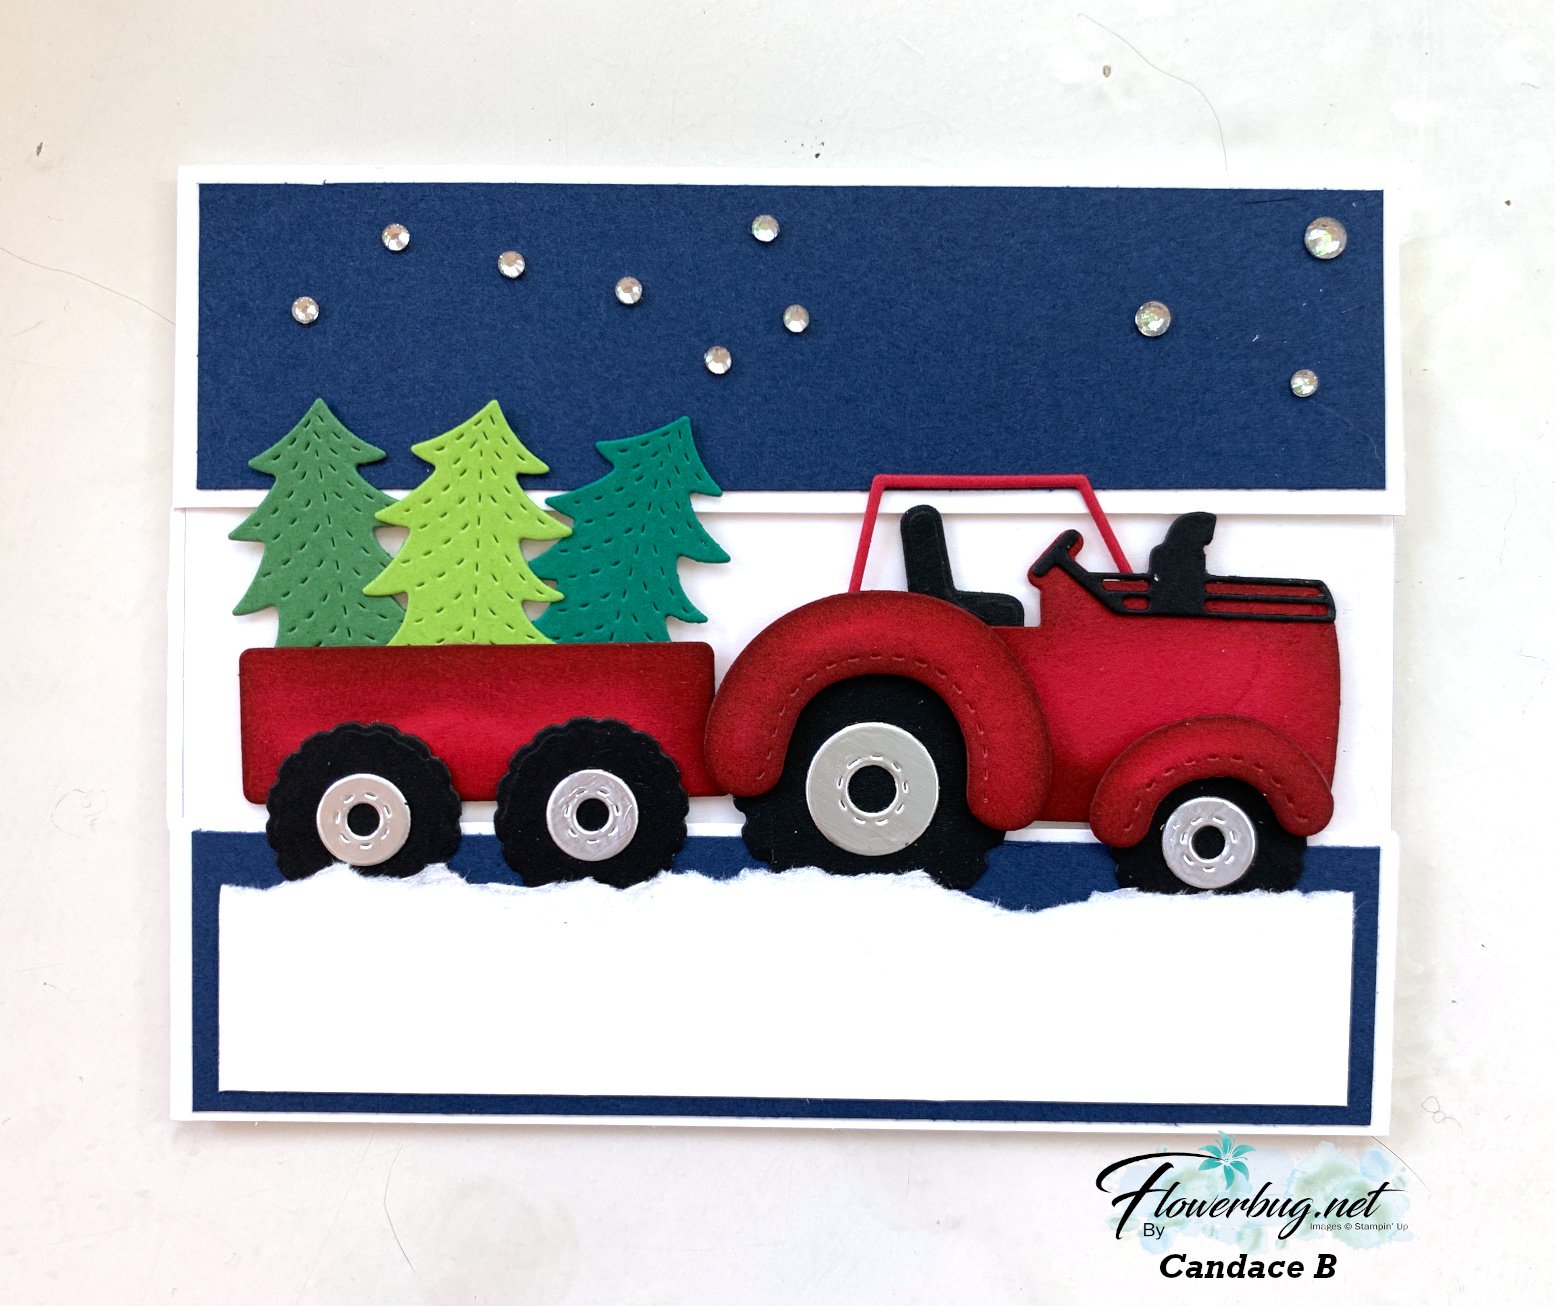
First up is a fun fold card made by Paula:
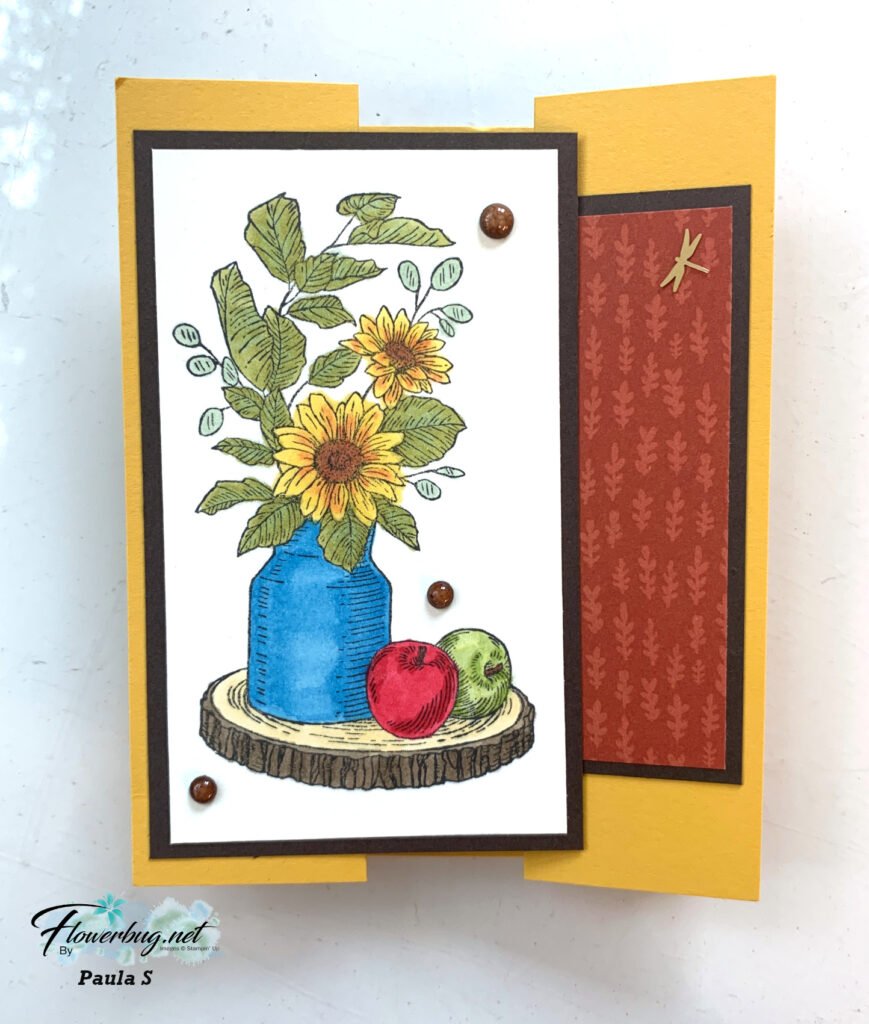
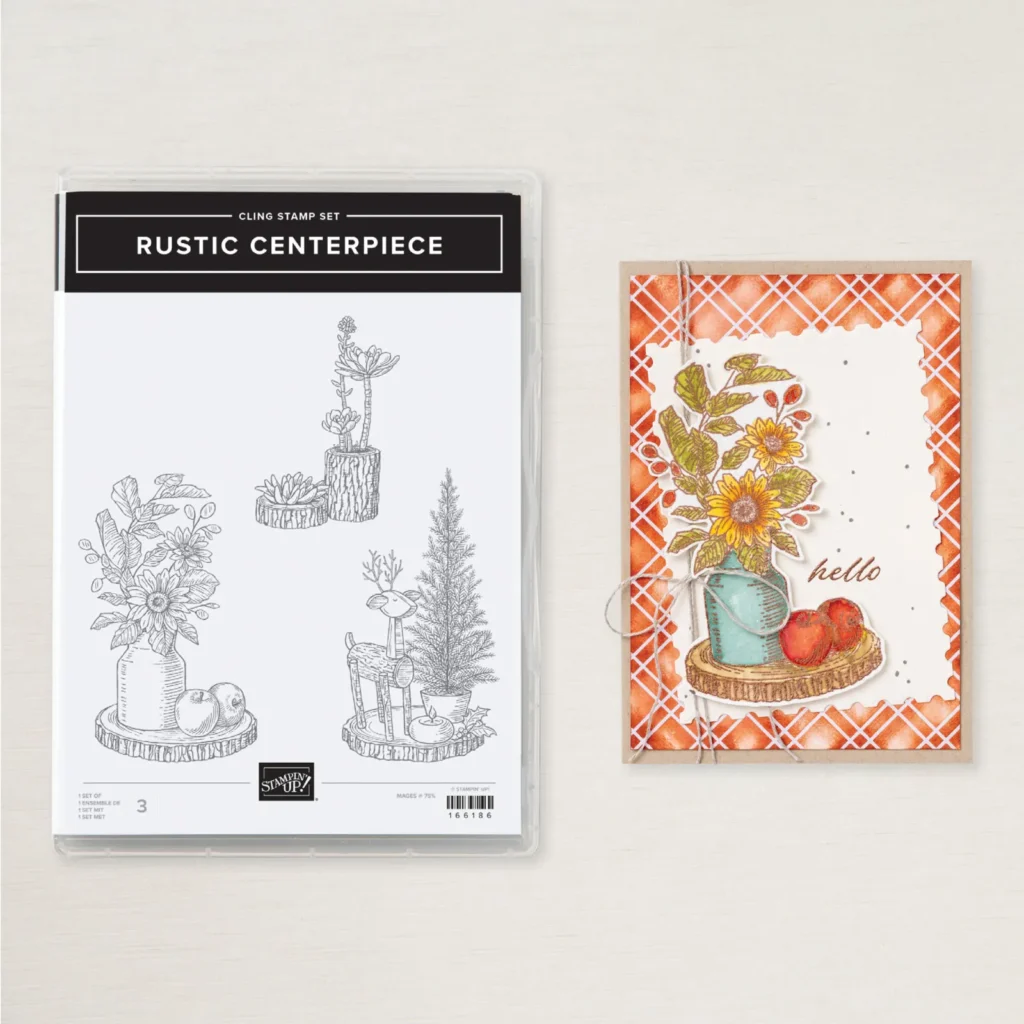
This pretty stamp is part of the Rustic Centerpiece stamp set seen here. She colored the image in with Blends markers. Beautiful work Paula!
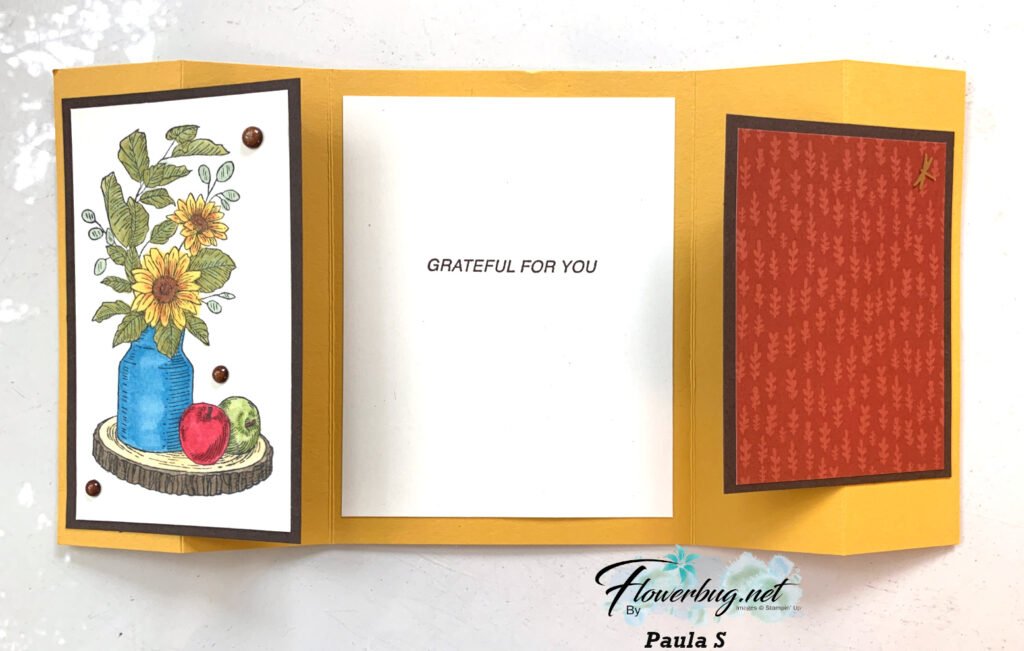
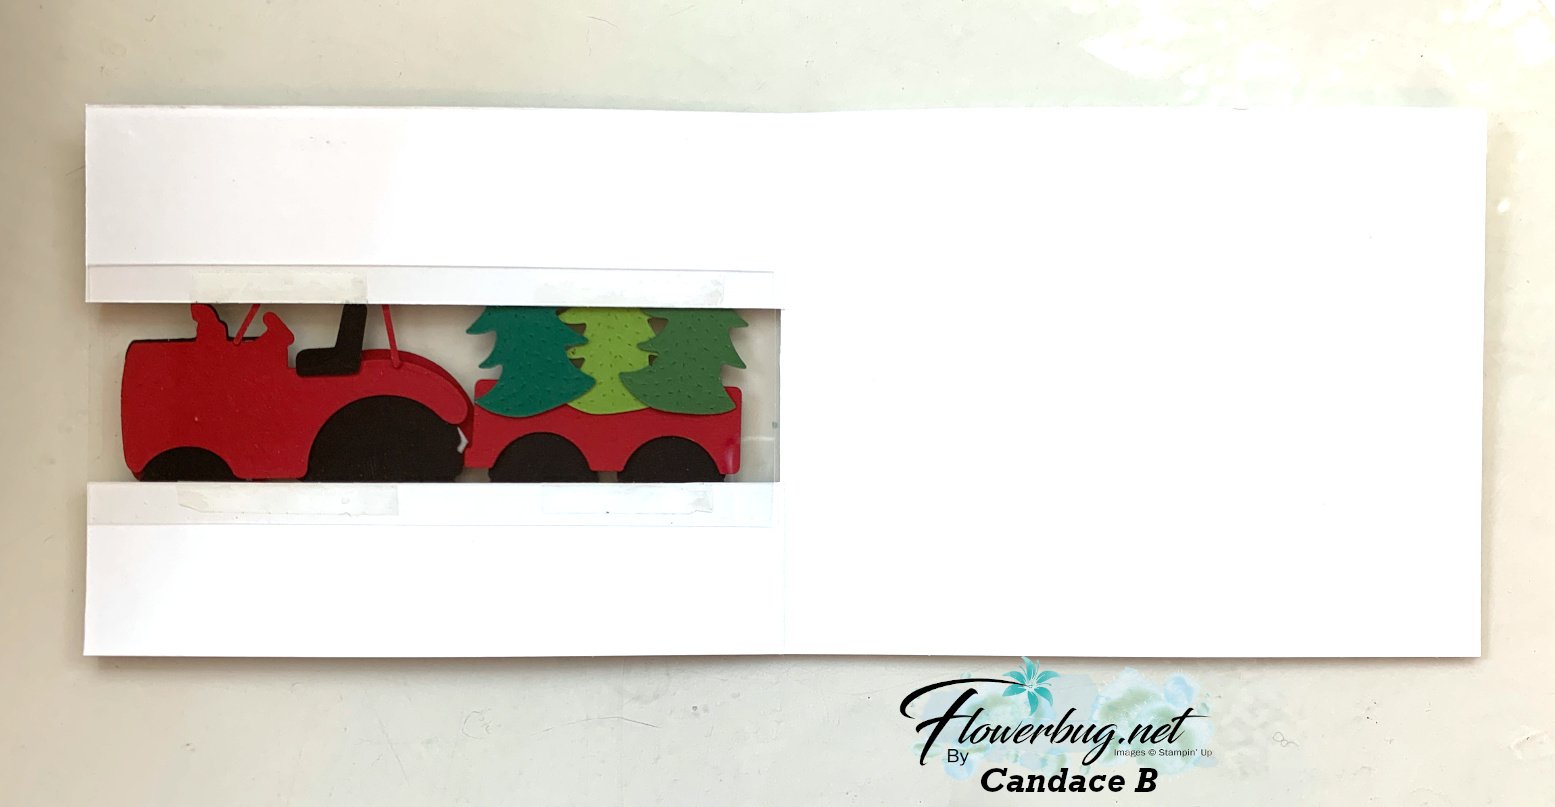
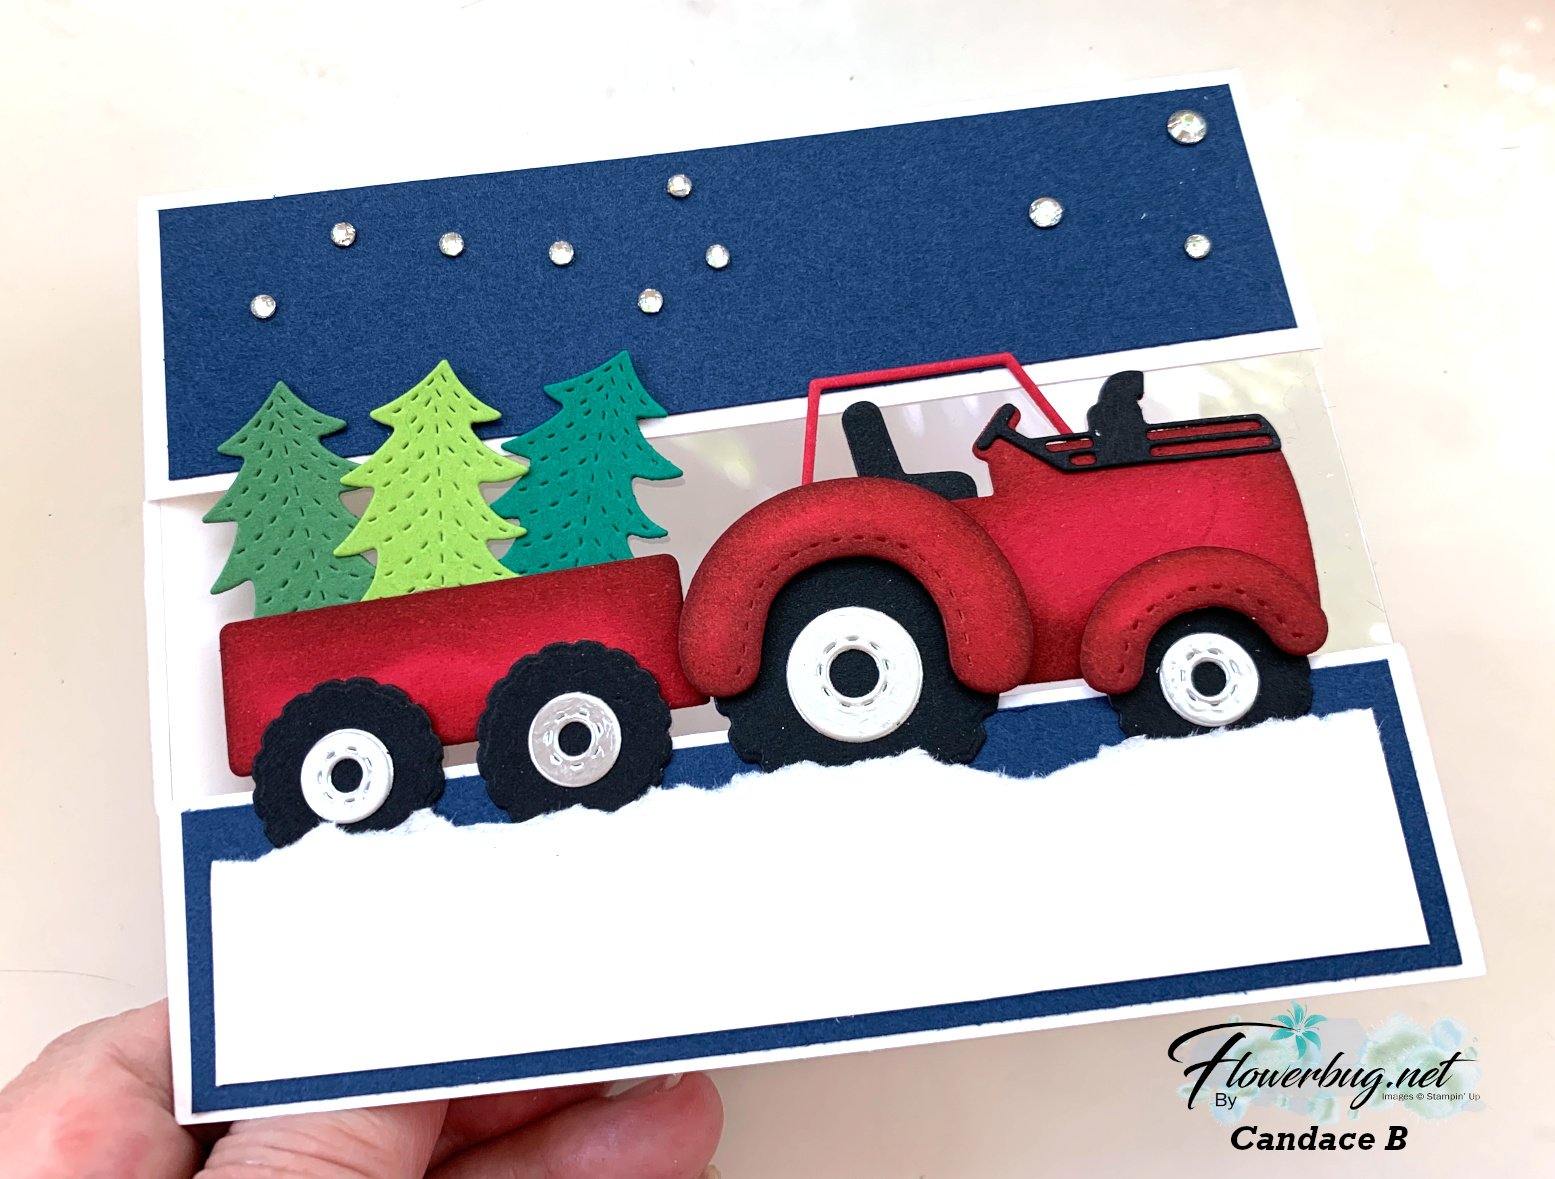
I don’t remember seeing a fold like this card before. I love that the main panel on the left is accented by the DSP panel on the right.
Here are her measurements:
– card base 10 3/4″ X 5 1/2″ scored at 1 5/8″, 3 1/4″, 7 1/2″ & 9 1/8″
– left panel – vanilla 2 3/4″ X 4 3/4″, Early Espresso 3″ X 5″
– right panel – DSP 2 3/4″ X 3 3/4″, Early Espresso layer 3″ X 4″
– Vanilla inside 3 3/4″ X 5″
~~~
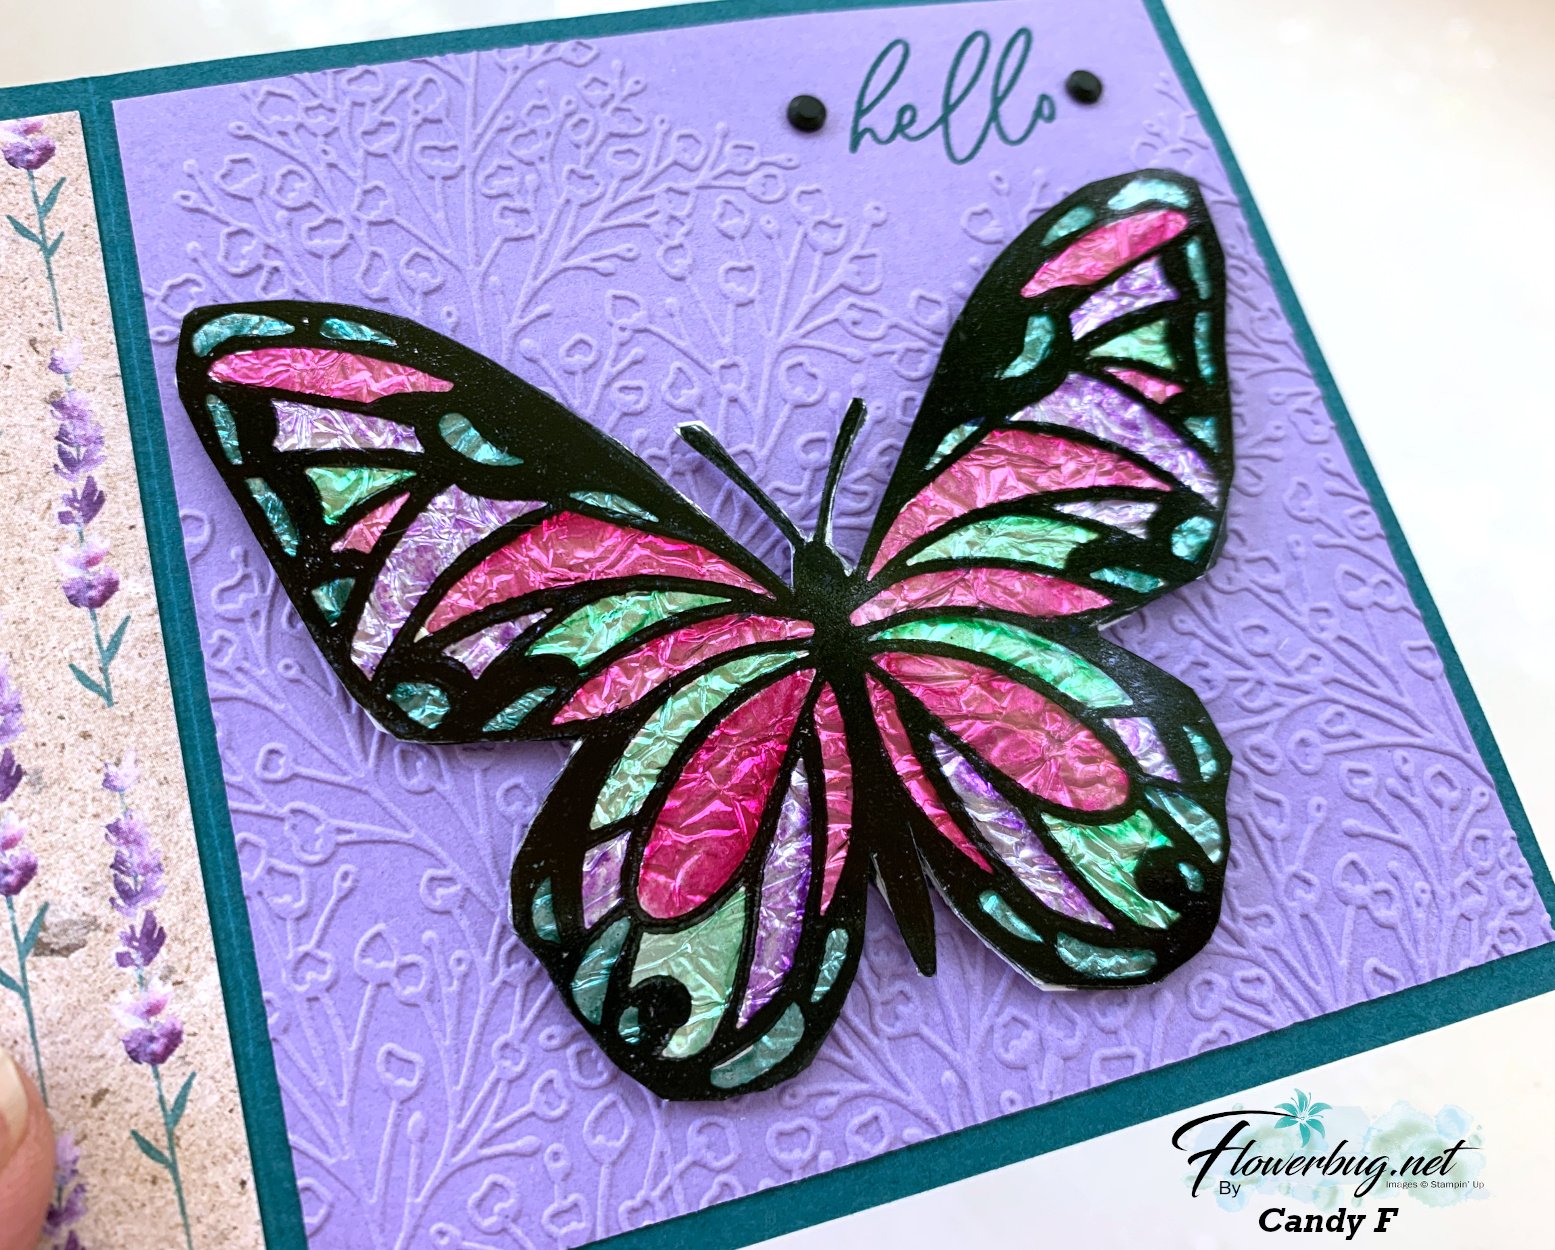
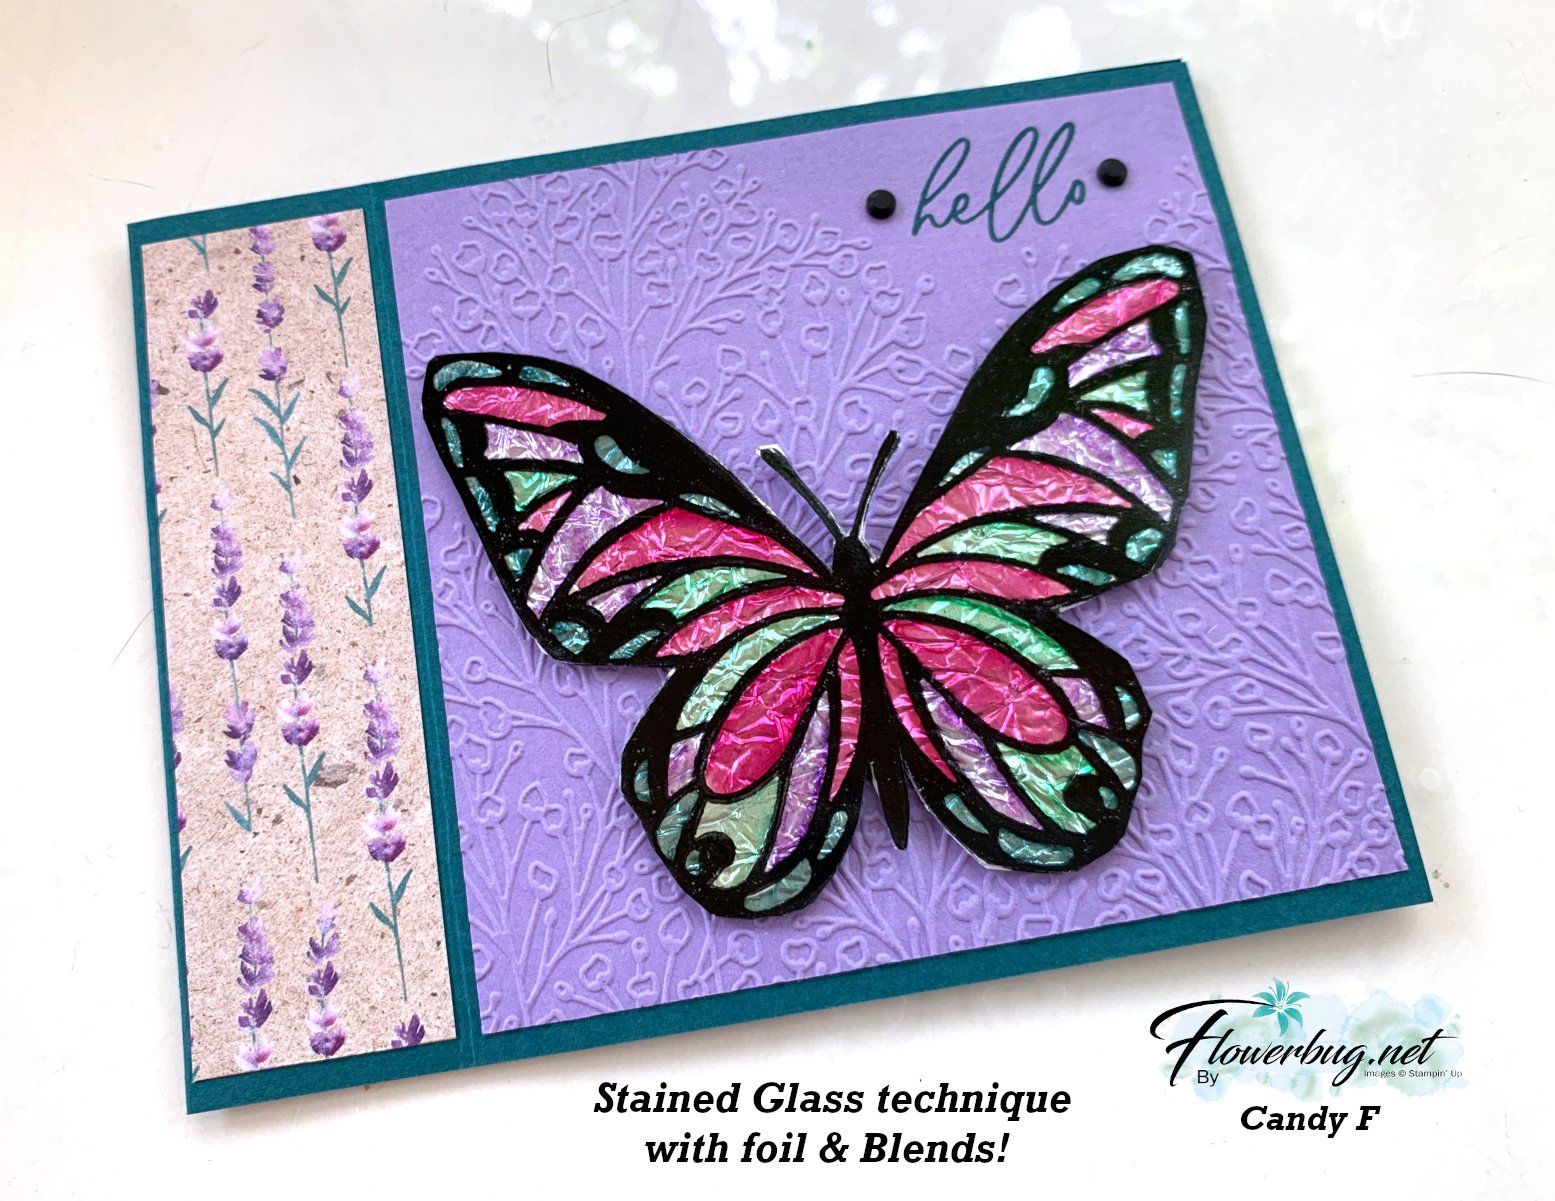
Next is a gorgeous card made by Tracey:
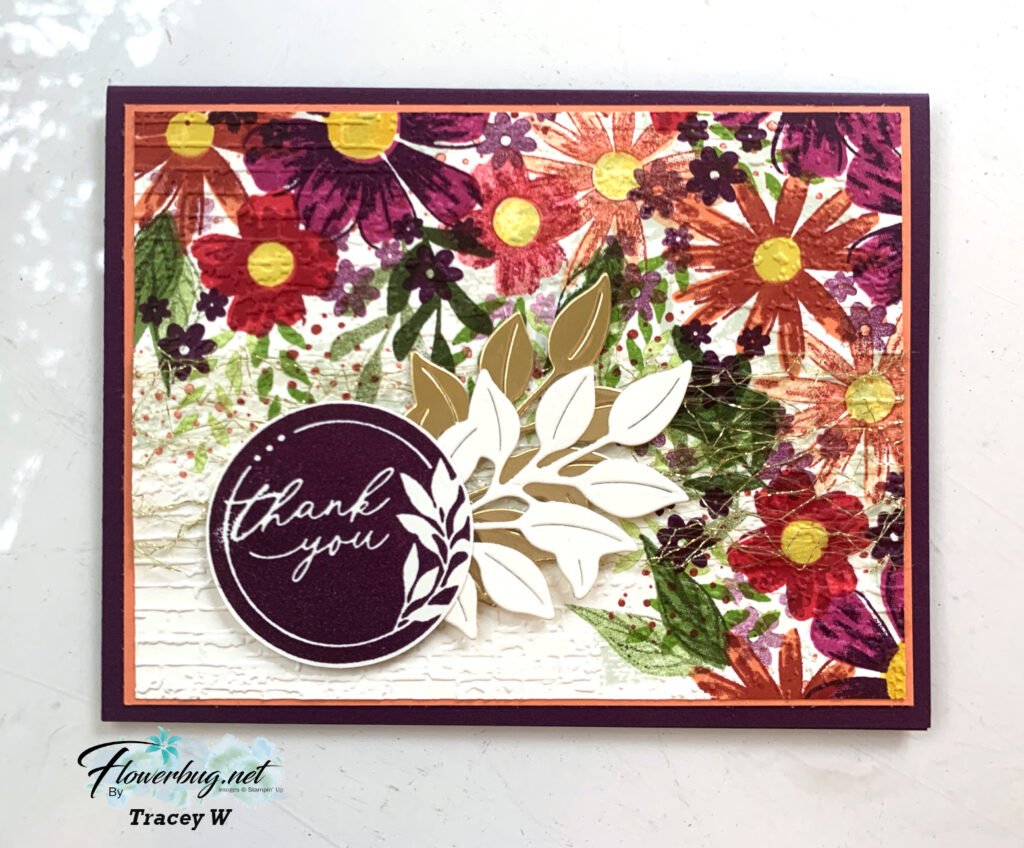
Isn’t it stunning?! Tracey loves to create her own background with stamps. It looks like printed paper! She says she stamped the flowers & leaves in 12 different ink colors!! Wow!
She used the following stamps: Encircled with Love, Blooming Phrases, Impressions Abloom, With You in Mind & You are Remarkable.
The leaves are from the Thankful Garden dies; the embossing folder is Exposed Brick. What a fabulous card!
~~~
Lastly today is a fun Halloween card made by Barb:
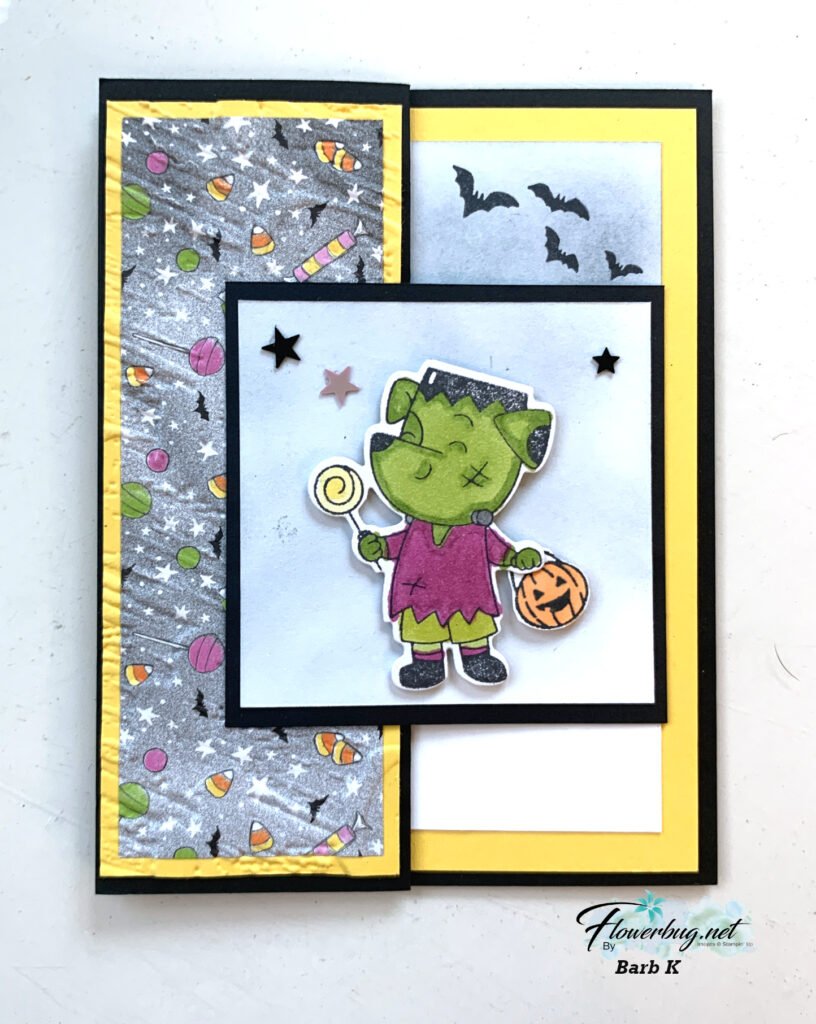
She used the Spooky Halloween bundle & Halloween designer paper. See this suite here.
Her colors include Black with Daffodil Delight. She did a ton of extra work to make her card a bit spooky; notice all of her sponging….
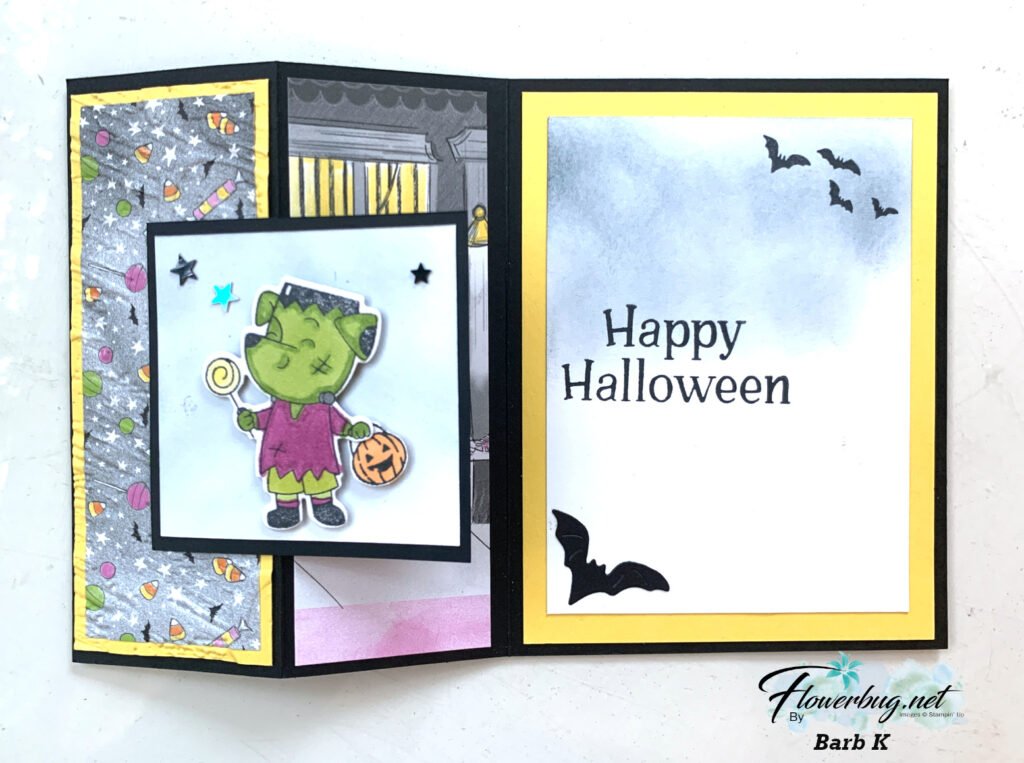
She colored the main image in with Blends markers and textured the left panel too.
Measurements:
– Black card base 8 1/2″ X 5 1/2″ score at 2 1/8″ & 4 1/4″
– Daffodil Delight 2″ X 5 1/4″ for the left panel, inside is 4″ X 5 1/4″
– Black square 3″
– White front square 2 3/4″, Inside is 3 1/2″ X 4 3/4″
~~~
~~~
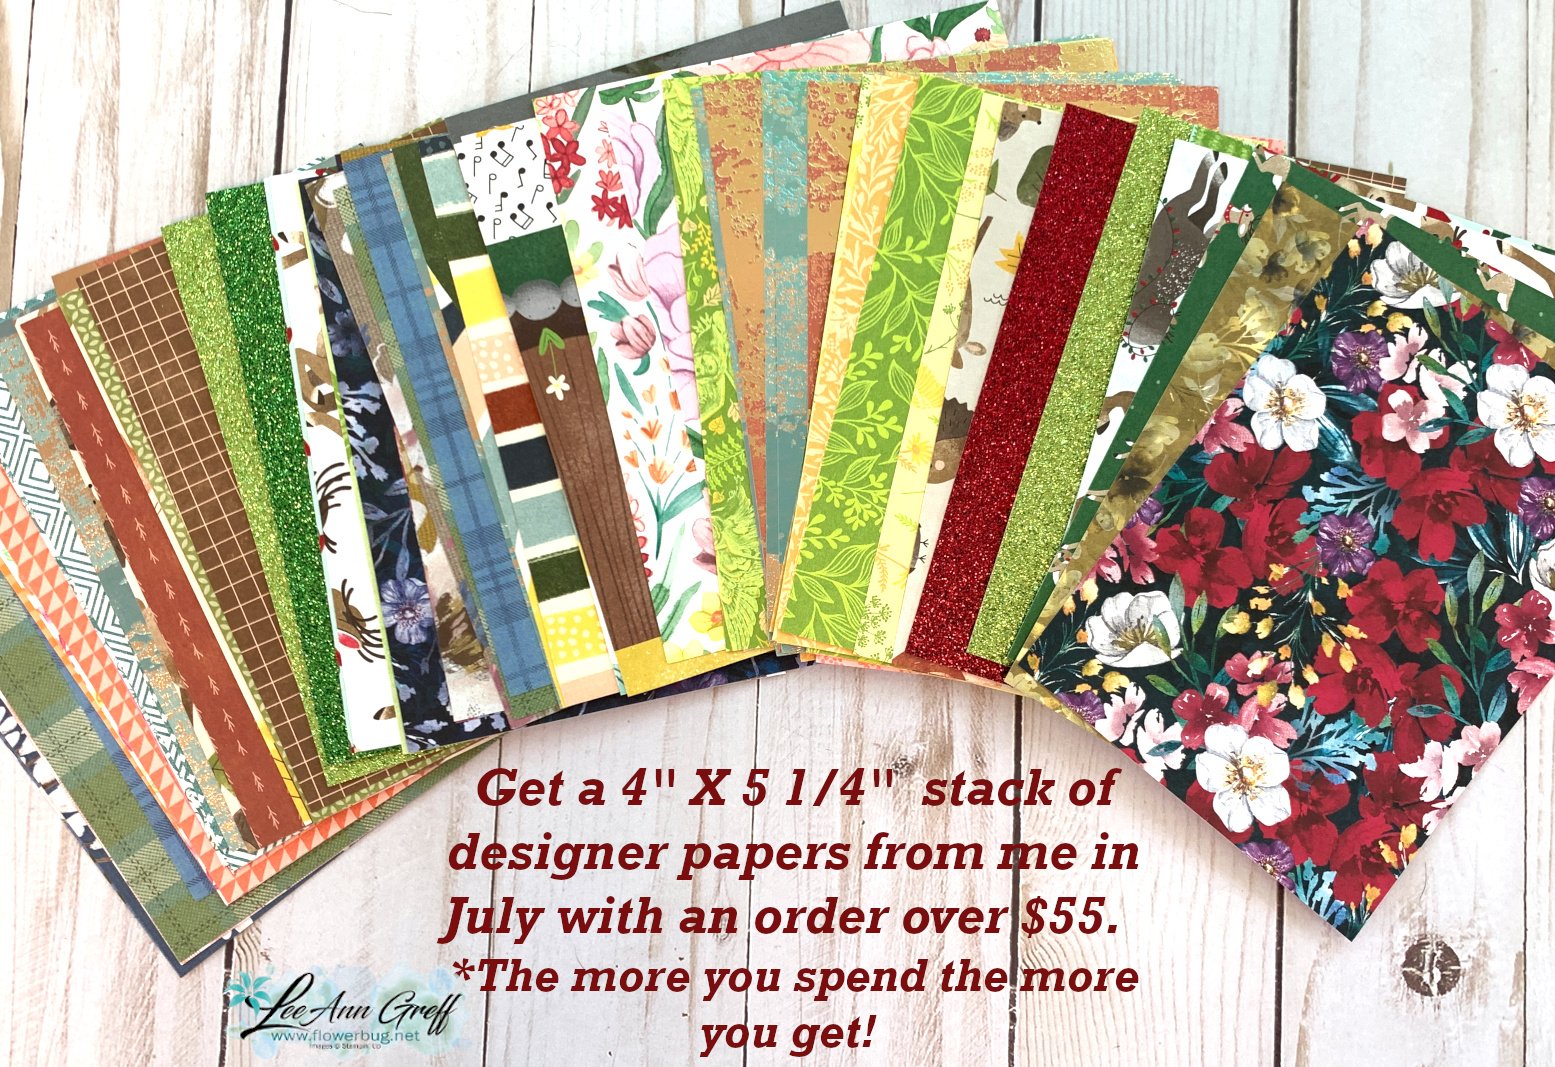
September Specials
To see all of the new Online items click here. Or download & save the Download Online Exclusives flyer

Get a free project tutorial with any online order in September!


Leave a Reply