Merry Christmas! I hope you are able to spend it with loved ones.
It’s my favorite time for our family! Our kids are coming as usual and we have a good time playing games, making puzzles, lots of sweet treats and good meals too. We also play Minute to Win It games and have an appetizer showdown too!
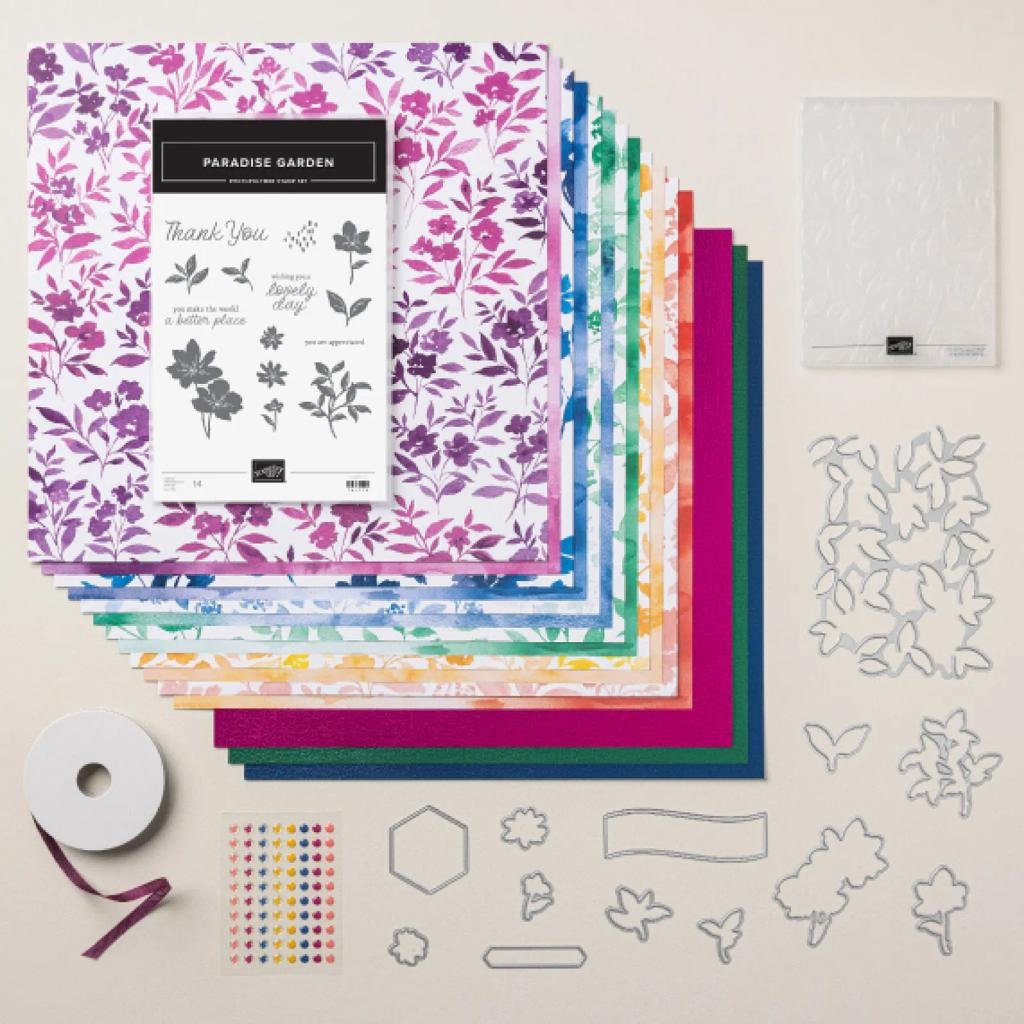
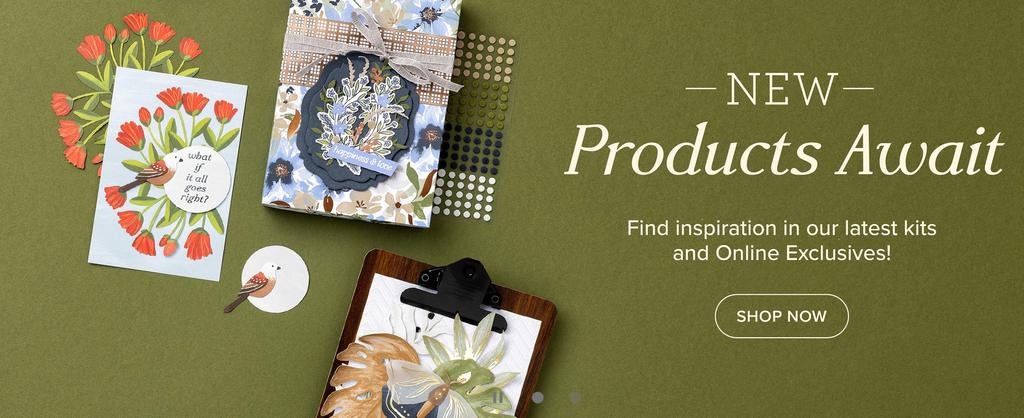
I’m super excited to share that the newest Online Exclusives are now available to customers! Us Demo’s have been able to pre-order them for over a month and there are sooo many you’re going to love! Go here to see them all.
The new Product of the Month for March is the Notes of Spring stamp set. A sweet 2-step photopolymer set you can redeem for just $5 once your order reaches the $75 mark.
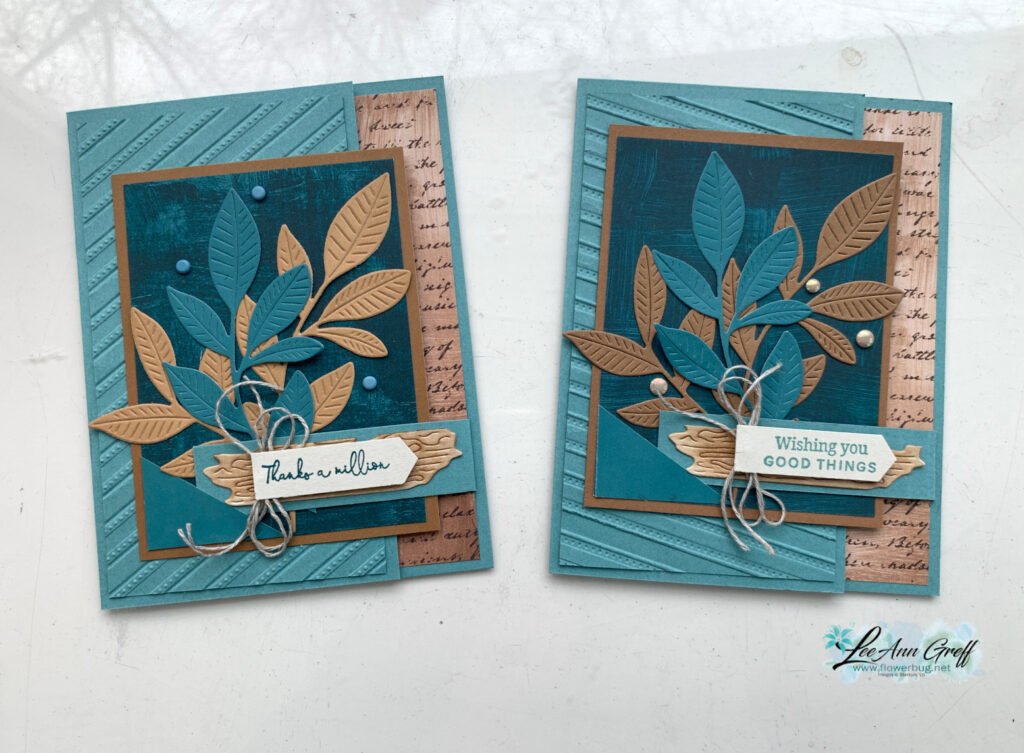
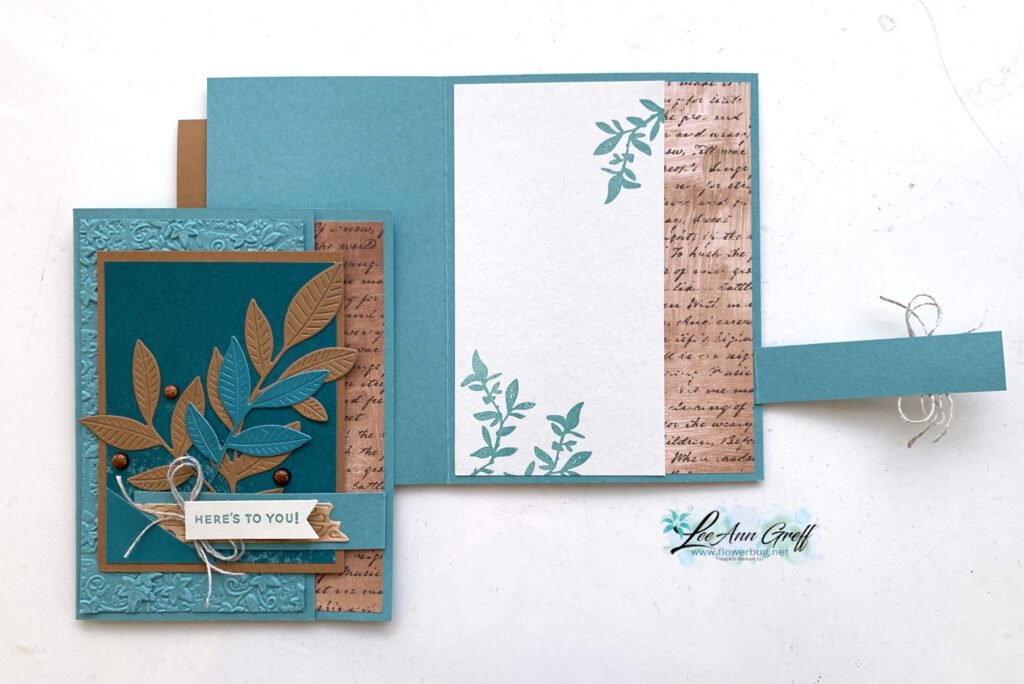
My colors include Lost Lagoon, Pecan Pie & Basic Beige. There are two different pieces of the designer paper that’s called Nature Walk and can be seen here.
There are lots of pieces and extra elements to this card. It was super fun to put together. That neat striped embossing folder on the extra Lost Lagoon layer is called Lovely Stripes and can be seen here. It’s one of my new favorites.
This card is kept closed by the narrow ‘flap’ attached to the right side of the card. I added a small triangle to the DSP layer to tuck the corner into. Works great To hold that flap down!
The flap is adhered ‘underneath’ the DSP layer inside the card. *note the other embossing folder used on the card above. It’s called Stone & Vine and is also a deeply textured folder seen here.
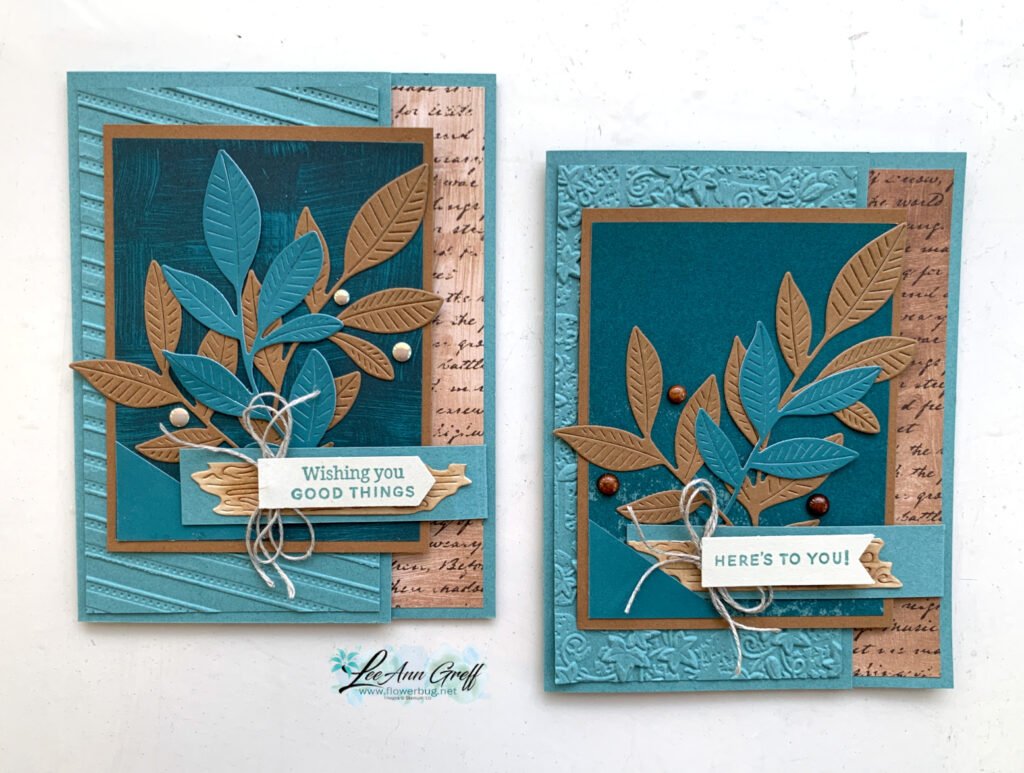
There are many, many details on this card I want to highlight. Here goes:
The die-cut leaves and ‘wood’ piece under the greeting are from the Nature’s Symphony bundle seen here.
The die-cut leaves are cut out from our two-sided card stock. I love that you can choose the light or the dark side which gives more color choices!
I added Pecan Pie ink to that wood die-cut with a blending brush.
The greeting is from the Three Banner punch bundle seen here.
I created a free project sheet you can print or download. Click to see it.
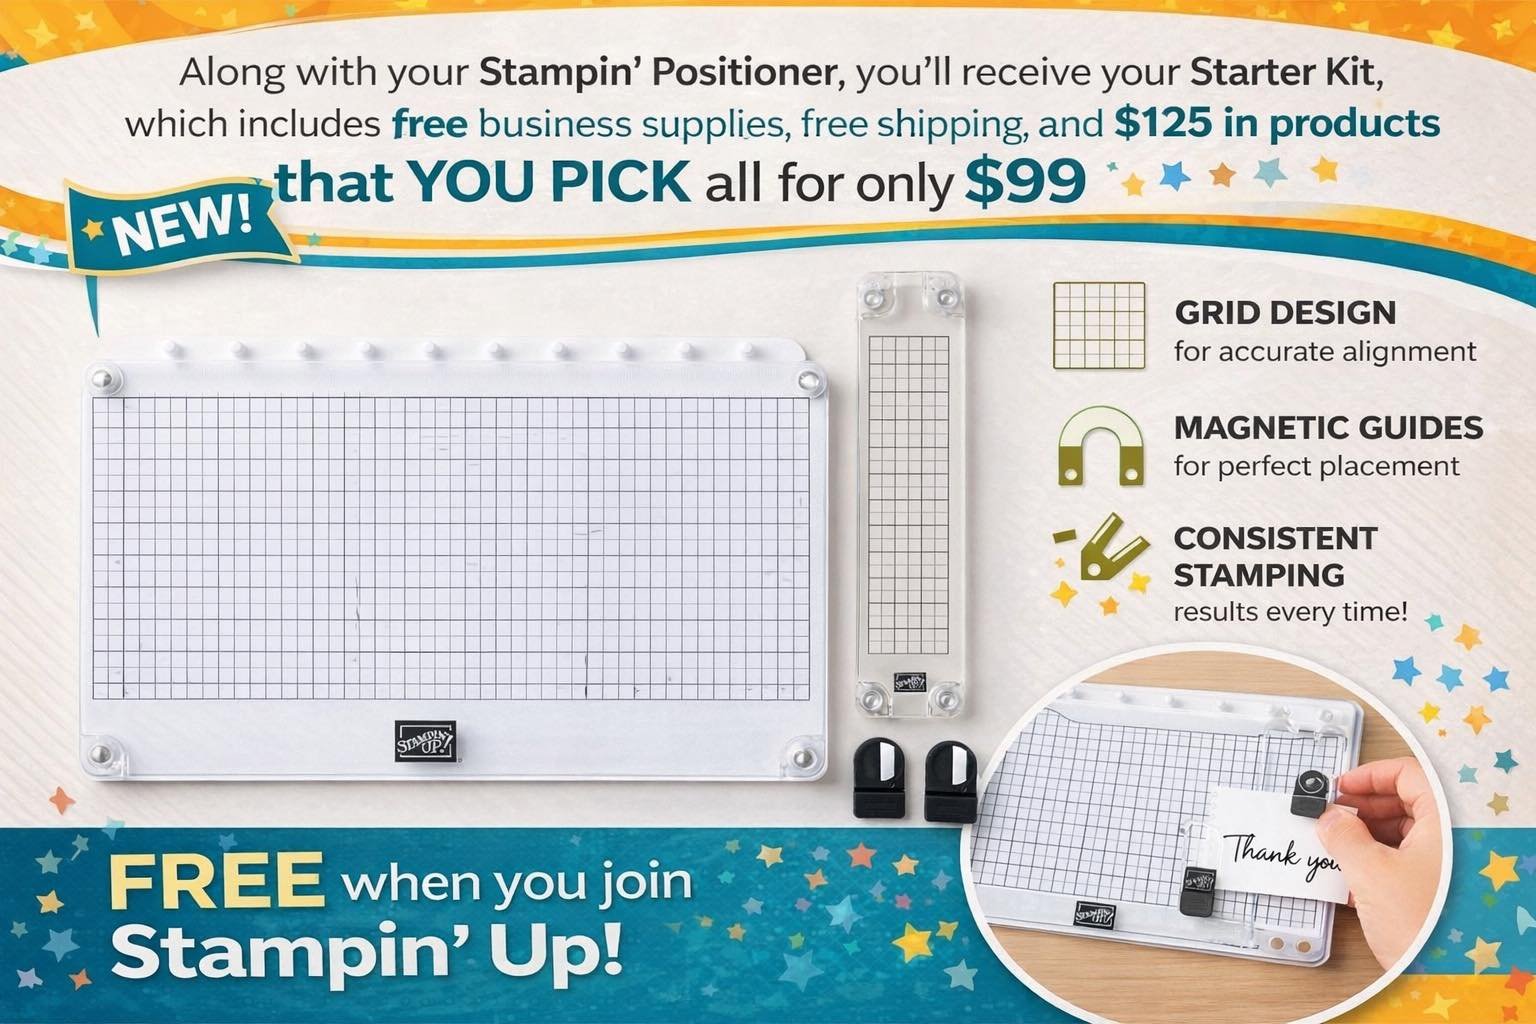
It’s a fabulous deal! Pick out up to $125 in product of your choice and pay just $99 plus tax. Shipping is FREE! And they’re adding the new Stampin’ tool to your box as a free gift.
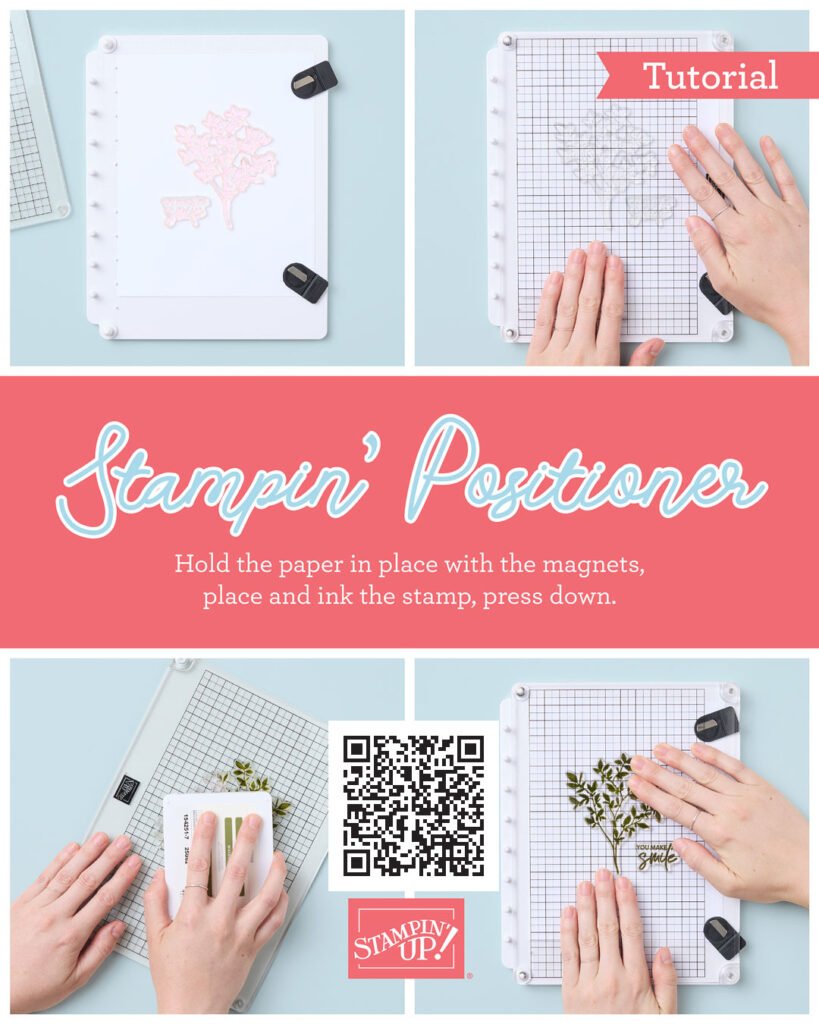
If you have trouble getting clear, clean images a stamping tool like this will help immensely! It’s also wonderful for greetings; perfectly inked every time. Check out the video below:
A few details on choosing the Starter Kit from Stampin’ Up!:
You’ll receive 20-25% off all future orders as long as your active.
There’s NO pressure or need to hold classes or ‘sell’ products.
Enjoy the discount as long as you’d like. It’s a great way to stock up on items you want – at a discount! When you’re done, you simply stop ordering and go back to being a customer.
You have through July to meet your first quarterly minimum of $300. *remember you get 20% off that amount!
You’ll have access to amazing online groups with tips, projects and lots more. It’s fabulous to be a part of our Stamping Community!
Get all of my project tutorials free (at least 4 a month) from me as one of my Team Members.
~~~
February Specials
Product of the Month is the new Painted Illusions 12 X 12″ designer paper
Notice: LeeAnn Greff, Independent Stampin’ Up! Demonstrator, Manager. The content of this website is my sole responsibility as an independent Stampin’ Up! demonstrator and the use of, and content of, the classes, services, or products offered on this website is not endorsed by Stampin’ Up! Copyright 2025


Leave a Reply