/


Latest Post

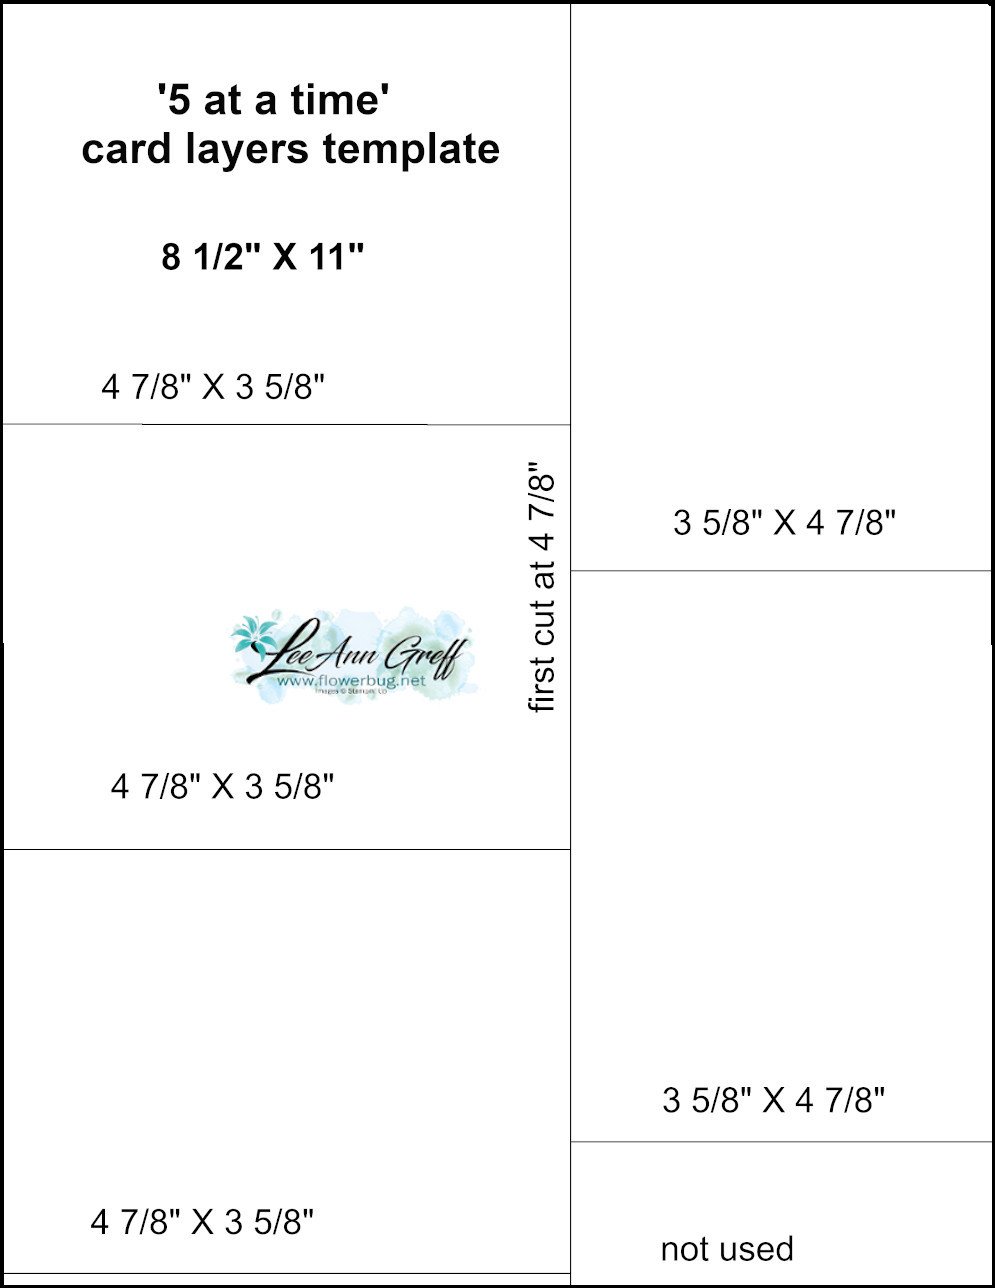
My ‘5 at a time’ card templates are addicting!


I'm so excite to share this fun & unique idea!  I created two templates that help you make 5 cards at a time.  It's addicting & you'll be looking at your stamps in a whole new way!  

I shared this on last week's Facebook Live and it was a hit!  It's so fun to do. 
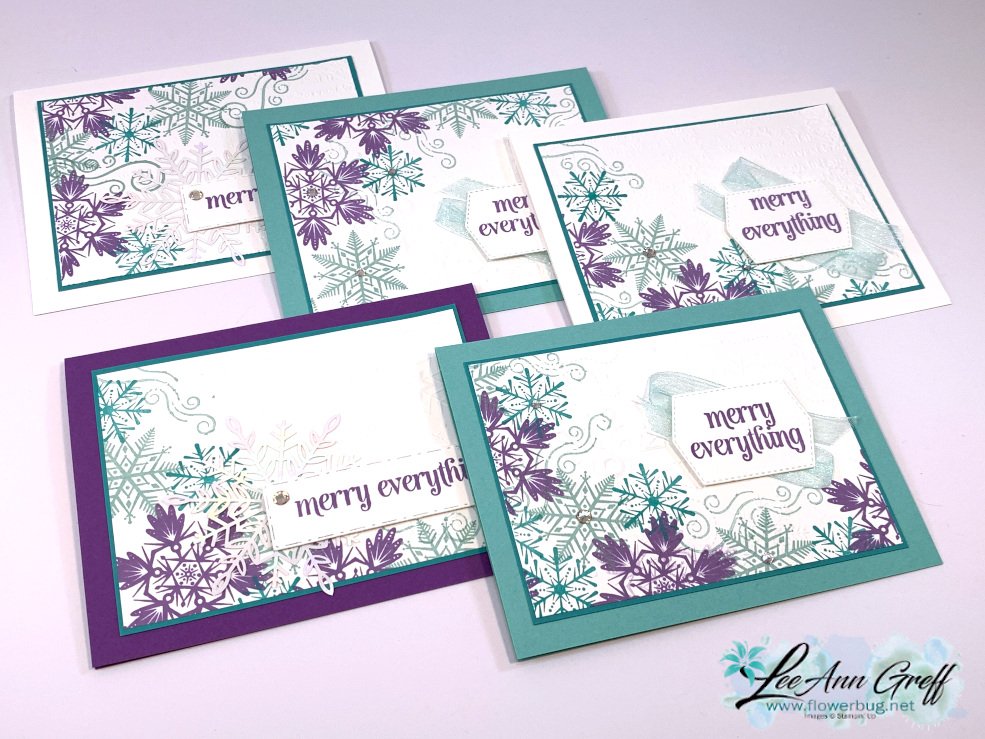
For these cards I used the Merry Snowflakes stamp set (seen here) & Pool Party, Bermuda Bay & Highland Heather inks. The card stock is White, Gorgeous Grape, Bermuda Bay & Coastal Cabana. If you follow me you know these are some of my favorite colors! They're perfect for snowflakes. 

Below are the templates.  Remember these are 8 1/2" X 11" to start with.  For these cards I stamped before I cut but you can certainly cut your pieces first if you'd like to. 


As you can see these templates have very little waste. 

Before I stamped I scored on the 4 3/4" and 3 1/2" lines leaving the piece intact. You could also draw a light pencil mark so you know where to stamp. 

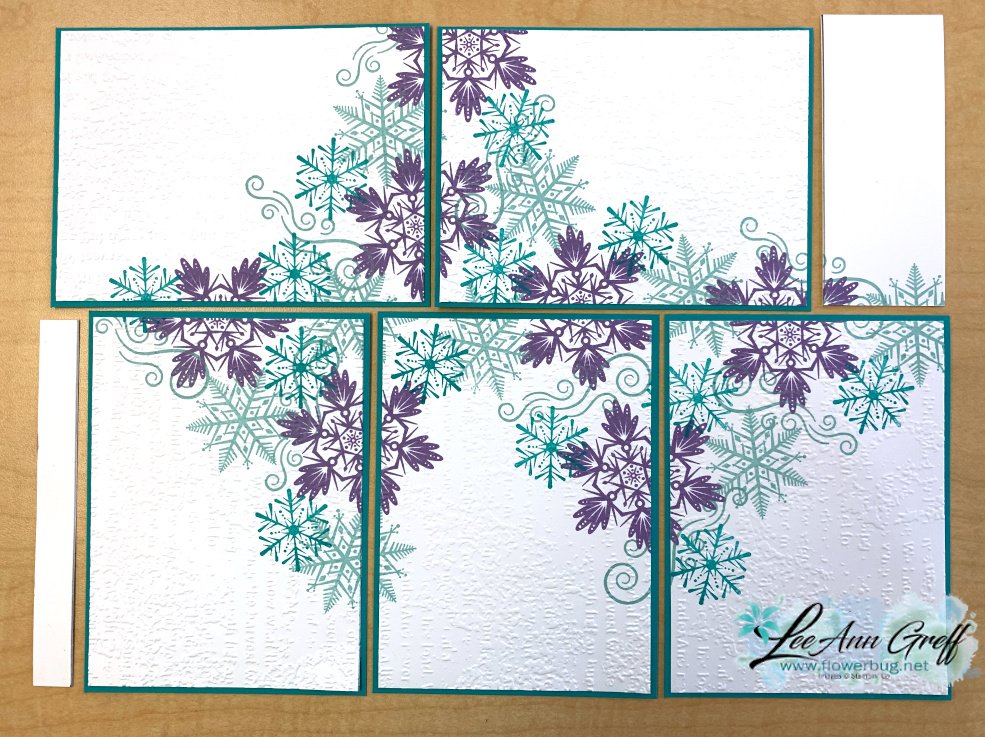
And here is how the White card stock is stamped. (I forgot to take a photo before I cut and layered them.)

Can you see that the images concentrate on two sides of each piece leaving one corner free & clear? Basically you're stamping down the middle and on each of the lines. This keeps the cards from being too busy. 
I added a few iridescent Wonderful snowflakes (seen here) to some of them; I cannot get enough of these!  They're such a great size & value – you get 24 for $6. 

I hope you watch the video below to see the tips & tricks on using these templates. 

Below is the video so you can see how it's done. 


~~~

December Specials:

Host code: Z2RQ7BB6 

 *click here to order

Use the host code above & get a free card stock sampler ring with a $50 order in December! 
See the last chance list here

See the July-December catalog carry over list here

Christmas cards stamp a stack; limited supply! 

All Posts

  • Make the most of your card stock & DSP with this Timeless Plaid fun fold card


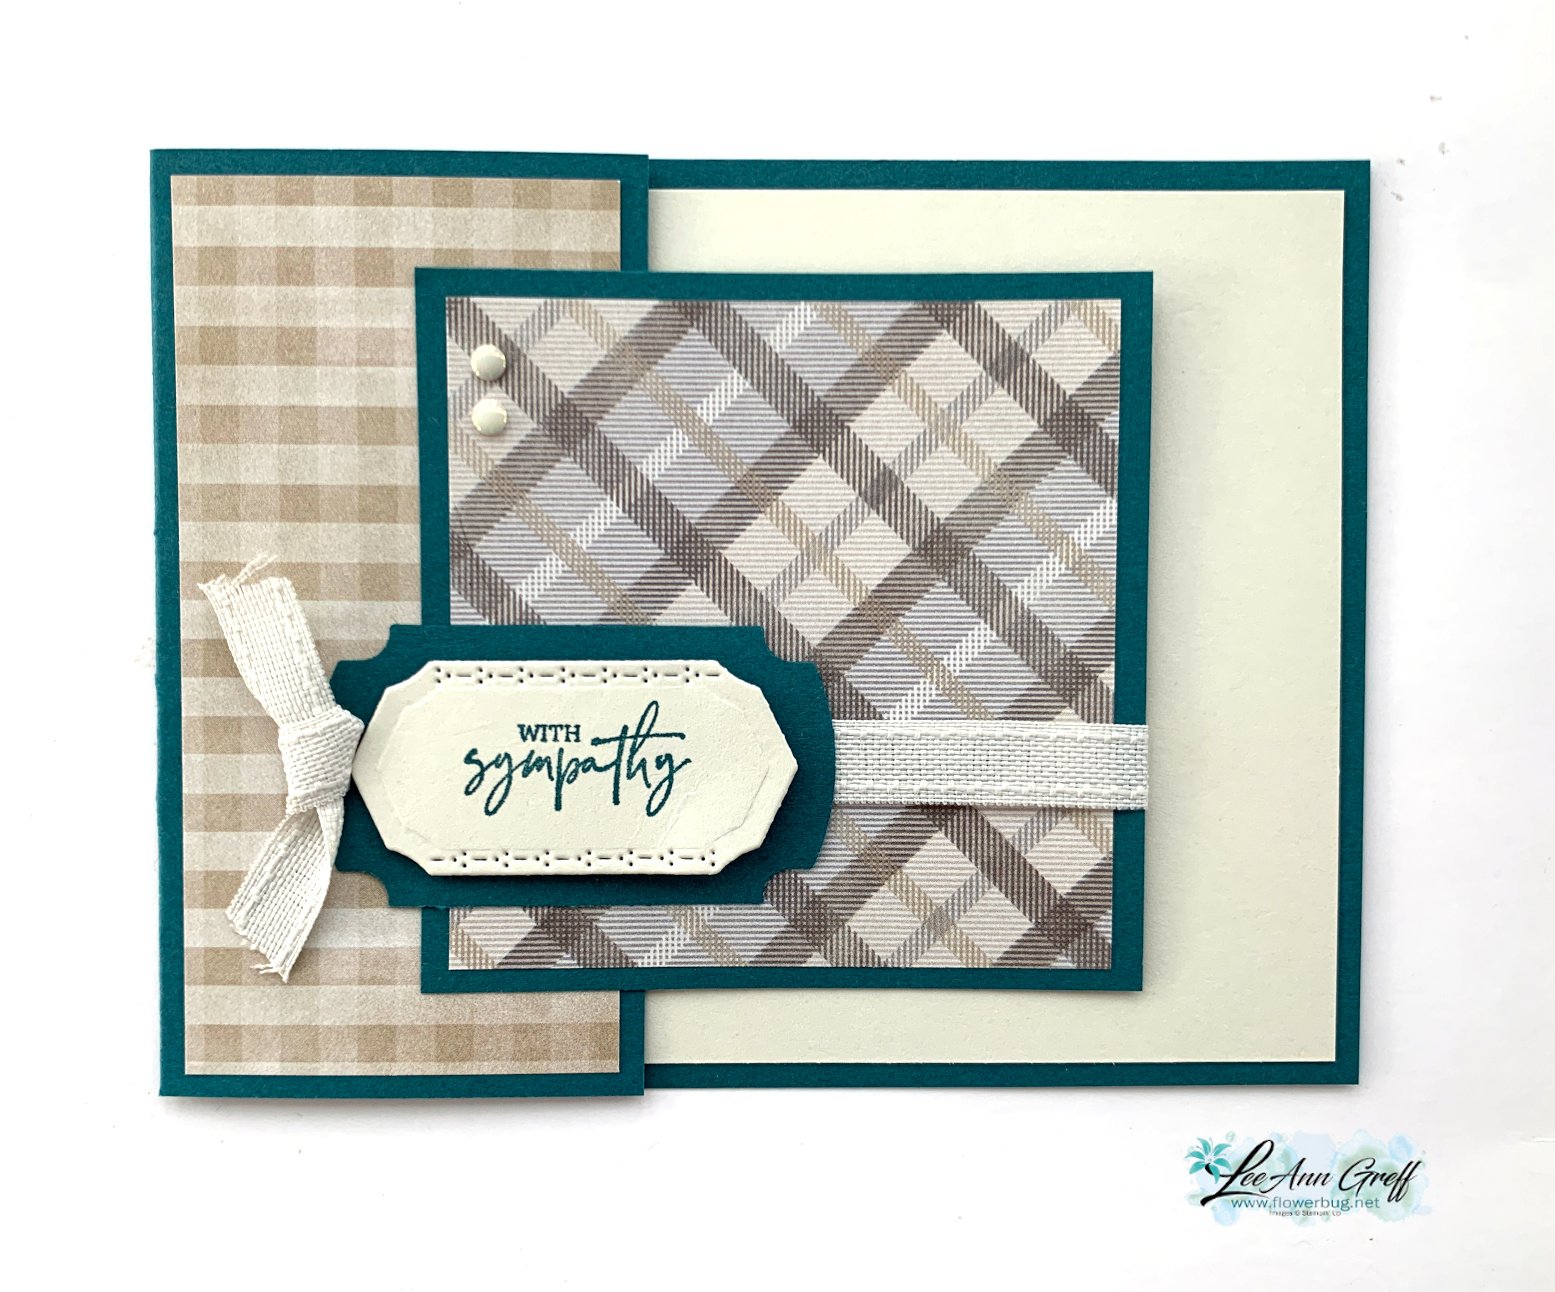
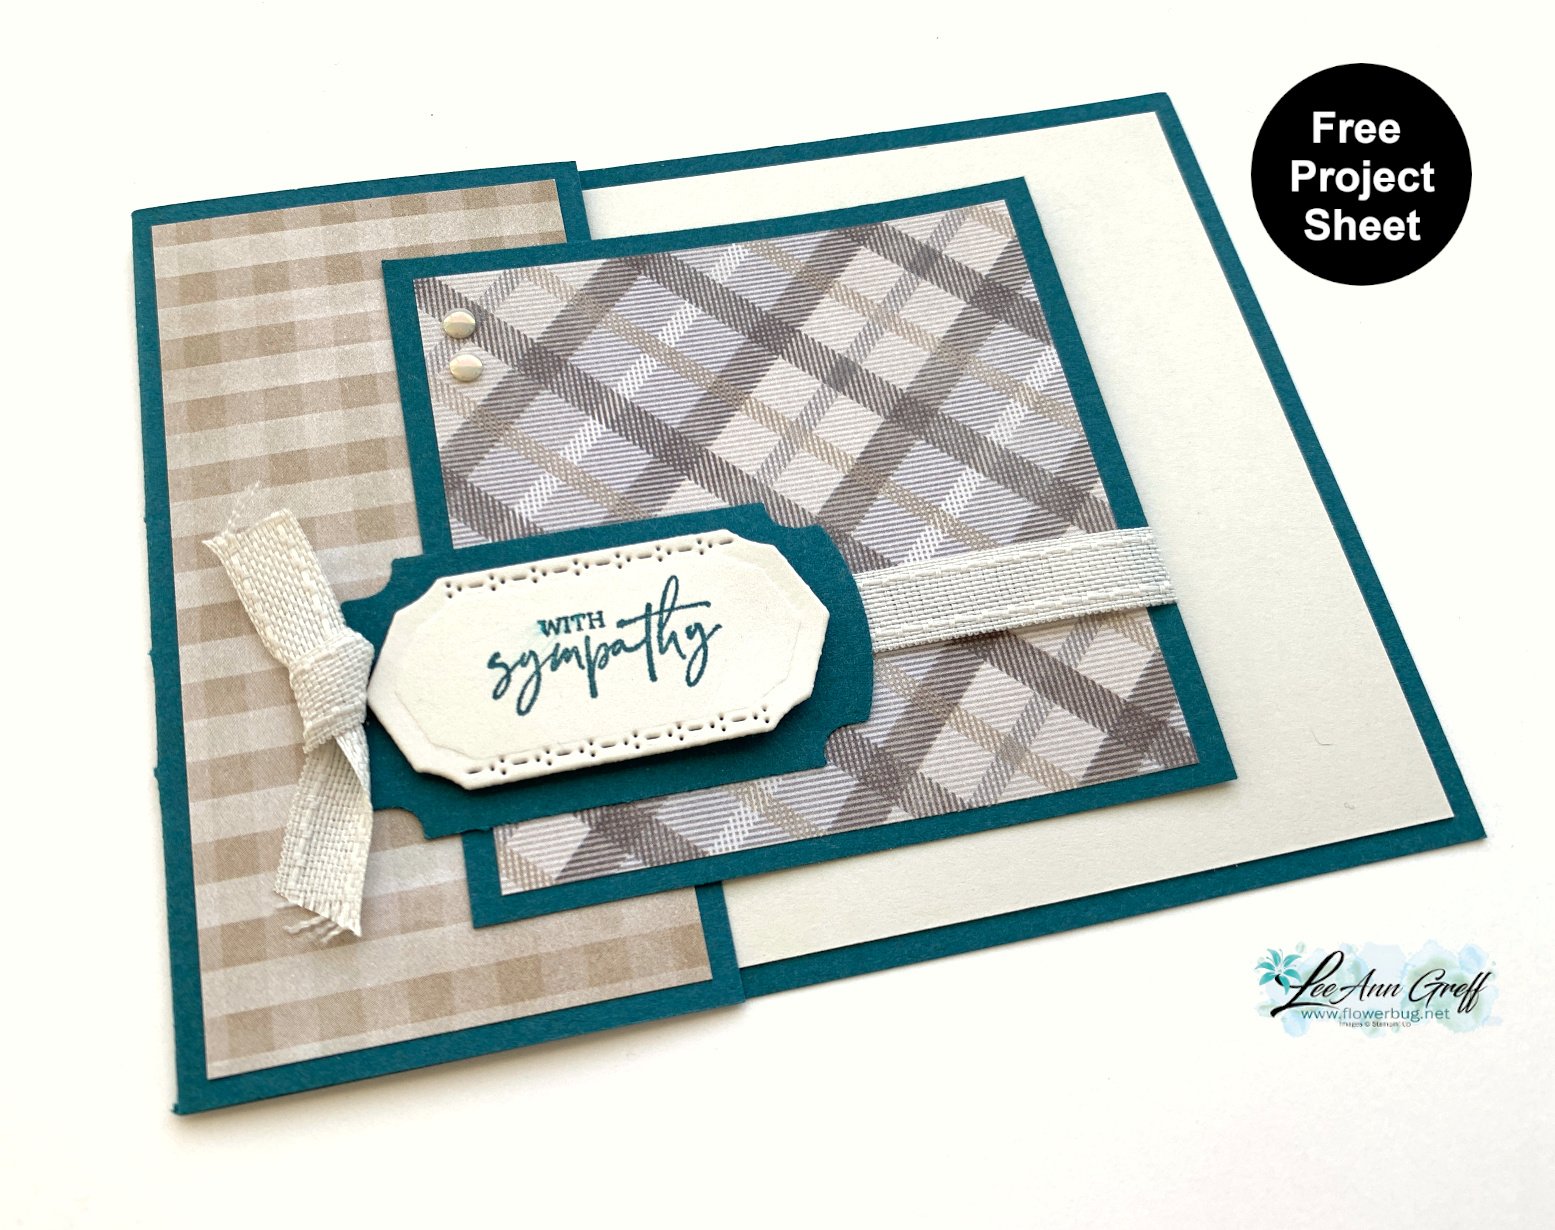
    Today I'm sharing one more easy fun fold card featuring the Timeless Plaid 6" Designer Series Paper.  

    I love this card layout because it makes great use of both your card stock and designer paper.  My colors include Basic Beige with Pretty Peacock.  The greeting and stitched edge die-cut are from the Mixed Labels bundle seen here. 

    The card base is 11" X 4 1/4"; scored at 5 1/2". Trim off one end at 3 1/4" and cut it into a square.  Next add a 3" square of DSP to that. You'll add that as the layer over the left side of the card (after adding a 2" X 4" piece of DSP).  So simple! 

    I shared 3 fun fold cards on last week's video.  If you like fun fold cards I hope you'll access the free project sheets for them all here.  

    Click on the following link to get the free project sheet for this card.  Download Timeless Plaid Sympathy

    Below is the video for multiple fun fold cards.  And subscribe to my YouTube Channel too! 

    ~~~

    January Specials:

    *current host code link:  

     6ZYNKJ6E

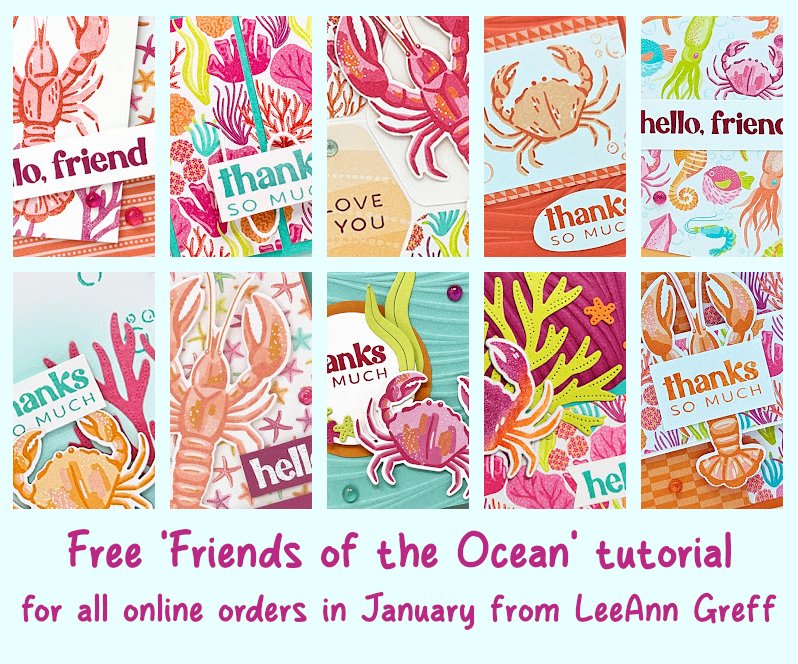
    Get this free tutorial with any online order in January!

     Sale-a-Bration is Live! For every $60 (or $120) you spend you can choose a free item from the SAB catalog!  

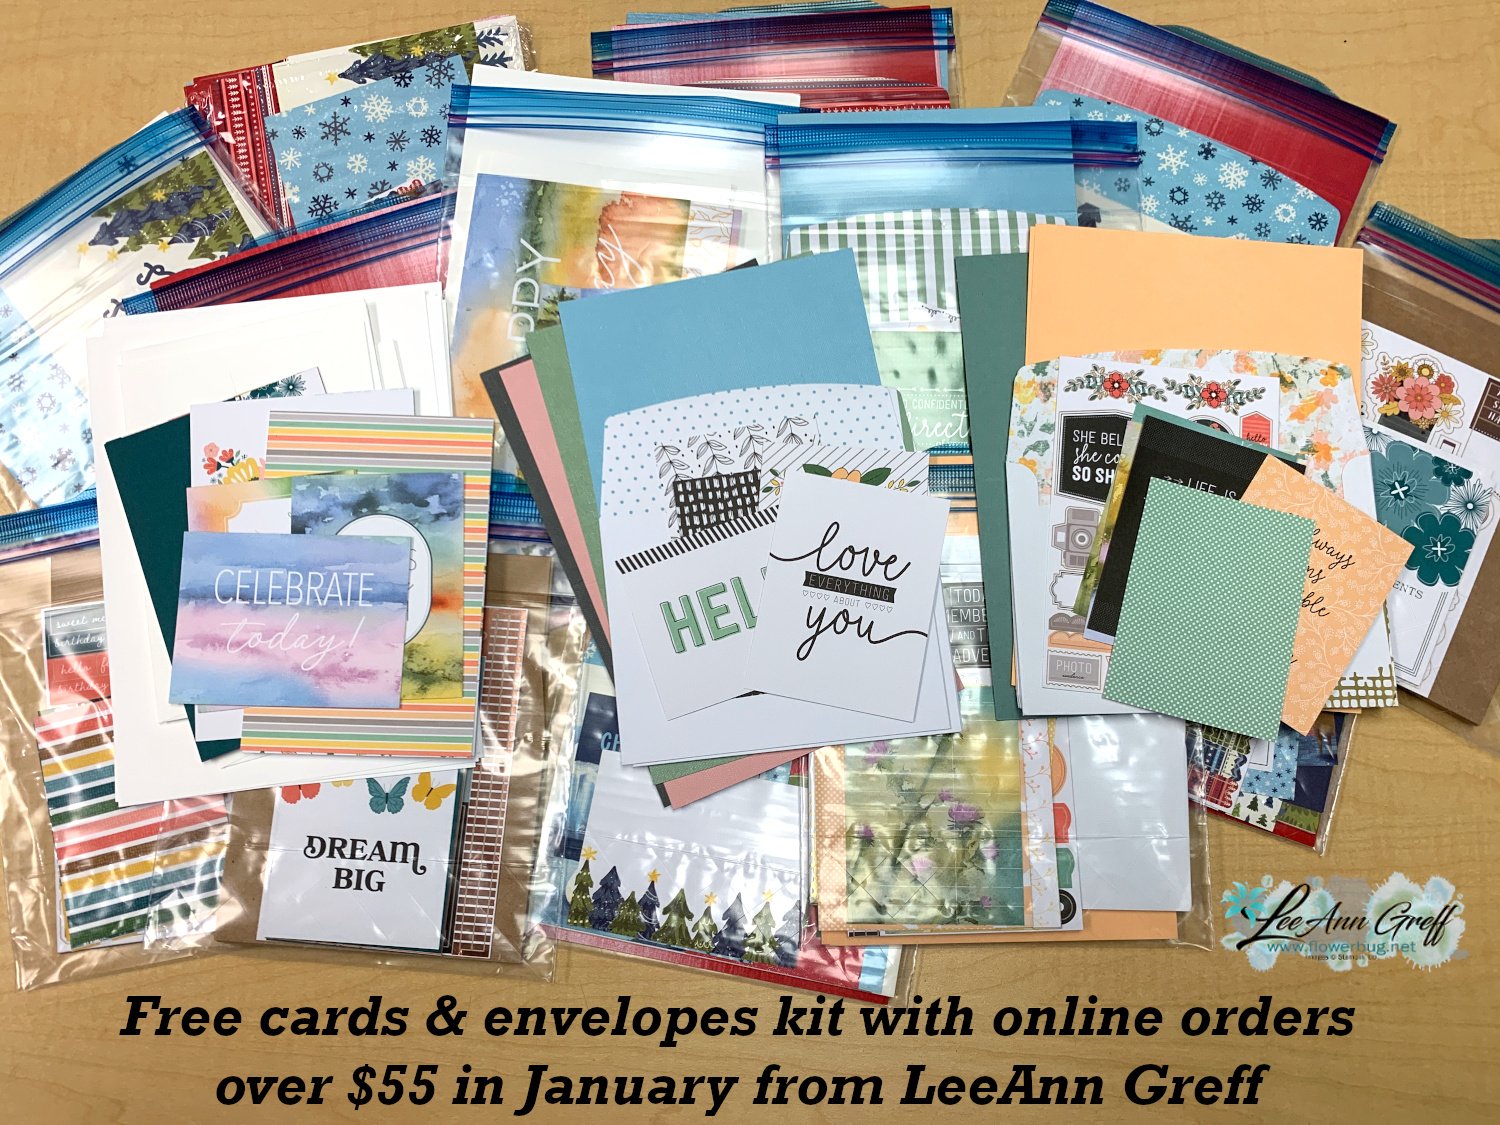
    Get a free card kit with any online order over $55 in January!


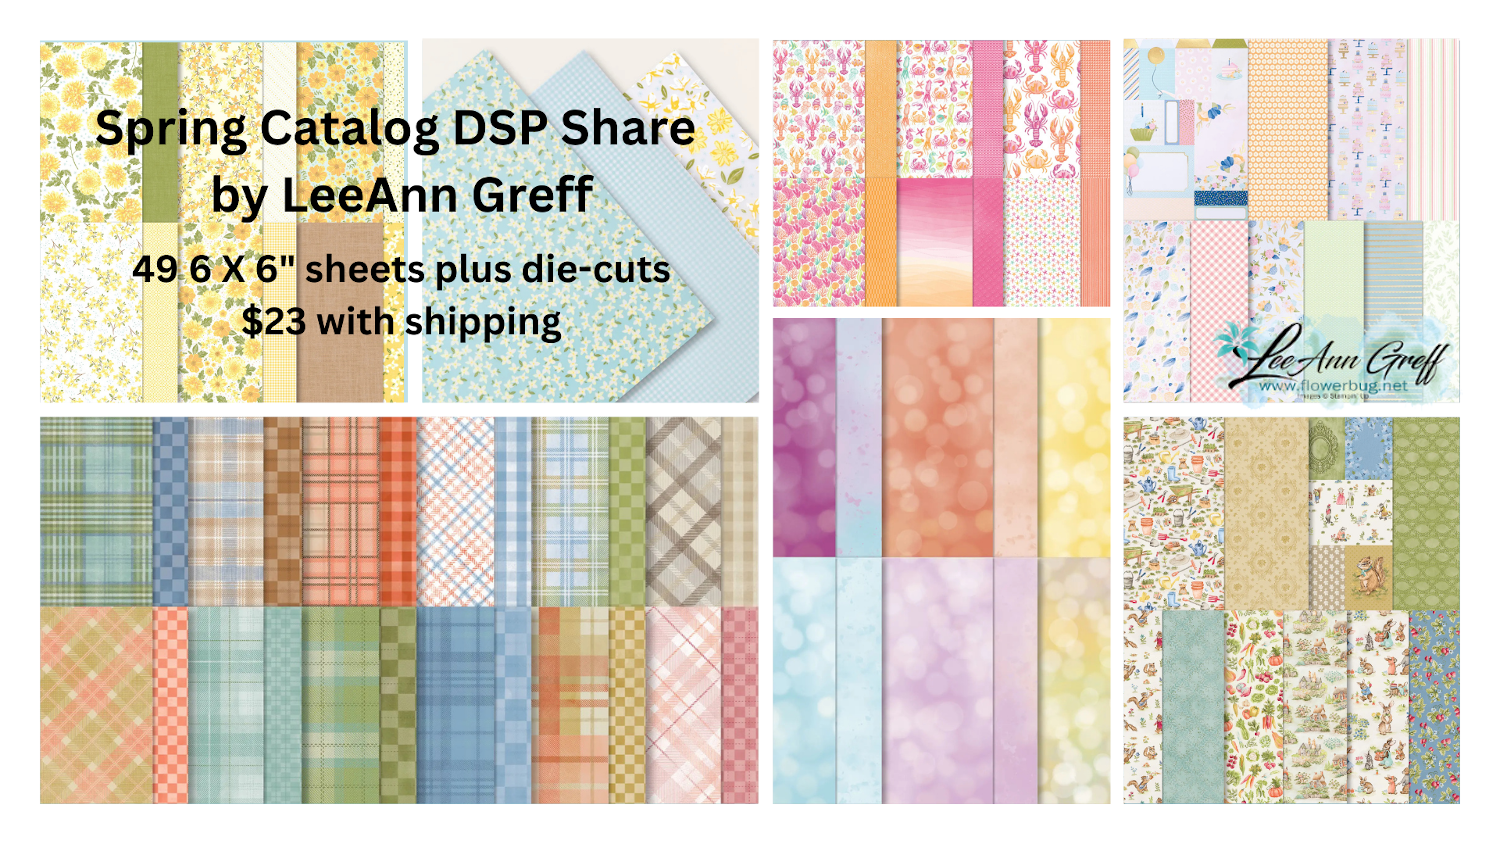
    Opt in for my Spring catalog Designer Paper share and/or the Spring catalog embellishment share seen below. 

    See the details here. 

    Contact me here

    Leave a Reply

    Your email address will not be published. Required fields are marked *

  • Double Diagonal card fold with free project sheet & video tutorial


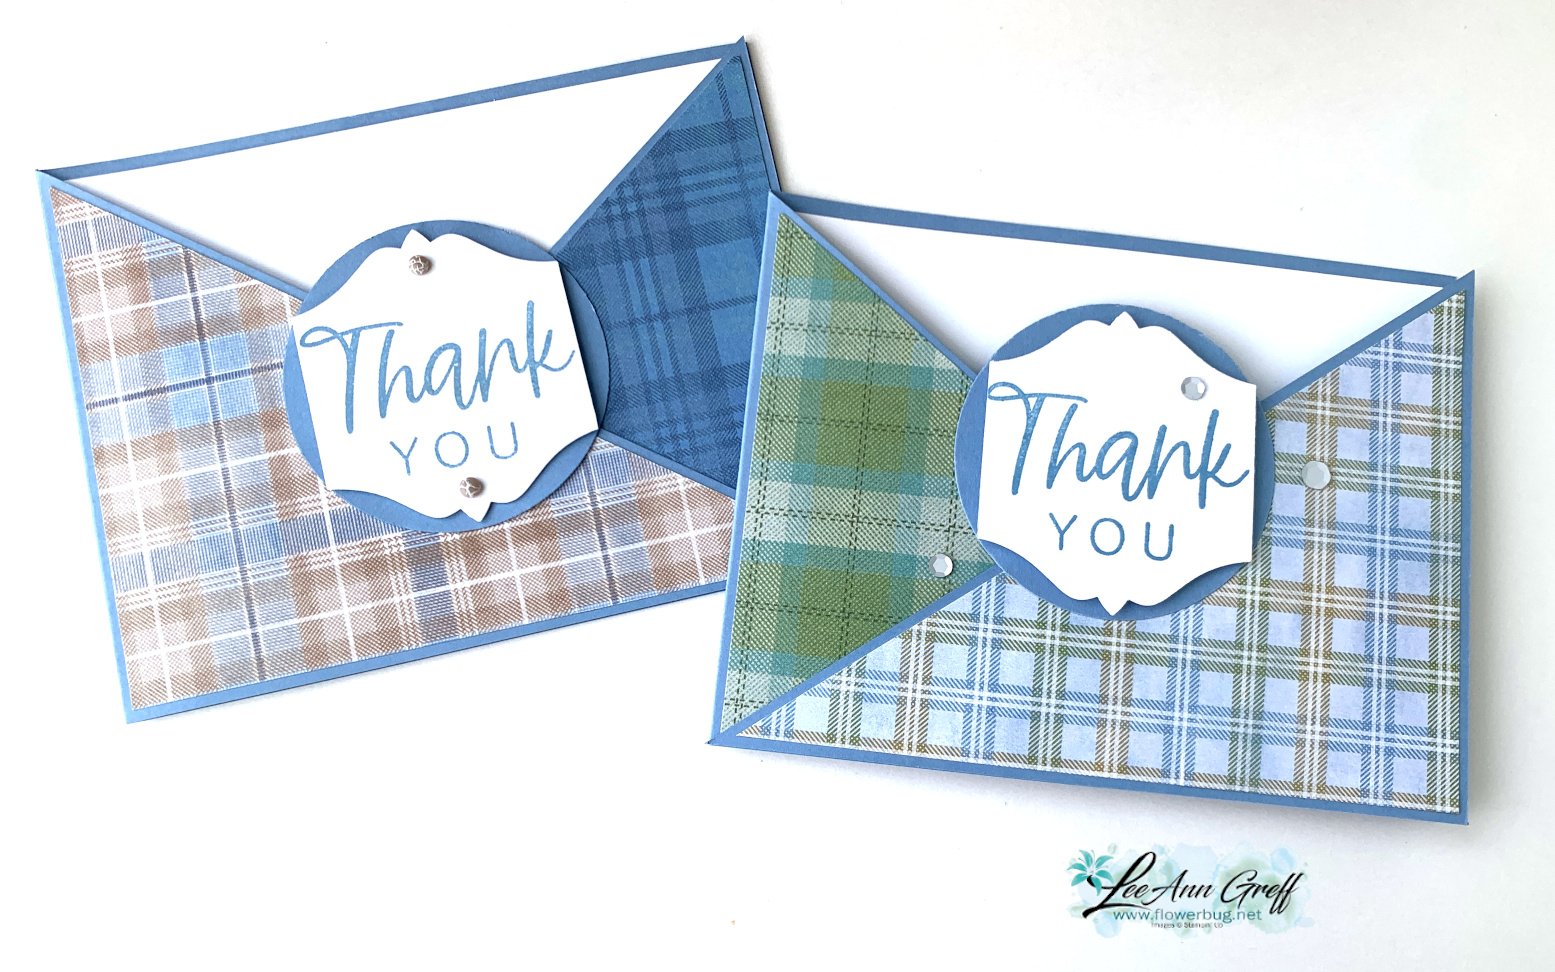
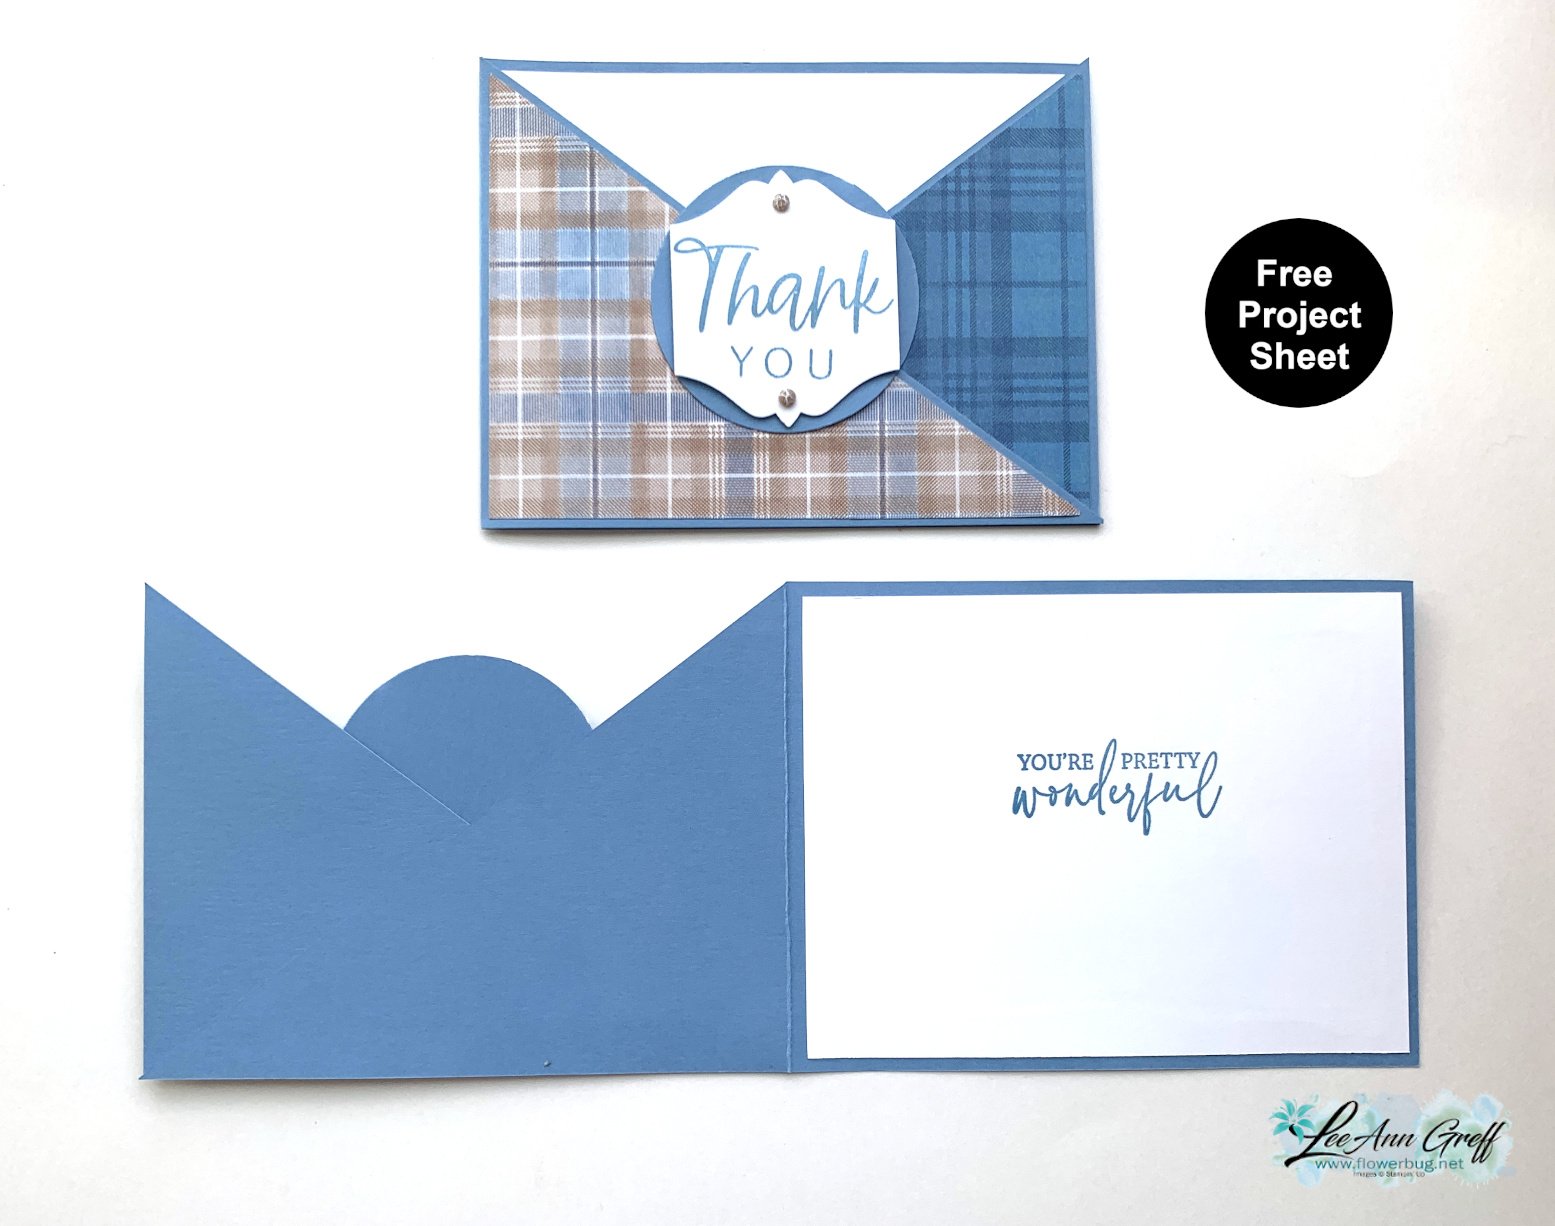
    Have you ever made a double diagonal card fold before?  They're a little bit addictive and so easy. This layout is also a great way to combine coordinating designer papers & use up your stash! 


    Here I used the new Timeless Plaid 6 X 6" DSP along with the With You in Mind stamp set.  I love the nice big greetings. 


    When making this card you start out with a base 11" X 4 1/4" scored at 5 1/2". Then trim off the outer diagonal piece from the score line down to the corner.  This is then flipped and adhered to the attached card base.  Watch the video here or below to see how to do it.  

    I used the 'To the Point' punch along with the 2 3/8" circle punch here.  They work beautifully together.  

    Click on the following link to download or print this free project sheet: Download Diagonal Plaid card


    Below is the video for this card and another neat curtain fold.  I hope you watch it to see the tips on assembly.  And subscribe to my YouTube Channel too! 

    ~~~

    January Specials:

    *current host code link:  

     6ZYNKJ6E

    Get this free tutorial with any online order in January!

     Sale-a-Bration is Live! For every $60 (or $120) you spend you can choose a free item from the SAB catalog!  

    Get a free card kit with any online order over $55 in January!


    Opt in for my Spring catalog Designer Paper share and/or the Spring catalog embellishment share seen below. 

    See the details here. 

    Contact me here

    Leave a Reply

    Your email address will not be published. Required fields are marked *

  • Curtain fun fold card with video & free project sheet


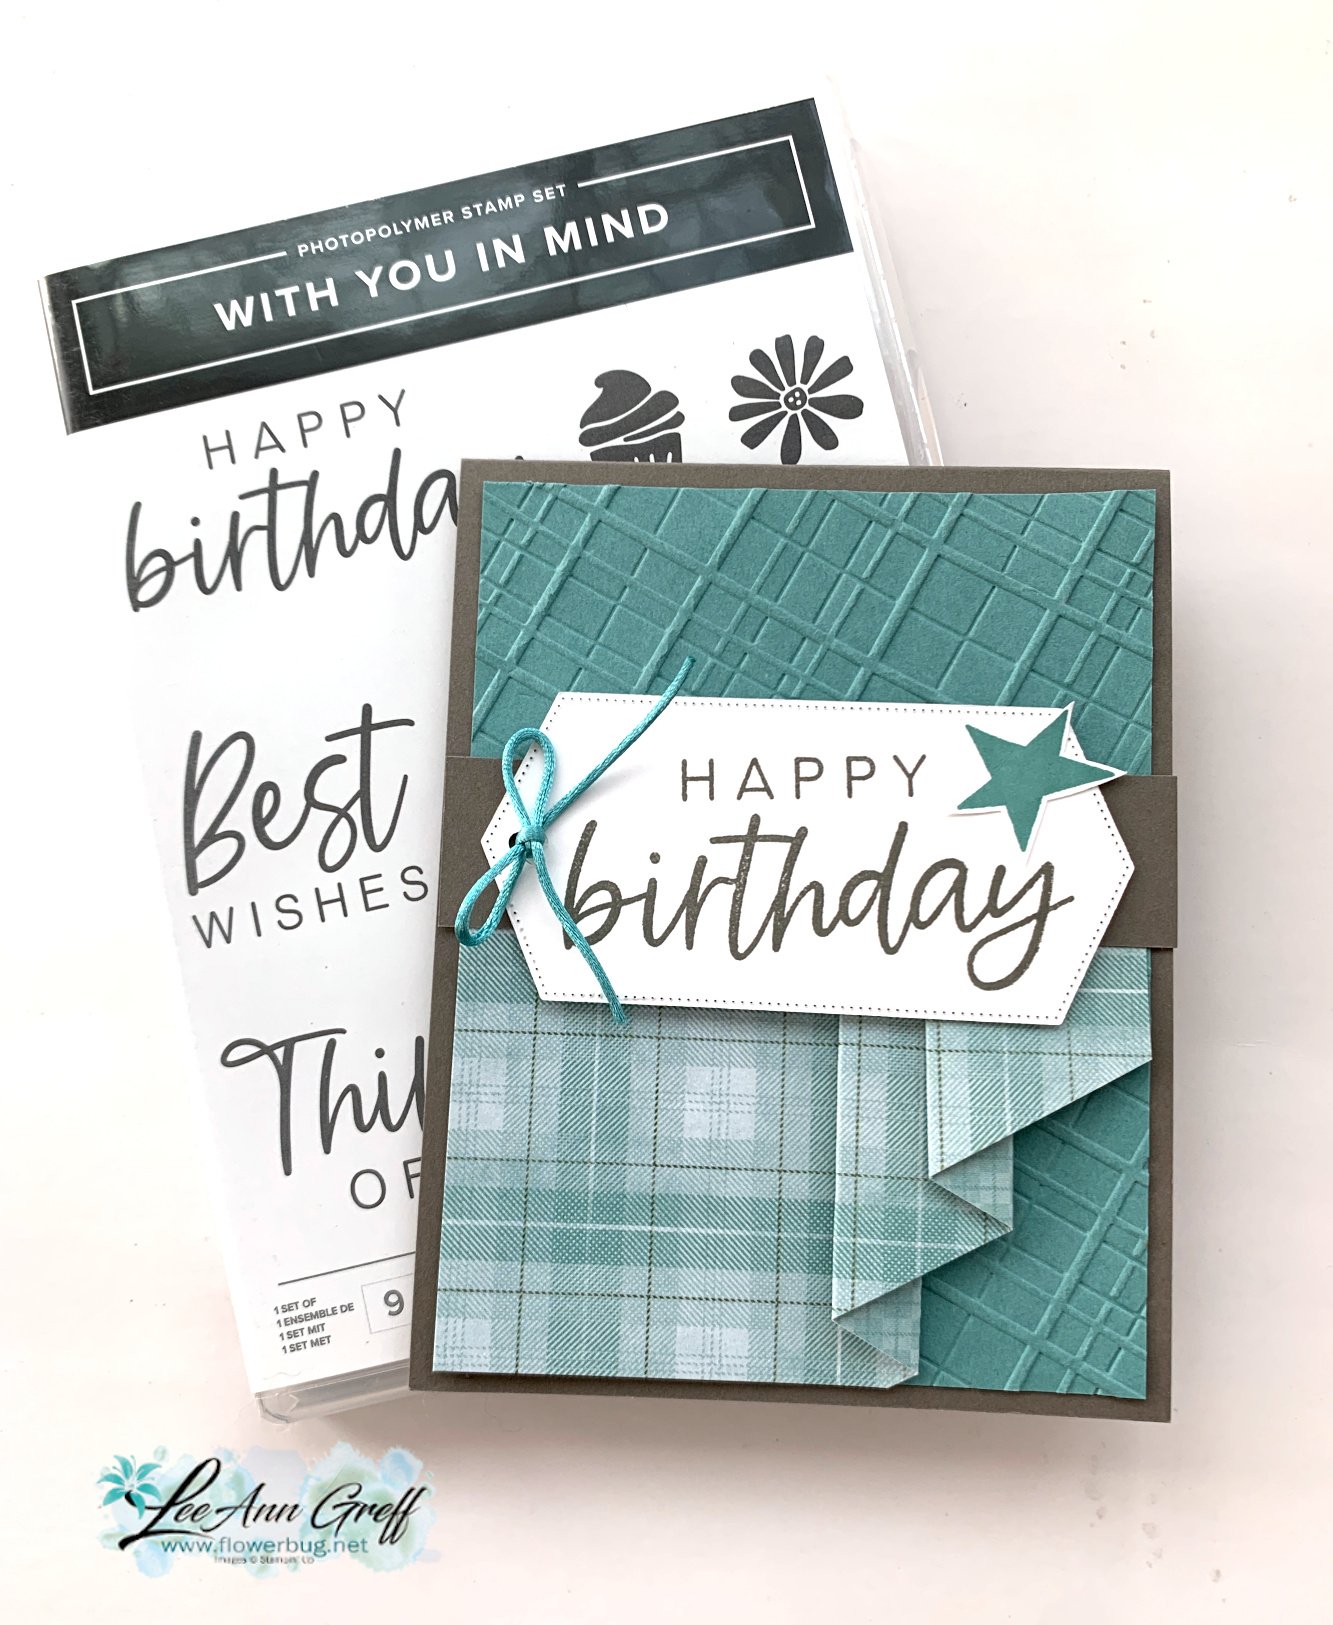
    I shared this neat curtain fold card on a video last week.  If you missed it click here to see it.  Or slide down a bit.  

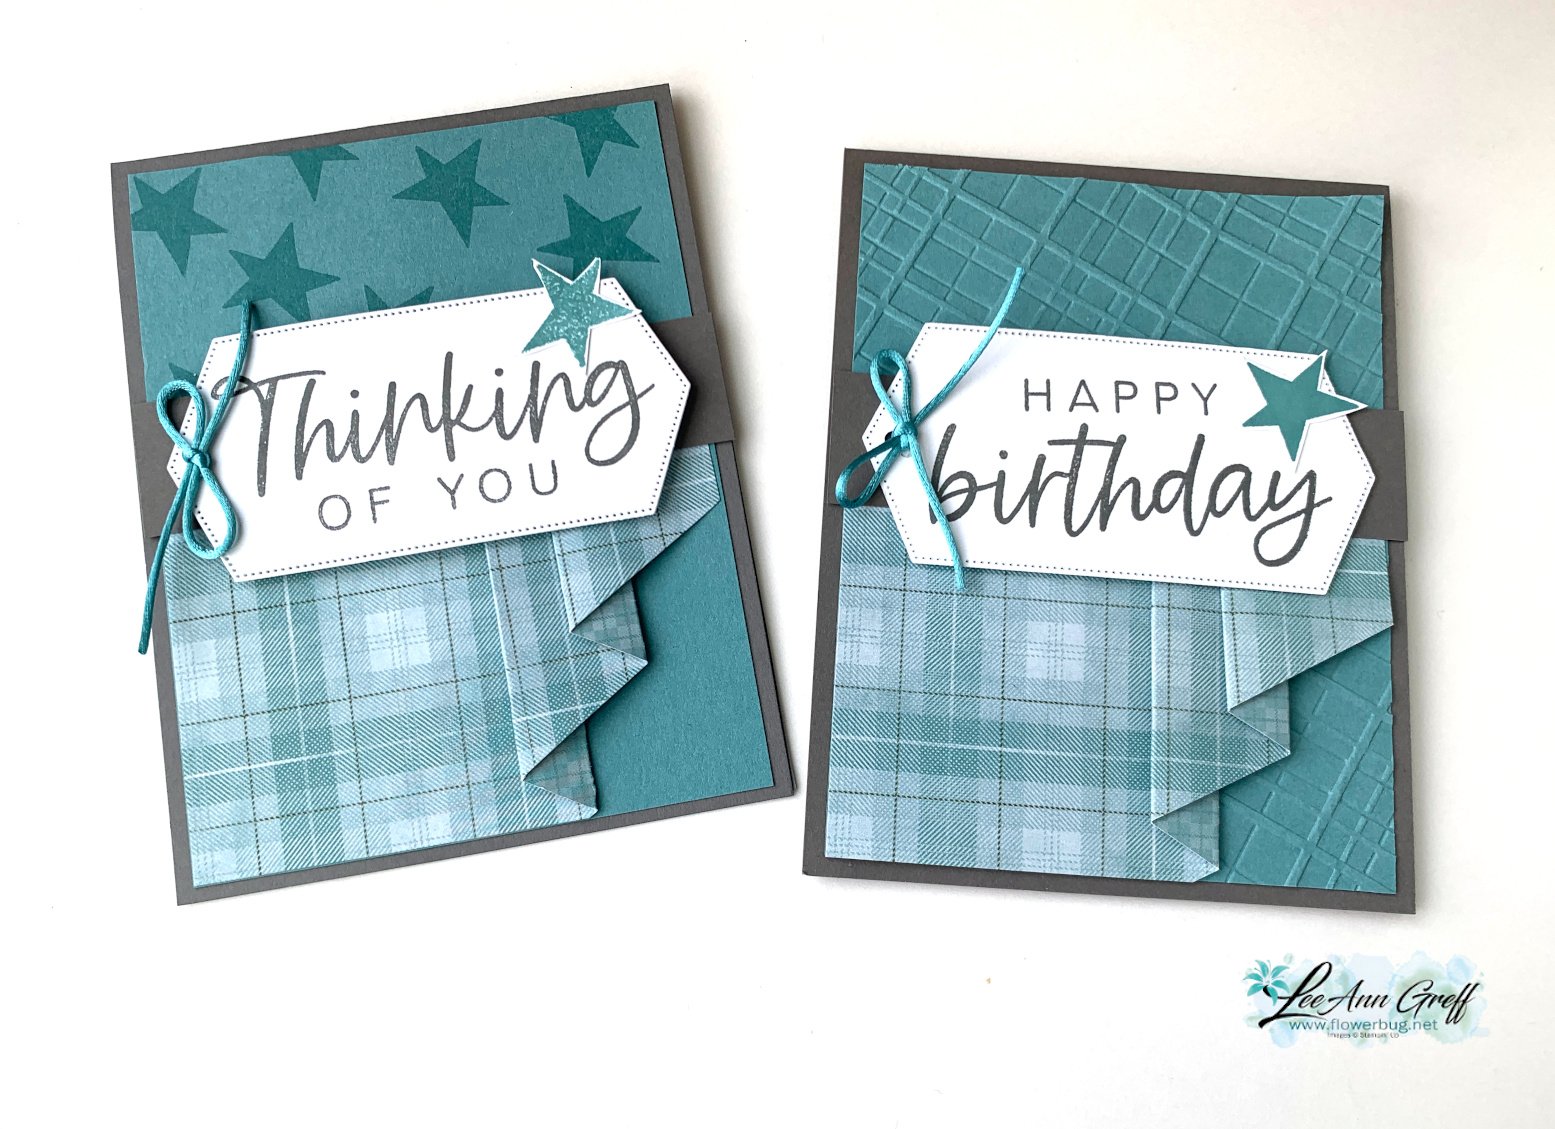
    I chose a few new products from the Spring catalog including the wonderful With You in Mind stamp set & Timeless Plaid designer series paper.  The colors include Lost Lagoon with Pebbled Path & White.  

    If you haven't made a curtain fold yet they're quite easy if you get the scoring correct.  I got these measurements from my friend Susie Wood.  It's a 6" X 3" piece of DSP scored at 2 3/4", 3 1/4", 4 1/4" & 4 3/4". I then made a mark on the far right down 1" and cut off the bottom right corner from the first score-line on the bottom to the upper right. 

    I made a few of these and decided to try stamping the Lost Lagoon layer instead of texturing it with the Plaid 3D embossing folder (right card).  Which do you prefer? 

    The greetings are stamped on a die-cut from the Greetings of the Season dies seen here.  It's a good time to order those large items like dies because you can earn free products during Sale-a-Bration.


    I created a free project sheet for this card.  I recommend saving my project sheets in a folder or binder for easy card layout ideas.  *Click on the following link to download or print it.  Download With you in Mind Curtain fold

    Did you know I have over 100 free project sheets here on my blog?!  Click here to see them all.


    The inside greeting is from the Mixed Labels stamp set. 

    Below is the video for this card and another double diagonal fold.  I hope you watch it to see the tips on assembly.  And subscribe to my YouTube Channel too! 

    ~~~

    January Specials:

    *current host code link:  

     6ZYNKJ6E

    Get this free tutorial with any online order in January!

     Sale-a-Bration is Live! For every $60 (or $120) you spend you can choose a free item from the SAB catalog!  

    Get a free card kit with any online order over $55 in January!


    Opt in for my Spring catalog Designer Paper share and/or the Spring catalog embellishment share seen below. 

    See the details here. 

    Contact me here

    Leave a Reply

    Your email address will not be published. Required fields are marked *


Notice: LeeAnn Greff, Independent Stampin’ Up! Demonstrator, Manager. The content of this website is my sole responsibility as an independent Stampin’ Up! demonstrator and the use of, and content of, the classes, services, or products offered on this website is not endorsed by Stampin’ Up! Copyright 2025