/


Latest Post

Magical Meadow & Winter Meadow fun fold cards


Today I'm sharing two gorgeous cards made with the Magical Meadow bundle and the Winter Meadow designer paper.  Judith created multiple projects using this suite as the Artist of the Month on my Flowerbug's Team for November.

First is a window card using the Deckled Circle dies: 

Her colors include Gray Granite & Whisper White. The die-cut greeting is from the Autumn Leaves dies. I've always liked the ribbon tied around the window like this; a unique touch! 

Measurements:

  • Card back is 4 1/4" X 5 1/2"
  • Designer paper 8" X 5 1/4" score at 4", window die-cut is 2 1/2"
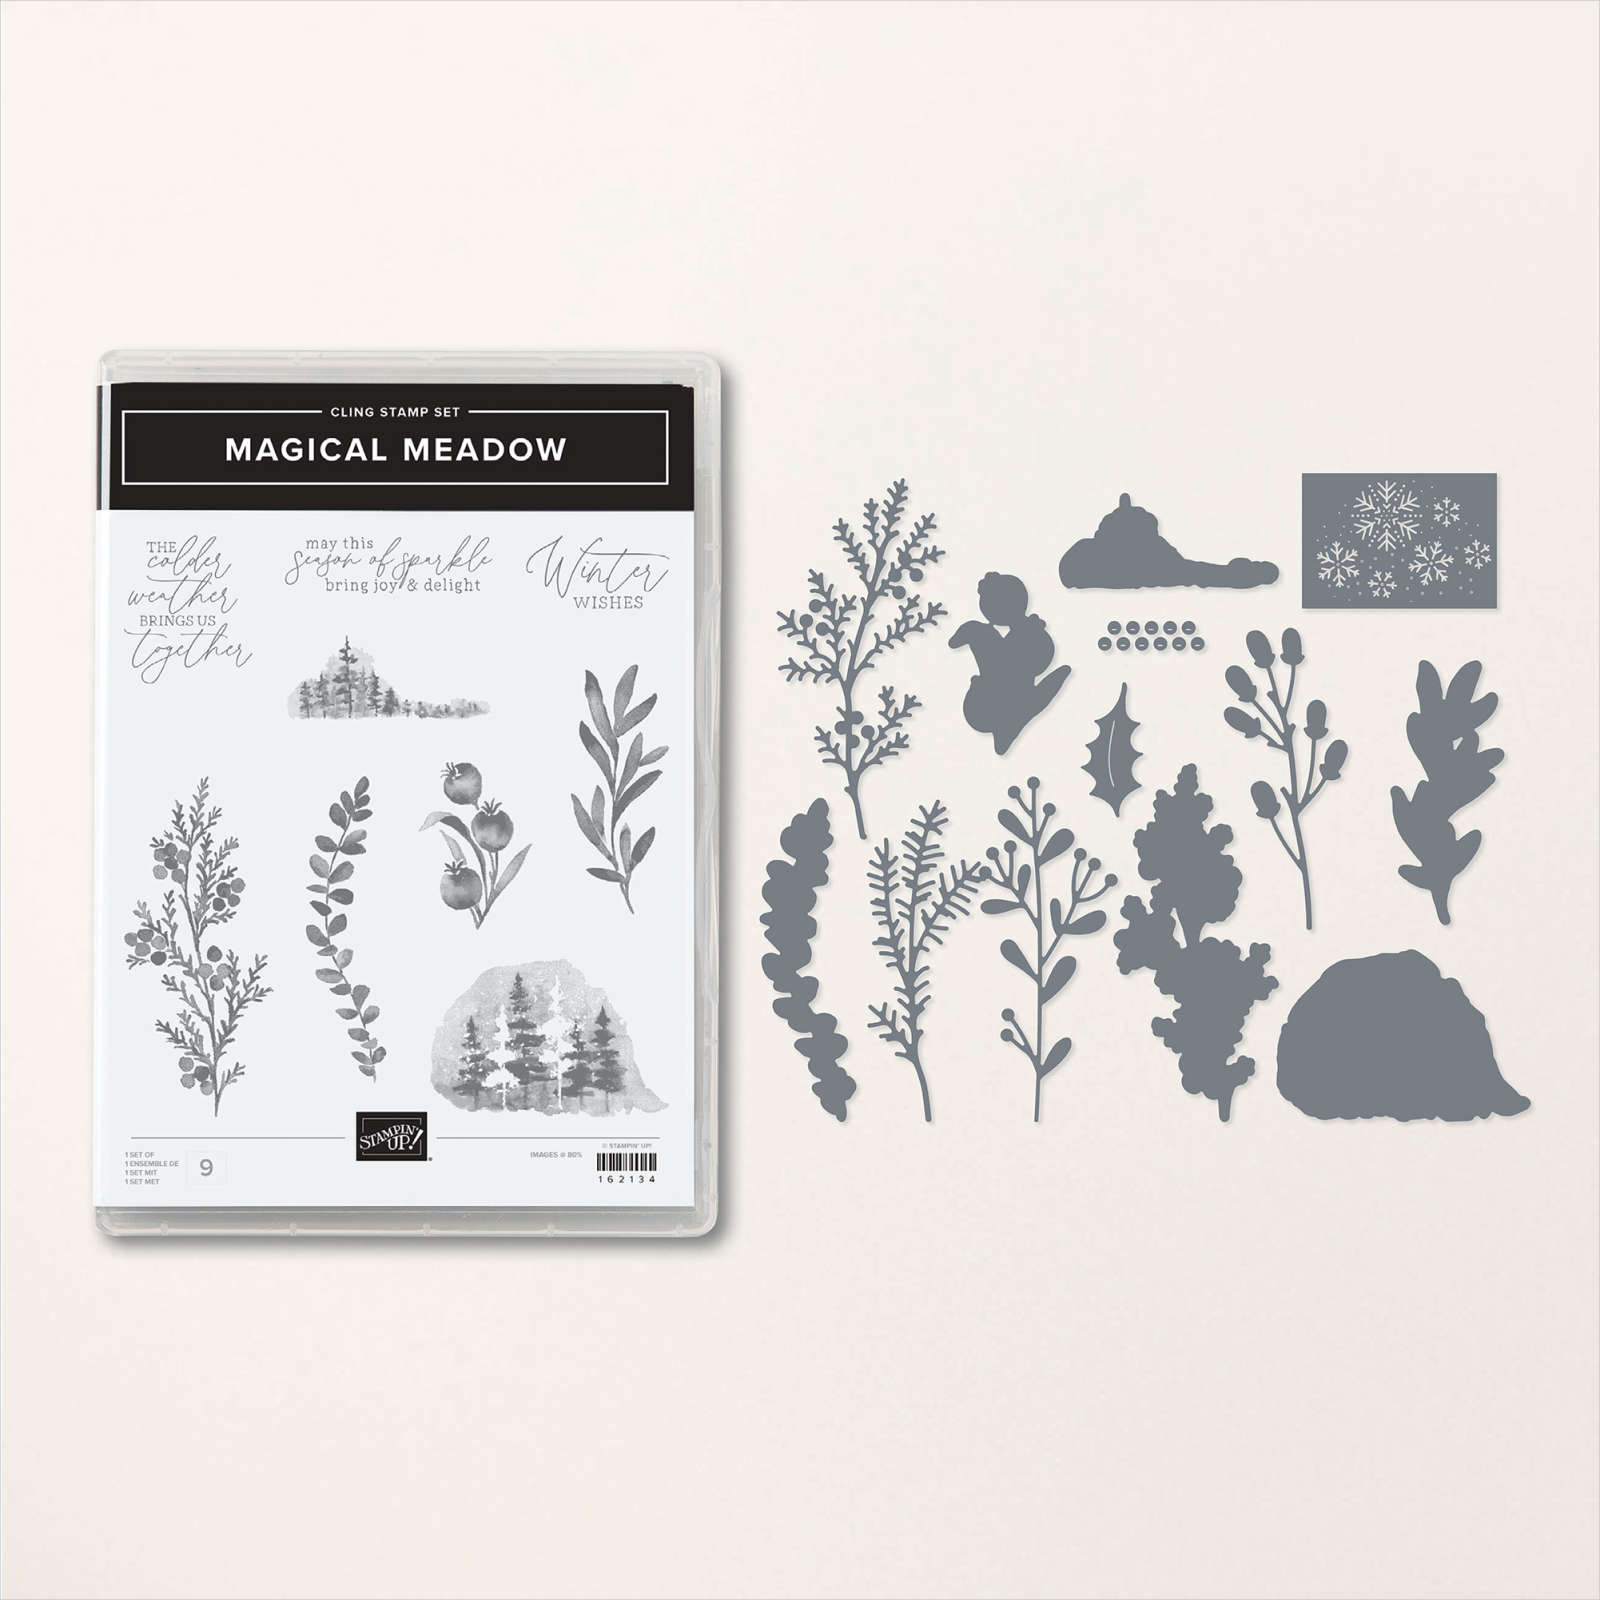
The designer paper is carrying over but sadly the Magical Meadow bundle is retiring soon; it's still available while supplies last. 
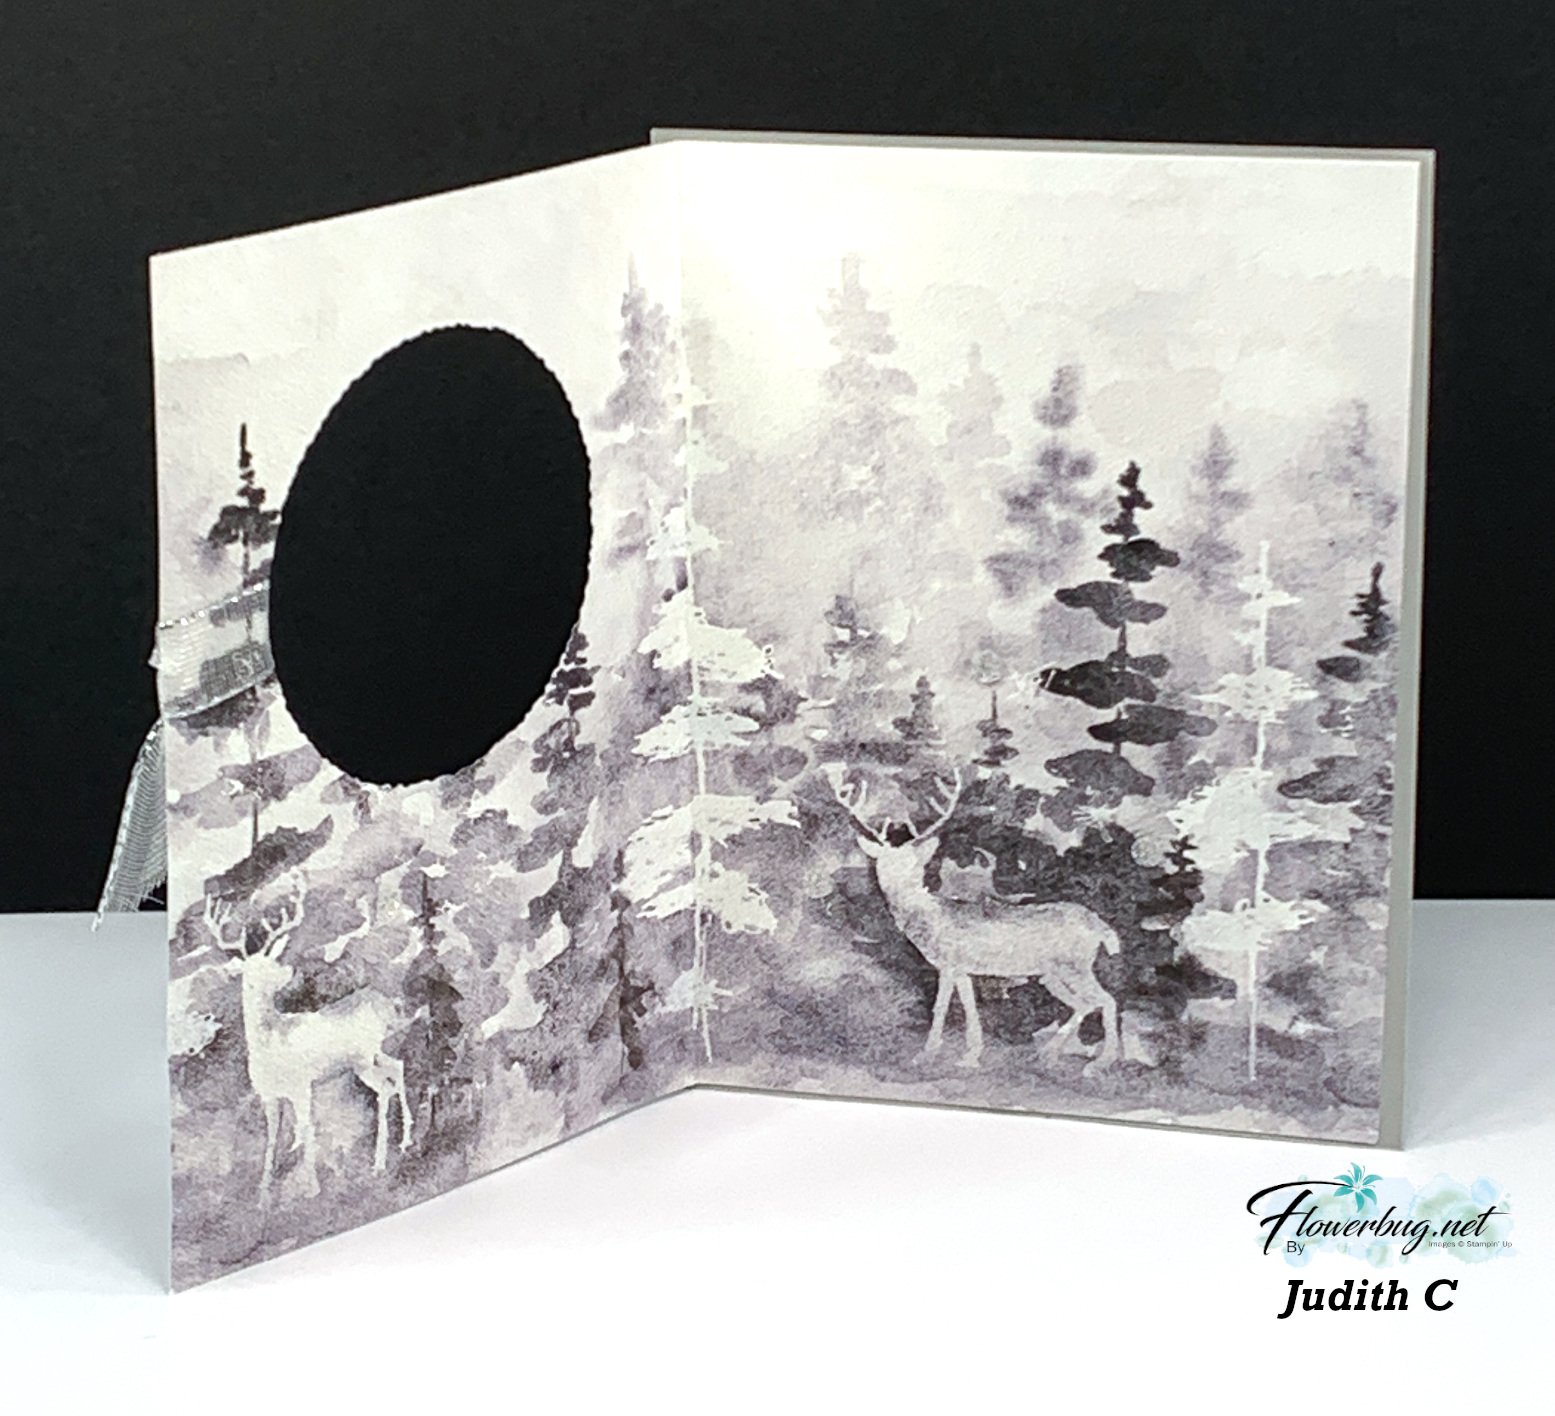
This next card is a fabulous way to feature your double sided designer paper.  
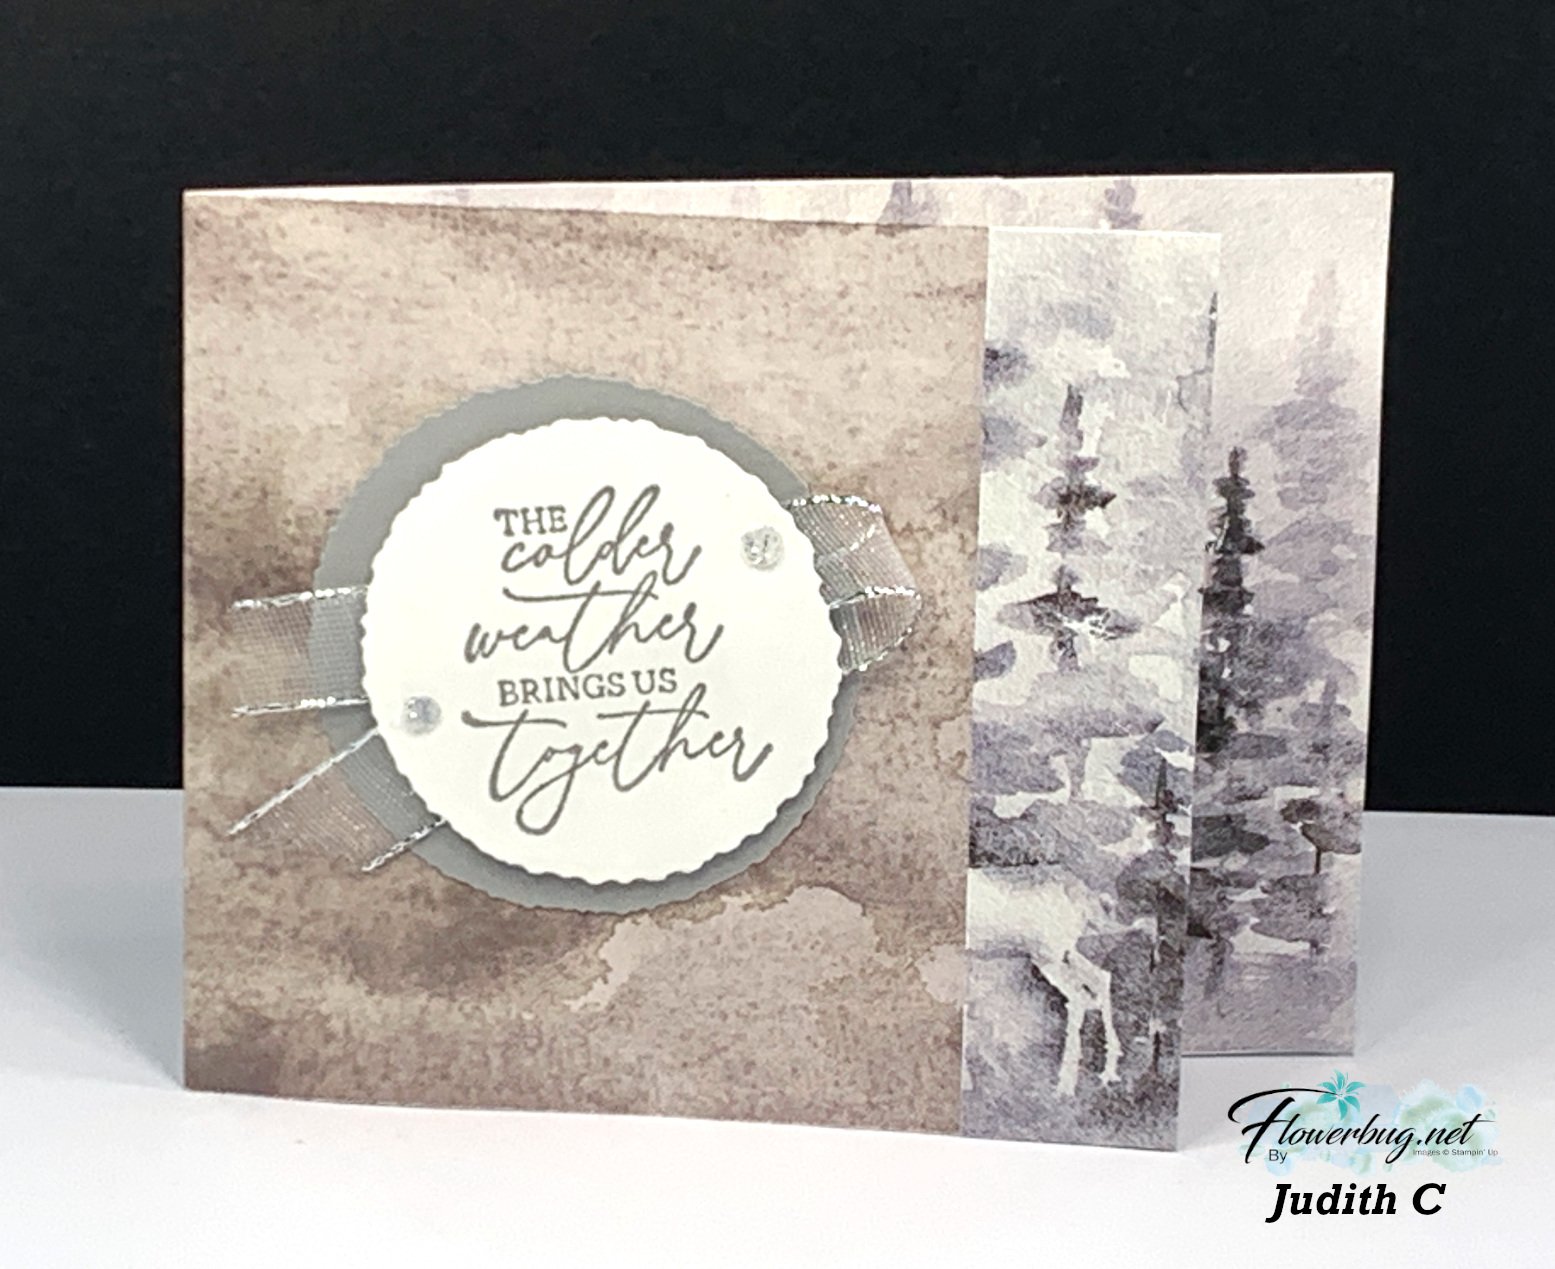
Start with a 11" X 4 1/4" layer. Score the left side at 1" and the center at 5 1/2". Fold back the 1" score line and secure closed. She used the Deckled Circle dies and the Silver & White ribbon on her greeting layer; both from the 2023 Holiday catalog. 

Add a layer inside or just a simple greeting like she did. 

The Winter Meadow designer paper is gorgeous as you can see. Beautiful water-colored scenes make your design work easy! I'm so glad it's carrying over for a few more months.  See it here. 

I'll share more projects tomorrow!

~~~

November Specials: 

*current host codes:  4D2ZDS6Q or 77277NNH

Click on the image below to see the Holiday Last Chance items 

 

All Posts

  • 3 Unique Snowflake Splendor Fun Fold cards with video!


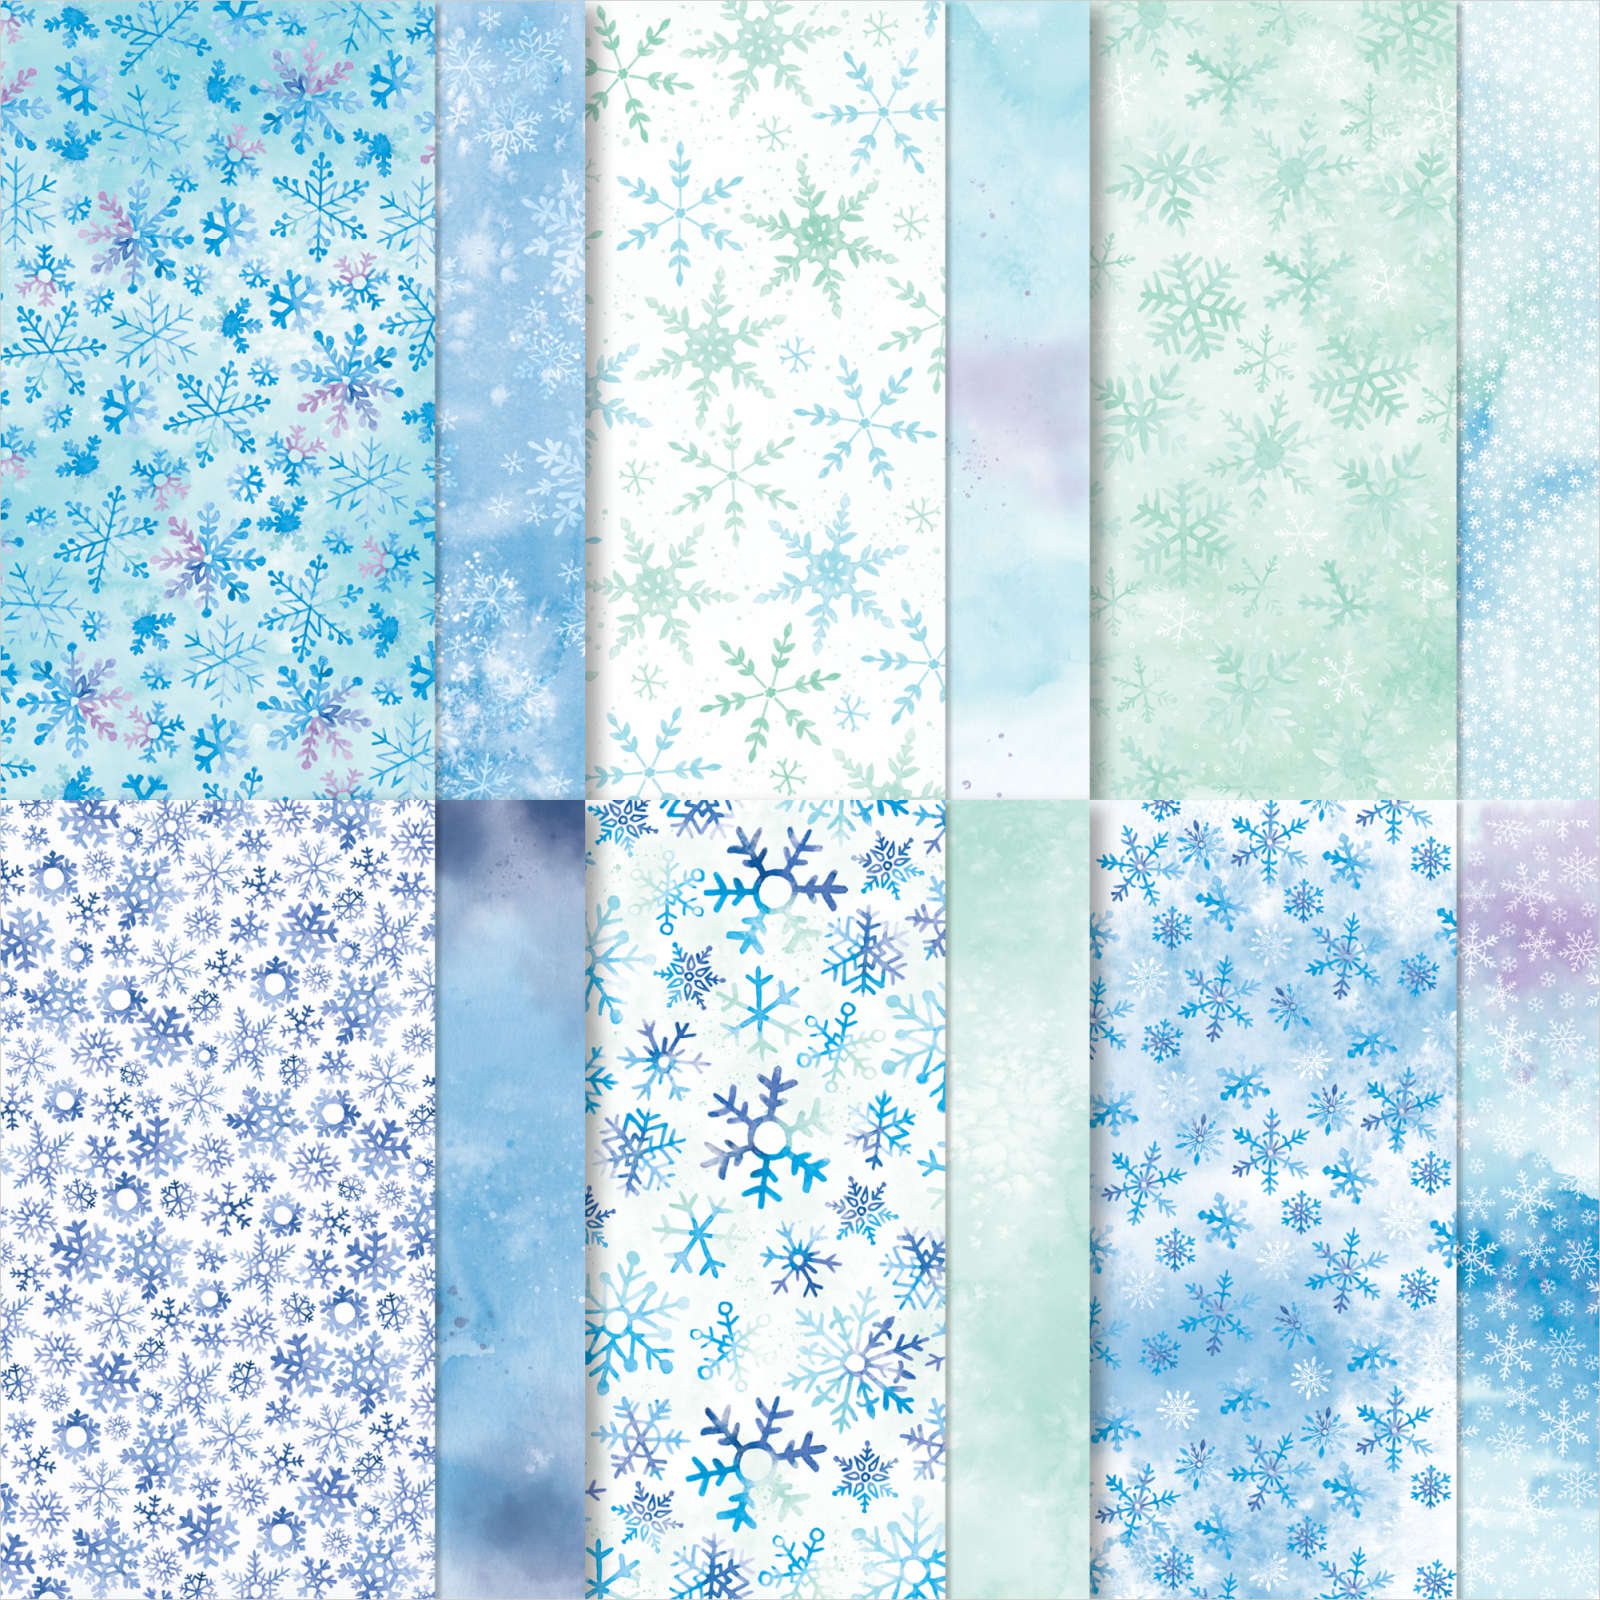
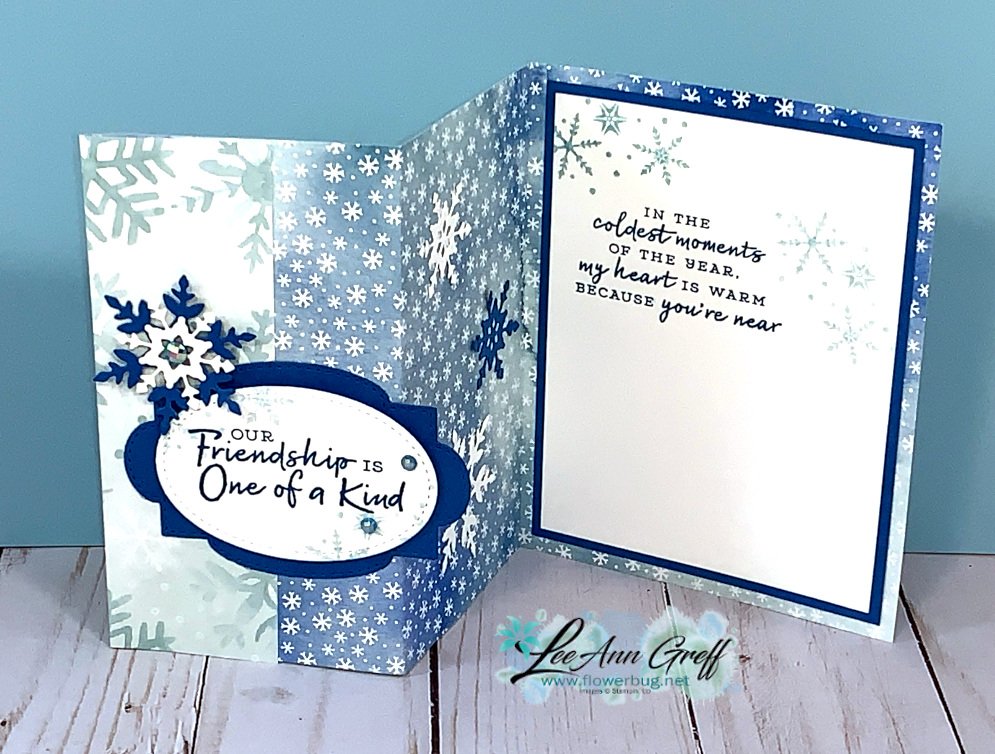
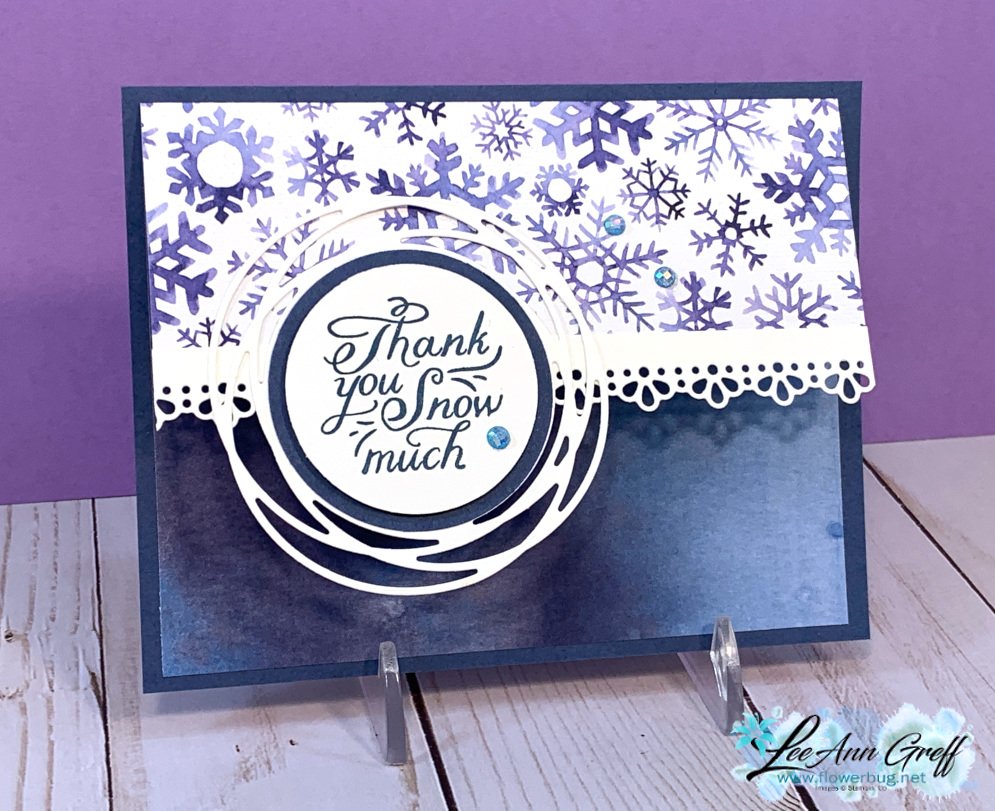
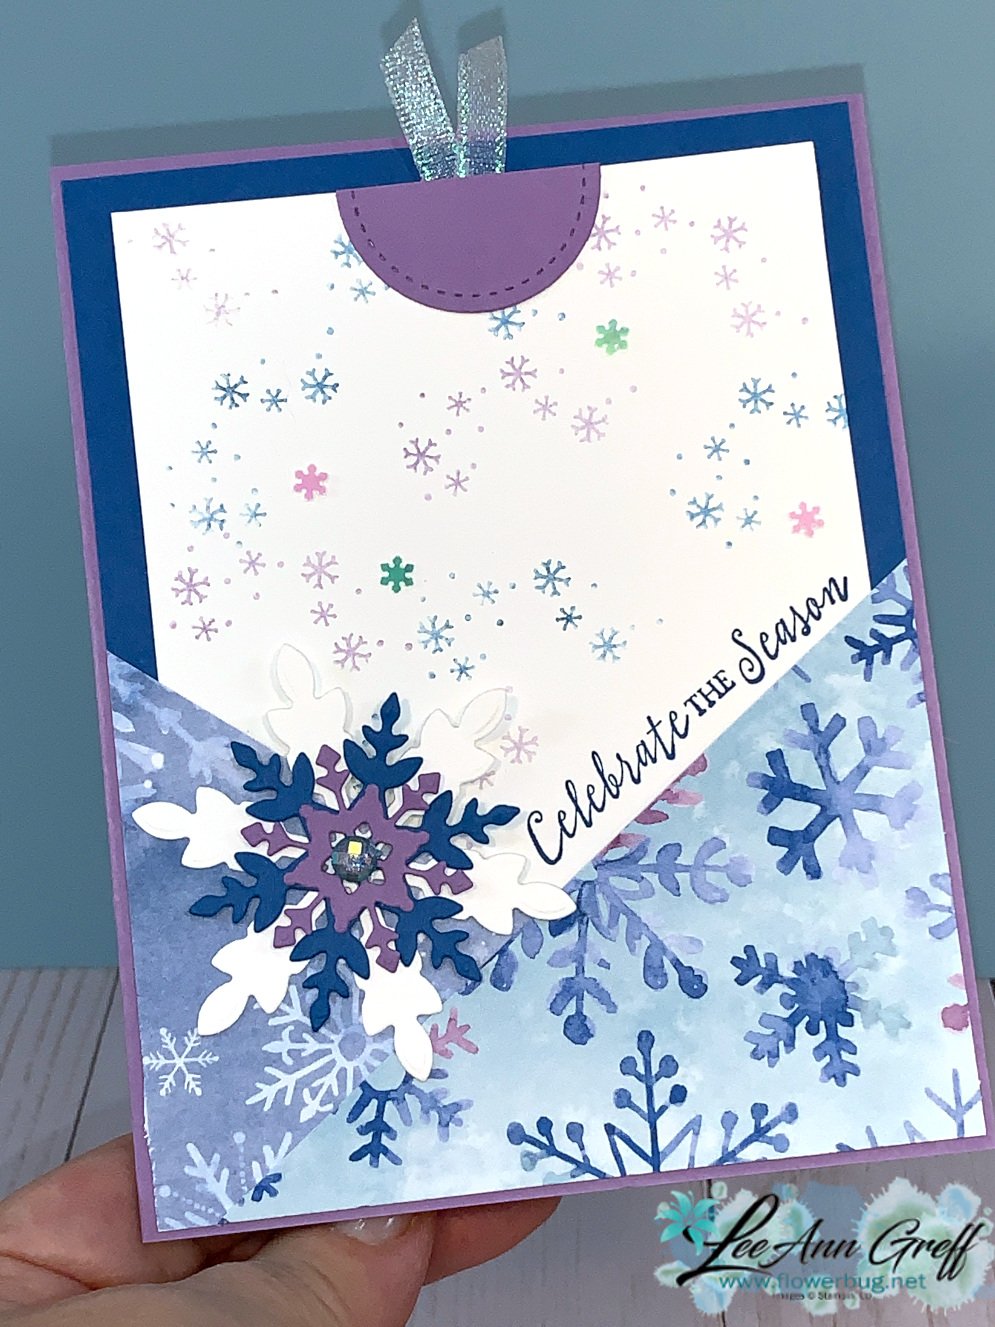
    Look at these awesome fancy fold cards featuring the Snowflake Splendor designer paper!  They're so pretty but also very easy too. 

    I made them on a recent Facebook Live video and think you might like to see how they're made.  Here's a link to this gorgeous Snowflake Splendor designer paper; it will be retiring soon so get it now! 

    The greetings and images and dies are all from the Snowflake Wishes bundle seen here; I just love this one!

    The two dies I used are the Painted Poppy and Ornate Border dies. 

    I used the Itty Bitty Christmas and Snowflake Wishes stamp sets and So Many Snowflake dies on the card above. 

    Below is the video so you can catch the tips on make them.  

    ~~~

    November Specials!

    Current Host code is JRZFR4QU


    All online orders receive my FREE Curvy Celebrations 22 project PDF Tutorial! 

    Leave a Reply

    Your email address will not be published. Required fields are marked *

  • Last chance for Christmas card kits & Coaster Calendar too


    Tomorrow, November 18th, is the last day to opt in for November's pre-cut kits to go.  There are three different kits this month; perfectly timed to ease the Holiday rush! 

    Whether you need Christmas cards, tags or a special hand made calendar I can help you out!

    If you want more than one please message me at lagreff60@gmail.com and I'll get you a combined shipping price. You can also add on the stamp sets I used at 10% off; email me!

    Here are the kits you can choose from. You will need assorted inks and stamps to finish them.  All include free PDF tutorials too.

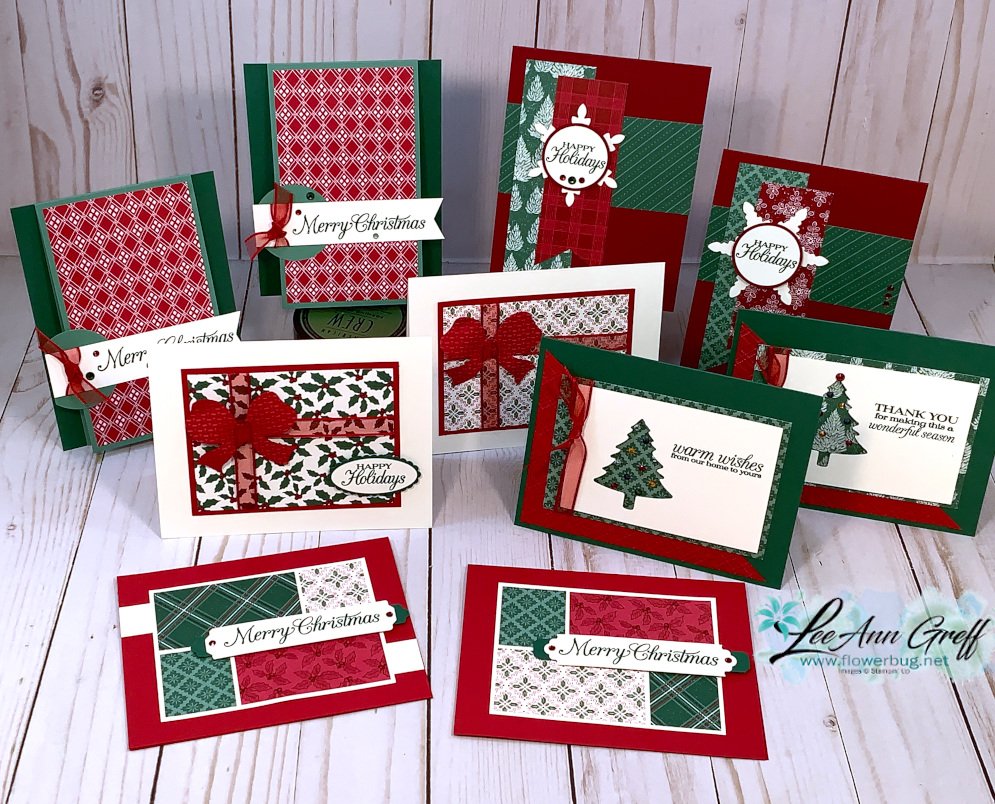
    1. 'Tis the Season Christmas cards (include a few unique folds like a pop up!):

    This kit includes 10 pre-cut cards & $20 in product so you can make more.  It's just $28 plus Priority Shipping.  See it here in my Shop or choose the PDF Tutorial option here.

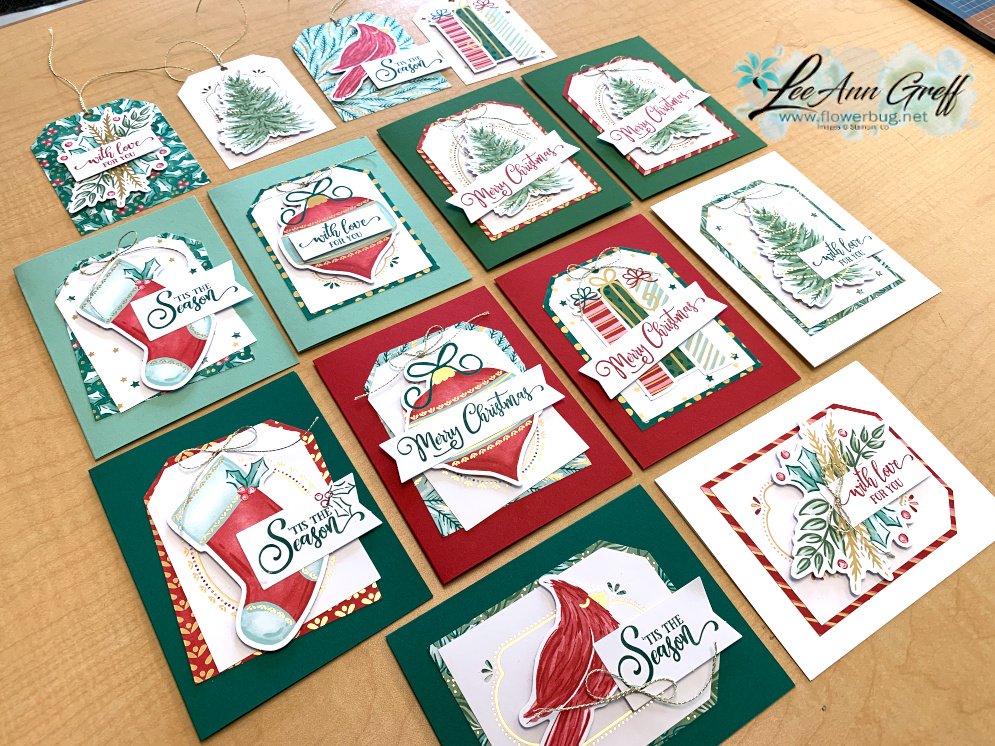
    2. Next is the Tag Buffet kit; also 10 Christmas cards plus 4 tags and a sheet of Stampin' Dimensionals too!

    If you want quick but gorgeous Christmas cards you'll love this kit! Order it here; it's $24 

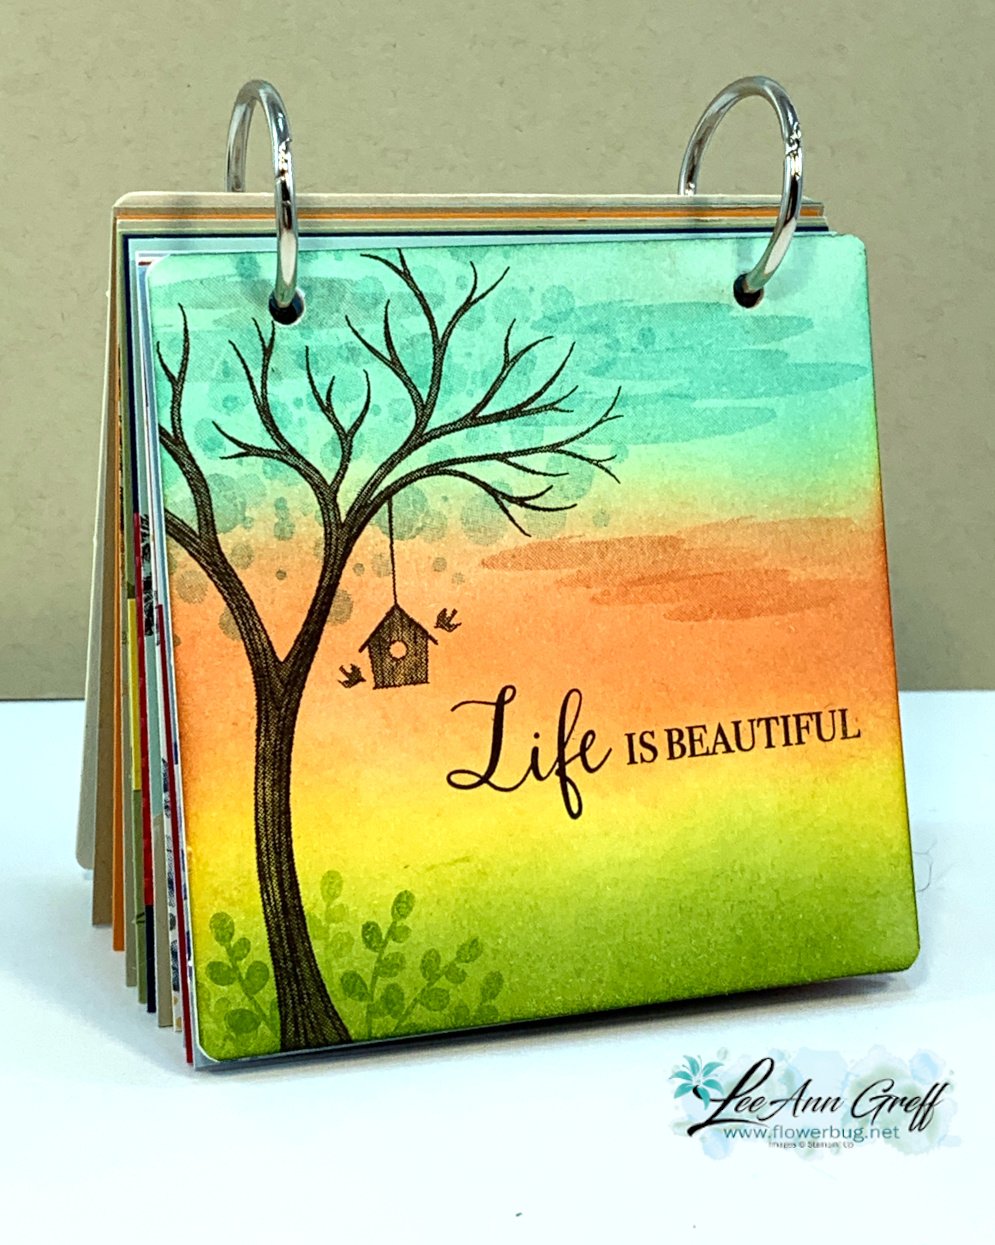
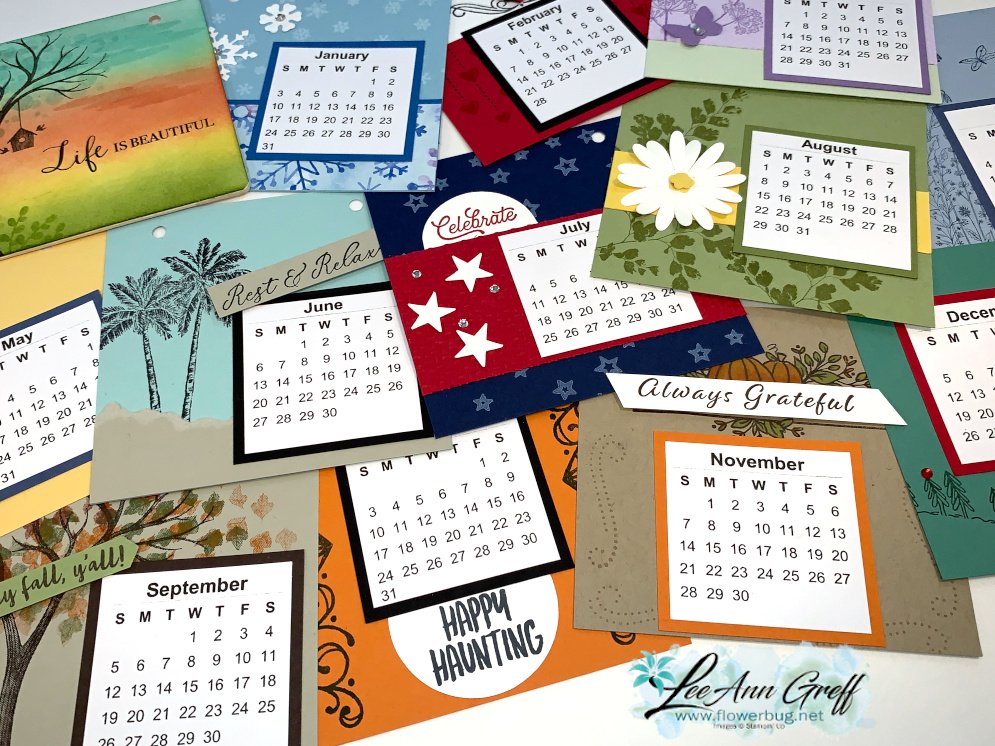
    3. Next is my annual Coaster Calendar project.  This is a fabulous gift for anyone.  See it  here.  It's just $15 for the kit and the PDF tutorial is free.  Or choose just the PDF tutorial here.


    It includes all of the pre-cut pieces, 4" coasters for front and back & 2 rings. 

    All of these kits will be mailed out Priority Mail around Thanksgiving week. 

    Remember you must order by November 18th! 

    ~~~

    November Specials!

    Current Host code is JRZFR4QU


    All online orders receive my FREE Curvy Celebrations 22 project PDF Tutorial! 

    Leave a Reply

    Your email address will not be published. Required fields are marked *

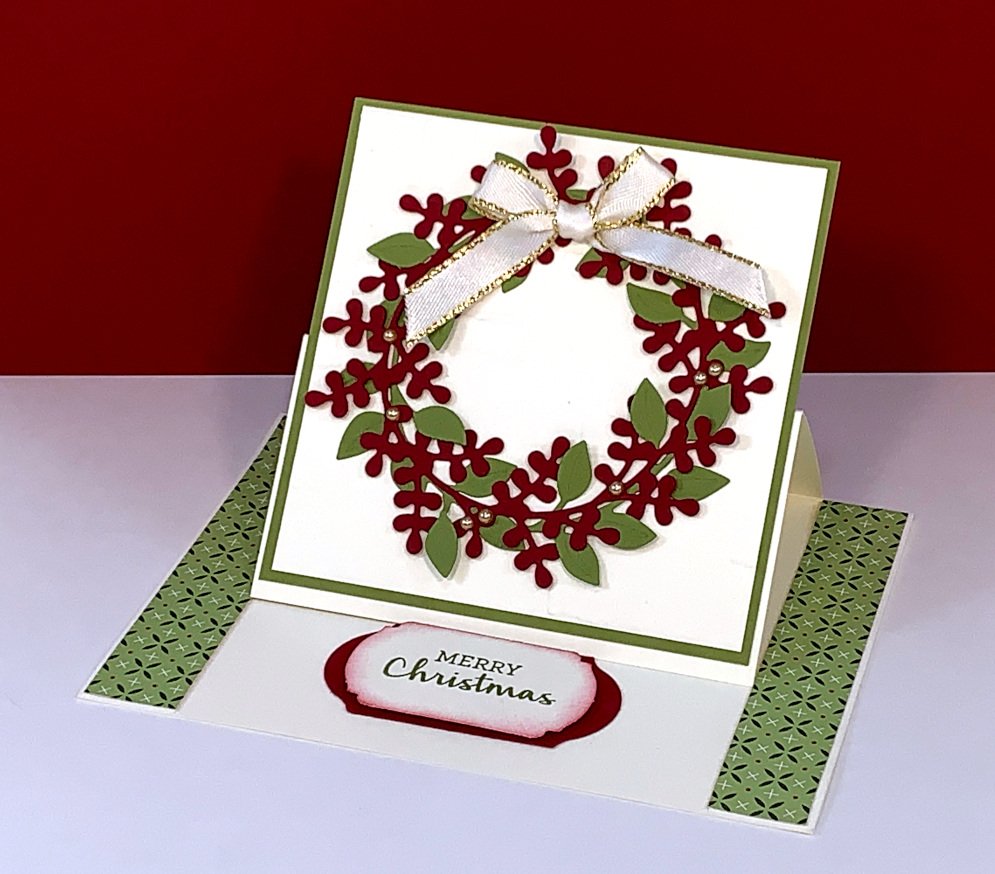
  • Fancy Easel Fold card with the Arrange a Wreath bundle


    We made this fancy fold card at October card clubs. The Easel really shows off the wreath from the Arrange a Wreath bundle in the Annual catalog. You can see it in the video below. 

     
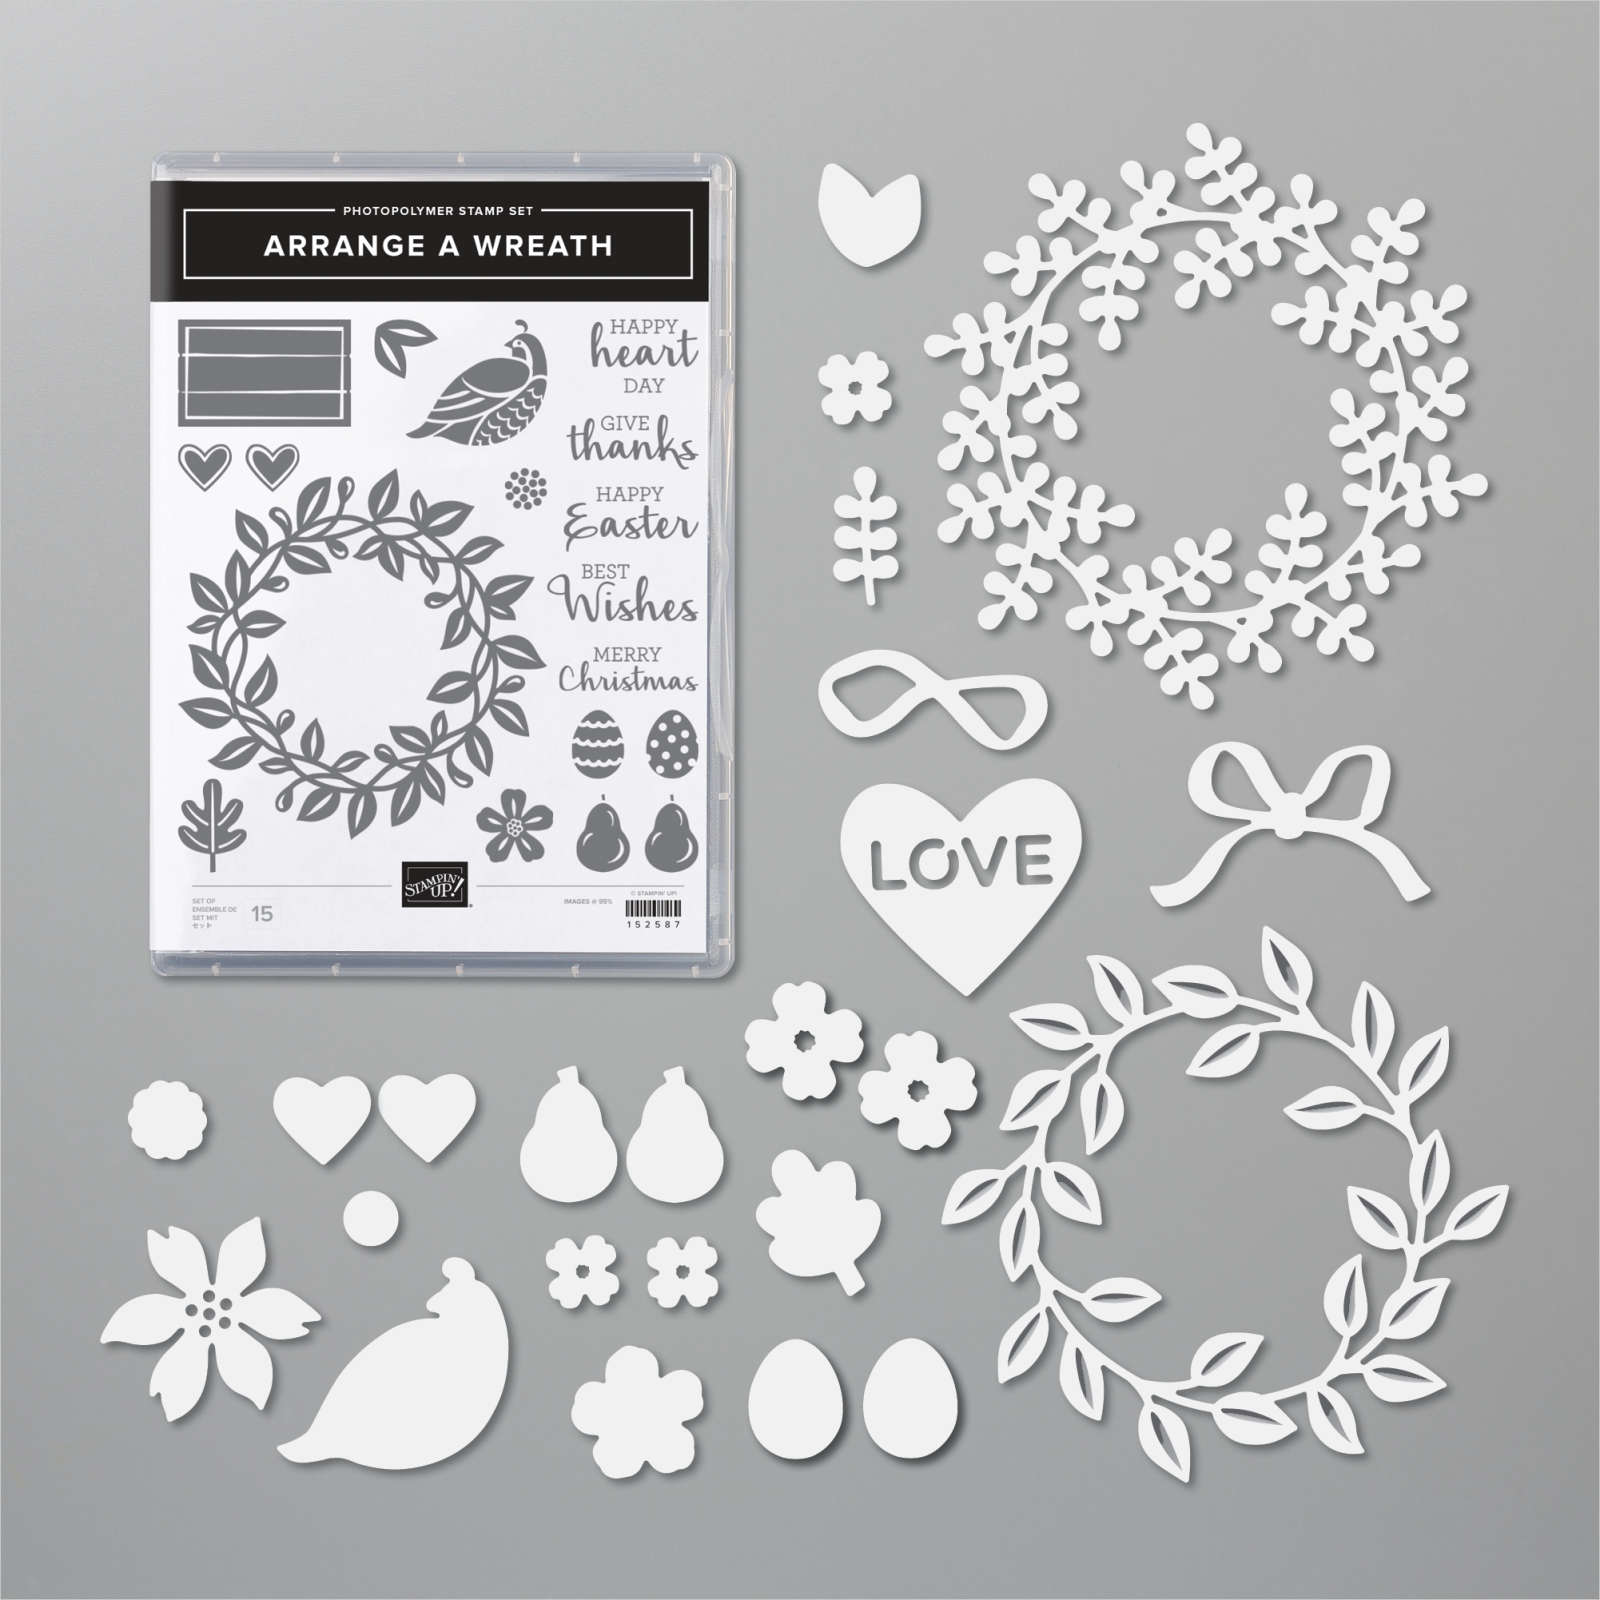
    You can see the Arrange a Wreath bundle here.  It has a ton of seasonal options in it. 
     
     
    Measurements:
    • 5 1/2" X 8 1/2" scored in half at 4 1/4" first. Then cut on one half of the card at 3/4" from each edge to the score line. Now score the large, center area for the easel in half at 2 1/8"
    • Very Vanilla 3 3/4" X 3 1/2"
    • Old Olive 4" X 3 3/4"
    • Cherry Cobbler & Old Olive 3 3/4" squares for the wreath die-cuts plus scraps for the greeting punches
    • Heartwarming Hugs Designer Paper 5/8" X 4" (2 pieces)
     
     
    The video below includes this fun fold card and the Box Fold card we made too!  

    ~~~

    November Specials!

    Current Host code is JRZFR4QU


    All online orders receive my FREE Curvy Celebrations 22 project PDF Tutorial! 

    Leave a Reply

    Your email address will not be published. Required fields are marked *


Notice: LeeAnn Greff, Independent Stampin’ Up! Demonstrator, Manager. The content of this website is my sole responsibility as an independent Stampin’ Up! demonstrator and the use of, and content of, the classes, services, or products offered on this website is not endorsed by Stampin’ Up! Copyright 2025