/


Latest Post

Luxe Foliage Window Z-fold with free project sheet & video tutorial


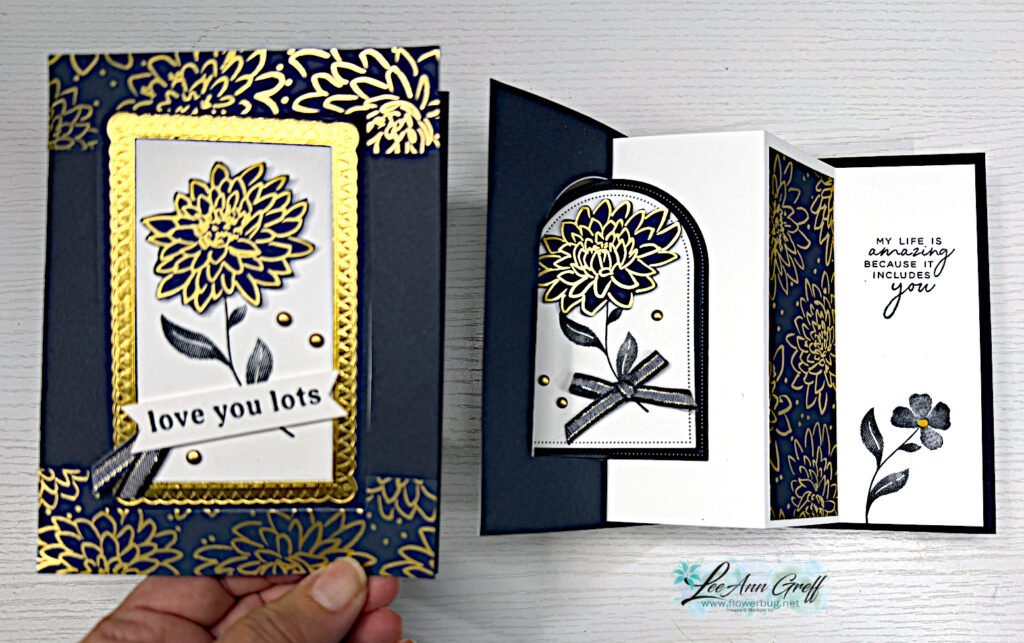
I just love this card I made for last week’s video! It features the exclusive Luxe Foliage specialty designer series paper.
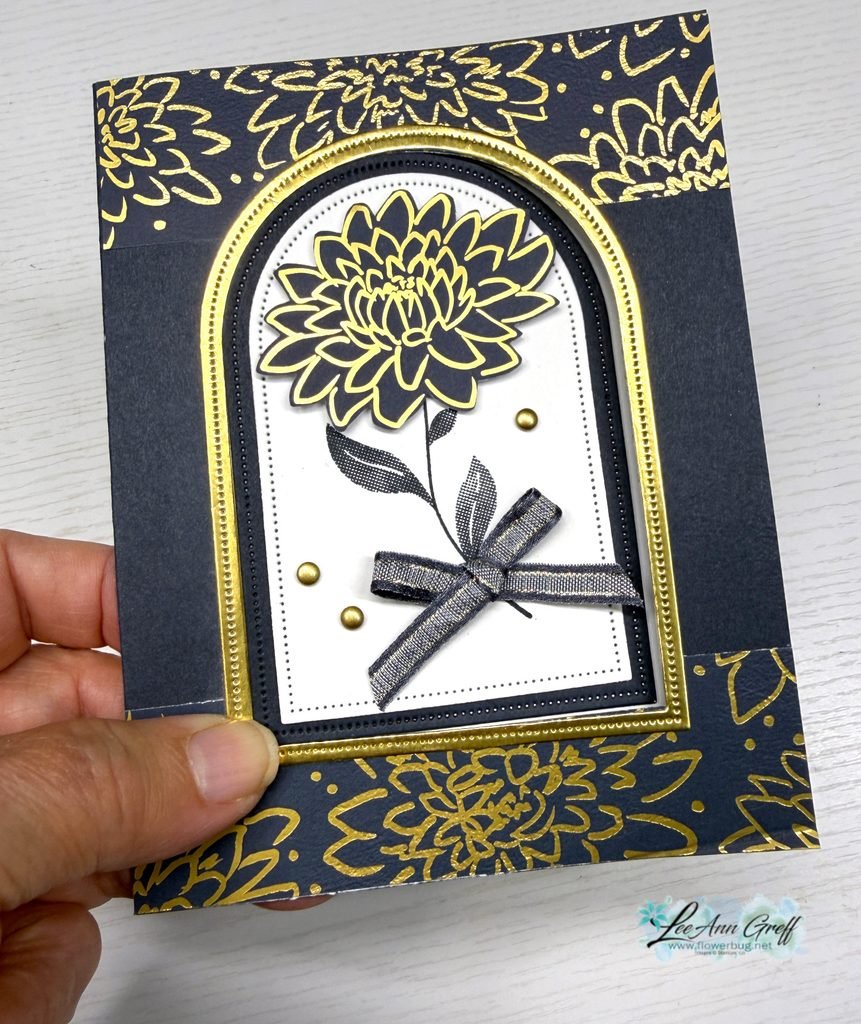
Gorgeous, right? I cased this fold from my friend Susie Wood. I get so many fun fold ideas from her. Check out her blog here.

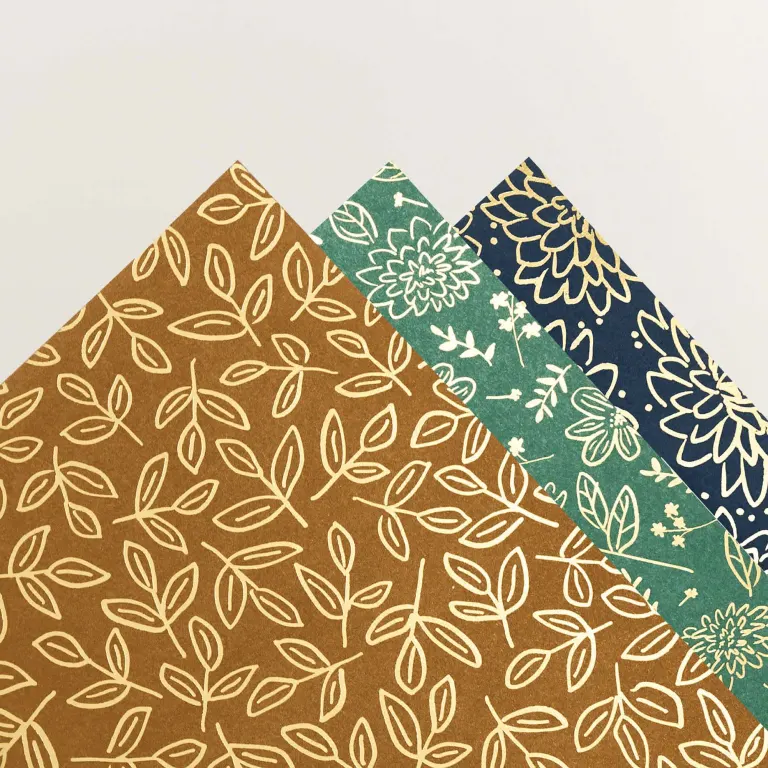
This stunning Luxe Foliage DSP is a Product of the Month and available while supplies last. See it here. You can redeem it for just $5 once your order reaches the $75 mark. There are 4 sheets of each pattern in this pack!
I paired it with Secret Sea, Gold foil and White here. On this card I used the Everyday Arches dies for the window and the Tile Garden stamp set for the leaves/stem.
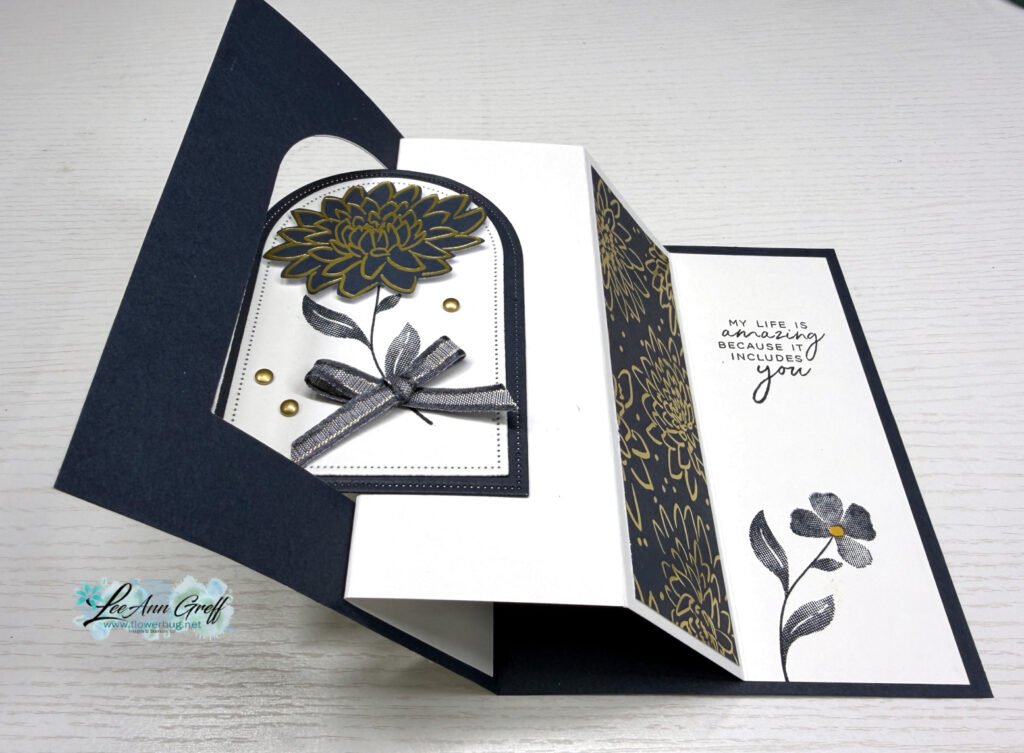
This card involves die-cutting a window in the front layer of your card and reusing it on the inside scored White layer. You can catch on to how it opens in the above photo but it may help a lot if you watch the video here.

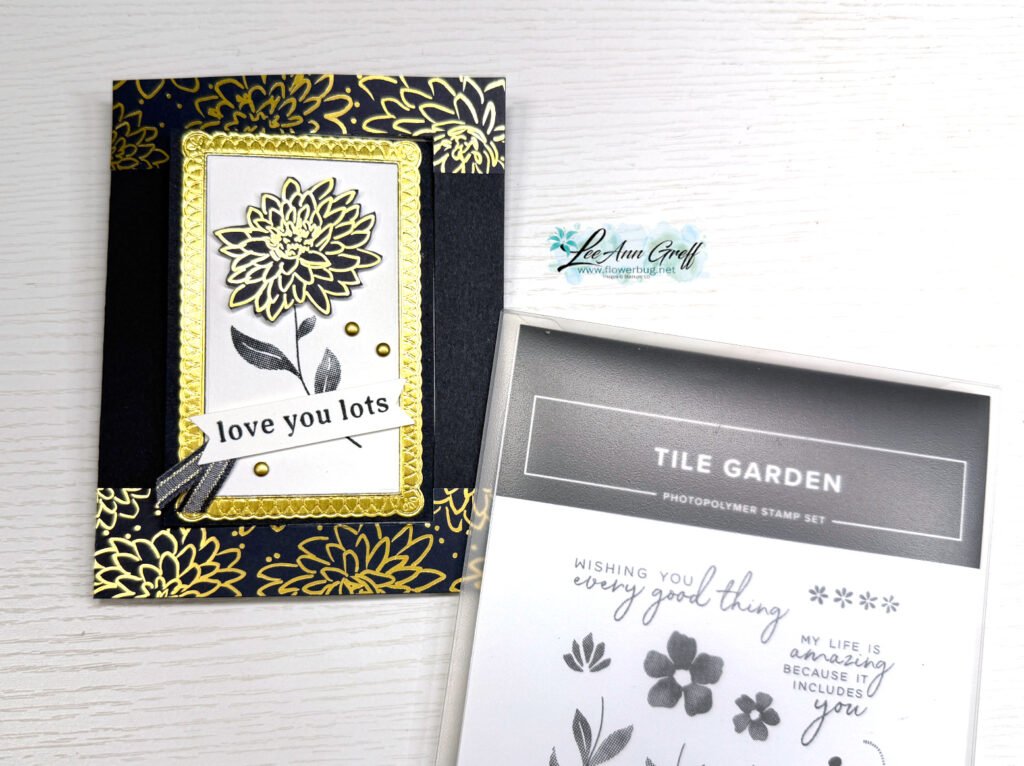
On the left card below I used a different set of dies for my window. First the Tile Garden dies to create a rectangle window. Yes; these dies are square…. so I cut a second time to create the rectangle window. The Gold textured frame is made with the Phrases & Frames dies seen here.
I fussy cut the gold/Secret Sea flower for the front layer. I love the images in the Tile Garden bundle; they have a texture to them.
I created a free project sheet for this card. Click here to download or print it.

Below is the video tutorial; I hope it helps you in understanding how this is done. It is much easier than it looks!

There’s a new Product of the Month for September.
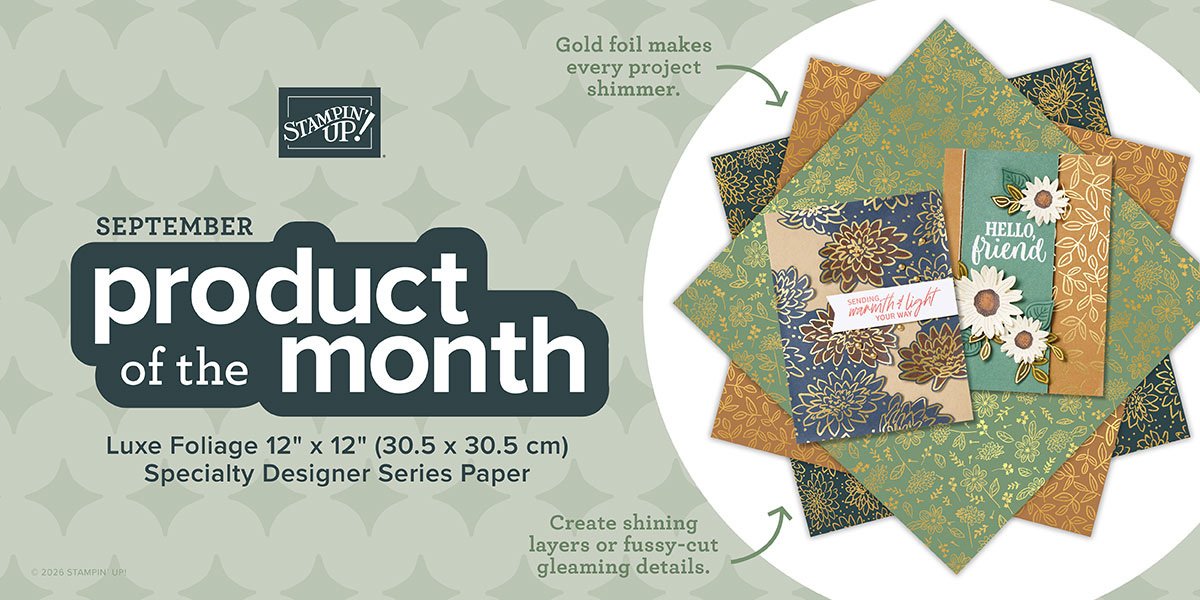
It’s called Luxe Foliage Specialty Designer paper and can be seen here. It’s yours for just $5 once your order reaches the $75 point.

There is also a few new kits in our Kit Collection too. You can see it all here!
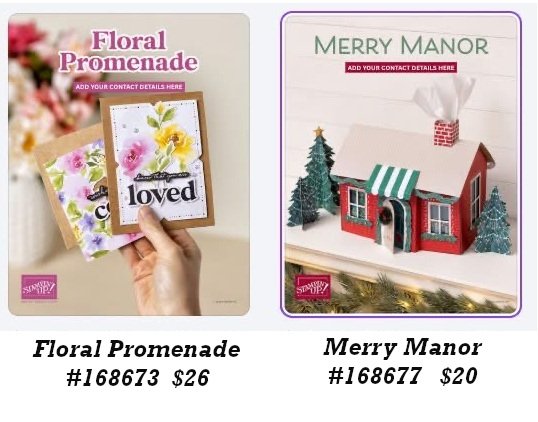
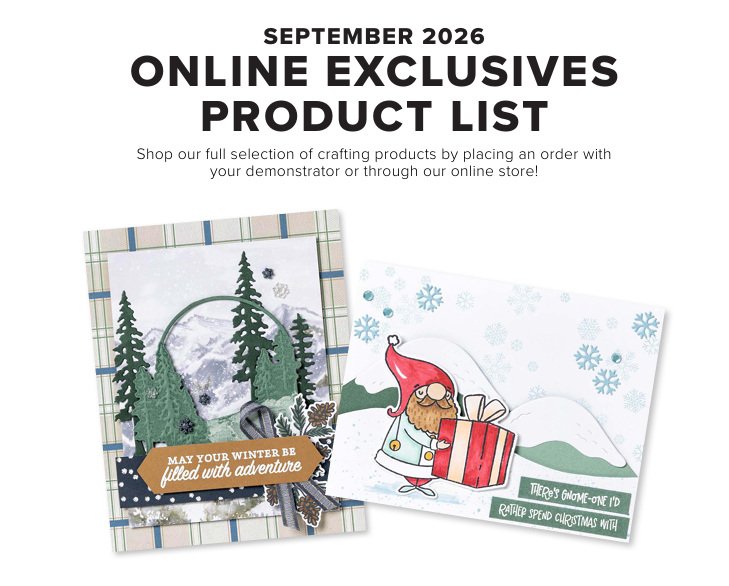
There are new Online Exclusives! Click here to see them.
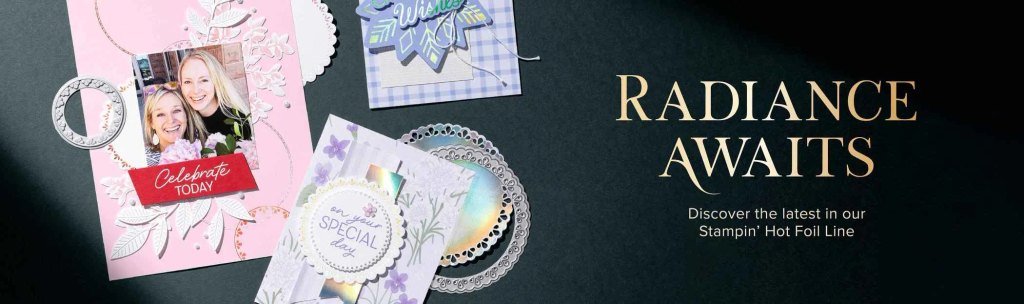
New Hot Foil products are here! Check them out here.
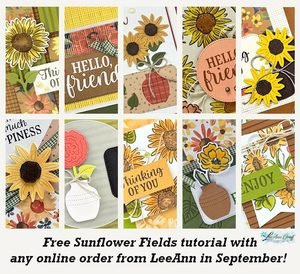
Get this free Sunflower PDF tutorial with ANY online purchase from me in September! Gorgeous cards in this one!
All Posts

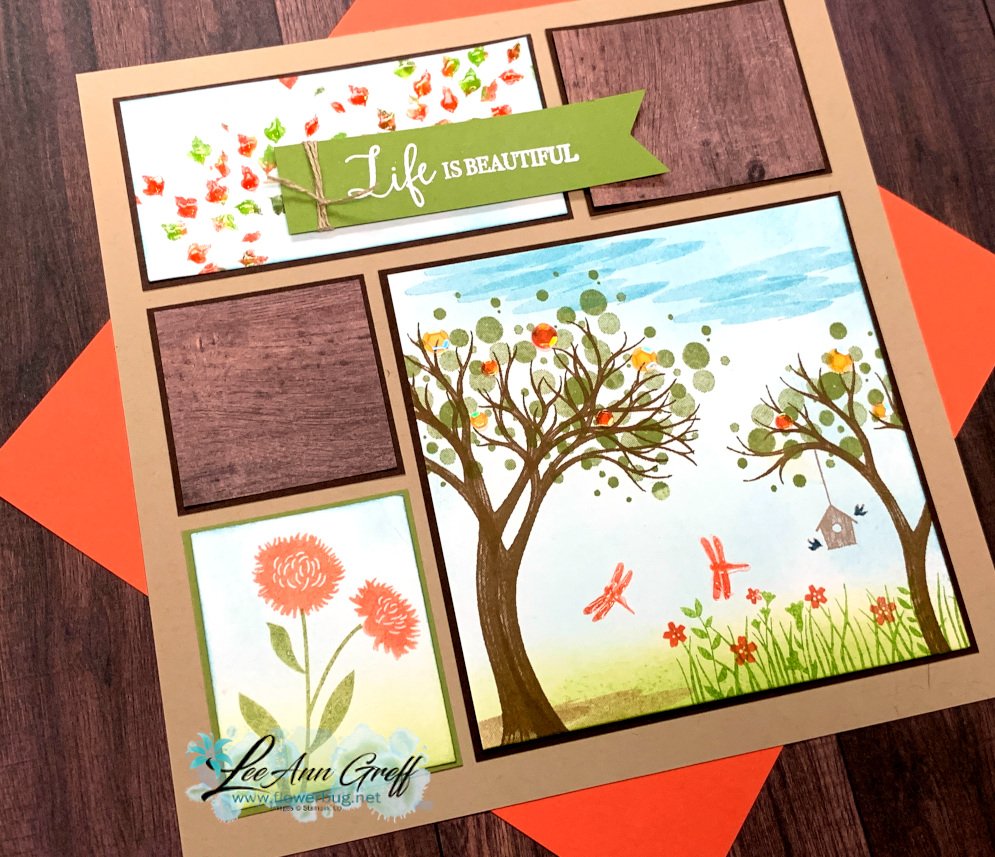
  • A pretty home decor framed sampler with Life is Beautiful!


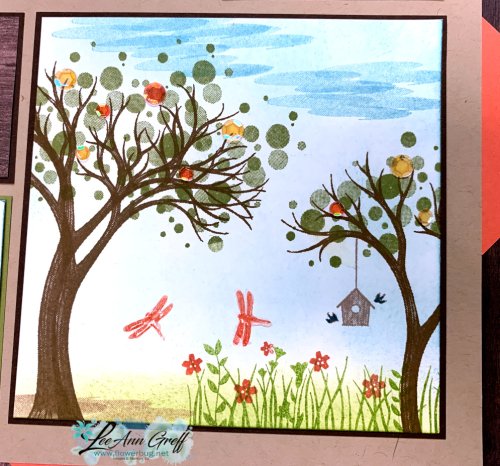
    I made this shadow box home decor piece with my Life is Beautiful stamp set.  It fits in a 12" shadow box frame. 


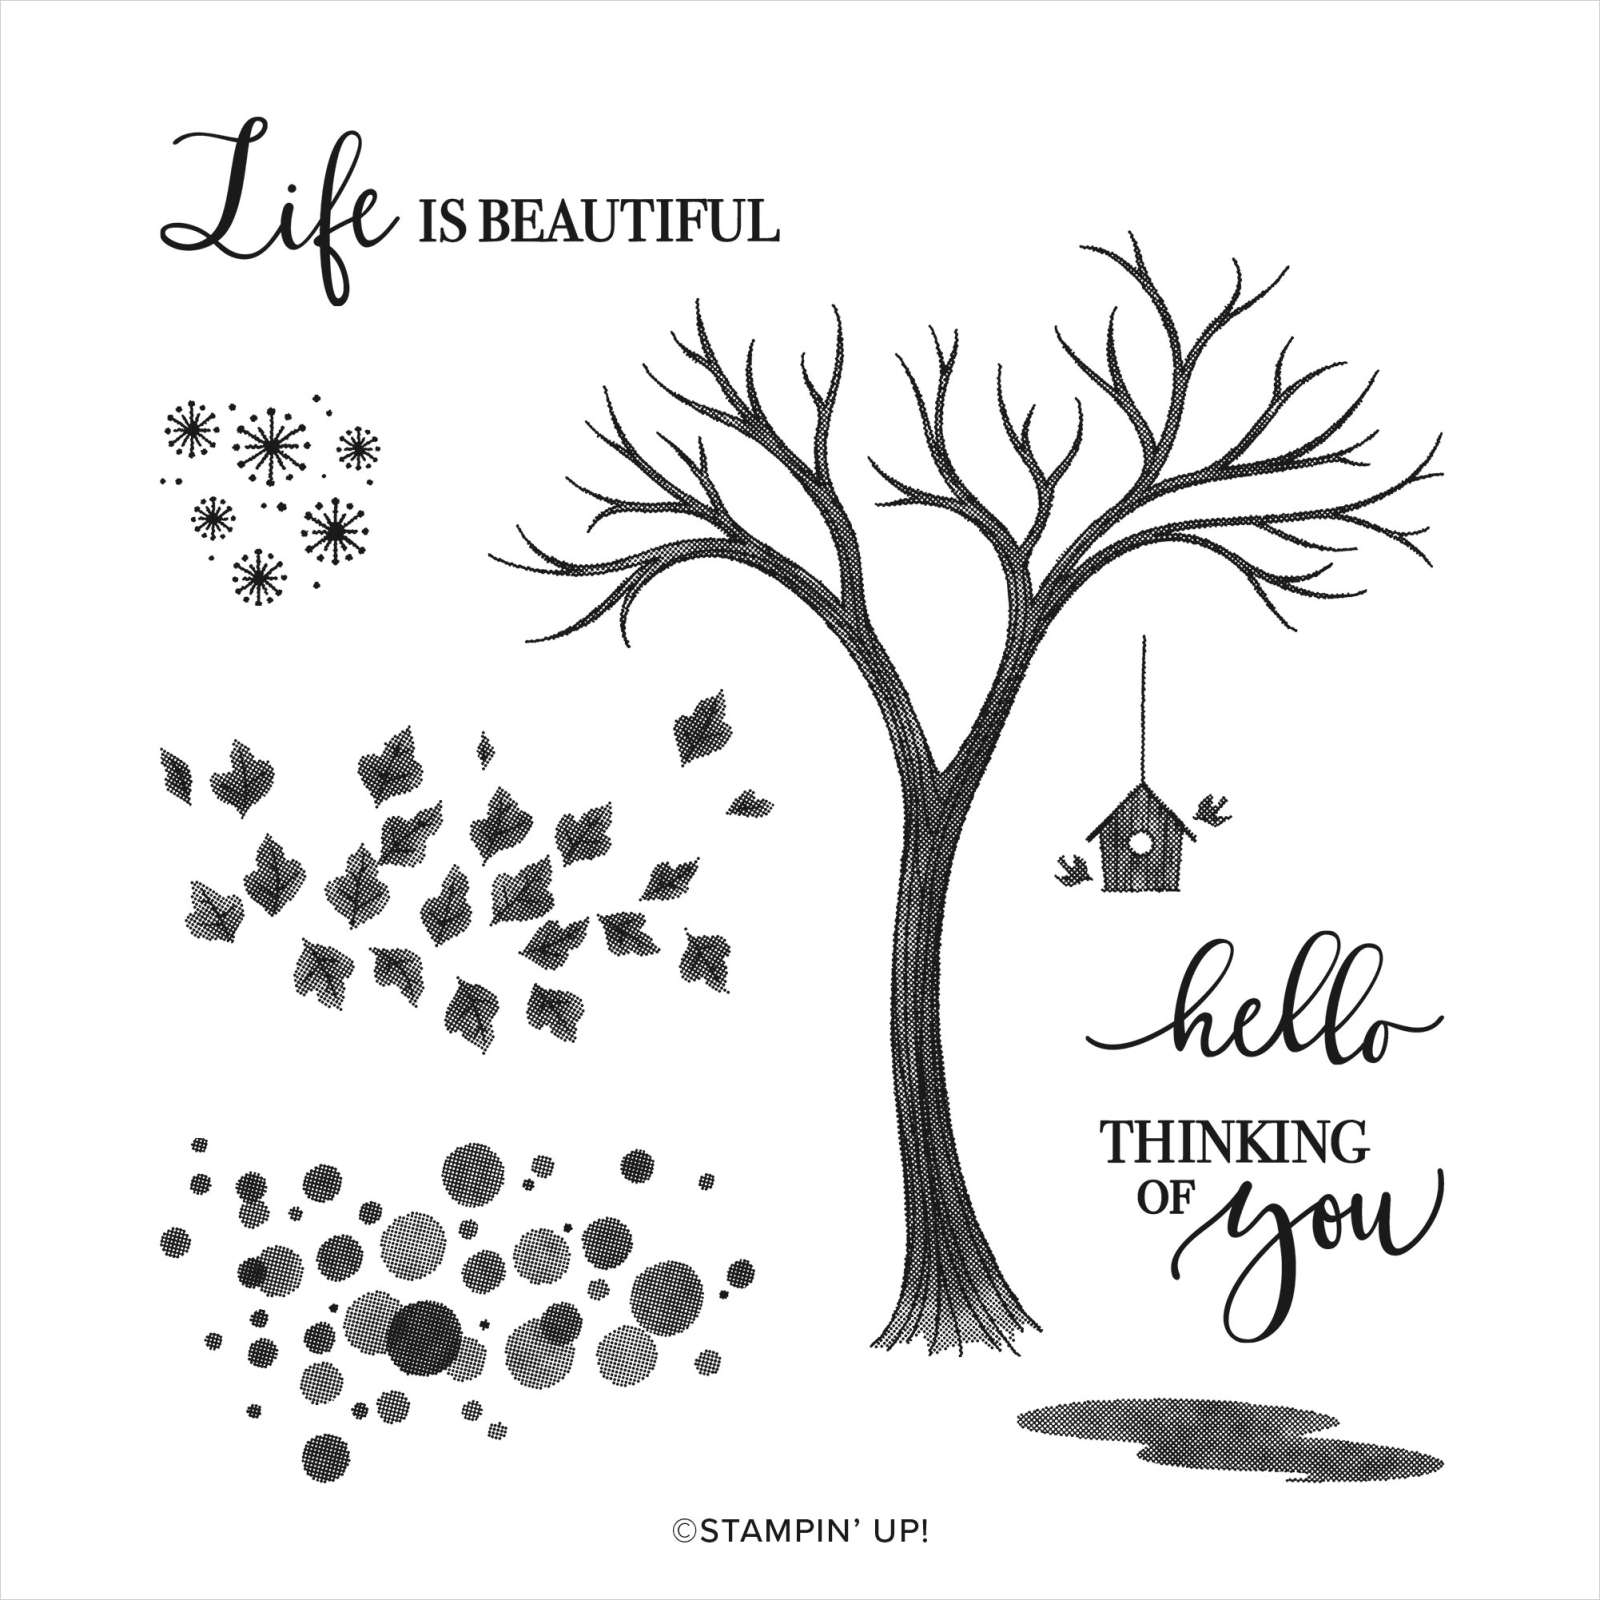
    Here's the Life is Beautiful stamp set I helped design as part of my Million Dollars in sales achievement with Stampin' Up!. You can order it here. 

    Two tips! 

    • The 'ground' image can also be clouds!  Cool, right?
    • And if you stamp the tree twice, you can achieve a 'thicker' trunk and fuller tree.  Just lower the image on the second stamping.  

    I did use the Field of Flowers stamp set for the grass, flowers & dragonflies.  I sponged the white card stock with Balmy Blue to remove the 'white' background.  I added Shimmery Crystal Effects on the dragonflies and leaves on the top greeting piece. 

    Colors used: Soft Suede, Granny Apple Green, Calypso Coral, Old Olive, Balmy Blue

    Products: In Good Taste Designer Paper, sponges, Linen Thread, Heat embossing in White, Shimmery Crystal Effects, Artistry Blooms adhesive backed sequins, 2 shades of Brown markers for bird house, 


    I hope you like it! Thanks for stopping in today!  


    ~~~

    Current Host code is 7VPEDARH

    Get a free package of new Iridescent Pearls in August with an online order over $55. 

    Order online here

     Get my Flowers for Every Season pdf tutorial free with all online order in August!


    It includes directions, photos and measurements for 12 cards!

    Redeem your $5 coupons now!  

    Leave a Reply

    Your email address will not be published. Required fields are marked *

  • Beautiful Autumn paired with Plaid Tidings


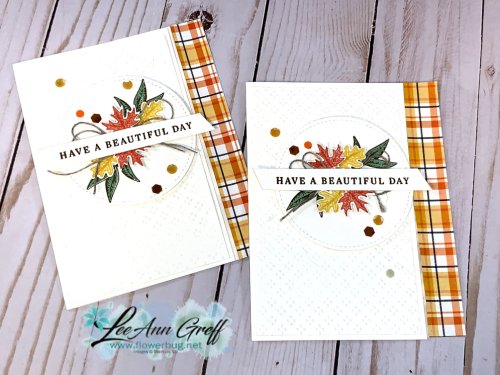
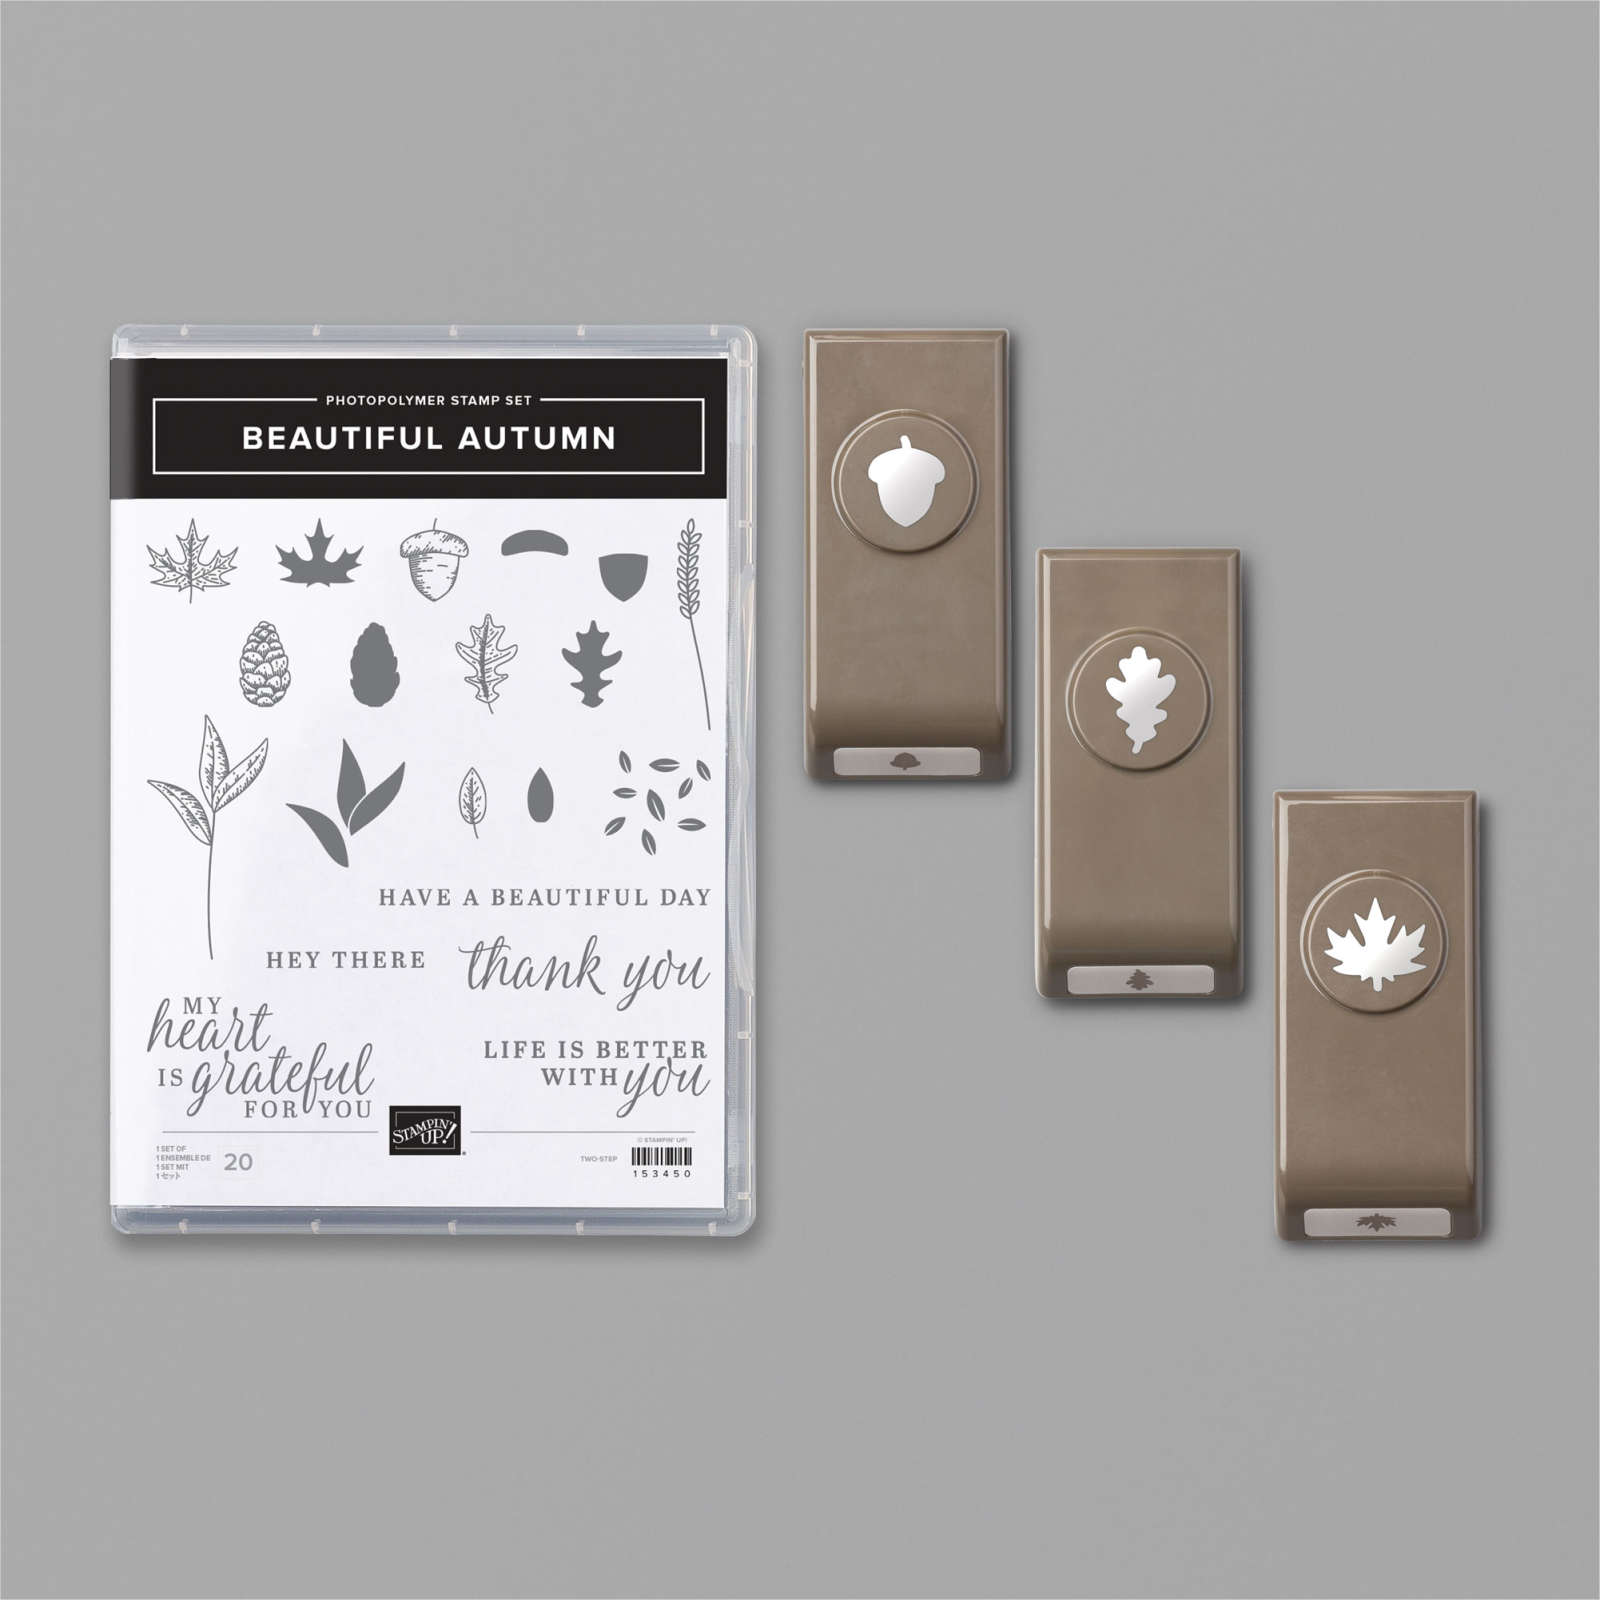
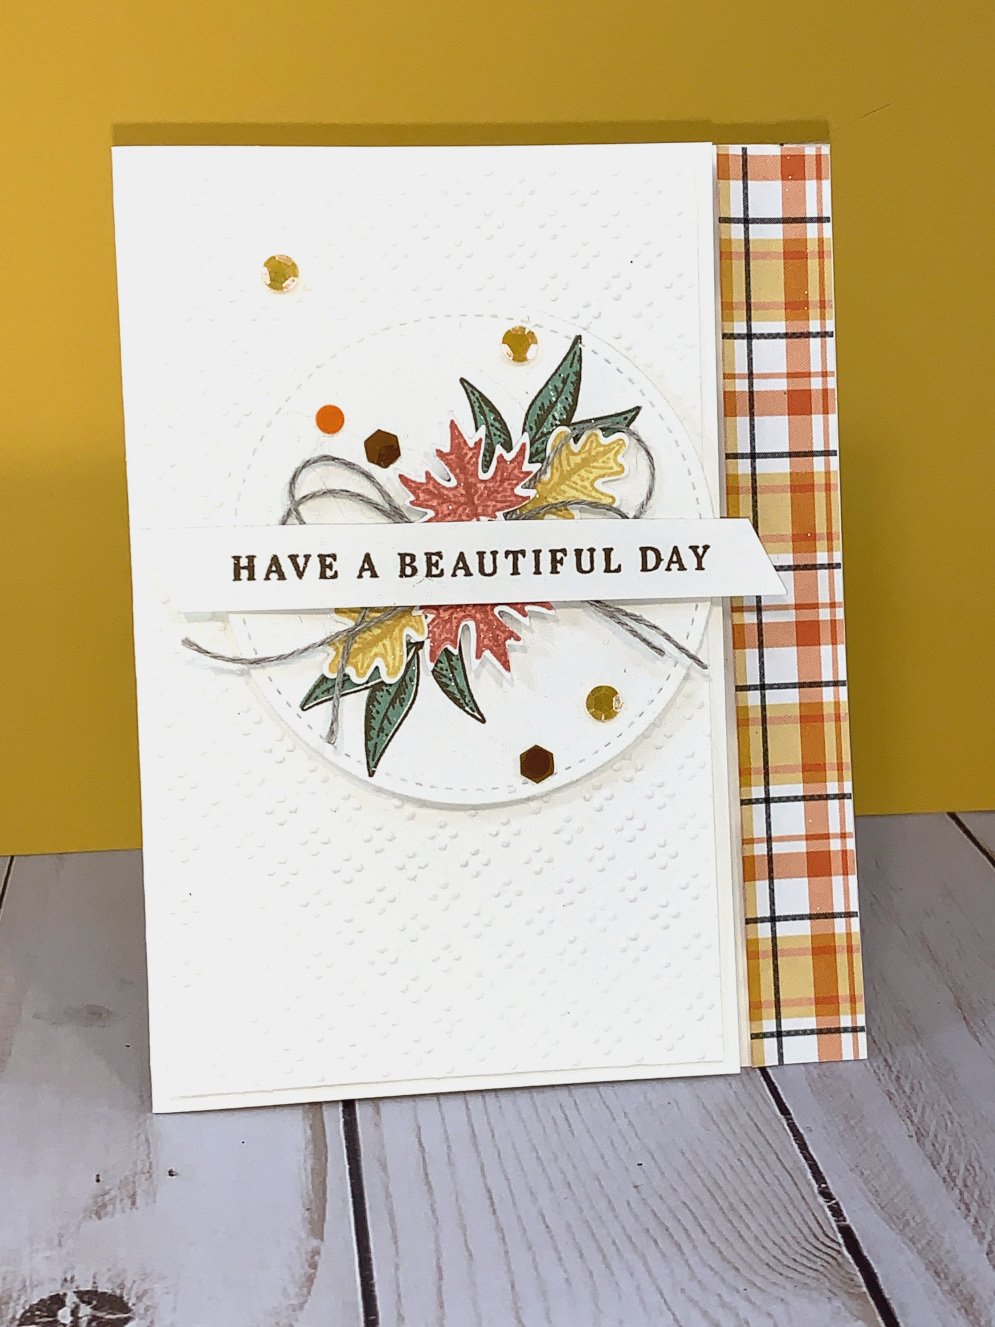
    There are lots of gorgeous Fall products in the 2020 Holiday catalog.  I paired a few of my favorites to create this card; the Beautiful Autumn punch bundle and Plaid Tidings 6 X 6" designer paper pack. 

    I trimmed off 3/4" from the front flap to reveal the strip of pretty Plaid Tidings designer paper.  I chose to use Bumblebee, Mint Macaron, Early Espresso and Terracotta Tile inks here.  

    The Beautiful Autumn bundle includes the stamp set and the three leaf punches; all for 10% off.  Click here to see it online. 

    I also used the Wrapped in Texture embossing folder for the front layer, which is 5 1/4" X 3". See them here. 

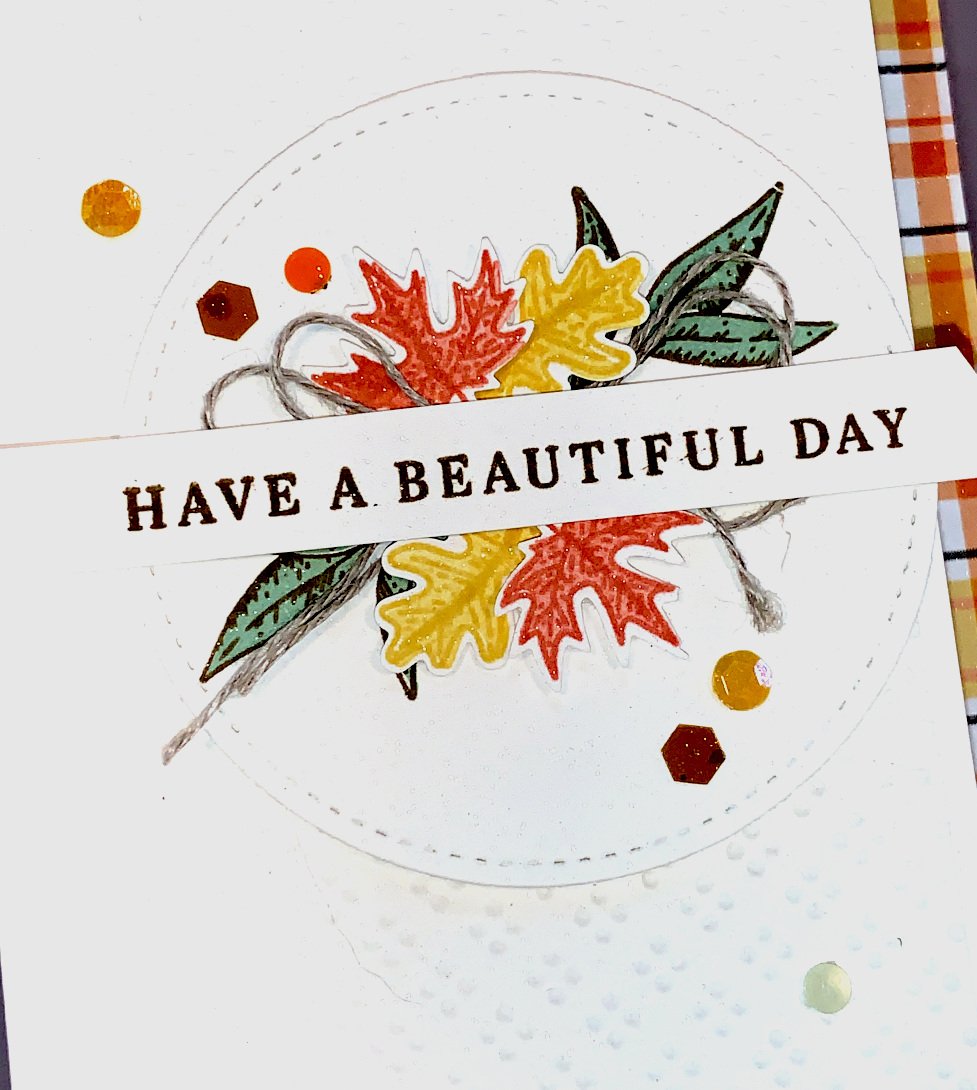
    Look at the detailed punched images here!   You might also notice the Sequins for Everything.  Love the variety of shapes and colors in these.  
    Here's a Facebook Live video where I shared three pretty fall cards using the Beautiful Autumn bundle.  Join me each Tuesday at 11 am  CT for my weekly Live videos here: https://bit.ly/FlowerbugFB

    ~~~

    Current Host code is QW7SUYVX

    Get a free package of new Iridescent Pearls in August with an online order over $55. 

    Order online here

     Get my Flowers for Every Season pdf tutorial free with all online order in August!

    It includes directions, photos and measurements for 12 cards!

    Redeem your $5 coupons now!  

    Leave a Reply

    Your email address will not be published. Required fields are marked *

  • Gather Together card with a cool punch trick!!


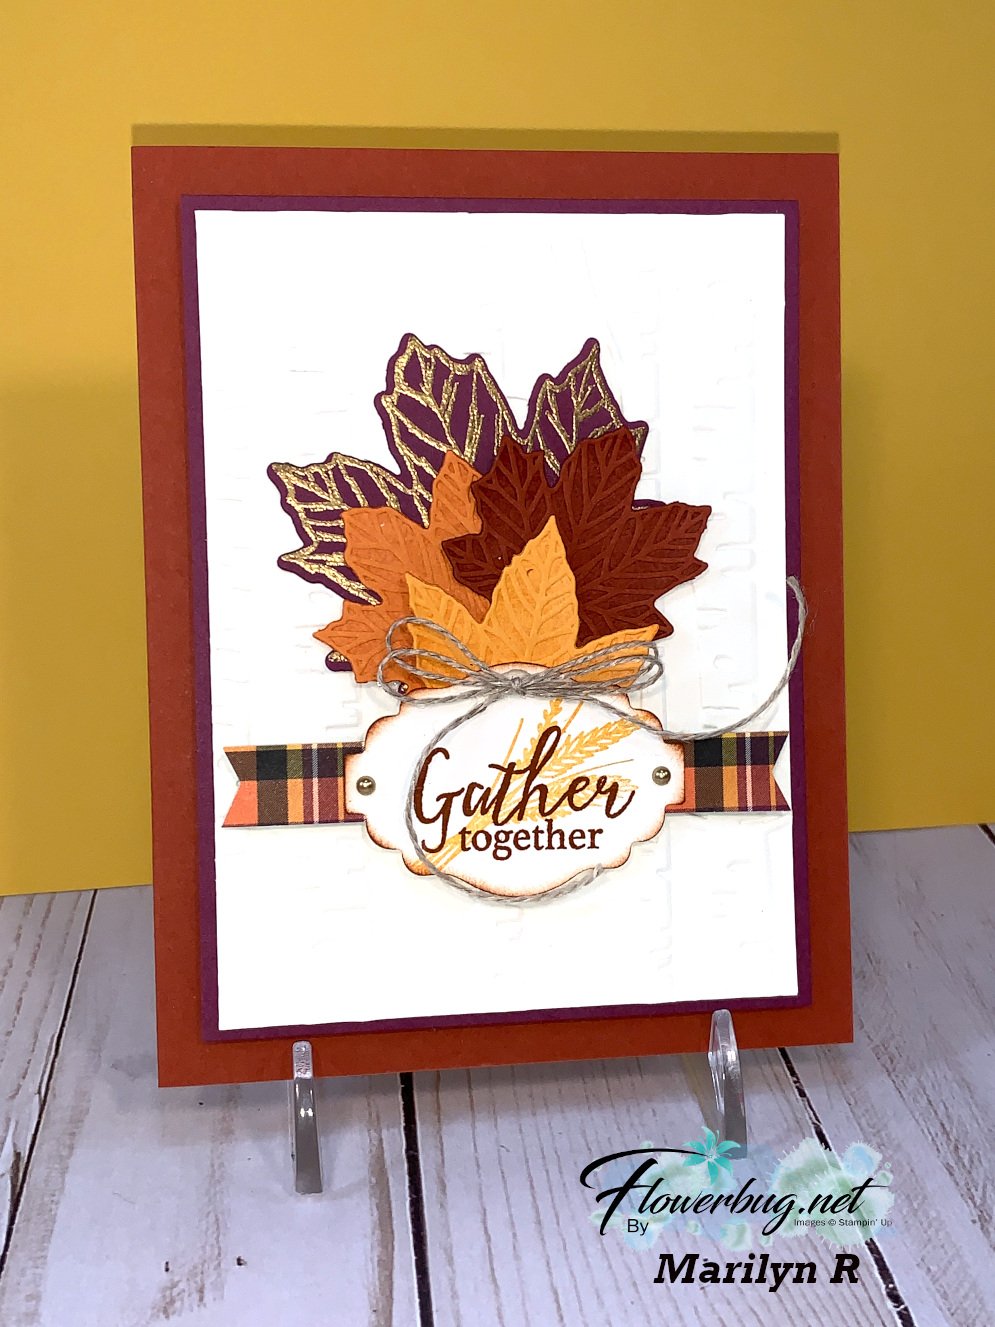
    Marilyn made this pretty card for our Team swap.  She used the Gather Together bundle in the 2020 Stampin' Up! Holiday catalog.  There are two really neat tricks you might not notice at first glance.  

    Can you spy the two special techniques here?  Keep reading and I'll share them below.

    Measurements:

    • Cajun Craze 5 1/2" X 8 1/2"
    • Very Vanilla 4 3/4" X 3 1/2"
    • Rich Razzleberry 5" X 3 3/4"
    • Plaid Tidings 1/2" X 3 3/4"

    Products Used:

    Okay, now I'll reveal her two tricks!  

    1. Can you see the changes in colors on the textured leaves?  The bottom three leaves were die-cut & embossed (done all at once!) and then spritzed with water.  The water changes the color on the leaves!  I cannot believe it's just water and no ink to get this effect.  Super cool!!
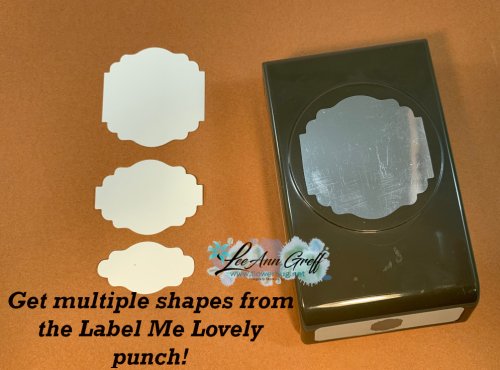
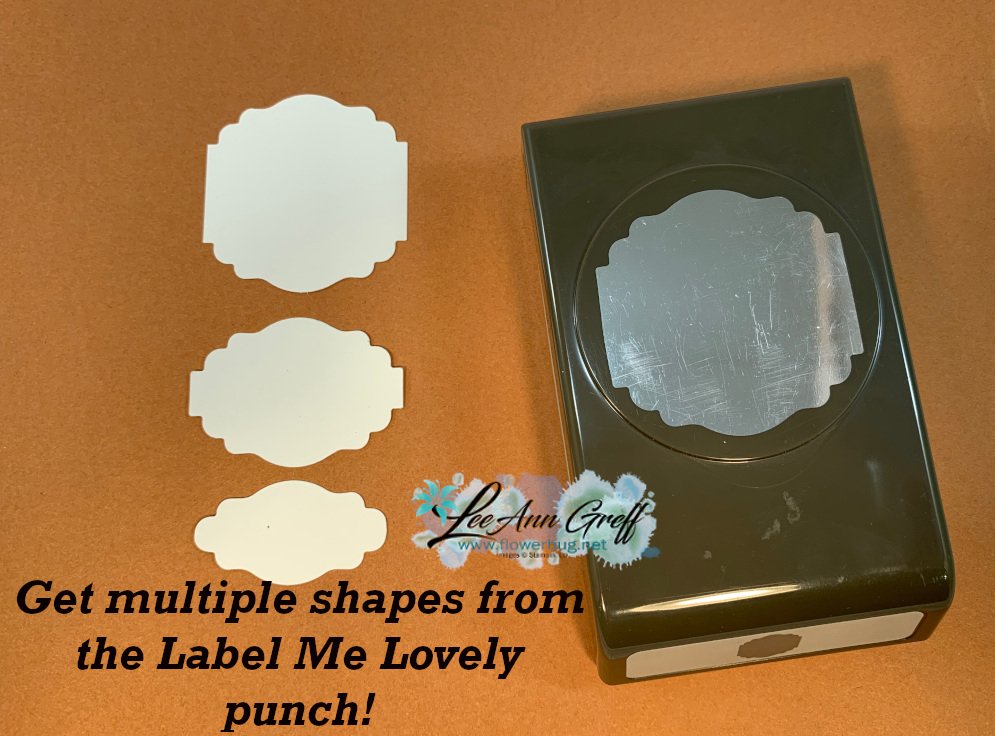
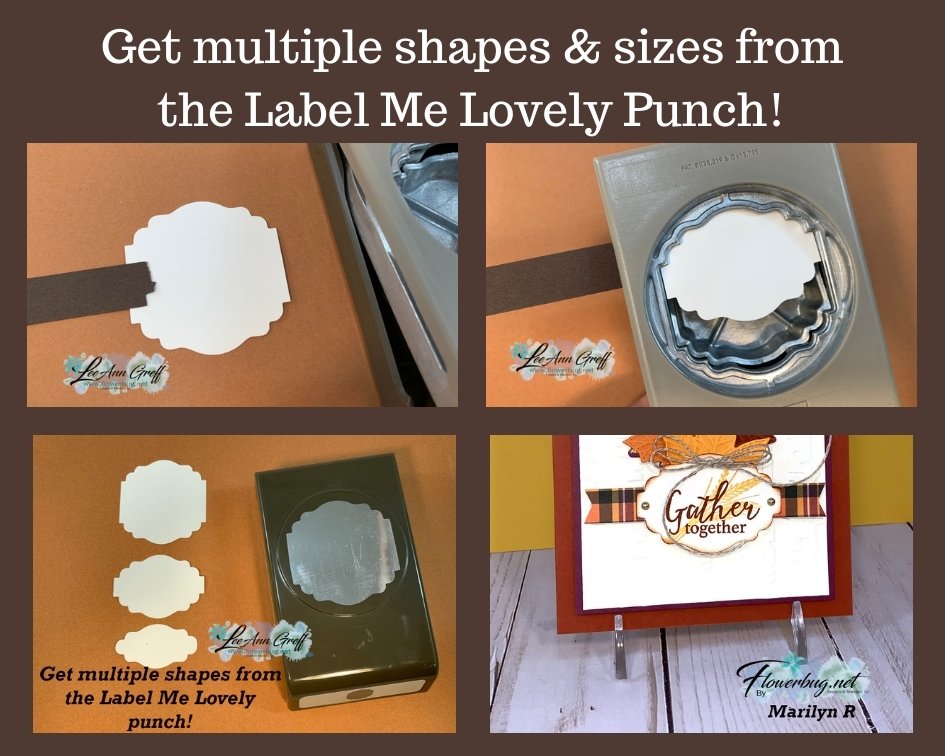
    2. Next is the greeting shape.  It's made with the Label me Lovely punch.  You can get multiple shapes from this punch.  Here's how:
    • Punch one piece out.  
    • Add a bit of adhesive to the end of a thin piece of card stock and adhere it to the punched piece. 
    • Insert the piece back into your punch and adjust it to get whatever size shape you want!  

    Here are three shapes I made with this punch.  Super neat and so versatile!  See the punch here. 

    ~~~

    Current Host code is QW7SUYVX

    Get a free package of new Iridescent Pearls in August with an online order over $55. 

    Order online here

     Get my Flowers for Every Season pdf tutorial free with all online order in August!


    It includes directions, photos and measurements for 12 cards!

    Redeem your $5 coupons now!  

    Leave a Reply

    Your email address will not be published. Required fields are marked *


Notice: LeeAnn Greff, Independent Stampin’ Up! Demonstrator, Manager. The content of this website is my sole responsibility as an independent Stampin’ Up! demonstrator and the use of, and content of, the classes, services, or products offered on this website is not endorsed by Stampin’ Up! Copyright 2025