/


Latest Post

Luxe Foliage Window Z-fold with free project sheet & video tutorial


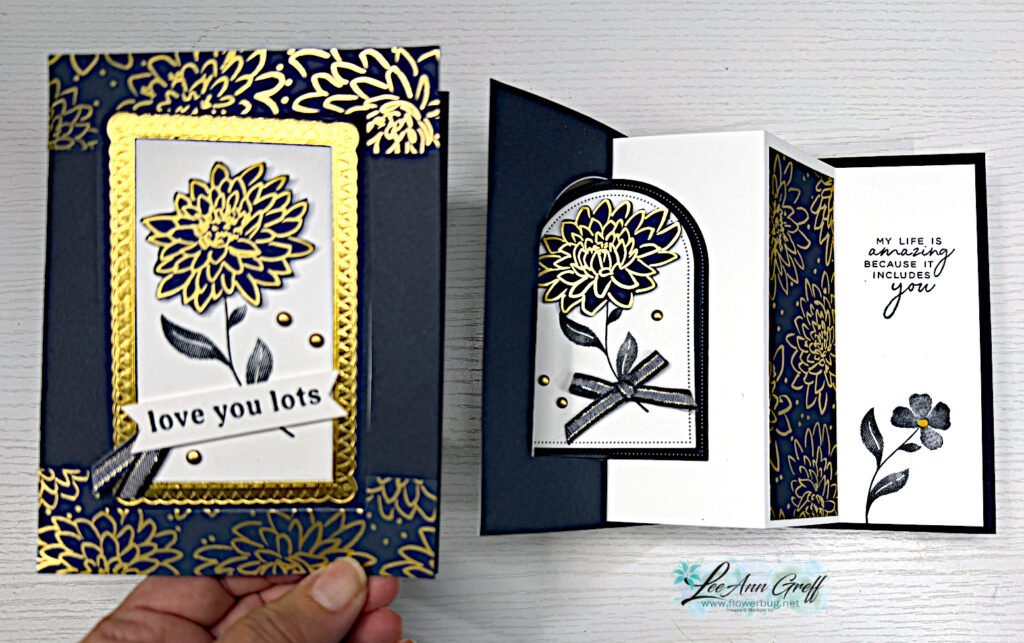
I just love this card I made for last week’s video! It features the exclusive Luxe Foliage specialty designer series paper.
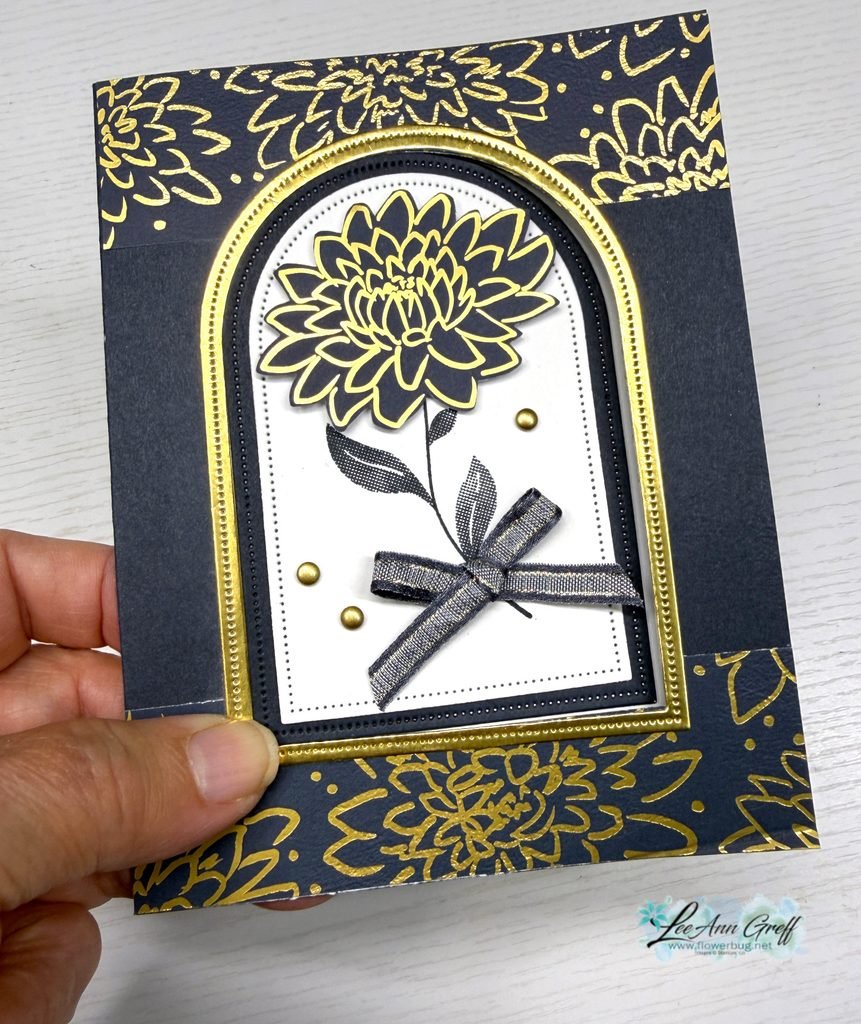
Gorgeous, right? I cased this fold from my friend Susie Wood. I get so many fun fold ideas from her. Check out her blog here.

This stunning Luxe Foliage DSP is a Product of the Month and available while supplies last. See it here. You can redeem it for just $5 once your order reaches the $75 mark. There are 4 sheets of each pattern in this pack!
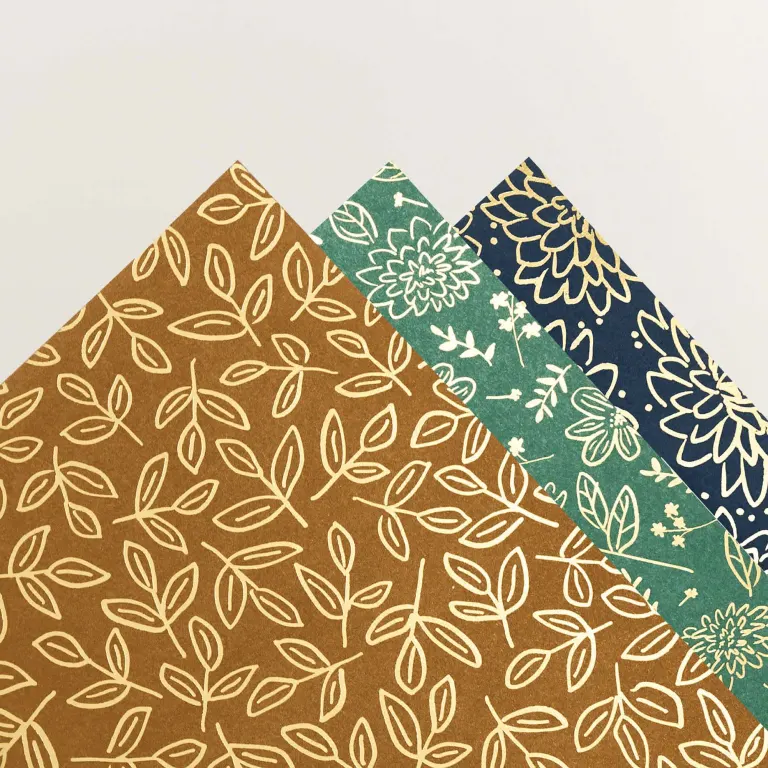
I paired it with Secret Sea, Gold foil and White here. On this card I used the Everyday Arches dies for the window and the Tile Garden stamp set for the leaves/stem.
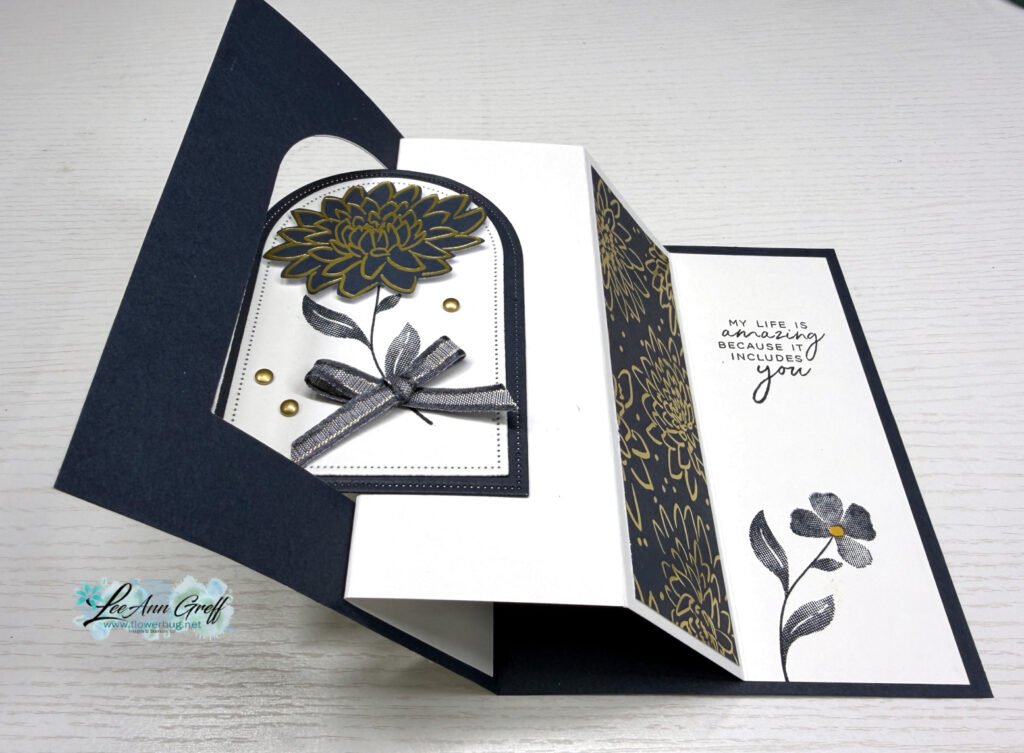
This card involves die-cutting a window in the front layer of your card and reusing it on the inside scored White layer. You can catch on to how it opens in the above photo but it may help a lot if you watch the video here.

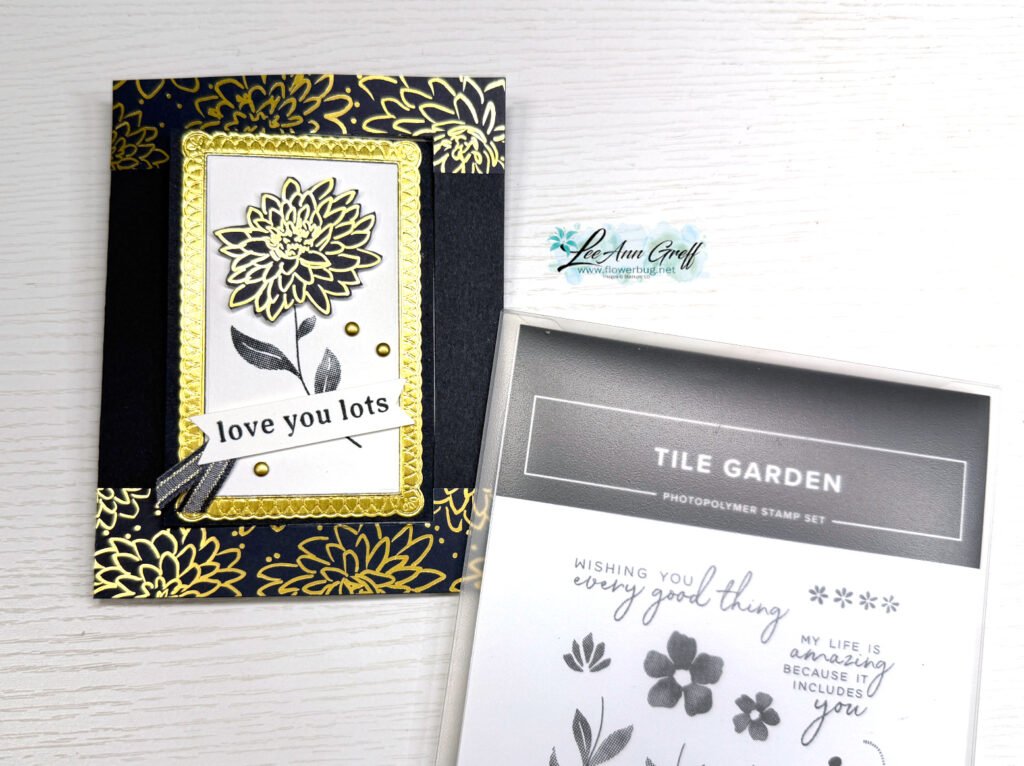
On the left card below I used a different set of dies for my window. First the Tile Garden dies to create a rectangle window. Yes; these dies are square…. so I cut a second time to create the rectangle window. The Gold textured frame is made with the Phrases & Frames dies seen here.
I fussy cut the gold/Secret Sea flower for the front layer. I love the images in the Tile Garden bundle; they have a texture to them.
I created a free project sheet for this card. Click here to download or print it.

Below is the video tutorial; I hope it helps you in understanding how this is done. It is much easier than it looks!

There’s a new Product of the Month for September.
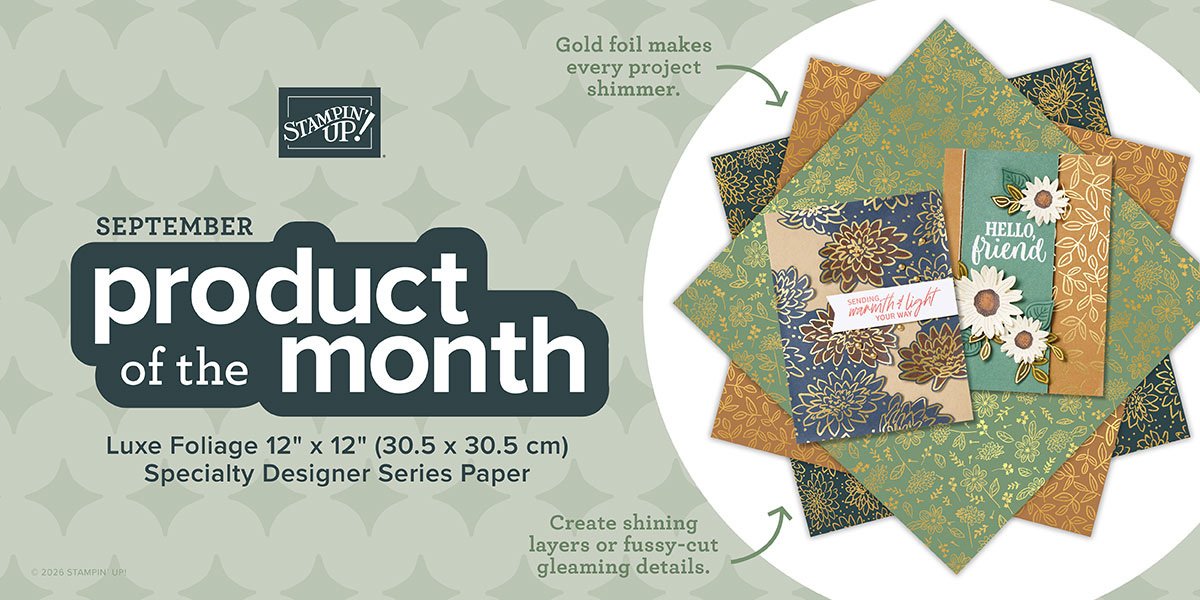
It’s called Luxe Foliage Specialty Designer paper and can be seen here. It’s yours for just $5 once your order reaches the $75 point.

There is also a few new kits in our Kit Collection too. You can see it all here!
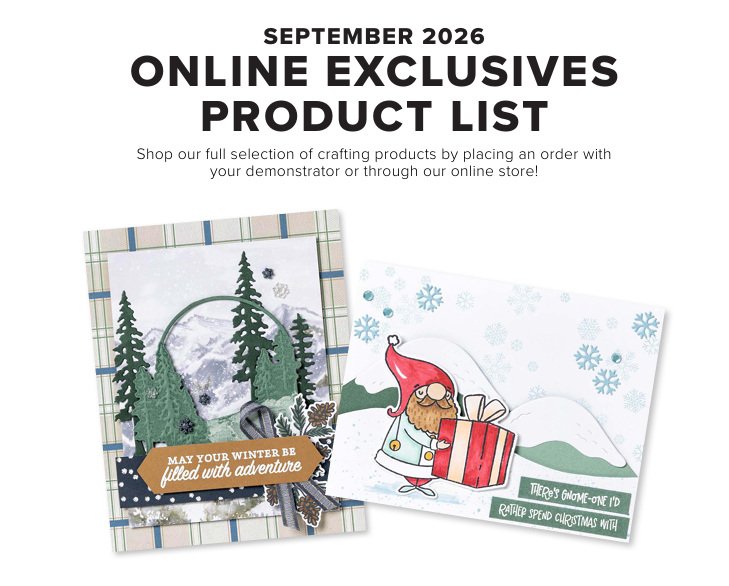
There are new Online Exclusives! Click here to see them.
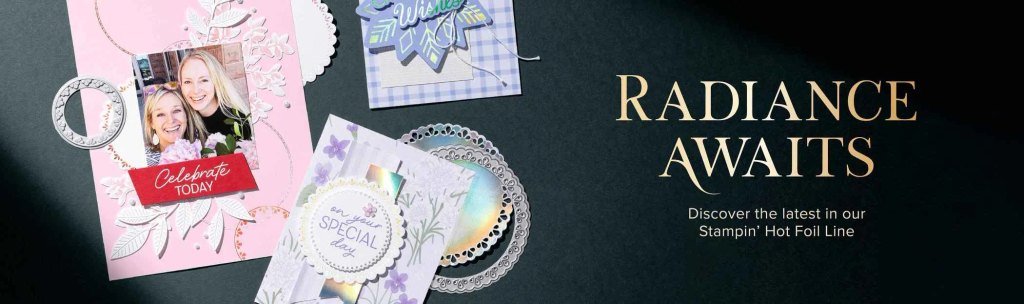
New Hot Foil products are here! Check them out here.
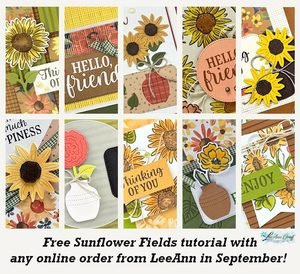
Get this free Sunflower PDF tutorial with ANY online purchase from me in September! Gorgeous cards in this one!
All Posts

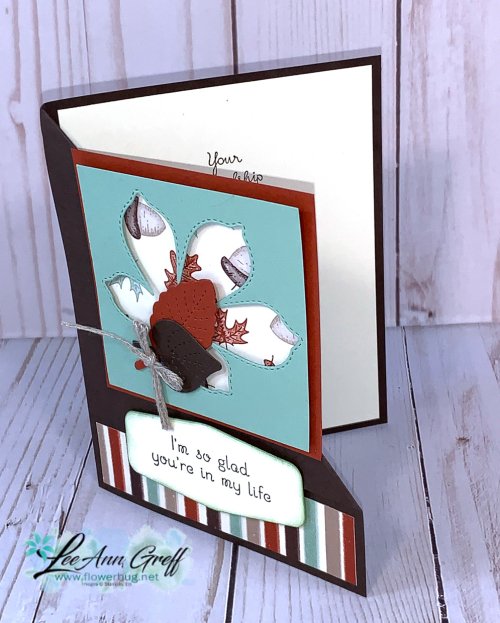
  • Love of Leaves Fun-Fold card with video!


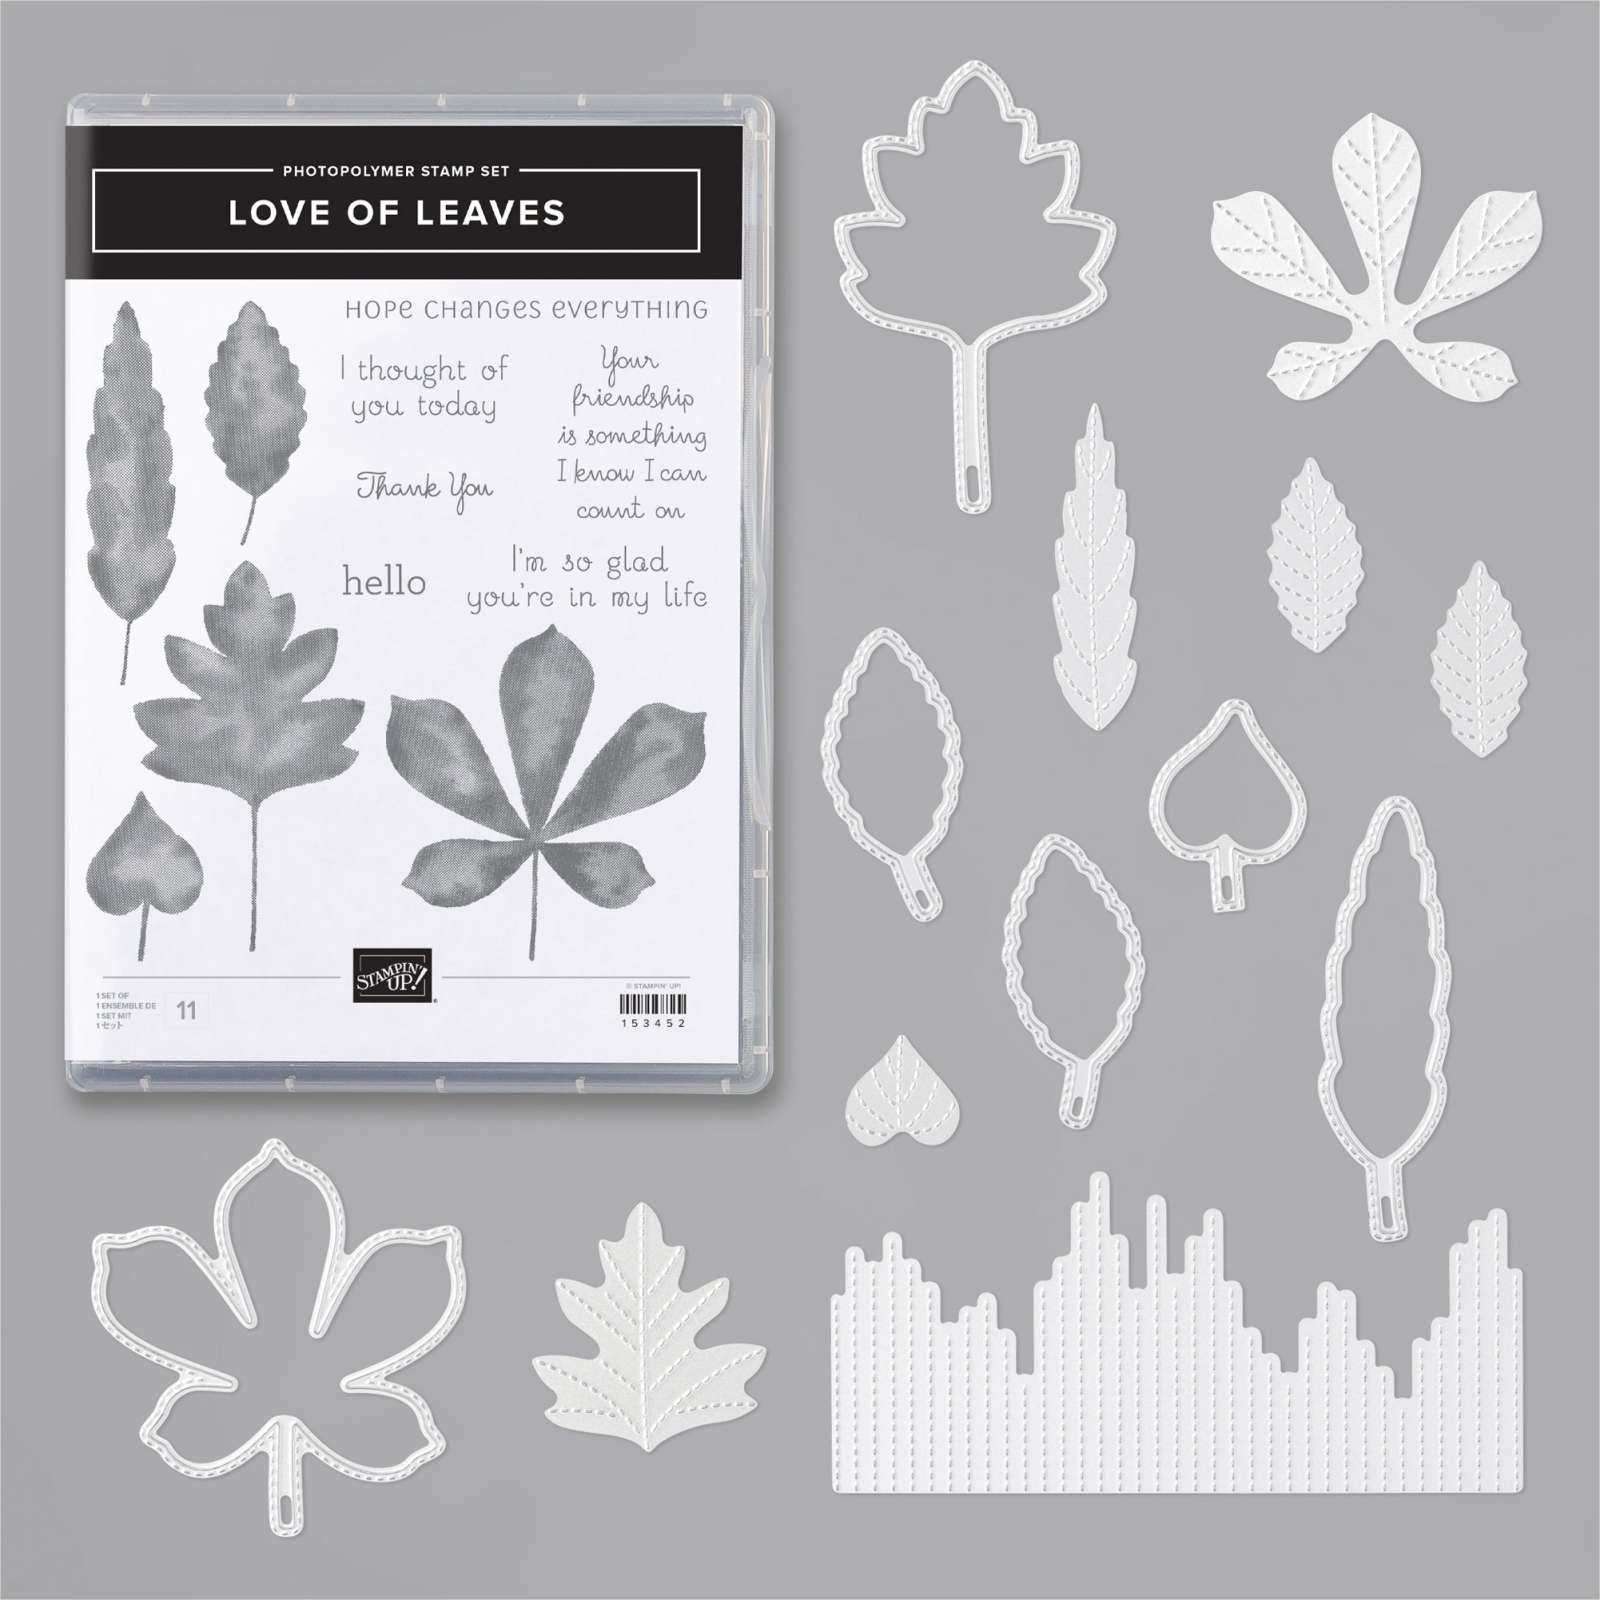
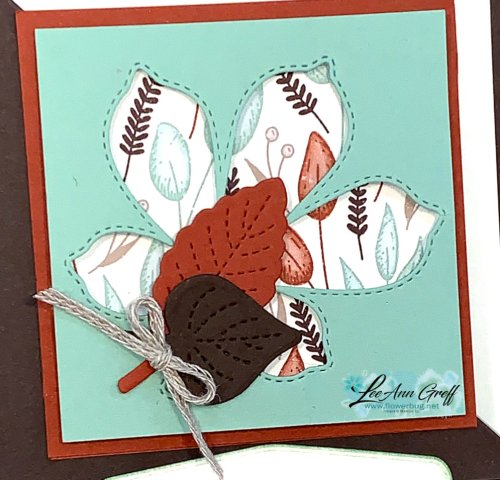
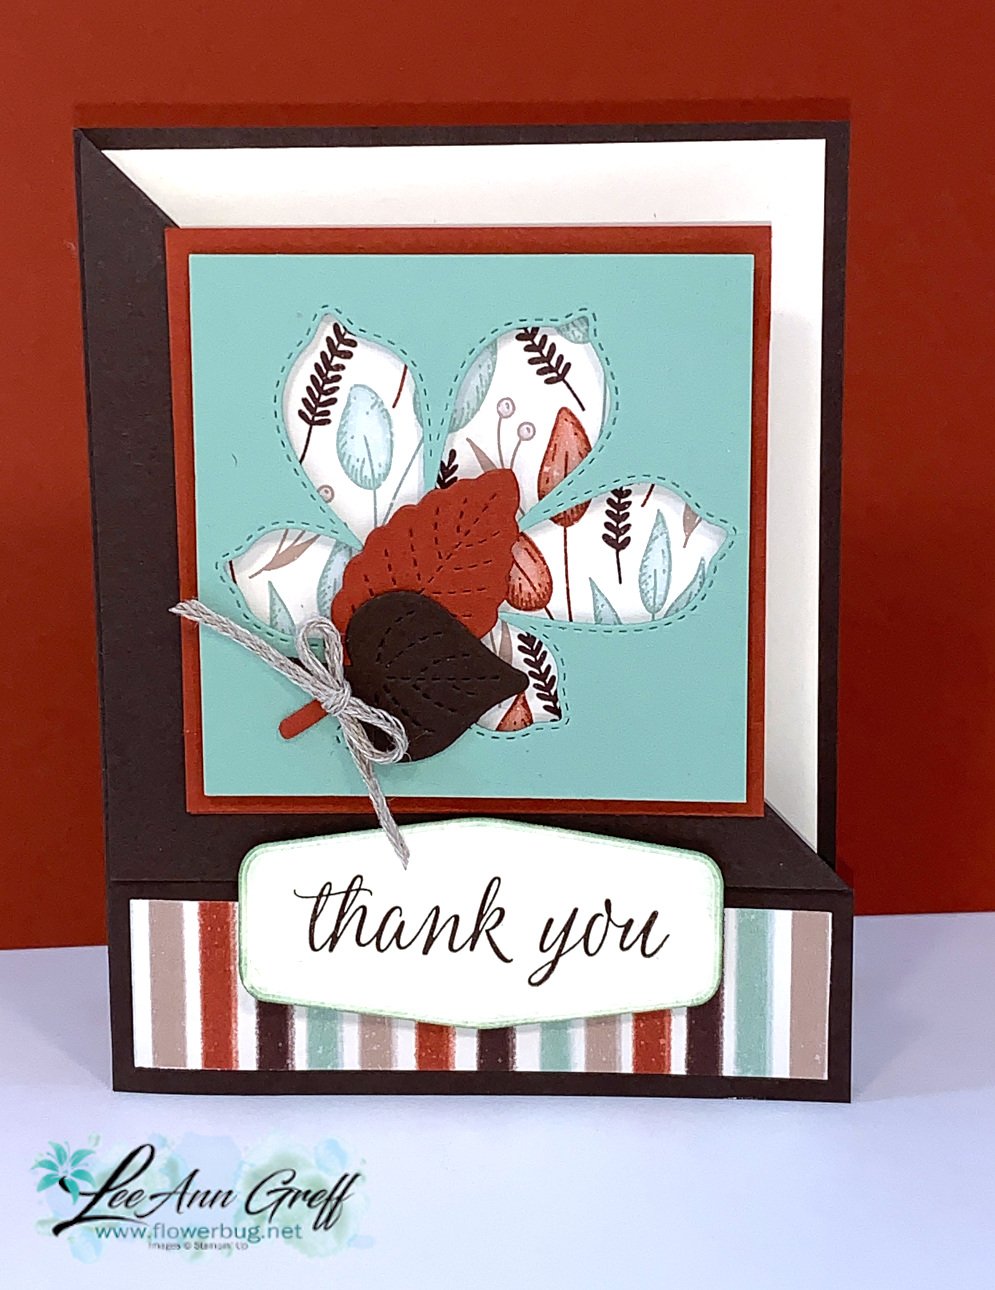
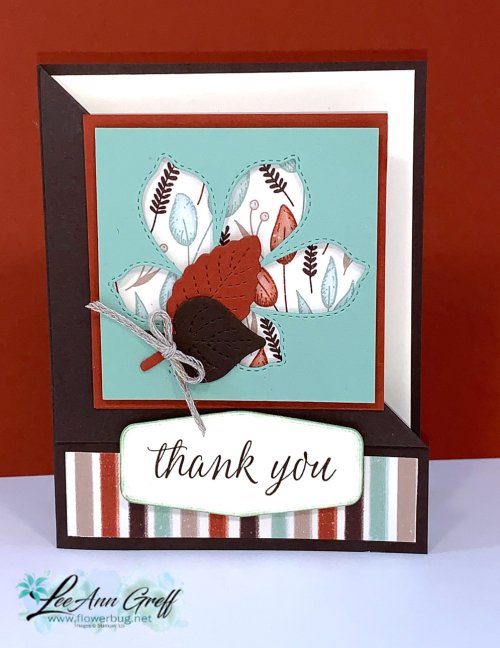
    Check out this fun diagonal fun-fold card!  It features the Love of Leaves bundle and the Gilded Autumn Specialty designer paper. 

    I used the colors in the designer paper; Early Espresso, Cajun Craze, Mint Macaron & Vanilla.  Check out the measurements below:

    I absolutely love the stitched details in the Stitched Leaves dies!  They're amazing and really add to the finished project. 

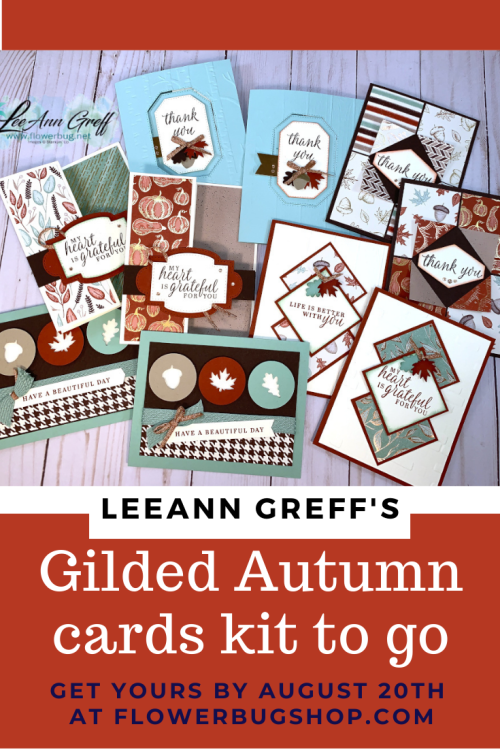
    I'm featuring this gorgeous designer paper in my September Cards kit to go.  Check it out here and opt in by Sunday the 20th! You get $20 in product and 10 pre-cut cards for just $28.00!  They feature fall colors with a few unique folds too.


    Watch the video below to get some quick tips on making this pretty fall themed card. 


    ~~~

    Current Host code is 7VPEDARH

    Get a free package of All the Trimming embellishments in September with an

    online order over $55. 

    *Remember that if your order is over $99 you should consider purchasing the Starter kit here.

    And if it's over $150 you should definitely get the Starter kit.  

    Order online here

     Get my Beautiful Autumn pdf tutorial free with any online order in September!


    It includes directions, photos and measurements for 13 cards!


    Leave a Reply

    Your email address will not be published. Required fields are marked *

  • Wow! Halloween Scenic cards with Life is Beautiful stamp set with video!


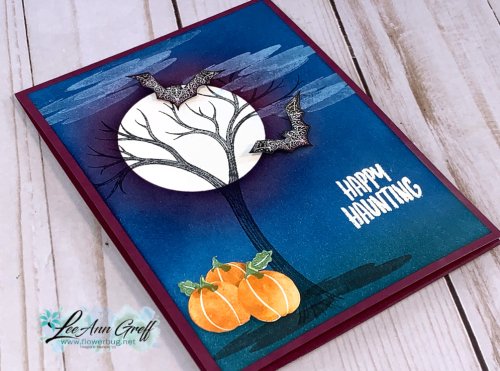
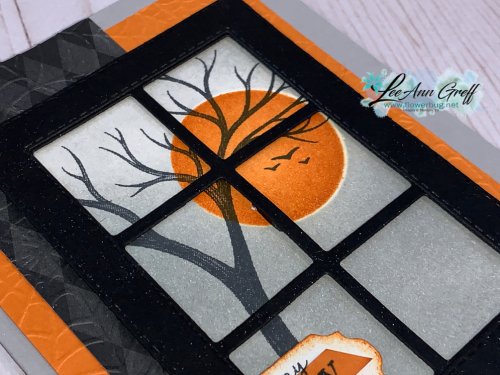
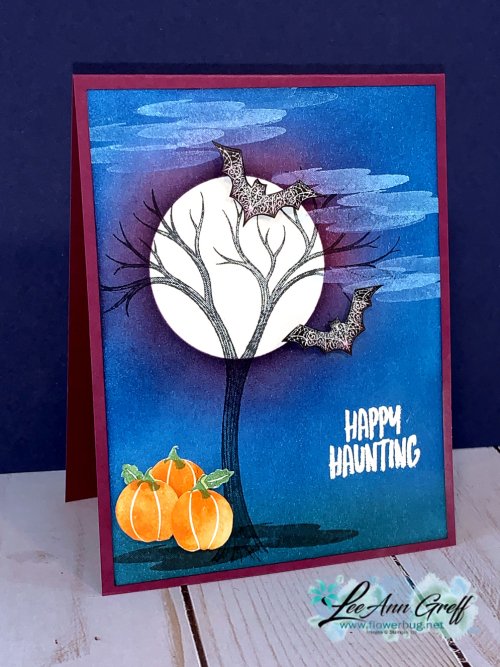
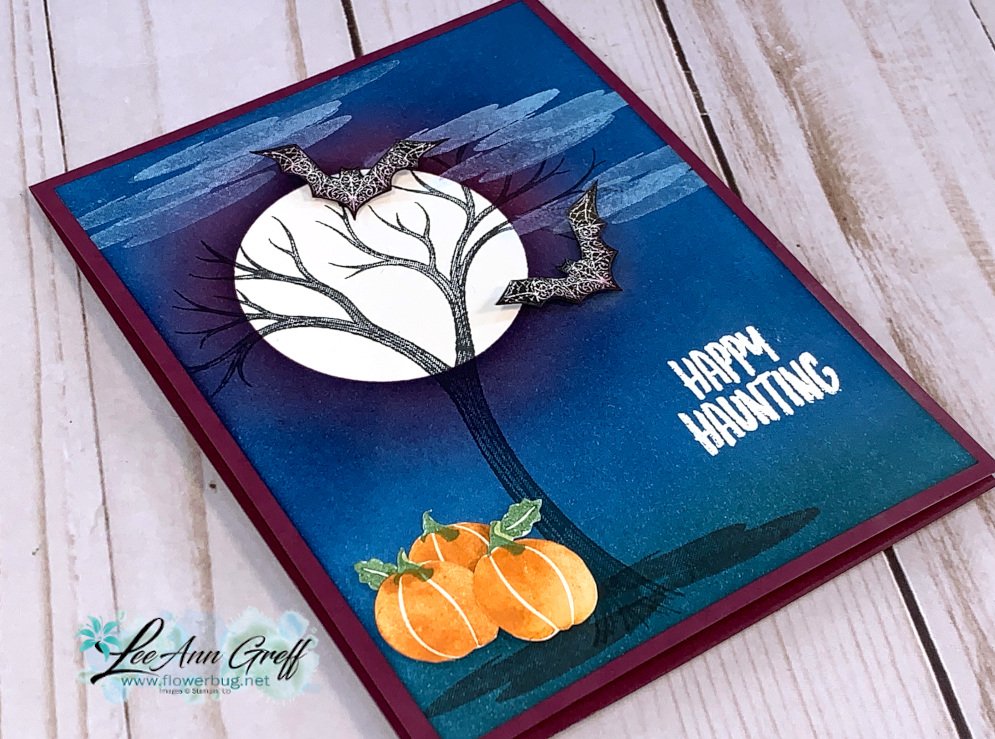
    I am pretty pleased of these two cards I shared on Facebook Live yesterday.  I've been wanting to make some spooky Halloween cards with my Life is Beautiful stamp set and think they turned out amazing, IF I do say so myself!  

    This first one features a bright, white moon with a halo of purple around it.  I used a 2" circle punched 'mask' and sponged the Rich Razzleberry and Pacific Point background.  You can get my easy sponging tips in the video below. 

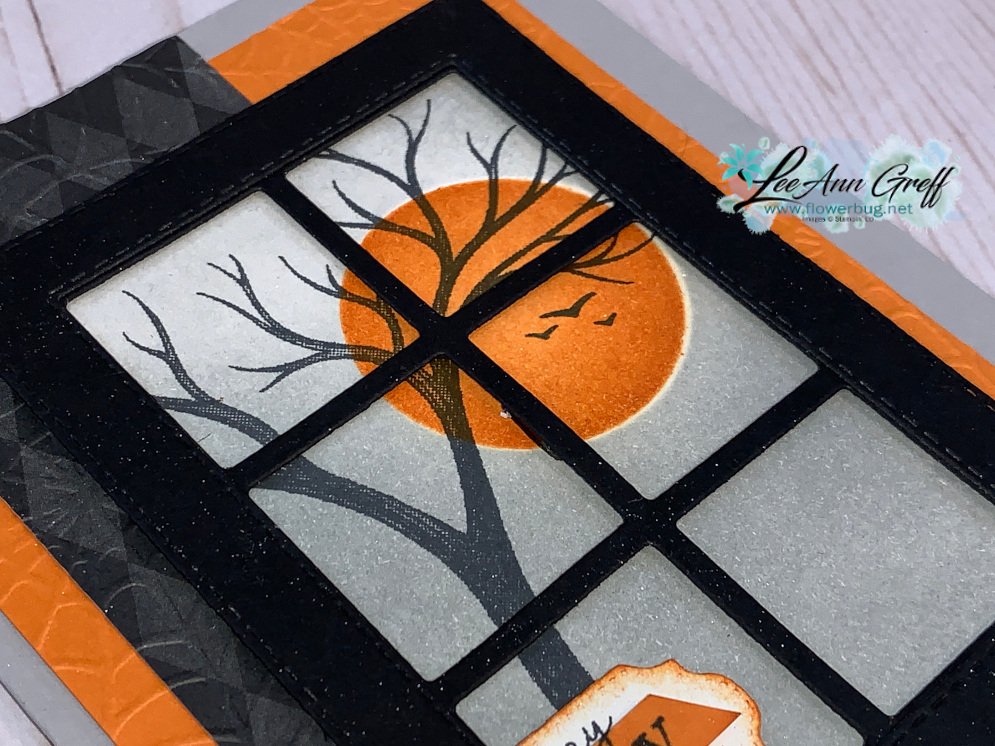
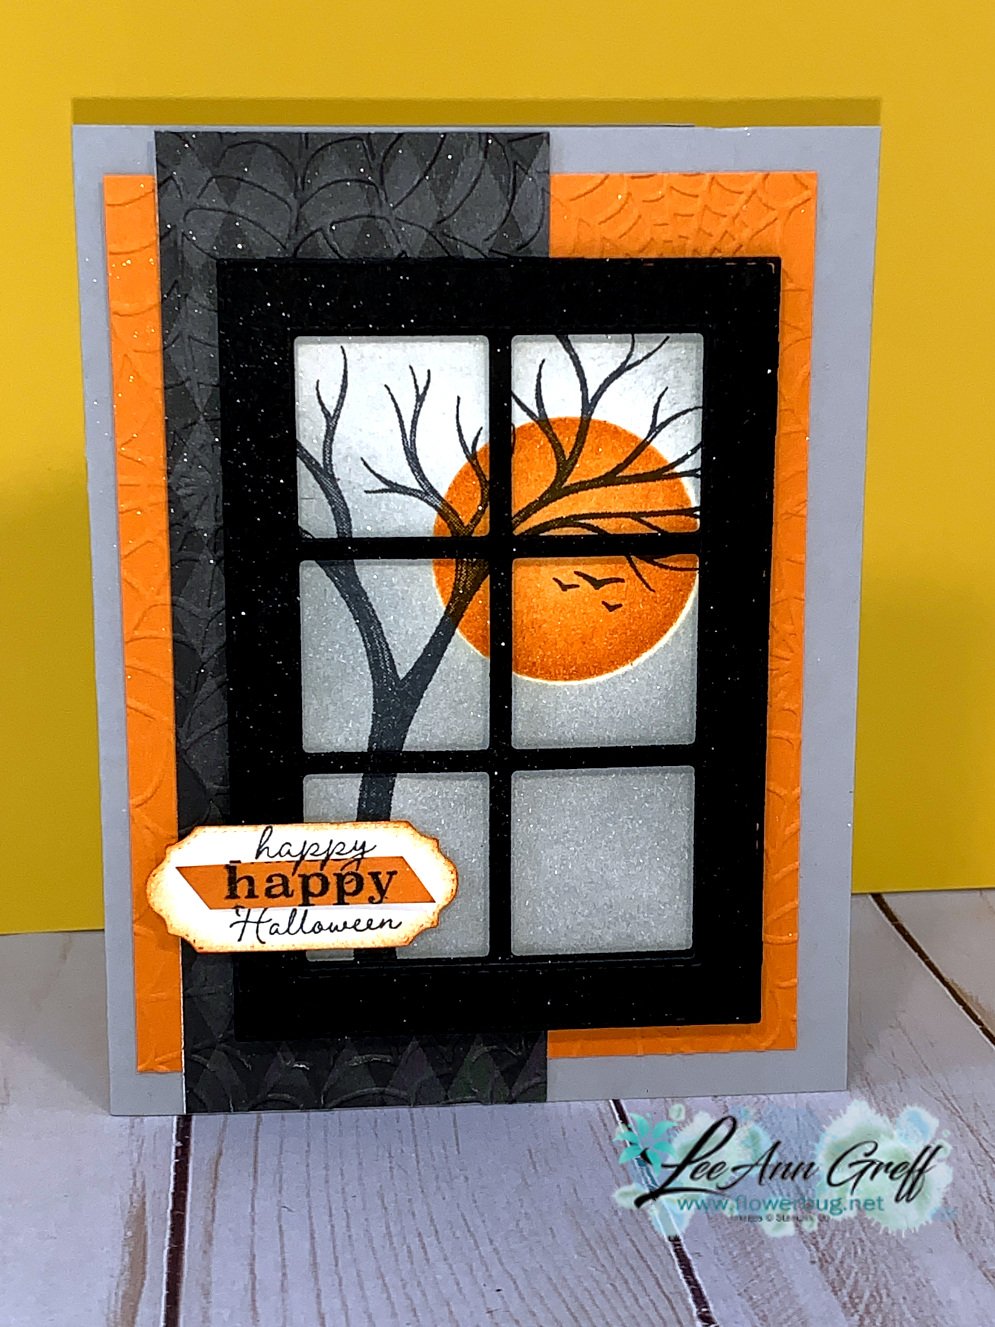
    Here I created a window scene with the Stitched Rectangle and Plaid Builder dies.  I share my quick method of creating this window in the video below. 

    I LOVE creating scenes with sponged backgrounds and the Life is Beautiful stamp set is perfect for it!  I used the following inks on the card above: Pacific Point, Rich Razzleberry, Black, Craft White and Pretty Peacock. 

    Do you like the White clouds?  I used the same image on the ground as I did on the clouds.  Love the versatility of this stamp! The pumpkins and greeting are from the Banner Year stamp set. 

    The colors above are Smoky Slate, Black and Pumpkin Pie.  I used a bit of Magic in This Night DSP, the Cobweb embossing folder and Plaid Builder, Stitched Rectangles and Ornate Frames dies.  The little birds are from the Mountain View stamp set. 

    I hope you enjoy watching the video below!  

    ~~~

    Current Host code is HYSHW6QB

    Get a free package of All the Trimming embellishments in September with an

    online order over $55. 

    *Remember that if your order is over $99 you should consider purchasing the Starter kit here.

    And if it's over $150 you should definitely get the Starter kit.  

    Order online here

     Get my Beautiful Autumn pdf tutorial free with any online order in September!


    It includes directions, photos and measurements for 13 cards!


    Leave a Reply

    Your email address will not be published. Required fields are marked *

  • Customize your cards with the Playful Alphabet!


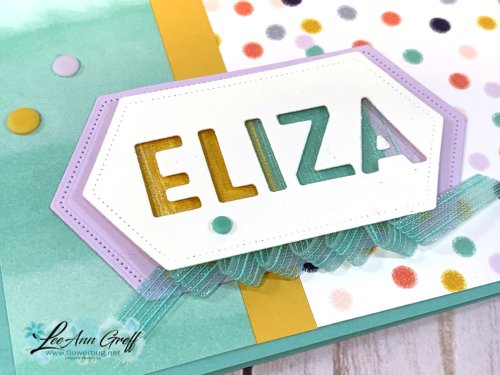
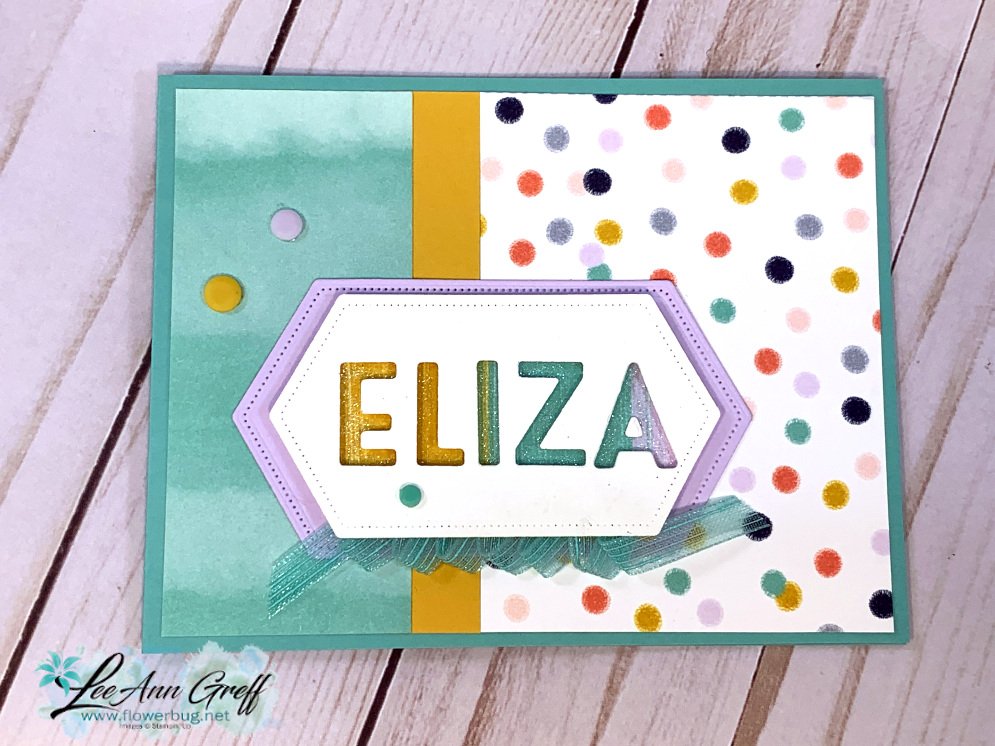
    Who doesn't like a customized card WITH your name on it!  You won't find that at Hallmark!  Use the Playful Alphabet dies to create a one of a kind card. 

    I made this for my granddaughter Eliza. She is almost 7 and loves anything with her name on it. 

    The color palette was chosen by the designer paper Playing with Patterns.  It's full of bright, unique colors and patterns.  In fact, behind her name is a piece of the paper.  The gradation of colors sure fits the card well doesn't it?  

    I used the Stitched Nested Label dies.  I cut out the letters from the White die-cut and popped that up over a strip of the DSP.  I added some Seal Plus to the bottom edge and pressed my ribbon onto that in small loops.

    Her favorite color is turquoise; just like mine!  I chose two pieces of Designer paper for the card front and separated them with a strip of Crushed Curry.  You can see these products below in my store. 

    ~~~

    Current Host code is HYSHW6QB

    Get a free package of All the Trimming embellishments in September with an

    online order over $55. 

    *Remember that if your order is over $99 you should consider purchasing the Starter kit here.

    And if it's over $150 you should definitely get the Starter kit.  

    Order online here

     Get my Beautiful Autumn pdf tutorial free with any online order in September!


    It includes directions, photos and measurements for 13 cards!


    Leave a Reply

    Your email address will not be published. Required fields are marked *


Notice: LeeAnn Greff, Independent Stampin’ Up! Demonstrator, Manager. The content of this website is my sole responsibility as an independent Stampin’ Up! demonstrator and the use of, and content of, the classes, services, or products offered on this website is not endorsed by Stampin’ Up! Copyright 2025