/


Latest Post

Luxe Foliage Window Z-fold with free project sheet & video tutorial


I just love this card I made for last week’s video! It features the exclusive Luxe Foliage specialty designer series paper.
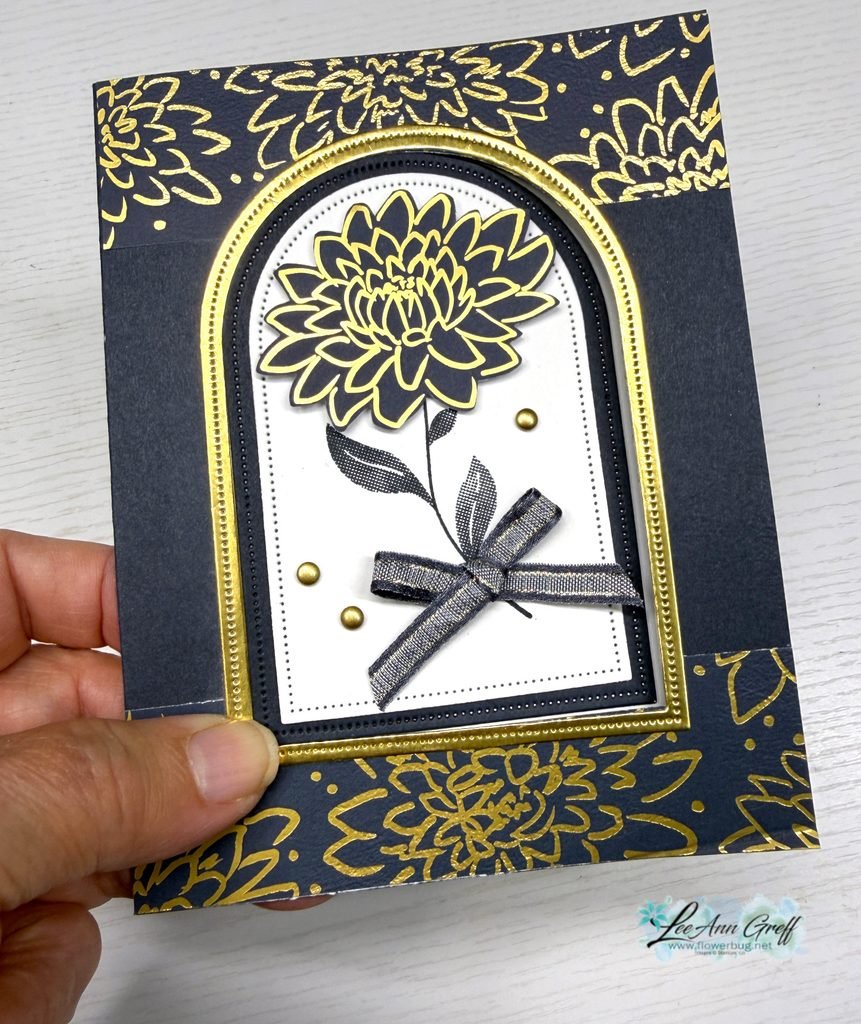
Gorgeous, right? I cased this fold from my friend Susie Wood. I get so many fun fold ideas from her. Check out her blog here.

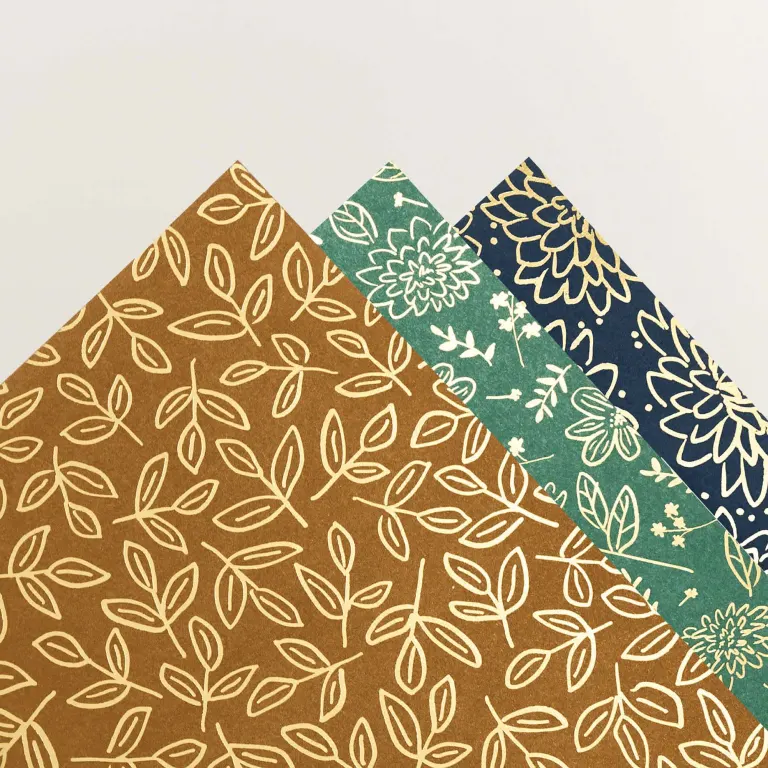
This stunning Luxe Foliage DSP is a Product of the Month and available while supplies last. See it here. You can redeem it for just $5 once your order reaches the $75 mark. There are 4 sheets of each pattern in this pack!
I paired it with Secret Sea, Gold foil and White here. On this card I used the Everyday Arches dies for the window and the Tile Garden stamp set for the leaves/stem.
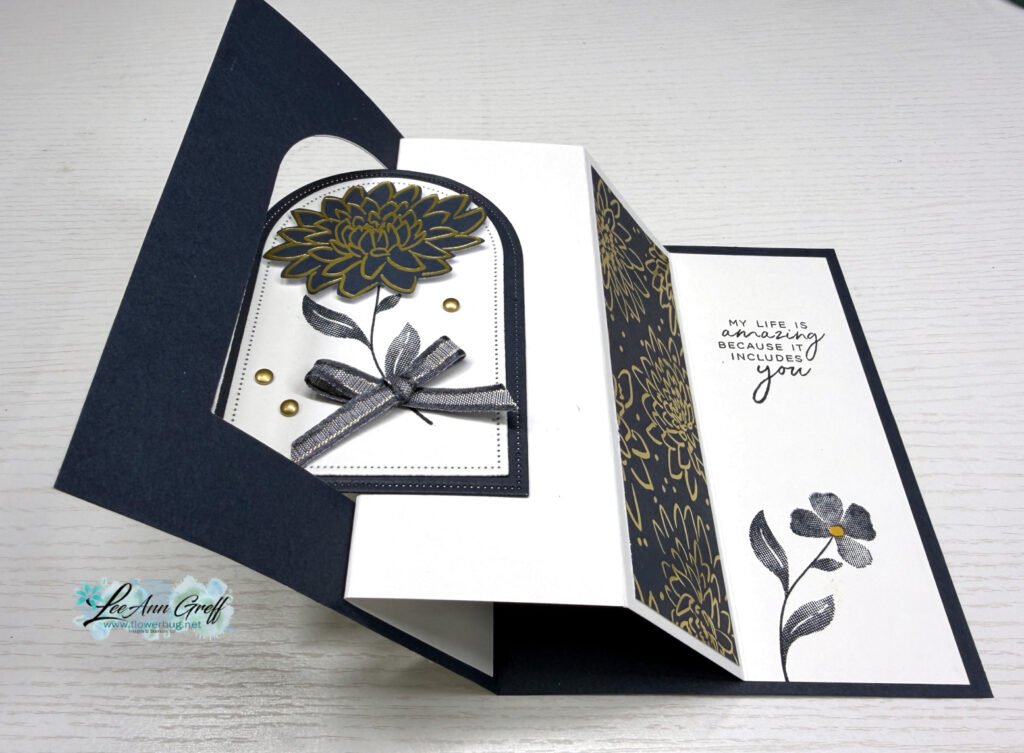
This card involves die-cutting a window in the front layer of your card and reusing it on the inside scored White layer. You can catch on to how it opens in the above photo but it may help a lot if you watch the video here.

On the left card below I used a different set of dies for my window. First the Tile Garden dies to create a rectangle window. Yes; these dies are square…. so I cut a second time to create the rectangle window. The Gold textured frame is made with the Phrases & Frames dies seen here.
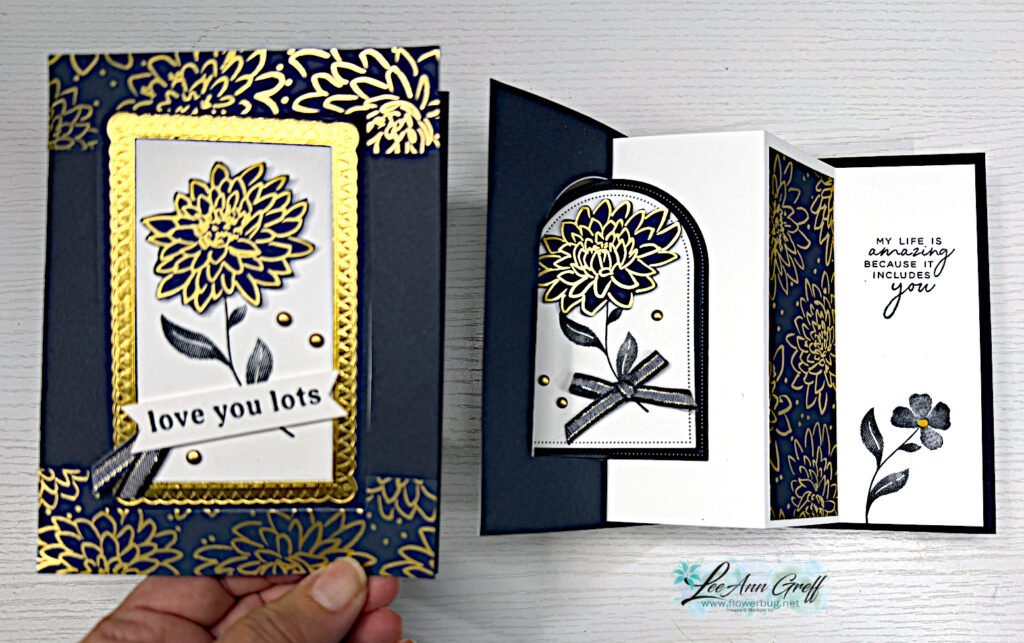
I fussy cut the gold/Secret Sea flower for the front layer. I love the images in the Tile Garden bundle; they have a texture to them.
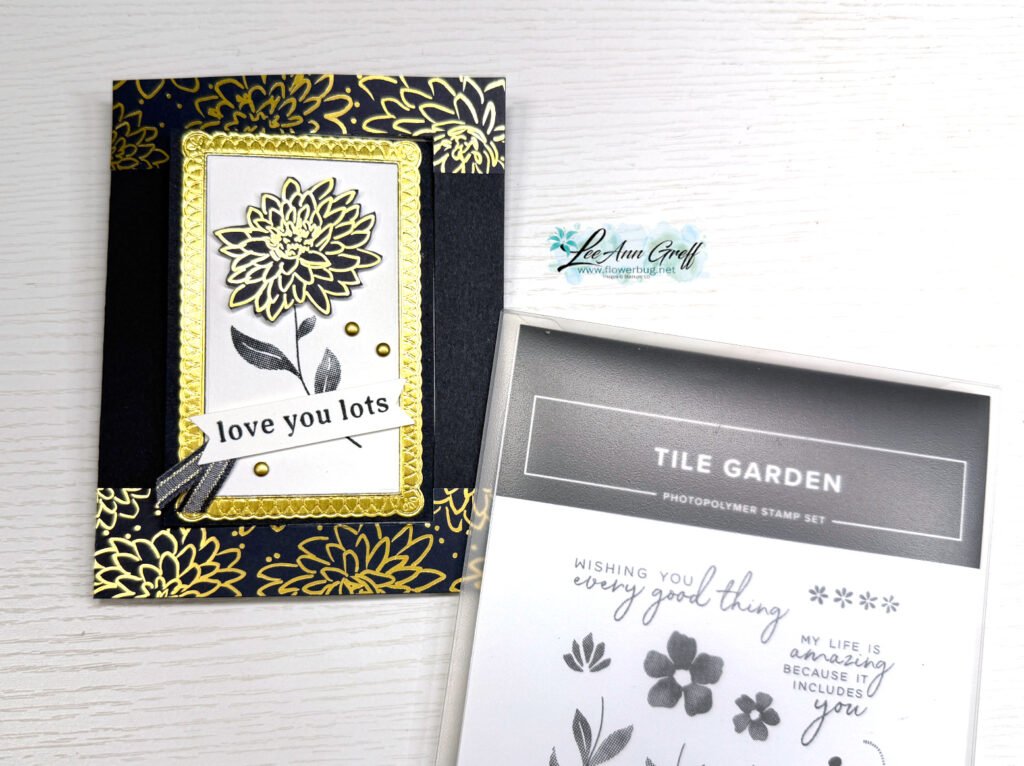
I created a free project sheet for this card. Click here to download or print it.

Below is the video tutorial; I hope it helps you in understanding how this is done. It is much easier than it looks!

There’s a new Product of the Month for September.
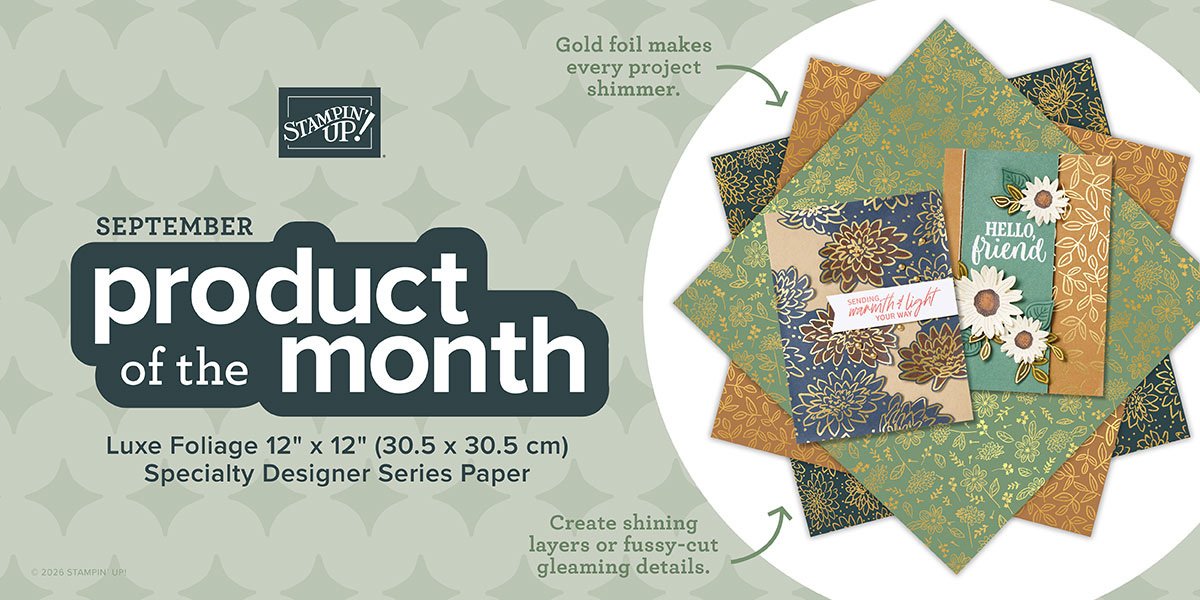
It’s called Luxe Foliage Specialty Designer paper and can be seen here. It’s yours for just $5 once your order reaches the $75 point.

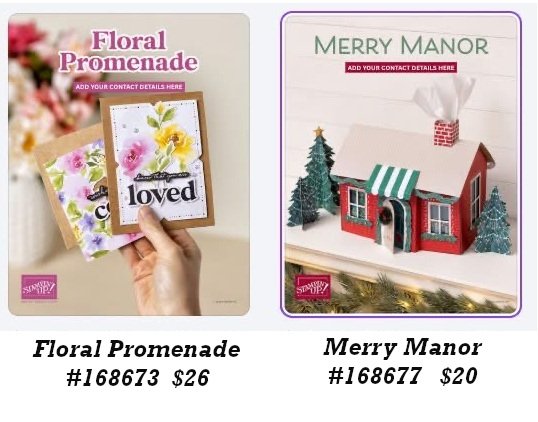
There is also a few new kits in our Kit Collection too. You can see it all here!
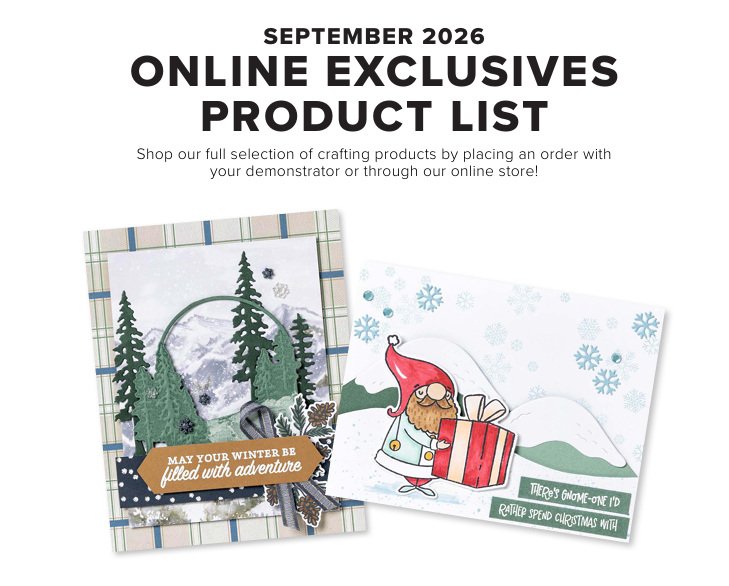
There are new Online Exclusives! Click here to see them.
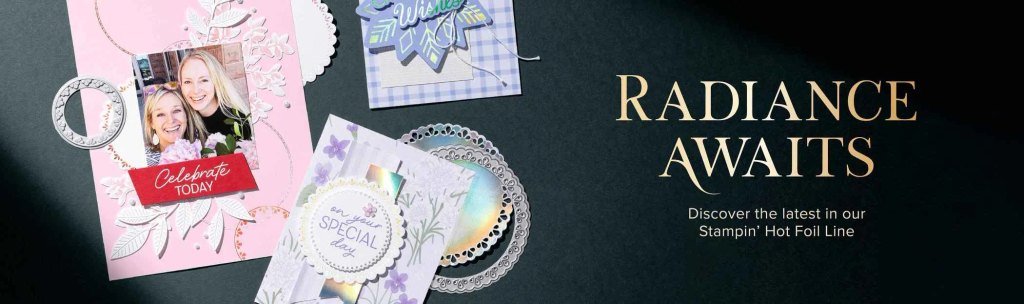
New Hot Foil products are here! Check them out here.
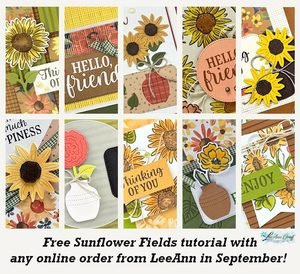
Get this free Sunflower PDF tutorial with ANY online purchase from me in September! Gorgeous cards in this one!
All Posts

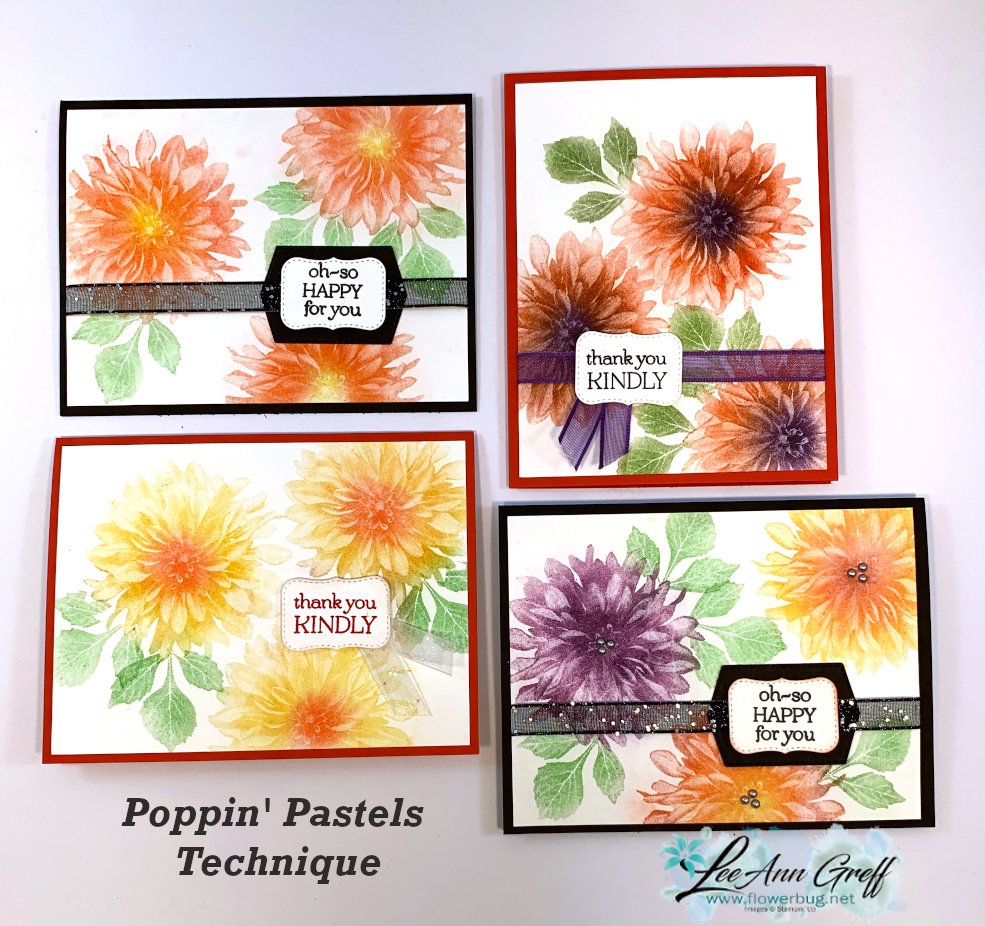
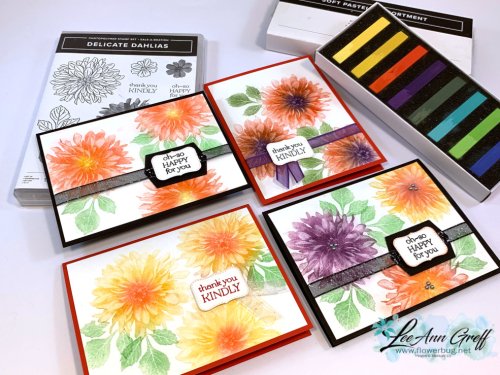
  • Poppin’ Pastels Technique with Delicate Dahlia


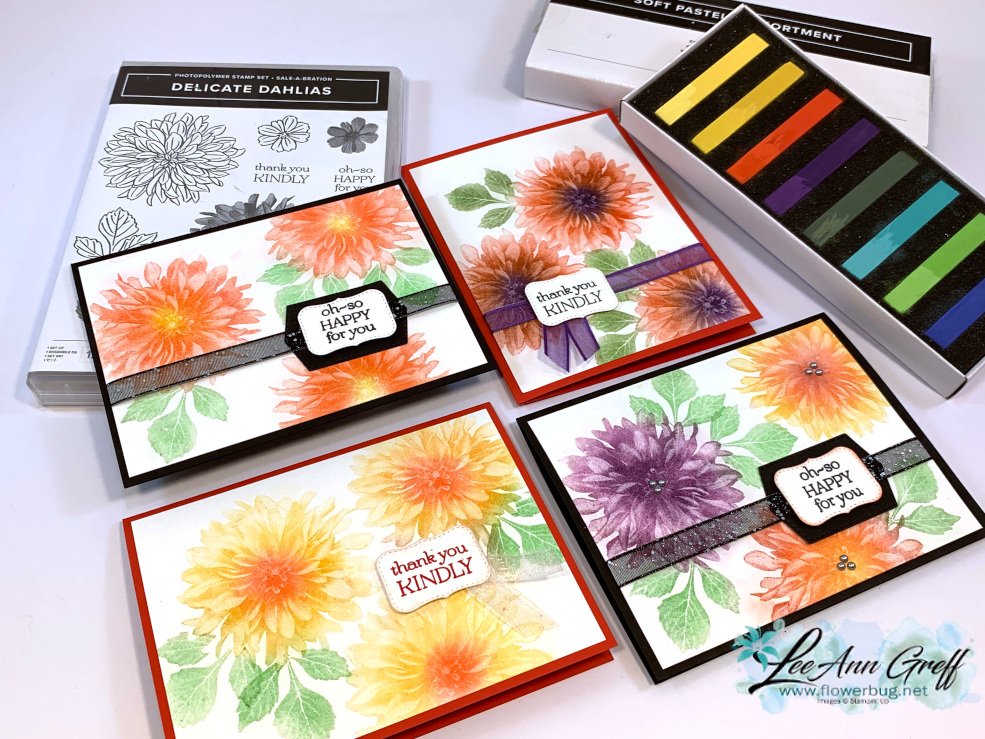
    If you've been a stamper for awhile you've likely played with chalks and the Poppin' Pastel technique.  If not, check this out!  

    You'll need just a few supplies – Chalks, Versamark ink and sponge daubers. Well, card stock too! 

    Tip – choose a solid image with a full surface.  Outline images won't work as well here. 

    Here's how it's done:

    1. Ink your image in Versamark ink and stamp on card stock. 
    2. Dab your sponge dauber in chalk (if it's firm like our new Soft Pastels you may need to scrape some off & use the dust *watch the video below).
    3. Dab over your stamped image repeatedly. Do not rub on the outer edges or it may show outside of your stamped area. 
    4. Blow or dust off excess chalk.  Done!  

    Here's the video:

    ~~~

    September Specials

    Host code: ASETFASJ or T7VSZQ64

    *click here to order

    All online orders will receive a free PDF tutorial filled with projects featuring

    the Painted Christmas Suite!

    Get a pkg. of Holiday Rhinestones with a $50 online order from me in September! 

    Order here

    BEST DEAL!

    Get a Free Bundle  from the Holiday Catalog when you choose the Starter kit!  Pick out $125 in product of your choice for just $99 and shipping is free!  


    Leave a Reply

    Your email address will not be published. Required fields are marked *

  • Easy Explosion card video tutorial with Penguin Playmates Designer Paper!


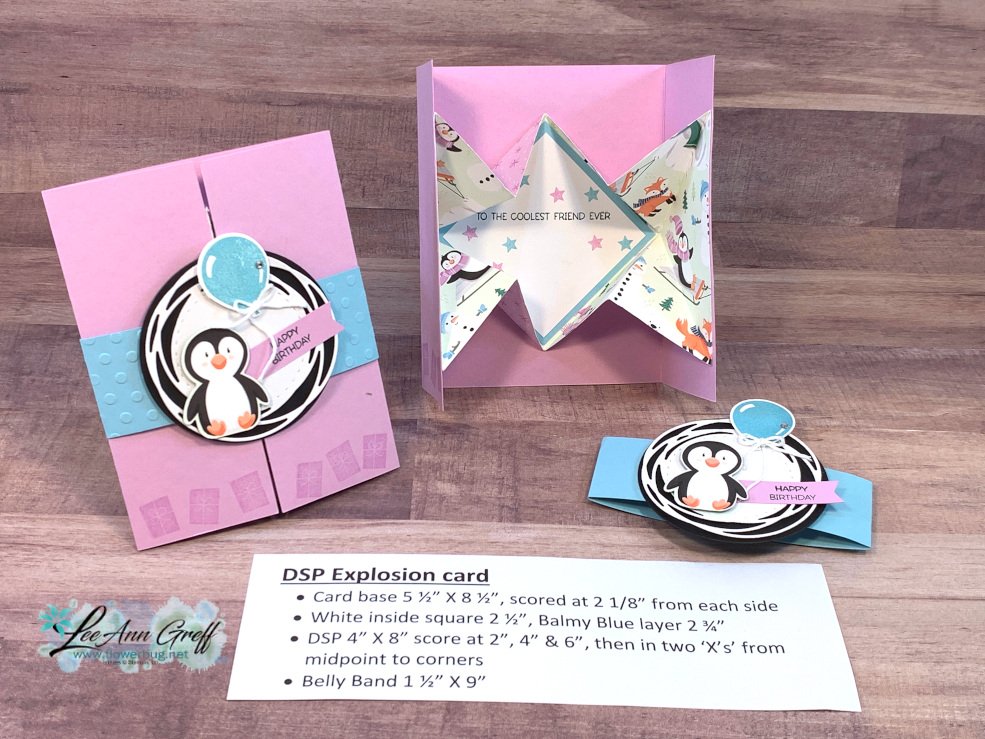
    On last Tuesday's FB Live I shared three unique fun fold cards featuring the Penguin Place bundle and the Penguin Palace designer paper.  *Follow me on Facebook here. 

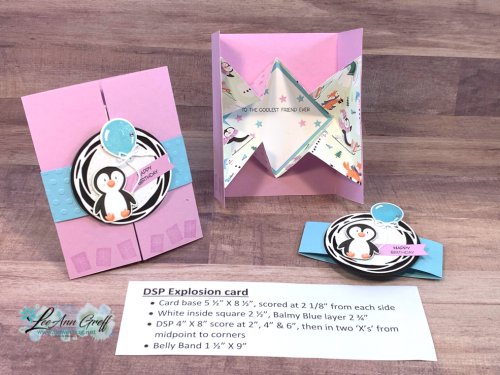
    Today I'm focusing on the Explosion card. It sure looks complicated but it's just a few score lines on a 4 X 8" piece of DSP. 

    As you can see, it's not a Christmas card.  This bundle and designer paper works well for multiple occasions.  

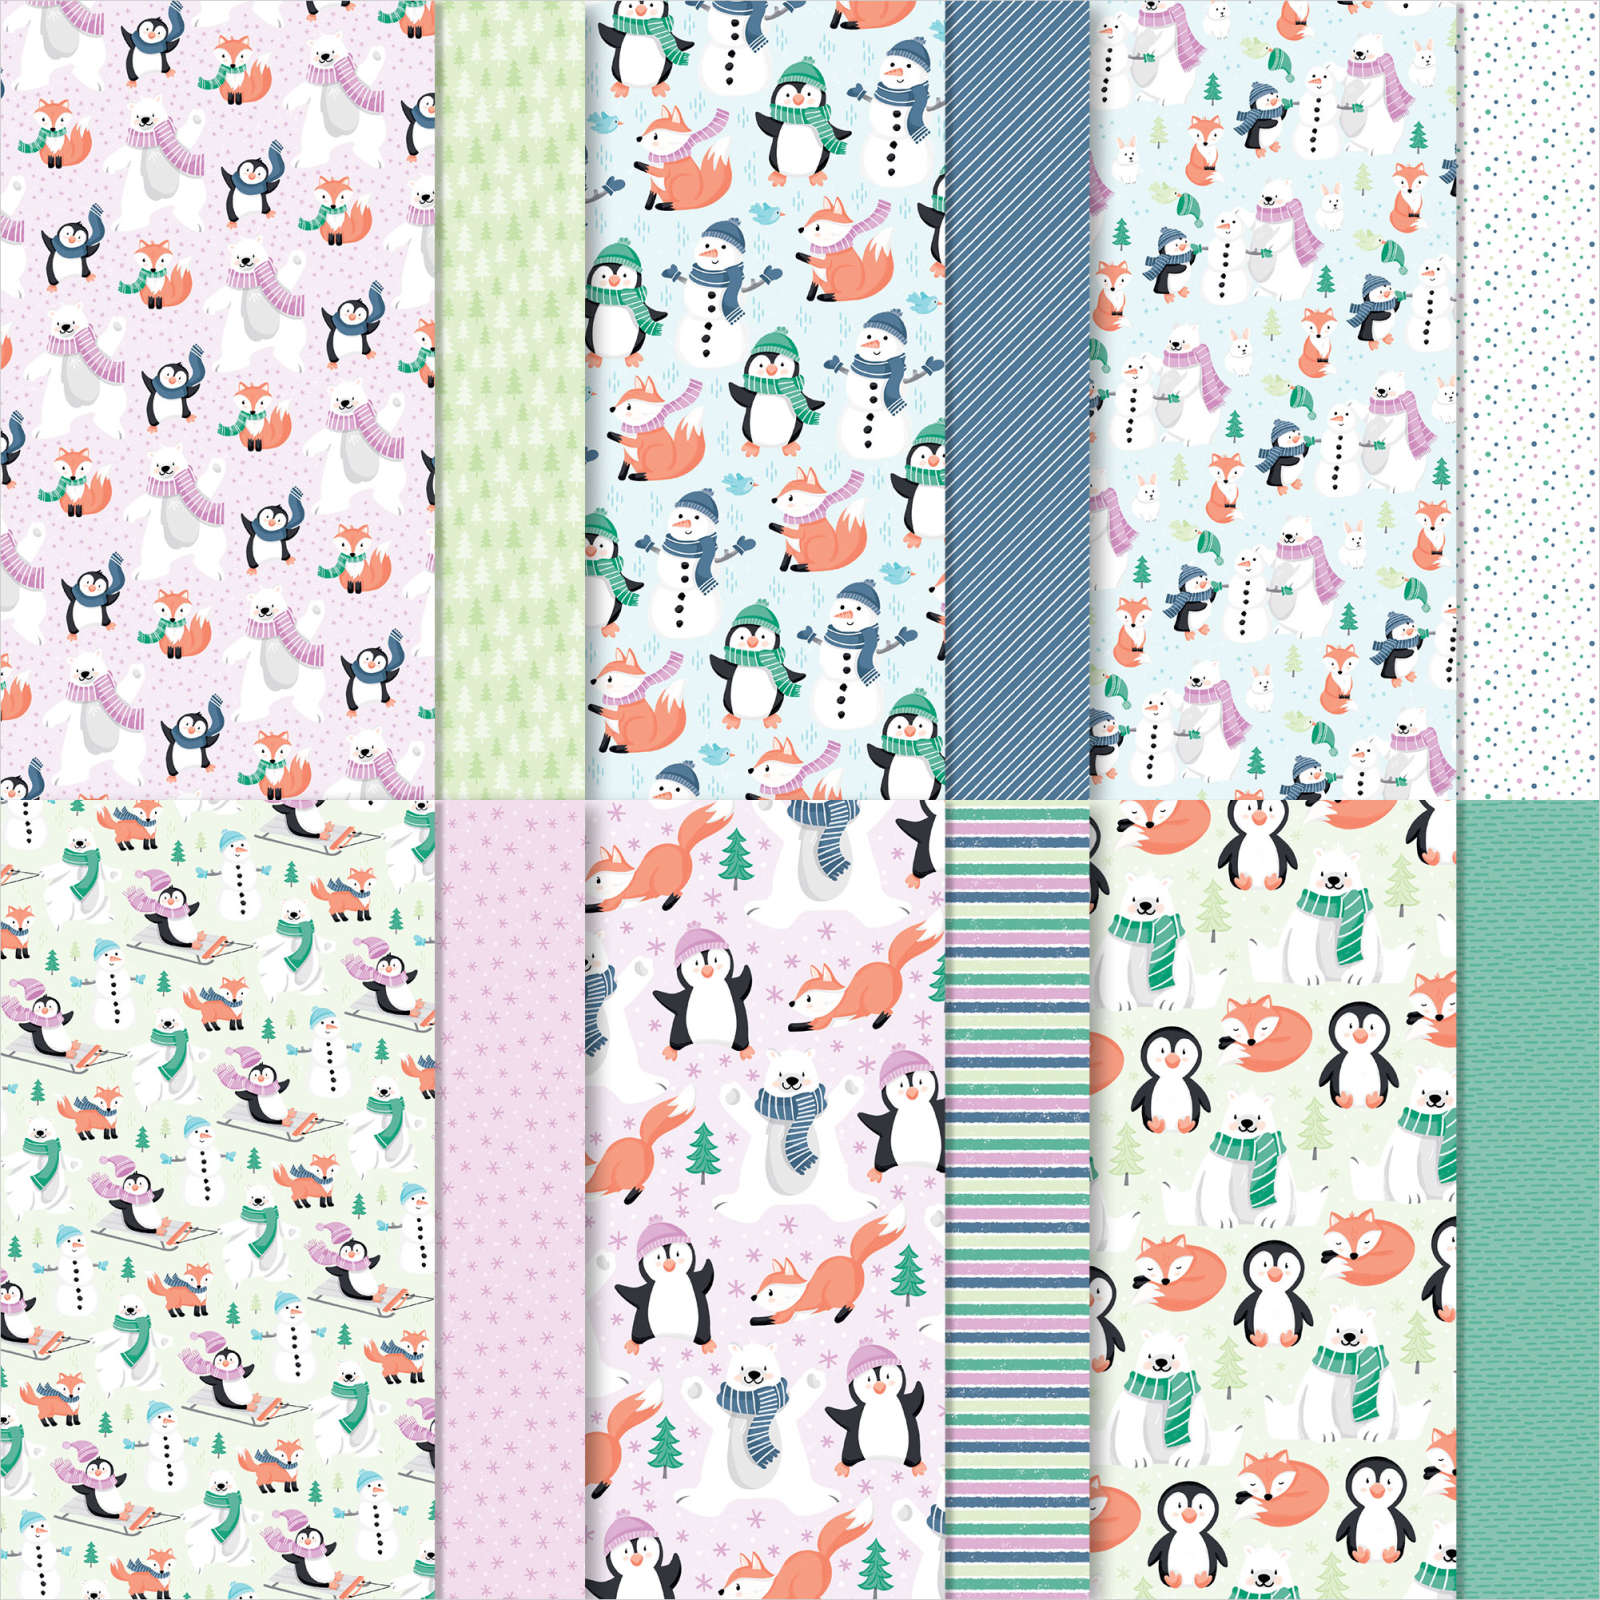
    The colors are Fresh Freesia, Black, White & Balmy Blue which coordinate with the adorable Penguin Playmates DSP seen here.  This paper is free during our Sale-a-Bration promotion with any $50 order.

    See that cute penguin?  It's punched out with the Penguin punch; right from the designer paper!  

    DSP Explosion card

    • Card base 5 ½” X 8 ½”, scored at 2 1/8” from each side
    • White inside square 2 ½”, Balmy Blue layer 2 ¾”
    • DSP 4” X 8” score at 2”, 4” & 6”, then in two ‘X’s’ from midpoint score to the outside corners
    • Belly Band 1 ½” X 9”

    Here's the video; I actually show three unique fun fold cards!

    ~~~

    September Specials

    Host code: ASETFASJ or T7VSZQ64

    *click here to order

    All online orders will receive a free PDF tutorial filled with projects featuring

    the Painted Christmas Suite!

    Get a pkg. of Holiday Rhinestones with a $50 online order from me in September! 

    Order here

    BEST DEAL!

    Get a Free Bundle  from the Holiday Catalog when you choose the Starter kit!  Pick out $125 in product of your choice for just $99 and shipping is free!  

    Leave a Reply

    Your email address will not be published. Required fields are marked *

  • Feels Like Home Sale-a-Bration swaps


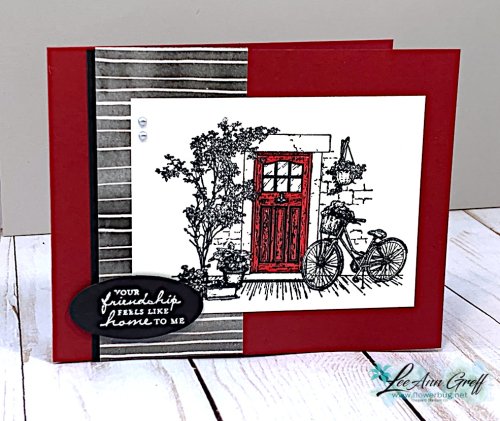
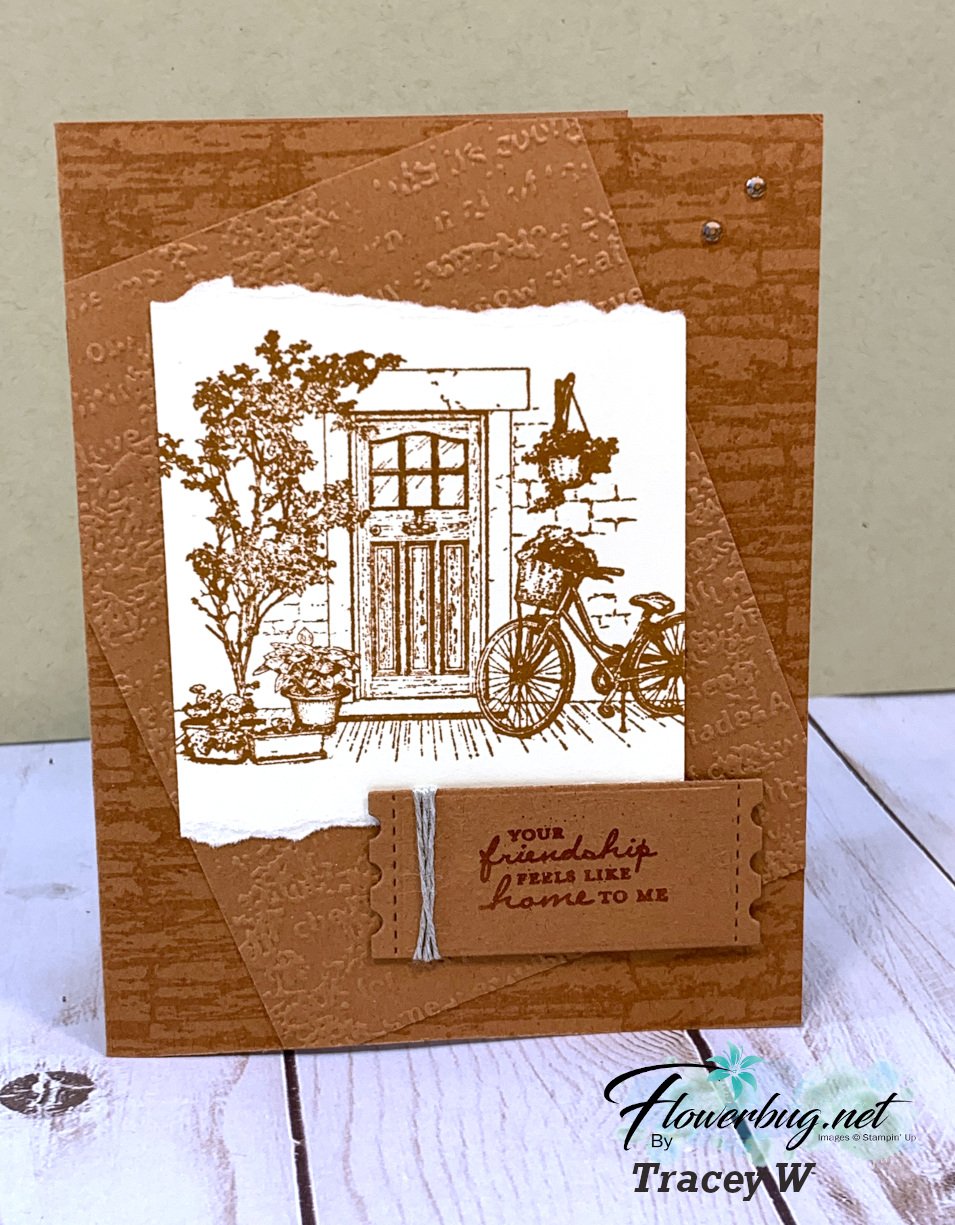
    We had our monthly Flowerbug's Team meeting this weekend and as usual swapped cards.  This month we chose a Sale-a-Bration theme.  Here are two pretty cards I am sure you'll love.  

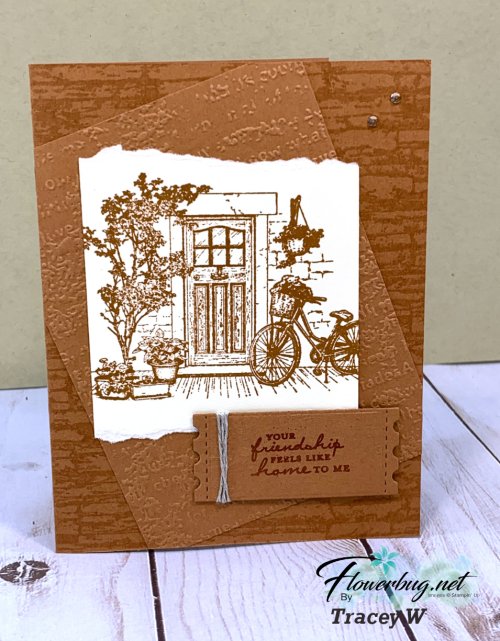
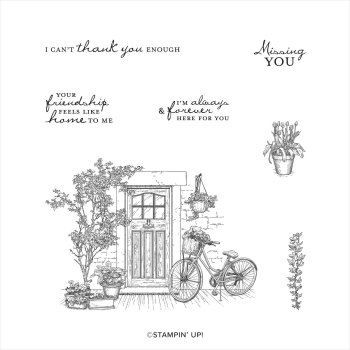
    The first is made by Tracey.  She used the Feels Like Home stamp set and a monochromatic look with Cinnamon Cider. I love the fact that you do not have to color this set in.  It's beautiful stamped in one color!  See this stamp set here. 

    It's such a rich color! She added tons of texture & details to this card  including the torn edges.  

    Details:

    • Stacked Stone background stamp
    • One ink – Cinnamon Cider
    • Timeworn Type 3D embossing folder
    • Greeting tag die-cut from the In Bloom dies
    • Champagne rhinestones


    This next card is made by me in Black, Cherry Cobbler & White.  


    I stamped the image in Black Memento ink and colored in just the door with Cherry Cobbler blends markers.  It adds that fun pop of color.  It's also less time consuming than coloring the entire image.  

    Other details: Silver metallic pearls, heat embossed image punched out with the Double Oval punch.

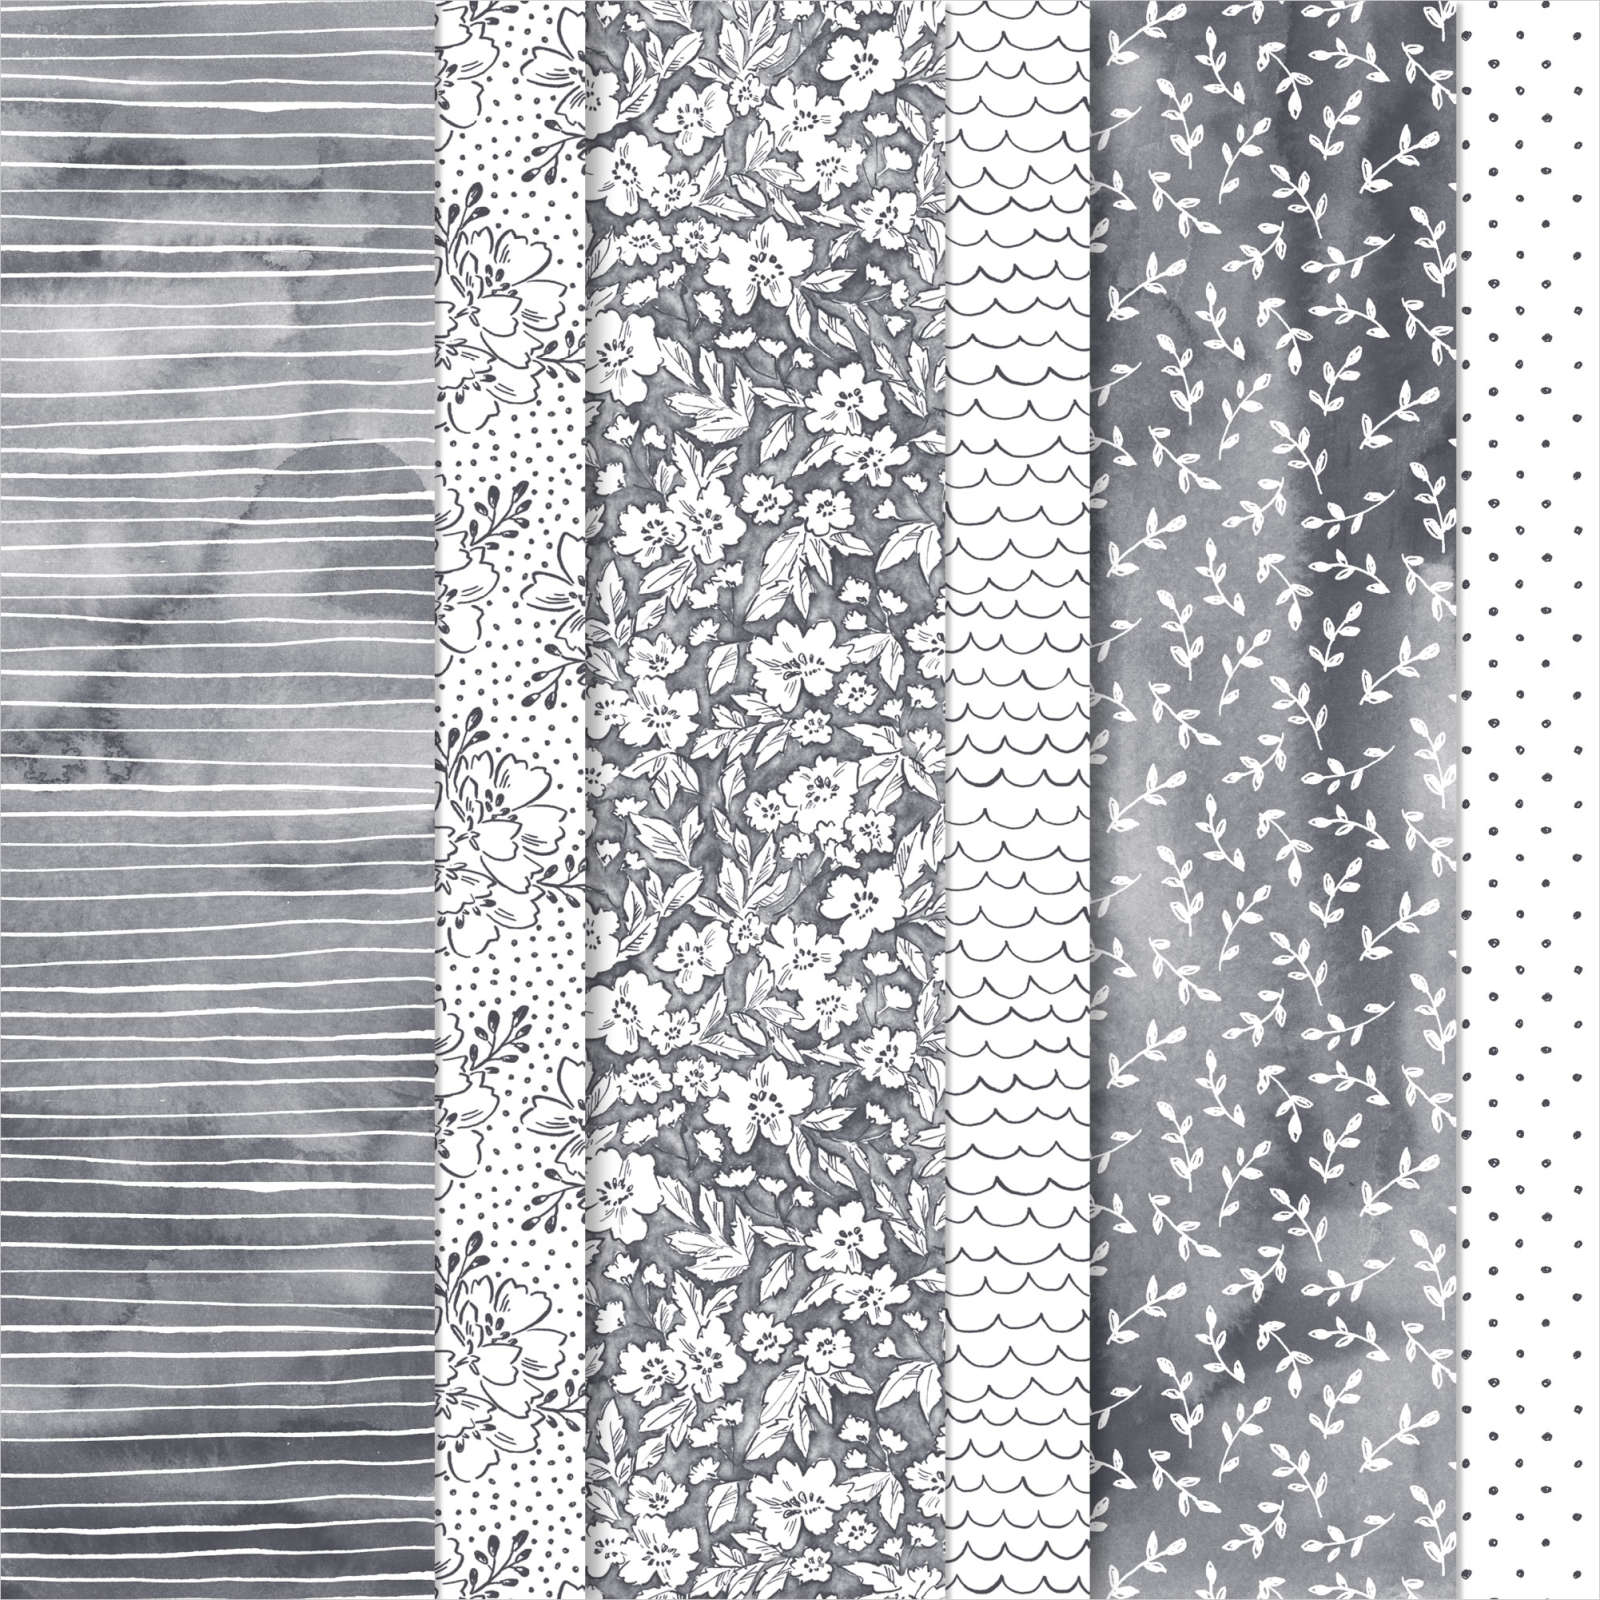
    I added a 2" strip of the Beautifully Penned designer paper on the left.  I do love Black & White paper!

    This paper is also a free choice during our Sale-a-Bration promotion.  You can see it here. 

    ~~~

    September Specials

    Host code: ASETFASJ or T7VSZQ64

    *click here to order

    All online orders will receive a free PDF tutorial filled with projects featuring

    the Painted Christmas Suite!

    Get a pkg. of Holiday Rhinestones with a $50 online order from me in September! 

    Order here

    Get a Free Bundle  from the Holiday Catalog when you choose the Starter kit!  Pick out $125 in product of your choice for just $99 and shipping is free!  

    Leave a Reply

    Your email address will not be published. Required fields are marked *


Notice: LeeAnn Greff, Independent Stampin’ Up! Demonstrator, Manager. The content of this website is my sole responsibility as an independent Stampin’ Up! demonstrator and the use of, and content of, the classes, services, or products offered on this website is not endorsed by Stampin’ Up! Copyright 2025