/


Latest Post

Lots of amazing Masculine card ideas this week!!


This weekend my Flowerbug's Team met for our monthly gathering and swap.  Our theme was masculine cards and wow, did they get creative. I'll be sharing them all week long!

Note that each of these animals are stamped in just one color.  There's no need to color them in; let the beautiful images be the star!

This first card is made by Kim; she used the Wildlife Wonder stamp set from the 2022 Annual Catalog by Stampin' Up!  


The unique dies she stamped & layered are from the Diorama dies seen here. 

Her card is a book binding fun fold.  The main card measures 4 1/4" X 11" scored at 4 1/2" & 5 1/2" for the side & front fold.  The designer paper is from the He's the Man DSP on page 134 of the Annual Catalog.  It measures 3/4" X 4" & 4 1/4" X 4". 

~~~

Next is another simple yet striking card made by Marilyn.  She used the Wild & Sweet stamp set seen here in the Annual Catalog. 

Again, simply stamping the gorgeous detailed image in one color is all you need.  The colors include Early Espresso, Mossy Meadow & Pear Pizzazz with Very Vanilla.  

Other products are the Fern 3D folder, Stylish Shapes, Stitched Rectangles & Picture This dies.  The gems are the Rustic Metallic Adhesive-Backed dots.  

Measurements:

  • Card base 5 1/2" X 8 1/2"
  • Fern embossed layer 5 1/4" X 4",
  • Vanilla & Early Espresso die-cuts 4" X 2 5/8"

~~~

This next card was made by Paula; she featured TWO new Sale-a-Bration items on her unique card. 

I love that she made the rings of Love designer paper the star by 'framing' it. The 1 3/4" X 3" 'frame' is made with our new 'Deckled Rectangle dies' seen here. This DSP is from the Sale-a-Bration selection called Rings of Love seen here. It's free with any $50 Stampin' Up! order. 

The greetings are from the Amazing Phrasing stamp set; also in the Sale-a-Bration catalog & seen here.  She stamped on the Sahara Sand layer before she textured it with the Timber 3D embossing folder.  The White Frayed ribbon adds a neat detail.

~~~

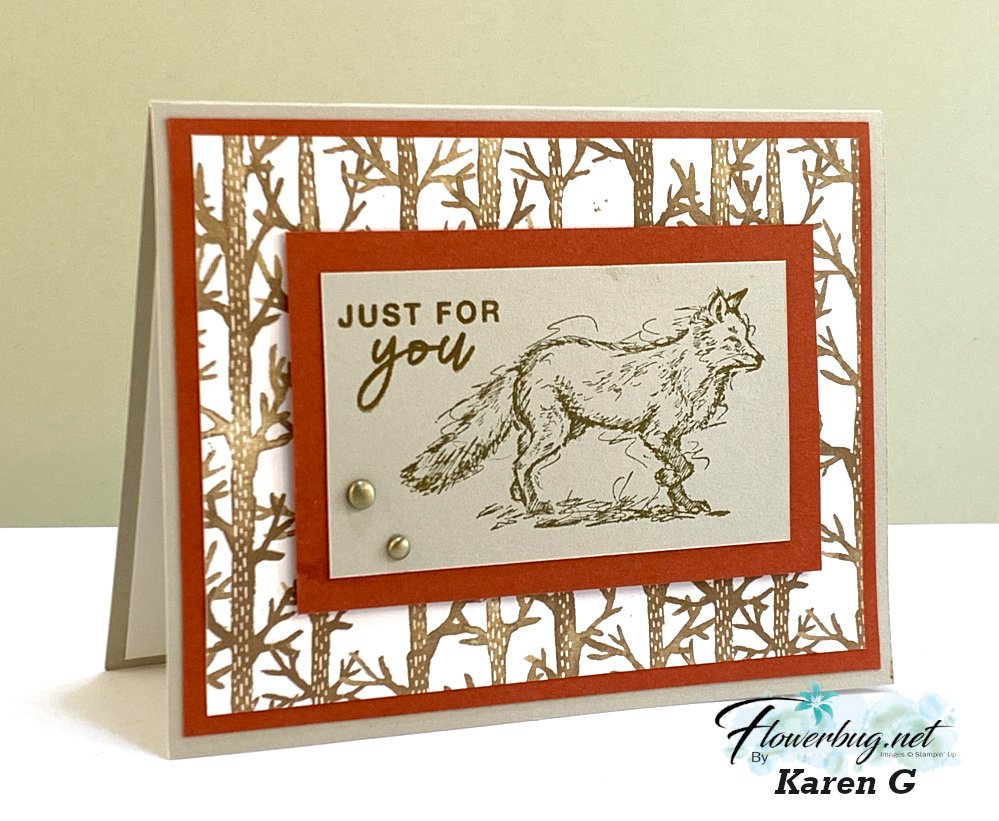
Last but not least is a wonderful card made by Karen.  She is featuring the Stylish Sketches stamp set; a free choice from the current Sale-a-Bration catalog. *see it here
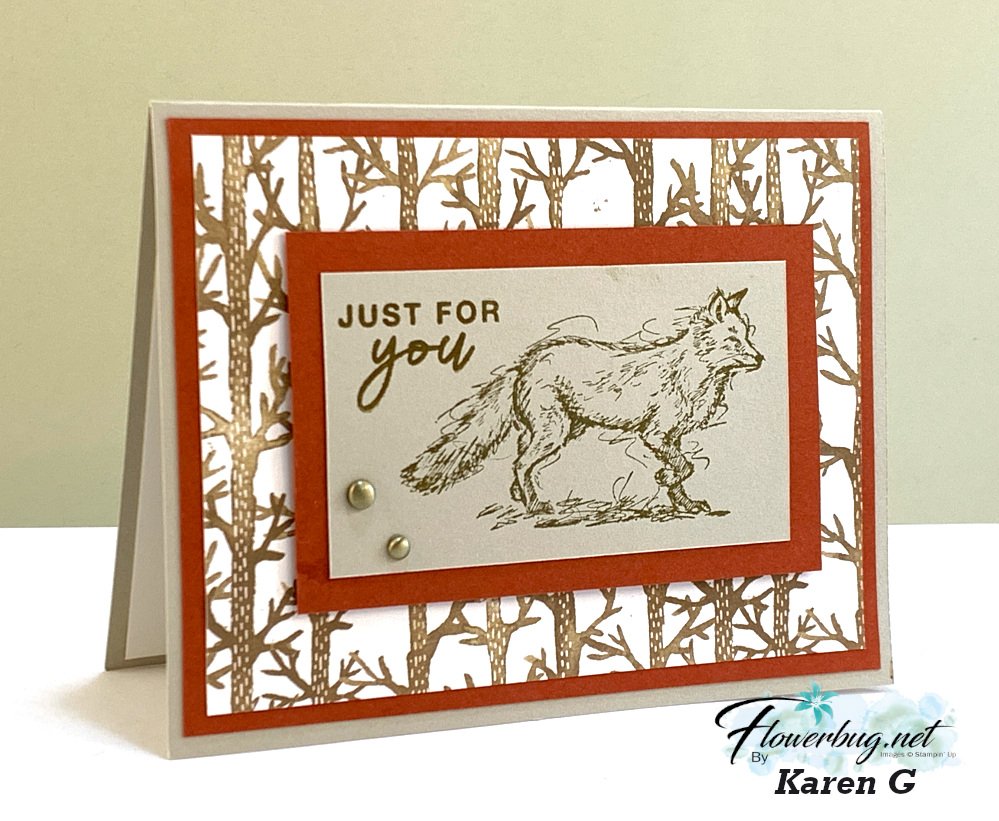
 

Her colors include Cajun Craze with Sahara Sand. I really like the images stamped on the Sahara Sand instead of our usual White or Vanilla.  

That pretty DSP is from the Sale-a-Bration selection called Rings of Love seen here. It's free with any $50 Stampin' Up! order.  The greeting is from the coordinating Ringed with Nature set in the Holiday catalog.  

Measurements are:

  • Card base 5 1/2" X 8 1/2"
  • Cajun Craze 5 1/4" X 4" and 4" X 2 1/2"
  • DSP 5" X 3 3/4"
  • Sahara Sand stamped layer 3 1/2" X 2"

Stay tuned for more manly card ideas tomorrow and all this week!  

~~~

July Specials

Get free items here in July & August during Sale-a-Bration! 

Host code: SX67P4XQ
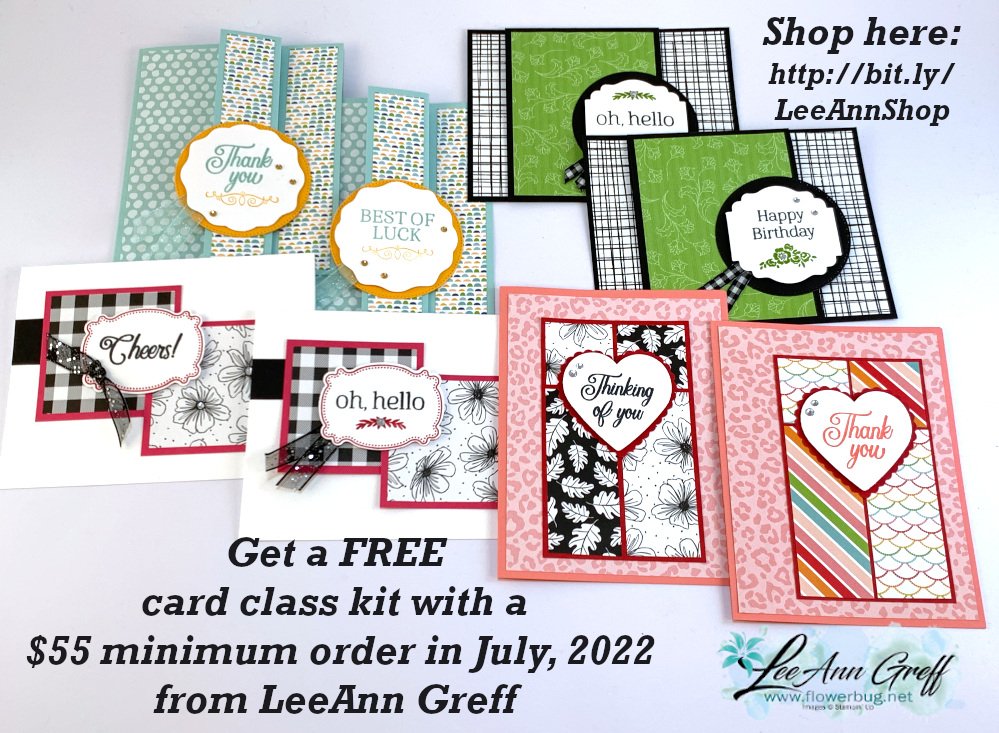

Get a free card class in the mail with a $55 order from July 1-30th.

 *click here to order 

Earn free products with my loyalty rewards! 

Click here to download yours and earn a $50 shopping spree!

~~~

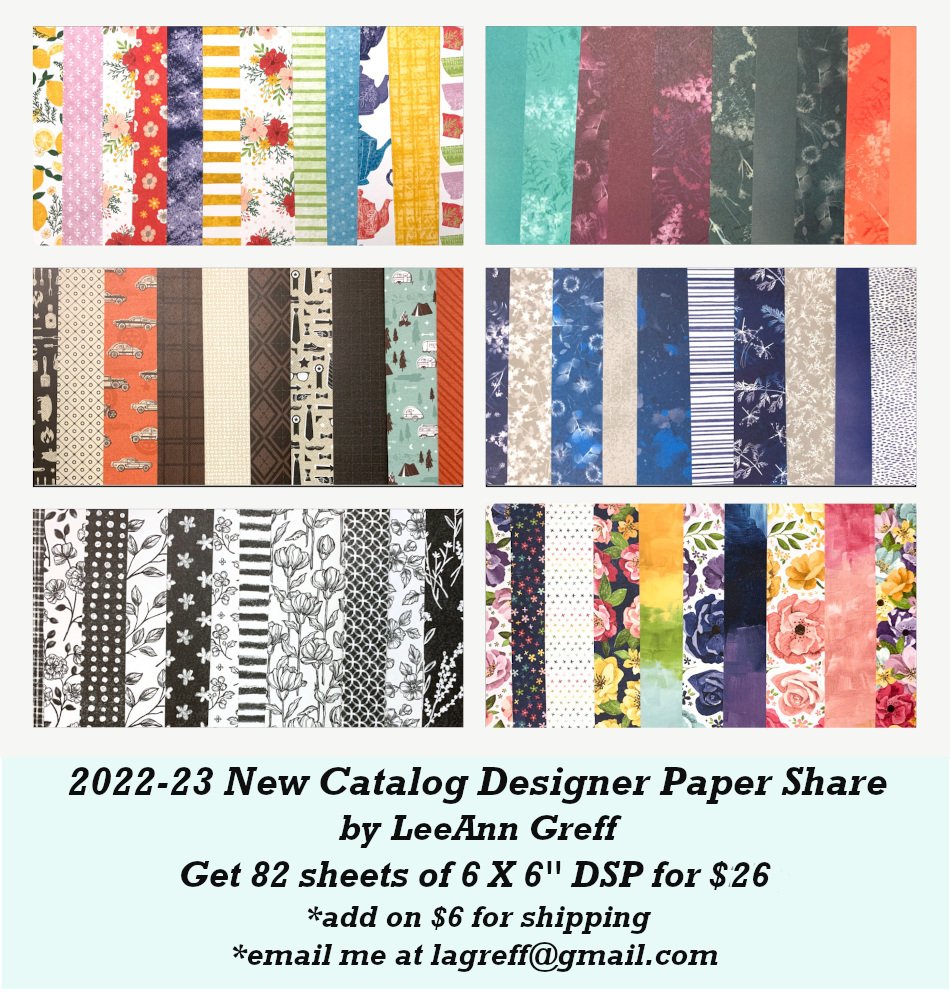
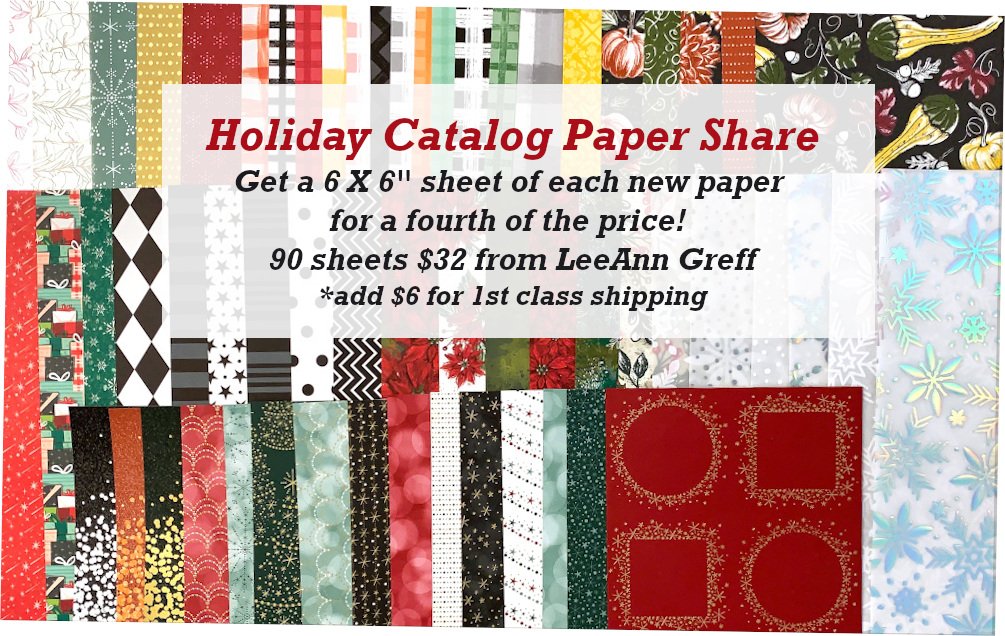
Get either of my Designer Paper shares; or both & save on shipping!  

Holiday Catalog DSP or Annual Catalog DSP (I have 2 spots left) 
 

All Posts

  • What is a ‘Live Edge’ card? Check it out and the video tutorial too


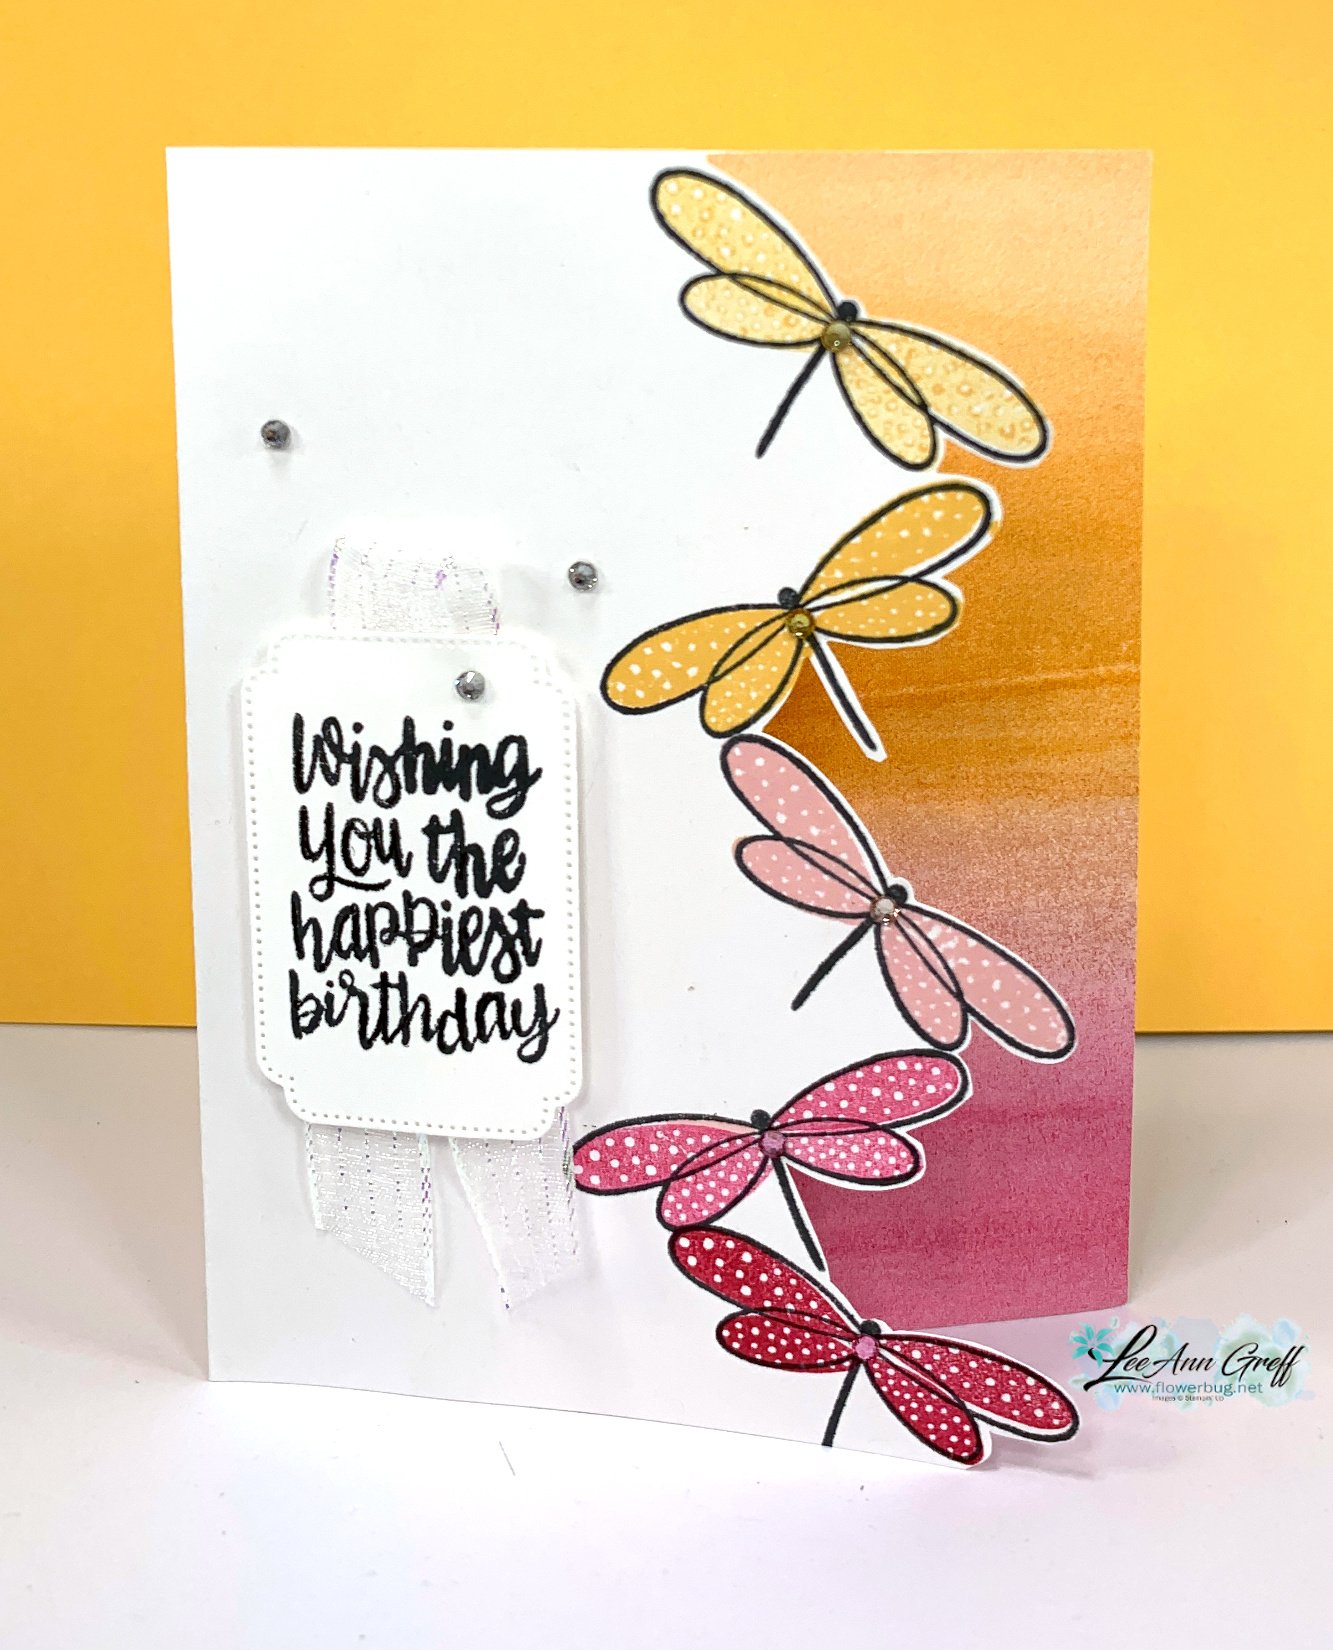
    You may have heard of 'Live Edge' tables; but have you ever heard of a 'live edge' card?  Well that's what I'm calling this technique! 

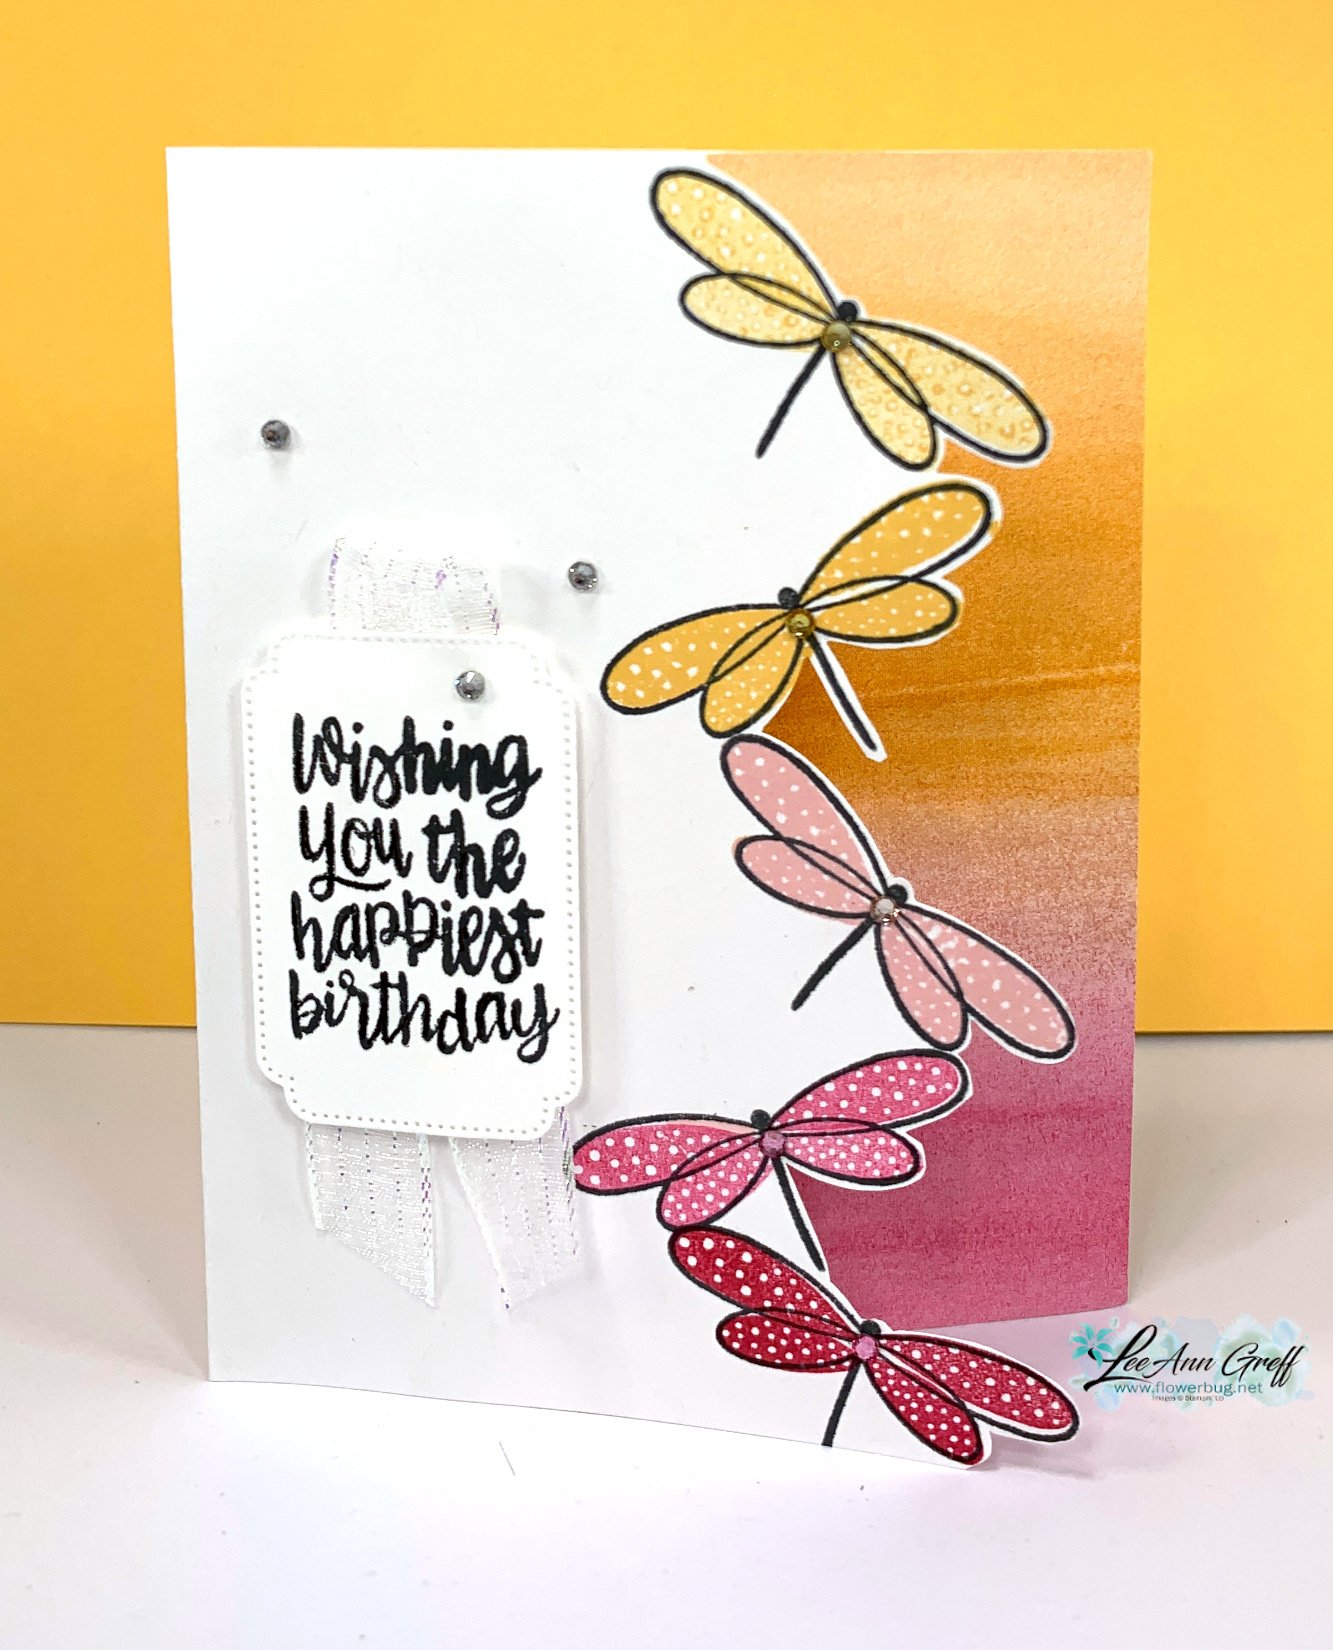
    I stamped the sweet dragonfly repeatedly along the right edge of my White card base.  I twisted the image each time and made sure they were touching or very close to each other. After stamping I fussy cut the edge off from the dragonflies. I think it took less than a minute to trim. I think it's well worth the effort!  

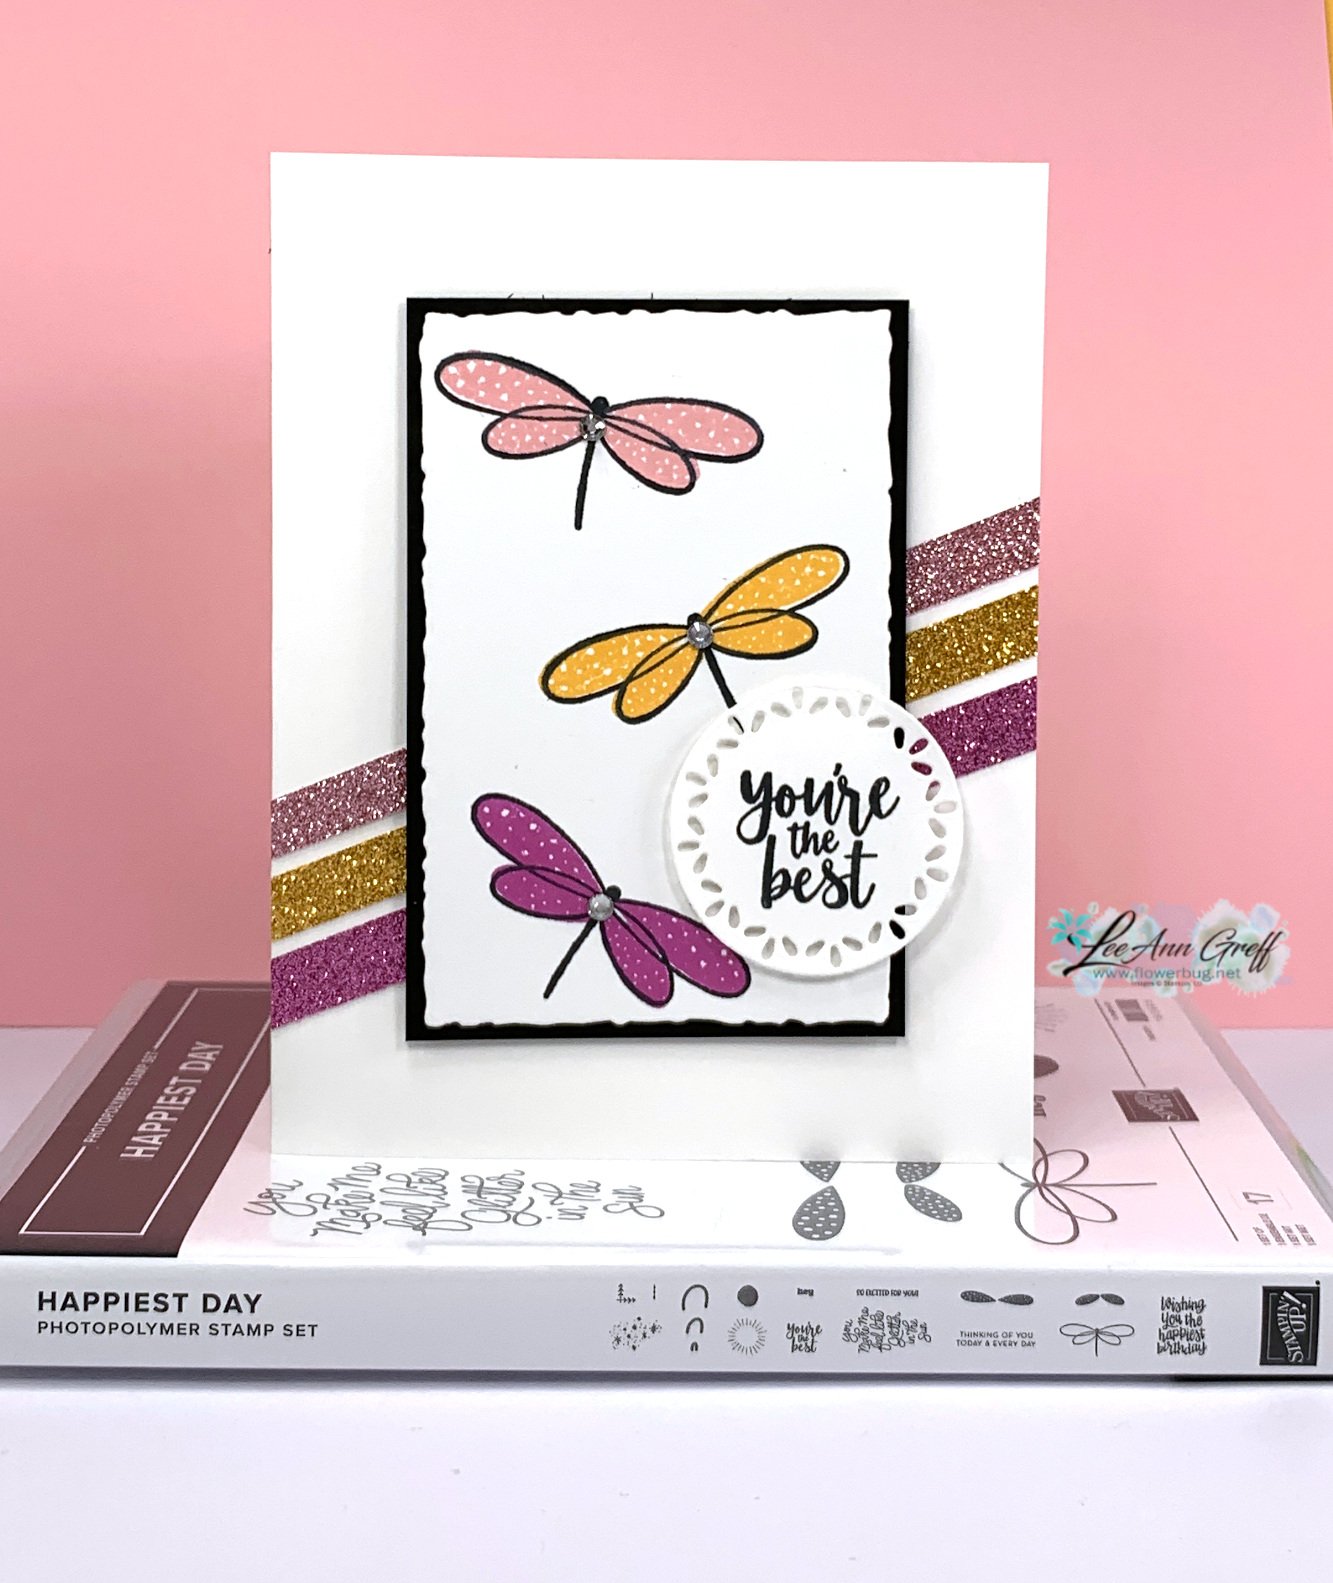
    The Happiest Day stamp set is adorable; I love the whimsical dragonflies and the bold greetings. Having two separate images for the wings means you can change up the colors for 2-toned results.  See the set here.

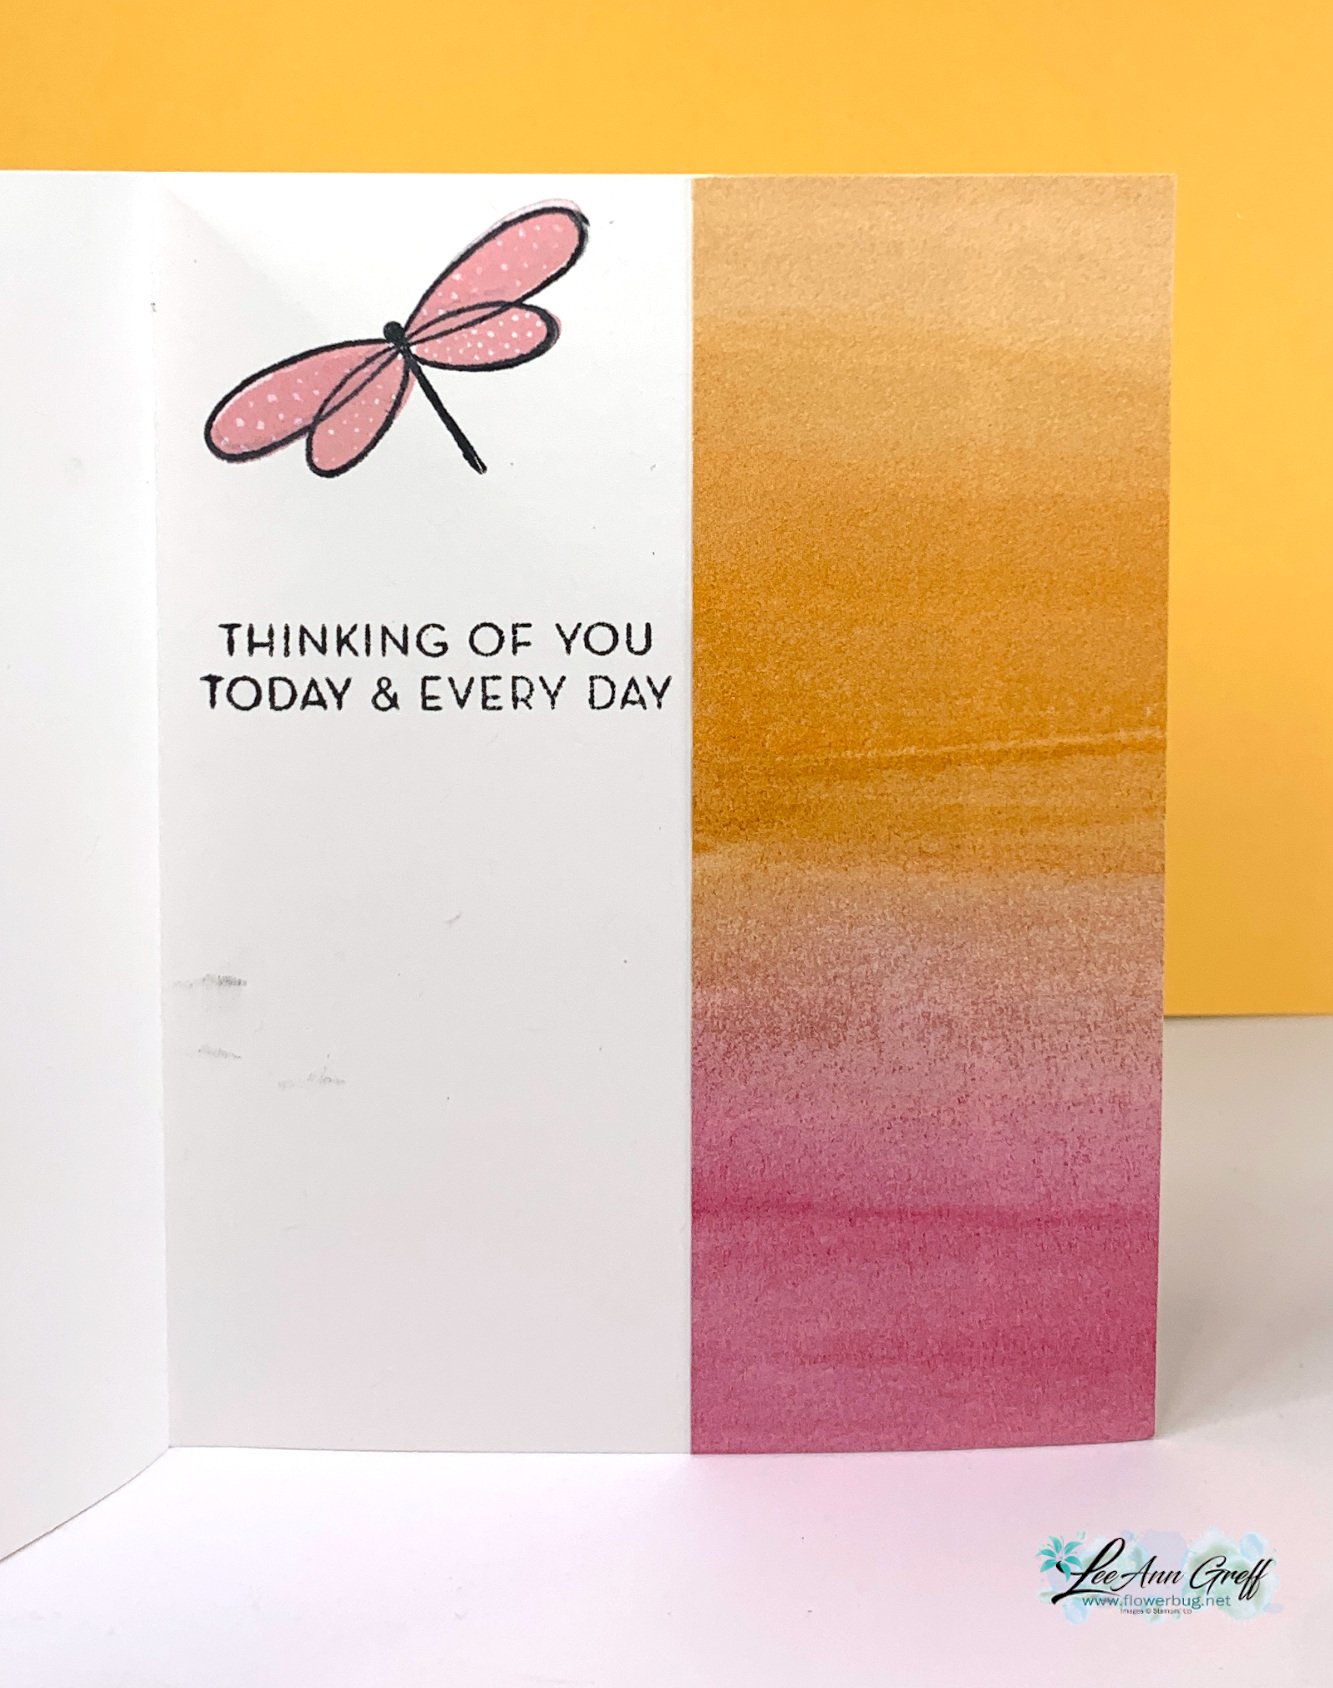
    Here's how I stamped the inside: 

    Products used:

    • Happiest Day stamp set
    • Inks – Peach Pie, Pretty in Pink, Melon Mambo, Memento Black
    • Other – Something Fancy dies, Paper Snips, Iridescent striped ribbon, Full of Life DSP

    I love the way the colors fade from top to bottom mimicking the Full of Life Designer Series Paper.  I achieved this with just 3 colors of ink, but stamping off for a few of them. 

    Do you ever stamp off to get a lighter hue of ink? Sometimes it's the perfect shade! 

    Here's the free project sheet; click on the following link to download it or print it off.  Download Happiest Day Live Edge card

    Check out the video below; I share one more unique card with an easy addition of glimmer strips and a few other ideas as well.  

    ~~~

    October Specials:

    *current host code link: 3U6NZJFZ

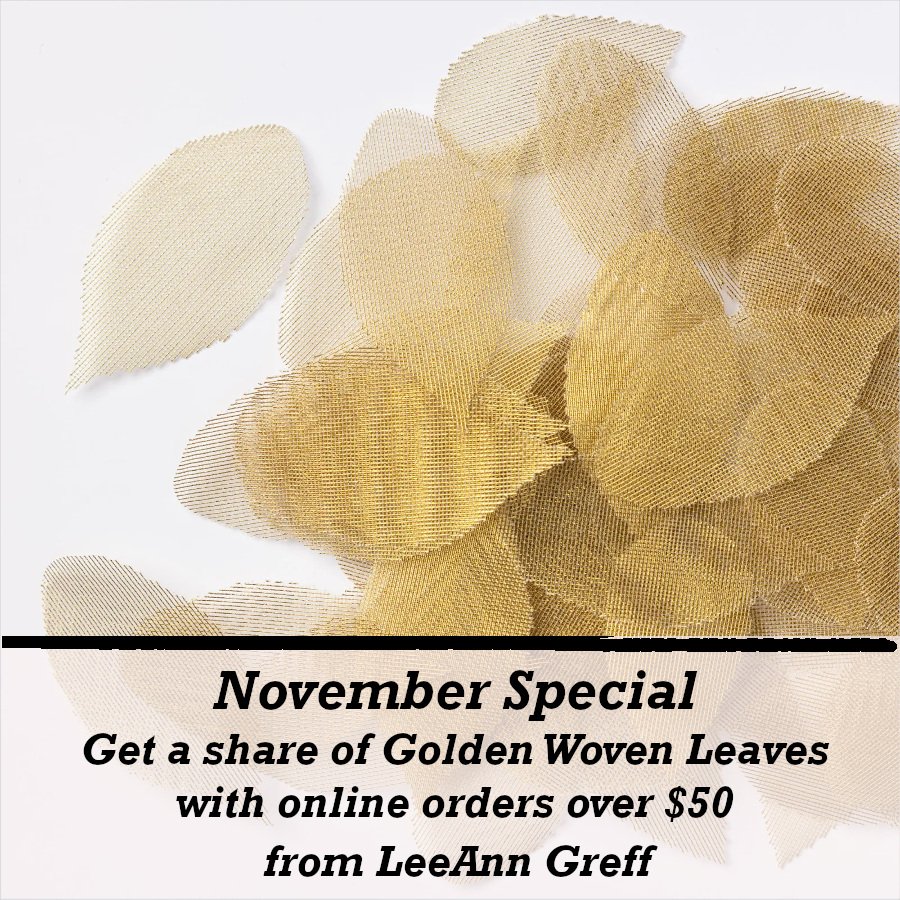
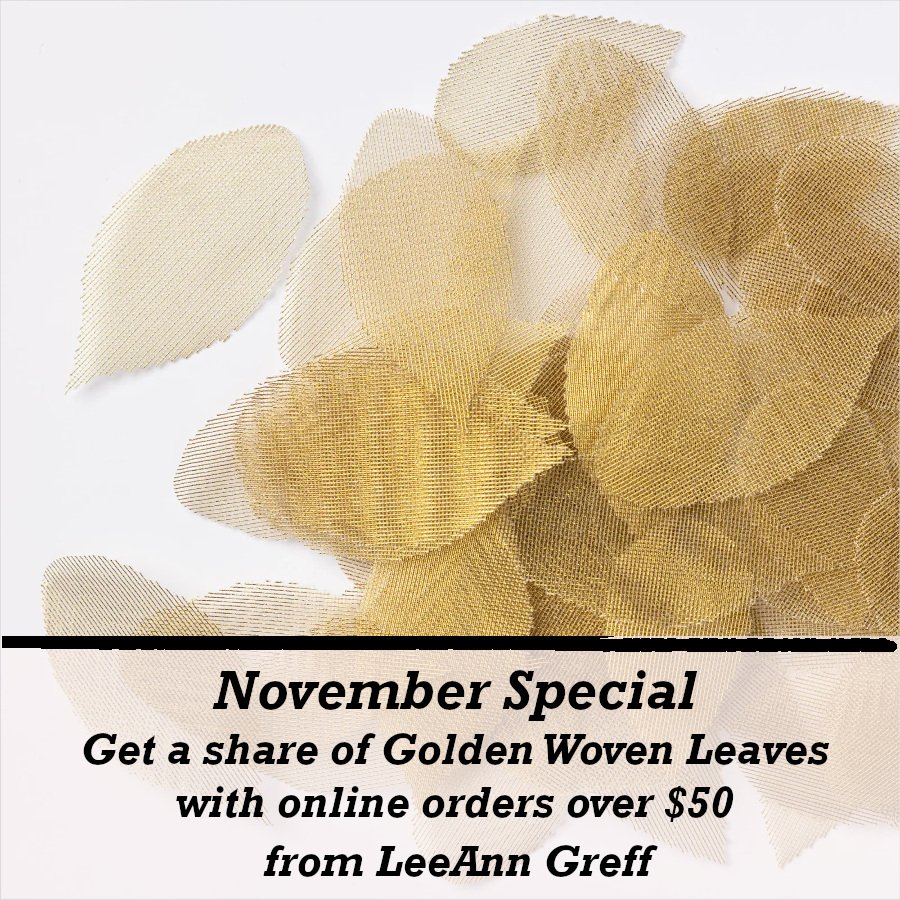
    Get a share of Woven Golden Leaves  


    ~~~

    Get an extra $30 in your Starter kit in October!  Click here to read more

    ~~~

    The Kits Collection is on sale!  Check it out here.

    ~~~

           All online orders in October will receive a free PDF tutorial featuring the Season of Elegance suite

    Leave a Reply

    Your email address will not be published. Required fields are marked *

  • Happiest Day card with video tutorial; a simple layout with a gorgeous look


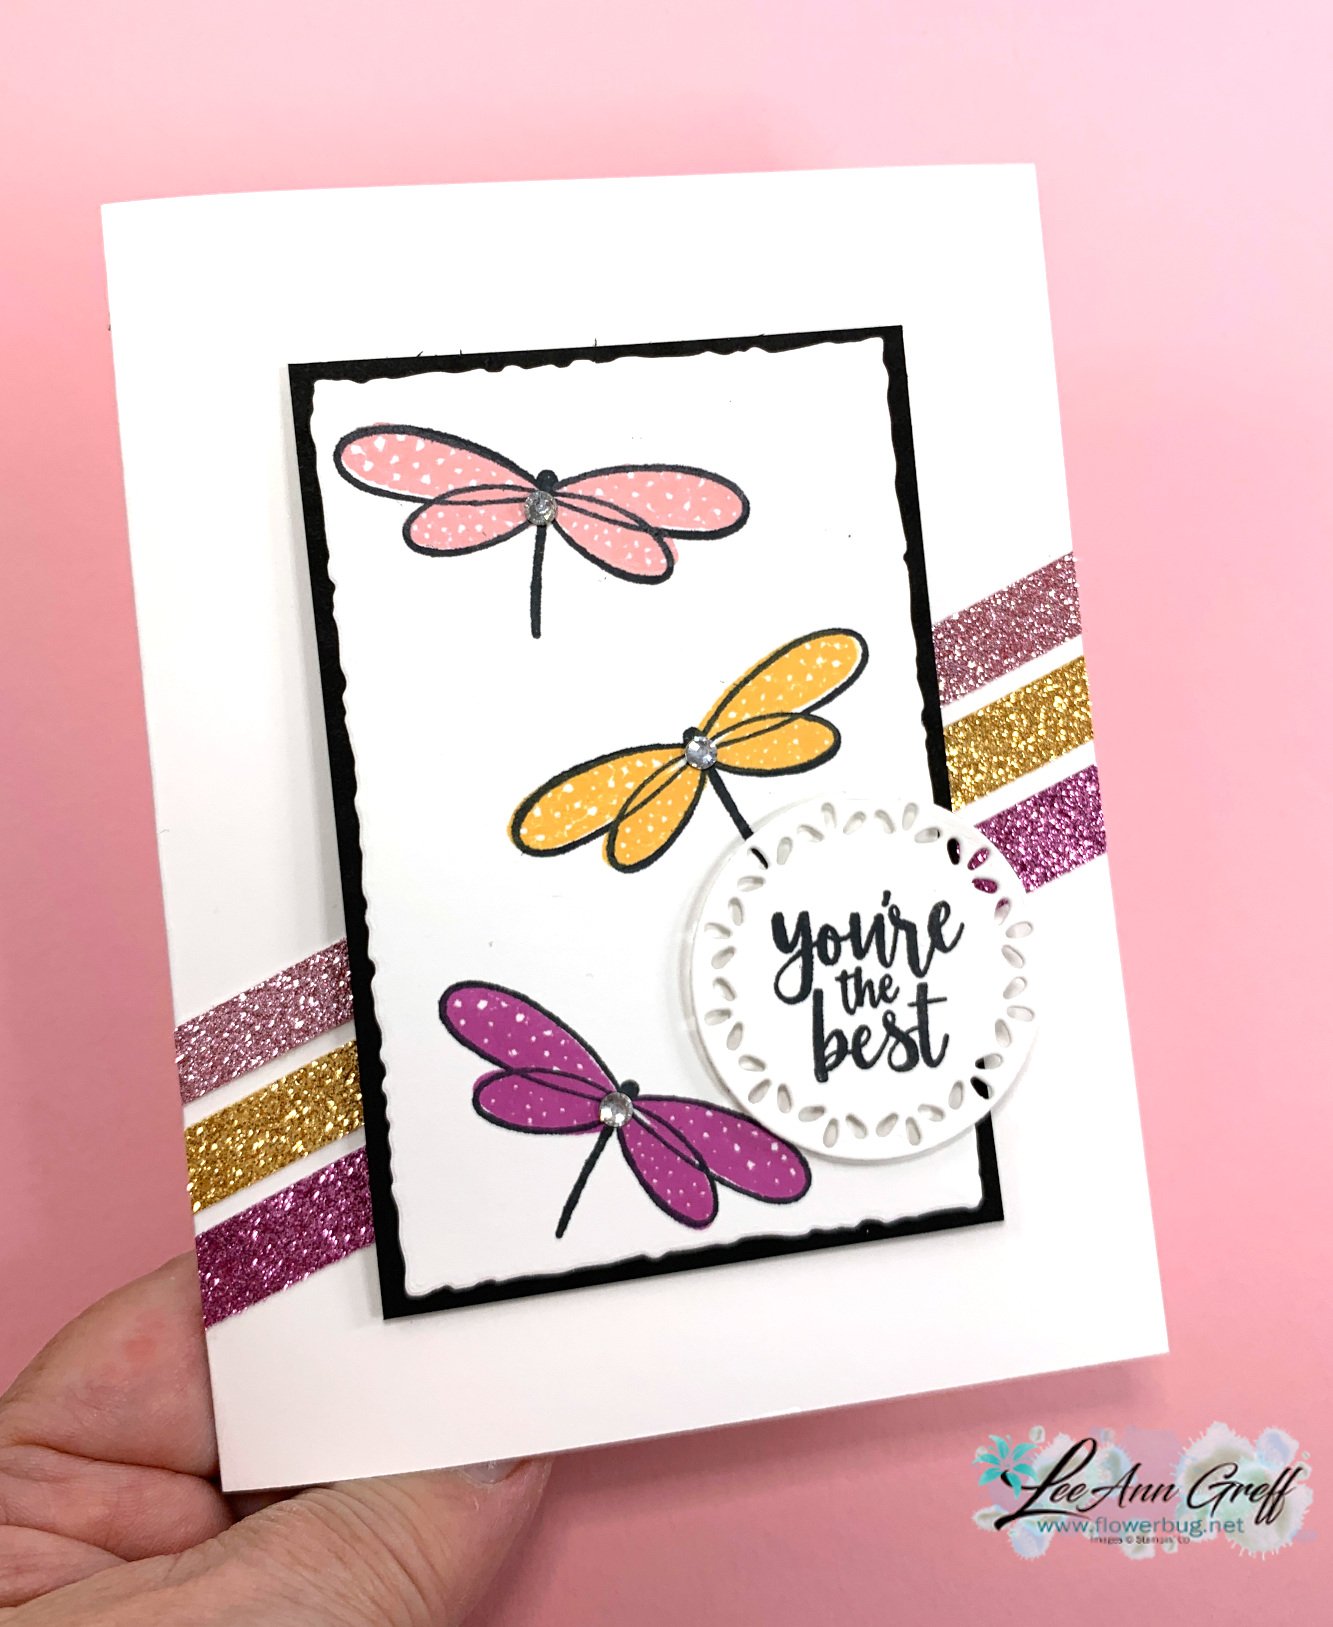
    On last week's Live video I chose the Happiest Day stamp set as my featured product.  It was discounted during the 3 day stamp sale but you can see it here. Here's one of the cards I made: 

    I chose to use our 2023-25 In Colors; Pretty in Pink, Peach Pie and Petunia Pop along with Black. We have glimmer paper in these colors too so I added three strips to the card base at a diagonal.  See it here.  The strips adds a bit of a whimsical look that matches these cute dragonflies. 

    Here's how I stamped the inside.  

    For the hearts I used that same glimmer paper along with the Humble Home Builder punch (out of stock currently).

    The circle die-cut for the greeting is from the Spotlight on Nature dies seen here. These dies are back in stock now! The White rectangle is a die-cut from the Deckled Rectangles seen here. 

    I did not make a project sheet for this card since it's so simple. 

    Here are the measurements:

    • White card base – 8 1/2" X 5 1/2" scored at 4 1/4", White deckled rectangle die-cut 2 5/8" X 3 7/8", circle die-cut1 5/8"
    • Black – 2 3/4" X 4 1/8"
    • Glimmer paper strips – 5 1/4" X 3/8"

    Check out the video below; I share one more unique card with a special edge technique and a few other ideas as well.  

    ~~~

    October Specials:

    *current host code link: 3U6NZJFZ

    Get a share of Woven Golden Leaves  


    ~~~

    Get an extra $30 in your Starter kit in October!  Click here to read more

    ~~~

    The Kits Collection is on sale!  Check it out here.

    ~~~

           All online orders in October will receive a free PDF tutorial featuring the Season of Elegance suite

    Leave a Reply

    Your email address will not be published. Required fields are marked *

  • A Little Bit of Festive card kit is sweetly nostalgic – tutorial available too


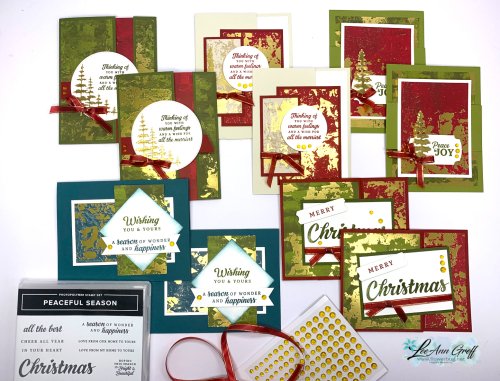
    I chose the fun A Little Bit of Festive DSP pack for my other Christmas card kit to go this month.  These cards are so fun and easy to create.  The many nostalgic die-cut elements make these cards fast fabulous. 

    You can choose the pre-cut card kit with product or the PDF tutorial. Both include the video & PDF tutorial. 

    If you choose the pre-cut kit, you'll receive the following products plus pre-cut supplies for 10 cards, including layered pieces & die-cuts. You'll need greetings, ink, adhesives and a paper trimmer to complete the card kit. 

    • The A Little Bit of Festive paper pack with die-cut elements (12" X 12")
    • a share of both Red & White Peppermints gems & Red & White Baker's Twine
    • the PDF tutorial and a link to an unlisted video tutorial too

    The tutorial includes photos, measurements, the supply list and step by step instructions. The video link includes tips to make each card & is included in the PDF tutorial. The card kit will be sent in November due to supply shortage. The PDF tutorial will be sent to you immediately after purchase.  Please check your spam or junk folder. 

    Click here to purchase the pre-cut kit to go $31 plus tax & shipping. (includes about $20 in product plus the pre-cut supplies)

    Or click here to get the PDF tutorial only $16.

    Other product used include:

    • Stamps – Christmas Labels
    • Card stock – Real Red, Garden Green, Night of Navy, Mossy Meadow, White, Vanilla
    • Inks – Real Red, Garden Green, Mossy Meadow, Night of Navy
    • Dies – Greetings of the Season
    • Other – Red & White Baker's Twine, Peppermint gems, Die-cutting machine, Adhesives, Paper Snips Scissors, Paper Trimmer

    There is another new Christmas kit to go this month called Season of Elegance (seen below); be sure to check them all out.  You do save $$ when ordering more than one kit. See them all here. 


    ~~~

    October Specials:

    *current host code link:  EDFYB333 or 3U6NZJFZ

    Get a share of Woven Golden Leaves  


    ~~~

    Get an extra $30 in your Starter kit in October!  Click here to read more

    ~~~

    The Kits Collection is on sale!  Check it out here.

    ~~~

           All online orders in October will receive a free PDF tutorial featuring the Season of Elegance suite

    Leave a Reply

    Your email address will not be published. Required fields are marked *


Notice: LeeAnn Greff, Independent Stampin’ Up! Demonstrator, Manager. The content of this website is my sole responsibility as an independent Stampin’ Up! demonstrator and the use of, and content of, the classes, services, or products offered on this website is not endorsed by Stampin’ Up! Copyright 2025