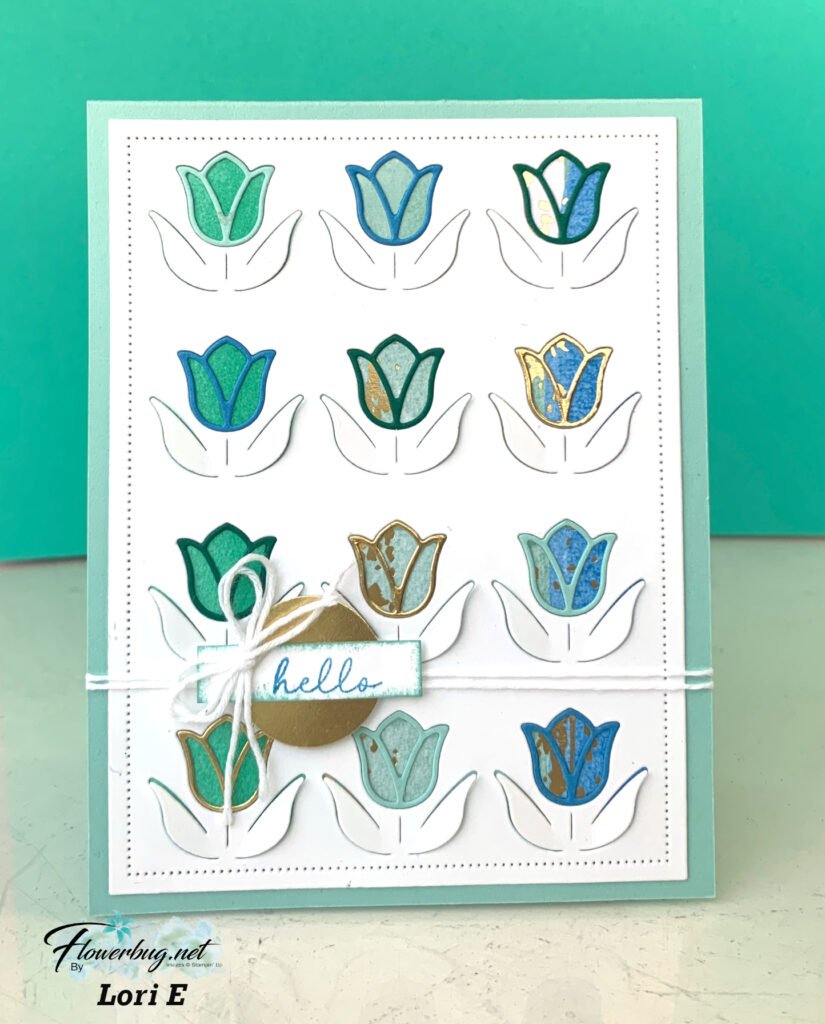
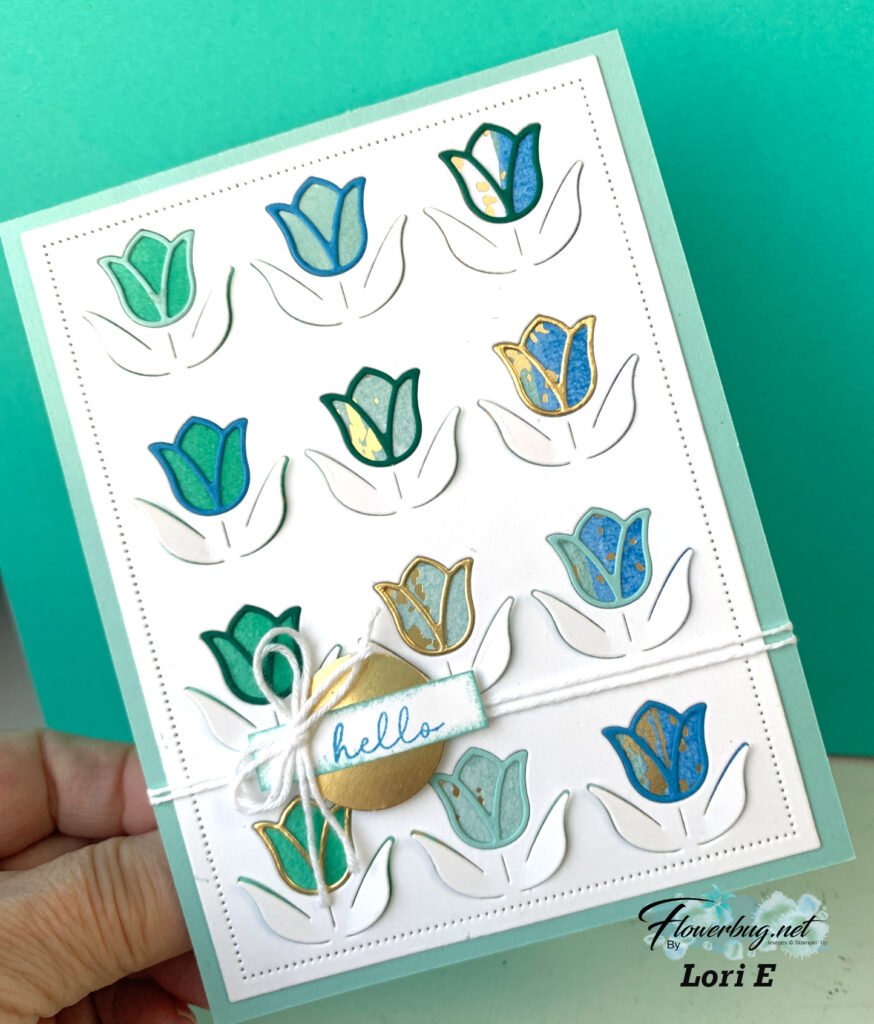
Lori’s card shows that the Sunshine & Tulips bundle is a big WOW
My January Team swap included cards from our newest product offerings – the 2026 Spring catalog and our Online products. Lori chose to feature the Sunshine & Tulips bundle.
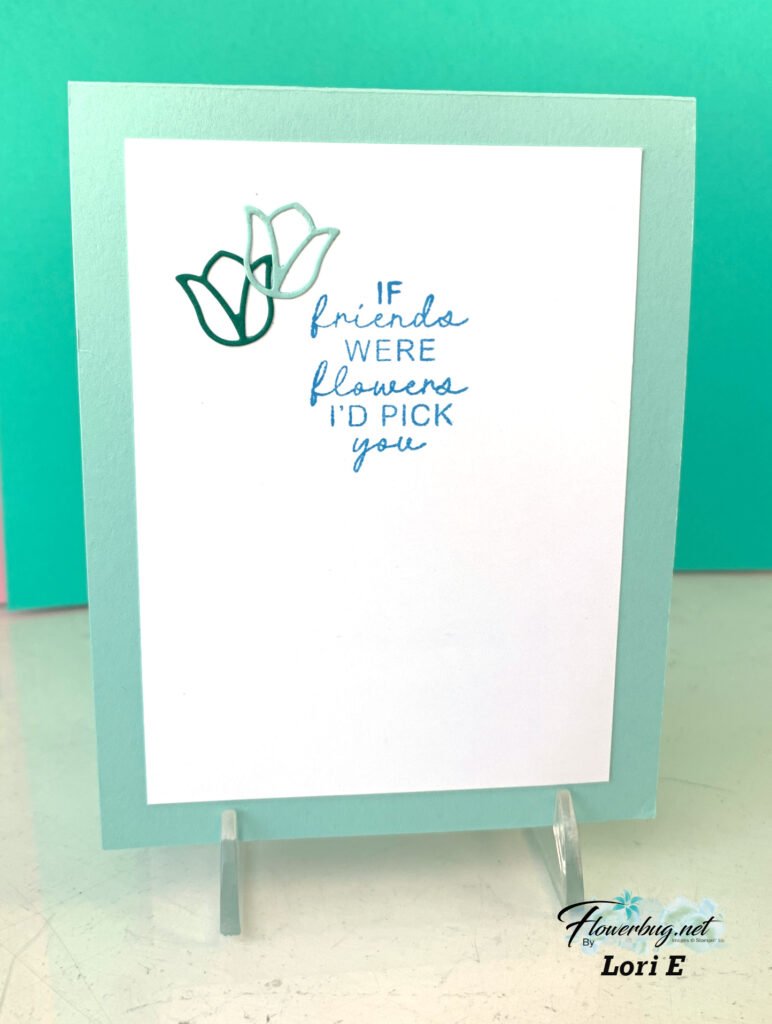
Isn’t it gorgeous?! Her colors include Pool Party, Azure Afternoon, Gold & Shaded Spruce. The paper behind the tulip die-cuts is the Splash of Sparkles specialty paper seen here. It’s filled with amazing colors and patterns!
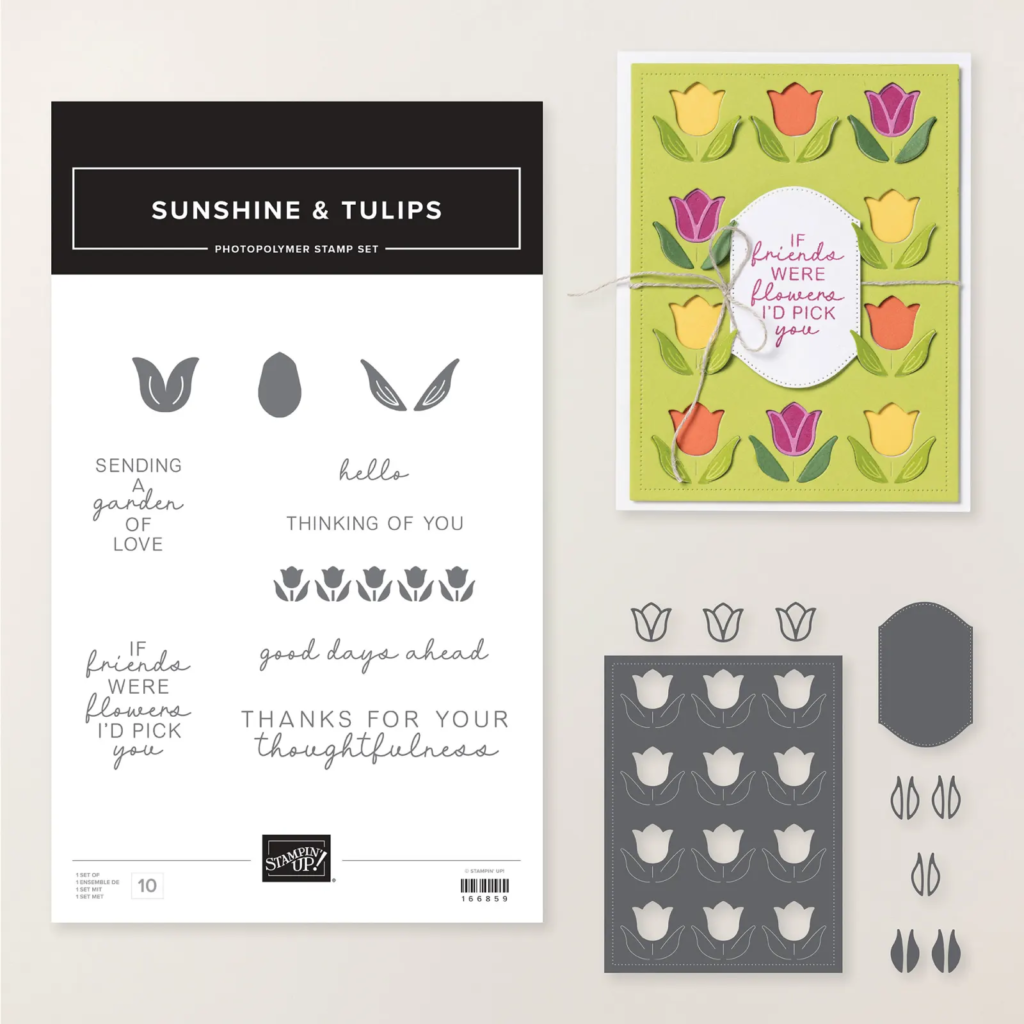
This large, stitched edge die-cut is in the bundle. It also includes outline dies for both the tulips and leaves. You can see her tulip die-cuts above – in multiple colors including gold! See this special & unique bundle here.
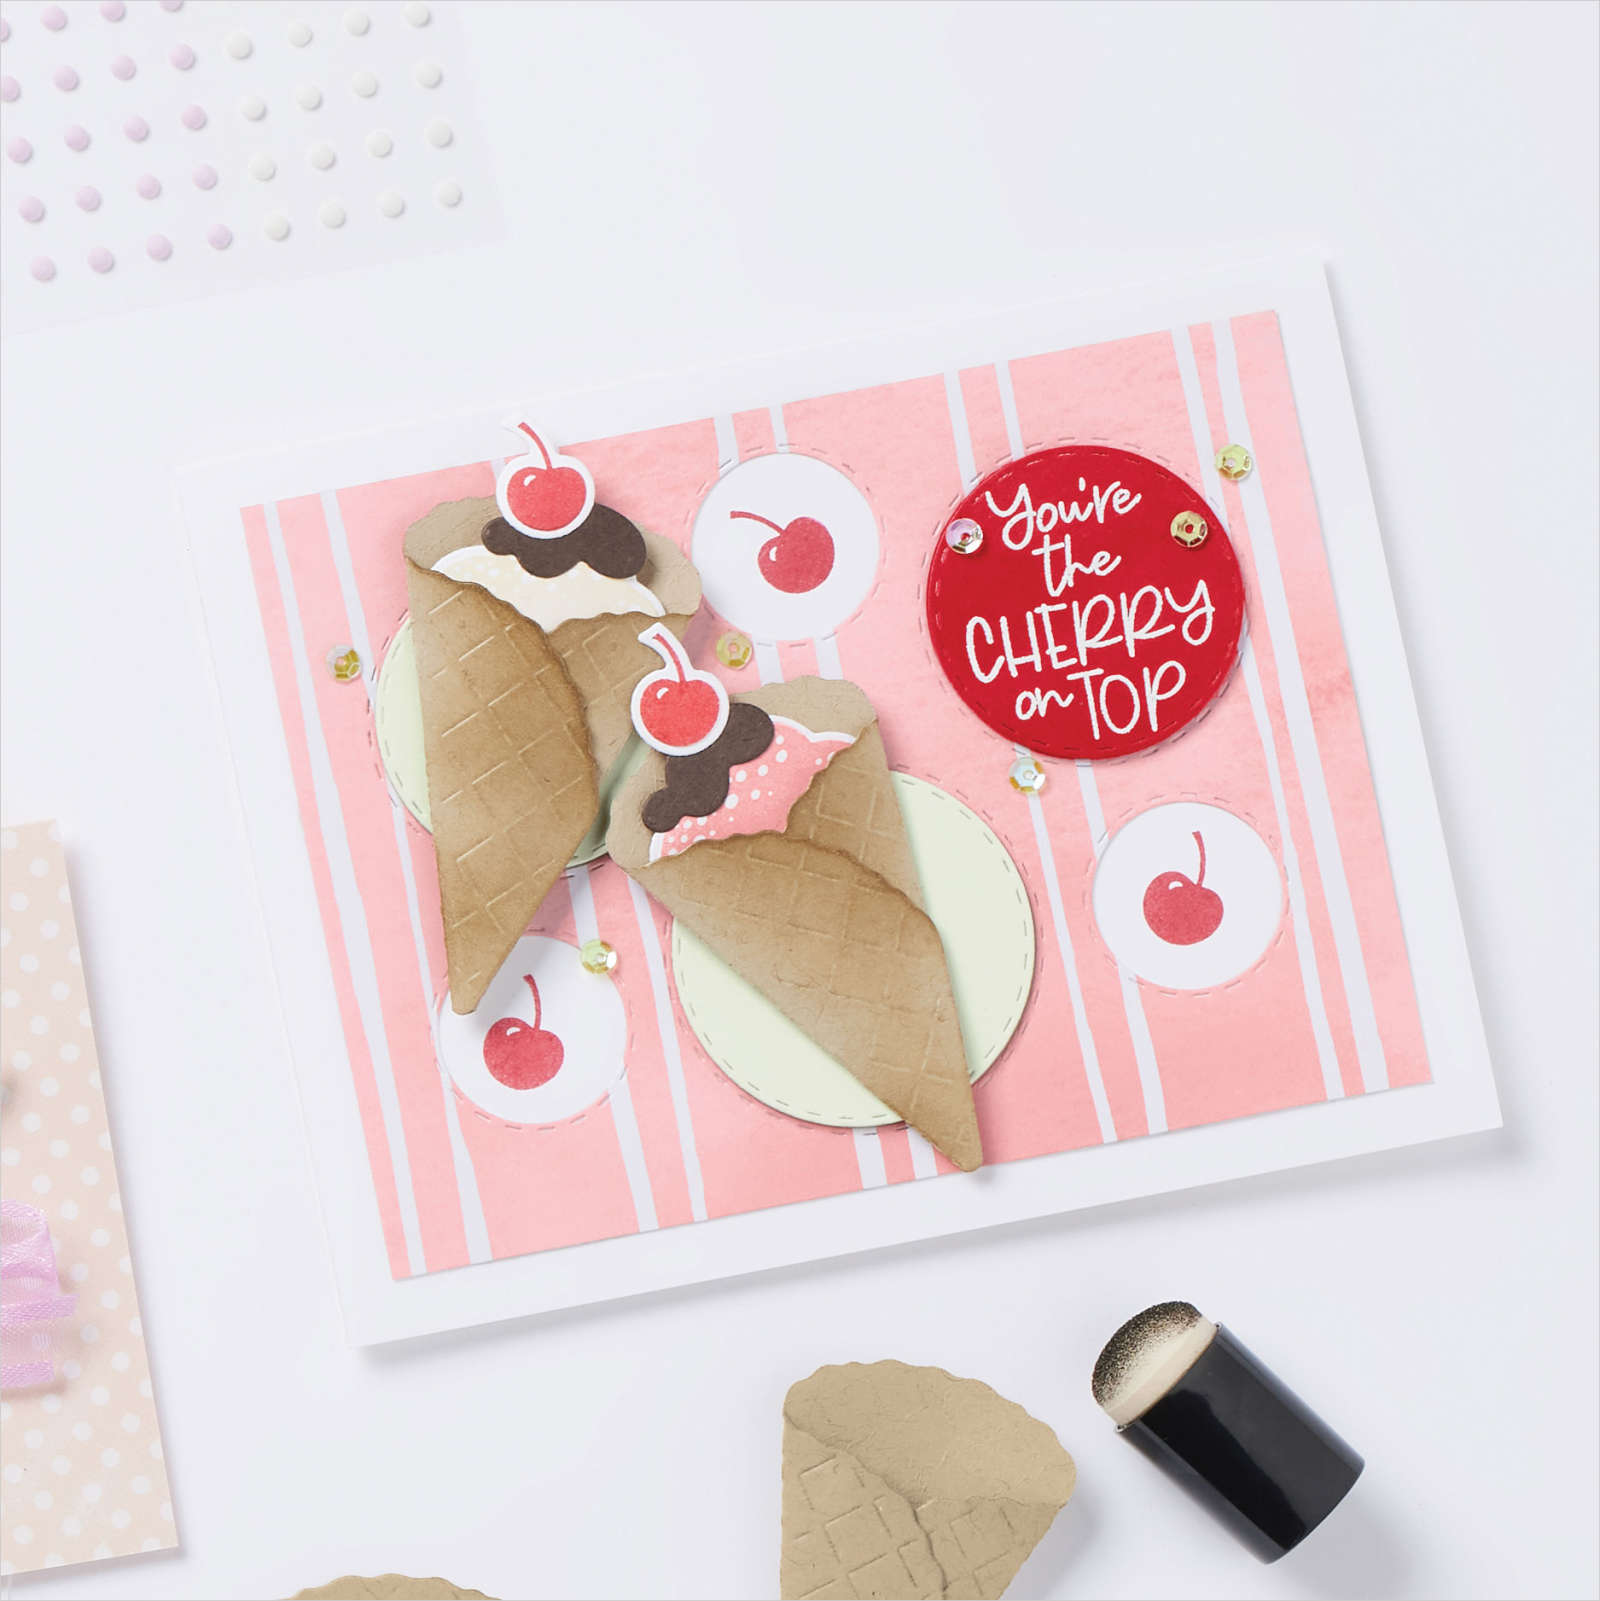
You can see the Share a Milkshake bundle here; it's filled with cute 2-step images, quirky font greetings and fabulous dies. See that straw in the ice cream? It fits into a 'slit' in the die-cut ice cream piece.
*This bundle is carrying over into the new Annual catalog but it will not be a bundle at 10% off any longer; the stamp set & dies will be sold separately.
That bottom large die above folds into a textured sugar cone; you can then insert your 'scoops' of ice cream in it like the project below shared by Stampin' Up!
My colors include Coastal Cabana, Sweet Sorbet and Polished Pink with a bit of Early Espresso for the chocolate topping die-cuts. the striped DSP on the bottom is from the Country Floral Lane DSP in the Spring catalog.
The Last Chance Sale starts Tuesday!! The Stamparatus is already low inventory!
Tuesday starts our big Last Chance sale on both the Annual and Spring (January-April) catalogs. However things are already selling out! I wanted to give you a heads up on my favorite tool.
One of the biggest shocker on the retired lists is our Stamparatus seen here. It's already in low inventory!
I am SO SAD that it is retiring. You may wonder why because it's an amazing stamping positioning tool. There are some copyright & legal issues happening that is forcing Stampin' Up! to take it out of their product offerings.
This means the magnets, grid paper are leaving as well. So if you don't have a Stamparatus yet; get one today! And if you do, I suggest getting a set of magnets herewhile you can. They're half off starting Tuesday, April 4th.
Here's a video showing you the benefits of a Stamparatus.
And here's another one below on hinge step stamping.
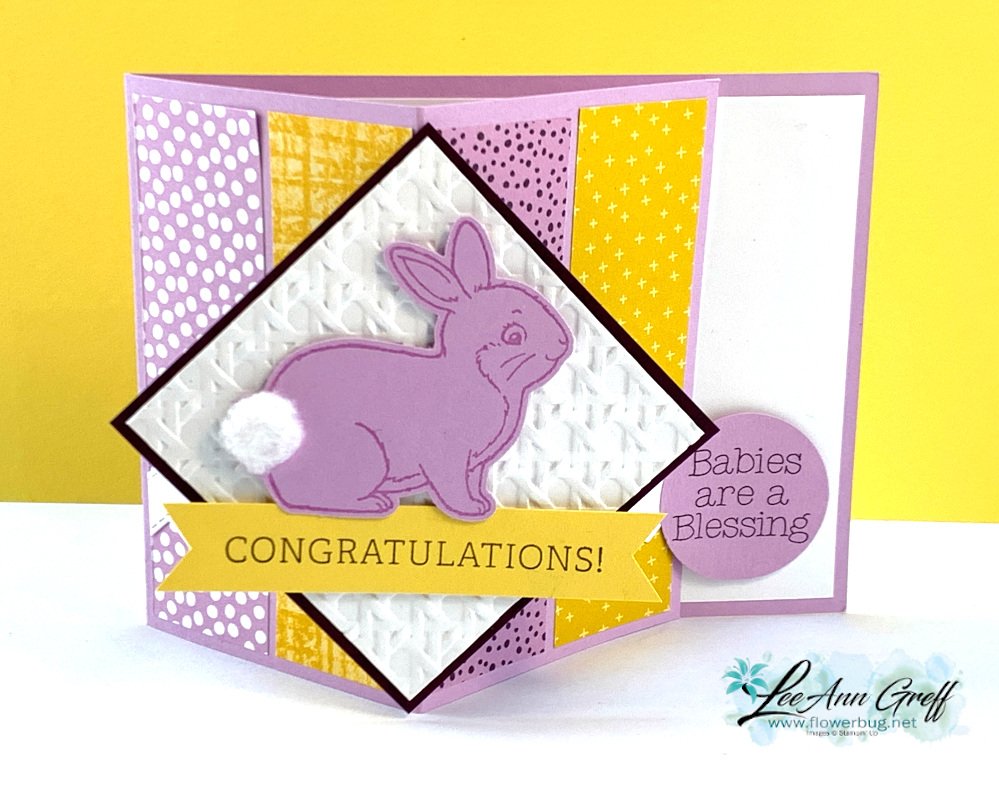
Easter Bunny Floating Panel card with a free project sheet & video tutorial!
We made this sweet card at my March Card Clubs – it features the Easter Bunny bundle. This bundle is currently unavailable. you can get the Easter Bunny stamp set now but the Bunny punch is returning in May.
It's a Floating Panel fun fold card; one of my current favorite folds lately. It's both fun to make and easy to create too!
My colors include Fresh Freesia, Blackberry Bliss and Daffodil Delight. Below you'll see the baby version. I gave my gals the choice of Easter or baby.
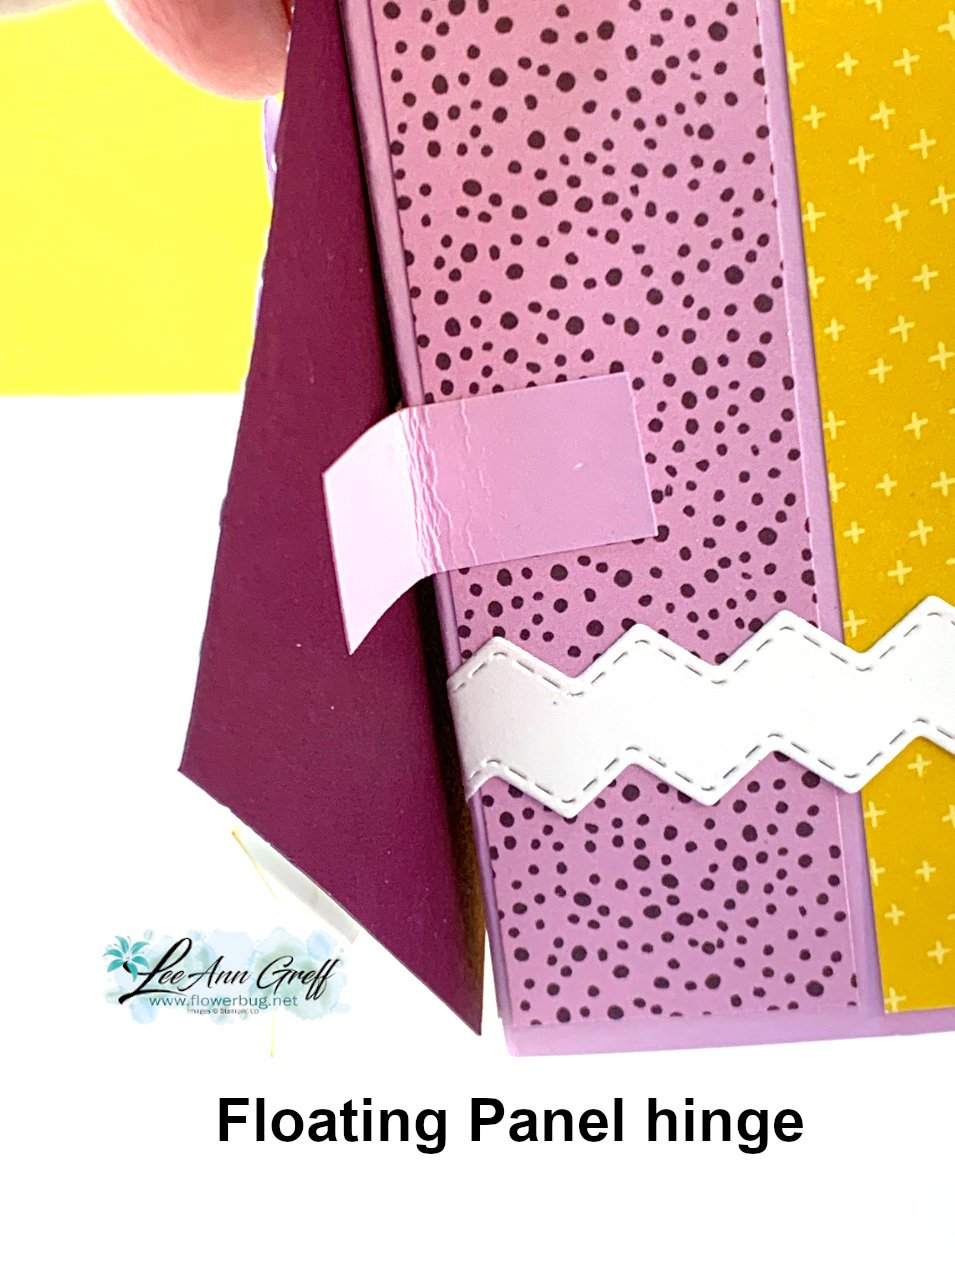
Card base 4 1/4" X 11" score at 2 3/4" & 5 1/2". Scraps for bunny & circle punch. Two strips 1/2" X 1 1/2" for the floating panel hinges • DSP pieces four pieces at 1 1/4" X 4" • White front square 2 3/4", inside 5 1/4" X 4" • Blackberry Bliss square 2 7/8" • Greeting strips 3/4" X 3 1/2"
Here's a tip on the Floating panel: You need just two pieces of card stock about 1/2" X 2 1/2". Fold them in half and adhere to the center fold; one on each side. Your front panel is adhered to this.
*Watch the video below (or click here)where I share the tips on creating this card; it's the second project of 4!
Notice: LeeAnn Greff, Independent Stampin’ Up! Demonstrator, Manager. The content of this website is my sole responsibility as an independent Stampin’ Up! demonstrator and the use of, and content of, the classes, services, or products offered on this website is not endorsed by Stampin’ Up! Copyright 2025


Leave a Reply