/


Latest Post

Last of the unique ‘Gift Card’ ideas with video!


I've shared two other special gift card ideas and today I have another.  It's the last one I shared in this video. 

It features the Penguin Place bundle seen here.   And it's now available but on low inventory; once more.  The punch was out of stock for a long time. 

This penguin is super cute and quite versatile.  Certainly not just for Christmas!

Details:

  • His main body is punched out of Black glitter paper. 
  • I fussy cut his scarf from Heartwarming Hugs DSP. 
  • I stamped the snowflakes on the Black CS using our White Craft ink.  

This card opens up like this: 
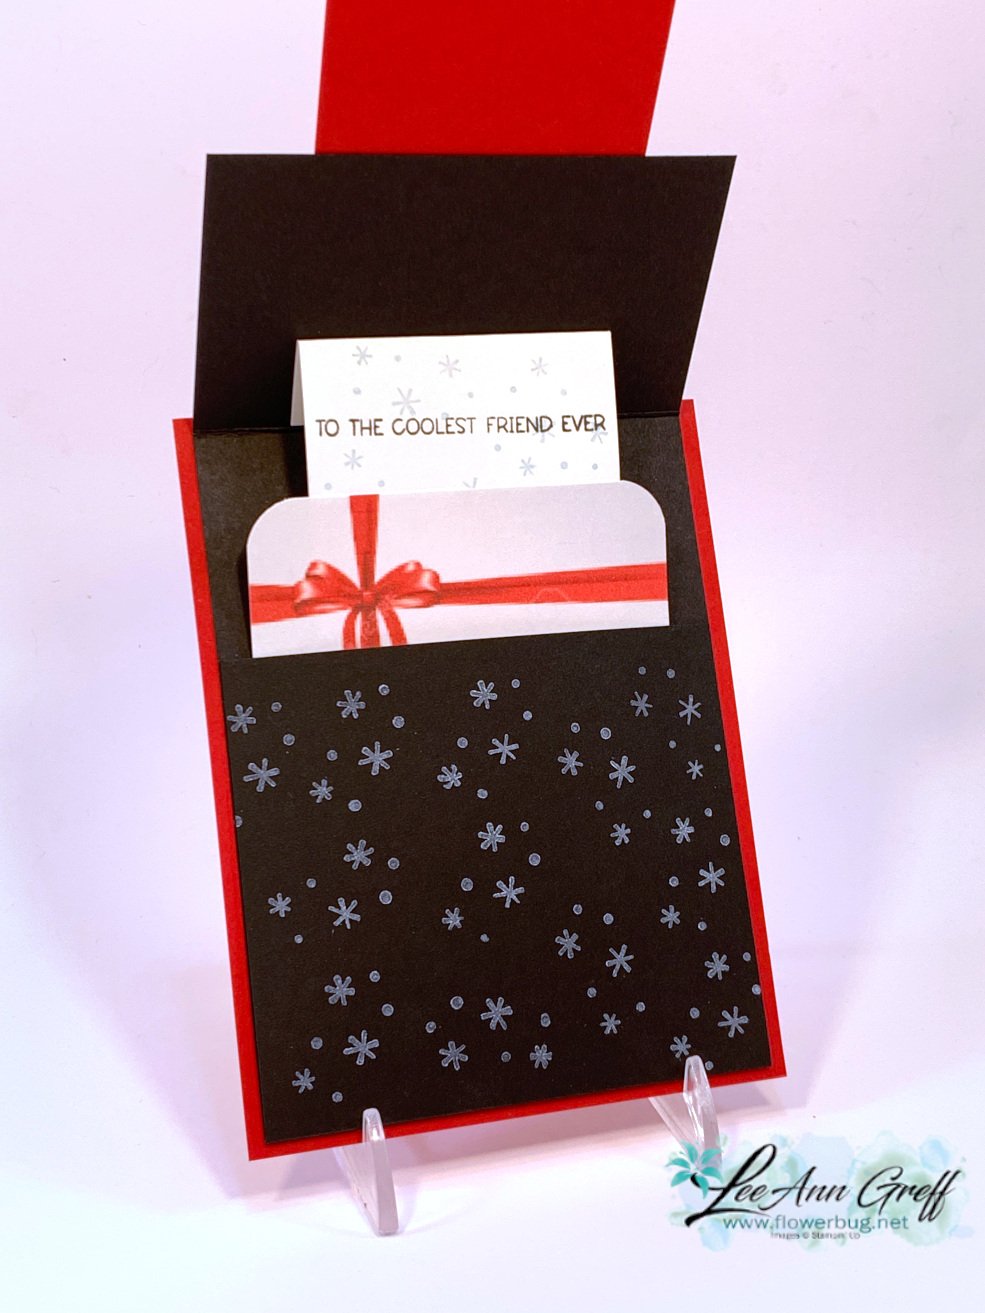
There's a fold inside that brings up the 'gift card' when you lift up the card front.  I did use Thick White CS for this so it stands up to lots of use. Isn't it fun?  It's quite easy too!

Measurements for the Pull-Up Penguin Gift Card

  • Card base 4 ¼” X 5 ½”, DSP 2” X 3 ¾”
  • Black card 4” X 11” scored at 3 ½” & 8 ¾”
  • Inside Thick White 2 ½” X 5 ½” or 6” scored at 3/4" from each end
  • Front white 2” X 3”, Black 2 ¼” X 3 ¼”, Red 2 ½” X 3 ½”

Below is the video tutorial.  It's the third & last project I share.  

~~~

December Specials:

Host code:  6YCWV7QN

 *click here to order 

Use the host code above & get a free card stock sampler ring with a $50 order in December! 
See the last chance list here

See the July-December catalog carry over list here

All Posts

  • Fun & Simple card layout for designer paper with video tutorial


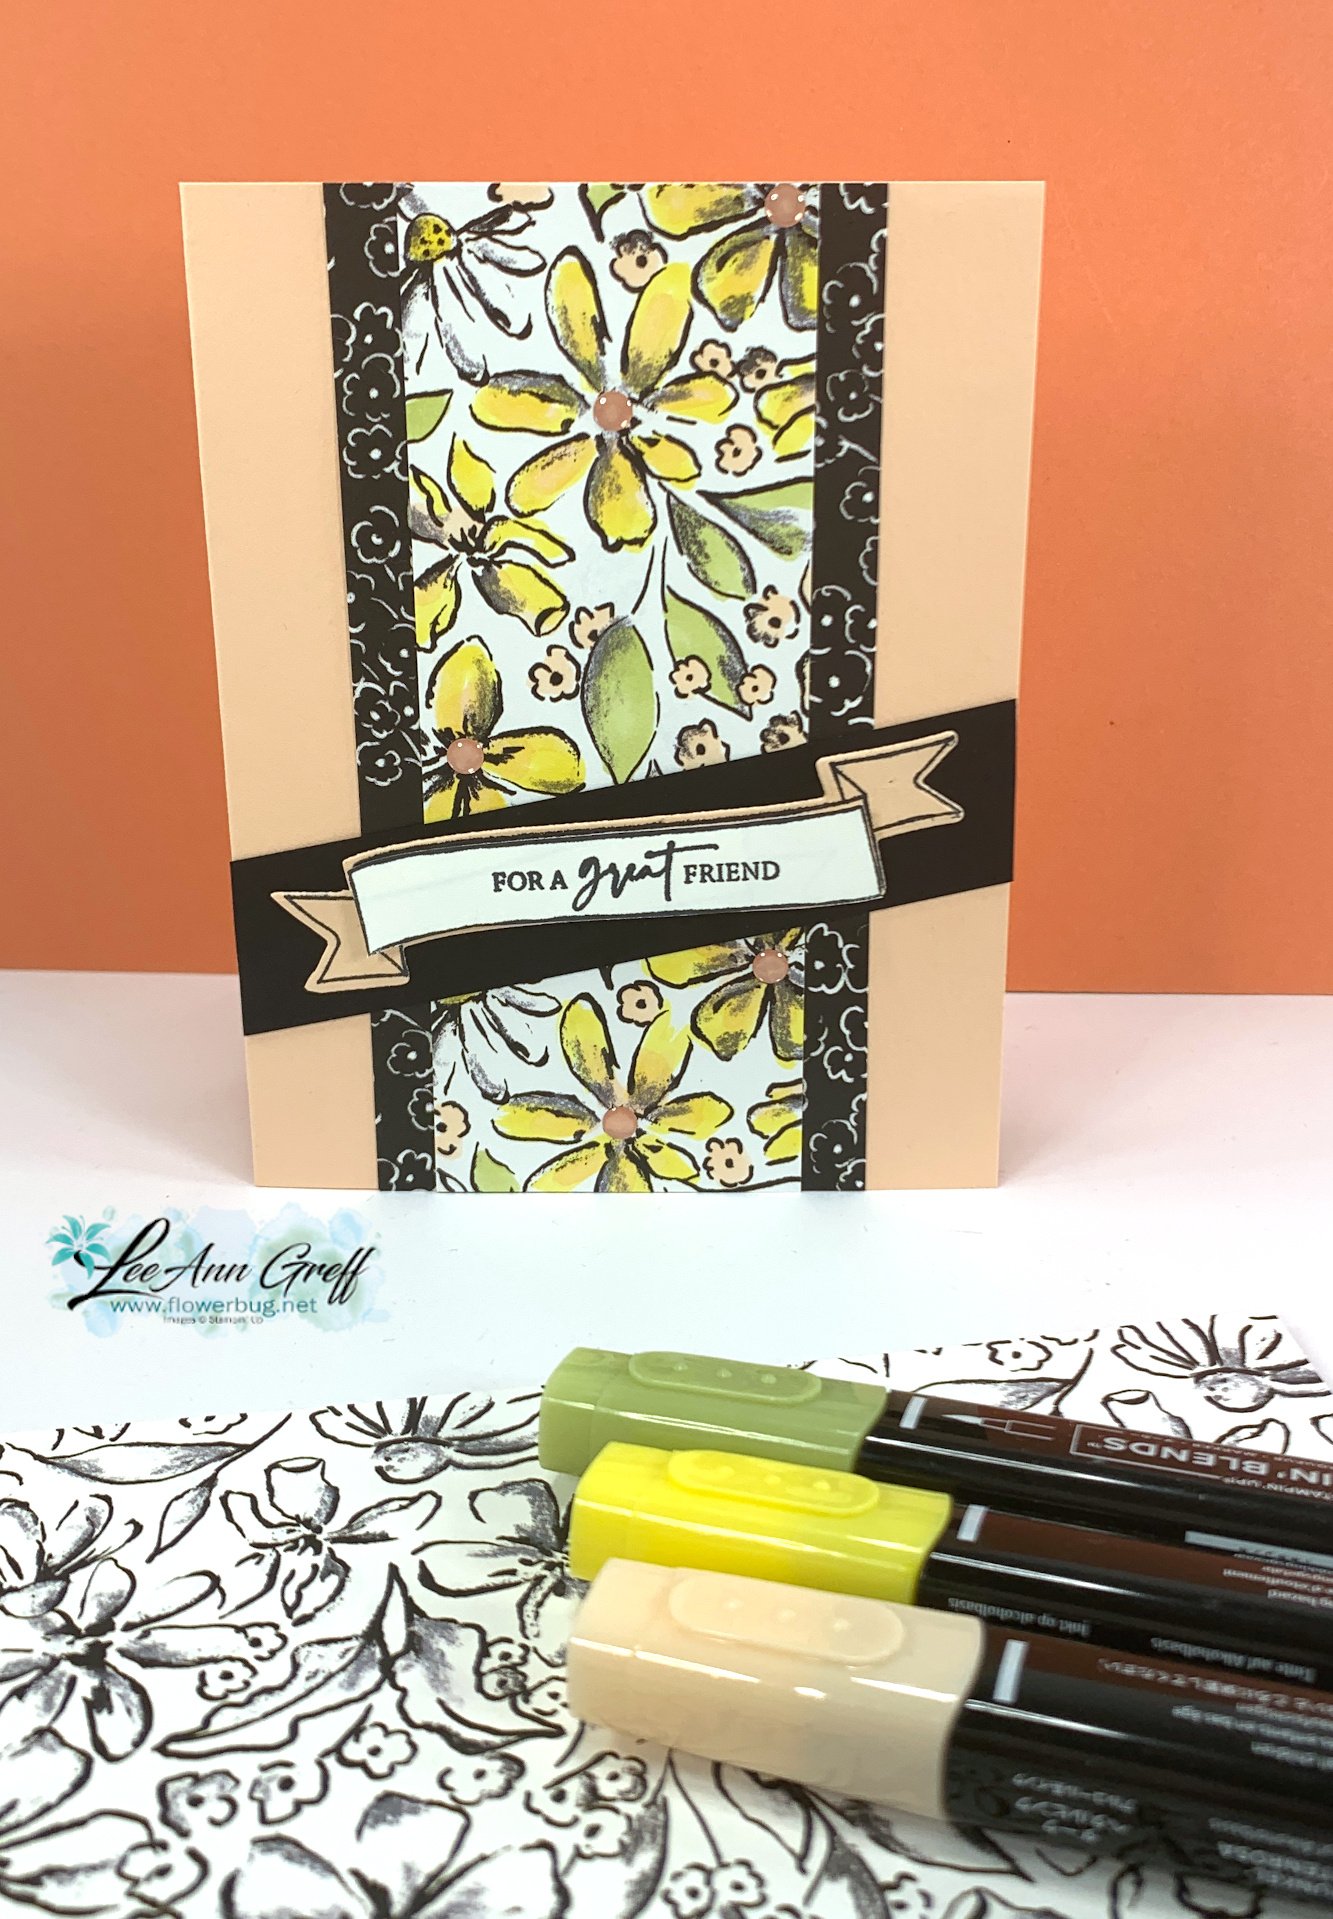
    Here's one more card shared on last week's Live video.  It is a very simple layout with a bit of fun to it. 

    It's simply two layers of designer series paper with a slanted greeting across it. The slant adds a bit of playfulness to the vertical layers.  

    I used the Mixed Media Florals suite seen here.  It's in our Online Exclusives line which is available to everyone.  The Online title confuses some people but all it really means is that it's not in any published catalog and can be found in our online store.  


    I tried another version above; one with flowers and the other with a patterned design.  Which do you prefer? 

    The center panel is 2" X 5 1/2" and the outer is 2 1/2" X 5 1/2".  The Black strip across is 1" wide.  

    The main panel is actually black & white without color.  I used our Blends markers to add color to it.  I love the ability to add whatever color I want to feature.  In this case Petal Pink with pops of Lemon Lolly, Black and Old Olive. 


    Below is the video tutorial for this card and two other layouts using this pretty designer paper.  

    ~~~

    February Specials:

    *current host code link:  

    RDHGQU7E

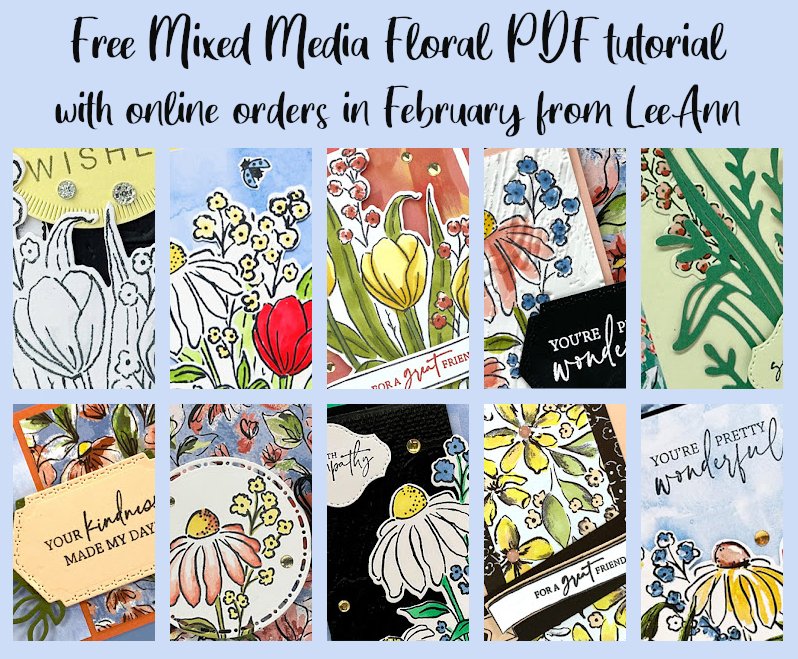
    Get this free tutorial with any online order in February!

     When you choose the Starter kit in February you get a choice of 2 packs of markers & a free stamp set or an extra $30 in product.  That's $155 in value for just $99! 

    Contact me here

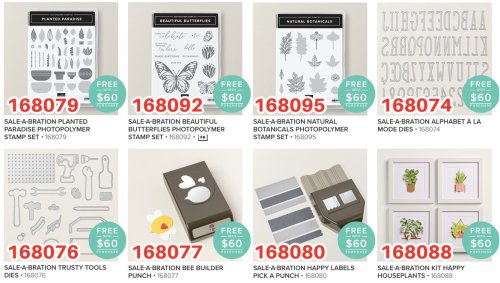
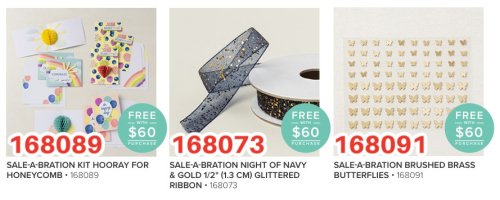
    New Sale-a-Bration choices – free with any $60 purchase through Feb 28th 


    Leave a Reply

    Your email address will not be published. Required fields are marked *

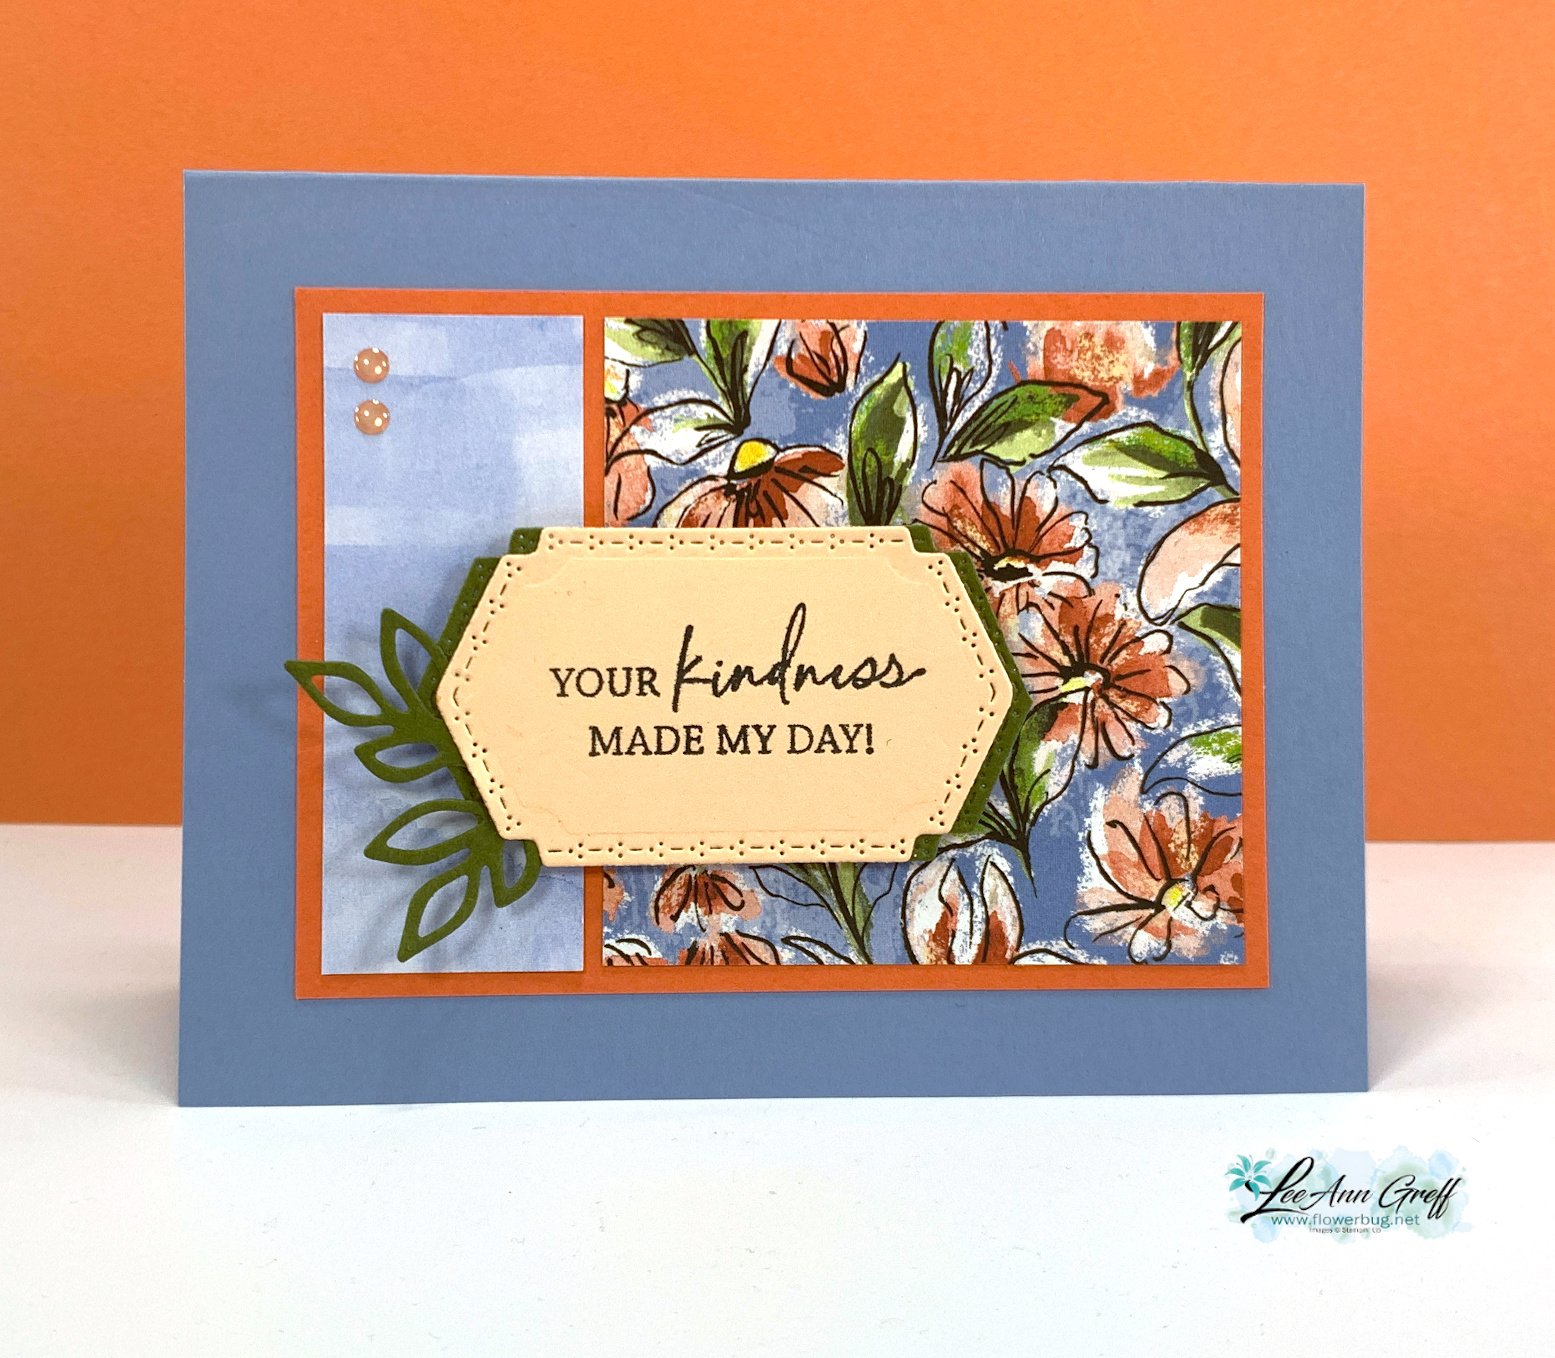
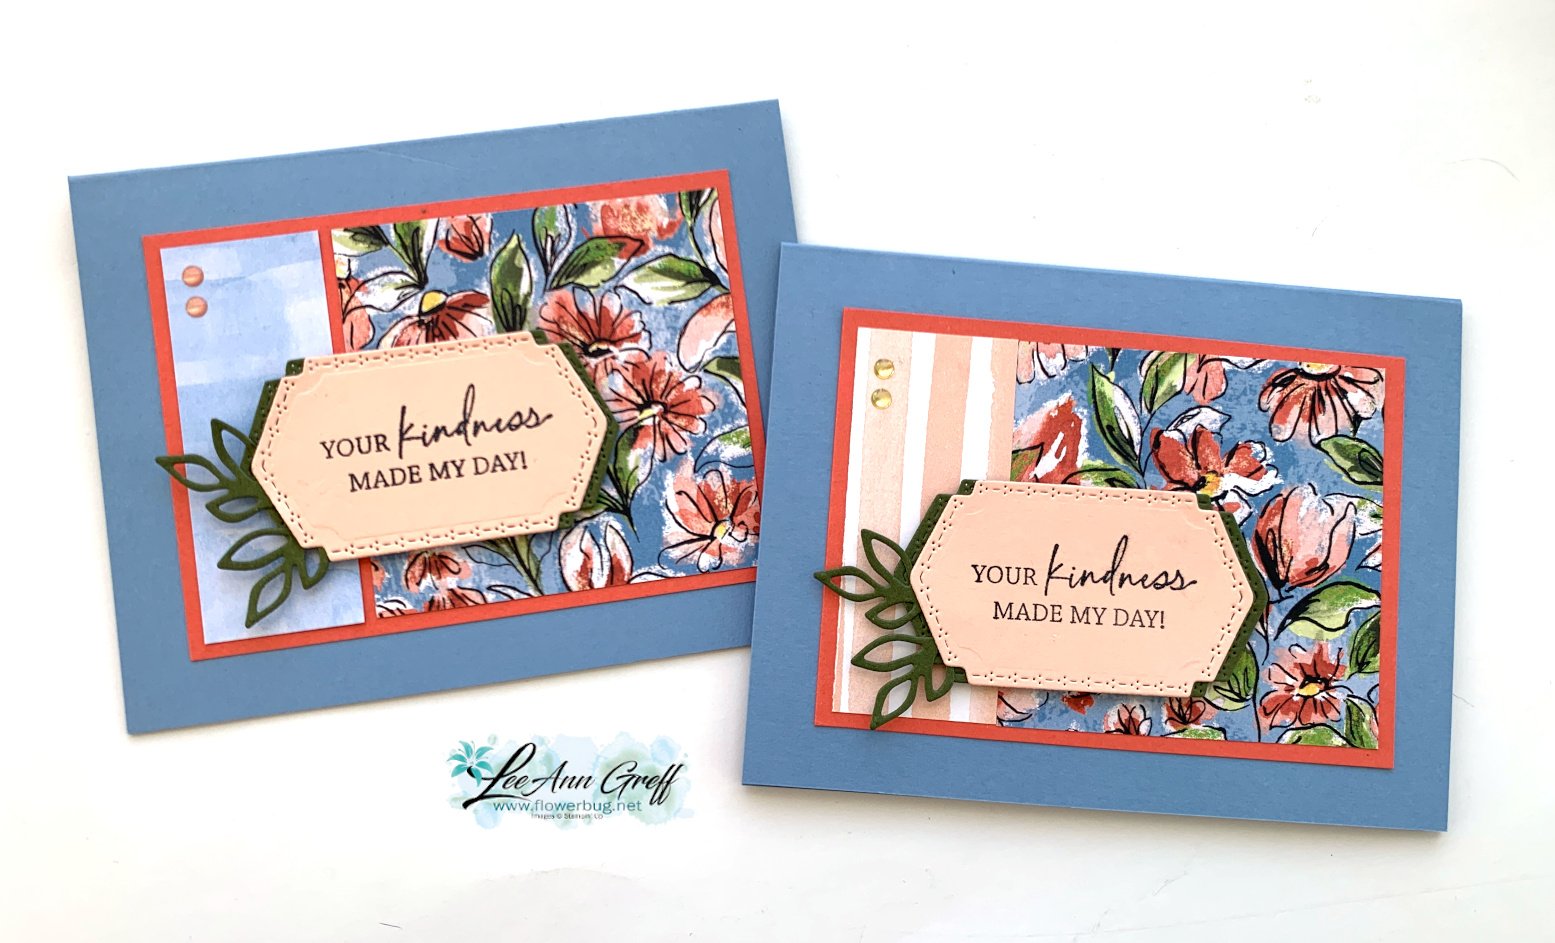
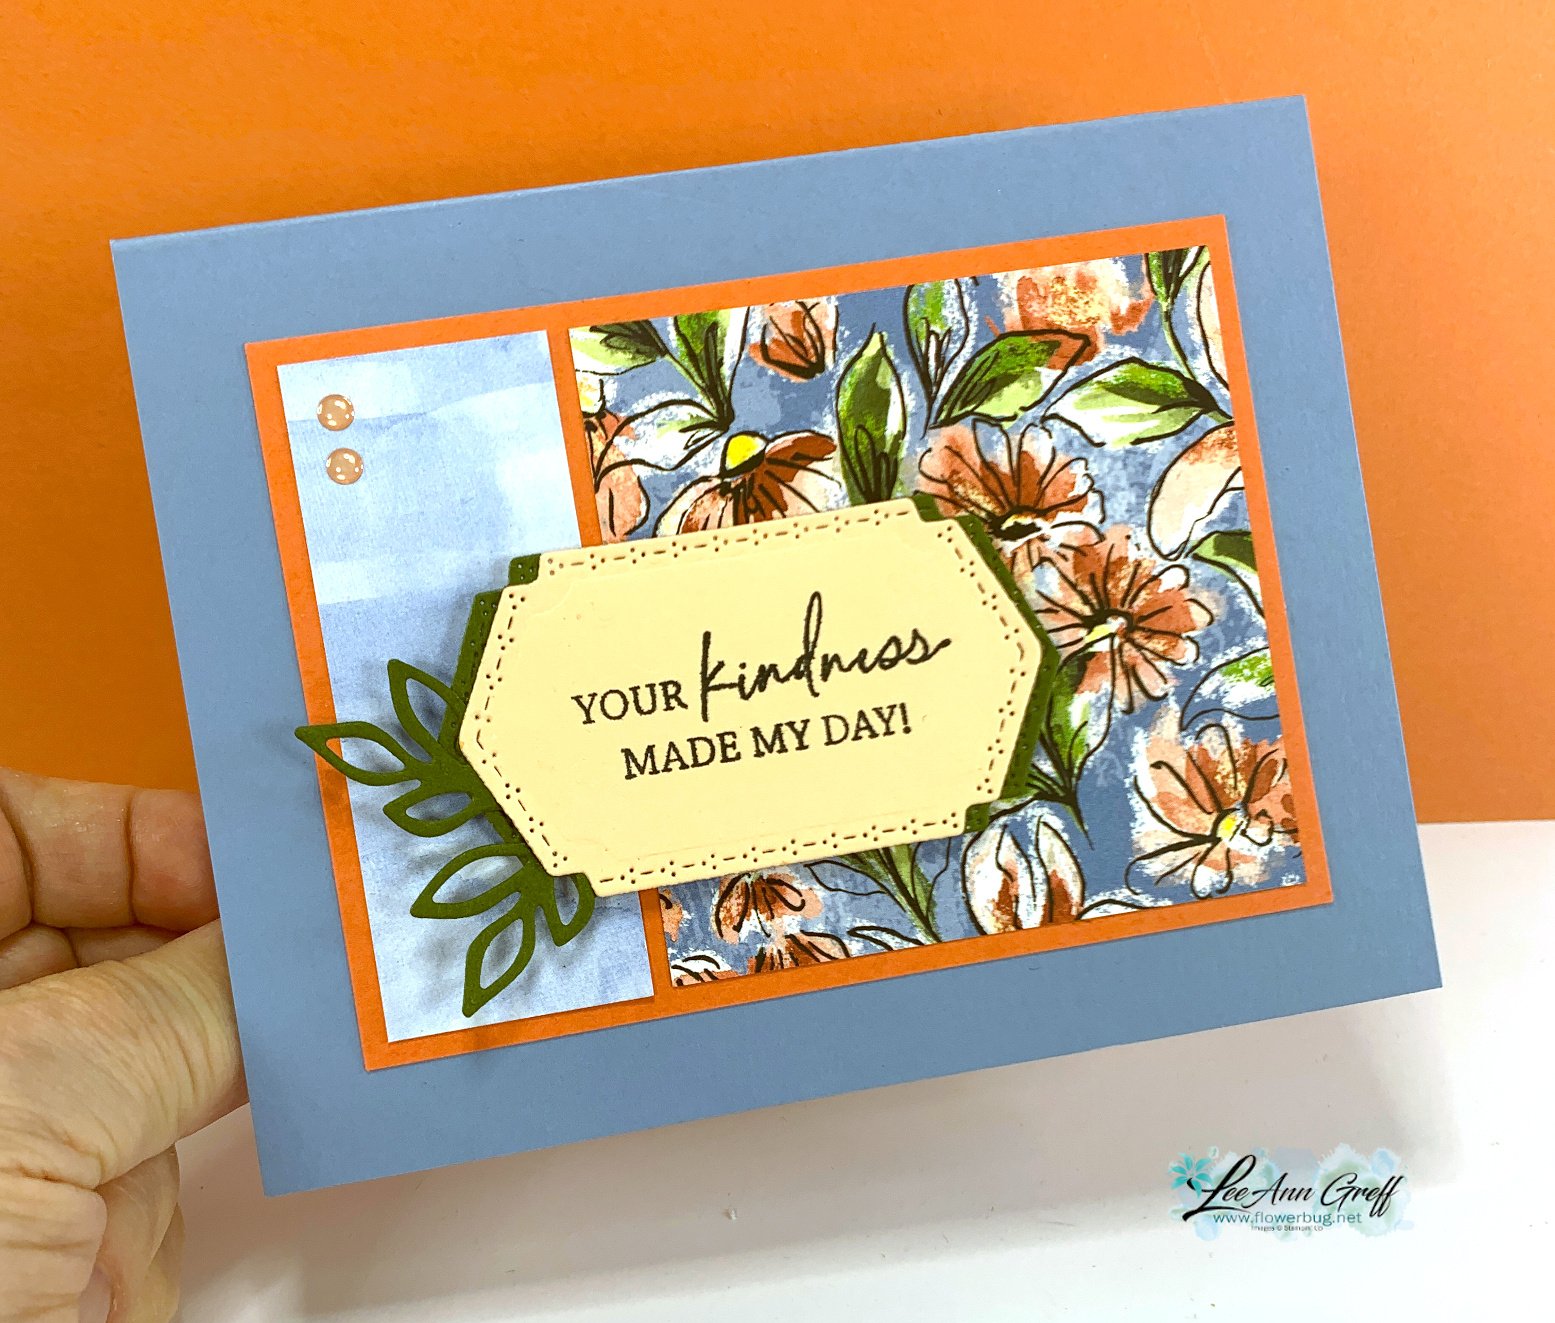
  • Make a bunch of these cards with the Mixed Media Florals suite


    I love this card layout!  You can use both sides of your DSP with this easy design.  

    I used the Mixed Media Floral suite on this card:

    I don't have a free project sheet for this card as it's one featured in my free PDF this month (with any online order).  But here are the basic measurements:

    • Coral layer – 4 1/2" X 3 1/4"
    • DSP 3" square & 1 1/8" X 3" strip

    Below is the video tutorial for this card and two other layouts using this pretty designer paper.  

    ~~~

    February Specials:

    *current host code link:  

    RDHGQU7E

    Get this free tutorial with any online order in February!

     When you choose the Starter kit in February you get a choice of 2 packs of markers & a free stamp set or an extra $30 in product.  That's $155 in value for just $99! 

    Contact me here

    New Sale-a-Bration choices – free with any $60 purchase through Feb 28th 


    Leave a Reply

    Your email address will not be published. Required fields are marked *

  • Neat Z-fold card with free project sheet & video tutorial


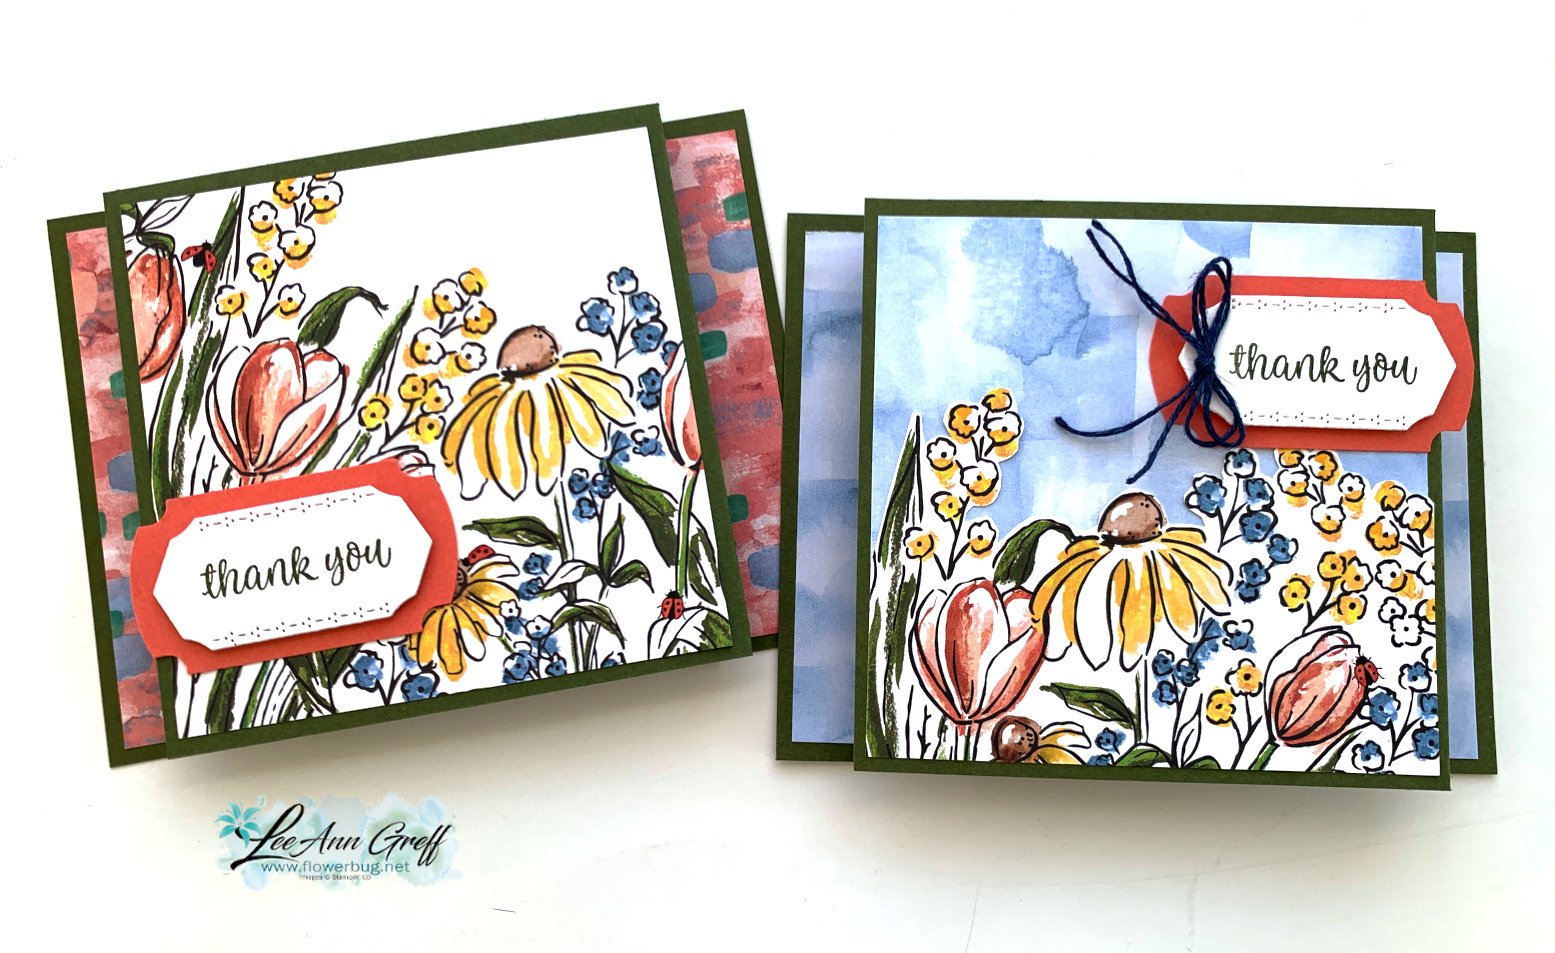
    Today I'm sharing a neat Z-fold card that's a little different than usual.  I chose to feature the new Mixed Media Floral designer paper from our Online Exclusives line.  You can see it here.  

    My colors include Mossy Meadow, White & Calypso Coral. The left card above has a 4" square of DSP as the main panel. On the right card I fussy cut the flowers from the DSP and added them over a printed blue panel that resembles sky. 

    The greeting is from the SAB Heart Shaped bundle; the die-cut is from the Mixed Label dies and the Coral piece is punched using the Labeled with Love punch.

    You can see how it opens in the photo below: The card base is 5 1/2" X 4 1/4" and there's a full 11" X 4 1/4" scored layer above it.  


    Click on the following link to get the free project sheet with measurements, supplies and directions. Download Mixed Media Floral Z-fold card

    Below is the video tutorial for this card and two other simple designs using this pretty designer paper.  

    ~~~

    February Specials:

    *current host code link:  

    RDHGQU7E

    Get this free tutorial with any online order in February!

     When you choose the Starter kit in February you get a choice of 2 packs of markers & a free stamp set or an extra $30 in product.  That's $155 in value for just $99! 

    Contact me here

    New Sale-a-Bration choices – free with any $60 purchase through Feb 28th 


    Leave a Reply

    Your email address will not be published. Required fields are marked *


Notice: LeeAnn Greff, Independent Stampin’ Up! Demonstrator, Manager. The content of this website is my sole responsibility as an independent Stampin’ Up! demonstrator and the use of, and content of, the classes, services, or products offered on this website is not endorsed by Stampin’ Up! Copyright 2025