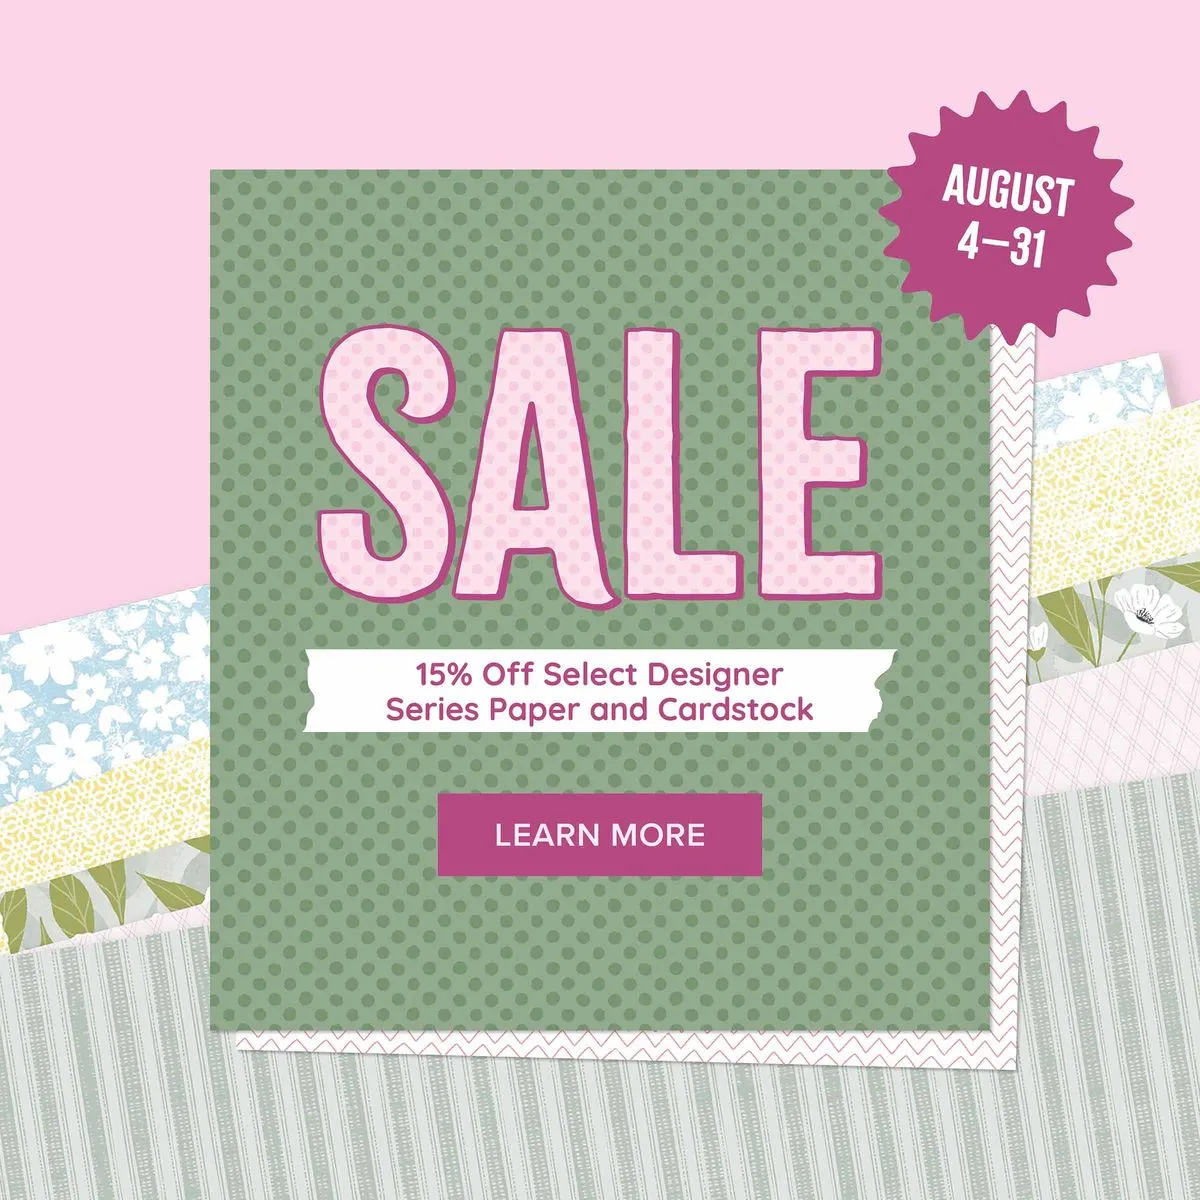
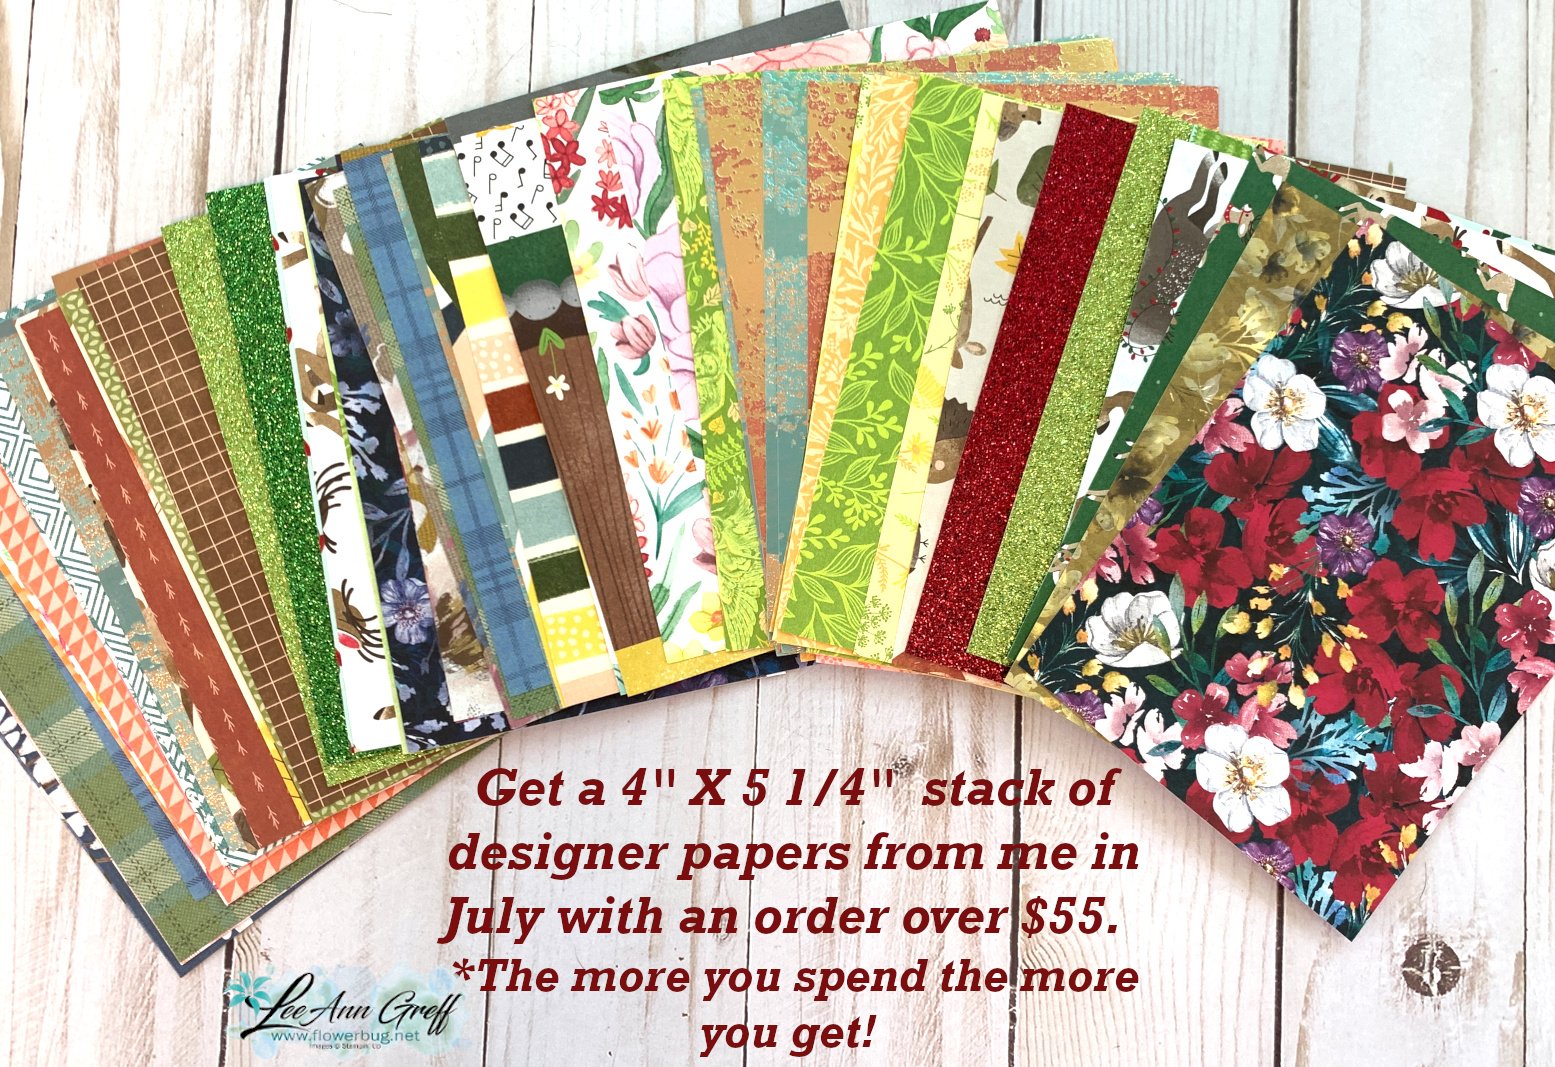
Just a few days left of the Designer Paper & Card stock sale! Don’t miss out!
I love it when a staple like our card stock and beautiful Designer Papers are discounted. It’s something that we use all of the time in paper crafting.
The fact that ALL of our colors coordinate is what makes Stampin’ Up! stand out from the rest. We are known for our color coordination! It’s what keeps me creating and in love with our products.
Click here or below to see the entire line of discounted papers. This sale ends August 31st!
All Posts
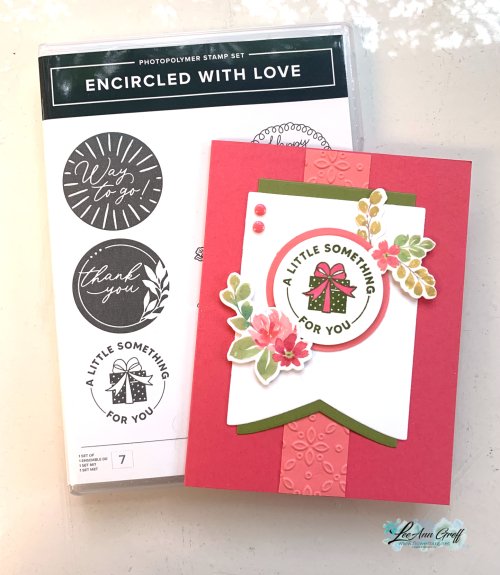
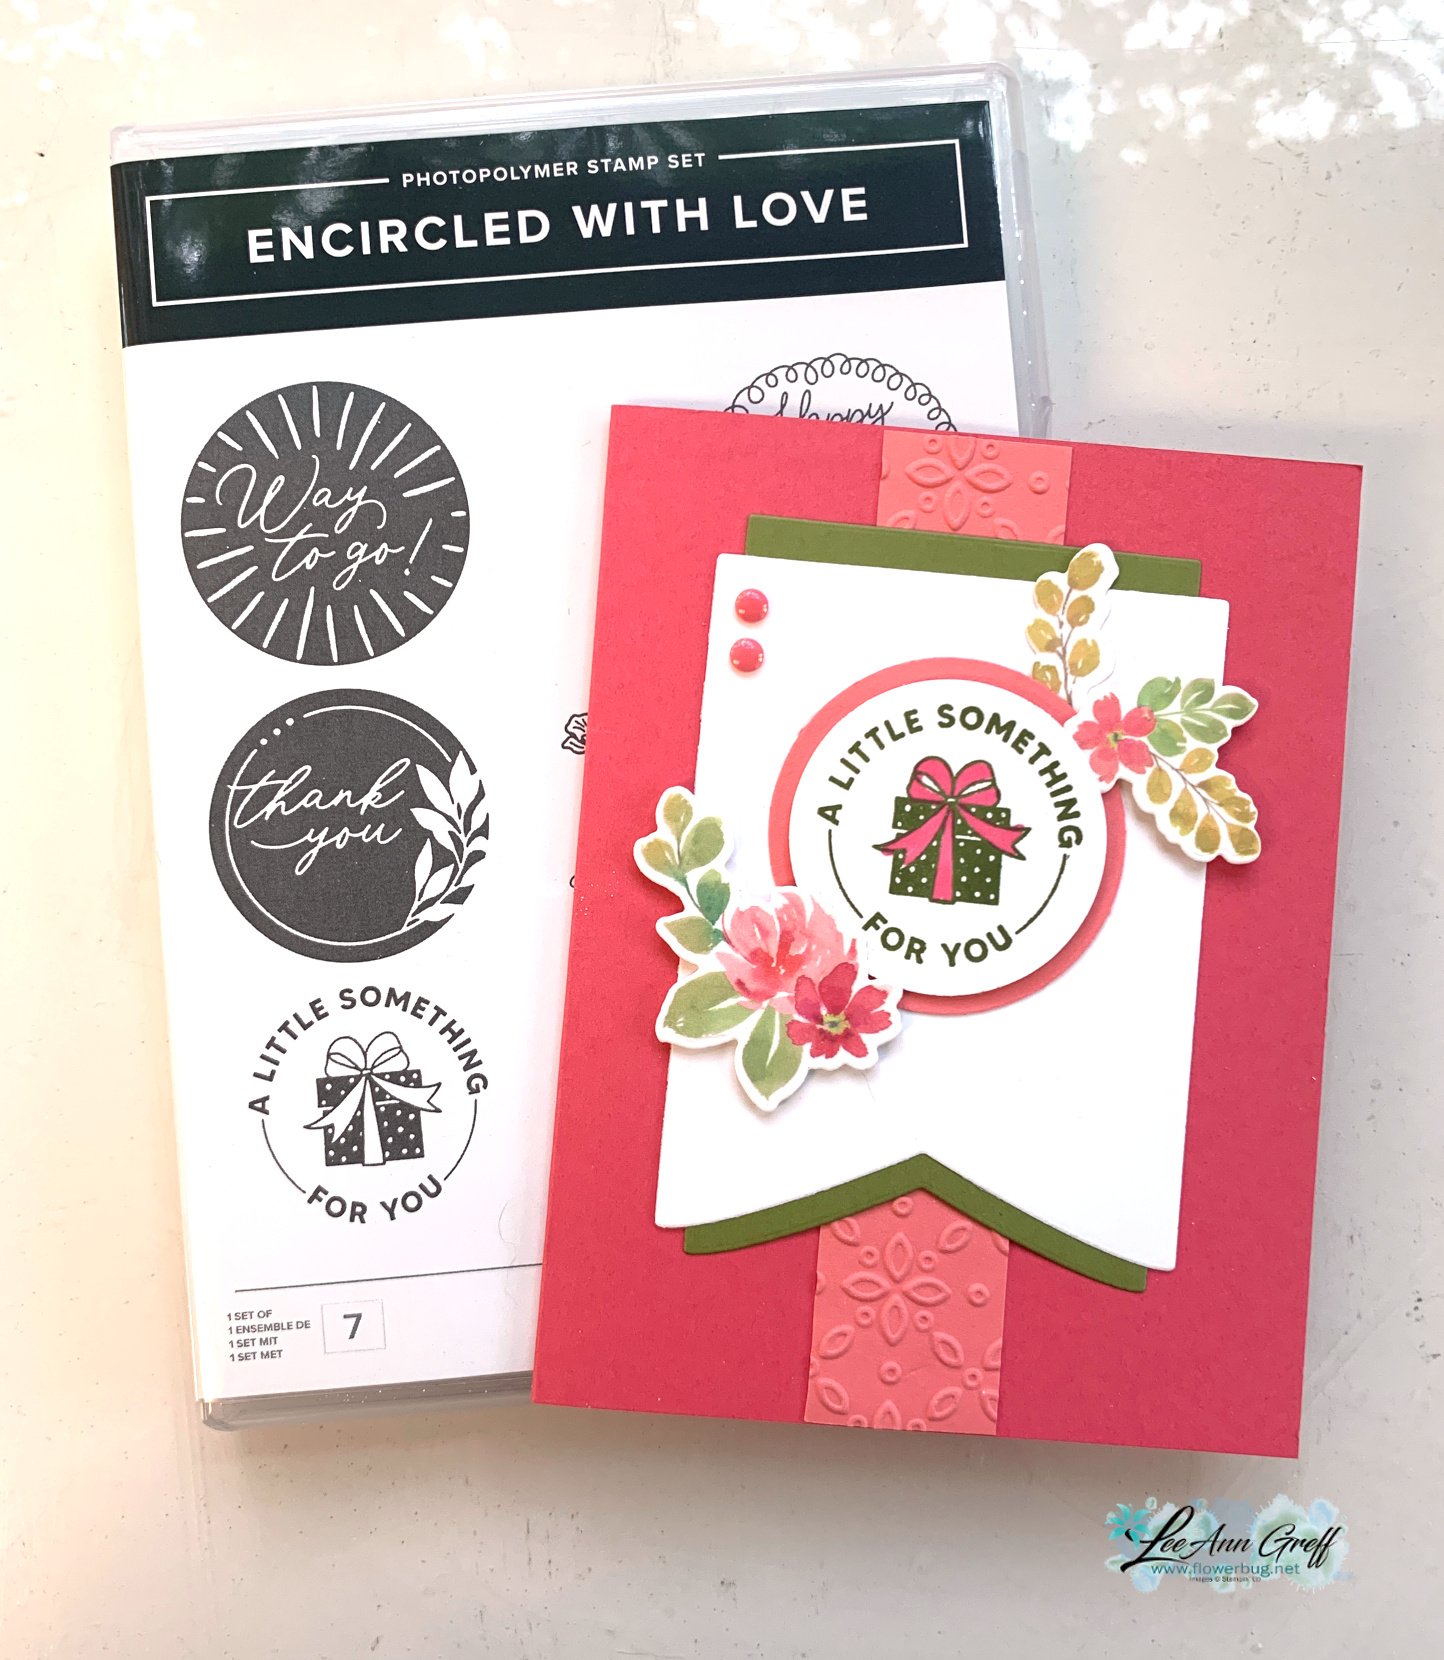
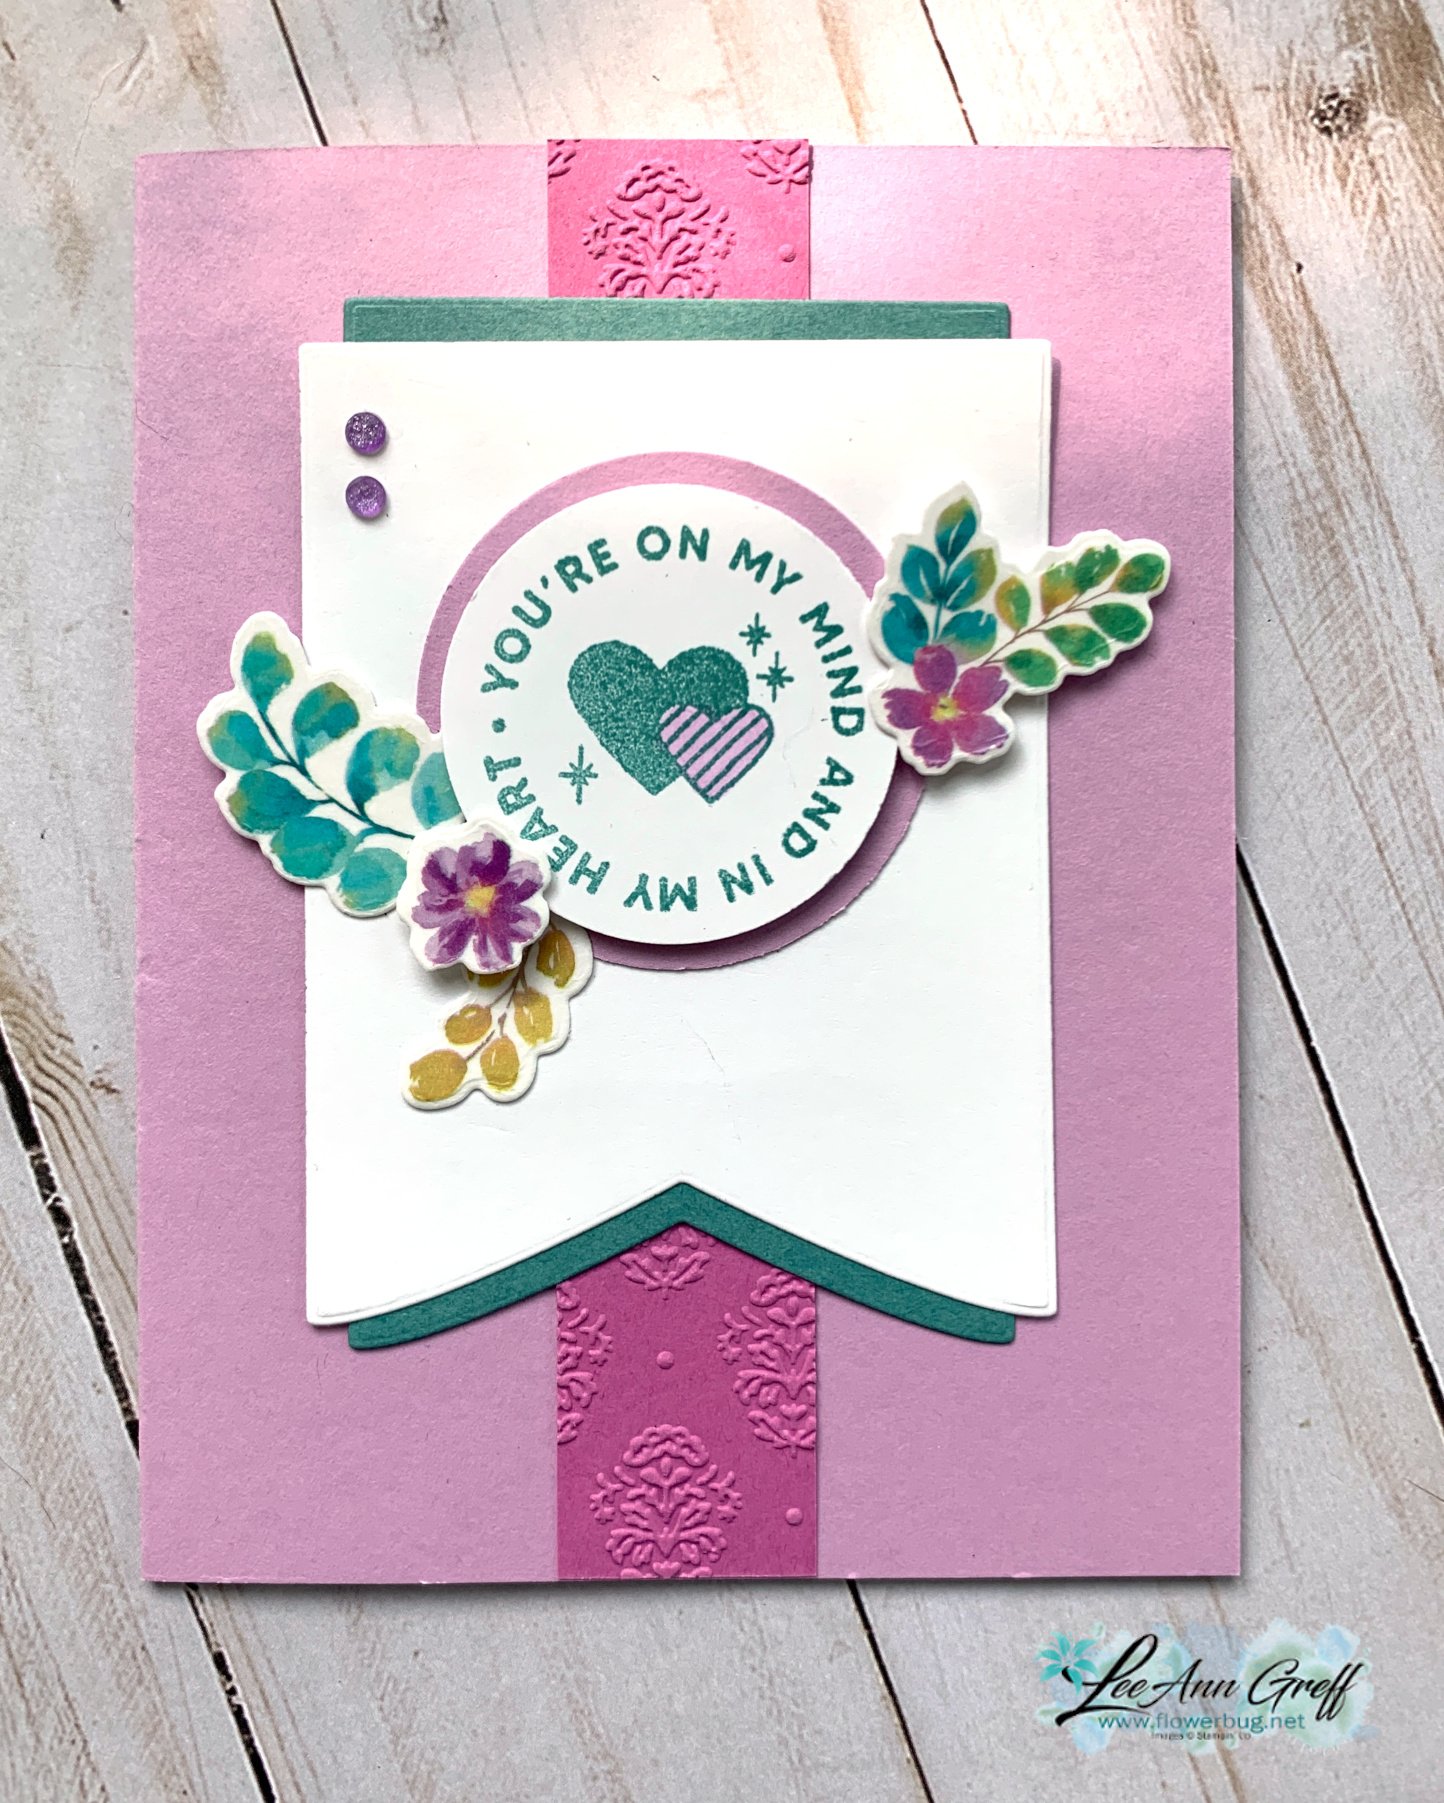
Encircled with Love meets Extraordinary Washi tape – video & free project sheet too!
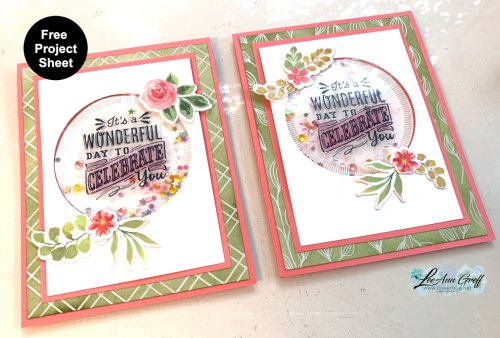
Here is one of the cards I shared on last week's Live video:
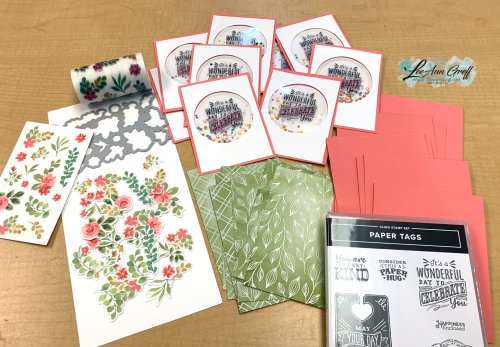
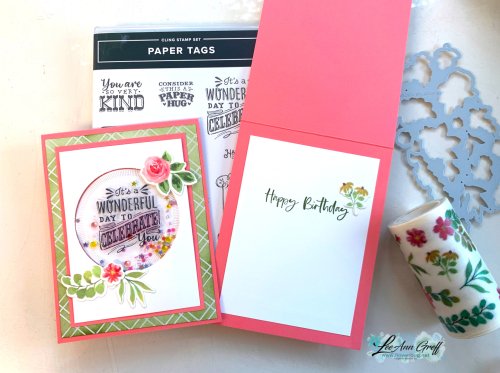
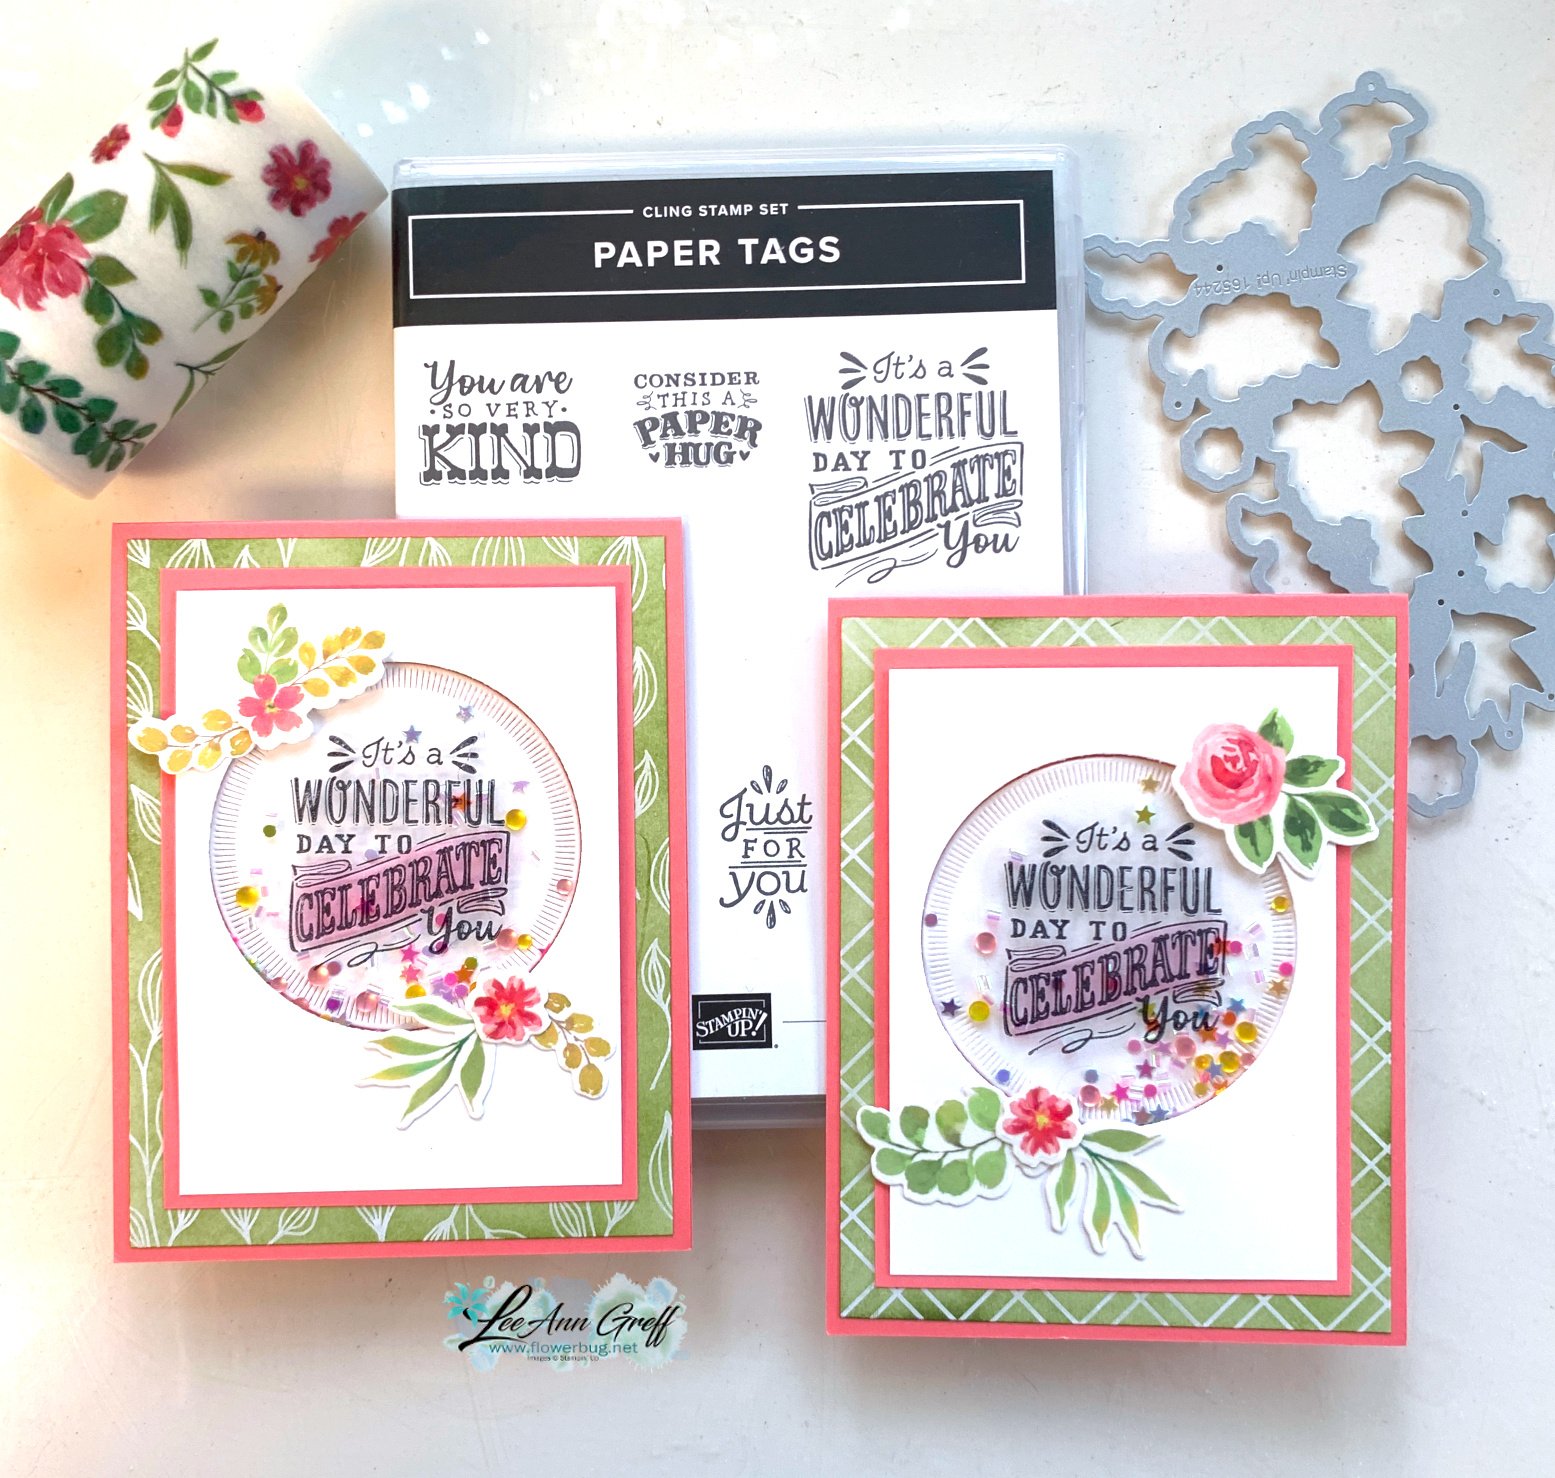
I made a bunch of these for our July Team card swap featuring 'window sheets'. I love the fact that I could get multiple, colorful die-cut flowers with the Extraordinary Floral Washi Tapeand the coordinating die-cut. Just add it to another piece of cardstock and die-cut. So fast & EASY!
Notice the sponged green designer paper above. That is the Irresistible Designs 12" DSP seen here. I added Olive ink to it with a Blending Brush; the printed embossed designs 'resist' the ink. Pretty cool!
I used the Paper Tags stamp set – stamping the greeting directly onto the window sheet with Black Stazon ink. Then I turned it over to add a bit of Flirty Flamingo blends marker on the 'celebrate' part.
My colors include Flirty Flamingo, Old Olive and White for a fresh floral card design. Want to know the steps to achieve a shaker card? Best to grab the free project sheet below or watch the video tutorial.
Below is the video tutorial for this neat shaker card. Watch to get the tips for success on making one plus another pretty card featuring the Extraordinary Floral washi tape.
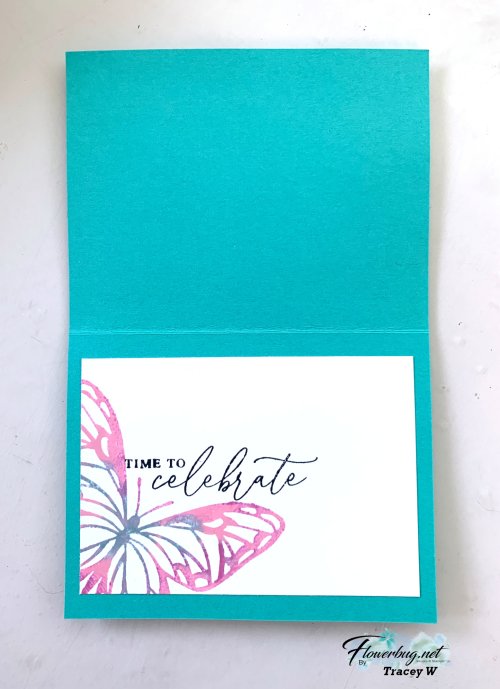
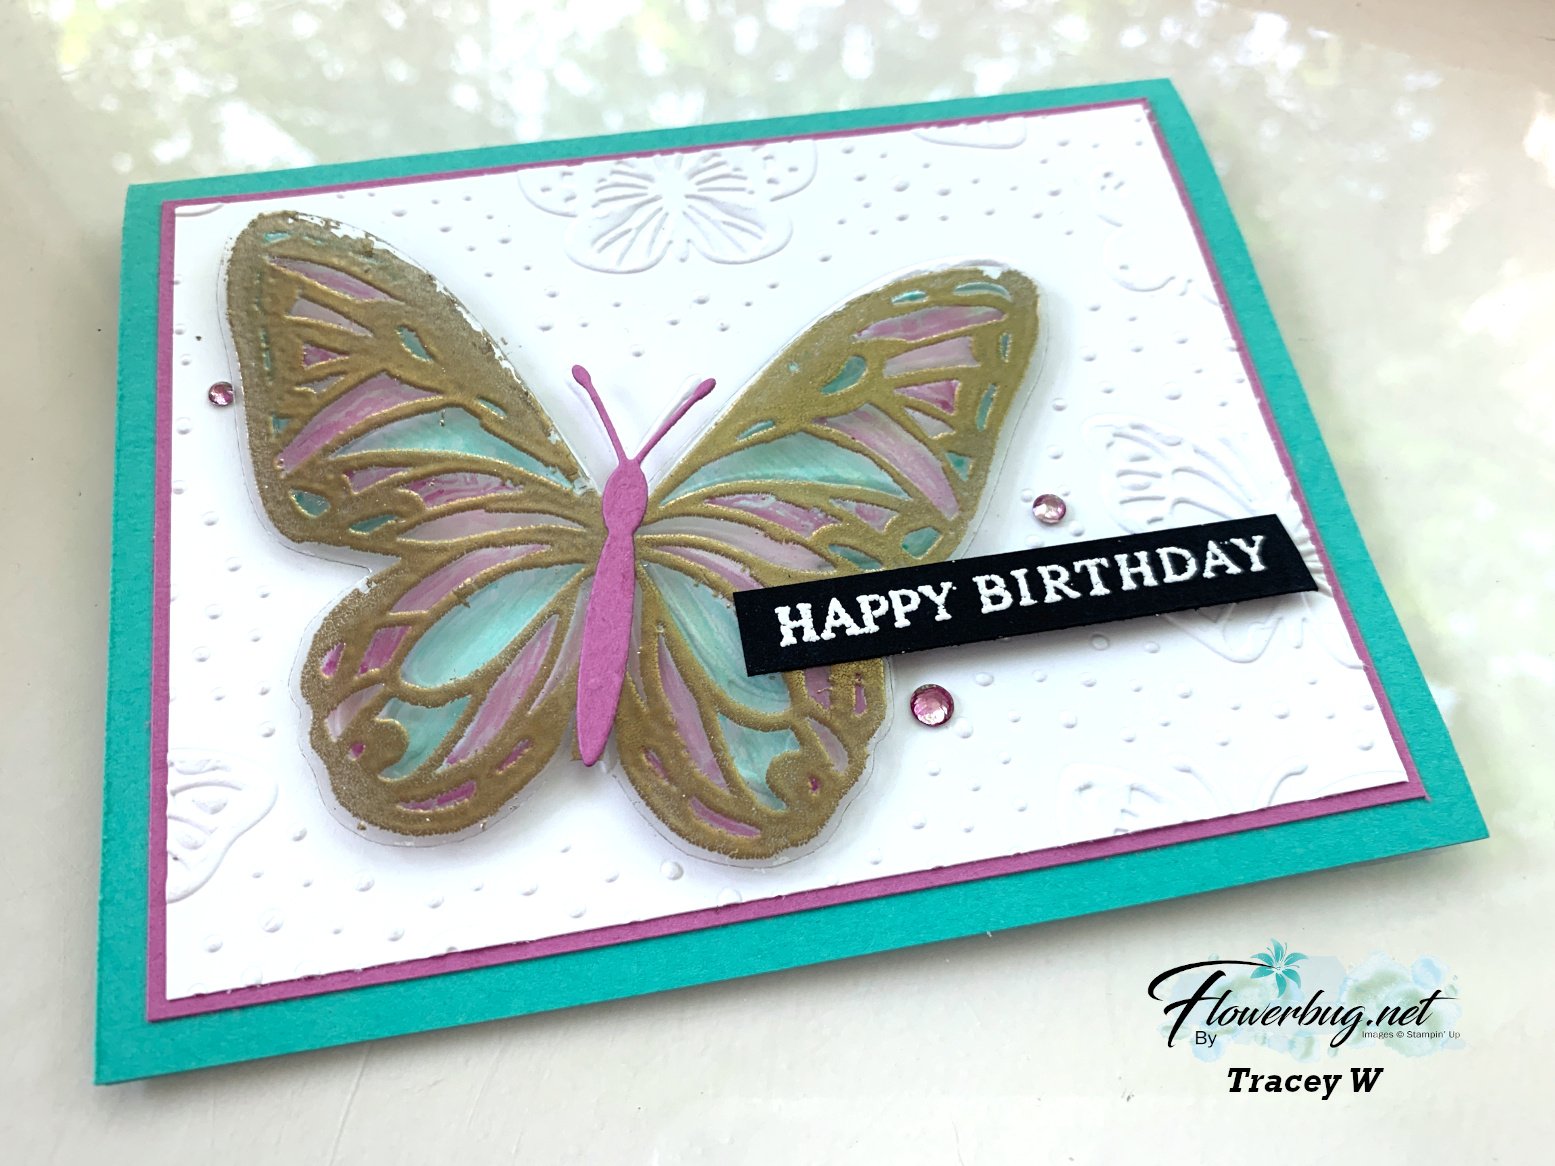
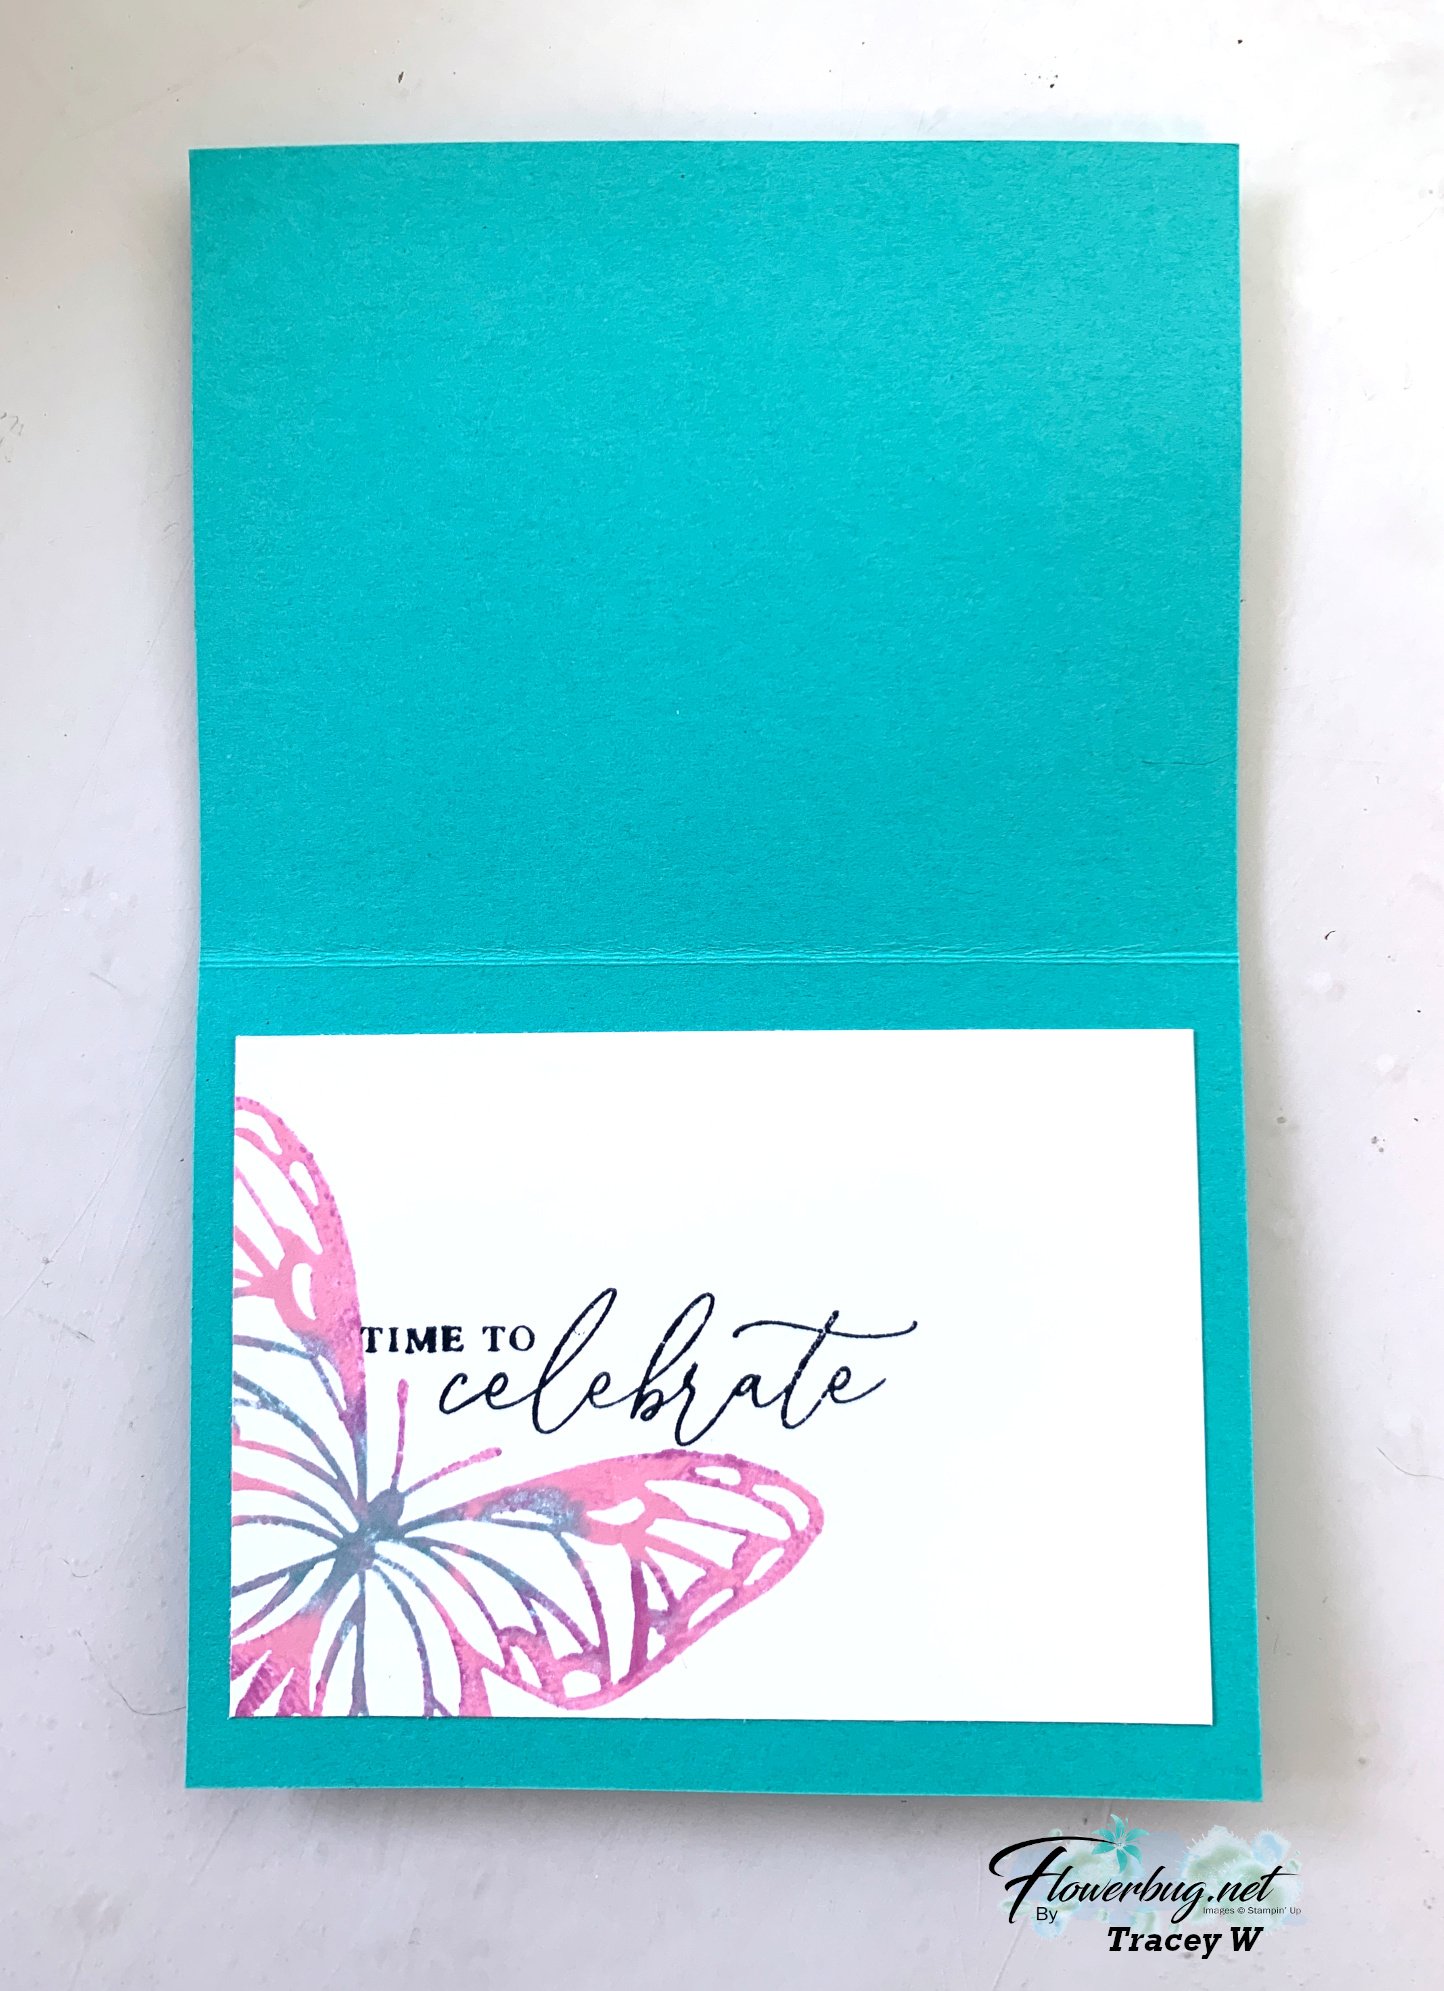
Her colors include Shy Shamrock with Petunia Pop, Black, White & Gold embossing.
Here's how she made this card:
Texture the White layer with the Hybrid embossing folder; add to the Petunia layer and the card base.
Ink the butterfly image in Versamark and stamp on the Window sheet. Heat emboss with Gold embossing powder. Die-cut with the coordinating die. *she did say some of the embossing powder on the edge frayed off when it went through the die-cut.
Color the back of the butterfly with Blends markers. Adhere to the White cardstock layer with Foam Strip adhesive in the center only. Add the center 'body' die-cut.
Heat emboss the greeting onto the Black strip with White embossing powder. Finish with gems.
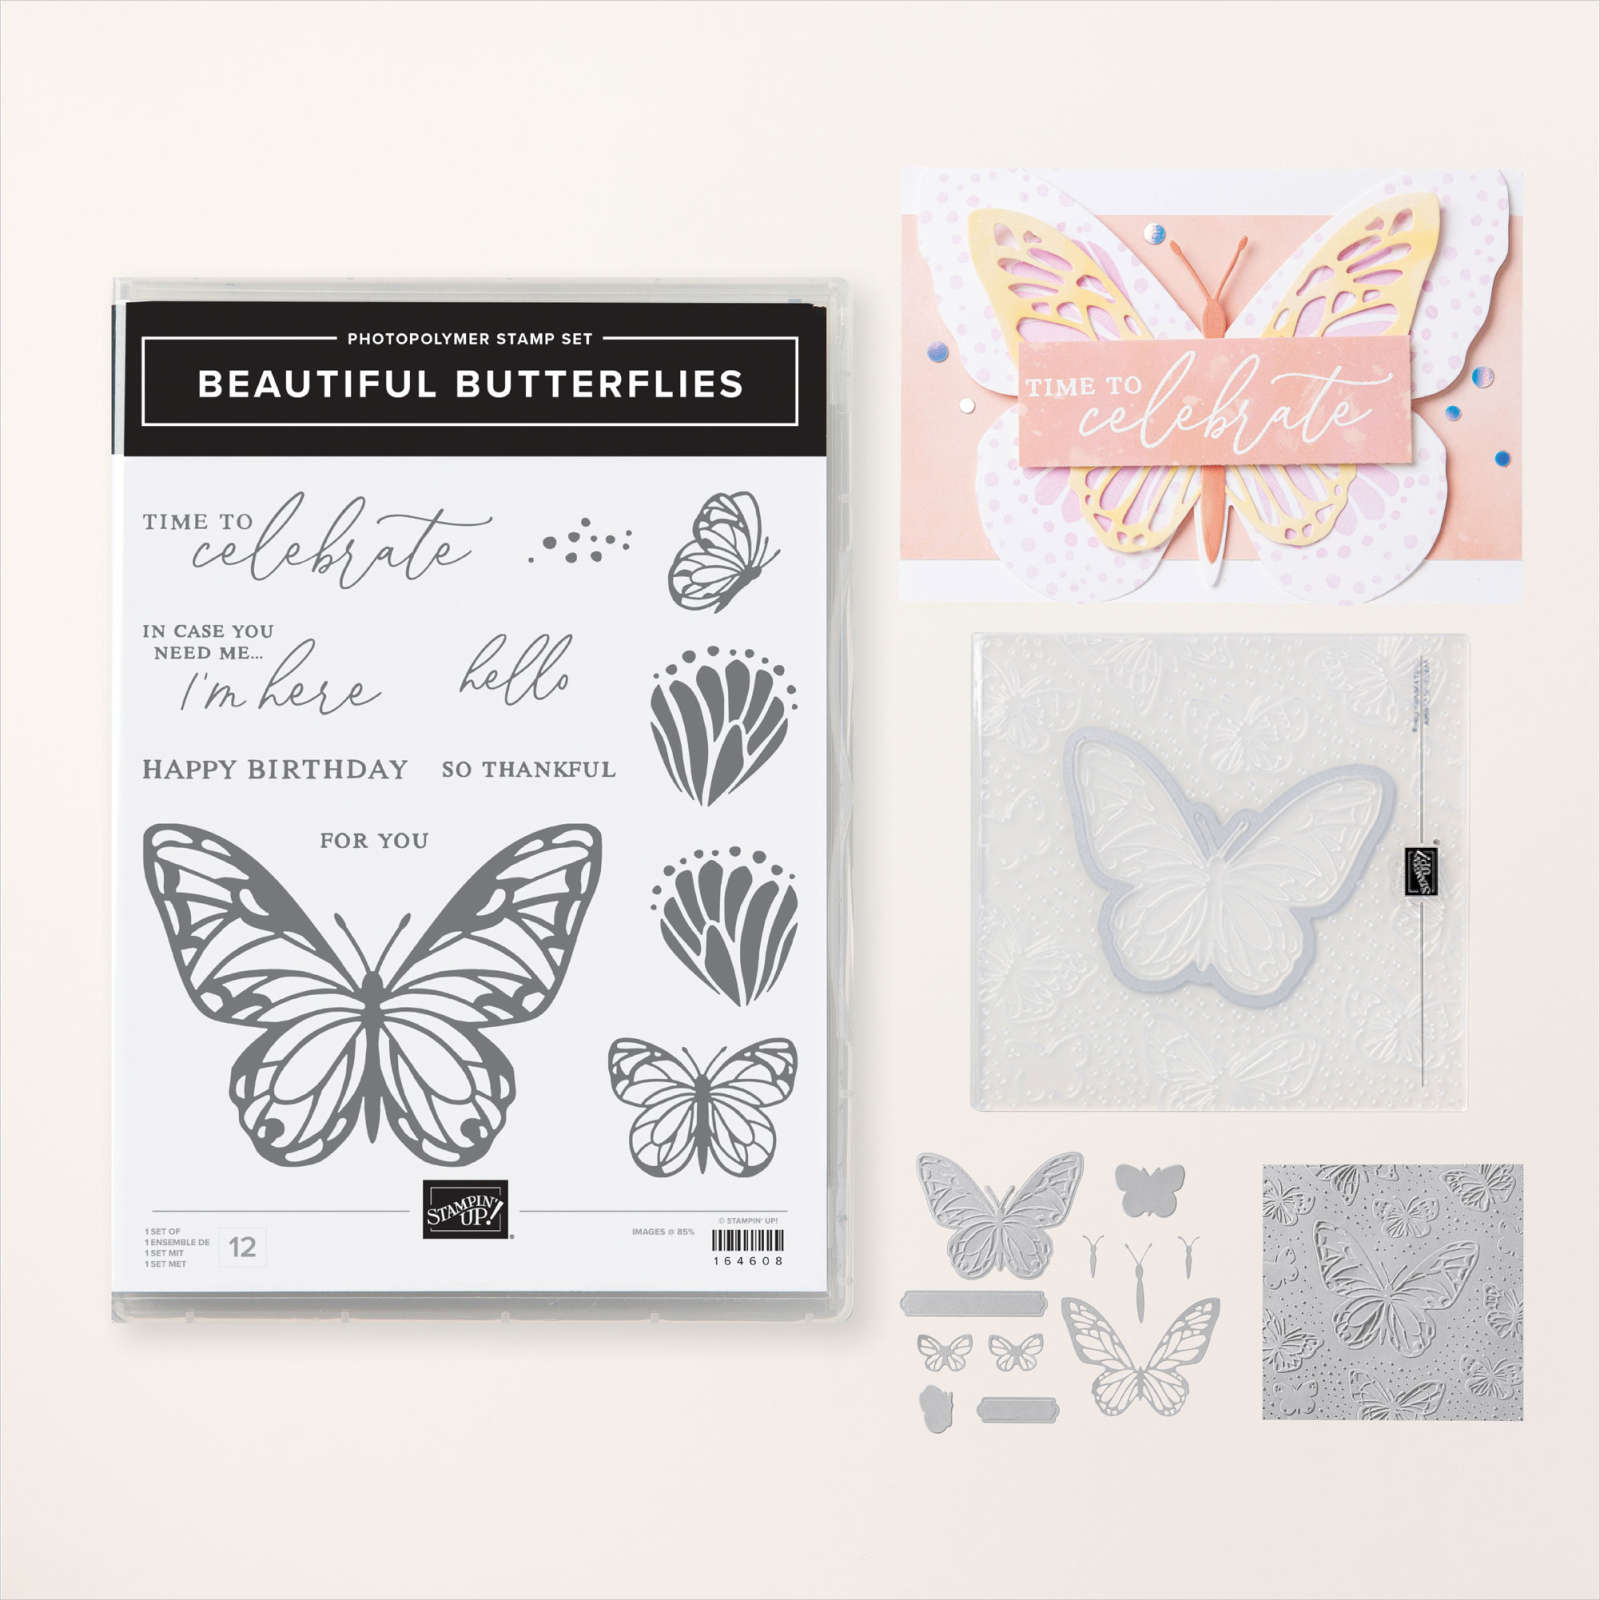
Here's the full bundle that includes stamps, dies and a Hybrid embossing folder. What is a 'Hybrid Embossing folder? It's where you can cut AND emboss/texture at the same time!
Notice: LeeAnn Greff, Independent Stampin’ Up! Demonstrator, Manager. The content of this website is my sole responsibility as an independent Stampin’ Up! demonstrator and the use of, and content of, the classes, services, or products offered on this website is not endorsed by Stampin’ Up! Copyright 2025




























Leave a Reply