Don’t miss out on the opportunity to get Free Shipping and one of our Product of the Month’s (POTM) at the same time! Shop here!
Once your order reaches the $75 point (before shipping & tax) you get both Free Shipping AND can add a POTM for just $5. There are 3 choices right now – 2 packs of DSP and one stamp set.
Choose from the True Blue Florals DSP seen here:

Or the Fabulous Sayings stamp set seen here:

Or the newest Painted Illusions 12 X 12″ DSP seen here:

Shop the Last Chance List here for our best deals.
And don’t forget to check out the Kit Collection here too. Who doesn’t love to have ready to go, all inclusive projects!?
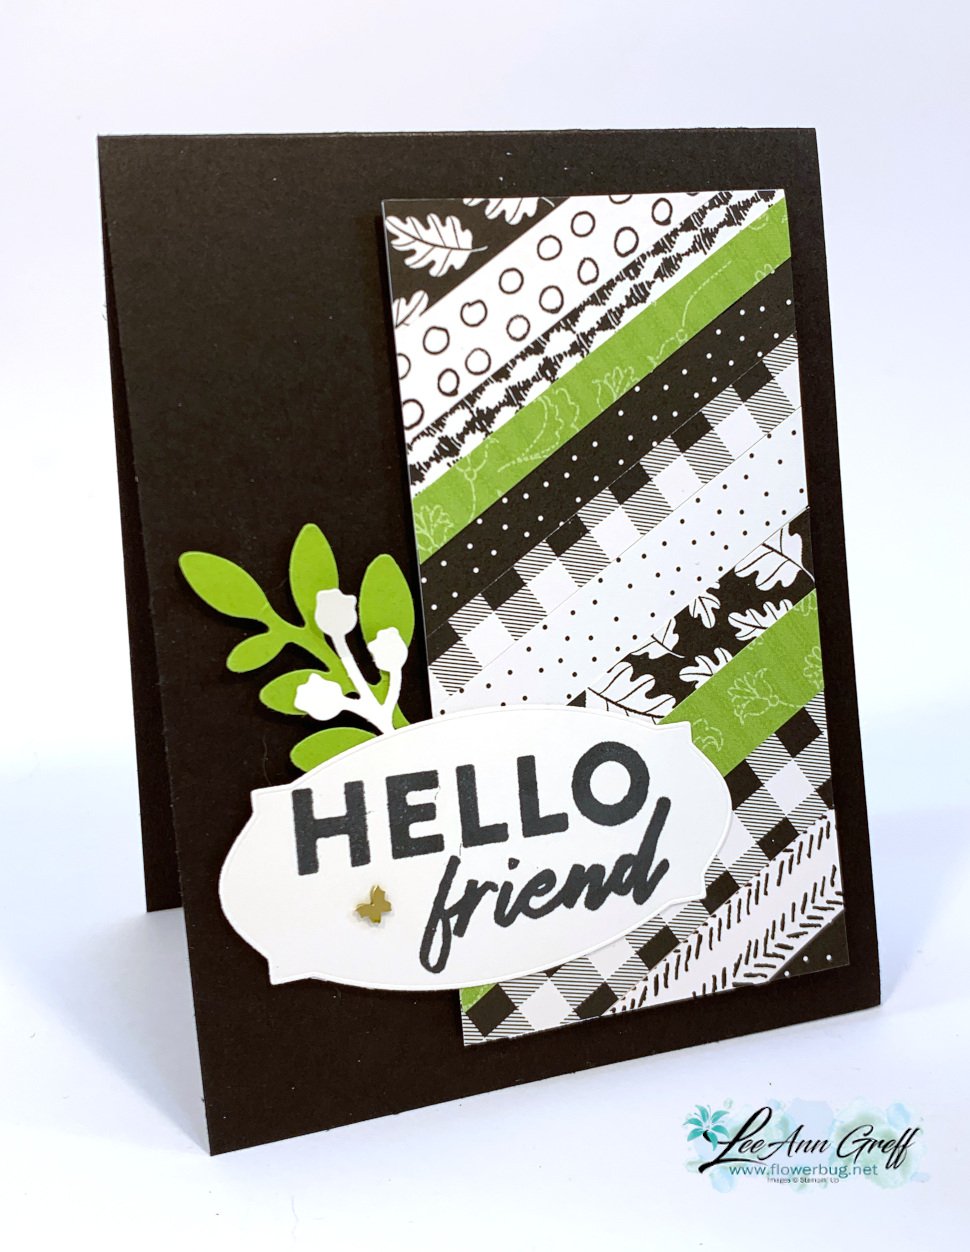
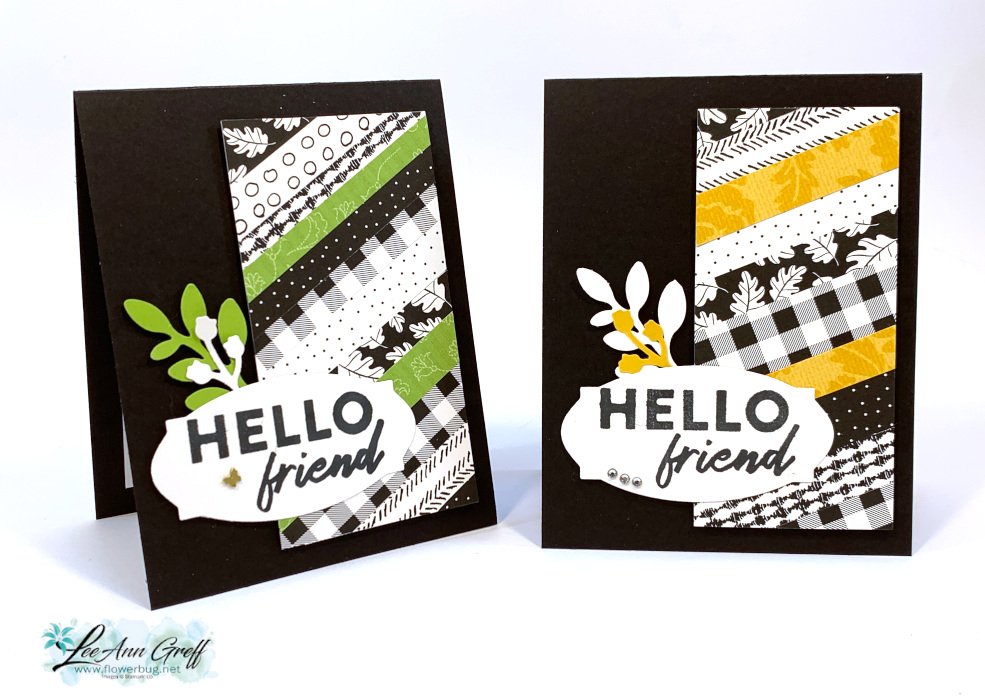
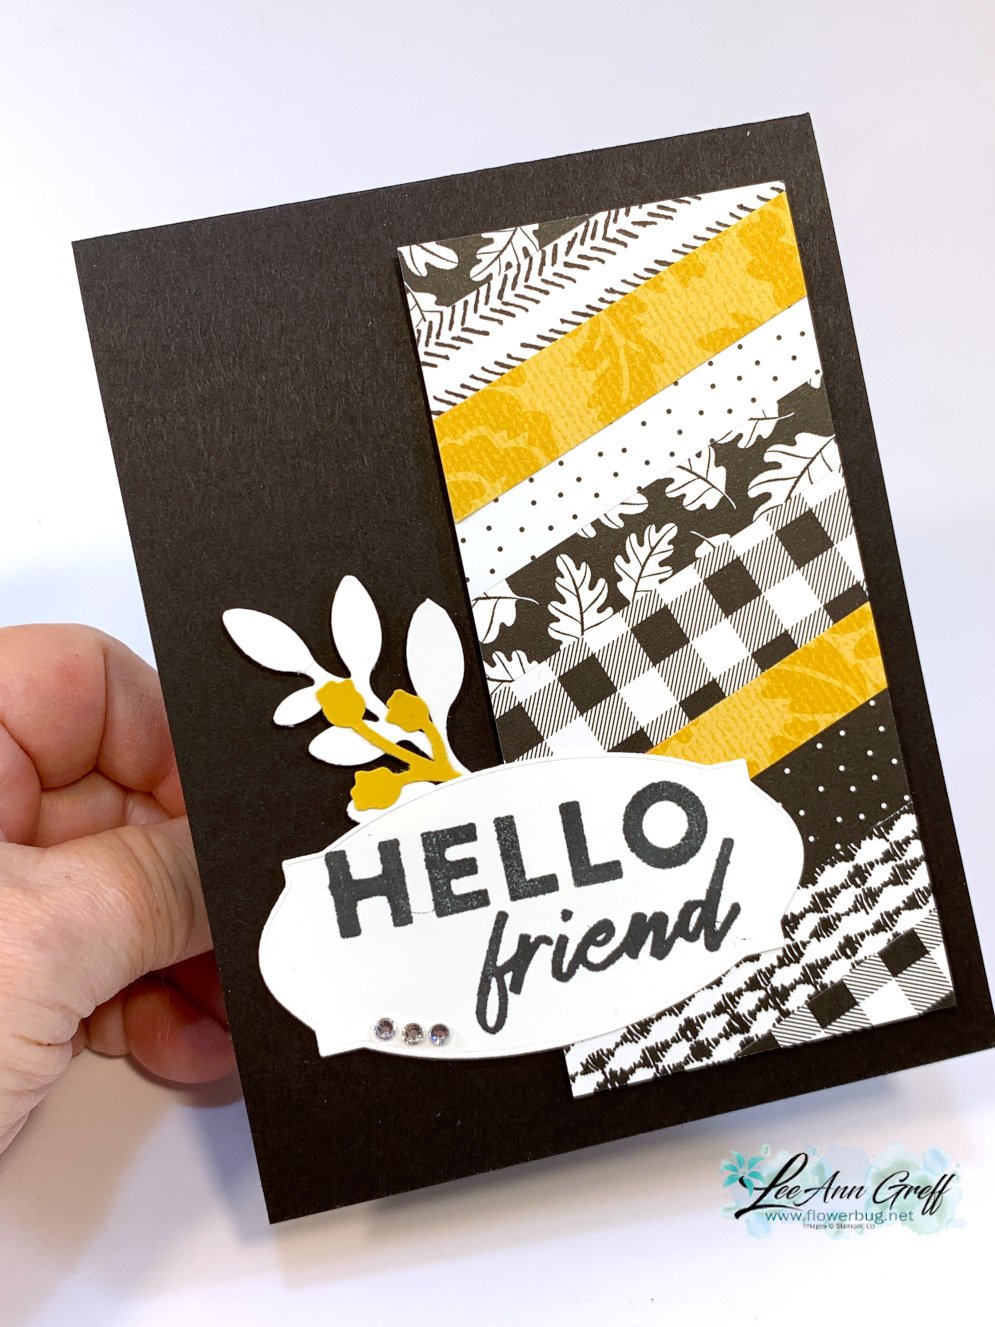
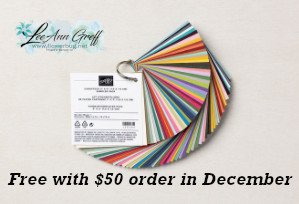
You’ll also receive a free Tutorial (from the Lovely Blossoms suite) from me for any size order this month!


Leave a Reply