Today is the last of the pretty monochromatic cards my Flowerbug's gals made for our January swap. The theme was a challenge for some but others found it easy. Have you made a monochromatic card before? If not try it!
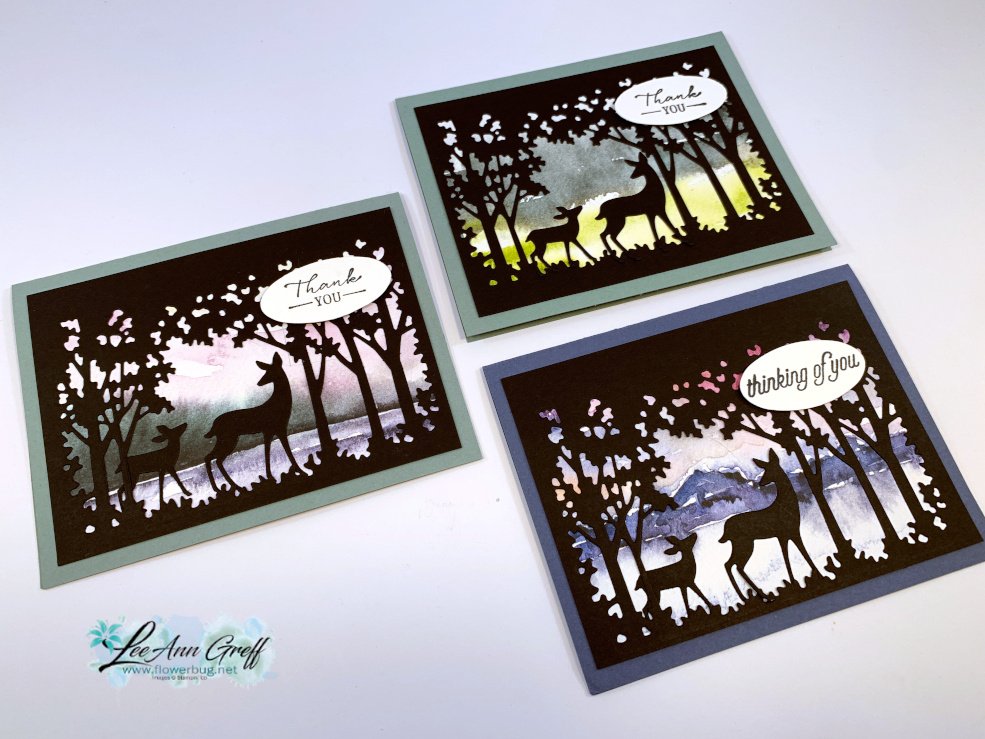
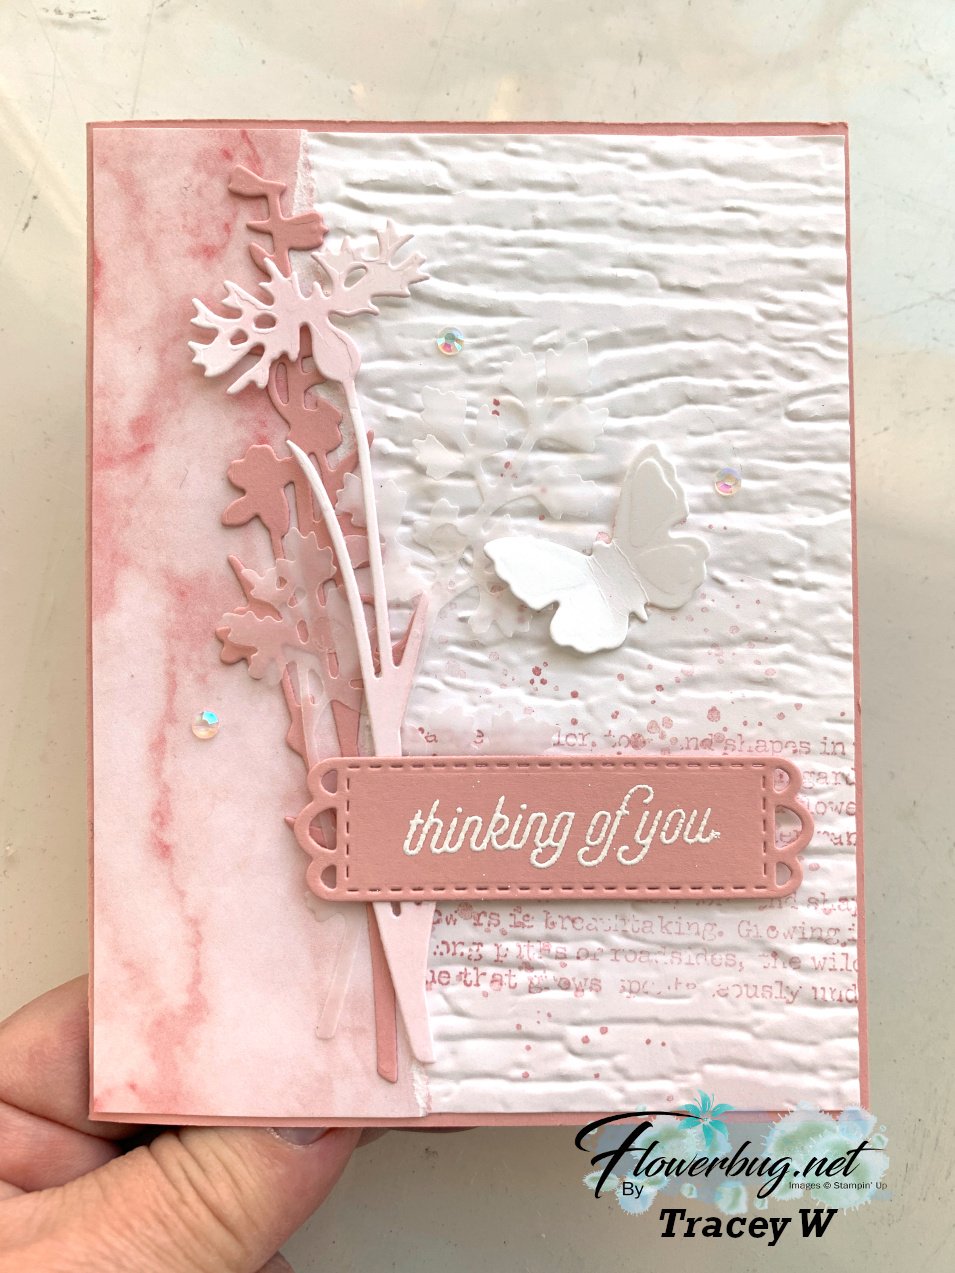
This first card was made by Tracey using the Meadow dies in Blushing Bride & White.
There are so many beautiful details!
- All of these flowers, butterfly & greeting dies are from the Meadow dies seen here. They're cut from White, Bushing Bride & Vellum CS
- The texture is from the Bark 3D embossing folder seen here.
- She sponged on one of the die-cuts and the textured piece too.
- The greeting is heat embossed using White embossing powder
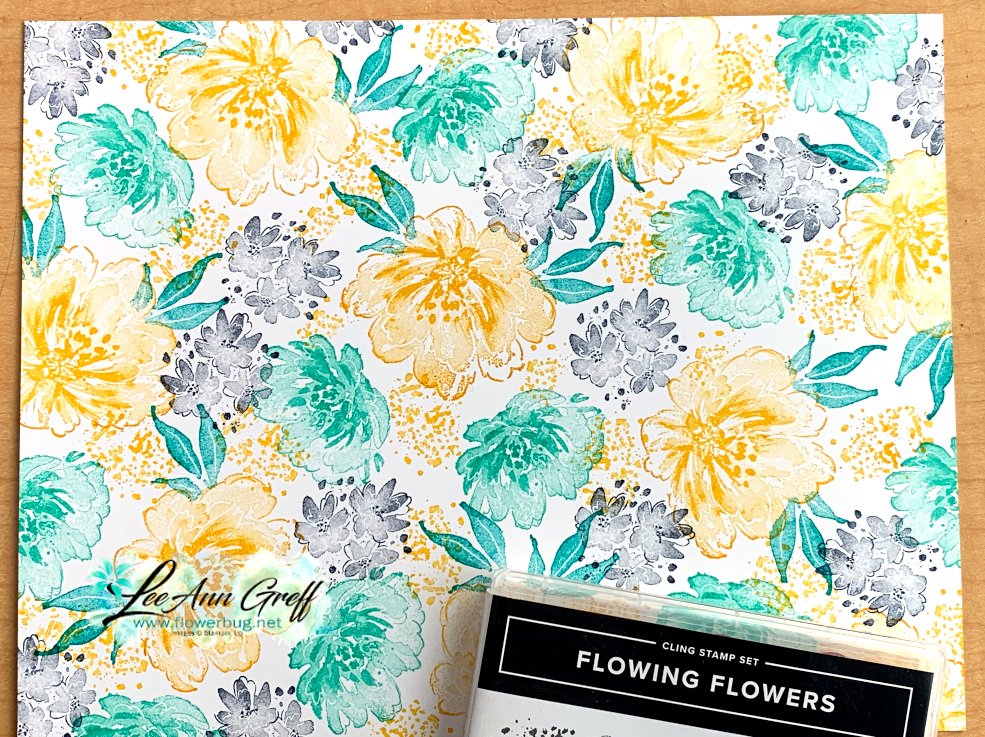
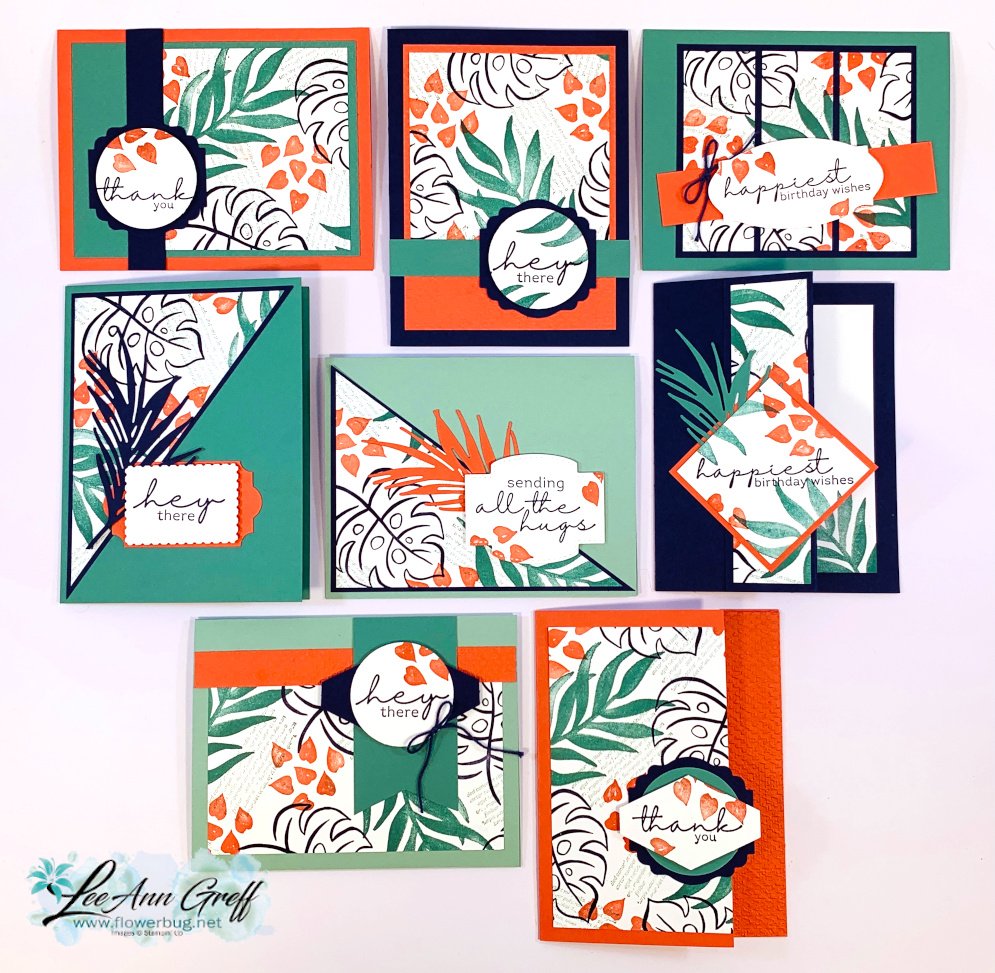
Next is a card made by Ginny using the Color & Contour bundle seen here. She chose to use the In Color Pale Papaya.
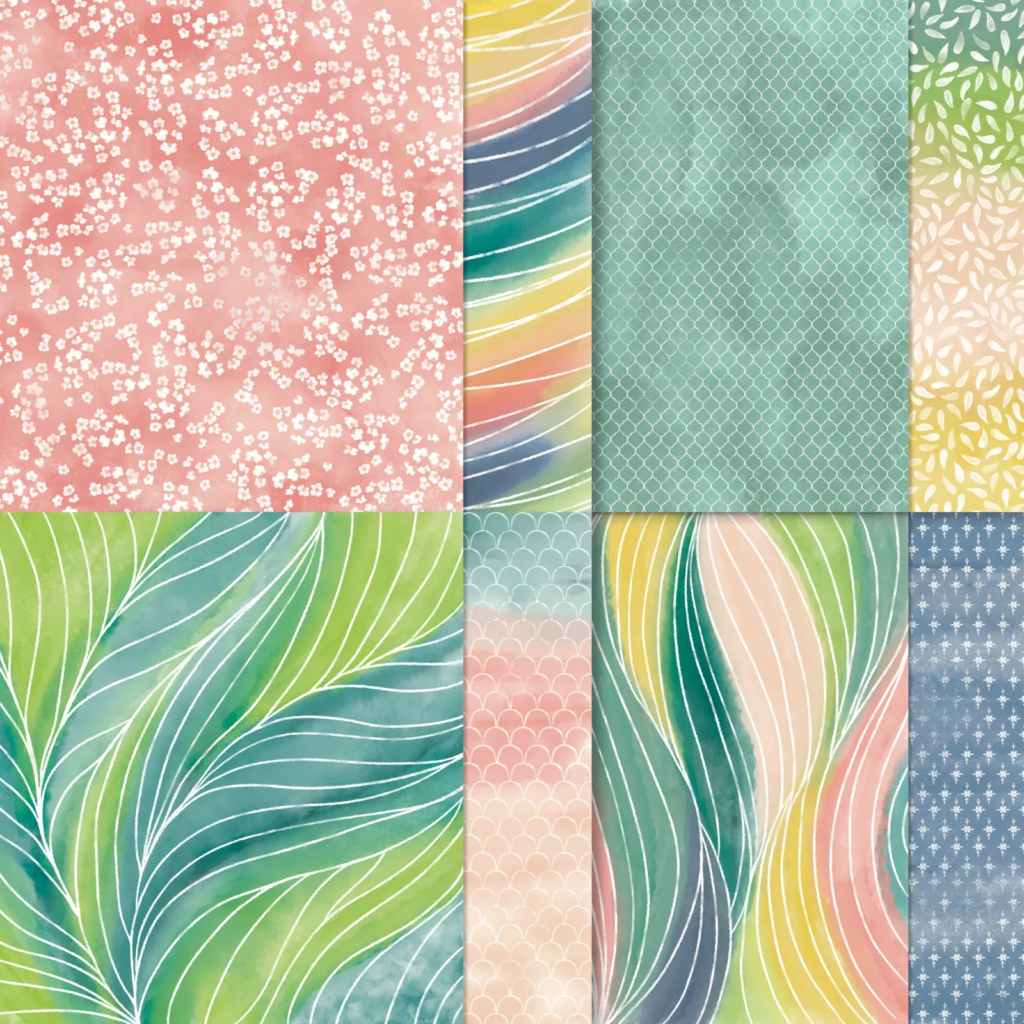
The designer paper is from our 6 X 6" In Color assorted DSP pack seen here. Did you know we have patterned paper in each of our Stampin' Up! colors! I love how easy it is to coordinate our products with our color line. It just makes me happy!
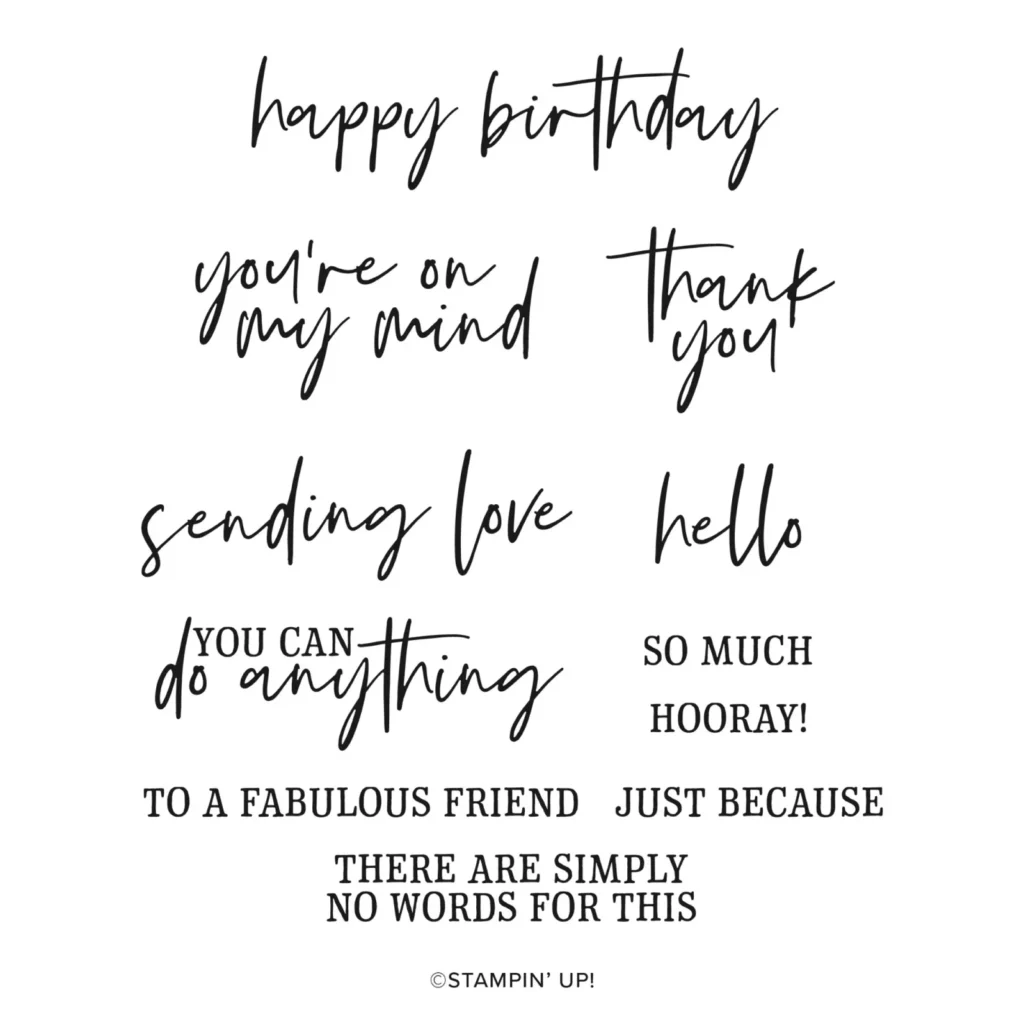
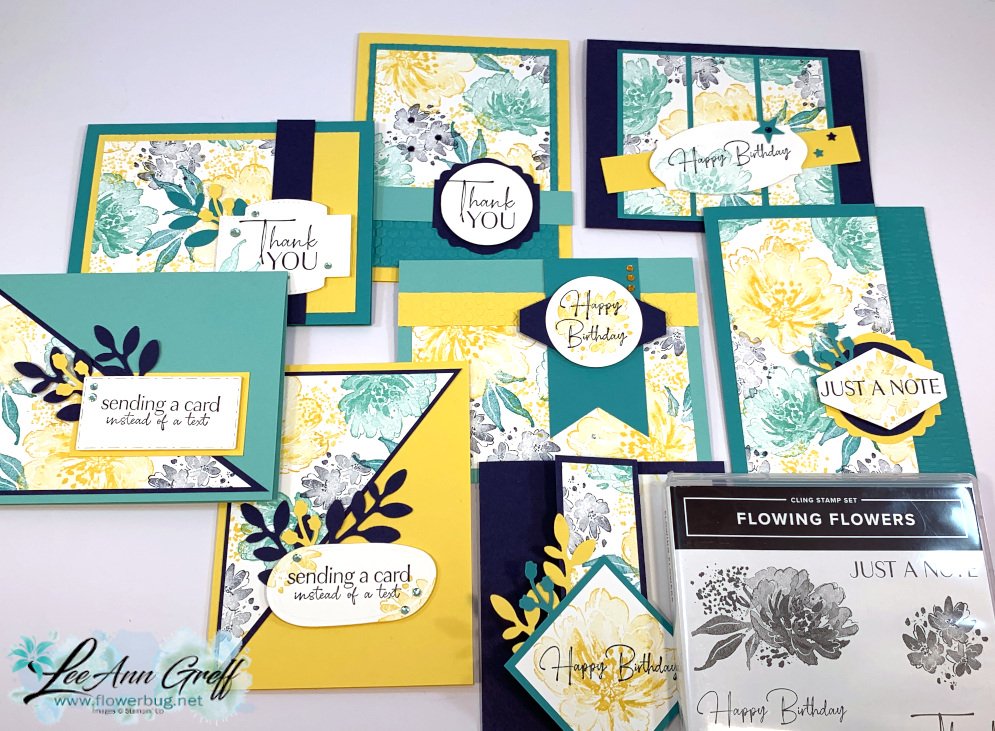
Next is a card Candace made using the new Sale-a-Bration free bundle called Friendly Hello seen here.
Here are the details:
- Her colors are Blushing Bride & Flirty Flamingo. She stamped her flowers on both the greeting circle and the Blushing Bride card base.
- She used the Basic Border dies to trim off the front edge for a stitched detail.
- The striped DSP is on the inside of the card. It's from the Host Pattern Party DSP
- She textured the larger circle with the new Gingham embossing folder.
- The ribbon is our new Frayed White ribbon in the Jan-June catalog.
I hope you've enjoyed seeing my talented Flowerbug's Team swaps this month. I love seeing their style & what they create for our optional swaps.
If you've ever thought about joining Stampin' Up! I hope you'll consider getting the Starter Kit and joining my Team. We have a wonderful group that is kind, creative & awesome in every way! Our Team FB group is super active with shares, optional challenges, prizes, online meetings & so much more.
Right now the starter kit includes 2 FREE stamp sets of your choice.
You can pick out $125 in product of your choice & the additional 2 free stamp sets all for $99 plus FREE SHIPPING! Click here to get the Starter kit deal.
~~~
January Specials:
Purchase the Starter Kit during Sale-a-Bration
and choose ANY 2 stamp sets free plus FREE shipping too!
Click here to get yours.
Host codes: T9YW6QCC or S9WGFH9Z
*click here to order
Use the host code above & get free Iridescent Rhinestones with
a $50 order in January, 2022!


Leave a Reply