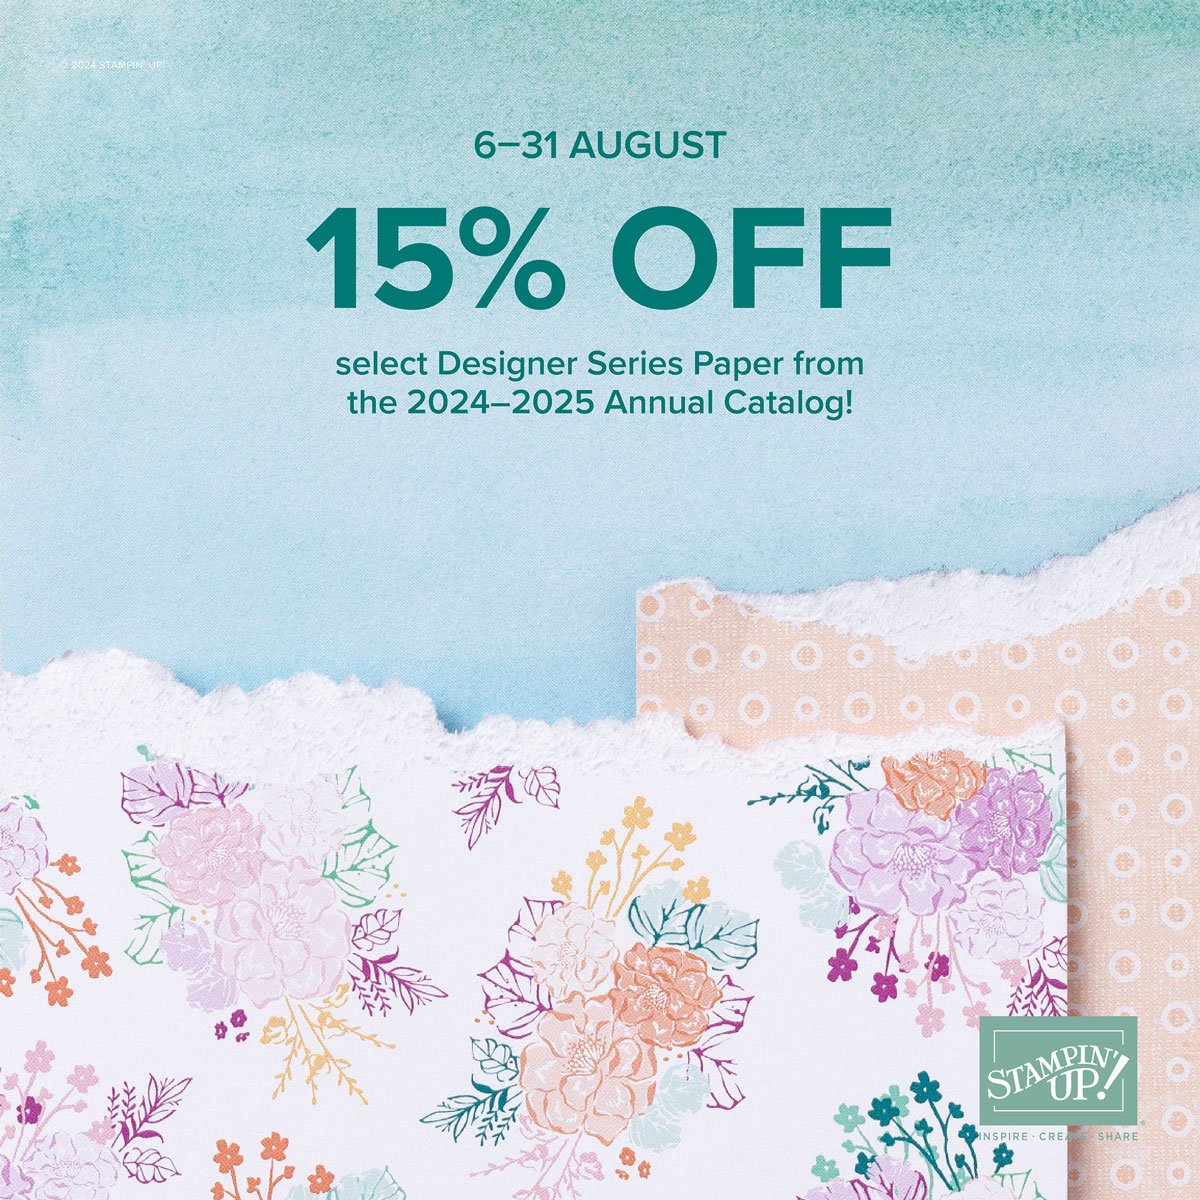
Once your order reaches the $75 point (before shipping & tax) you get both Free Shipping AND can add a POTM for just $5. There are 3 choices right now – 2 packs of DSP and one stamp set.
Each month I choose two packs of designer paper and create cards for kits to go. I also type up the directions for each set of cards for those who prefer the PDF written tutorial instead of the pre-cut kit.
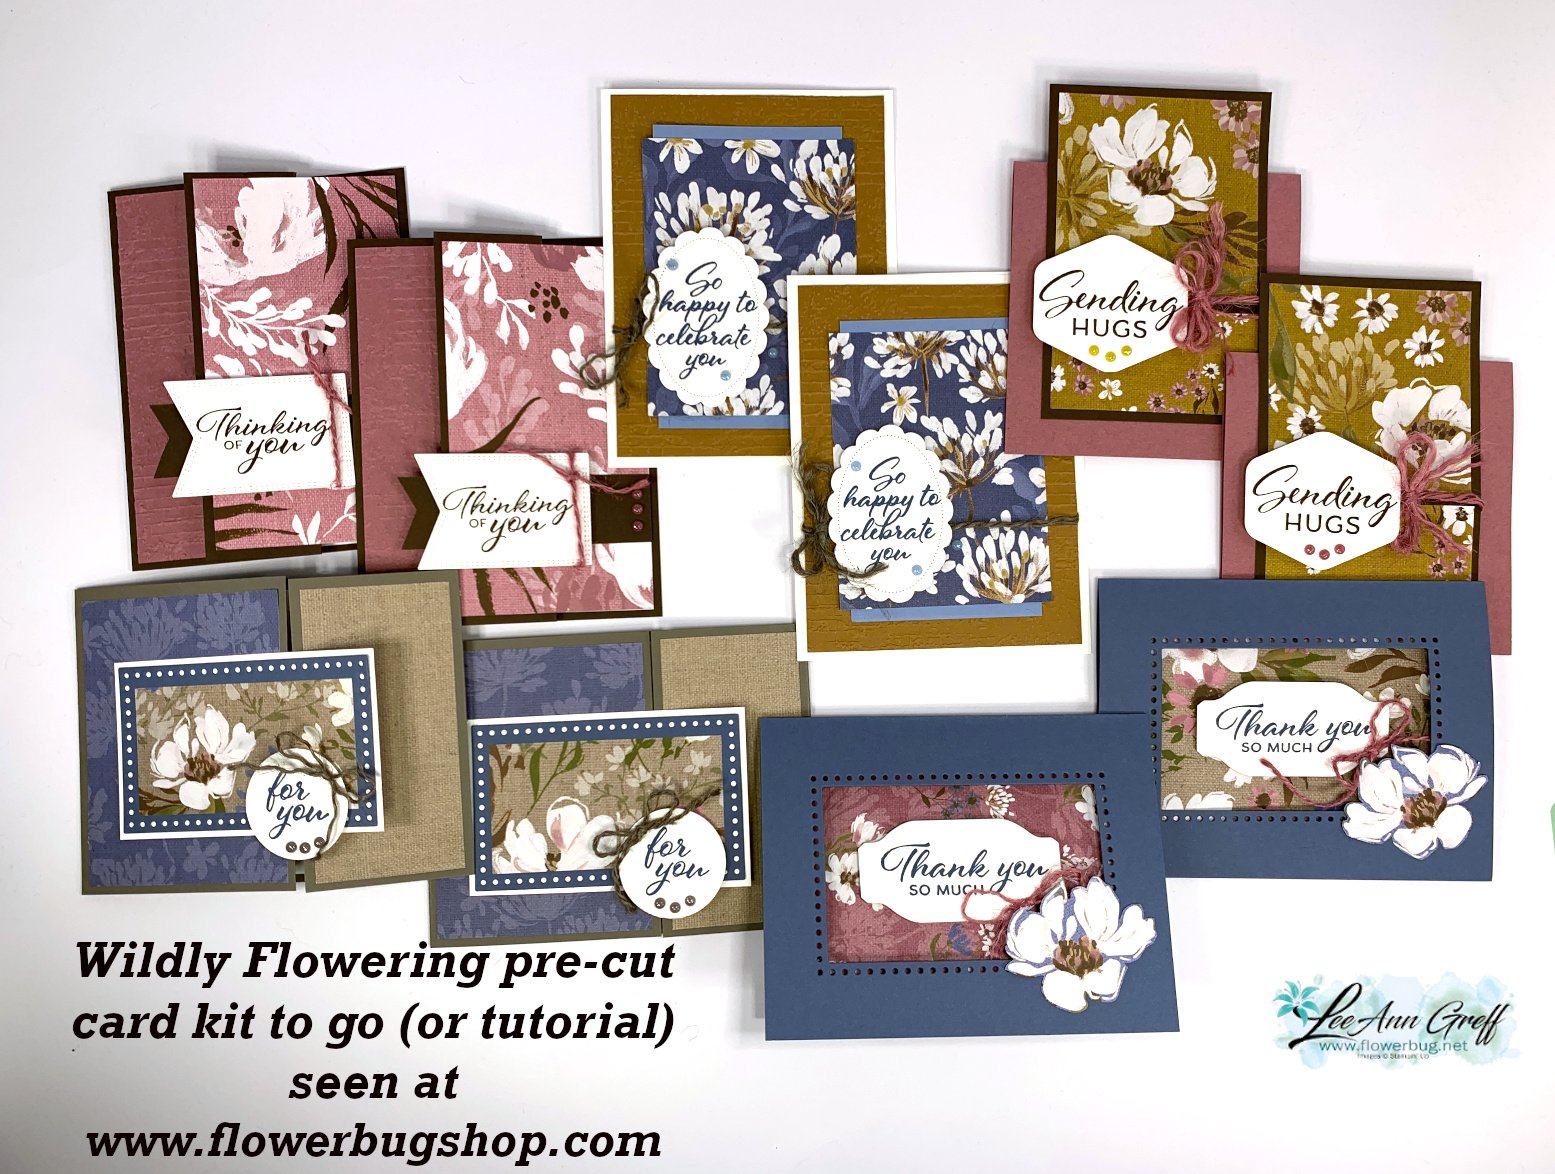
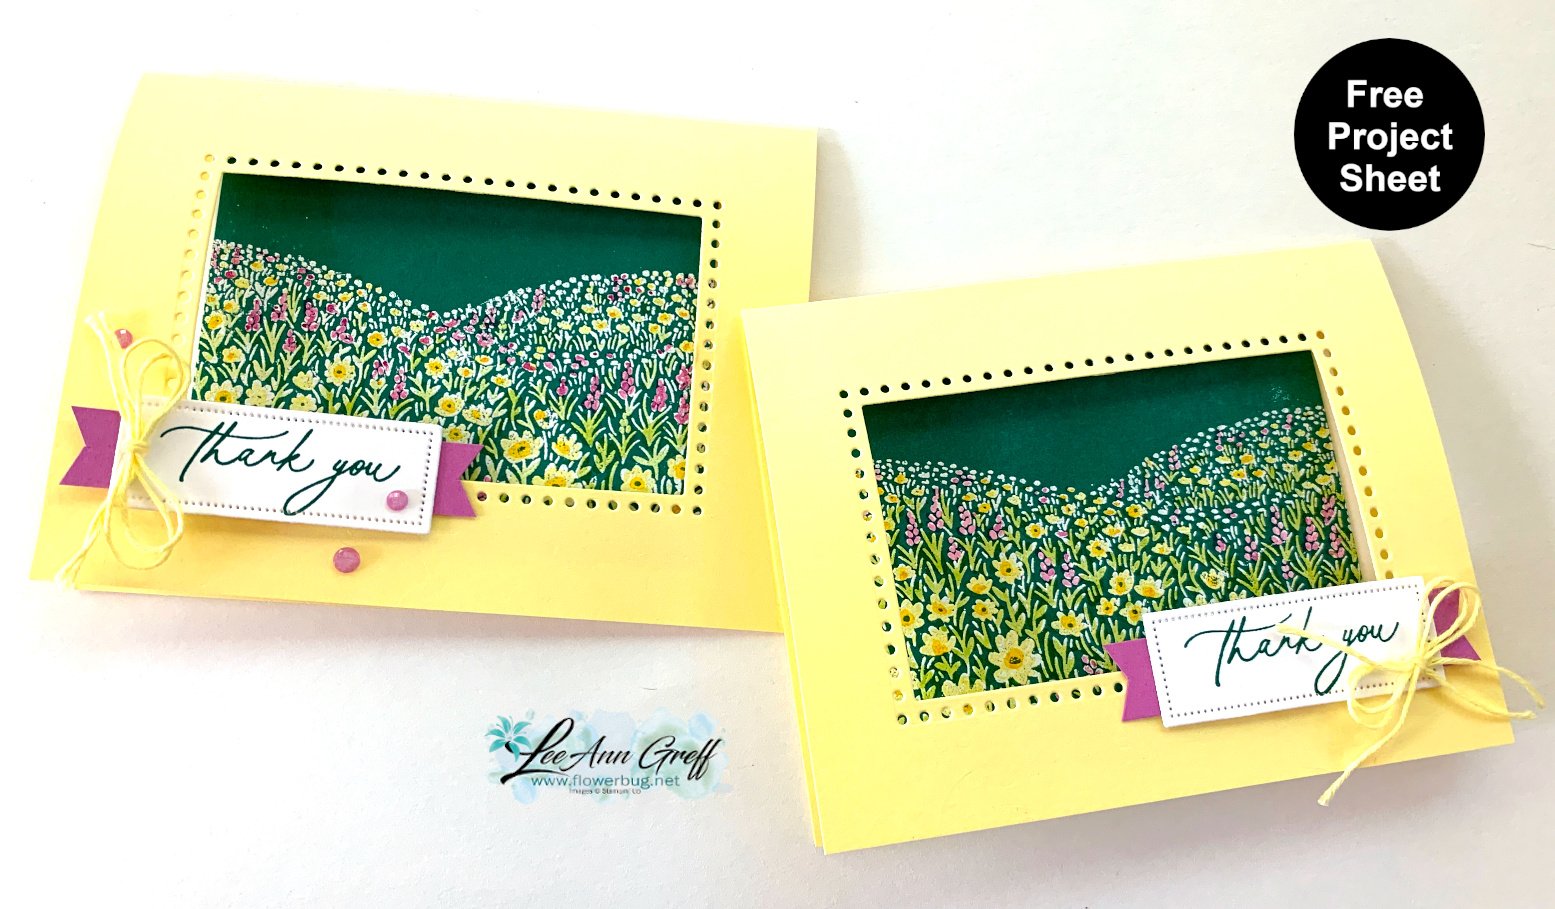
This pre-cut kit costs $30 & includes the following:
10 pre-cut cards with die-cuts
1/2 pkg of Wildly Flowering DSP (6" X 12"), a share of 2 colors of Jute Twine, and In Color sparkle dots
PDF tutorial with photos, measurements, supplies list and step by step directions
This kit will be mailed out at the end of August via Priority Mail. The PDF tutorial is emailed immediately after payment.
Click here to reserve a kit to go. Or click hereto purchase the PDF tutorial for $15.
You will need the following items to finish the cards:
greeting images – I used the Layering Leaves set but any can be substituted
Misty Moonlight & Early Espresso inks
Paper trimmer (to cut your new DSP), paper snips scissors, adhesives
*Get the Layering Leaves stamp set at 10% off with this kit. Email me here
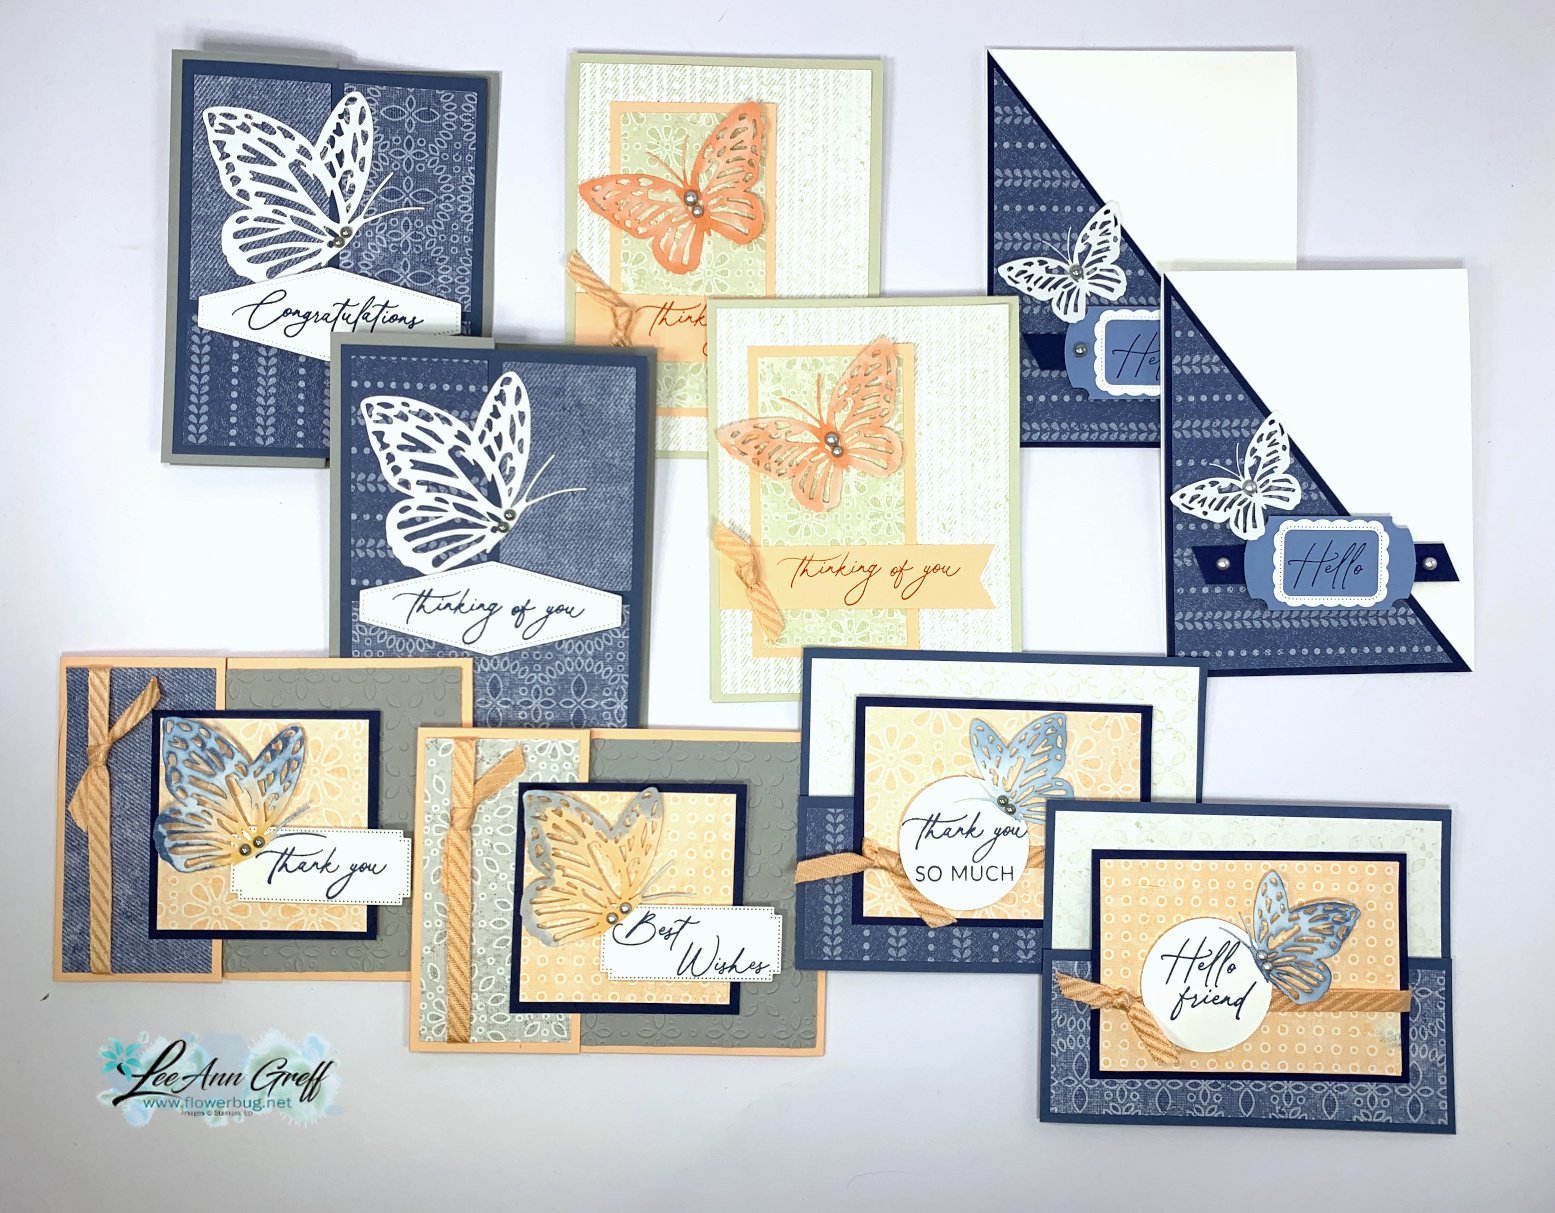
Country Lace card kit to go; mostly fun folds with this soft & pretty DSP!
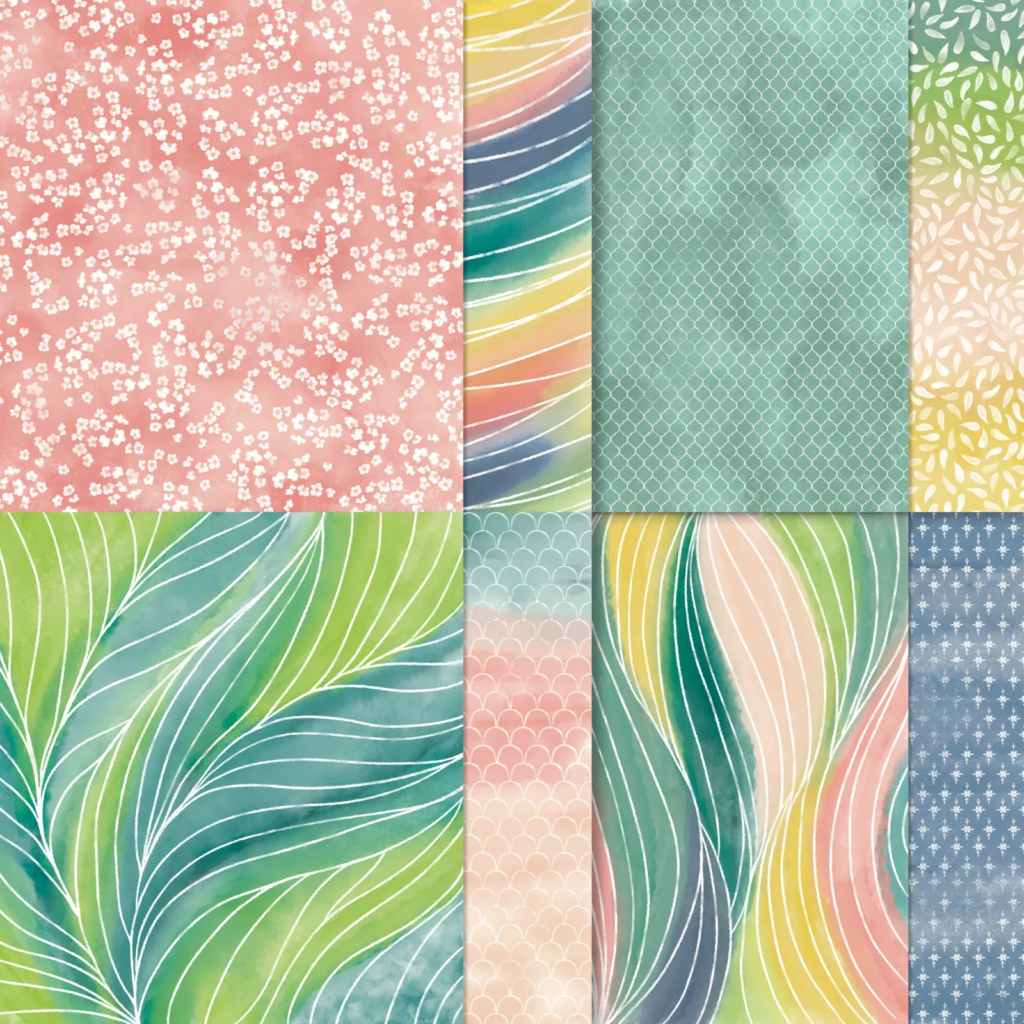
The Country Lace designer paper is filled with soft & pretty patterns & colors. I chose this DSP because it provides a beautiful & subtle background for your greetings.
There are 10 cards consisting of 5 designs; you'll make 2 of each.
This pre-cut kit is $30 plus shipping & includes the pre-cut kit and a bunch of SU products::
10 pre-cut cards including layers, die-cuts or punched pieces
1/2 pkg of Country Lace DSP (6" X 12"), a share of Petal Pink Diagonal trim ribbon, Paper Butterfly Accents and Smoky Slate & Basic Gray Pearls
PDF tutorial with photos, measurements, supplies list and step by step directions
*this is the kit my subscribers will receive. Want to get a pre-cut kit each month?Subscribe here:
You can order this kit at my shop here. Or choose the PDF tutorial option here.
Be sure to check the other kits or tutorials available. Save on shipping when you purchase more than one.
The PDF tutorial is emailed to you immediately after payment and the pre-cut kit is mailed out at the end of August.
**The stamped images are not included. You will need Navy & Calypso Coral inks and greeting images. I used the Everyday Greeting stamp set which you can add on to the kit at 10% off. Message me here for that option.
I used sponges or markers to color some of my paper butterflies that are included in the kit.
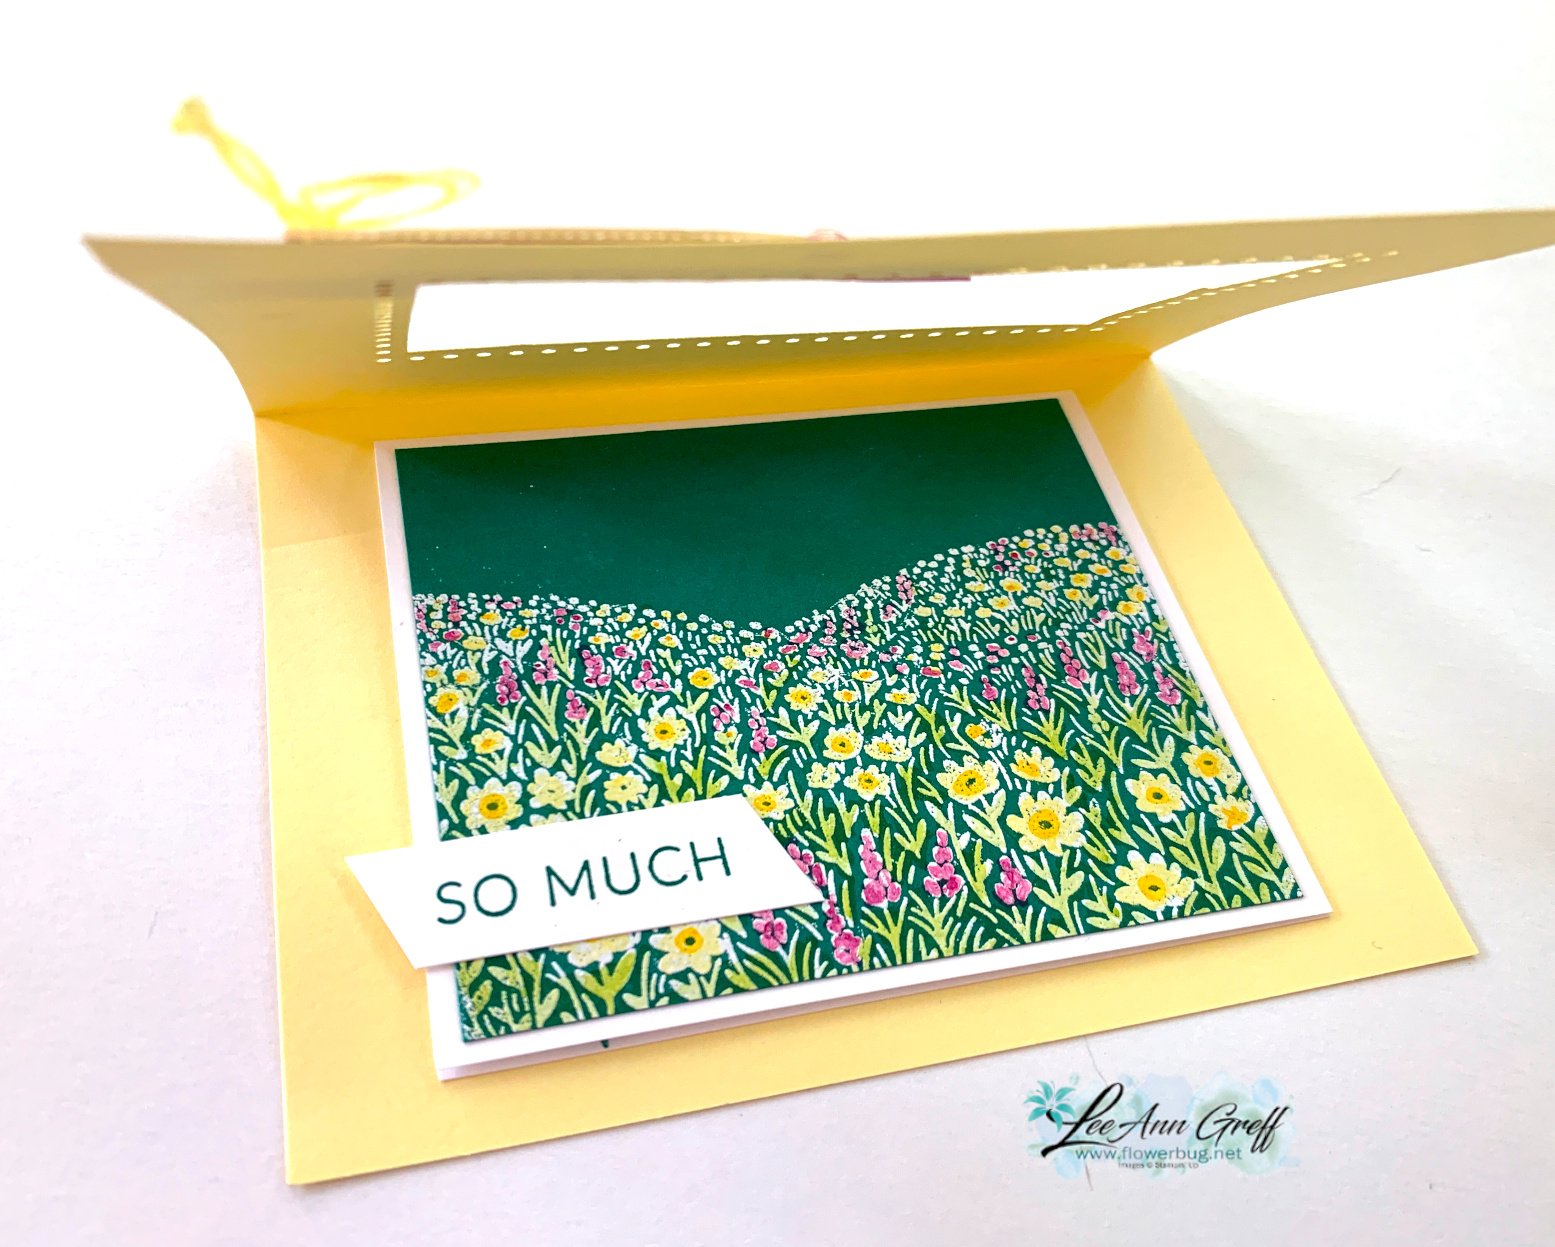
I used the Fields in Bloom & Everyday Greetings stamp sets which are both wonderful. But what makes this card so special is the technique and the fun fold.
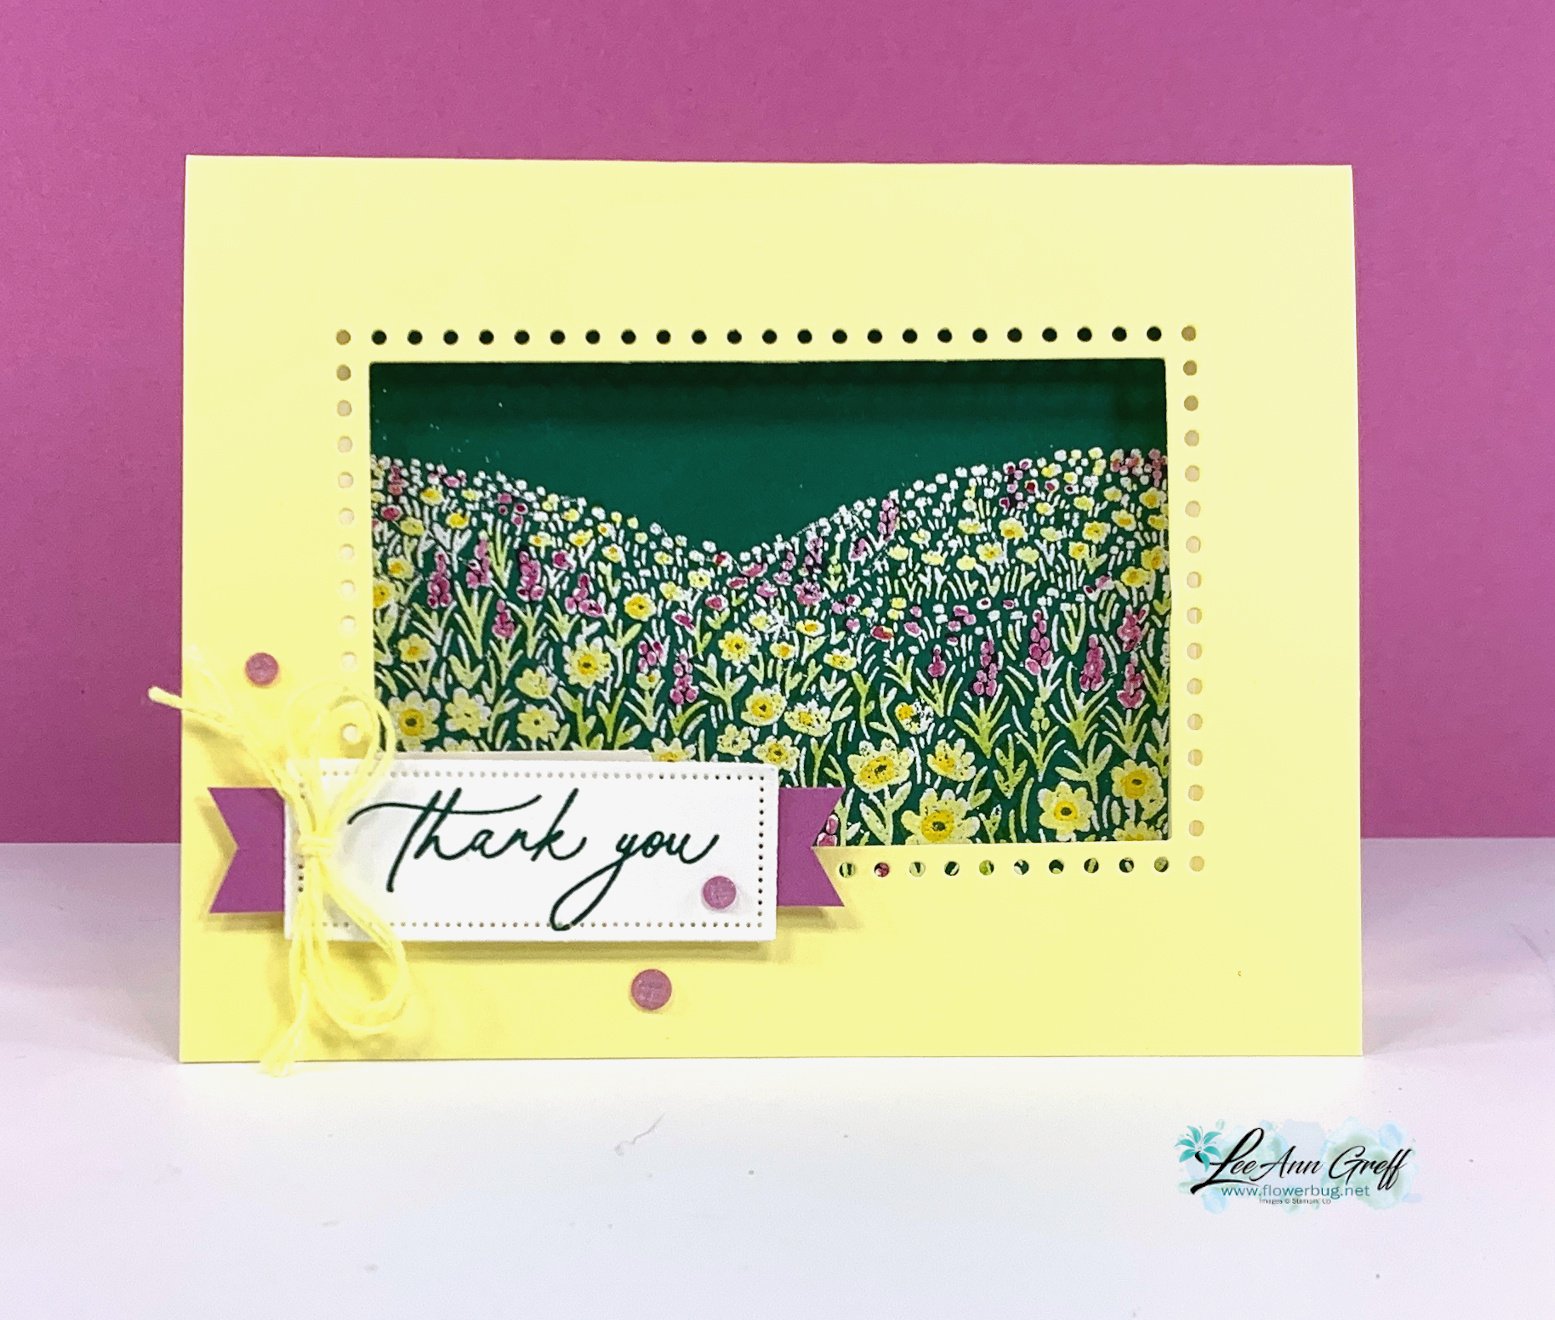
There is a second folded card under the window; inside the main card base. For the window, I used the Everyday Details dies seen here. They are in the online store now but were in last year's catalog. It creates a perfect window for the hill of flowers scene.
I stamped the flowers and leaves images in Versamark and heat embossed them in White. Then I used Blends markers to color the embossed flowers & leaves. This is such a fun technique and super easy too. I love that I can get these two large images colored in multiple colors this way. Please watch the video here to see how it's done.
Notice: LeeAnn Greff, Independent Stampin’ Up! Demonstrator, Manager. The content of this website is my sole responsibility as an independent Stampin’ Up! demonstrator and the use of, and content of, the classes, services, or products offered on this website is not endorsed by Stampin’ Up! Copyright 2025


Leave a Reply