/


Latest Post

Inked & Tiled with a gorgeous background with video & blending tips!


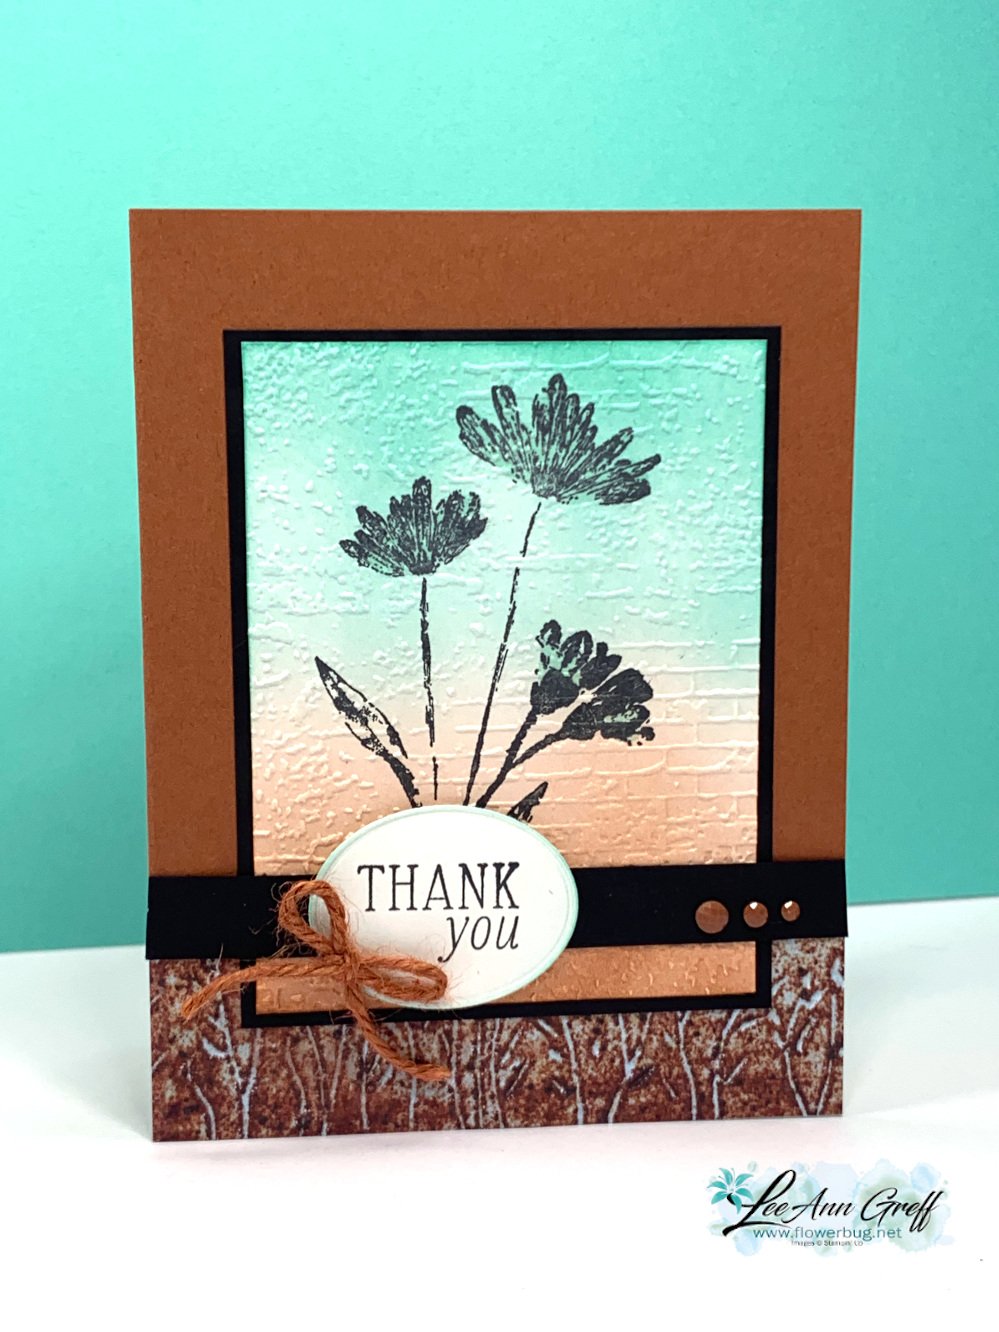
Today I'm sharing one of my favorite cards I've made this month. These colors are so me!  I needed to make 28 of these for the Norway cruise with Stampin' Up! We have to option of joining a card swap and I always try to do something unique for this special swap. 

I chose the new Copper Clay with Black and Coastal Cabana. Aren't they beautiful together? 
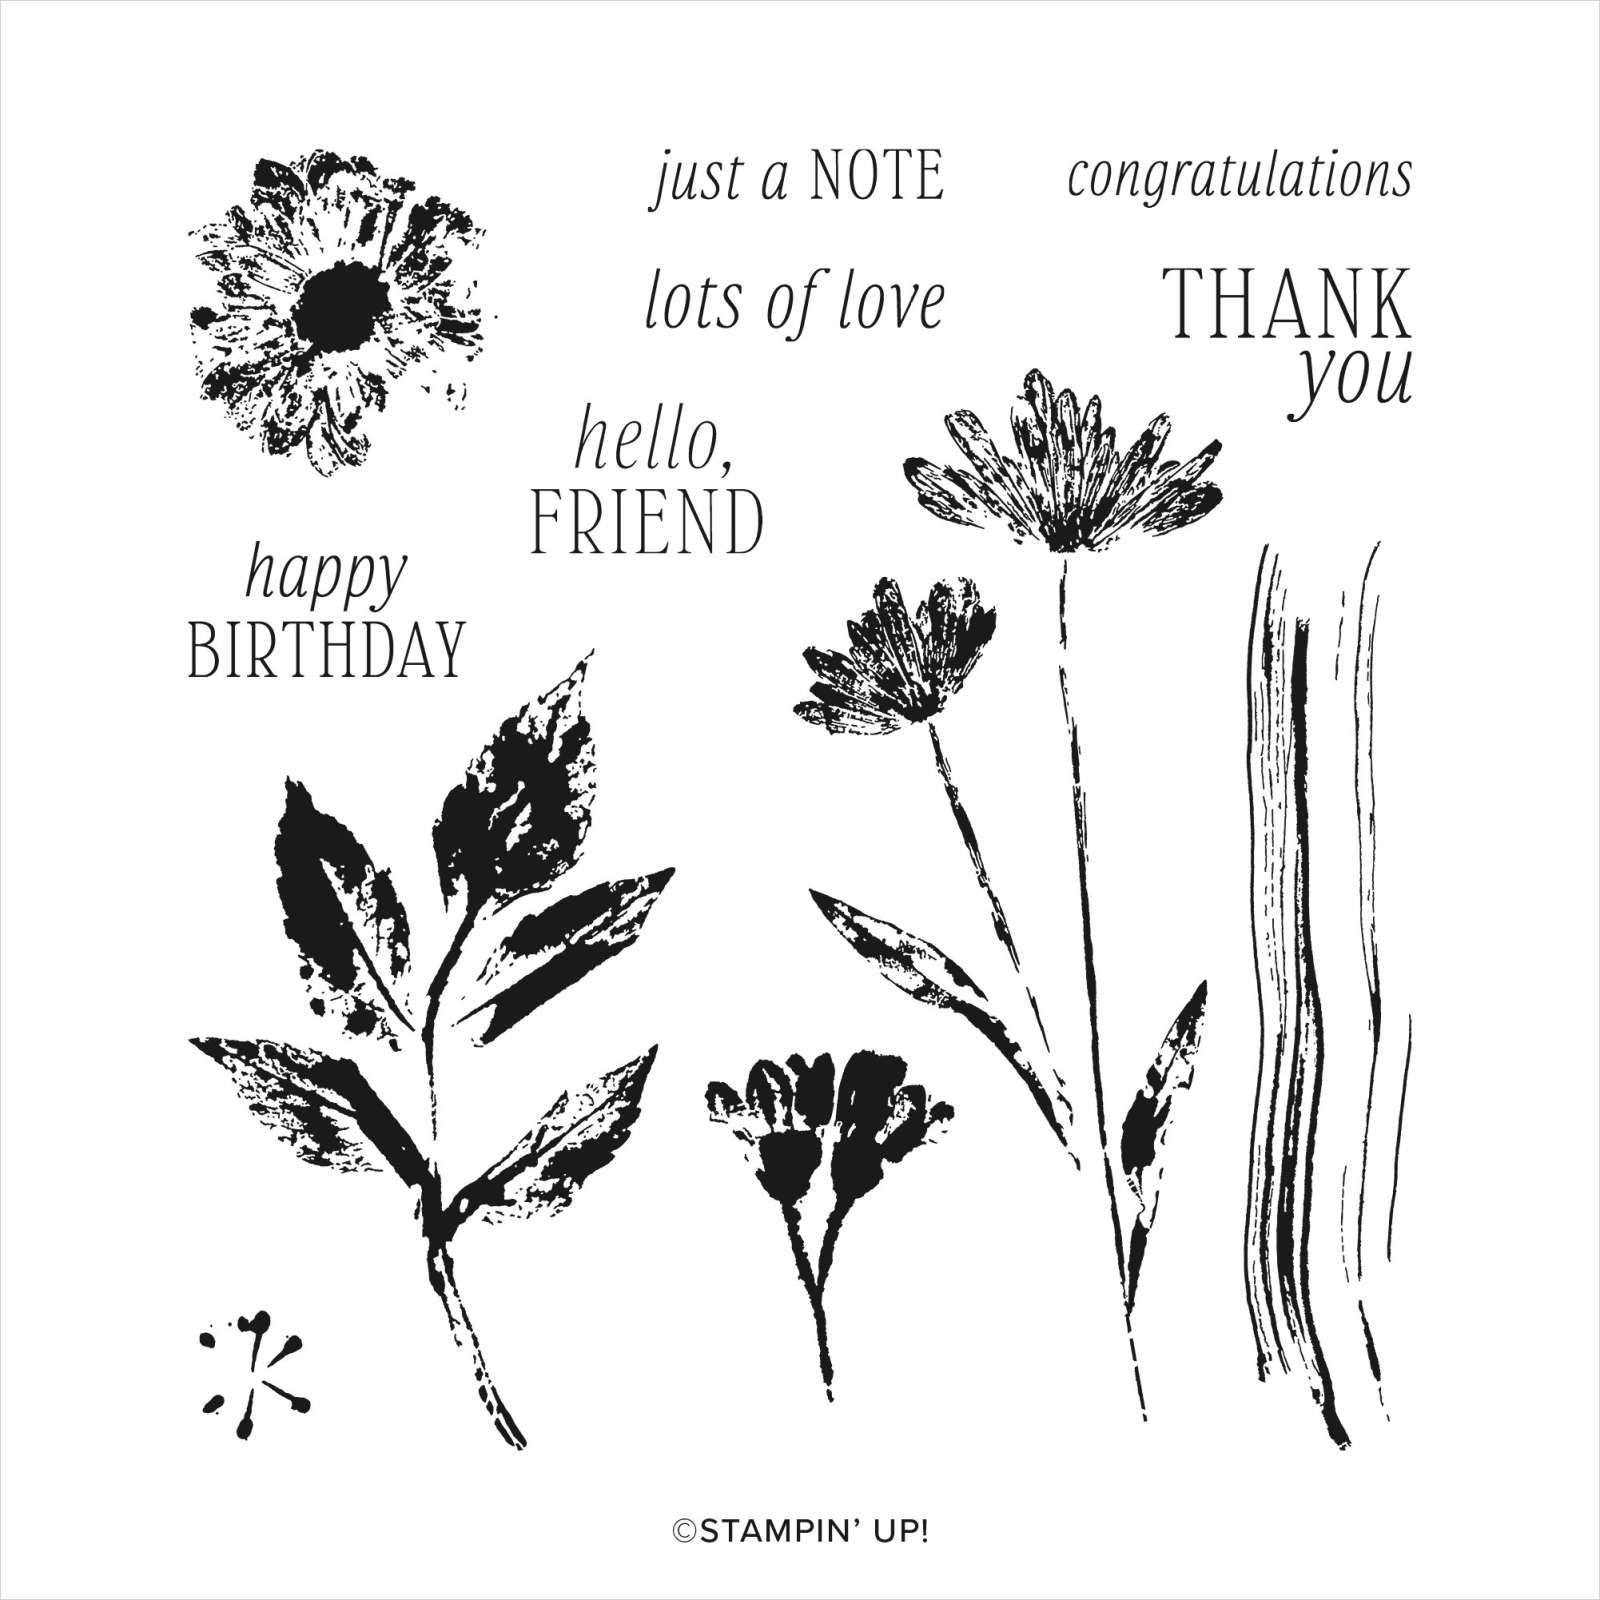
This card features the new Inked & Tiled stamp set seen here. It actually comes in a bundle with two punches. But I didn't use those here.  
After I stamped the flowers in Black ink I used Blending Brushes to add both Coastal Cabana and Copper Clay ink.  We have both regular and small Blending Brushes now.  For a background like this I recommend the larger set of brushes. See them here.

Tip: when wanting a smooth blend, I recommend adding ink to your brush and start off of your paper. Slowly work your way on with a soft, gentle swirling motion. Adding pressure can give you blotches or other marks.  It's also helpful to have a fully inked pad.  *Remember that is helps to add ink a little at a time. It can be a slow process! 


Isn't that texture gorgeous with the blended background?!  

When I was creating this card I made the card on the right first.  If you look closely the stamped panel does not have any texture on it.  Adding the Exposed Brick embossing created the perfect finish!  


In the video I share two other beautiful cards made with the Inked & Tiled stamp set.  
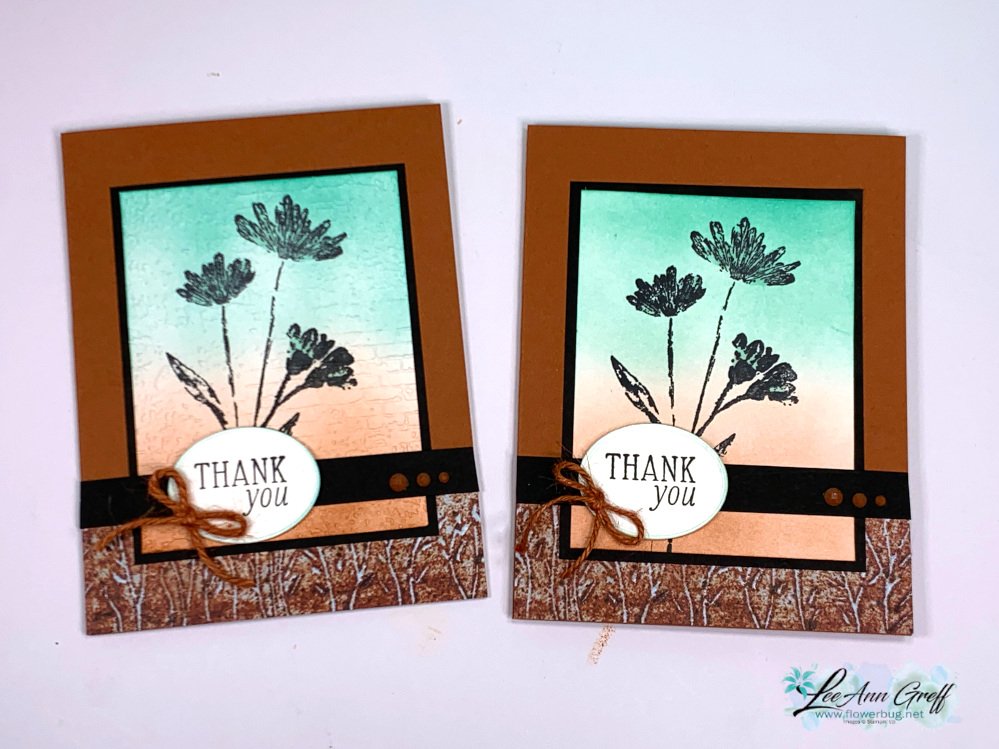
You can watch me make this card on the video here. Or click on the photo below to watch. 

~~~

May Specials:

*current host codes: ZHZ6CPYU or AJVB3B3V 

Get a free updated cardstock color sampler with online orders over $55 using a host code.

Offer good while supplies last:  

I have one spot left in my new catalog designer paper share. 

Get 80 sheets of 6 X 6" DSP – all from the new catalog for just $28.50 plus shipping.  Reserve your spot here. 

Earn free products with my loyalty rewards! 

Click here to download yours and earn a $50 shopping spree!

All Posts

  • Gorgeous Fall Swaps from the Flowerbug’s!


    Today I'm sharing a few of the amazing cards my Flowerbug's Team swapped this weekend.  The theme was Fall cards. 

    Annette made this first one using the Rooted in Nature bundle.  

    You may not see it well but she used the leaf dies in this set to create a textured White background.  Her colors are Cinnamon Cider & Rich Razzleberry.  A unique, Asian inspired card!

    Paula made this one using the Autumn Goodness bundle.  It's a fun fold too where the front, middle is the card opening! That piece is 3 3/4" X 8 1/2" folded in half. 

    The pretty designer paper is the Gilded Autumn specialty paper.  This bundle includes dies that cut out the flowers and the wheelbarrow.  

    Candace made this one with two stamp sets; the Life is Beautiful for the leaves and greeting and the Way to Goat set for the goat who's kicking up the leaves!  Super fun and colorful!

    click on the links below to see them in my store: 

    ~~~

    Current Host code is QW7SUYVX

    Get a free package of new Iridescent Pearls in August with an online order over $55. 

    Order online here

     Get my Flowers for Every Season pdf tutorial free with all online order in August!


    It includes directions, photos and measurements for 12 cards!

    Redeem your $5 coupons now!  

    Leave a Reply

    Your email address will not be published. Required fields are marked *

  • Love of Leaves; get two colors on one stamp!


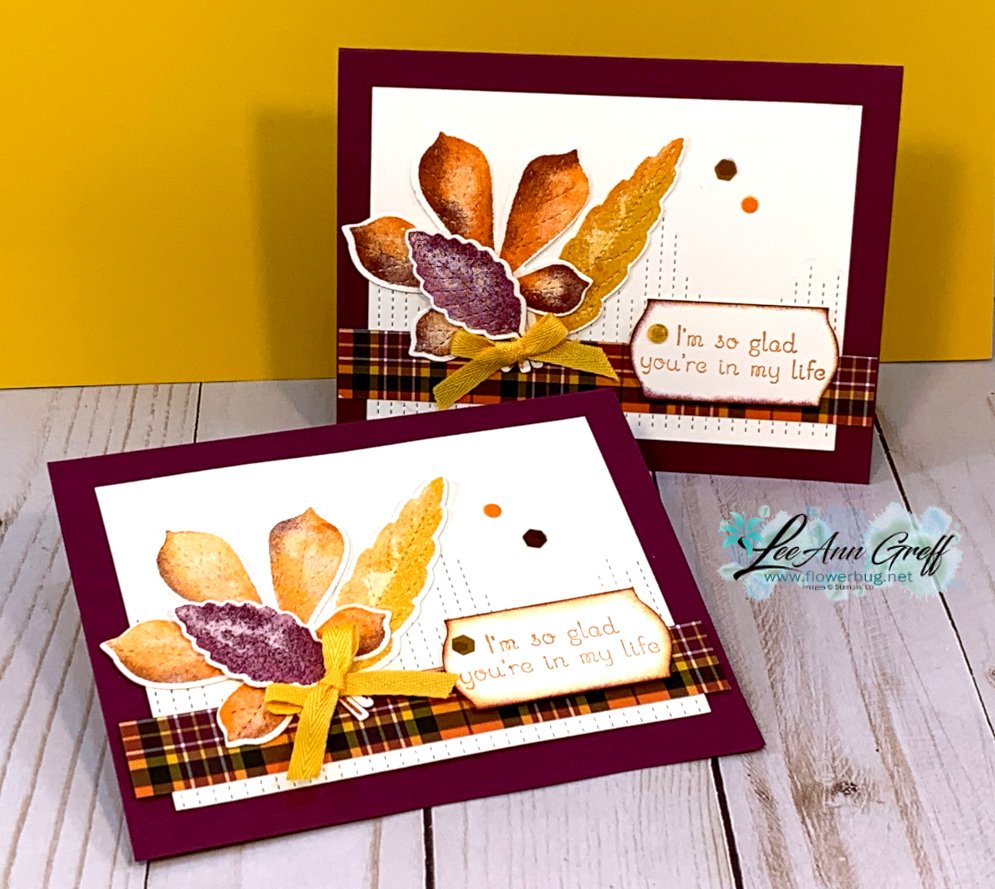
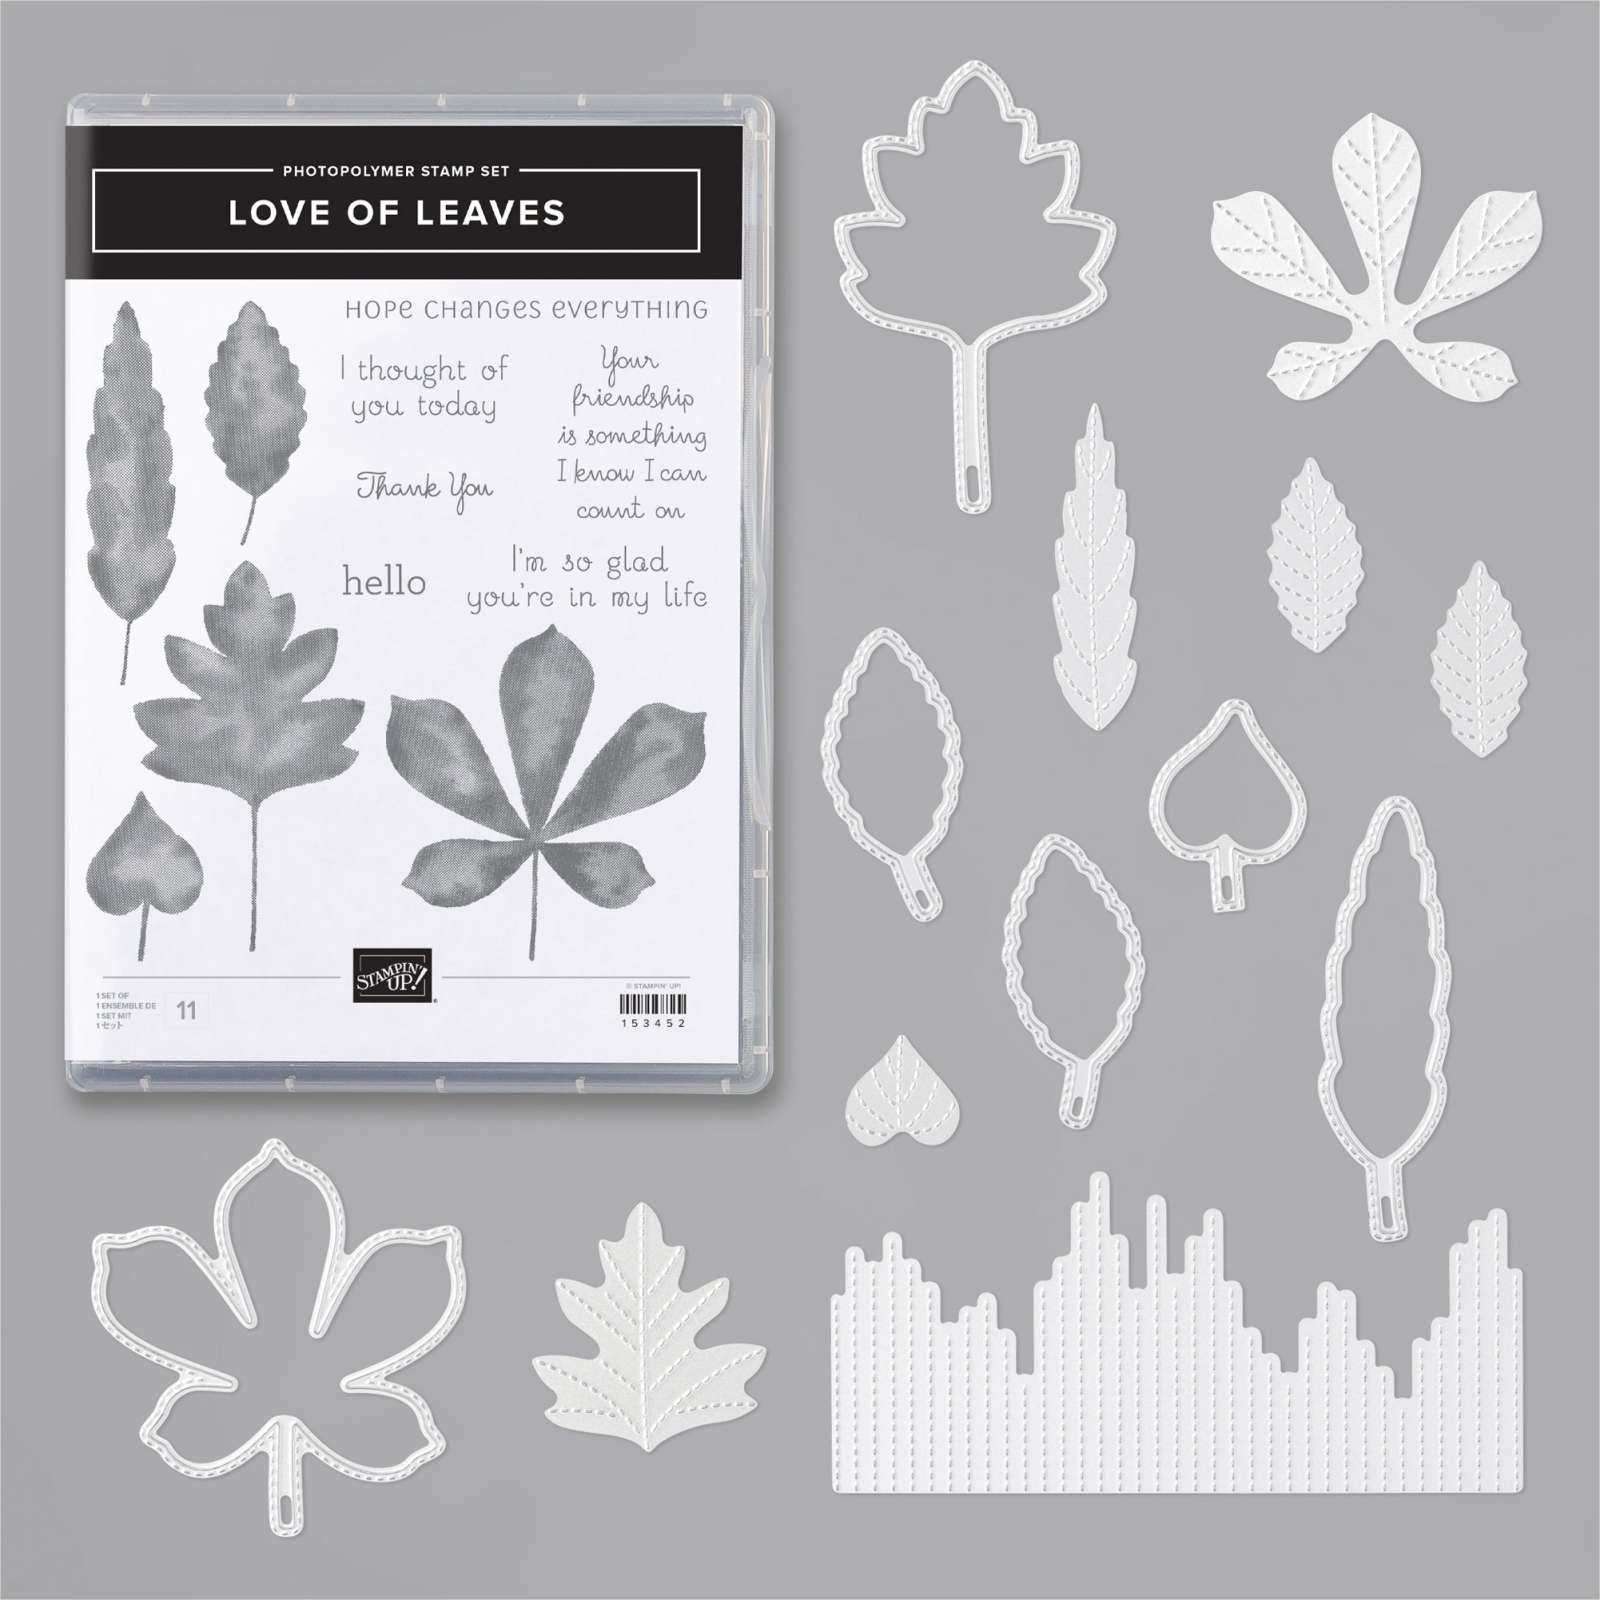
    I was inspired by a card swap I received to create this pretty card.  It features the Love of Leaves bundle; one of my favorites in the new Stampin' Up! 2020 Holiday Catalog.  there's also a 3/4" strip of the beautiful Plaid Tidings designer paper here which is where the color combination came from. 

    We made this colorful card at my Flowerbug's Team gathering on Saturday.  It features a two toned stamping technique you should really try!  The solid images are perfect for it! 

    Can you see the two toned effect on the largest leaf?   It's done like this:  

    • Ink the leaf in Pumpkin Pie (the lightest color of the two).
    • Next use a sponge dauber (can use a sponge too, but it's more difficult to control) and add Rich Razzleberry ink (the darker color) to the edges of the leaf image.  
    • Huff and stamp. Then die-cut with the Stitched Leaves dies. 

    I did the same thing on the long leaf with Crushed Curry & Pumpkin Pie but it isn't showing up as well.

    Other details:

    • White CS is 3 1/2" X 4 3/4" and textured with the Stitched Leaves dies
    • Plaid Tidings DSP is 3/4" X 5 1/4" 
    • Rich Razzleberry main card is 5 1/2" X 8 1/2". 
    • Inks are Rich Razzleberry, Pumpkin Pie and Crushed Curry. 
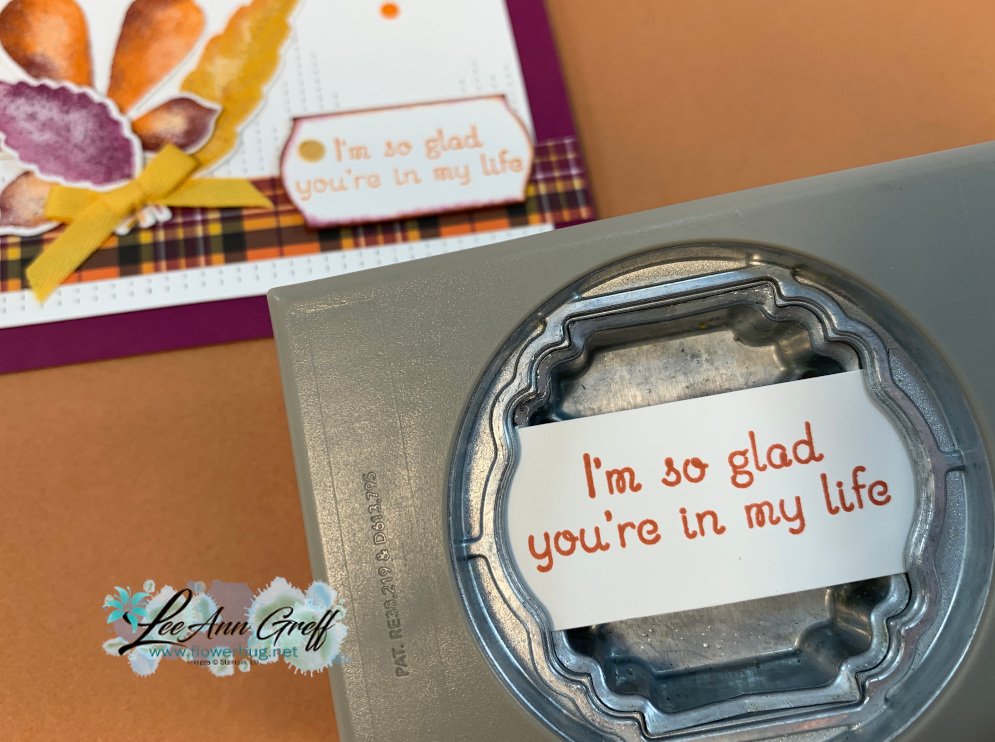
    • The greeting is punched from the Label Me Lovely punch. I started out with a 1" White strip of card stock.  Stamp the greeting and insert into the punch for a unique shape! 

    See the Lovely Leaves bundle here and the Plaid Tidings designer paper here. 


    ~~~

    Current Host code is QW7SUYVX

    Get a free package of new Iridescent Pearls in August with an online order over $55. 

    Order online here

     Get my Flowers for Every Season pdf tutorial free with all online order in August!


    It includes directions, photos and measurements for 12 cards!

    Redeem your $5 coupons now!  

    Leave a Reply

    Your email address will not be published. Required fields are marked *

  • Stitched Window cards; FB Live Replay


    This week's Stamp with Me Live video featured a window technique using dies.  The 2nd & 4th Monday of the month I offer a 'Stamp with Me' Live on my FB page here.  Be sure to follow my page so you get notified! 

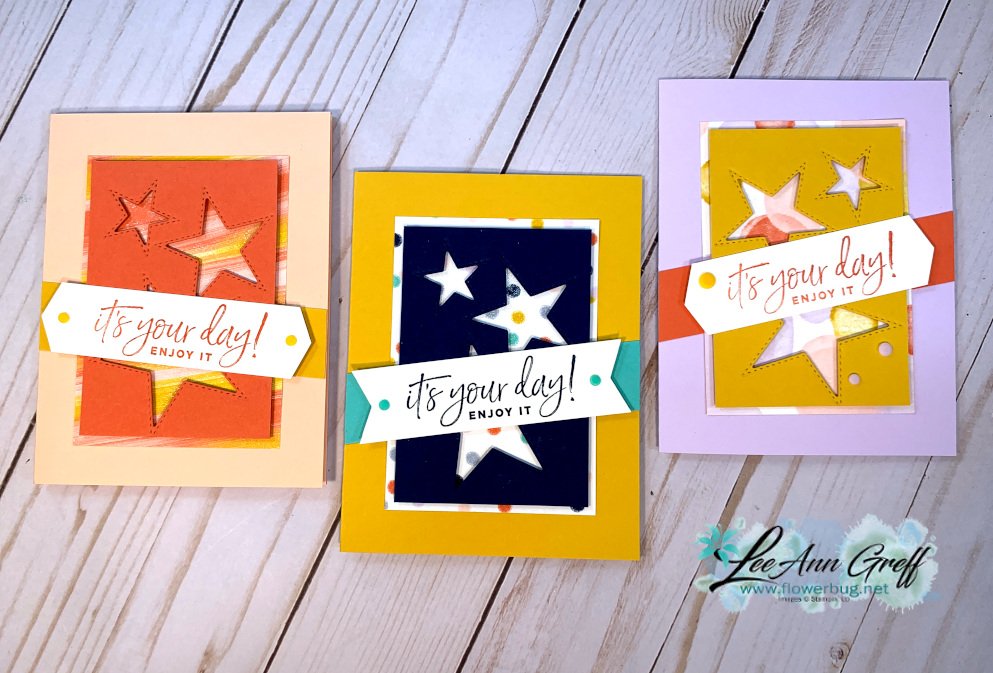
    My original card idea came from the Holiday catalog and used the Love of Leaves dies.  But I switched it up to use the Stitched Stars dies with the Playful Patterns designer series paper for these fun cards: 

    I used the smallest three star dies to create 'windows' in my card stock.  Then I popped them up over the Playful Patterns designer paper. Add a greeting and another card stock strip and you're done!  So quick & easy! 

    Watch the video below to catch all of the tips and see the original cards too.  

    Measurements:
    • Card stock for window 4 1/4" X 3 1/4"
    • Designer Paper 4 1/2" X 3 1/2"
    • Greeting strips 3/4"-1" X 4" wide

    You can see these items in my store when you click on the links:

    Stitched Stars dies 

    Happiest Birthday stamp set

    Playful Patterns DSP

    Love of Leaves 

    ~~~

    Bonus Days are here!

     
    Redeem your $5 coupons now!  

    ~~~

    Current Host code is QW7SUYVX

    Get a free package of new Iridescent Pearls in August with an online order over $55. 

    Order online here

     Get my Flowers for Every Season pdf tutorial free with all online order in August!


    It includes directions, photos and measurements for 12 cards!

    Leave a Reply

    Your email address will not be published. Required fields are marked *


Notice: LeeAnn Greff, Independent Stampin’ Up! Demonstrator, Manager. The content of this website is my sole responsibility as an independent Stampin’ Up! demonstrator and the use of, and content of, the classes, services, or products offered on this website is not endorsed by Stampin’ Up! Copyright 2025