/


Latest Post

Inked & Tiled with a gorgeous background with video & blending tips!


Today I'm sharing one of my favorite cards I've made this month. These colors are so me!  I needed to make 28 of these for the Norway cruise with Stampin' Up! We have to option of joining a card swap and I always try to do something unique for this special swap. 

I chose the new Copper Clay with Black and Coastal Cabana. Aren't they beautiful together? 
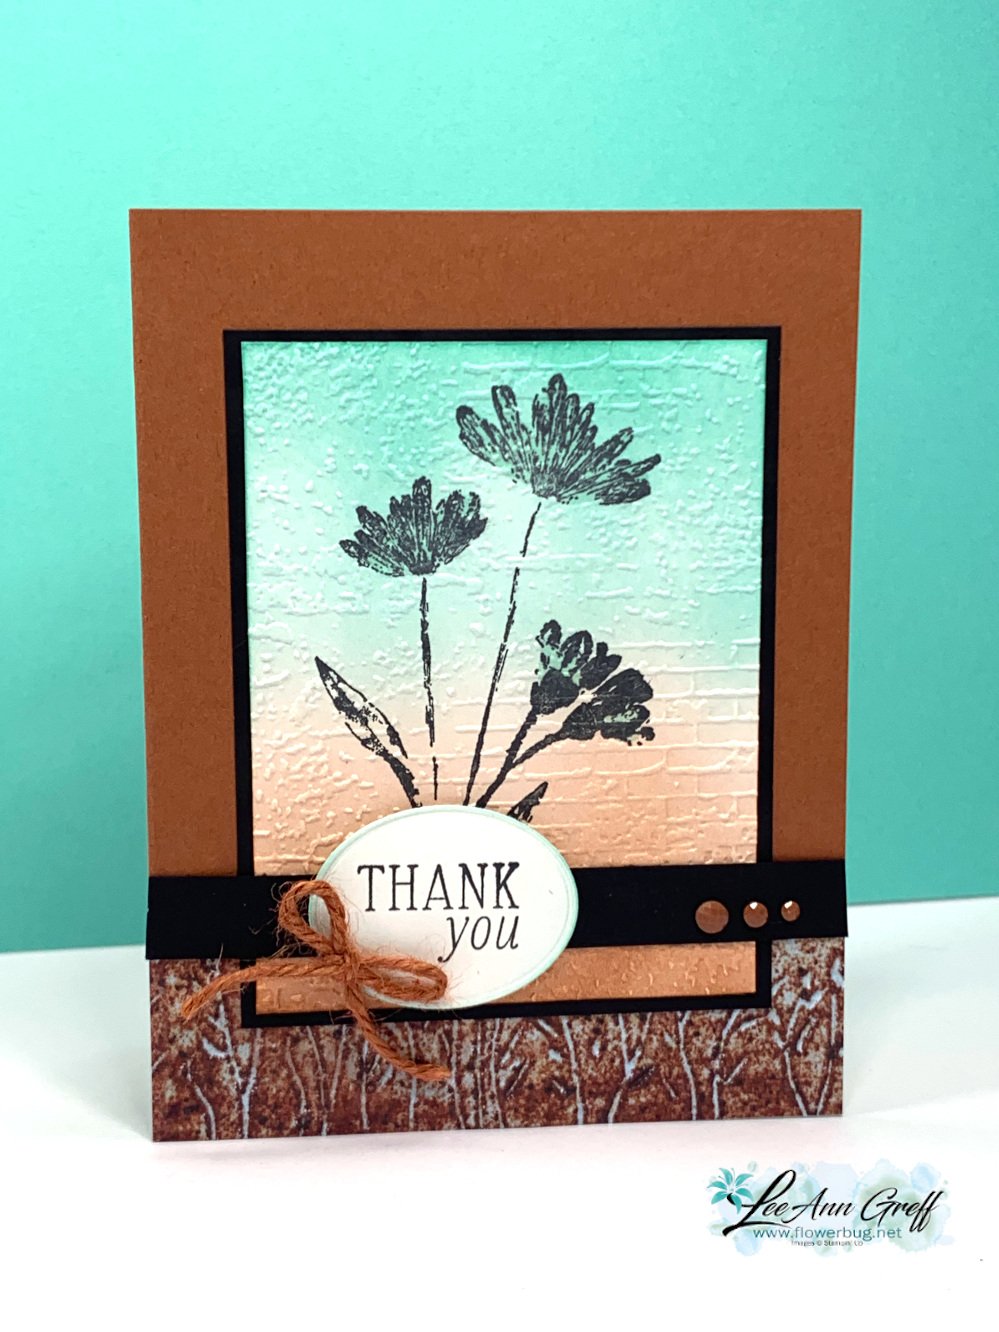
This card features the new Inked & Tiled stamp set seen here. It actually comes in a bundle with two punches. But I didn't use those here.  
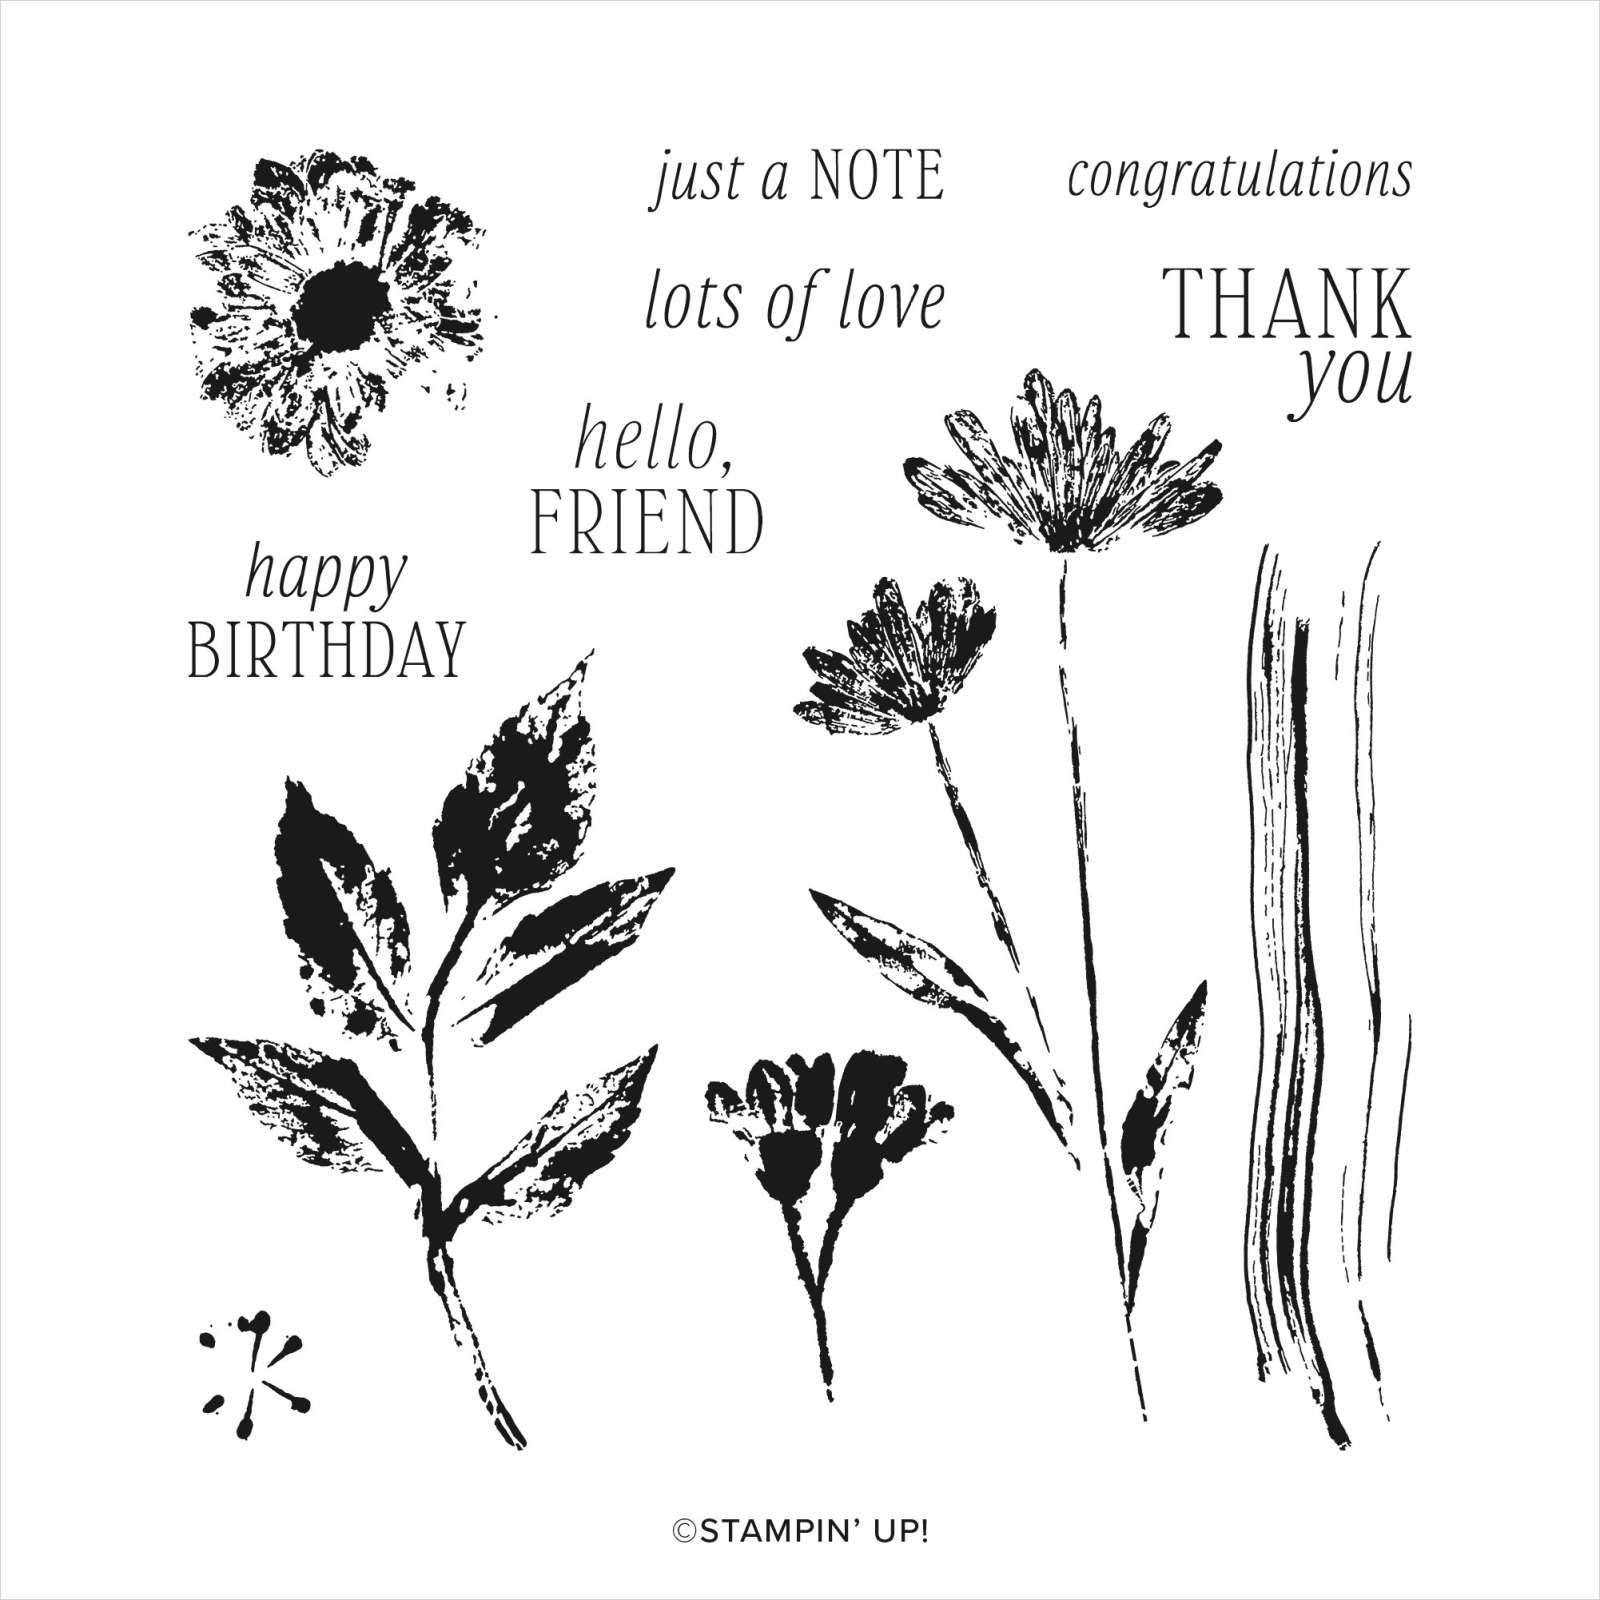
After I stamped the flowers in Black ink I used Blending Brushes to add both Coastal Cabana and Copper Clay ink.  We have both regular and small Blending Brushes now.  For a background like this I recommend the larger set of brushes. See them here.

Tip: when wanting a smooth blend, I recommend adding ink to your brush and start off of your paper. Slowly work your way on with a soft, gentle swirling motion. Adding pressure can give you blotches or other marks.  It's also helpful to have a fully inked pad.  *Remember that is helps to add ink a little at a time. It can be a slow process! 


Isn't that texture gorgeous with the blended background?!  

When I was creating this card I made the card on the right first.  If you look closely the stamped panel does not have any texture on it.  Adding the Exposed Brick embossing created the perfect finish!  


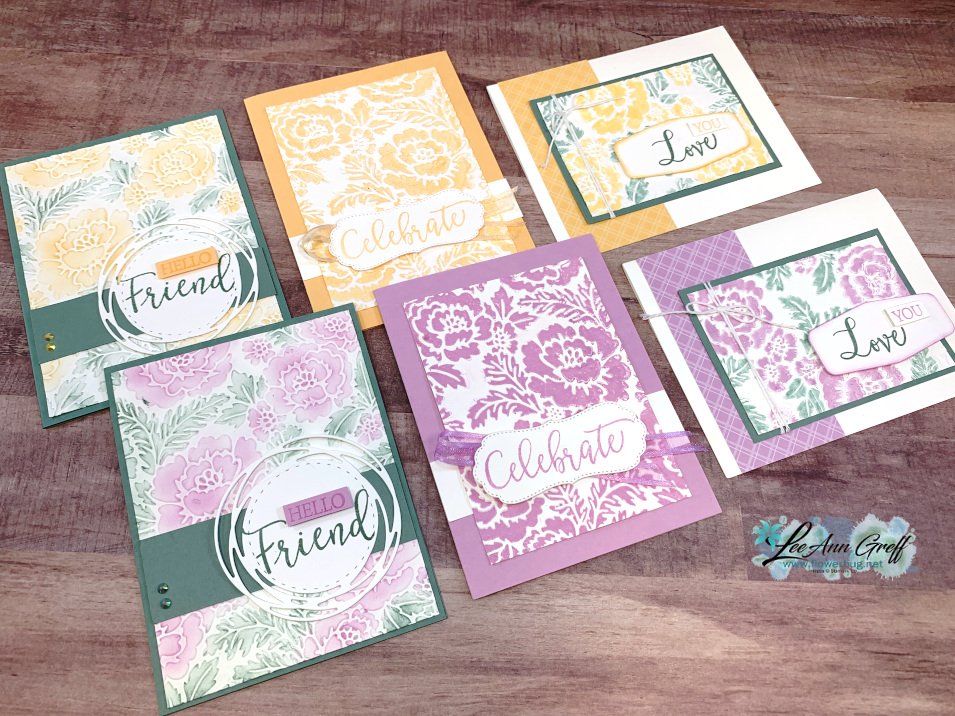
In the video I share two other beautiful cards made with the Inked & Tiled stamp set.  
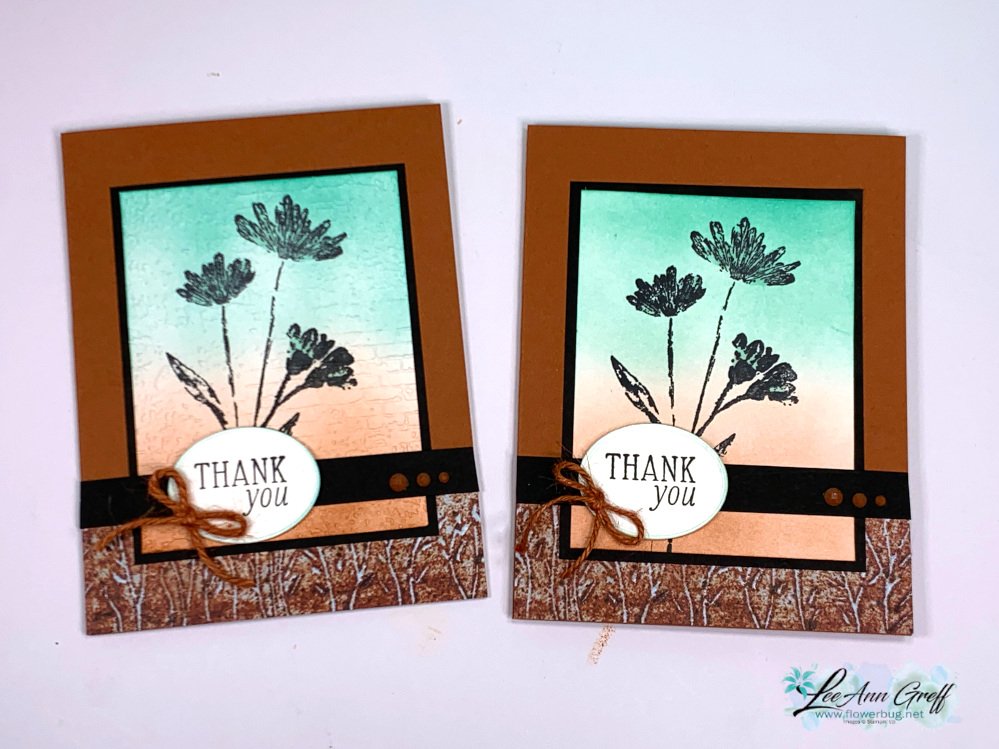
You can watch me make this card on the video here. Or click on the photo below to watch. 

~~~

May Specials:

*current host codes: ZHZ6CPYU or AJVB3B3V 

Get a free updated cardstock color sampler with online orders over $55 using a host code.

Offer good while supplies last:  

I have one spot left in my new catalog designer paper share. 

Get 80 sheets of 6 X 6" DSP – all from the new catalog for just $28.50 plus shipping.  Reserve your spot here. 

Earn free products with my loyalty rewards! 

Click here to download yours and earn a $50 shopping spree!

All Posts

  • Bright Color Combo card with the new Watercolor Shapes set


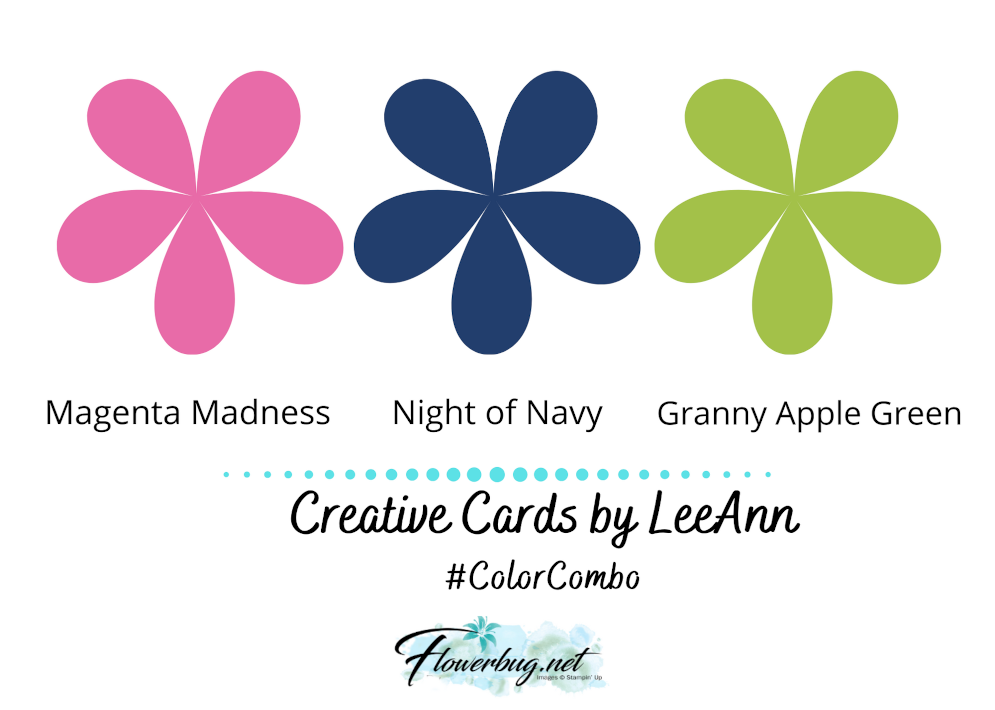
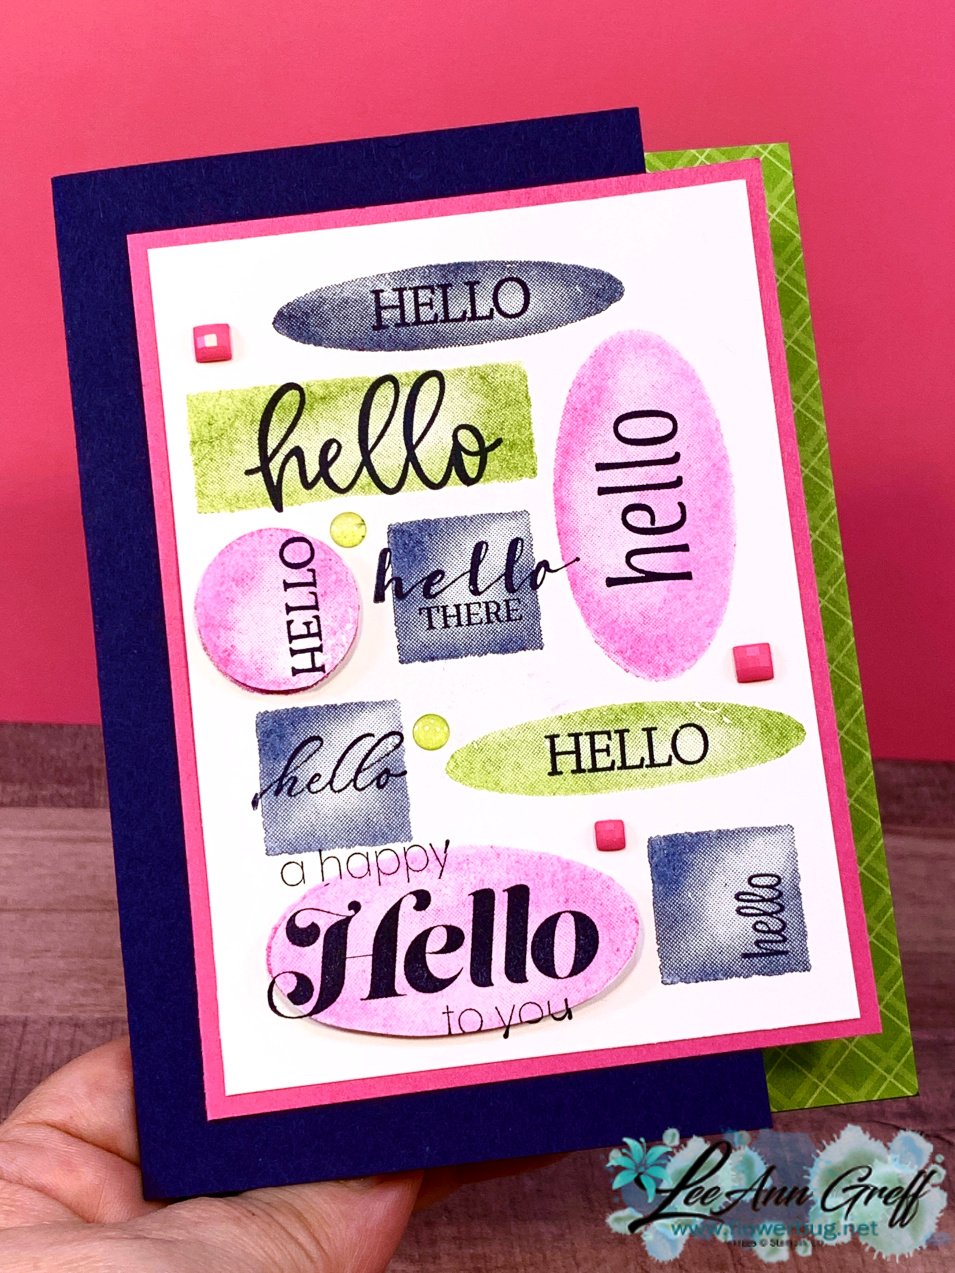
    I have lots of creative challenges for my Flowerbug's Team and this time it was a color challenge featuring Night of Navy, Magenta Madness & Granny Apple Green.  Fun, vibrant colors I knew would be fun to play with. 

    I cut off an inch from the right edge of my Navy card and added a strip of Granny Apple Green DSP on the inside edge.  

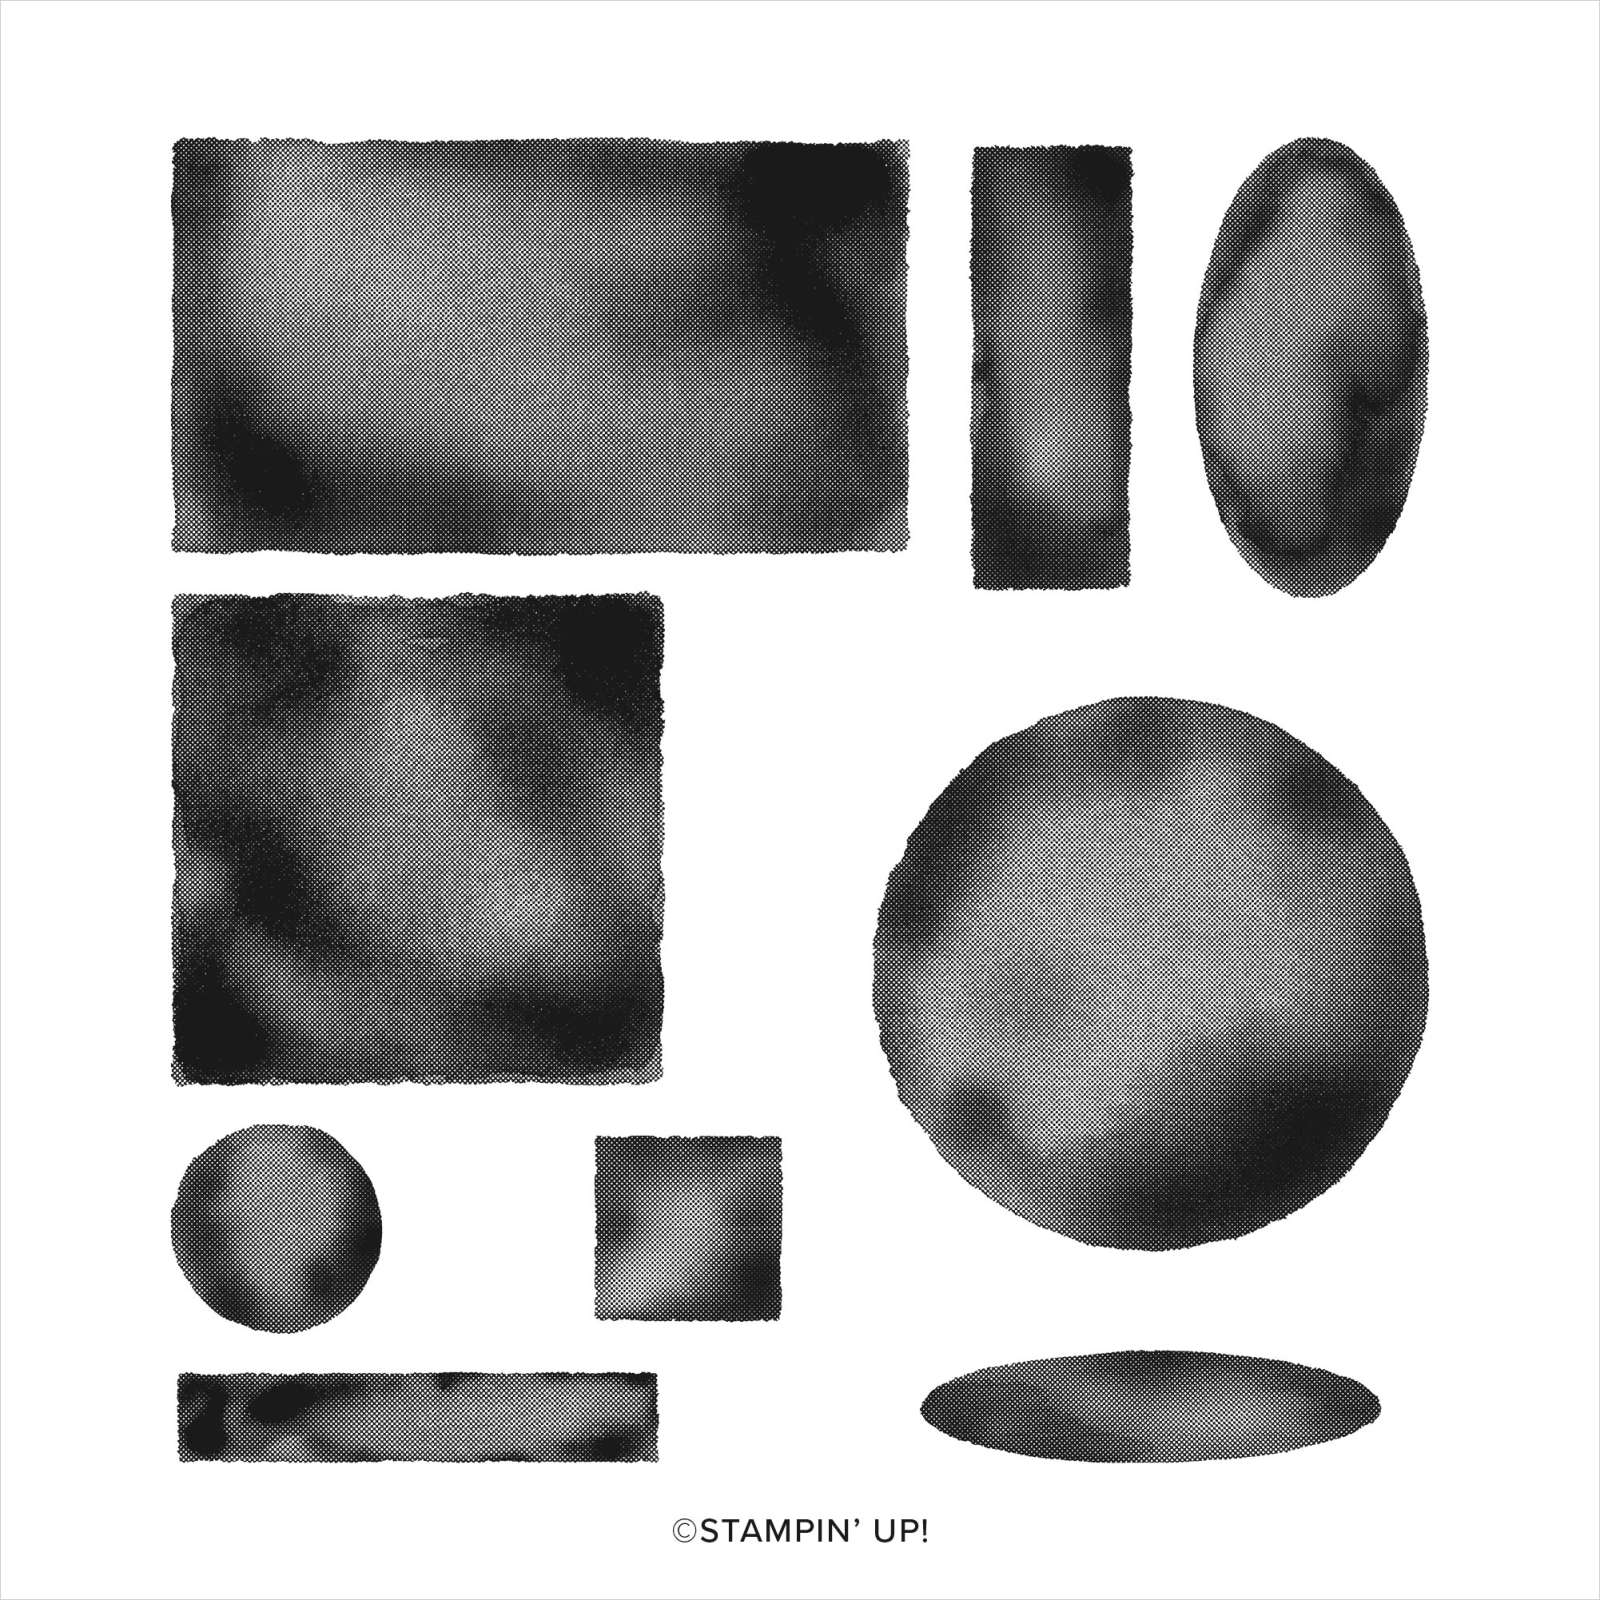
    I chose to use a stamp set that I hadn't used yet; Watercolor Shapes seen here.  

    I stamped the watercolor shapes all over the 3 1/4" X 4 1/2" White CS but I did stamp off first for a lighter hue.  The greeting stands out more then. 

    I found a 'hello' greeting in each of the following stamp sets; Blossoms in Bloom, Create with Friends, Timeless Tropical, Sweet as a Peach, Artistically Inked & Sweet Strawberry.  I had no idea we had that many 'hello's' in our sets! 

    What do you think of this color combination?  

    I stamped a few of these images twice and fussy cut them so I could add some dimension to the card front.  I also added the new In Color Square Gems and a few of the Clear Epoxy Essentials that I colored Granny Apple Green with a Blends marker. 

    June Specials:

    The last chance list is out!  Check out the retiring and discounted products here. 


    Host code: RB3VHBUK  Click here to order

    Use this host code if your order is under $150. If it's over you'll still get the embossing folder but you'll also earn host benefits! Better yet, choose the Starter Kit and choose $125 in product and FREE Shipping as well!  Click here!

    *All online orders in May receive a free PDF full of project ideas with 2 new catalog suites! 

    Leave a Reply

    Your email address will not be published. Required fields are marked *

  • Inked Embossing Folder technique; it’s SO pretty!


    I decided to play with an old favorite technique where you add ink directly onto an embossing folder 'before' you run it through the die-cutting machine.  I shared how on the FB Live video here.

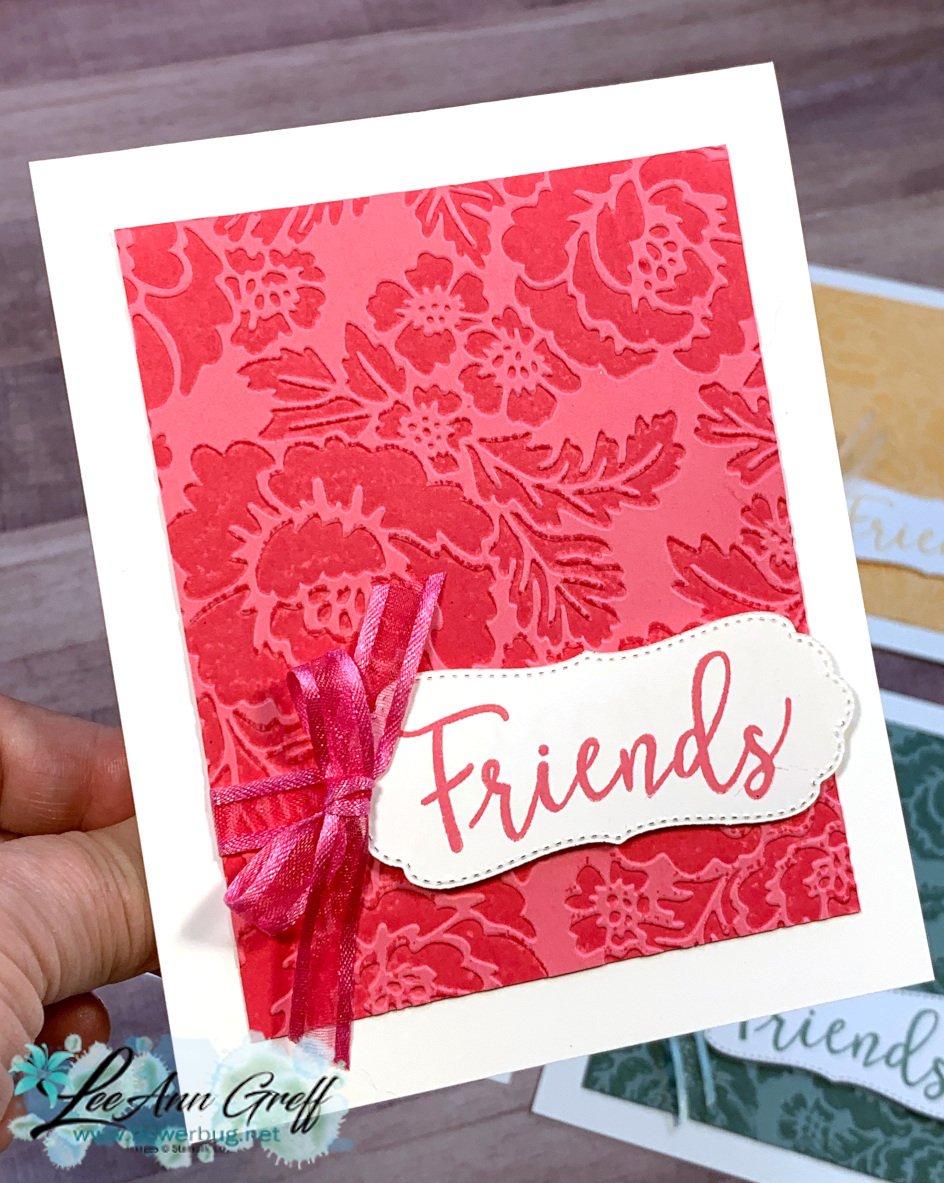
    This first card features the Polished Pink CS & ink.  

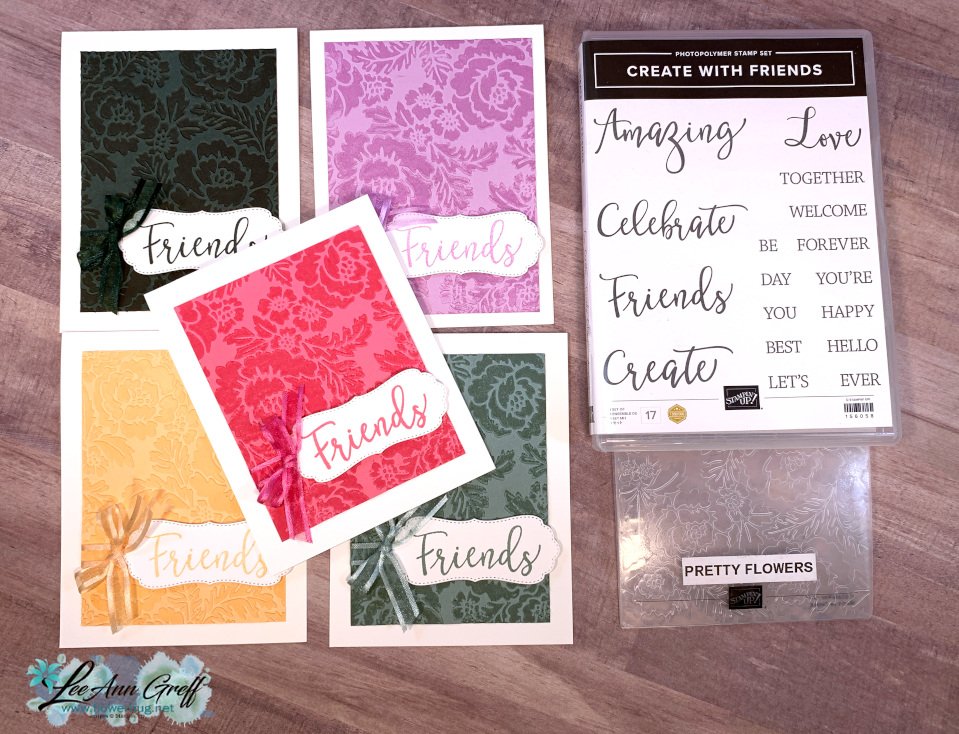
    I used two new products in our 2021-22 Annual Catalog; the Pretty Embossing folder and the Create with Friends stamp set seen here.  That pretty die-cut label is from the Potted Succulents dies seen here. 

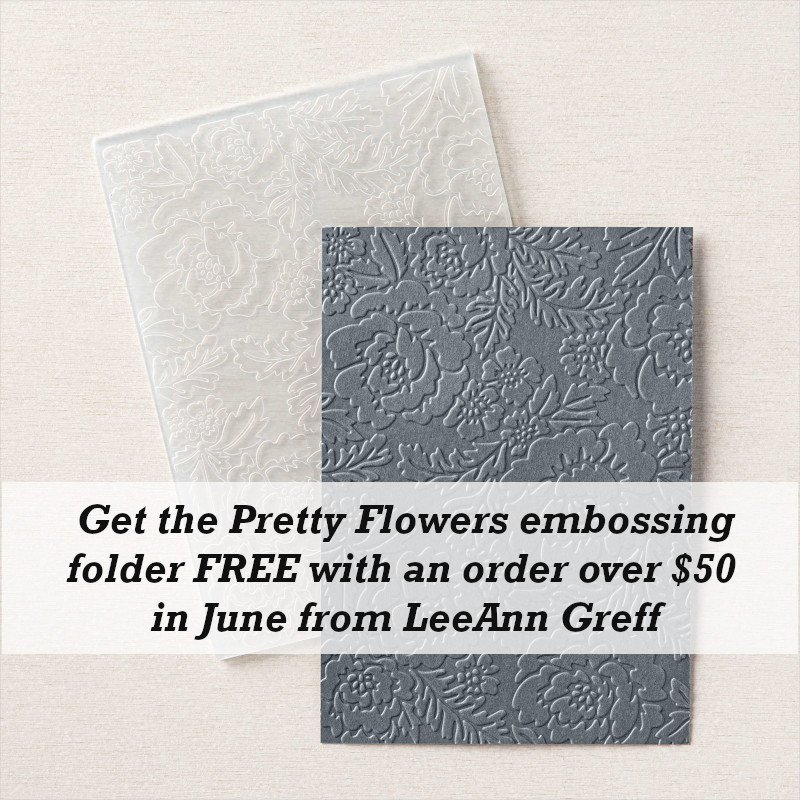
    This Pretty Embossing folder seen here is my free giveaway for online orders over $50 this month (before tax & shipping) using the host code seen below.  

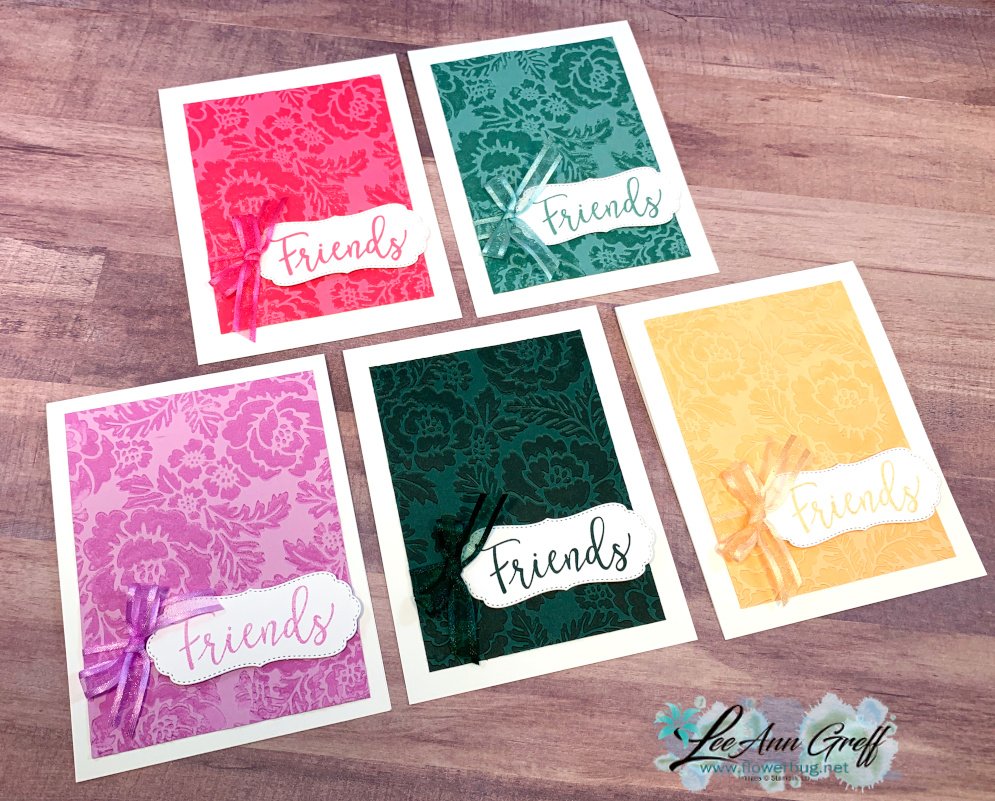
    I made one in each of our newest In Colors; Evening Evergreen, Fresh Freesia, Pale Papaya, Soft Succulent and the Polished Pink. 

    I shared a video with other techniques using the Pretty Embossing folder my FB Live here.  Or click on the photo/link below.

    I cannot stop playing with these fabulous new In Colors.  They are my absolute favorite grouping for many years!  And that ribbon!!! See the entire new 2021-23 In color line here. 

    Measurements:

    • White card base 4 1/4" X 11" scored at 5 1/2"
    • Evening Evergreen CS 3 1/2" X 4 3/4"

    *Below is the video to see how to do this and get my tips on being successful. 

    June Specials:

    The last chance list is out!  Check out the retiring and discounted products here. 


    Host code: RB3VHBUK  Click here to order

    Use this host code if your order is under $150. If it's over you'll still get the embossing folder but you'll also earn host benefits! Better yet, choose the Starter Kit and choose $125 in product and FREE Shipping as well!  Click here!

    *All online orders in May receive a free PDF full of project ideas with 2 new catalog suites! 

    Leave a Reply

    Your email address will not be published. Required fields are marked *

  • Coloring Techniques with the Pretty Flowers Embossing folder! With video!


    Have you ever added color/ink directly onto your embossing folder?  It's actually fun and the results can be amazing!  I shared three different techniques on my weekly FB Live Tuesday.  Here's a link to it on my FB page or on YouTube here.  Or scroll below to see it here.  

    This first card is done by coloring on your folder with markers.  These are regular water-based markers; not Blends.  I share tips for success on this technique in the video.  

    Each card features the stamp set Create with Friends seen here.  I love this set! The embossing folder is called Pretty Flowers; it's my free gift for online orders over $50 in June! *see it here

    I chose to use Soft Succulent on both cards adding Pale Papaya on the left and Fresh Freesia on the right.  Love our newest In Colors!!!  The greeting layer is from the Tasteful Label dies. 

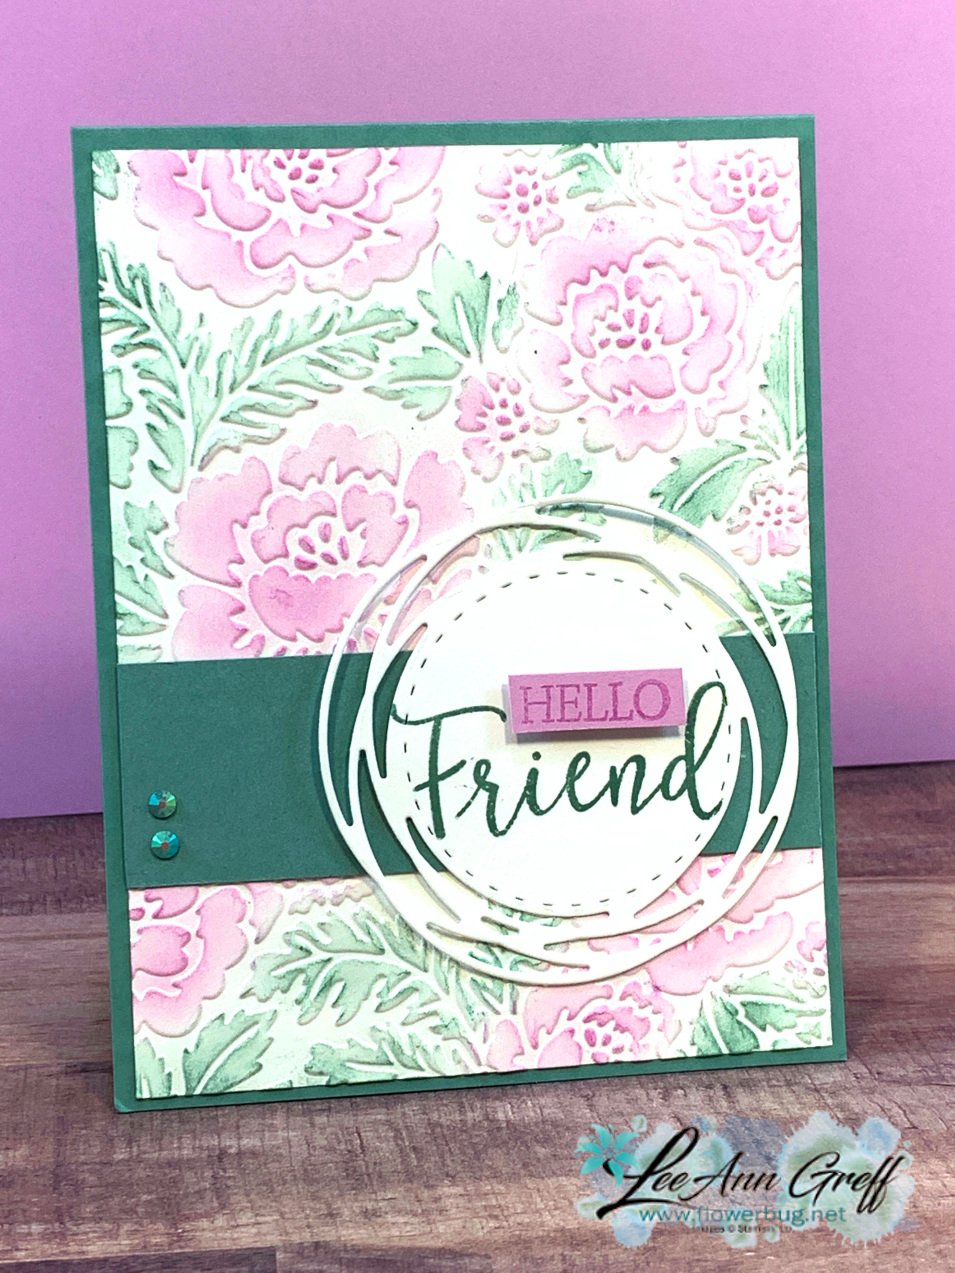
    Next is a sponging technique.  I embossed the White CS with the folder in the die-cutting machine first.  Then used sponge daubers to color the White CS.  I highly recommend you use pastel colors for this for the best results. It's much more forgiving! 

    I used the Poppy dies for the greeting layer. 

    And the last technique is to add ink directly onto the folder itself; before you run it through.  Press your ink pad lightly to the side of the folder you want inked.  Do this lightly to avoid getting ink in the recesses of the folder.  Again; watch my video for more tips! 

    The pretty die-cut for the greeting is from the Potted Succulent dies seen here.  

    *Below is the video with lots of specific tips on being successful with these techniques. Click on it to watch.

    June Specials:

    The last chance list is out!  Check out the retiring and discounted products here. 


    Host code: RB3VHBUK  Click here to order

    Use this host code if your order is under $150. If it's over you'll still get the embossing folder but you'll also earn host benefits! Better yet, choose the Starter Kit and choose $125 in product and FREE Shipping as well!  Click here!

    *All online orders in May receive a free PDF full of project ideas with 2 new catalog suites! 

    Leave a Reply

    Your email address will not be published. Required fields are marked *


Notice: LeeAnn Greff, Independent Stampin’ Up! Demonstrator, Manager. The content of this website is my sole responsibility as an independent Stampin’ Up! demonstrator and the use of, and content of, the classes, services, or products offered on this website is not endorsed by Stampin’ Up! Copyright 2025