/


Latest Post

Inked & Tiled with a gorgeous background with video & blending tips!


Today I'm sharing one of my favorite cards I've made this month. These colors are so me!  I needed to make 28 of these for the Norway cruise with Stampin' Up! We have to option of joining a card swap and I always try to do something unique for this special swap. 

I chose the new Copper Clay with Black and Coastal Cabana. Aren't they beautiful together? 
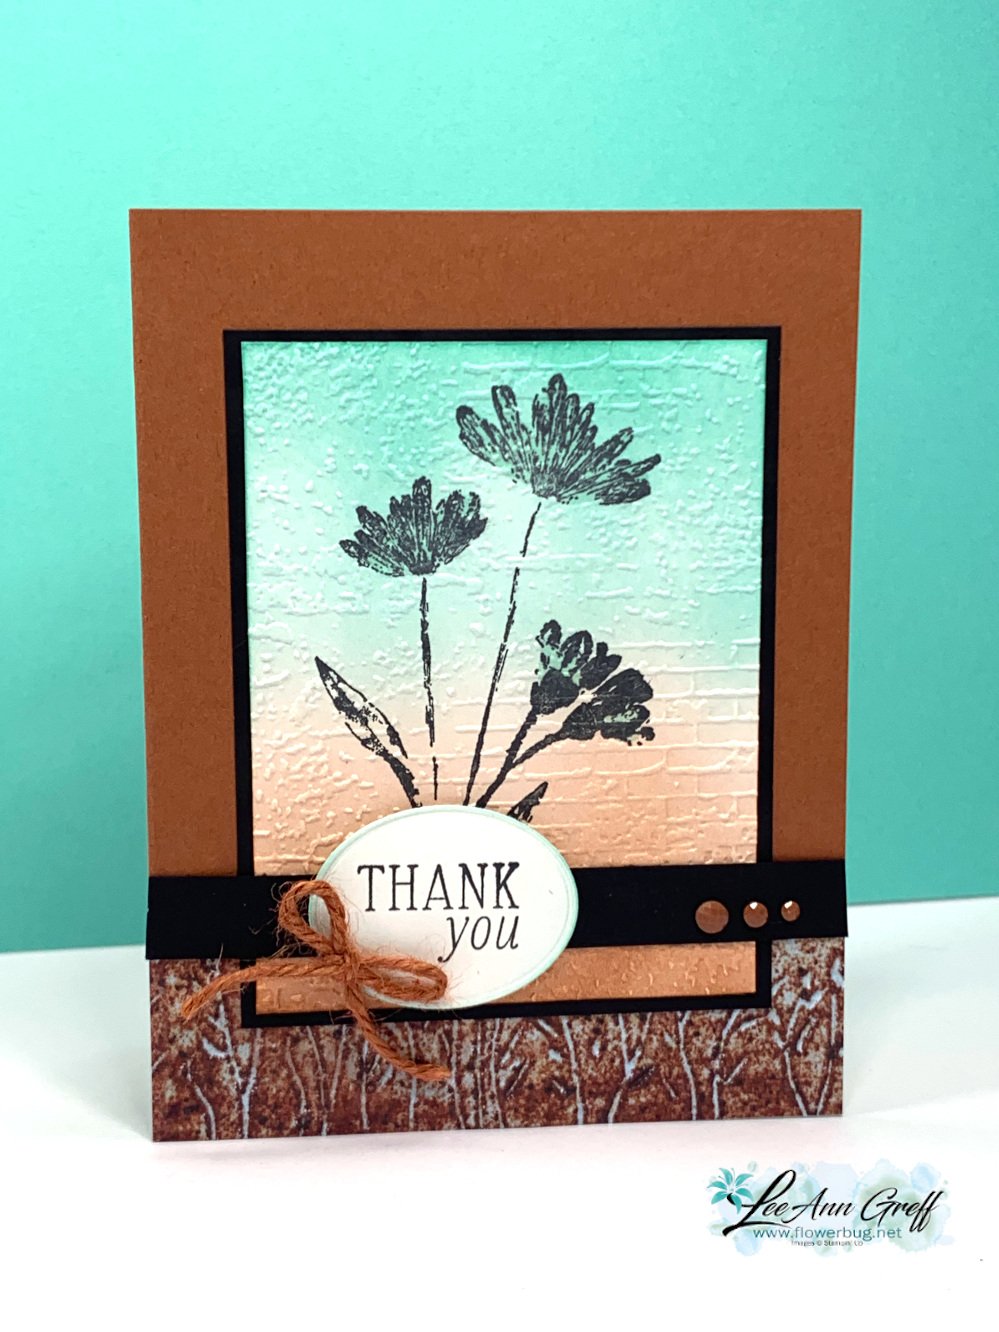
This card features the new Inked & Tiled stamp set seen here. It actually comes in a bundle with two punches. But I didn't use those here.  
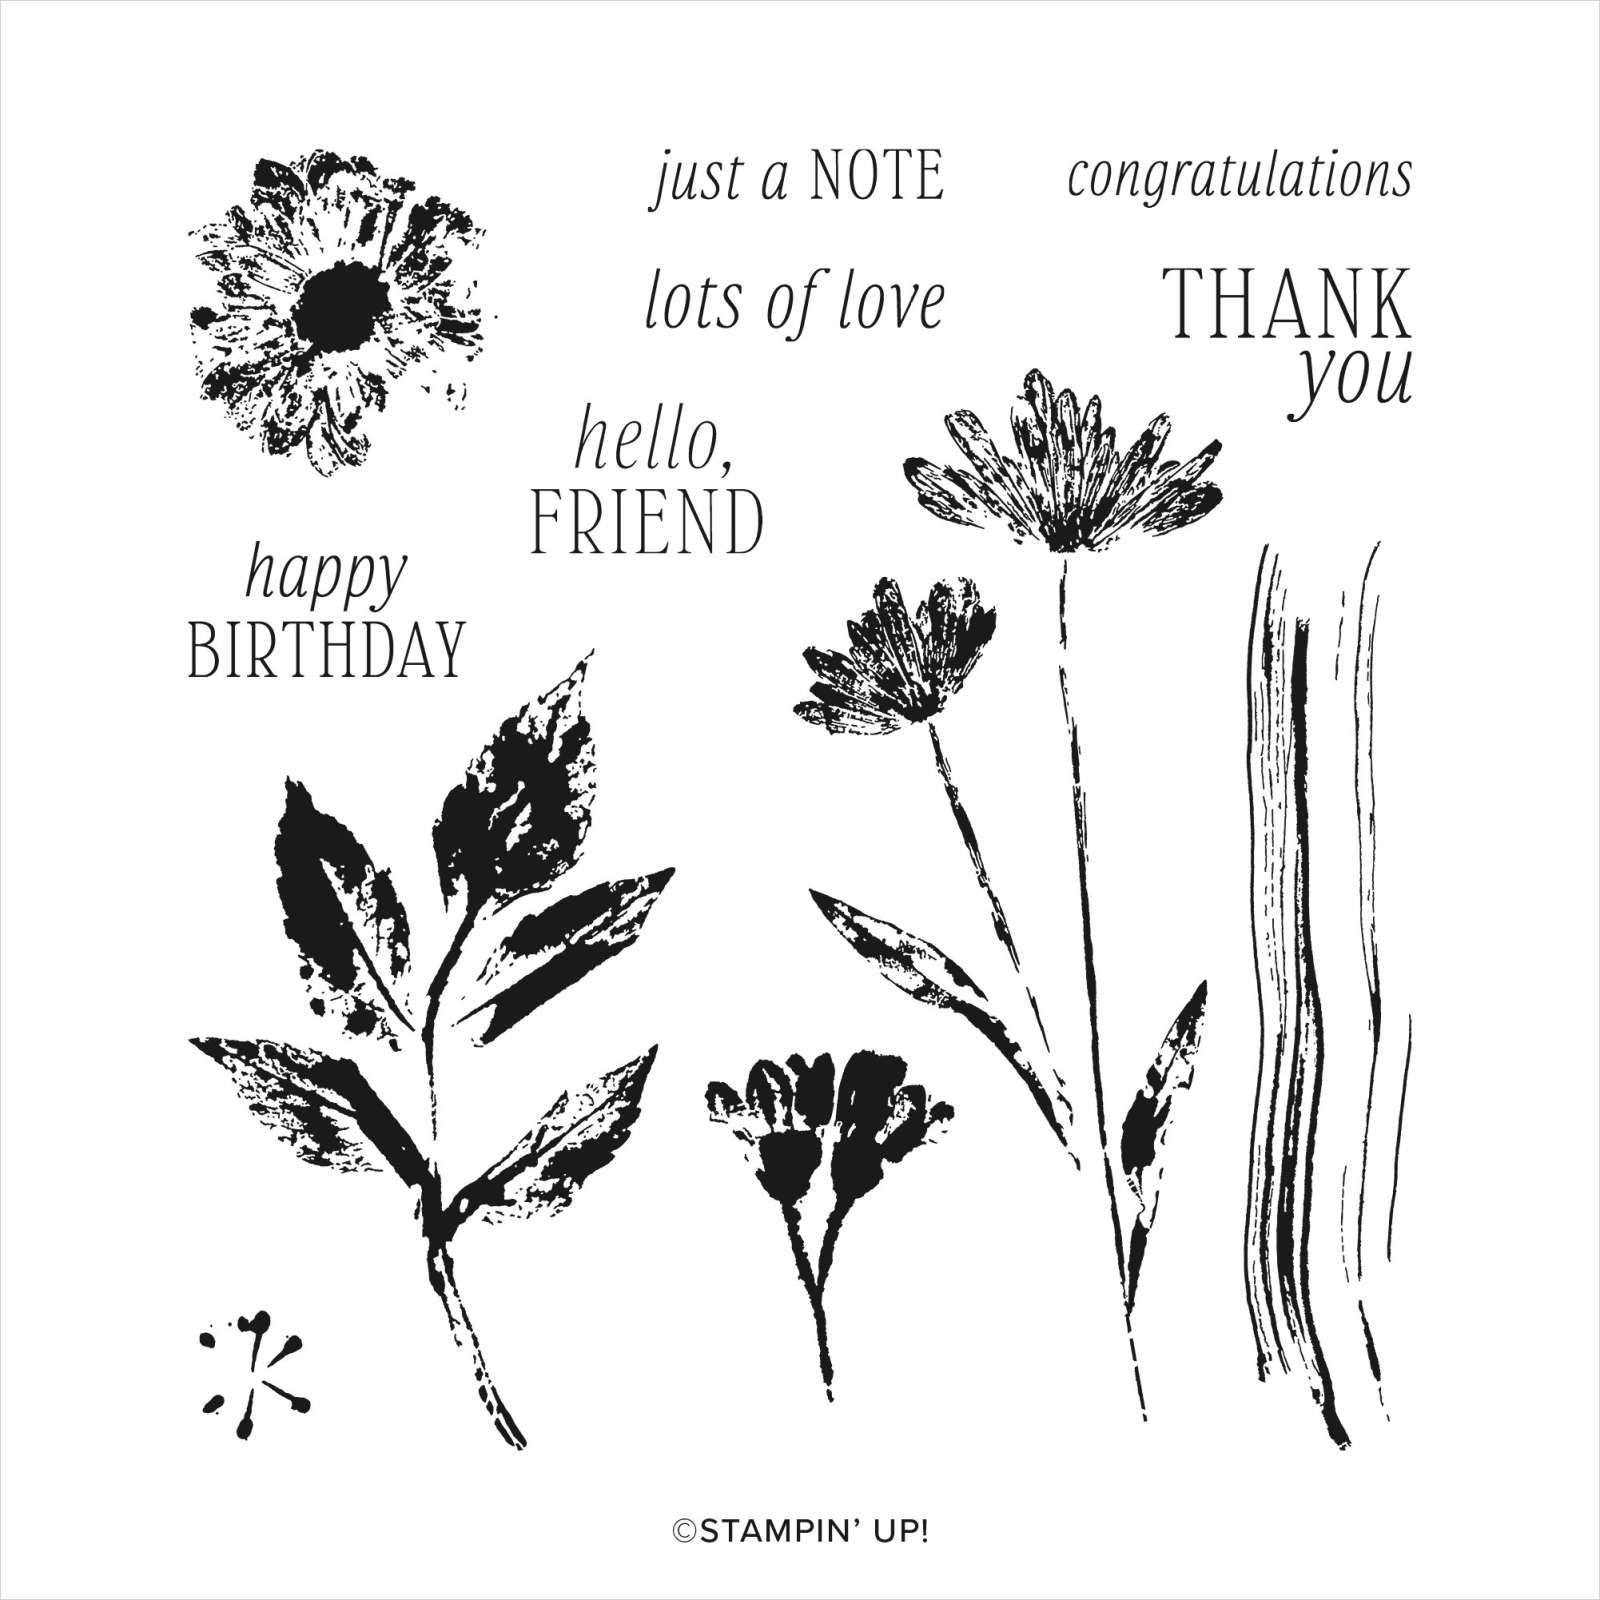
After I stamped the flowers in Black ink I used Blending Brushes to add both Coastal Cabana and Copper Clay ink.  We have both regular and small Blending Brushes now.  For a background like this I recommend the larger set of brushes. See them here.

Tip: when wanting a smooth blend, I recommend adding ink to your brush and start off of your paper. Slowly work your way on with a soft, gentle swirling motion. Adding pressure can give you blotches or other marks.  It's also helpful to have a fully inked pad.  *Remember that is helps to add ink a little at a time. It can be a slow process! 


Isn't that texture gorgeous with the blended background?!  

When I was creating this card I made the card on the right first.  If you look closely the stamped panel does not have any texture on it.  Adding the Exposed Brick embossing created the perfect finish!  


In the video I share two other beautiful cards made with the Inked & Tiled stamp set.  
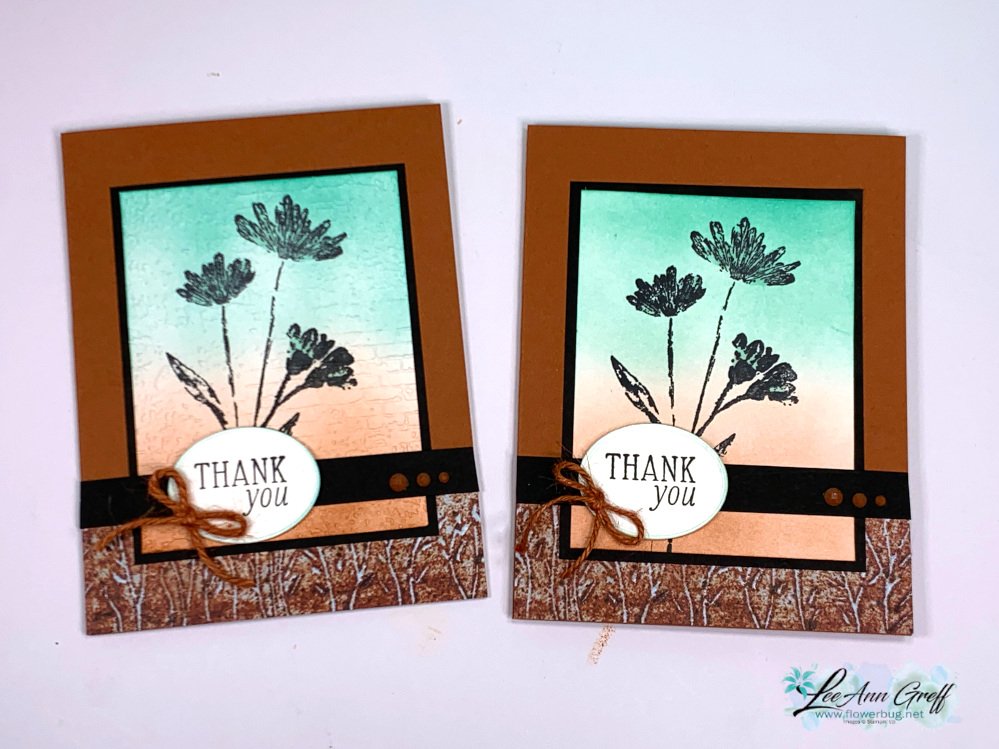
You can watch me make this card on the video here. Or click on the photo below to watch. 

~~~

May Specials:

*current host codes: ZHZ6CPYU or AJVB3B3V 

Get a free updated cardstock color sampler with online orders over $55 using a host code.

Offer good while supplies last:  

I have one spot left in my new catalog designer paper share. 

Get 80 sheets of 6 X 6" DSP – all from the new catalog for just $28.50 plus shipping.  Reserve your spot here. 

Earn free products with my loyalty rewards! 

Click here to download yours and earn a $50 shopping spree!
All Posts

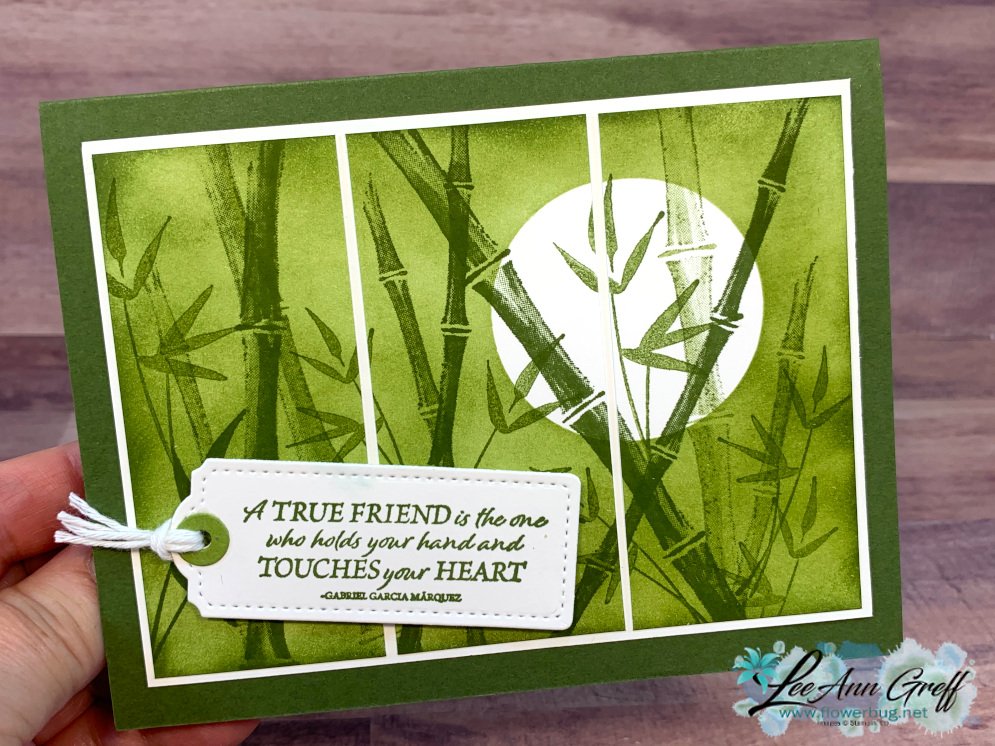
  • Triple Pane Bamboo Beauty with a masked moon


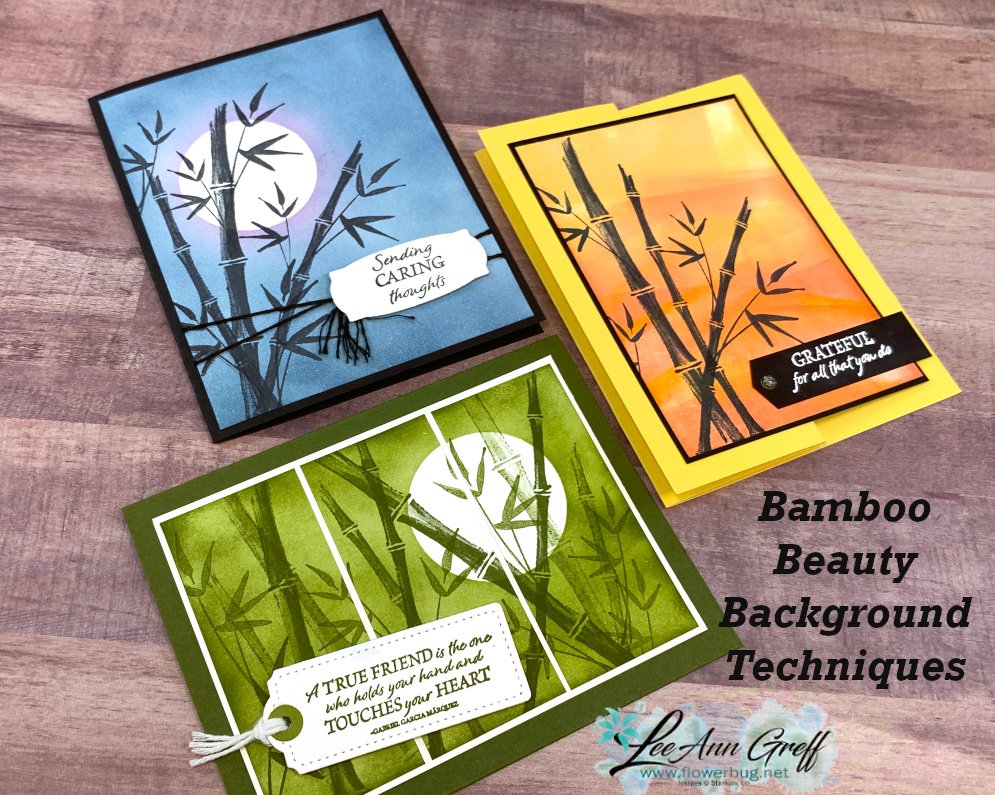
    Two-toned cards can be especially striking and I think this Bamboo Beauty card done in greens proves the point.  

    I used just one color of ink here; Old Olive however the card base is Mossy Meadow.  I did stamp off once before stamping some of the images. I made this card in a recent FB Live video.  You can see it here.  Or scroll down to view it on my blog below. 

    I started with a 3 1/2" X 4 3/4" piece of White CS.  I placed a post-it note mask made with a 1 3/4" circle on it for the moon before sponging and stamping.  It's really quite easy to do (see in the video)!

    Afterwards I trimmed the stamped White CS into three pieces measuring 1 9/16th" wide. The tag is made with the Tailor Made Tags dies.

    And here is the video where I share two more cards; scroll down to the end to see this card made. 

    ~~~

    July Specials! 

    Current host code: SBCRHZWG

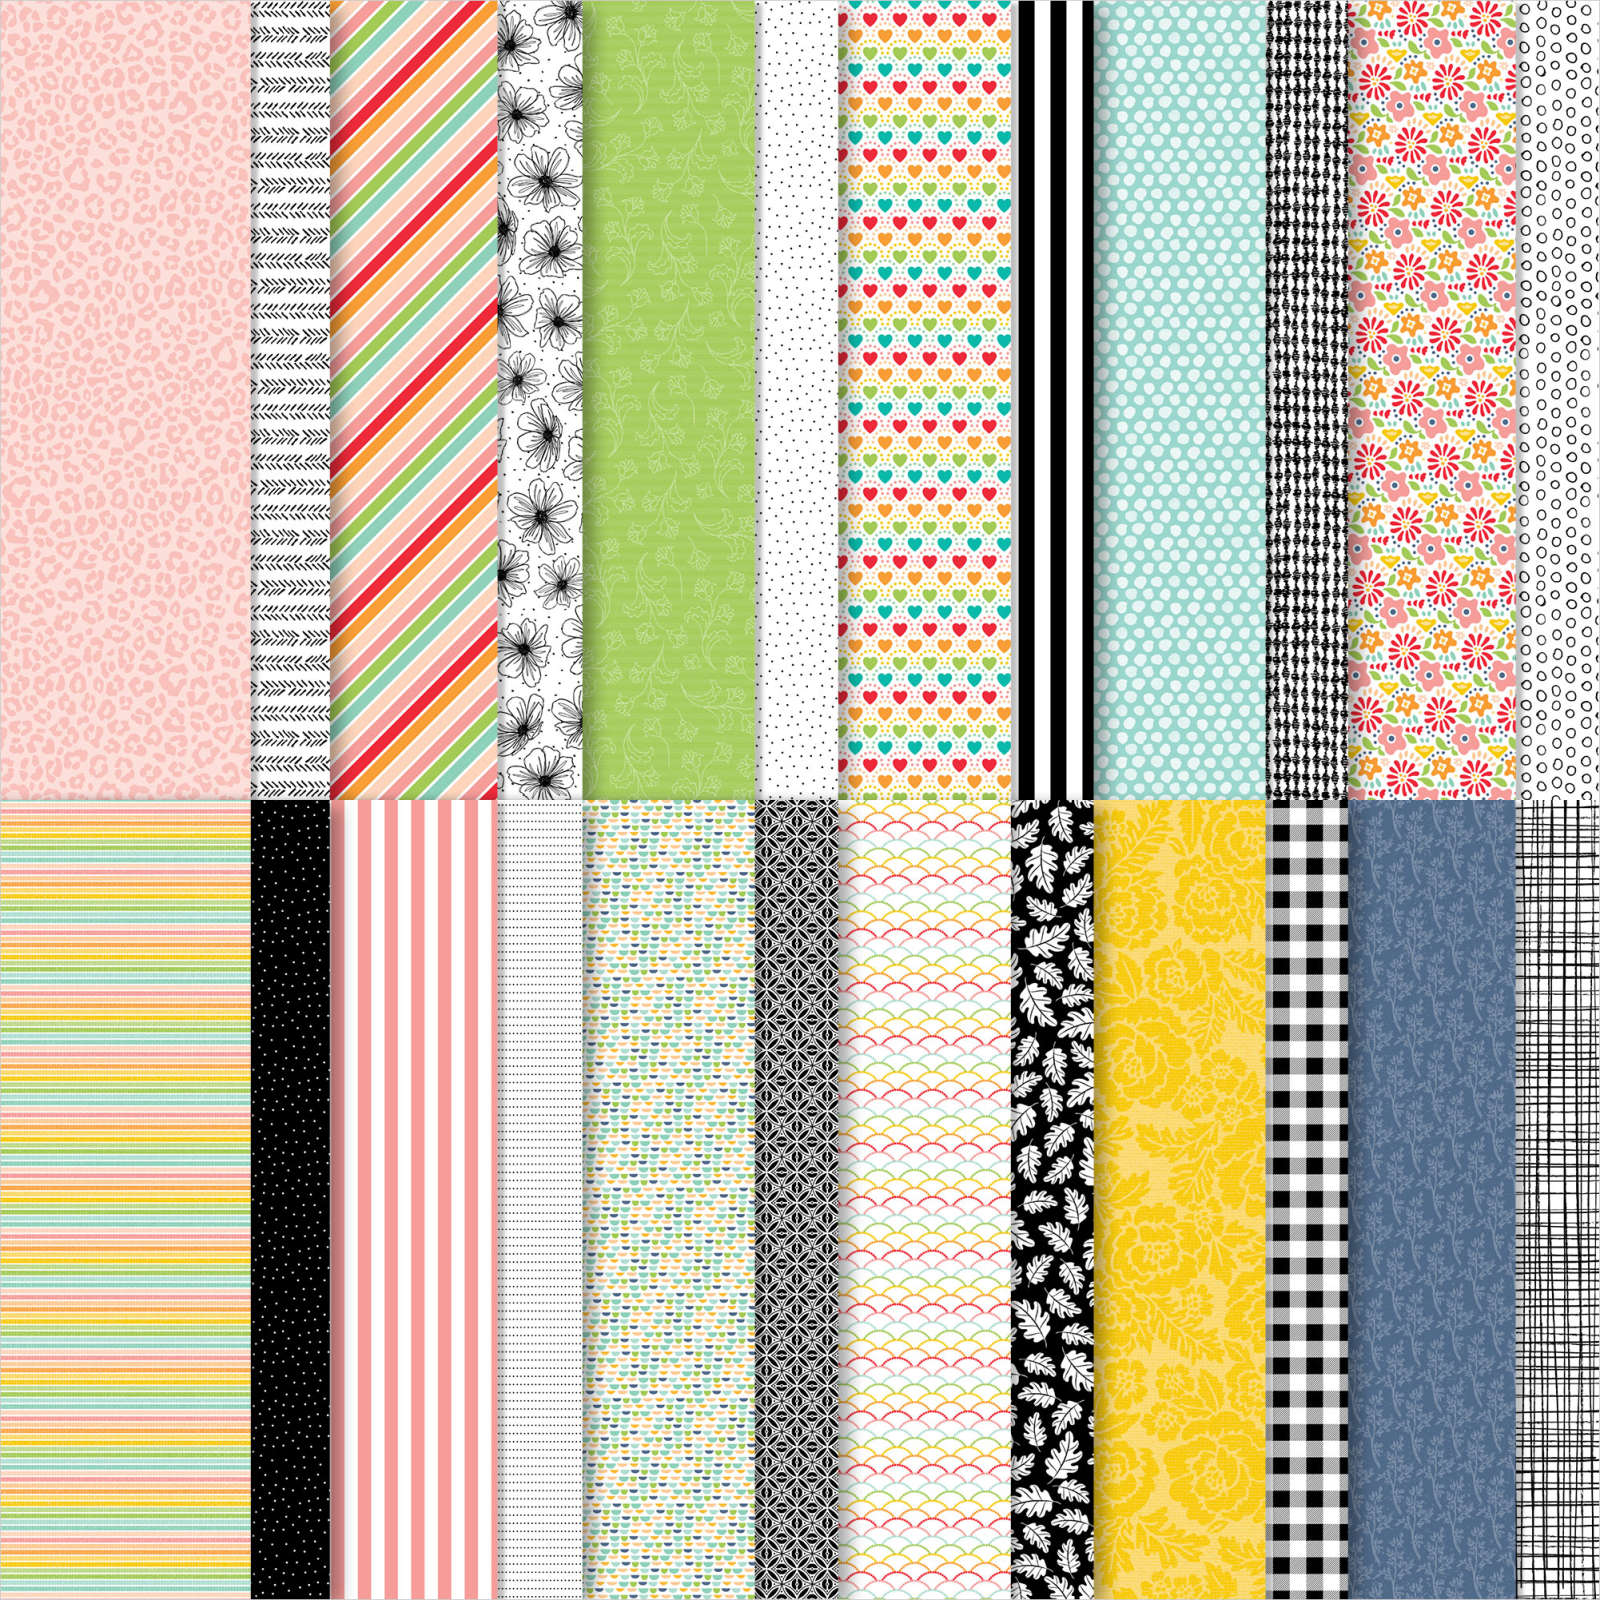
    Designer Paper is on sale!  Click here to see all 9 of the discounted papers. 


    Online orders over $50 get a free DSP sampler from me!  It includes the Party Pattern host paper plus more! You'll get over 20 4 X 6" sheets of assorted papers.  Orders over $75 get even more!  

    My free PDF Tutorial for July's online orders includes the Simply Elegant & Beauty of the Earth suites. Get it FREE with any online order placed in July!

    Leave a Reply

    Your email address will not be published. Required fields are marked *

  • Bamboo Beauty with unique backgrounds & video tutorial


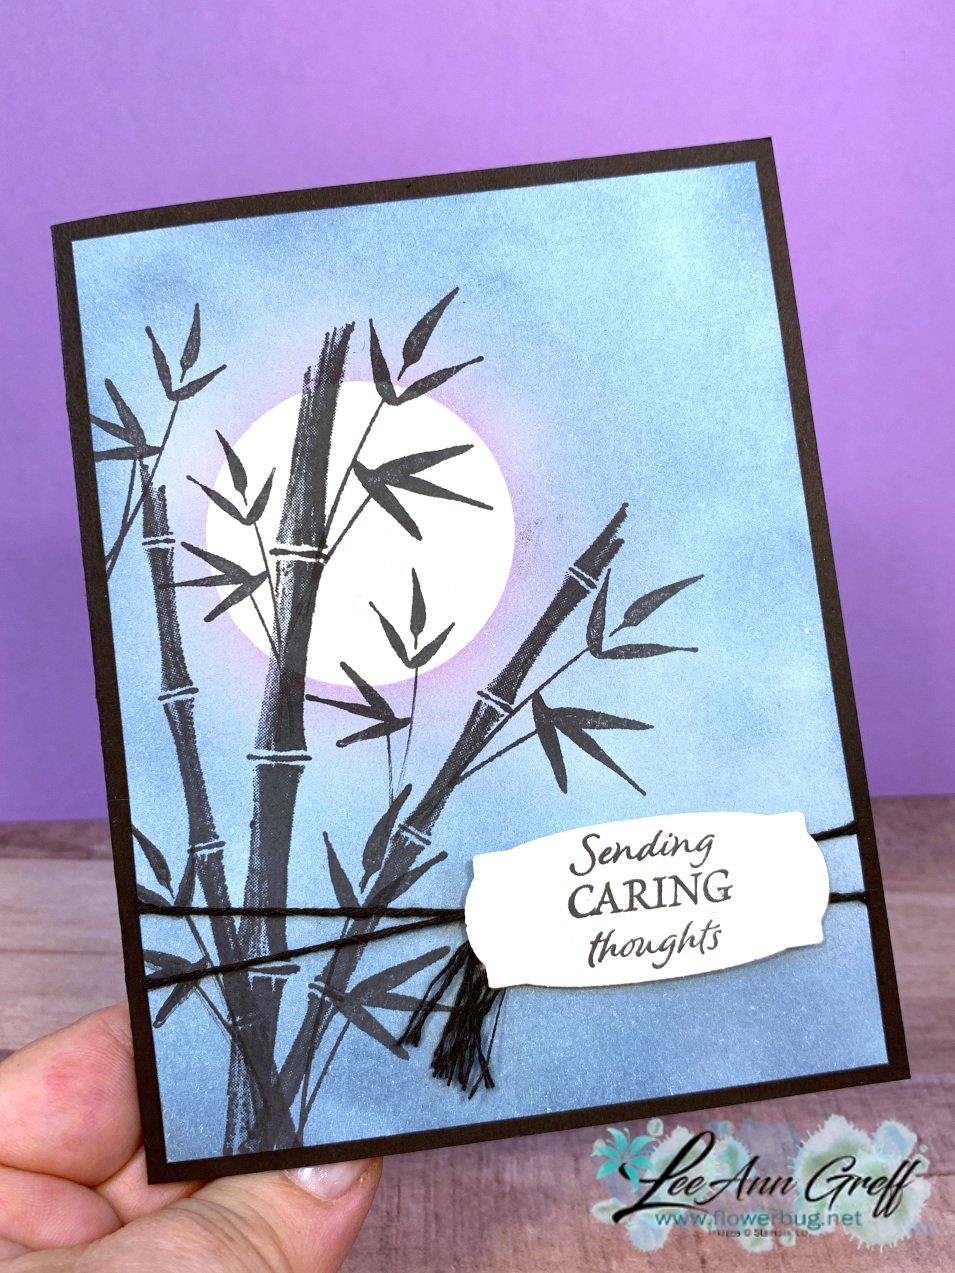
    The Bamboo Beauty stamp set caught my eye right away.  I knew it would be perfect for unique background techniques. click here to see it.  

    I featured it in this week's Facebook Live.  See it here on my FB page or here on YouTube.  Or scroll down to watch it right here. 

    What do you think?  I know some people aren't into bamboo or this Asian style but it's so my style!  I call this type of set a 'scene builder' which inspires me to use techniques to create unique backgrounds.  

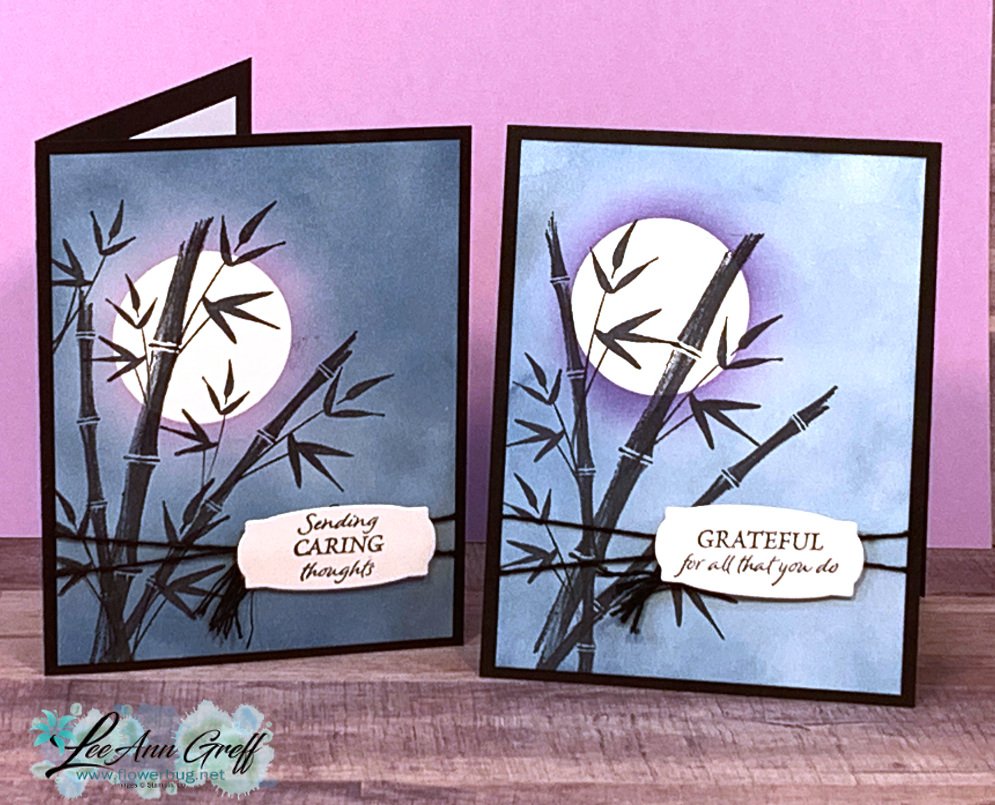
    I'm focusing on this card today.  The colors are Misty Moonlight, Black & White with a touch of purple.  I used Fresh Freesia on the upper left card and Highland Heather on the right. I used our Blending Brushes for the background, black twine from the Essentials pack and a greeting label from the Messages die. 

    Here's the video; click on the image below to watch it. 

    I'll share details on the other bamboo card soon. *See details on the yellow card here. 

    ~~~

    July Specials! 

    Current host code: SBCRHZWG

    Designer Paper is on sale!  Click here to see all 9 of the discounted papers. 


    Online orders over $50 get a free DSP sampler from me!  It includes the Party Pattern host paper plus more! You'll get over 20 4 X 6" sheets of assorted papers.  Orders over $75 get even more!  

    My free PDF Tutorial for July's online orders includes the Simply Elegant & Beauty of the Earth suites. Get it FREE with any online order placed in July!


    Leave a Reply

    Your email address will not be published. Required fields are marked *

  • Hand Penned Corner Latch Fold. And last day to get a free class kit in the mail!


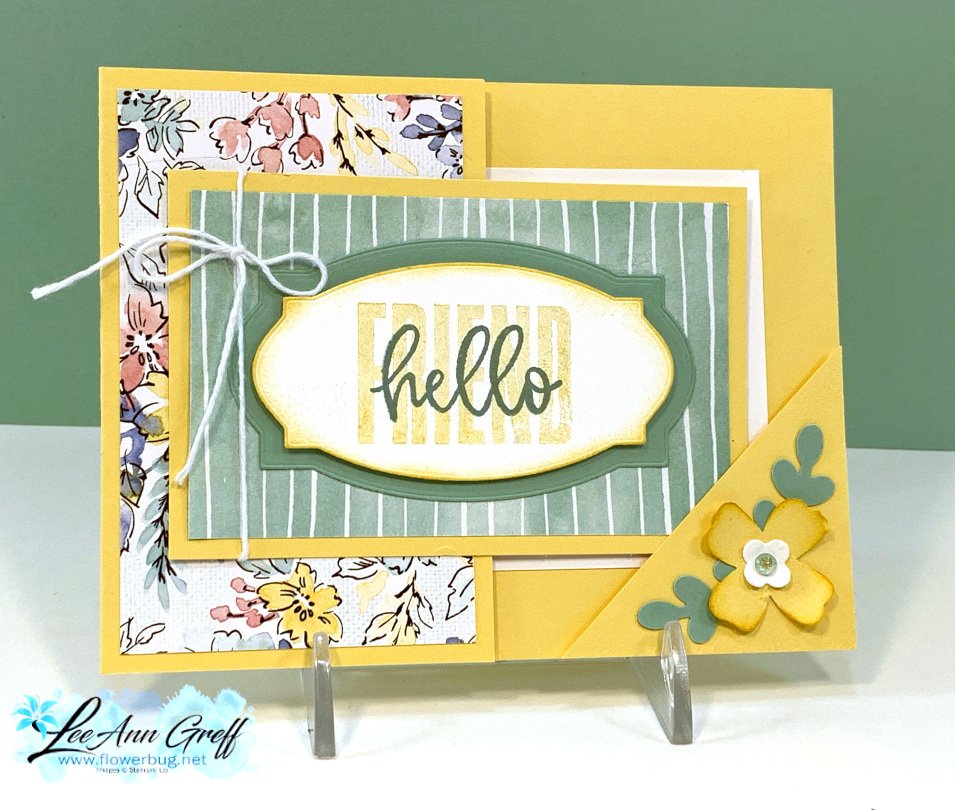
    I love this fun fold so much I chose to feature it for my June Card Clubs.  The Hand-Penned Designer Paper is perfect for it. 

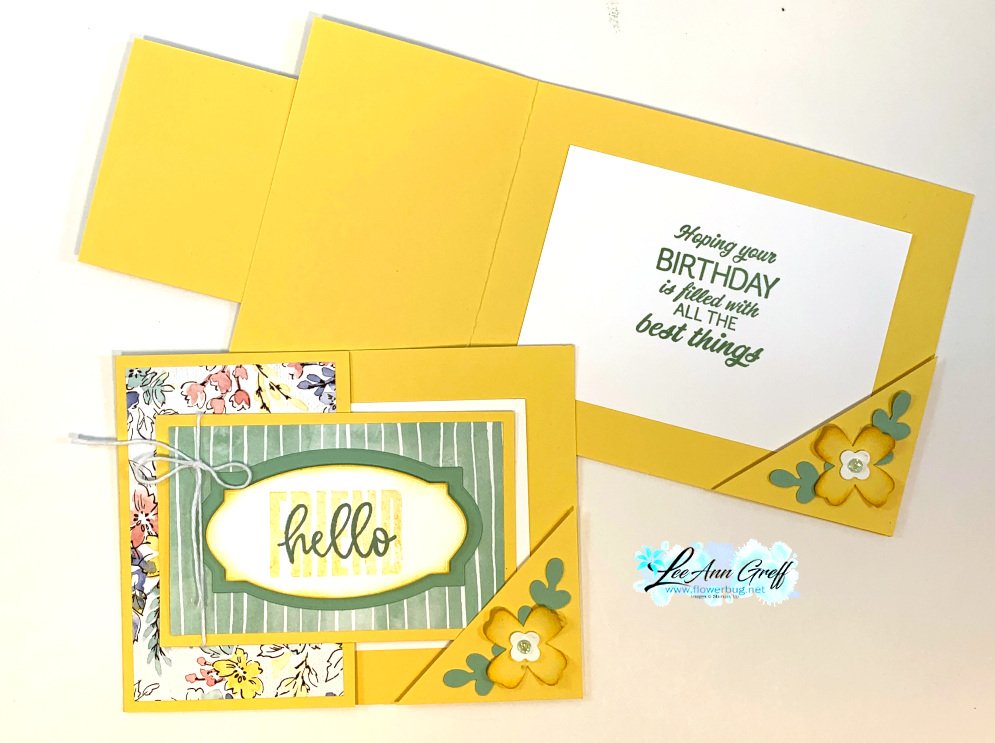
    This unique fun fold makes great use of your card stock.  The front flap is cut off from one end of your main card base.  Measurements are below. 


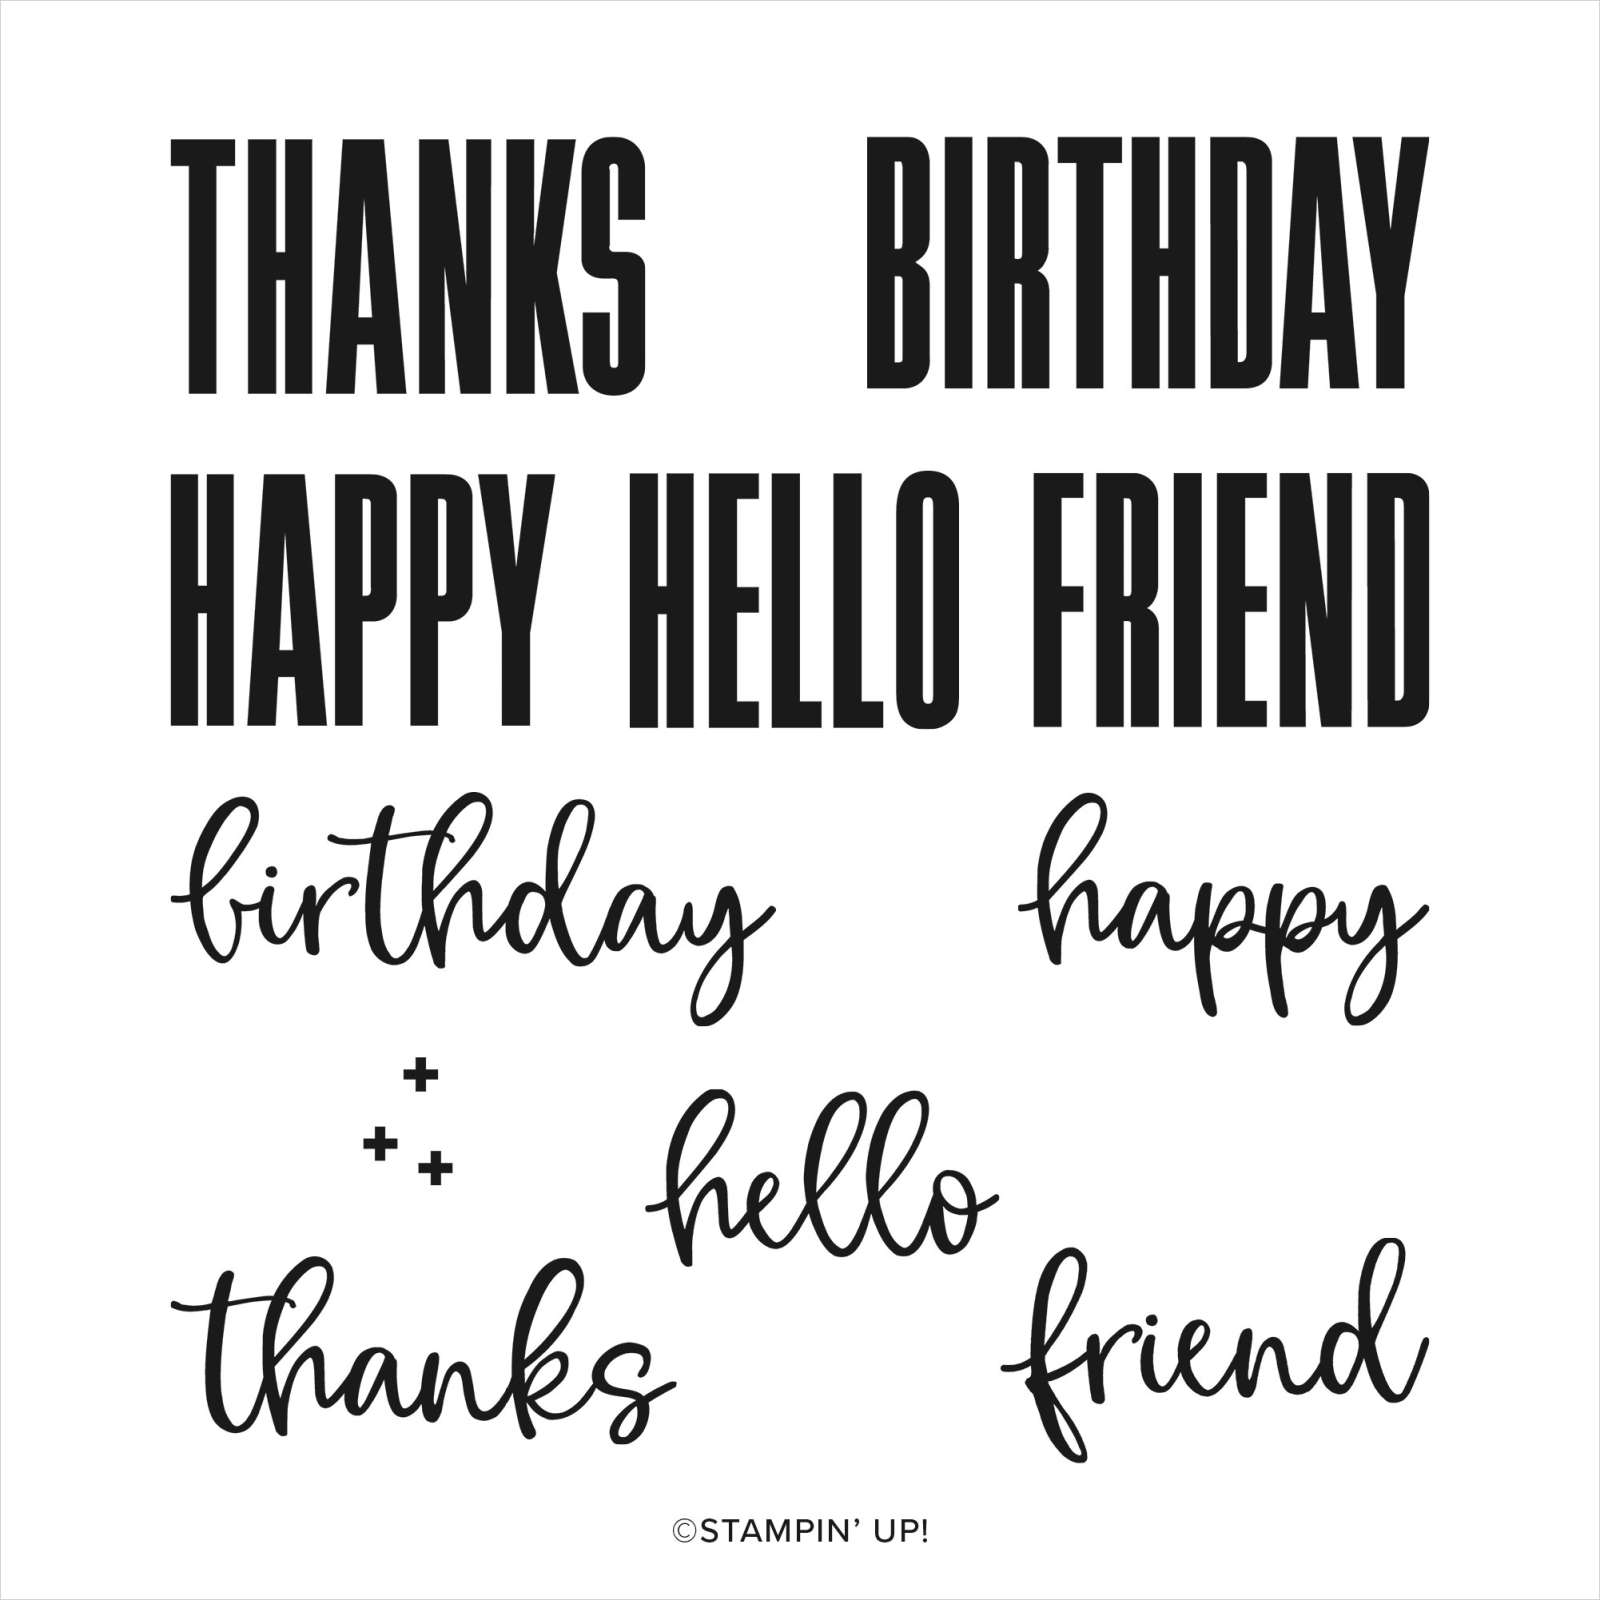
    I used the new stamp set called Biggest Wishes.  I love the two different fonts together!  You can see it here. 

    If you haven't seen this fold before here's a link to a video I made. 


    Supplies:

    • Flowers & Leaves punch for the flower & leaves 
    • Hippo & Friends dies for the greeting layers
    • Hand Penned DSP
    • Biggest Wishes & Sunny Sentiments stamp sets

    Measurements: 

    • Card base 4 1/4" X 11", scored at 5 1/2". Trim off 2 3/4" from one end & save.
      DSP – 2 pieces at 2 1/2" X 4"
      Corner is 2 1/4" square; cut in half on the diagonal
      White inside is 3" X 4 1/4"

    LeeAnn's End of June Special

    • Get 5 free pre-cut cards with a $35 order & a 10 card PDF tutorial. *add your own stamped greeting to finish the cards
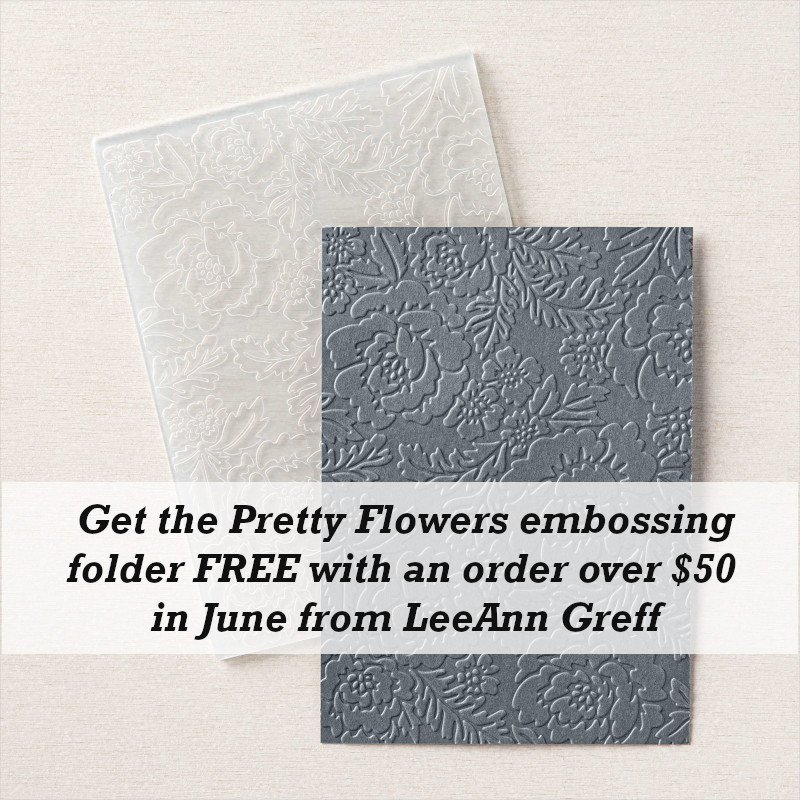
    • Place any order over $50 and receive 5 card kits & the Pretty Flowers embossing folder (or an embellishment if you already have the folder)
    • Orders over $100 get 10 pre-cut cards, the Pretty Flowers embossing folder and the PDF tutorial!!
    • Use Host Code SBCRHZWG or ZTUEGSGT

    The last chance list is out!  Check out the retiring and discounted products here. 


    Leave a Reply

    Your email address will not be published. Required fields are marked *


Notice: LeeAnn Greff, Independent Stampin’ Up! Demonstrator, Manager. The content of this website is my sole responsibility as an independent Stampin’ Up! demonstrator and the use of, and content of, the classes, services, or products offered on this website is not endorsed by Stampin’ Up! Copyright 2025