/


Latest Post

Inked & Tiled with a gorgeous background with video & blending tips!


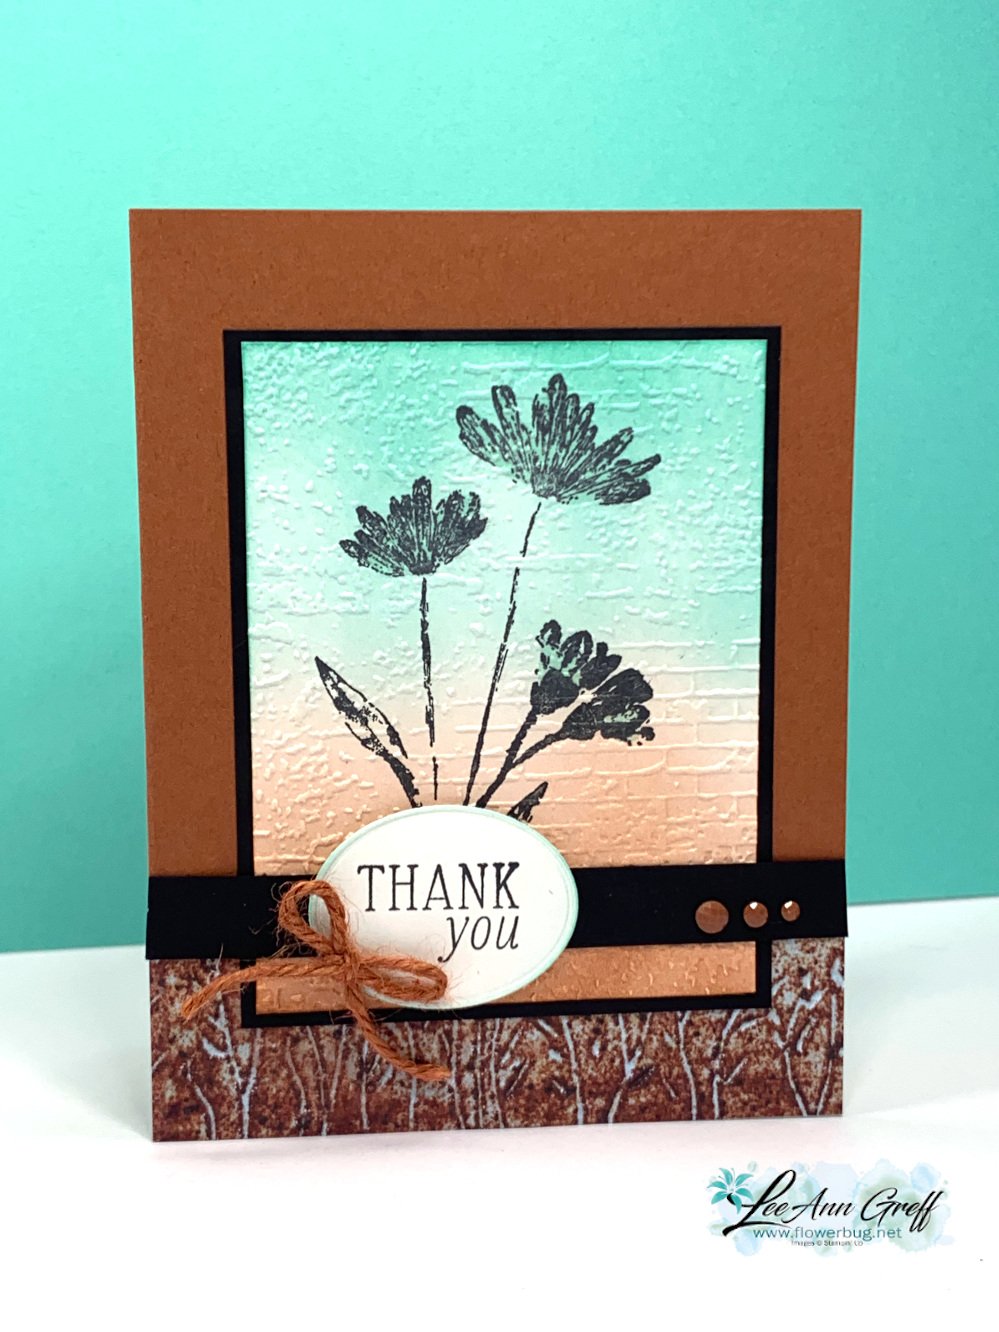
Today I'm sharing one of my favorite cards I've made this month. These colors are so me!  I needed to make 28 of these for the Norway cruise with Stampin' Up! We have to option of joining a card swap and I always try to do something unique for this special swap. 

I chose the new Copper Clay with Black and Coastal Cabana. Aren't they beautiful together? 
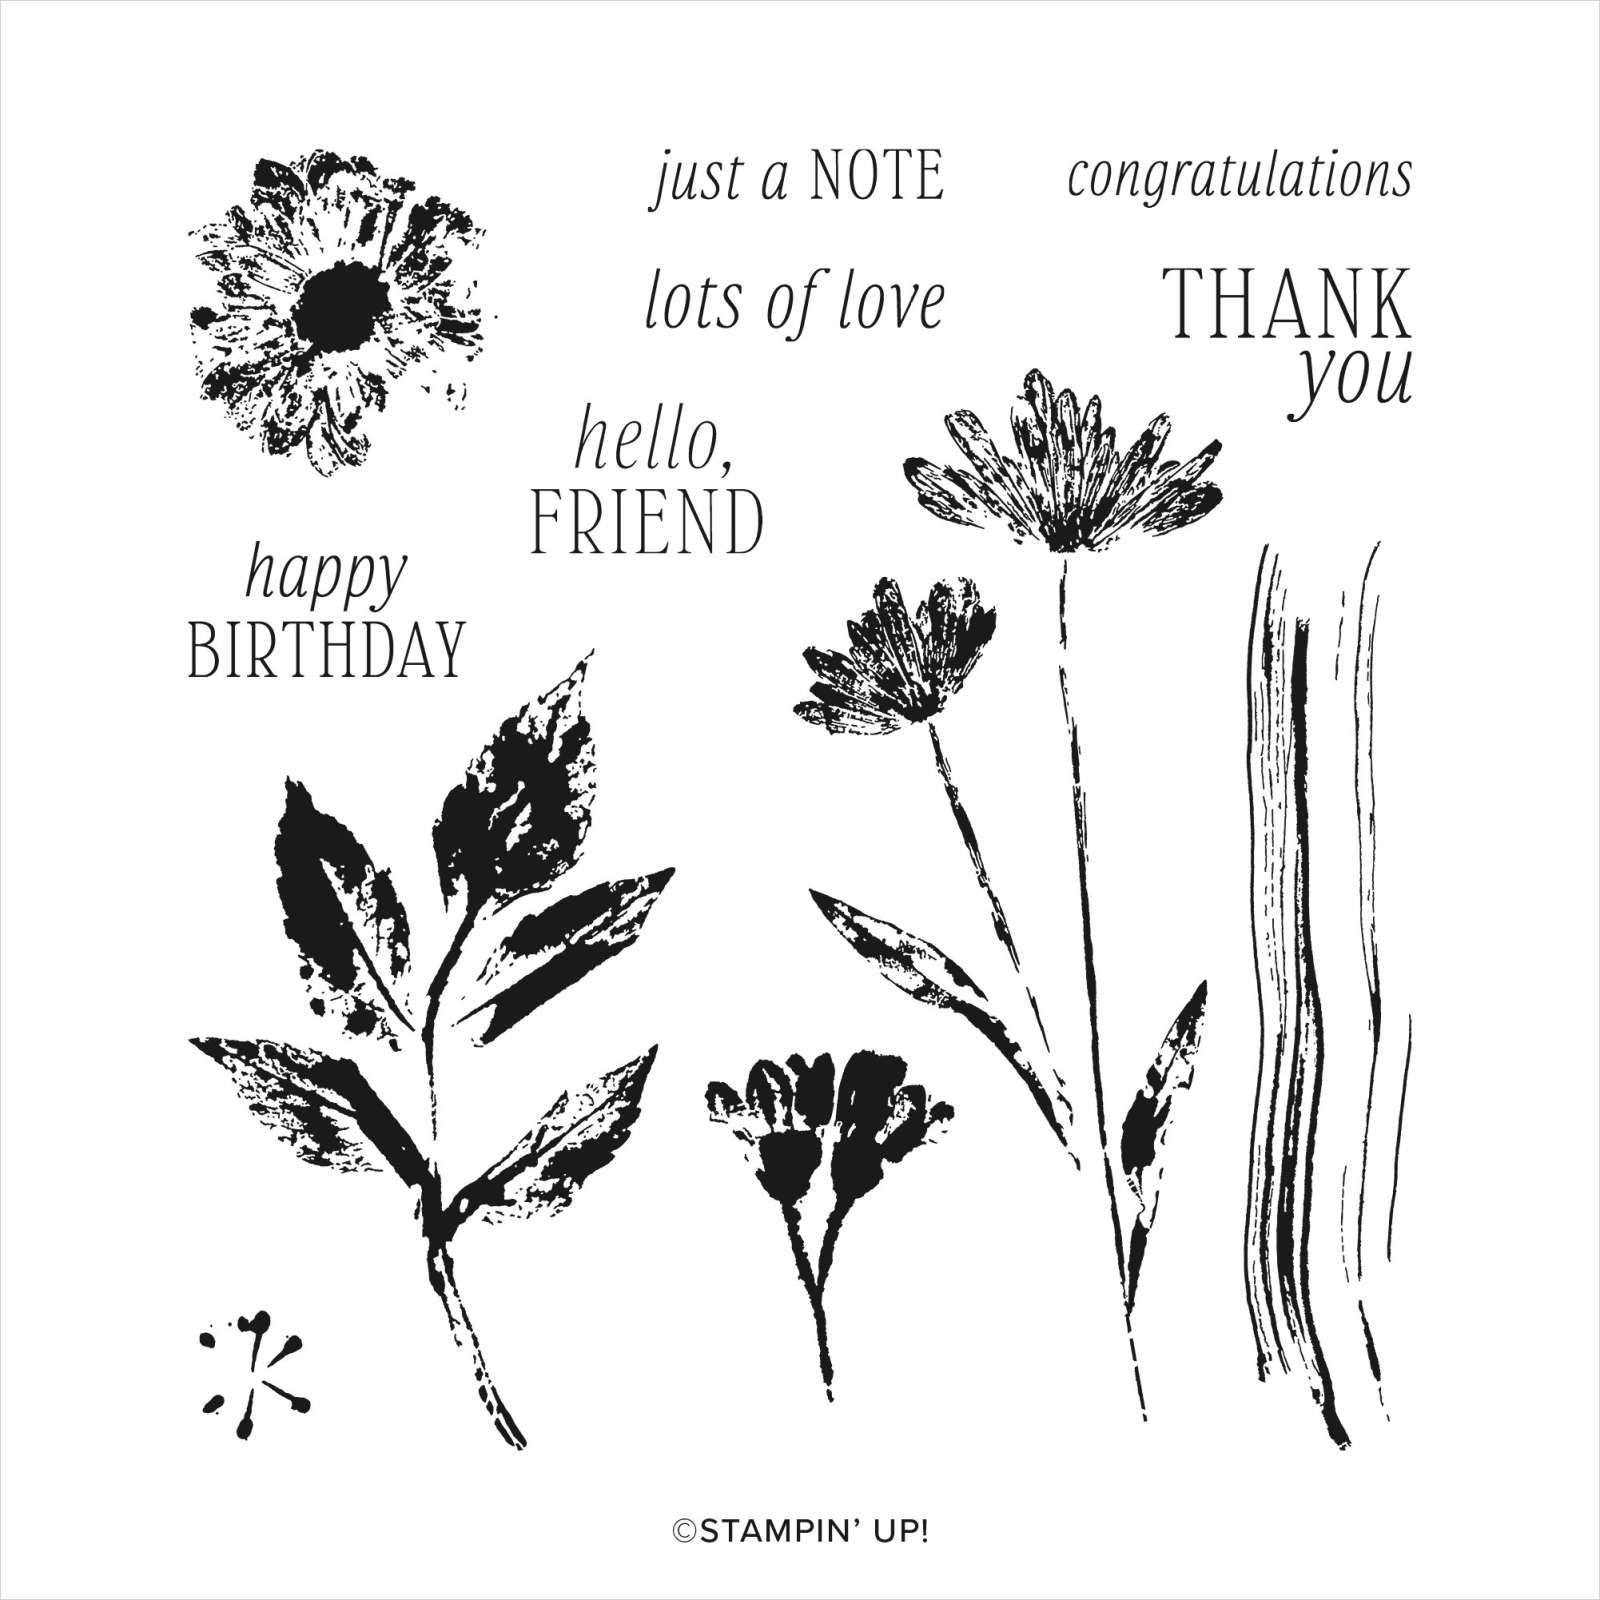
This card features the new Inked & Tiled stamp set seen here. It actually comes in a bundle with two punches. But I didn't use those here.  
After I stamped the flowers in Black ink I used Blending Brushes to add both Coastal Cabana and Copper Clay ink.  We have both regular and small Blending Brushes now.  For a background like this I recommend the larger set of brushes. See them here.

Tip: when wanting a smooth blend, I recommend adding ink to your brush and start off of your paper. Slowly work your way on with a soft, gentle swirling motion. Adding pressure can give you blotches or other marks.  It's also helpful to have a fully inked pad.  *Remember that is helps to add ink a little at a time. It can be a slow process! 


Isn't that texture gorgeous with the blended background?!  

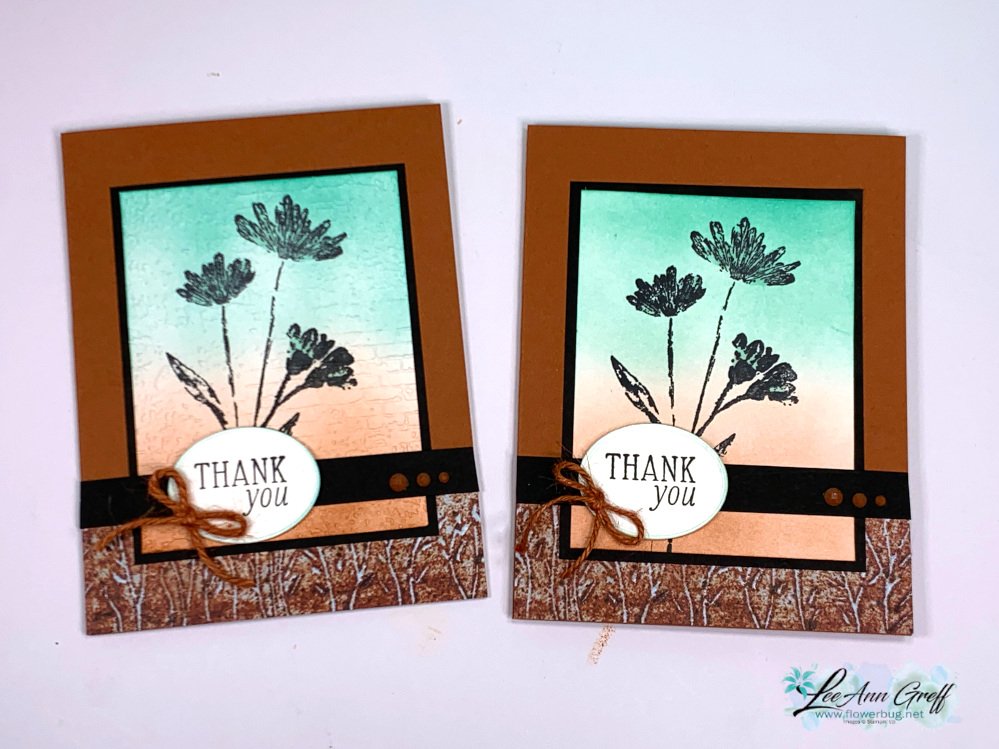
When I was creating this card I made the card on the right first.  If you look closely the stamped panel does not have any texture on it.  Adding the Exposed Brick embossing created the perfect finish!  


In the video I share two other beautiful cards made with the Inked & Tiled stamp set.  
You can watch me make this card on the video here. Or click on the photo below to watch. 

~~~

May Specials:

*current host codes: ZHZ6CPYU or AJVB3B3V 

Get a free updated cardstock color sampler with online orders over $55 using a host code.

Offer good while supplies last:  

I have one spot left in my new catalog designer paper share. 

Get 80 sheets of 6 X 6" DSP – all from the new catalog for just $28.50 plus shipping.  Reserve your spot here. 

Earn free products with my loyalty rewards! 

Click here to download yours and earn a $50 shopping spree!
All Posts

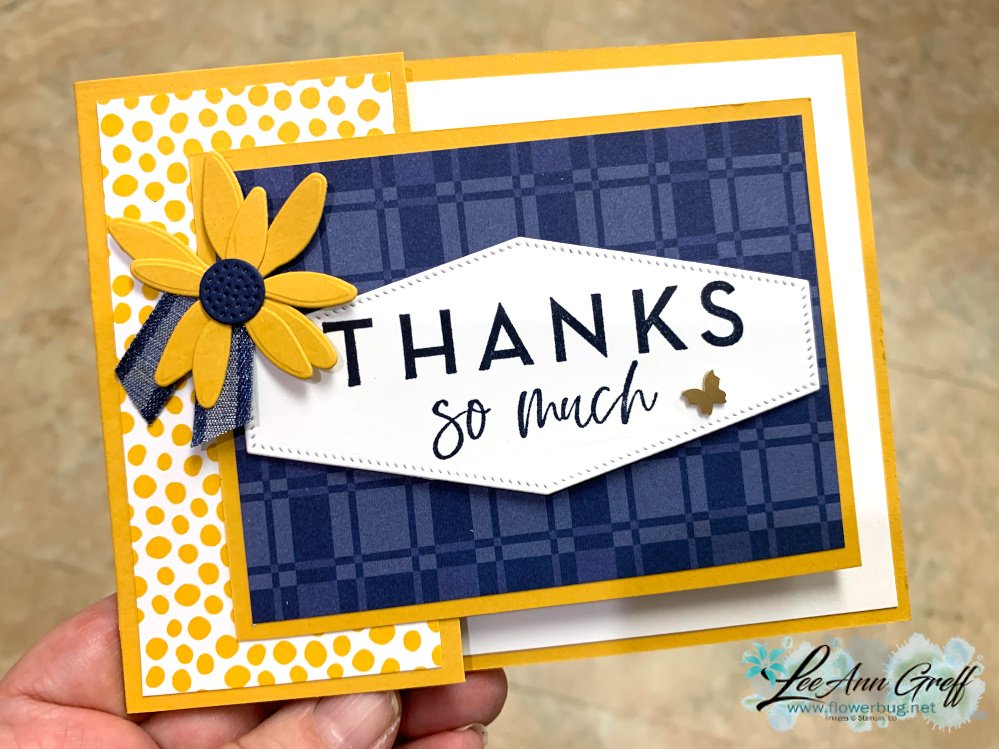
  • This cool ‘Fun Fold’ makes the most of your card stock & designer paper!!


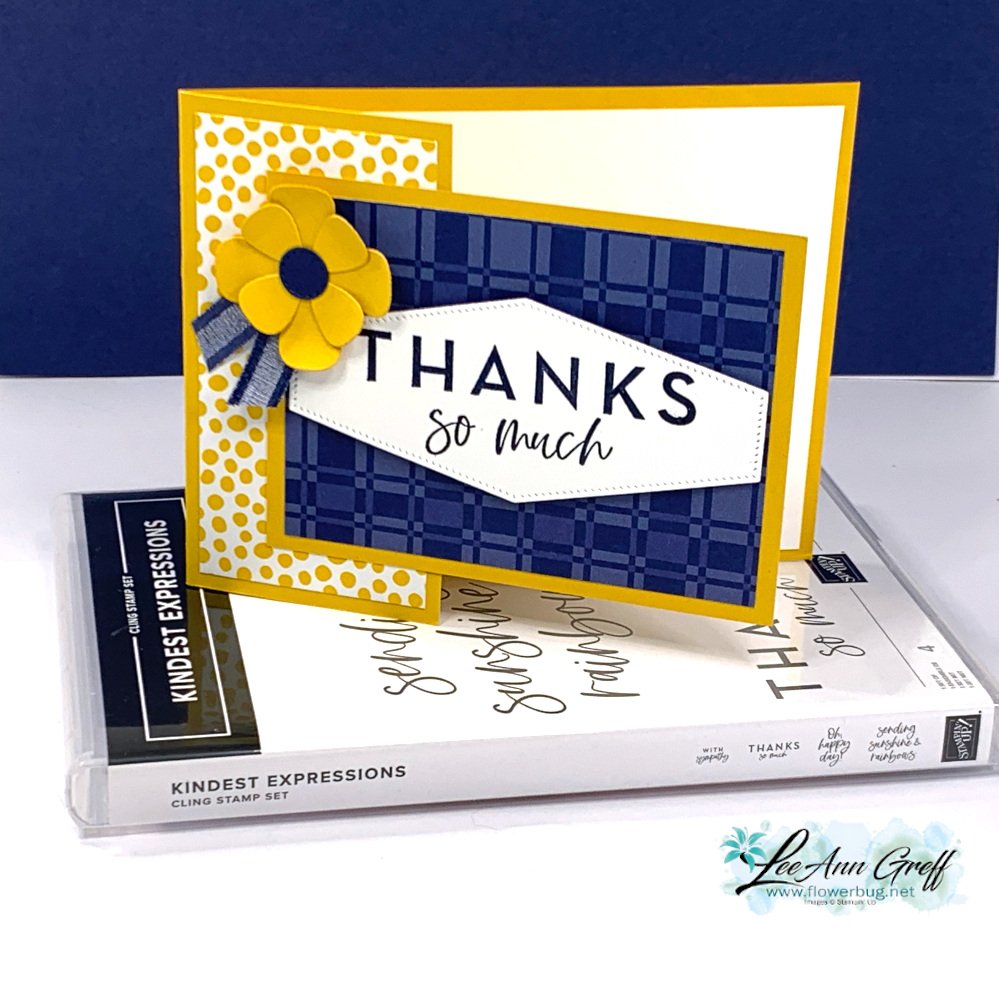
    This easy fun fold is so smart!  It truly makes the most of both your card stock and your designer paper.  

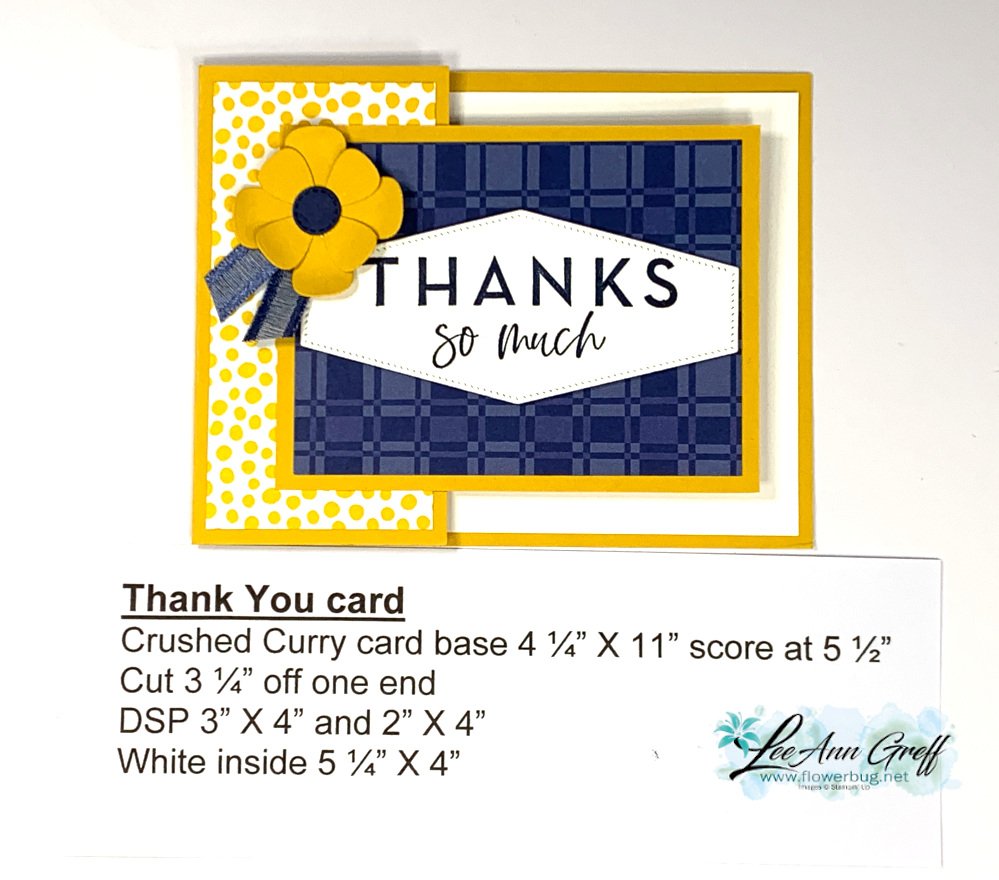
    How?  Well the card base starts out at 4 1/4" X 11" scored at 5 1/2".  Then you cut off one end at the 3 1/4" mark.  This piece is then flipped and is the front panel.  So smart! 

    The greeting die-cut is from the Nested Essentials dies seen here. I love the shapes! 

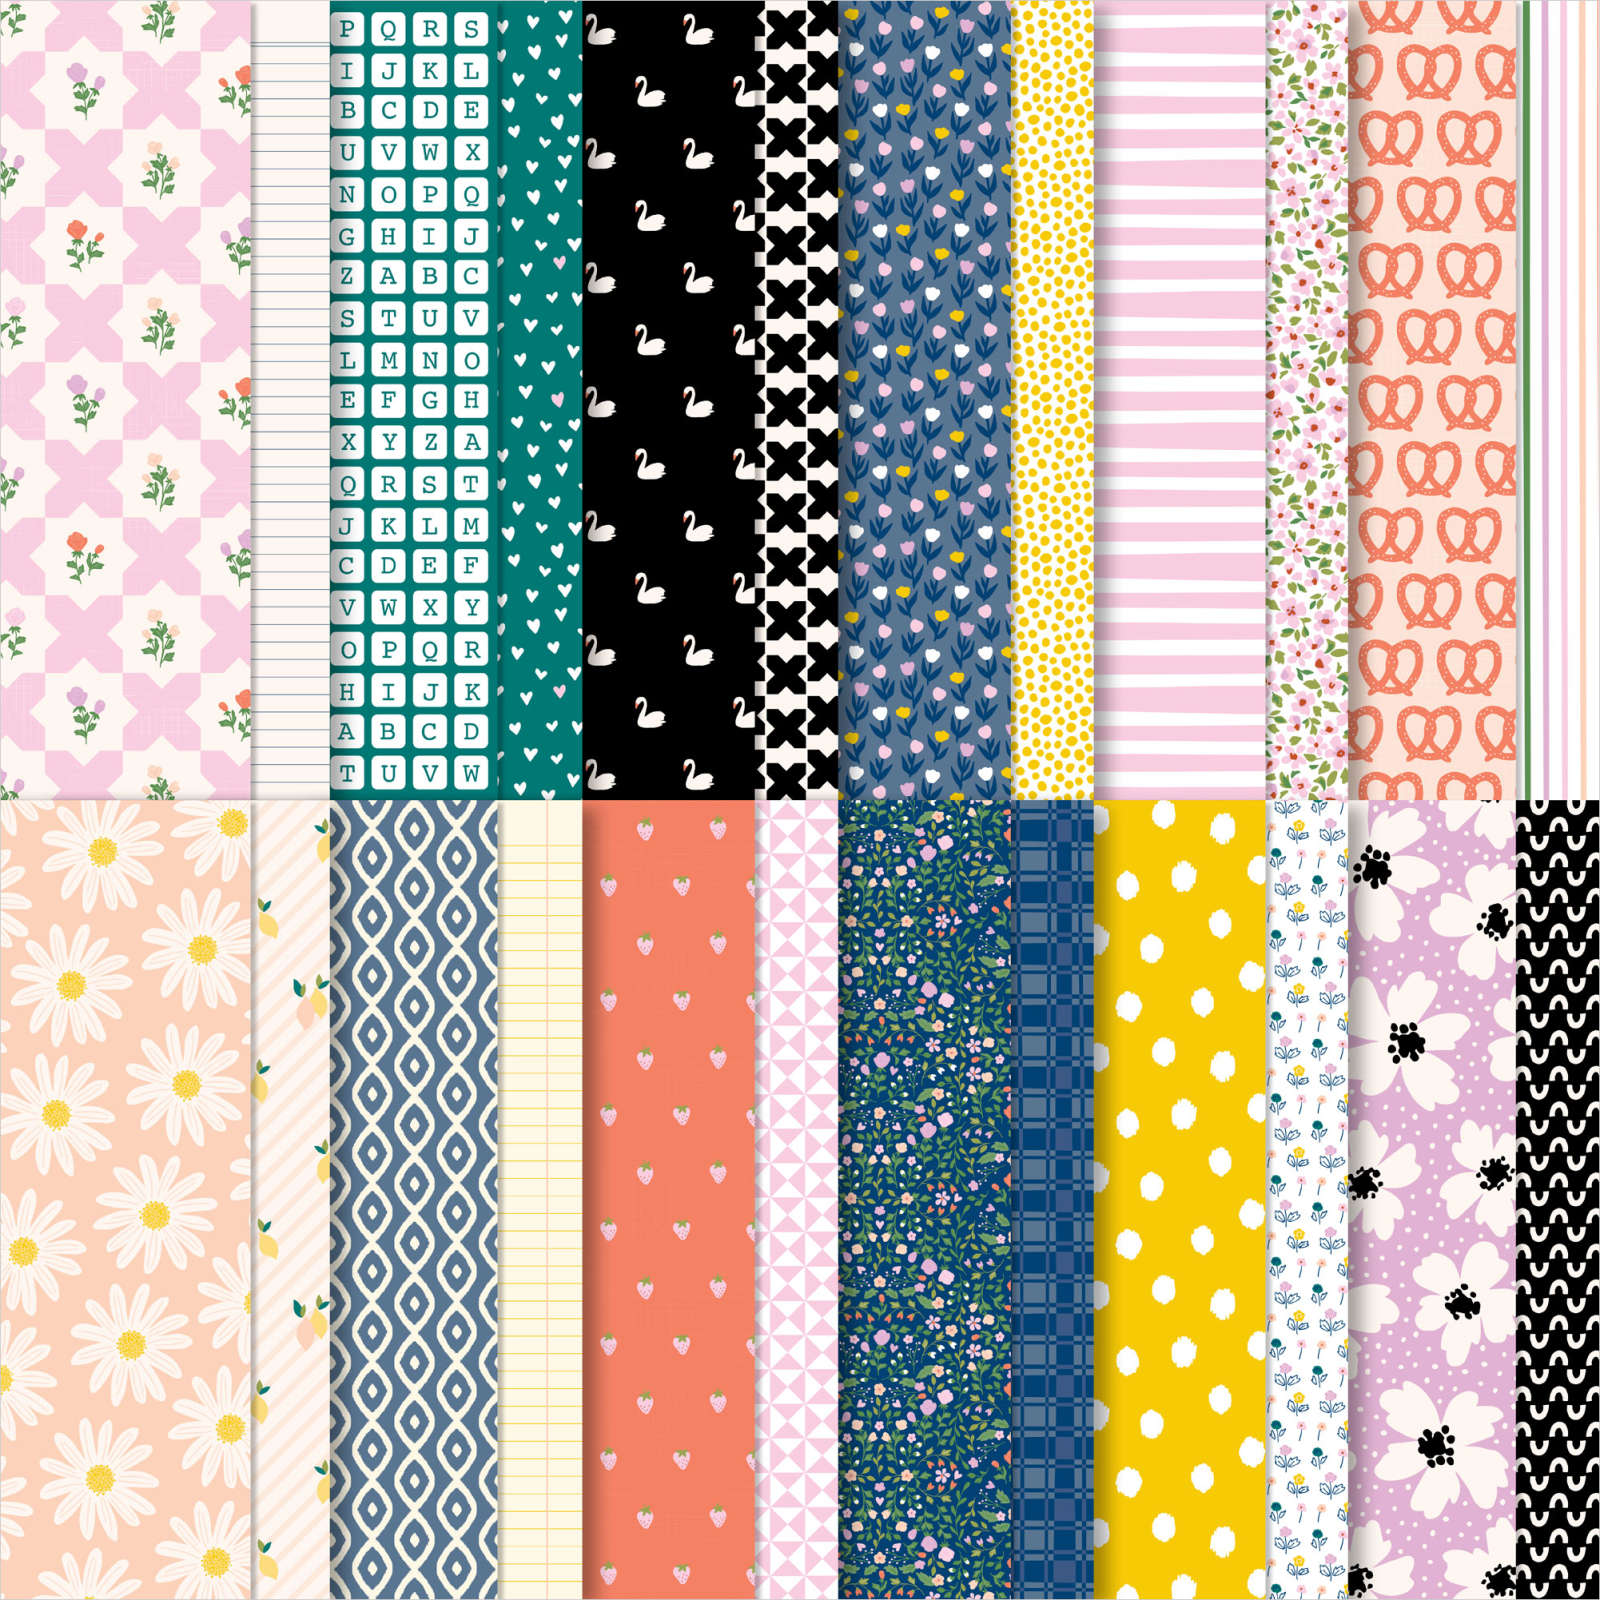
    The Delightfully Eclectic designer paper seen here is also used well on this card layout.  This versatile designer paper is on sale now and is the best deal on DSP we have!  You get 48 12" X 12" sheets for $25.50 in June.

    The navy layer is 4" X 3"; perfect size to max out your 12" designer paper if making more than one.  And the vertical 'yellow' piece is 2" X 4" which is a wonderful size for either 12" DSP or 6" DSP. 

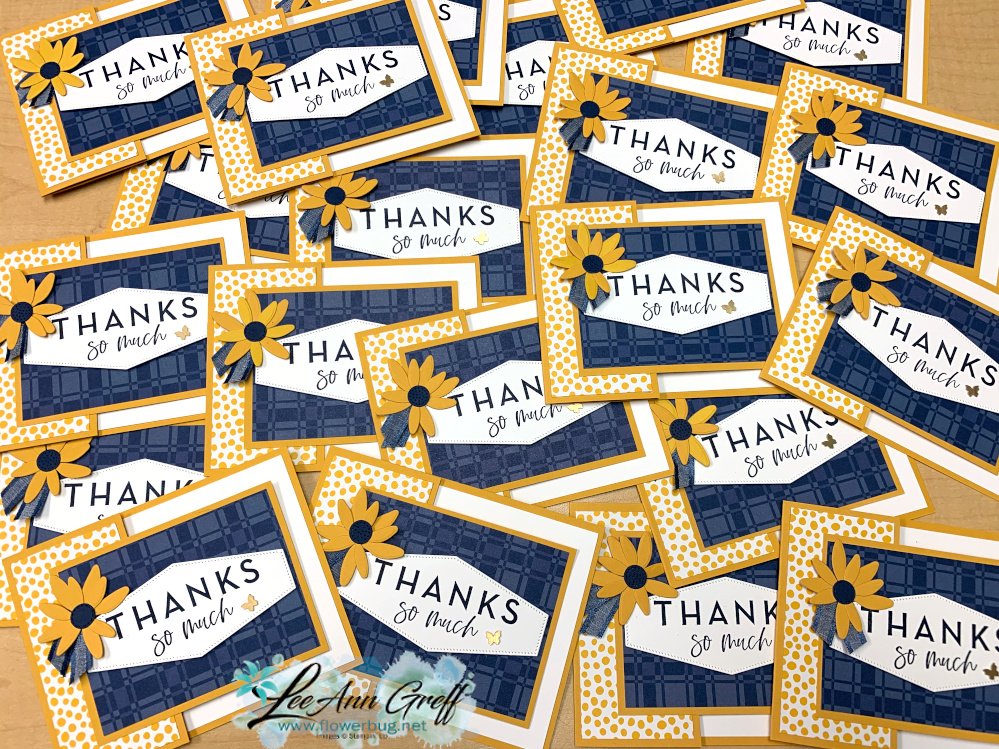
    I made over 20 of these for a swap so it helped me save on designer paper.   

    I used the Kindest Expressions stamp set seen here for the greeting.  The pretty flowers – different on each card – are from the Paper Florist dies seen here. 

    Here's the link to see my recent video featuring this card.  I also make two other cards made with the Delightfully Eclectic designer paper.  

    ~~~

    June Specials:

    Designer Paper is 15% off in June!

    WOW – get $155 in product for $99 with free shipping! click here!

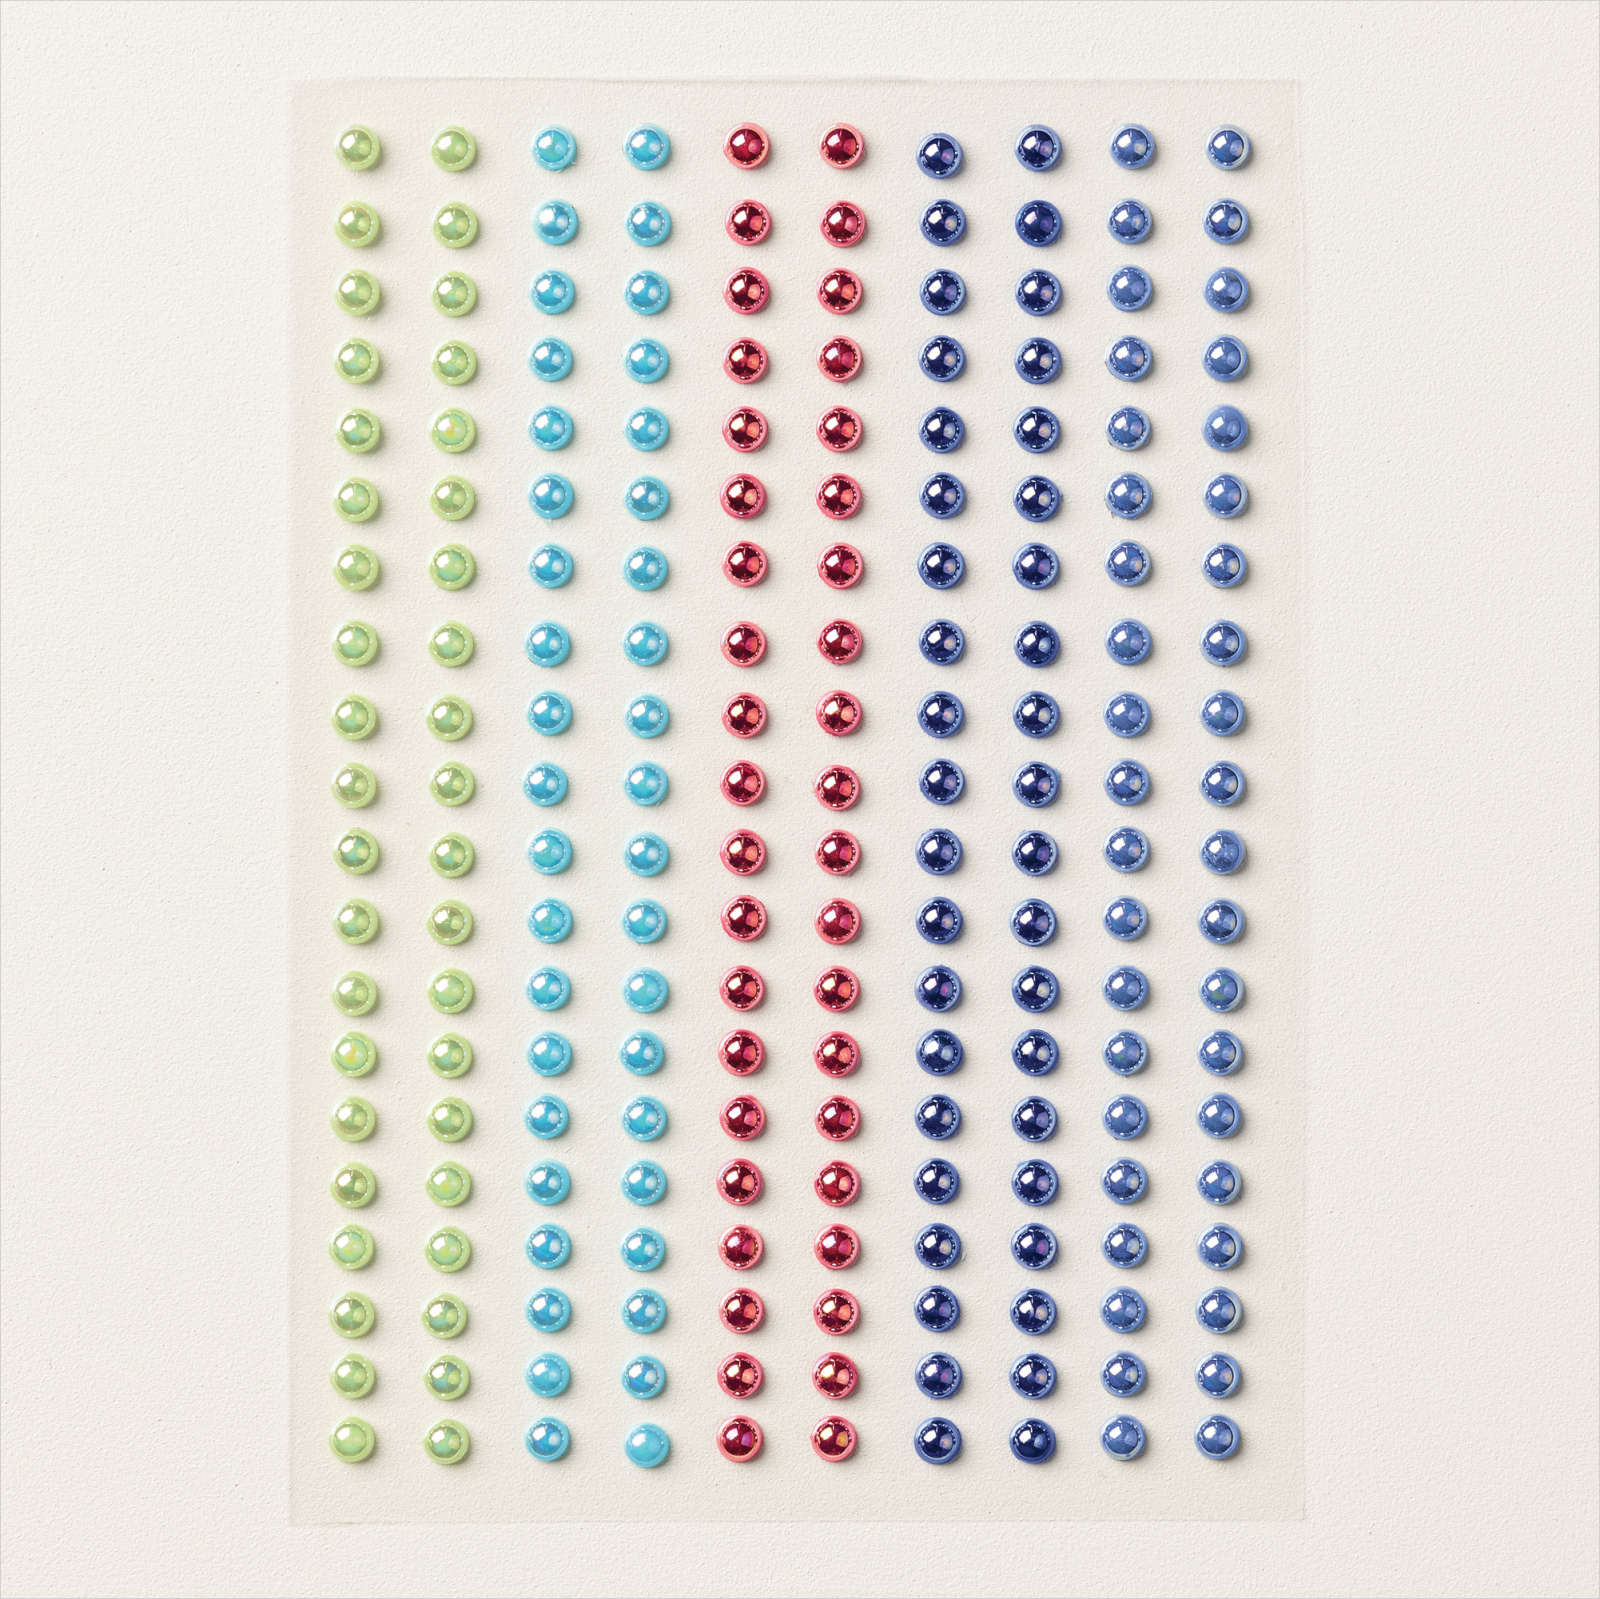
    Get a package of In Color pearls with online orders over $55 using a host code.

    *current host code: RH9S6G94 

     Earn free products with my loyalty rewards! 

    Click here to download yours and earn a $50 shopping spree!
    Leave a Reply

    Your email address will not be published. Required fields are marked *

  • Brewed for You; a fabulous guys ‘fun fold’ card with video tutorial


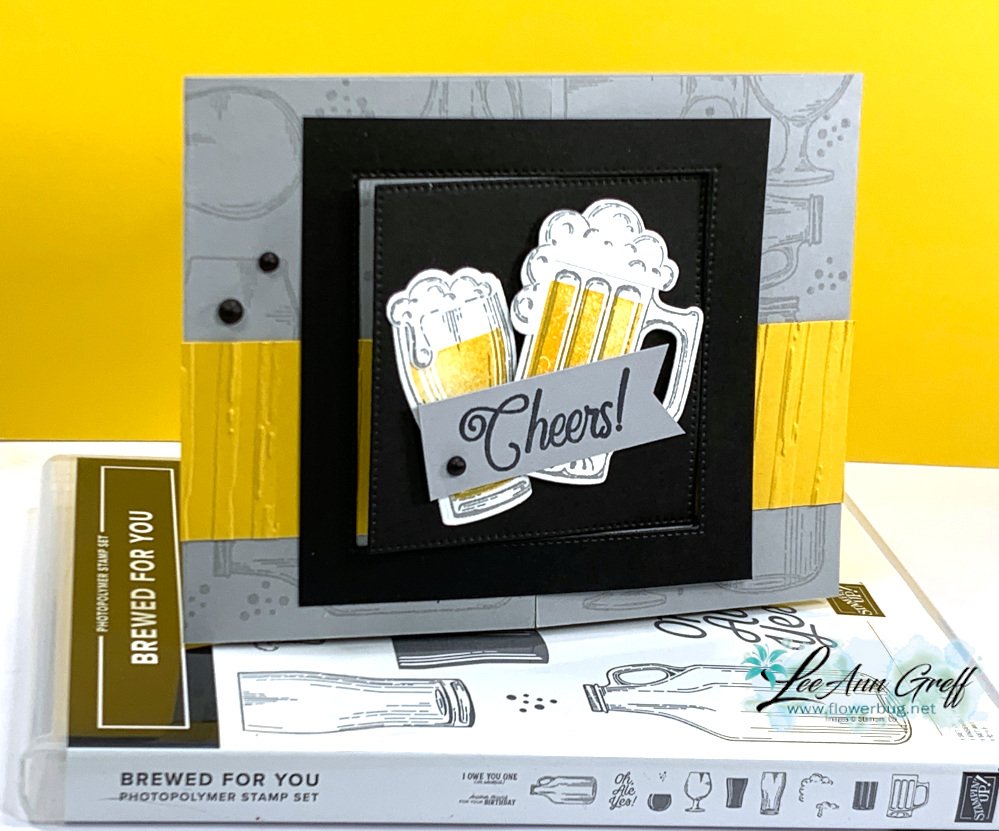
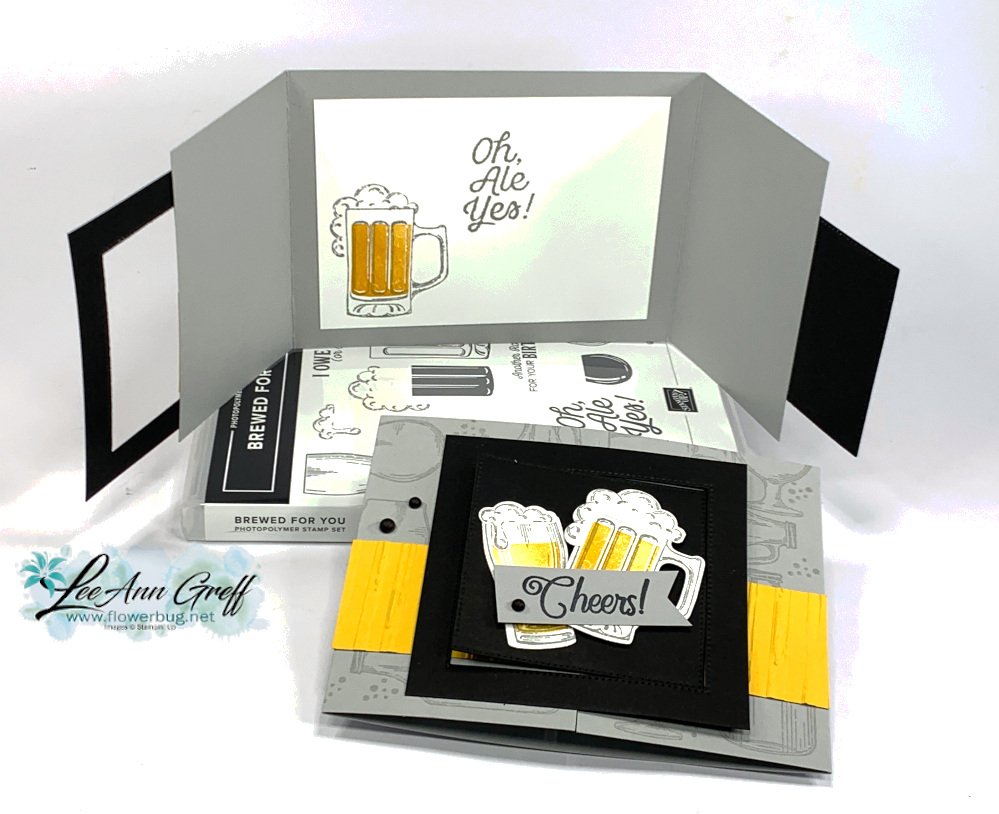
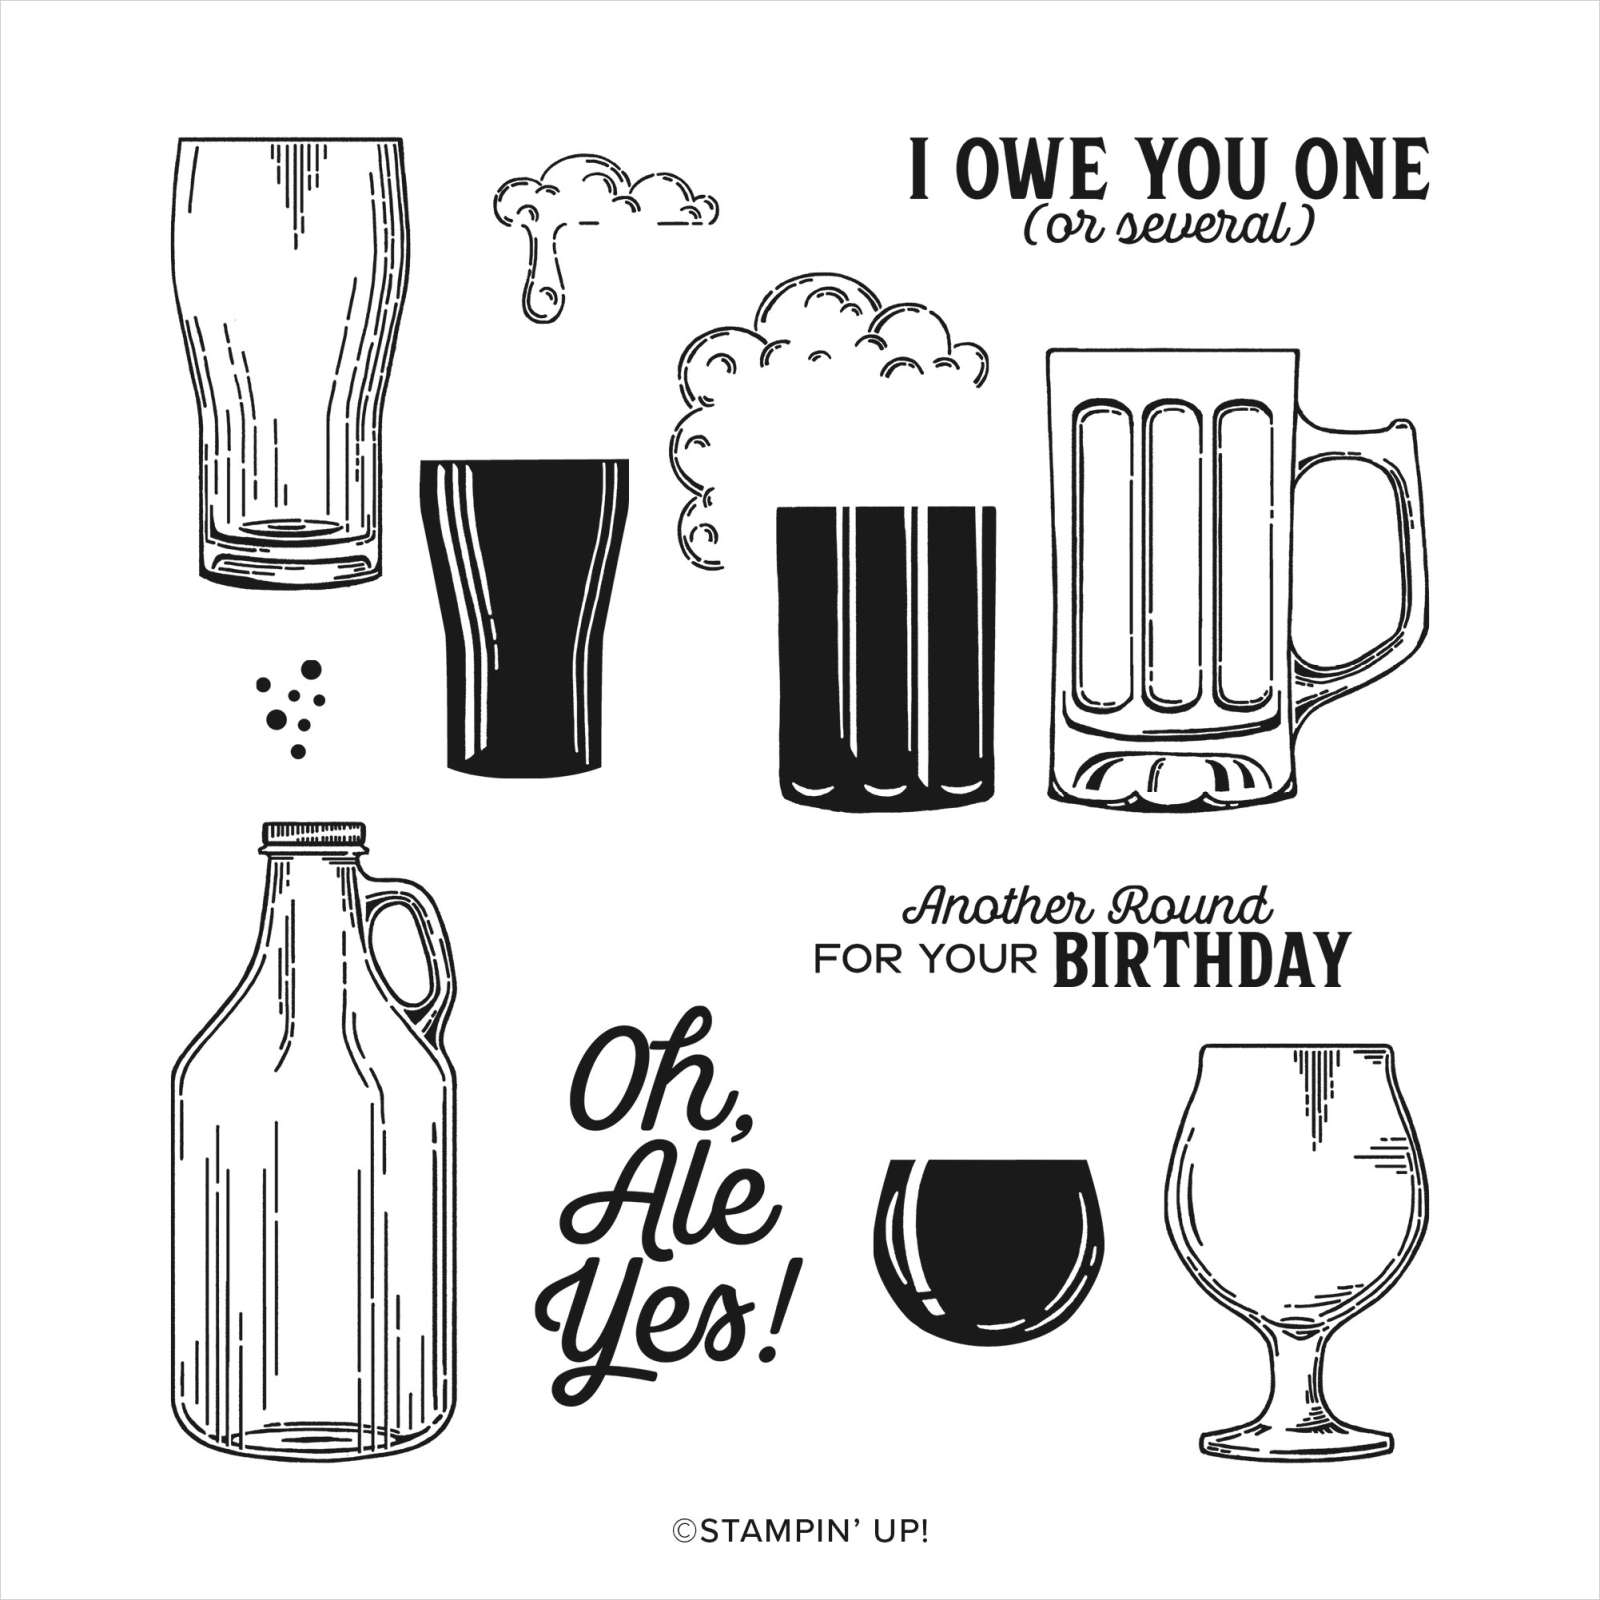
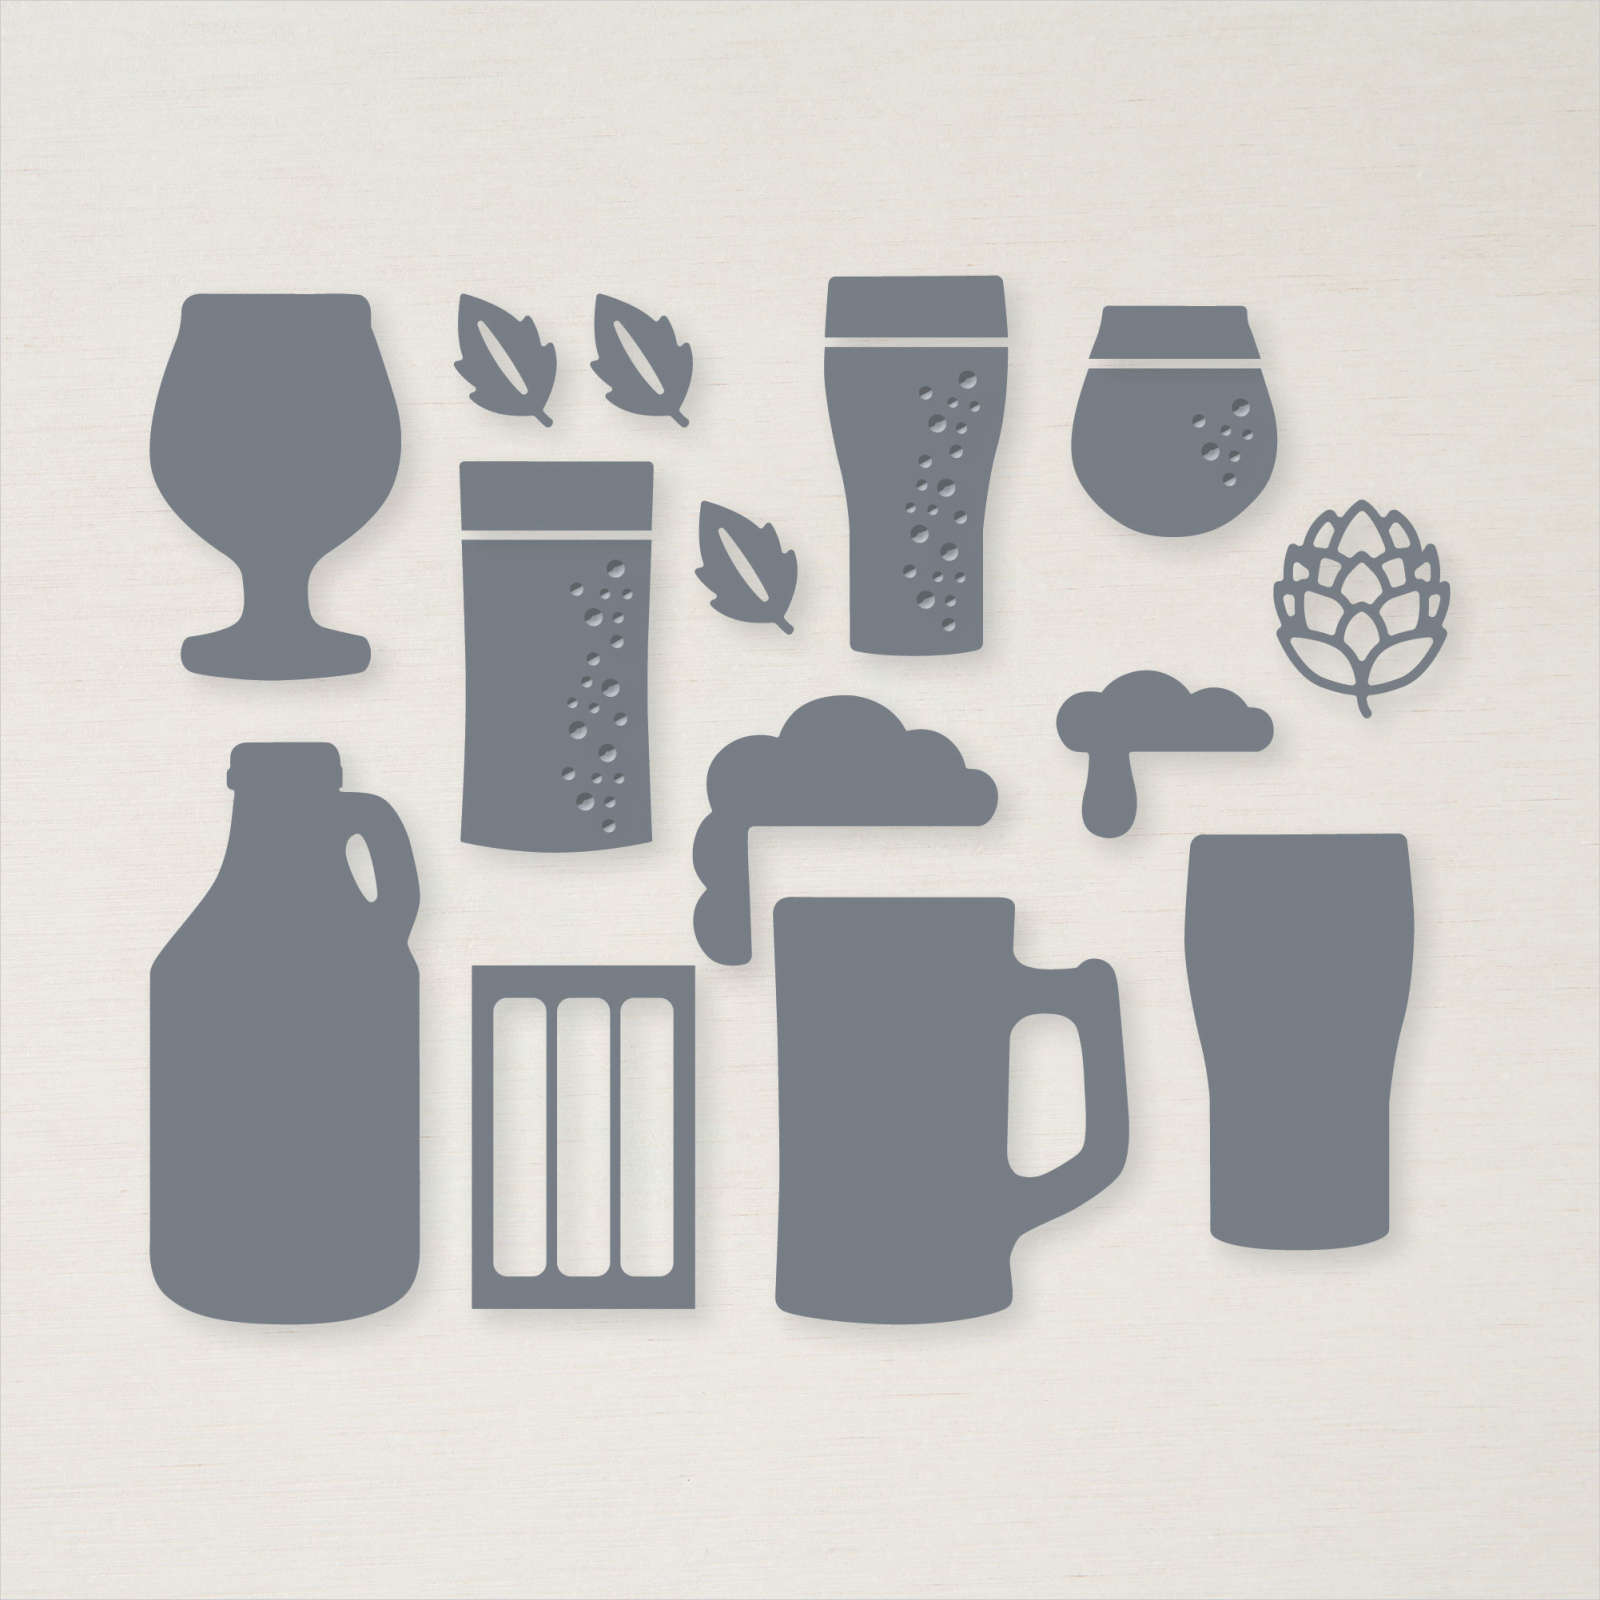
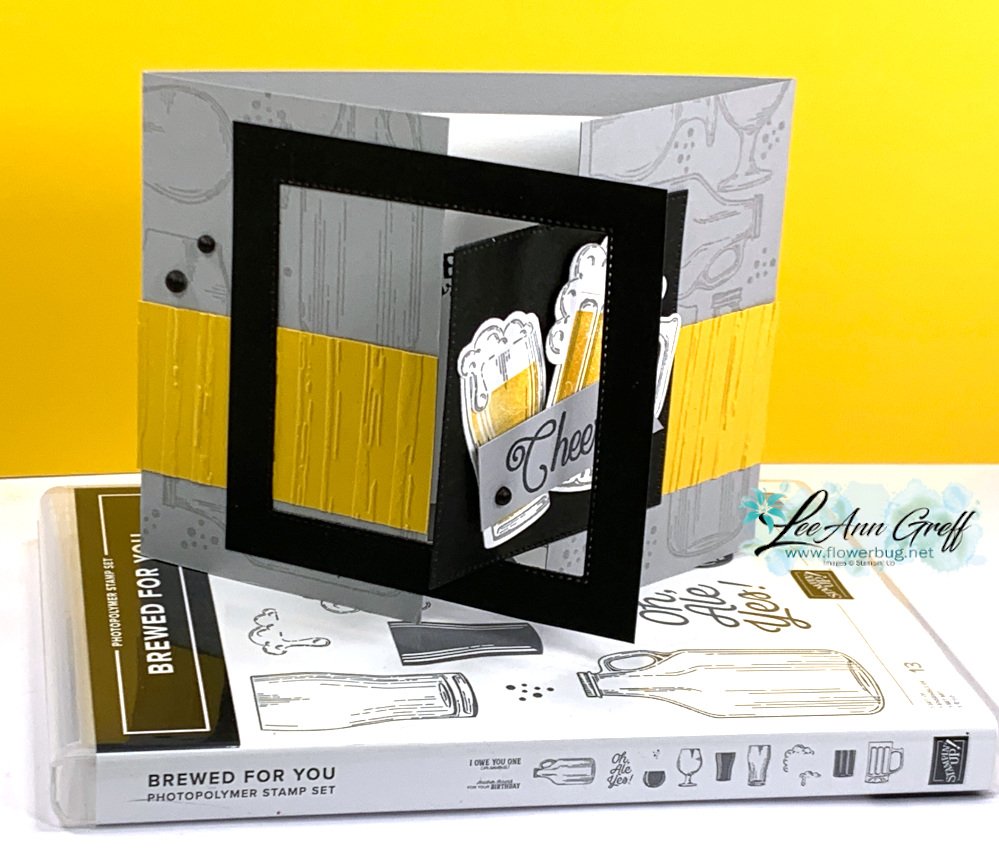
    We made this special fun fold card for the dad's or men in our lives at a recent card club.  It features the Brewed for You stamp set and Brewed dies.  

    I LOVE the colors – Black, Smoky Slate, White and Crushed Curry.  This fun fold looks complicated but it's super easy!  

    Start out with a gatefold card, then you need a Black cardstock square and die-cut a square from the center.  Adhere the frame on one side and the solid square to the other. 

    It's fun to play with too.  We stamped the bottle, glass and spatter using Versamark ink onto the front of the card base.  Then added two strips of textured Crushed Curry card stock to each side. 


    See the stamp set here and the Brewed dies here. 

    The beer glass and mug were stamped in Smoky Slate and Crushed Curry.  Measurements and video can be seen below.

    Measurements:
    • Smoky Slate card base 4 1/4" X 11" scored at 2 3/4" from each end plus a strip for greeting
    • Crushed Curry 2 pieces 2 3/4" X 1 1/2"
    • Black 3 3/4" square; die-cut a square from the center; use both frame and inside square
    • White inside 4 3/4" X 3 1/2", scraps for beer & foam

    Click here or on the photo below to see this card made in my video.  It's one of three I share.

    ~~~

    June Specials:

    Designer Paper is 15% off in June!

    WOW – get $155 in product for $99 with free shipping! click here!

    Get a package of In Color pearls with online orders over $55 using a host code.

    *current host code: RH9S6G94 

     Earn free products with my loyalty rewards! 

    Click here to download yours and earn a $50 shopping spree!

    Leave a Reply

    Your email address will not be published. Required fields are marked *

  • Incredible Sweet Citrus projects; part 2


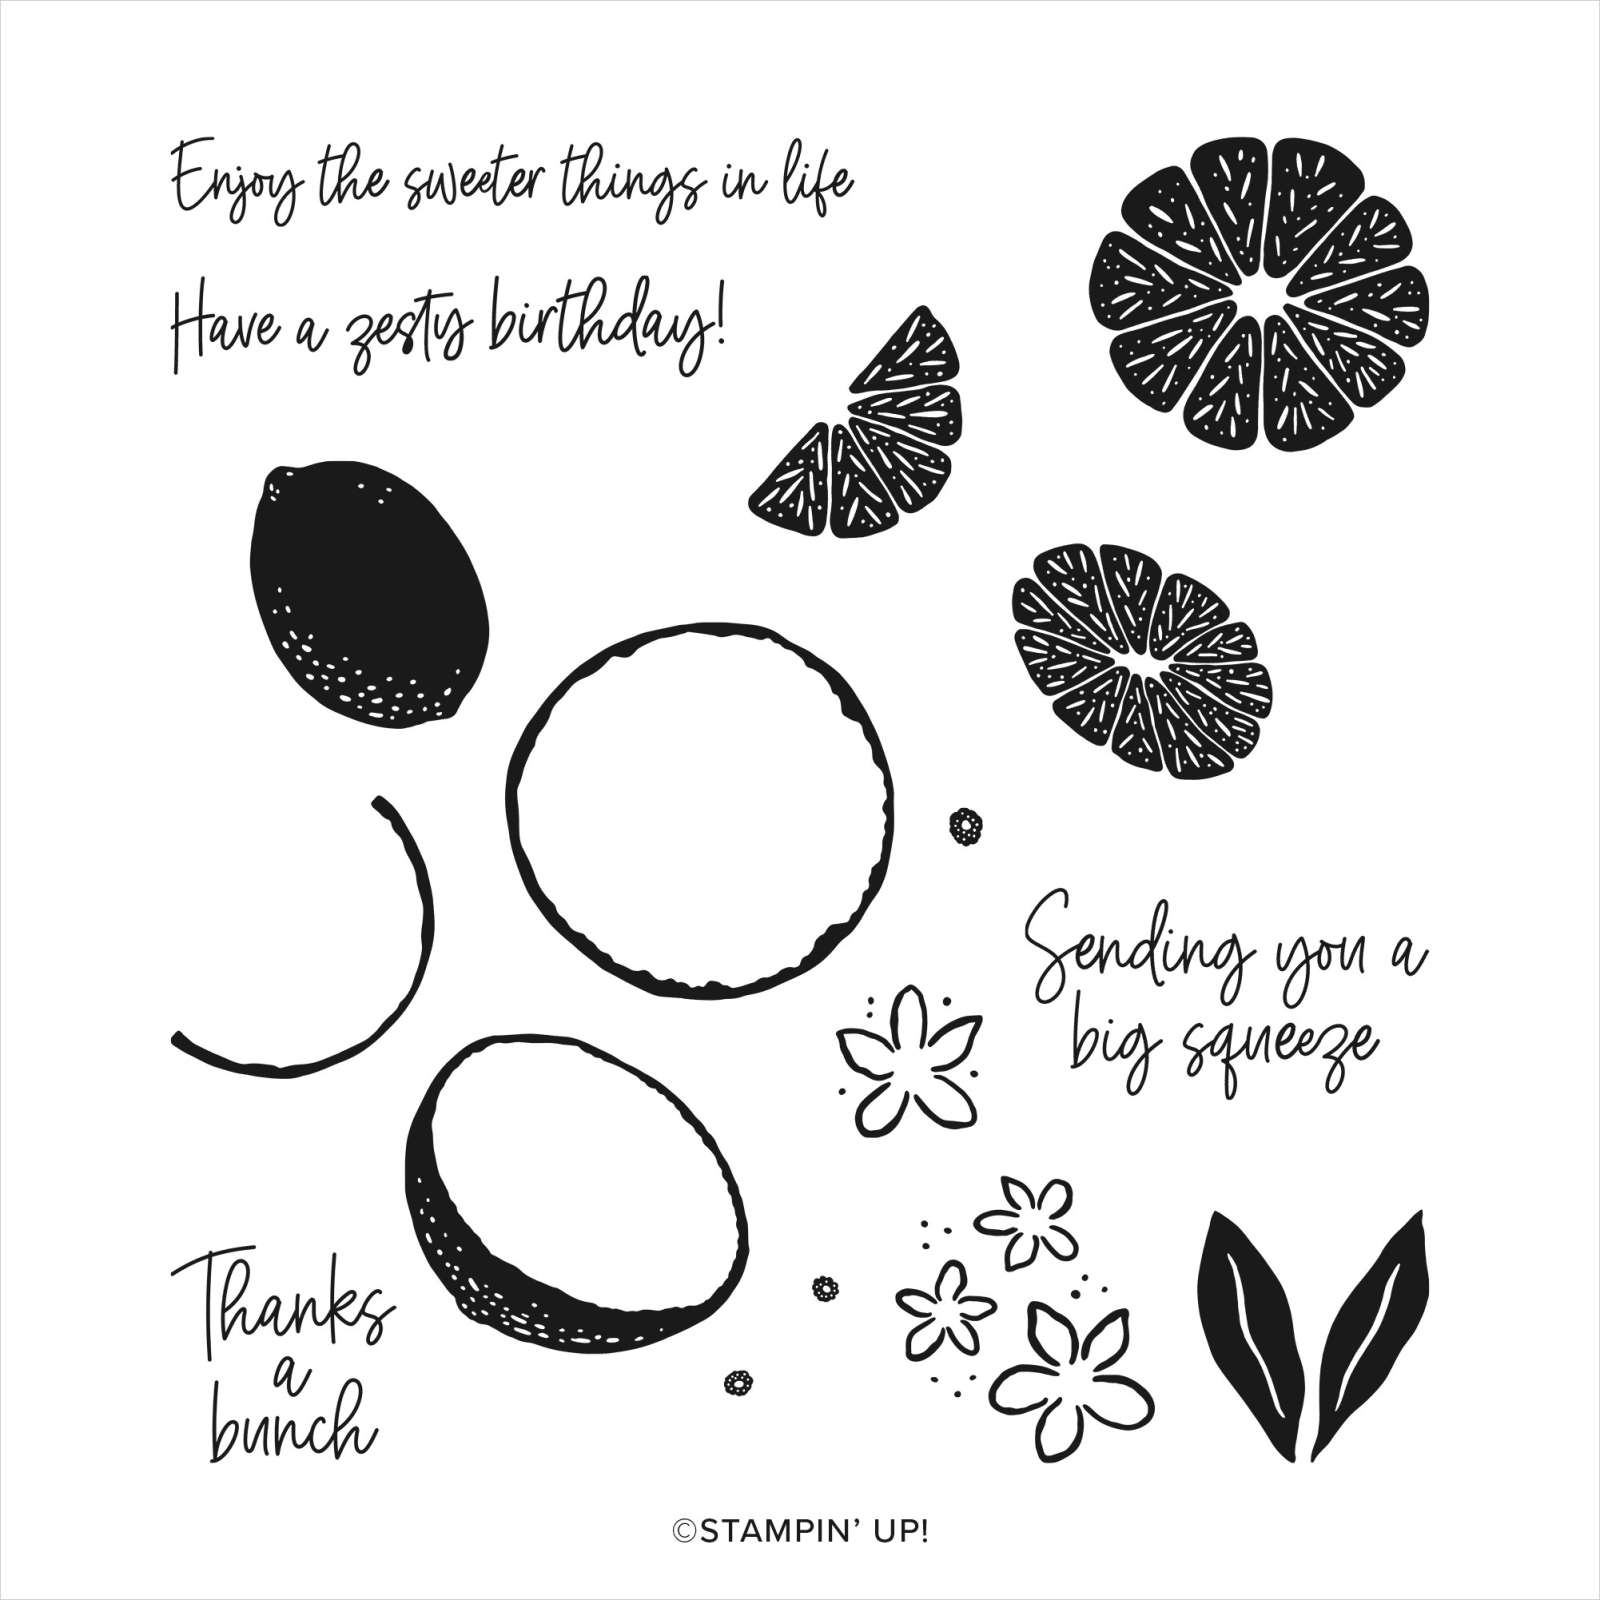
    Continuing on from yesterday's post seen here, I'm sharing more of Karen's 'Artist of the Month' projects. She chose the Sweet Citrus stamp set & dies.

    Each month one of my Flowerbug's team members takes a turn (voluntarily of course!) to feature a bundle, sharing their projects.  They keep the bundle (free!) and I get the projects to share with all of you.  

    Her first card features limes, using Parakeet Party.  I believe her 'rind' is Garden Green.  

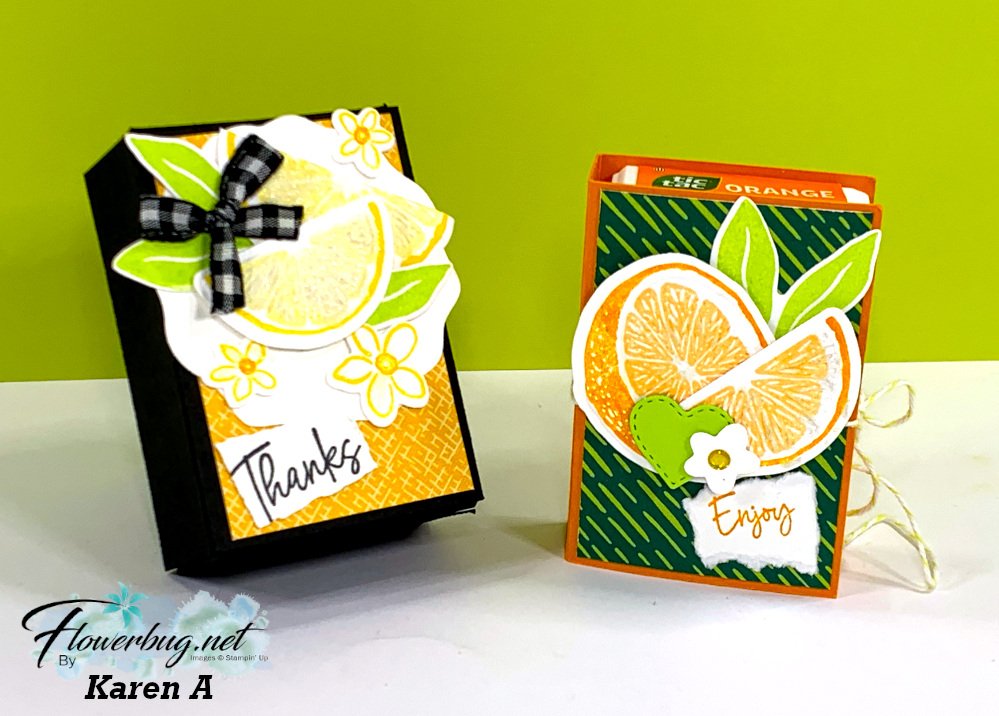
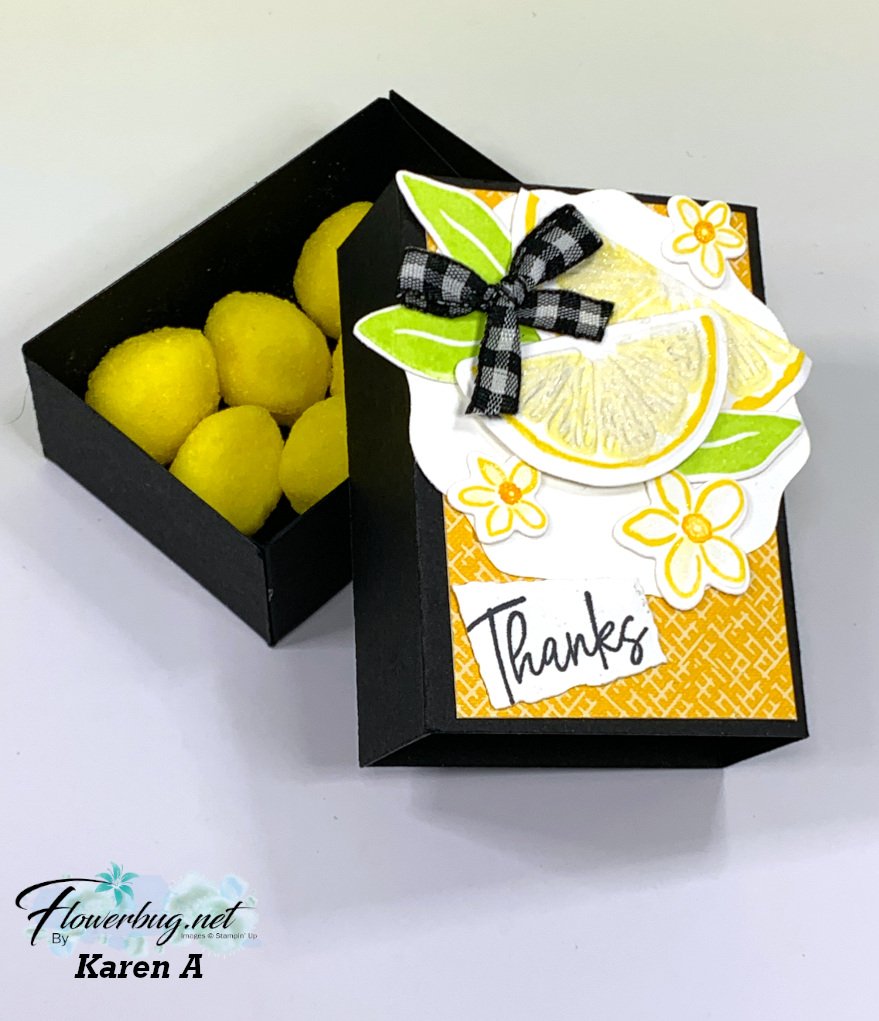
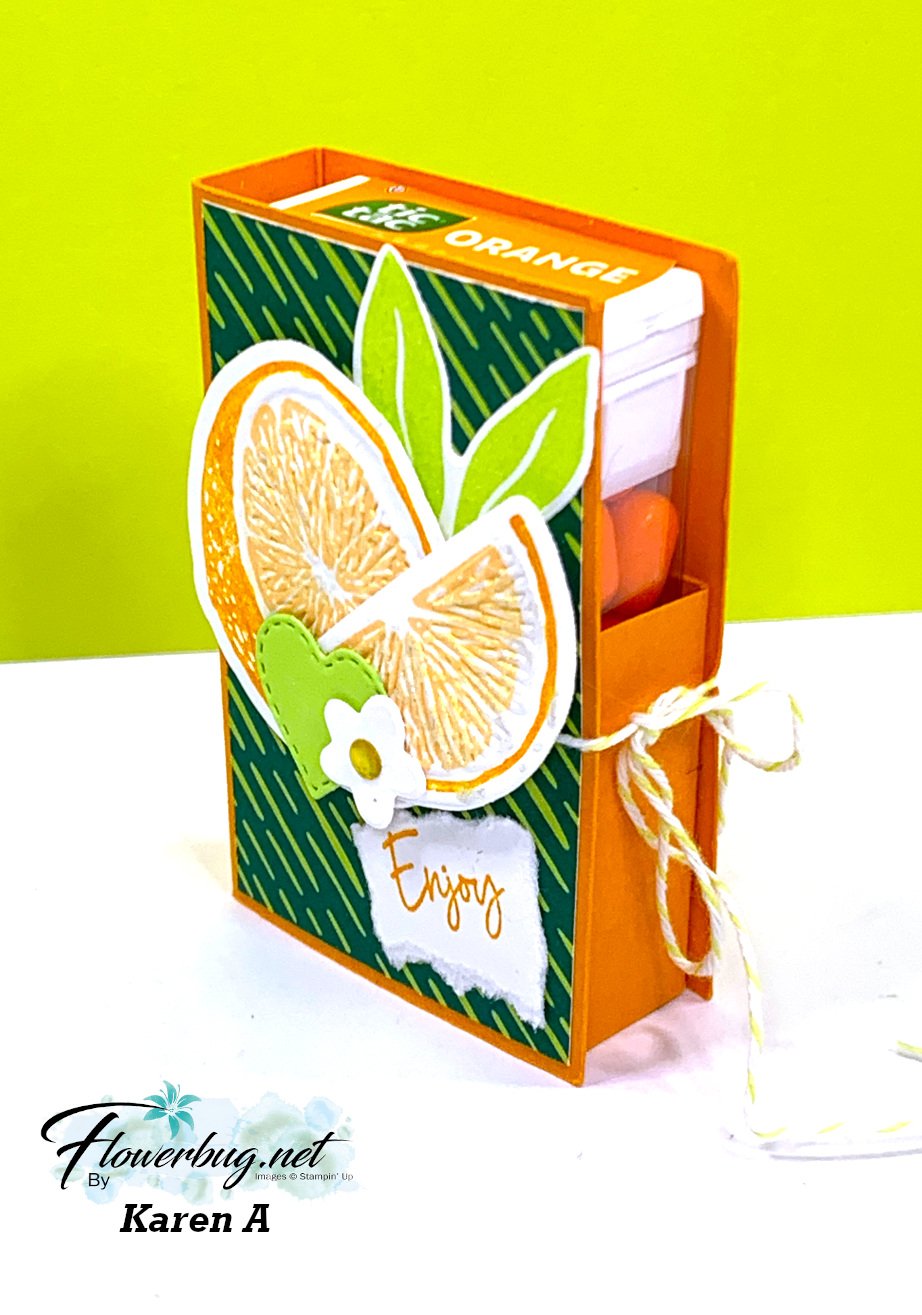
    She also made these two adorable candy boxes.  

    The one below is filled with lemon candies; so perfect for this stamp set.  

    This second box is for Orange Tic Tacs.  It fits in there so perfectly! 

    I know she found the pattern online but I don't have the link. It opens from the front and is tied closed with twine. 

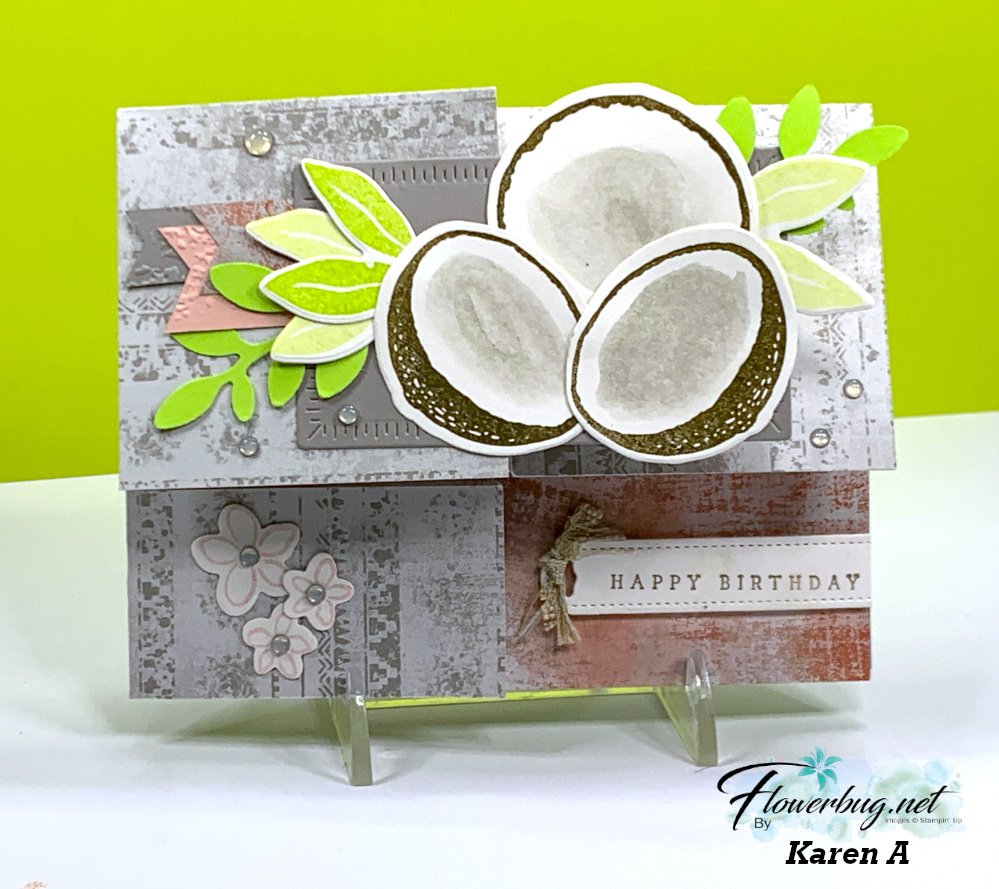
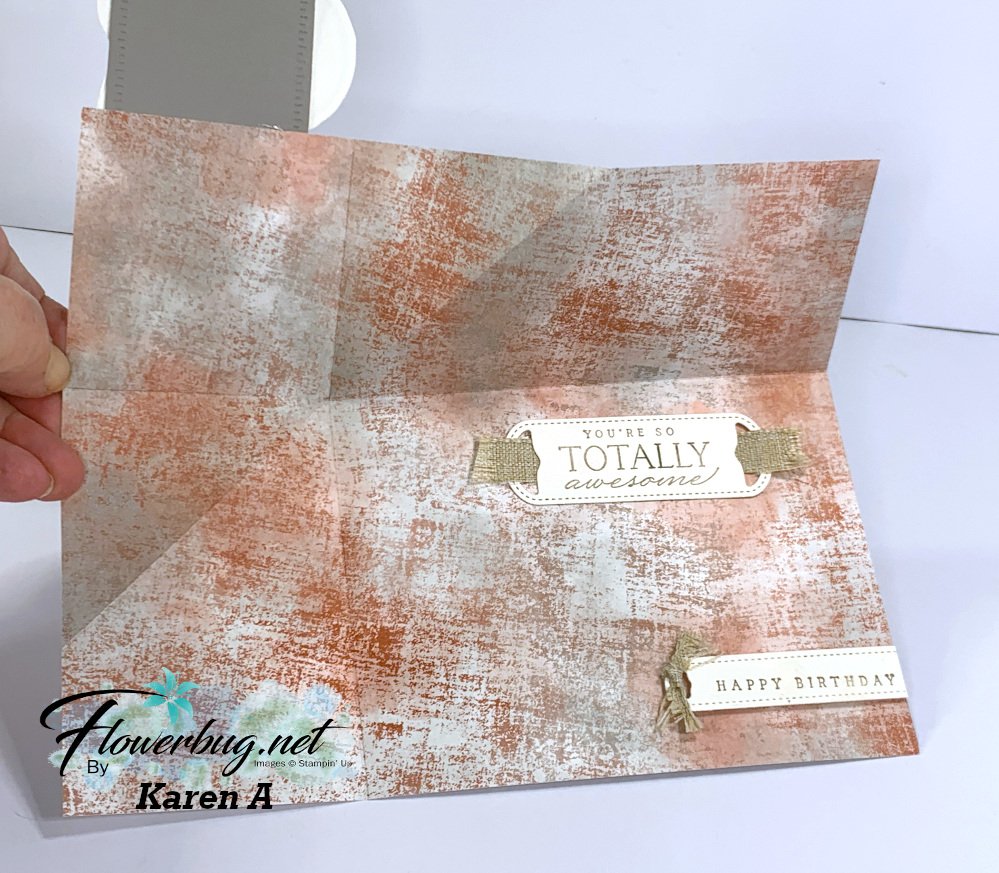
    And lastly is a super cute fun fold featuring coconuts! Yes; you can create coconuts with the Sweet Citrus stamps!

    She stamped the coconuts in brown ink on White card stock and colored in the centers with Gray Granite ink using a water painter, leaving the white coconut ring.

    She used the Delicate Desert DSP from the Spring catalog; it has retired now however.  

    It's a bit too much to share measurements here so I'll plan to create a card like this on a future video.  

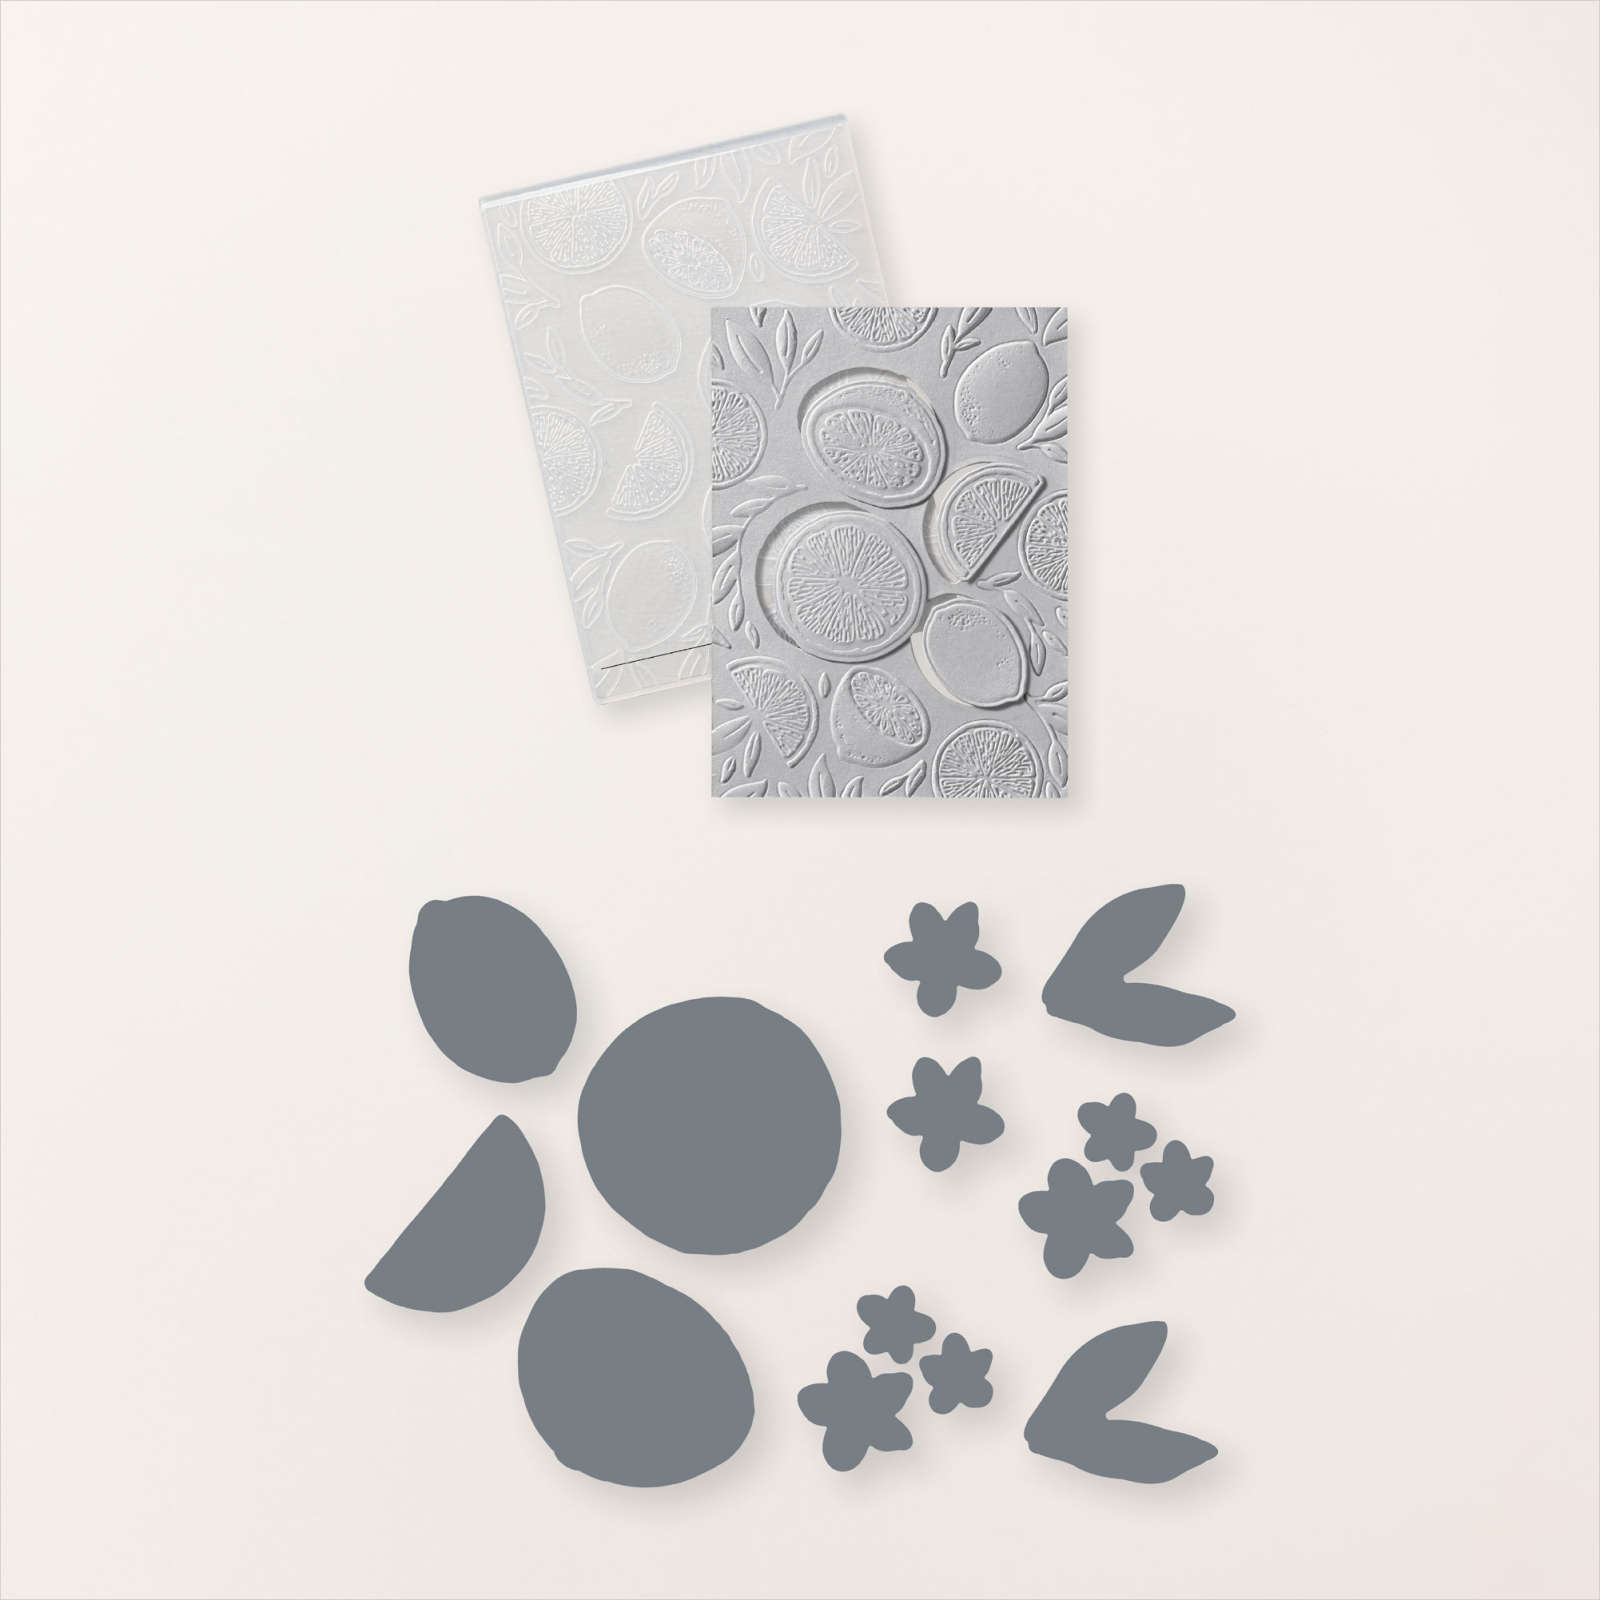
    You can see the Sweet Citrus stamp set here.  And the Sweet Citrus Hybrid embossing folder and dies here.  

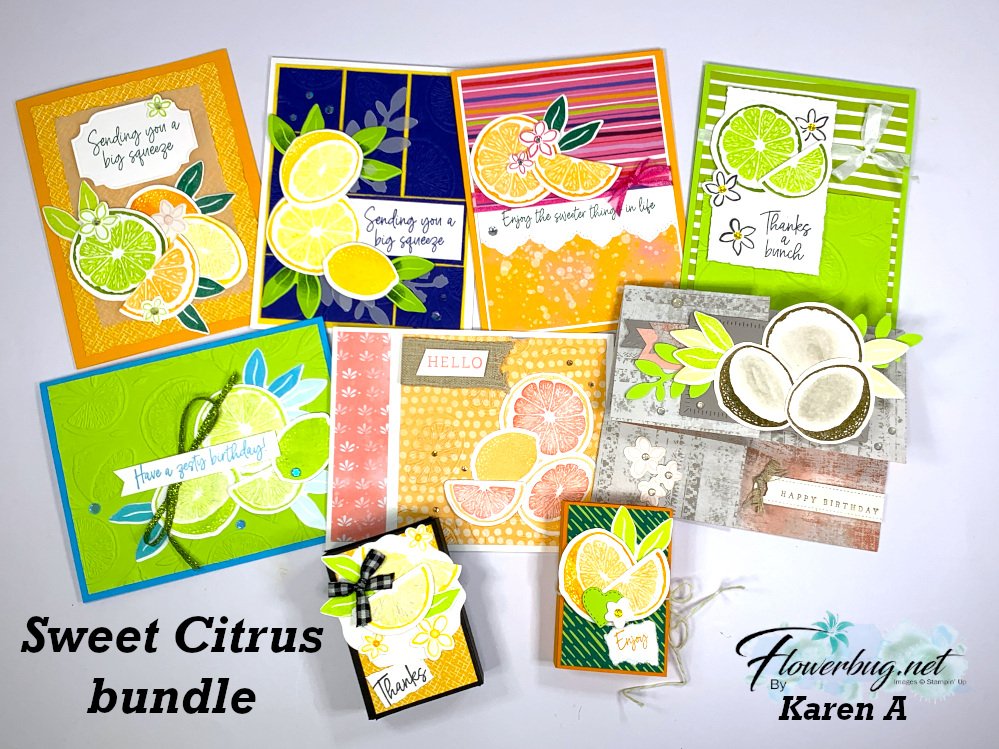
    Here is a photo of all of her gorgeous cards:  

    ~~~

    June Specials:

    Designer Paper is 15% off in June!

    WOW – get $155 in product for $99 with free shipping! click here!

    Get a package of In Color pearls with online orders over $55 using a host code.

    *current host code: RH9S6G94 

     Earn free products with my loyalty rewards! 

    Click here to download yours and earn a $50 shopping spree!
    Leave a Reply

    Your email address will not be published. Required fields are marked *


Notice: LeeAnn Greff, Independent Stampin’ Up! Demonstrator, Manager. The content of this website is my sole responsibility as an independent Stampin’ Up! demonstrator and the use of, and content of, the classes, services, or products offered on this website is not endorsed by Stampin’ Up! Copyright 2025