/


Latest Post

Inked & Tiled with a gorgeous background with video & blending tips!


Today I'm sharing one of my favorite cards I've made this month. These colors are so me!  I needed to make 28 of these for the Norway cruise with Stampin' Up! We have to option of joining a card swap and I always try to do something unique for this special swap. 

I chose the new Copper Clay with Black and Coastal Cabana. Aren't they beautiful together? 
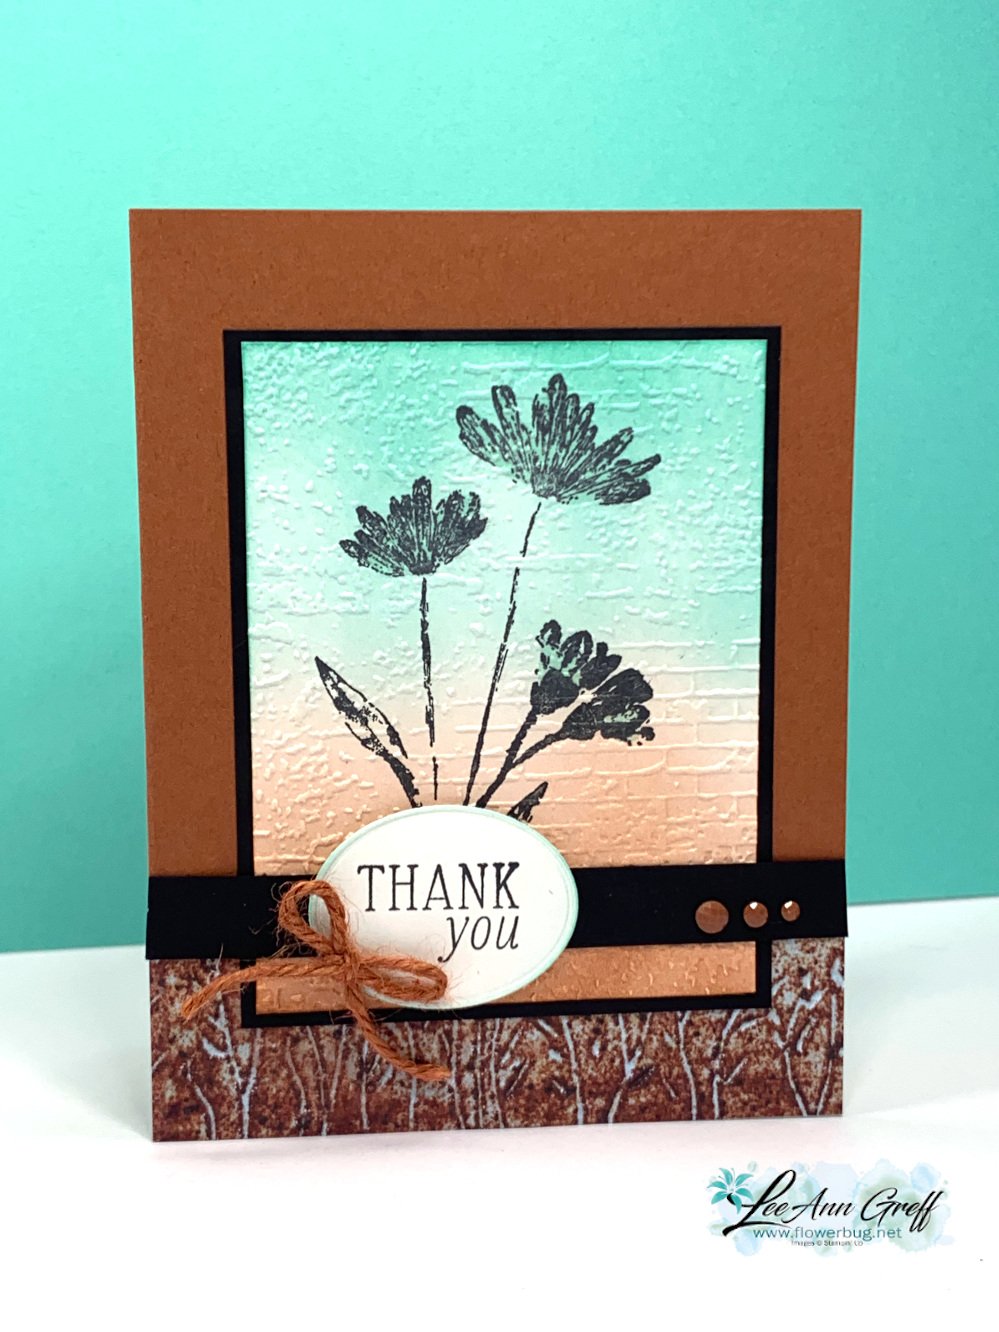
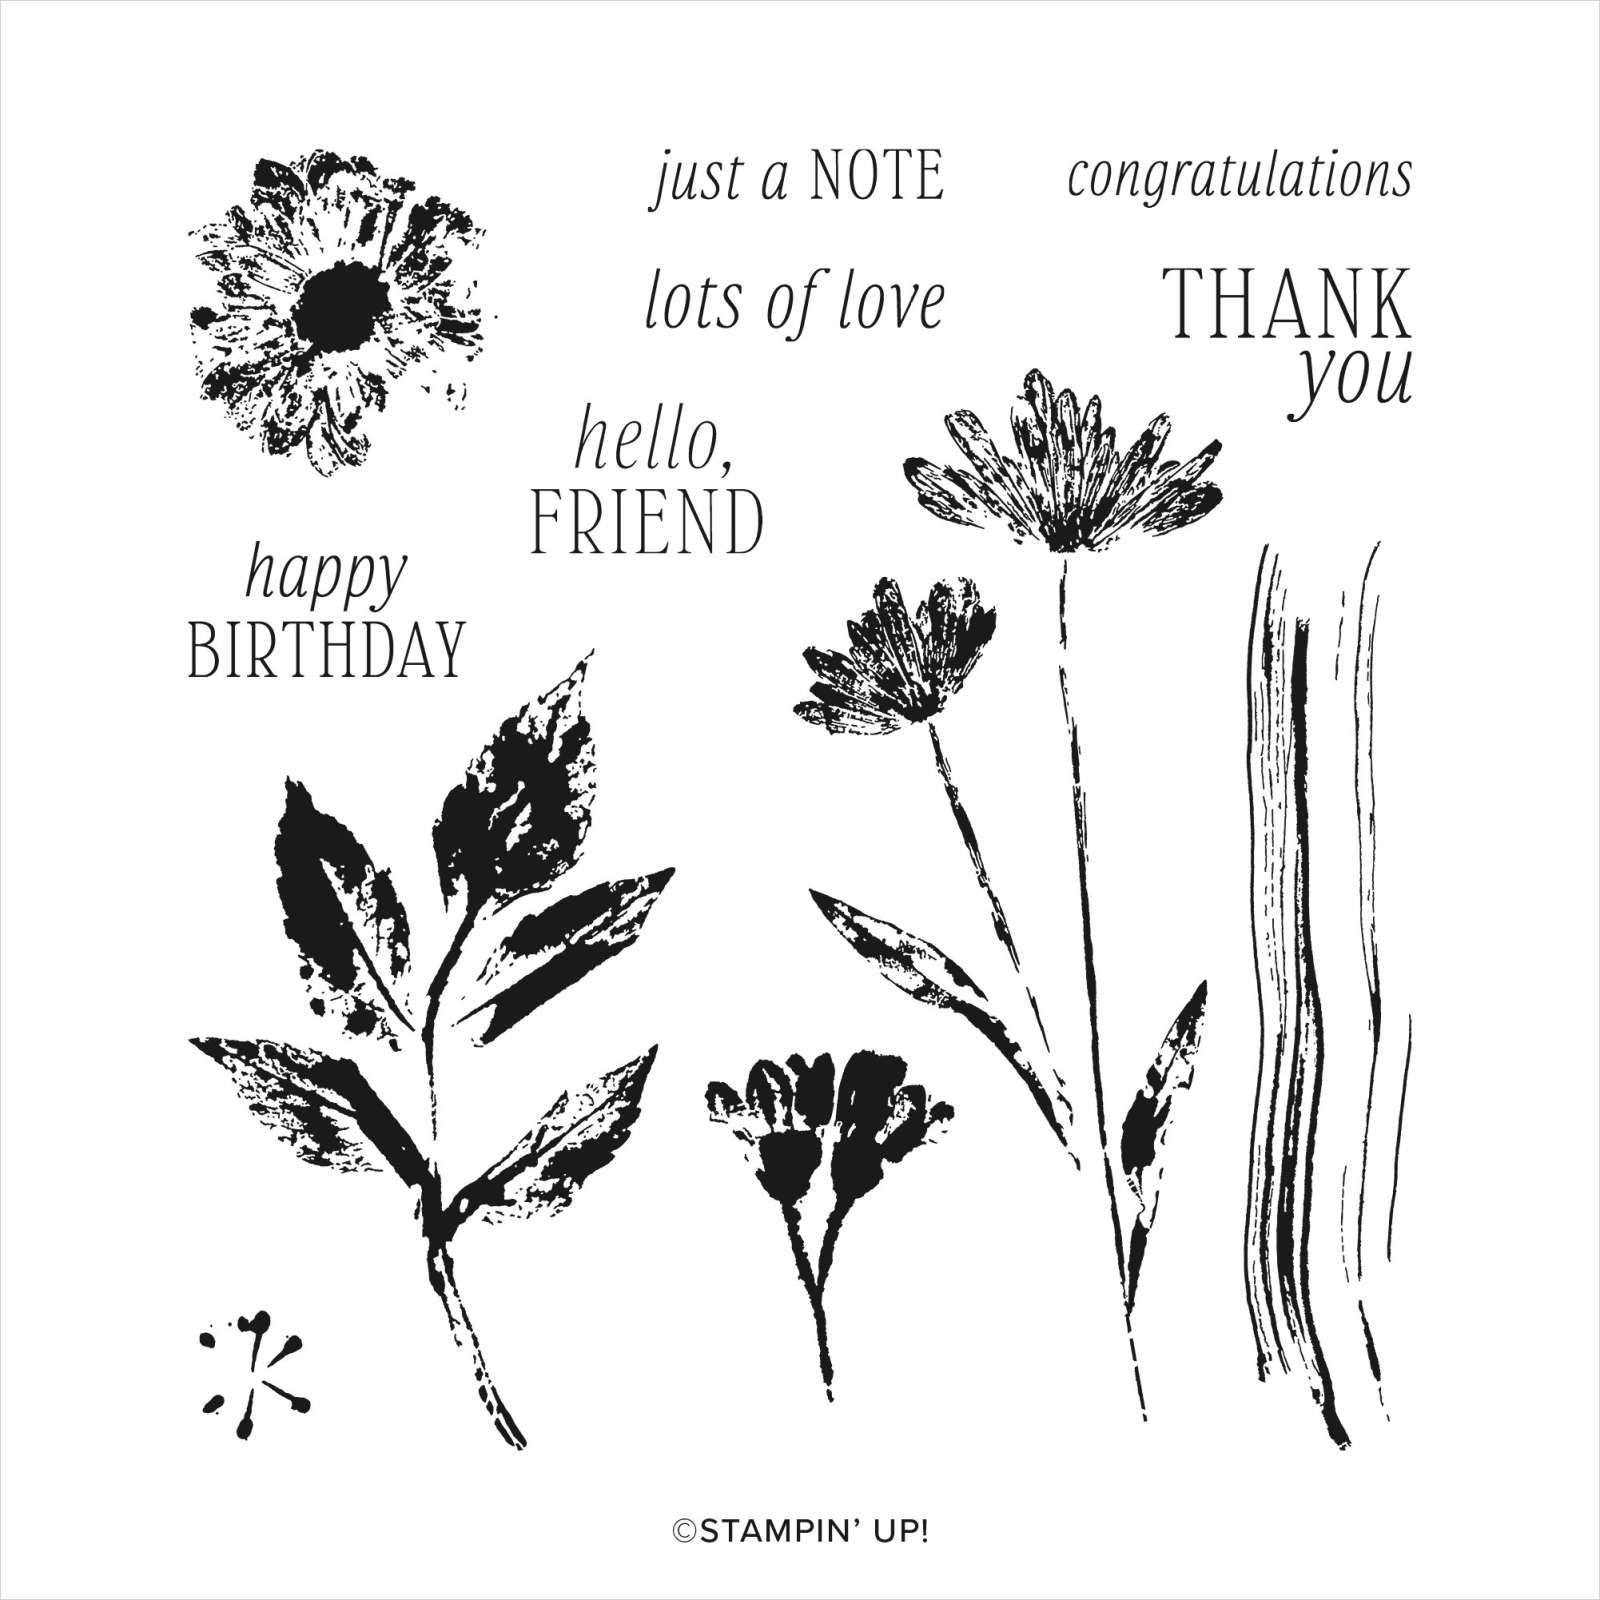
This card features the new Inked & Tiled stamp set seen here. It actually comes in a bundle with two punches. But I didn't use those here.  
After I stamped the flowers in Black ink I used Blending Brushes to add both Coastal Cabana and Copper Clay ink.  We have both regular and small Blending Brushes now.  For a background like this I recommend the larger set of brushes. See them here.

Tip: when wanting a smooth blend, I recommend adding ink to your brush and start off of your paper. Slowly work your way on with a soft, gentle swirling motion. Adding pressure can give you blotches or other marks.  It's also helpful to have a fully inked pad.  *Remember that is helps to add ink a little at a time. It can be a slow process! 


Isn't that texture gorgeous with the blended background?!  

When I was creating this card I made the card on the right first.  If you look closely the stamped panel does not have any texture on it.  Adding the Exposed Brick embossing created the perfect finish!  


In the video I share two other beautiful cards made with the Inked & Tiled stamp set.  
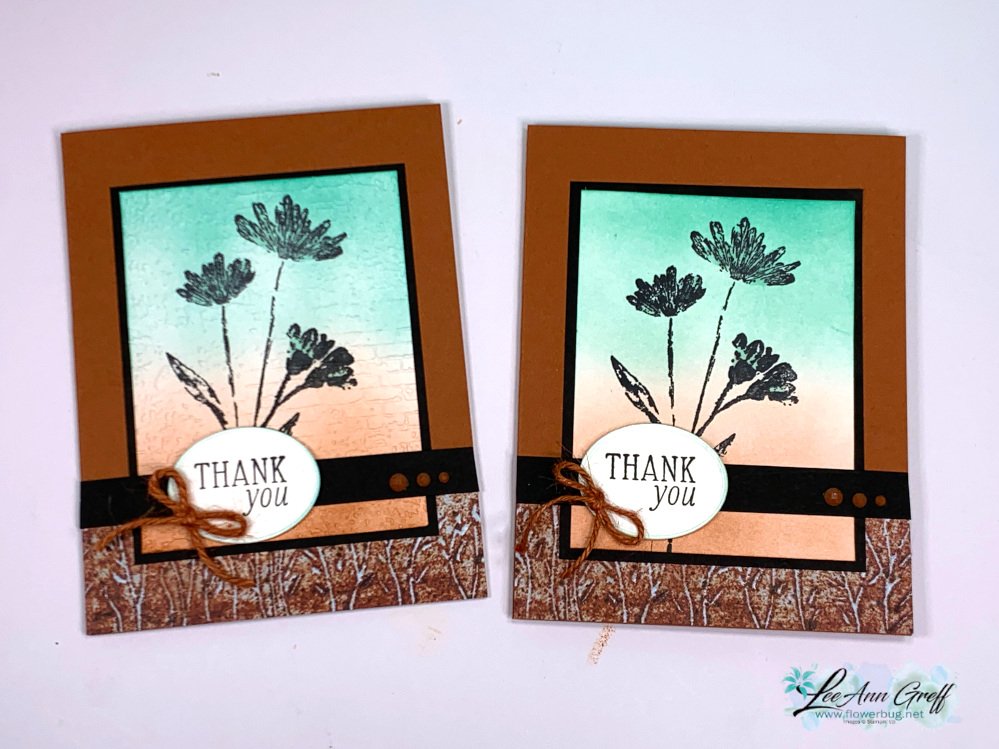
You can watch me make this card on the video here. Or click on the photo below to watch. 

~~~

May Specials:

*current host codes: ZHZ6CPYU or AJVB3B3V 

Get a free updated cardstock color sampler with online orders over $55 using a host code.

Offer good while supplies last:  

I have one spot left in my new catalog designer paper share. 

Get 80 sheets of 6 X 6" DSP – all from the new catalog for just $28.50 plus shipping.  Reserve your spot here. 

Earn free products with my loyalty rewards! 

Click here to download yours and earn a $50 shopping spree!
All Posts

  • Join+ Promo ends tomorrow! Plus a neat layout for double-sided designer paper


    Tomorrow is the last day to take advantage of our June promotions.  

    The Starter Kit+ promotion includes $155 in products of your choice for just $99 and free shipping too! 

    Remember that even though this is a starter kit deal, you are not obligated to hold events or 'sell' products.  You can simply enjoy the discount on Stampin' Up! products as long as you wish. When you're done ordering you just stop.  Simple!

    My Team loves being a part of both Stampin' Up! and my group! I have a variety of demonstrators on my Team; from happy shoppers to those who hold classes & events. They enjoy lots of perks and a fabulous community of like minded stampers.  Message me with any questions.   Click here.

    The other awesome promotion is our designer paper sale – all regular designer papers in the Annual Catalog plus one Online Exclusive choice are 15% off.  June is the time to get your favorites while their on sale! See them all here. 

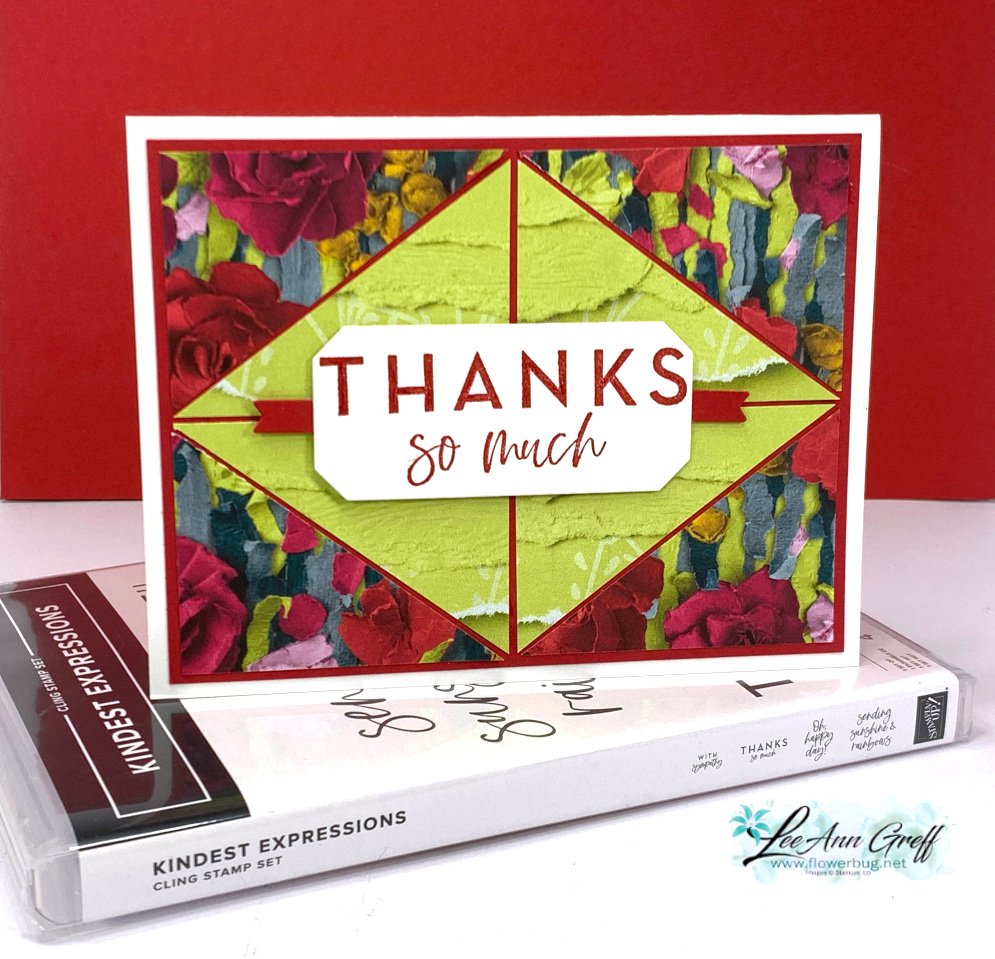
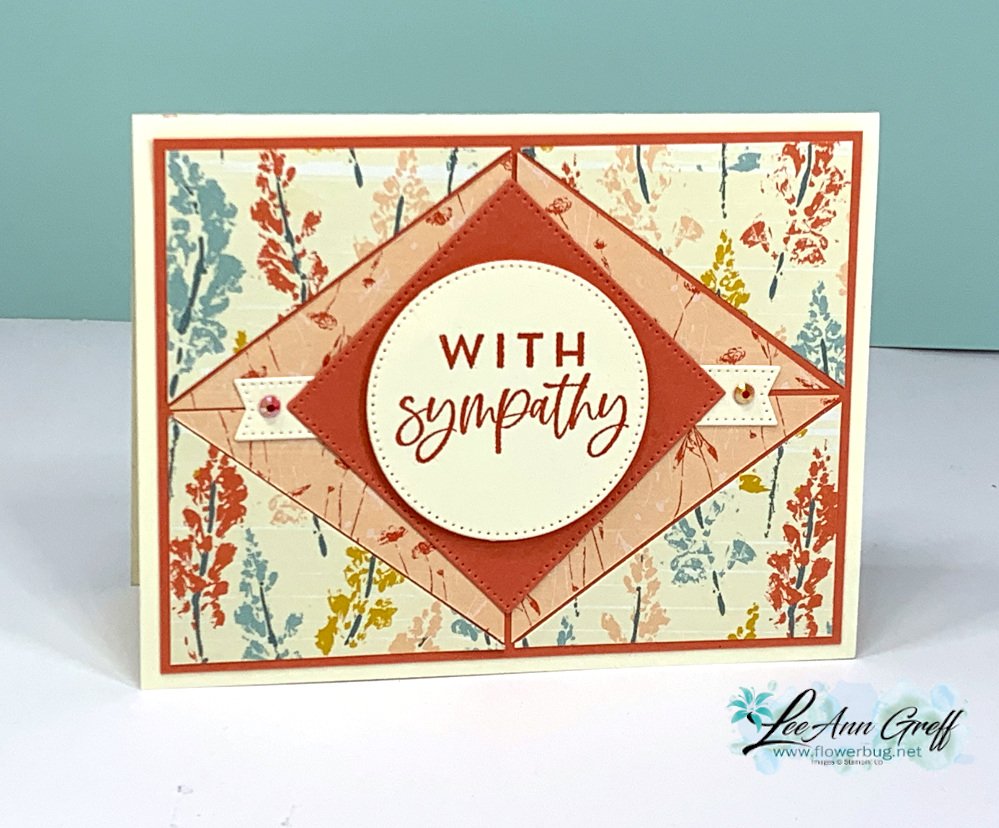
    Monday night I had my monthly Stamp with Me Live and made this neat card featuring the Inked Botanicals designer series paper. 

    It's such a neat card layout that truly makes the most of double sided designer series paper; showing both sides.  This Inked Botanicals DSP is on sale now; see it here. Scroll down a bit to see the video & measurements.  

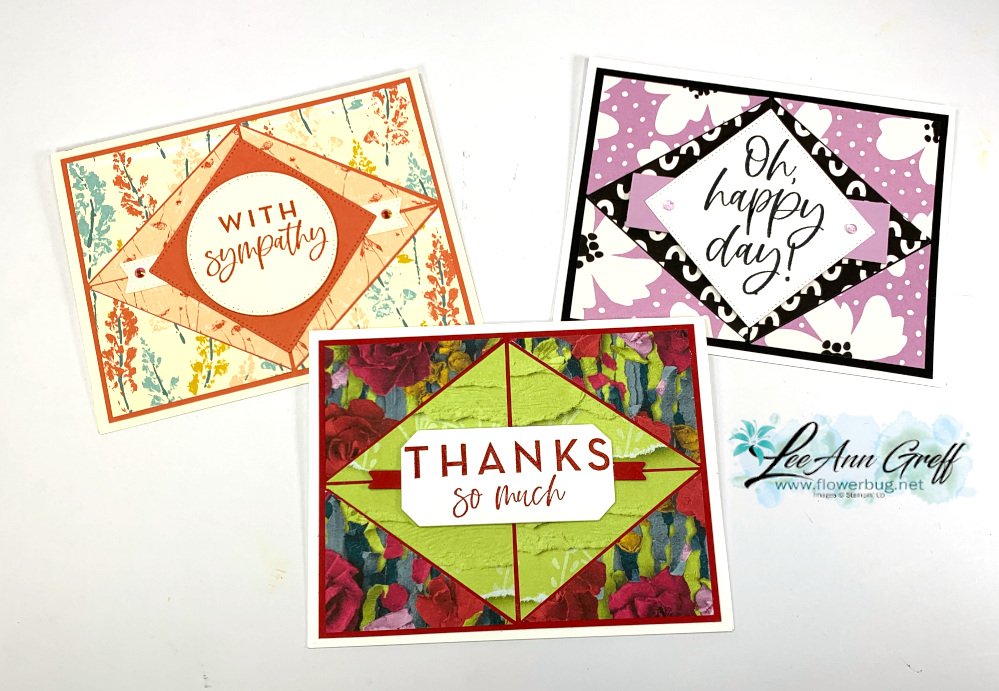
    Here are a few more:

    The left card above is made with the Delightfully Eclectic paper seen here and the right is made with the Masterfully Made designer paper seen here. 

    I used the Kindest Expressions stamp set for the greetings and the Stylish Shapes and Countryside Corners dies.  

    Measurements:

    • Card base 5 1/2" X 8 1/2" score at 4 1/4"
    • Cardstock layer 5 1/4" X 4"
    • Designer paper – 4 pieces at 2 1/2" X 1 7/8", cut each in half on the diagonal.  
    • greeting sentiment piece and small strip for a banner 

    Here are all three cards I share in this video here.  I challenge my viewers to create a card using this layout and share it by July 23rd.  I'll draw a name or two for a door prize!  Go here to post yours.  

    Click on the photo below to watch the video: 

    ~~~

    June Specials – ends soon!

    Designer Paper is 15% off in June!

    WOW – get $155 in product for $99 with free shipping! click here!

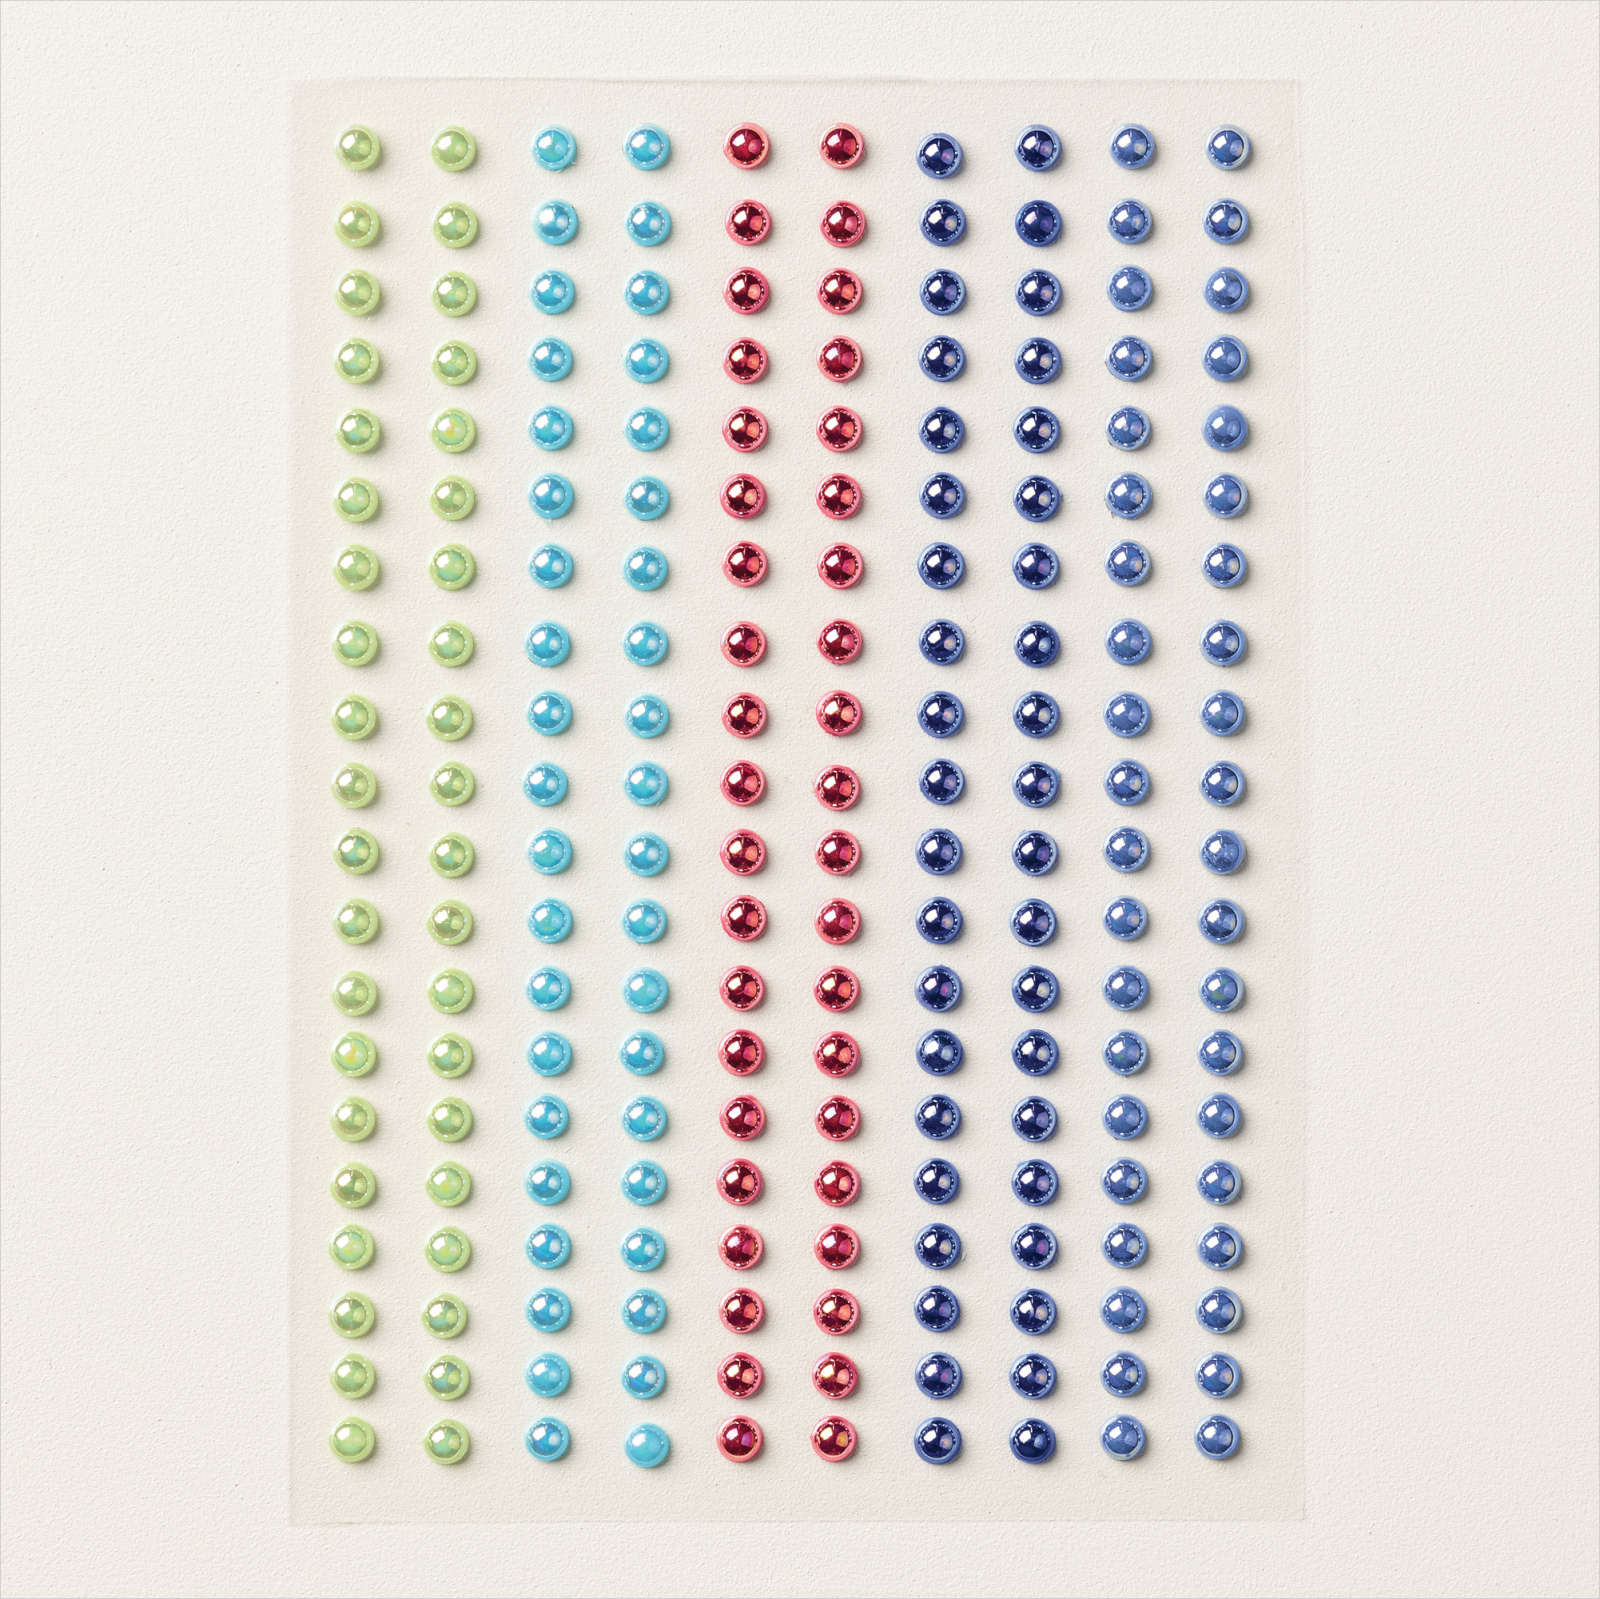
    Get a package of In Color pearls with online orders over $55 using a host code.

    *current host code: M7SCQSVS 

     Earn free products with my loyalty rewards! 

    Click here to download yours and earn a $50 shopping spree!
    Leave a Reply

    Your email address will not be published. Required fields are marked *

  • Another way to use the Border Basics dies – cut once for two card front!


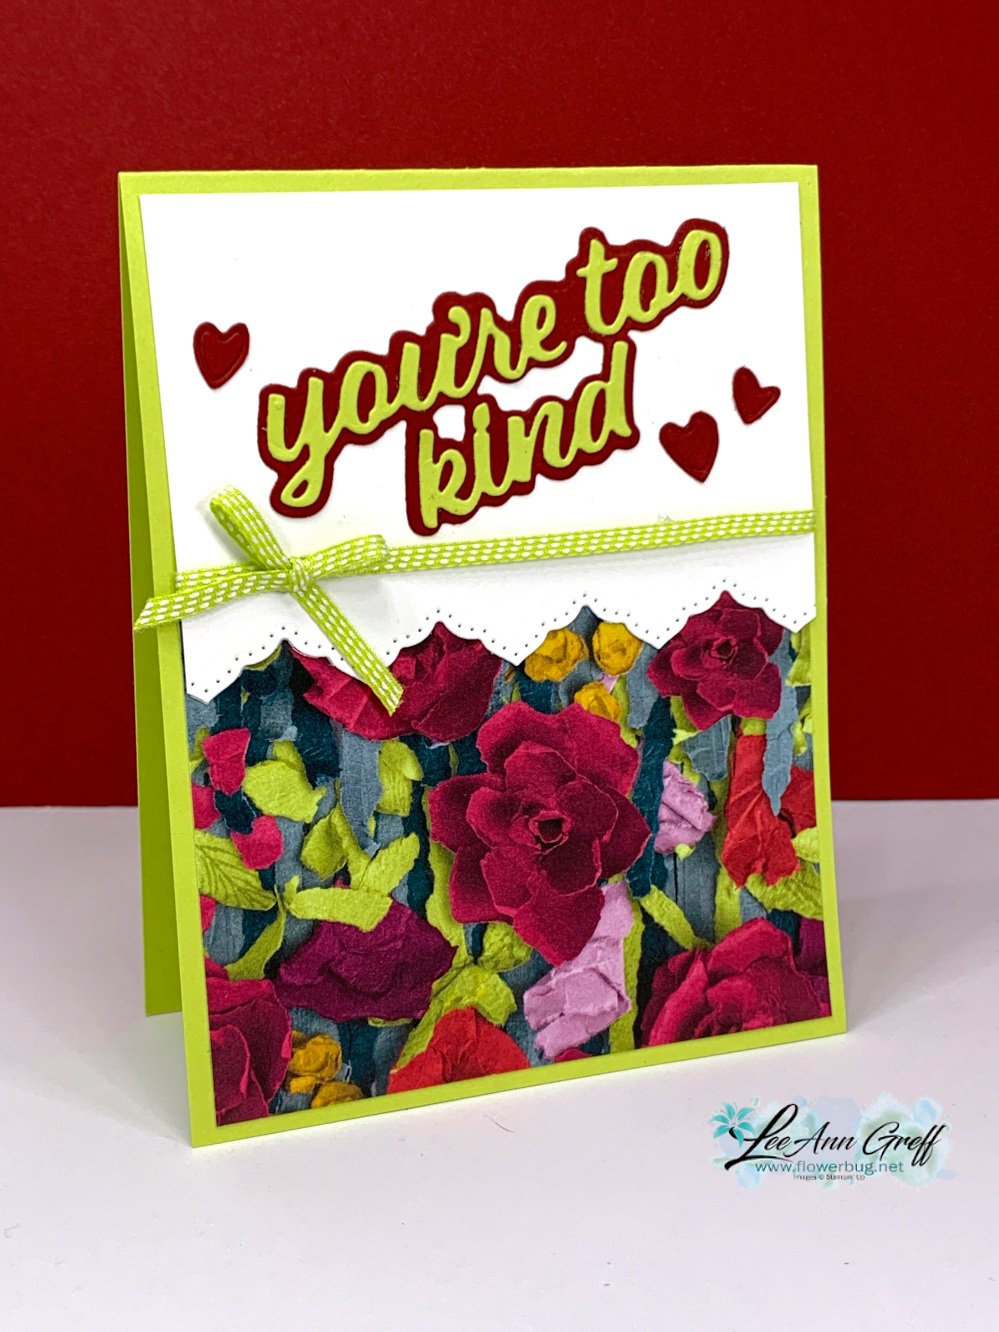
    Here's the third card I made for last week's live video; it also features the Masterfully Made designer paper, Wanted to Say dies and the Border Basics dies.  

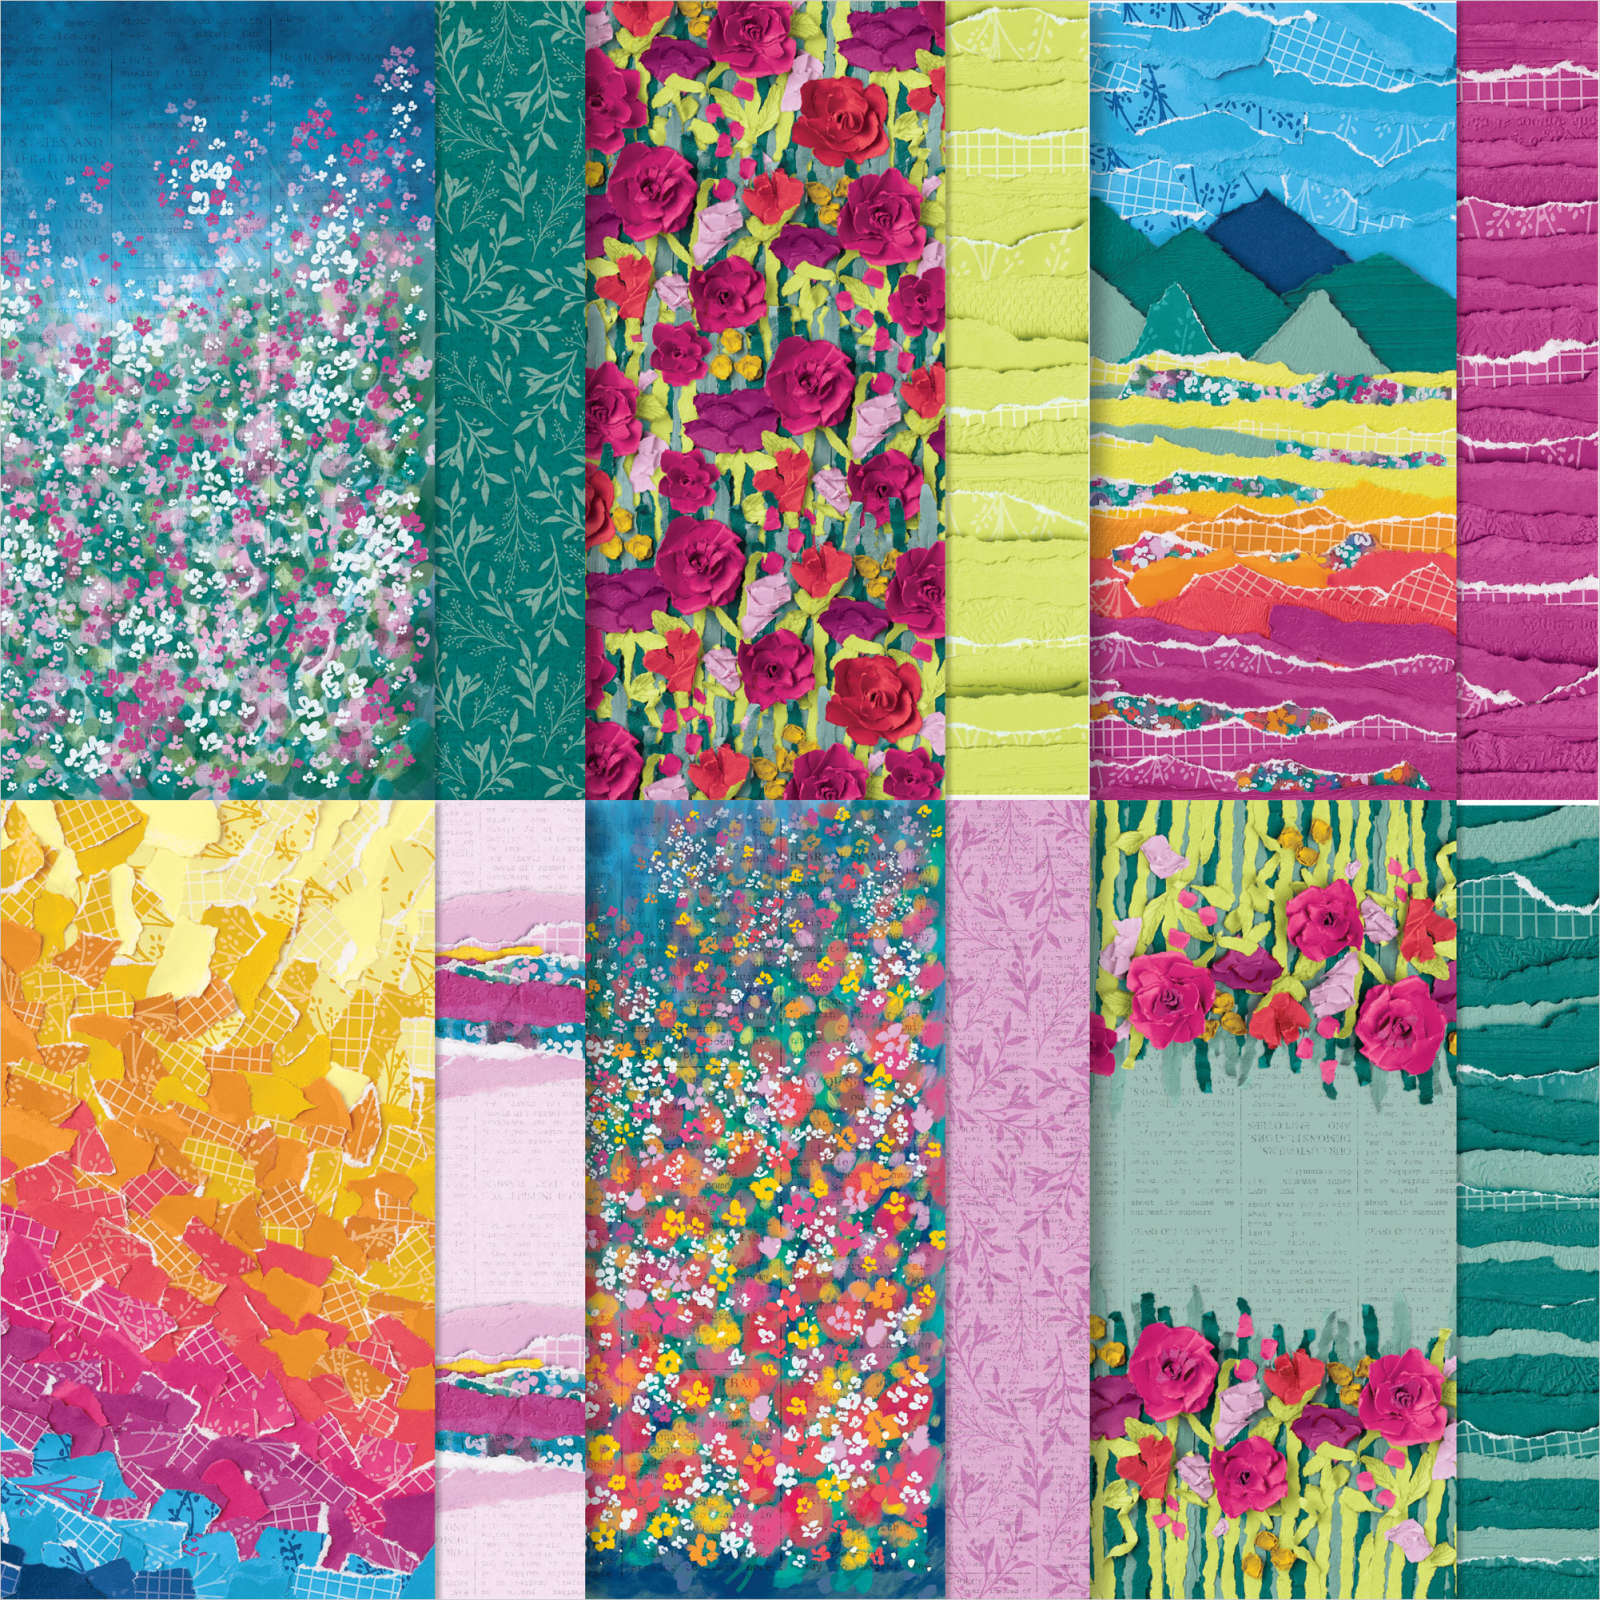
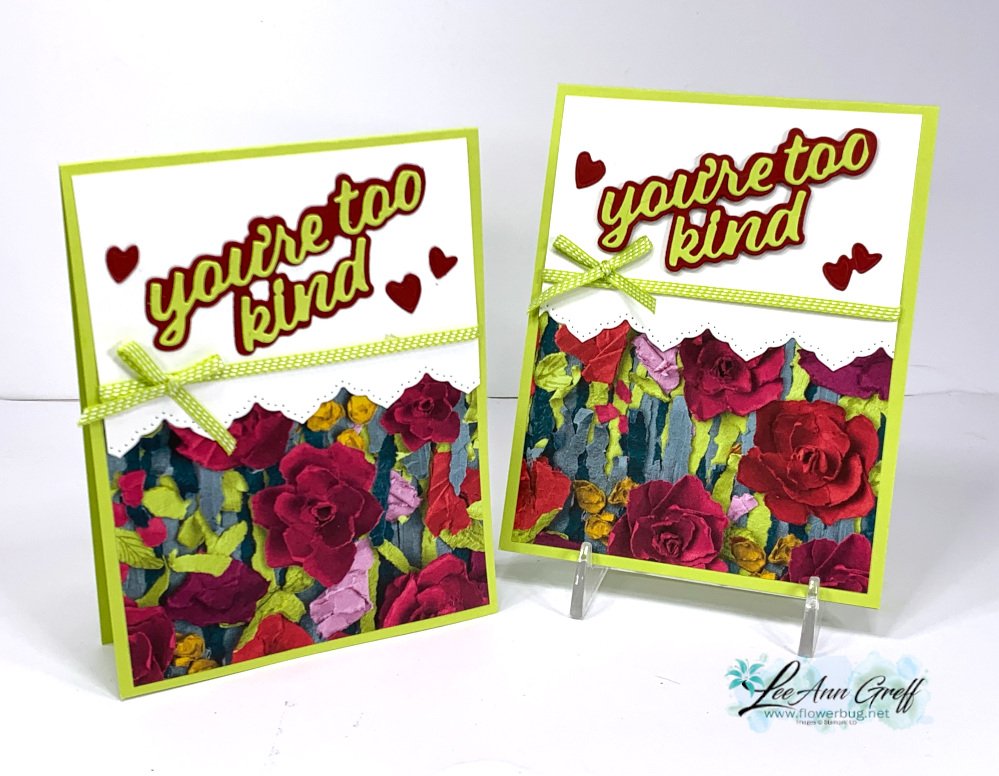
    My colors are Lemon Lime Twist, Cherry Cobbler and White.   The flowers in this pretty designer paper are so real; you almost want to touch them.  

    You can see this beautiful designer paper here.  It's discounted in June; down to $10.62.

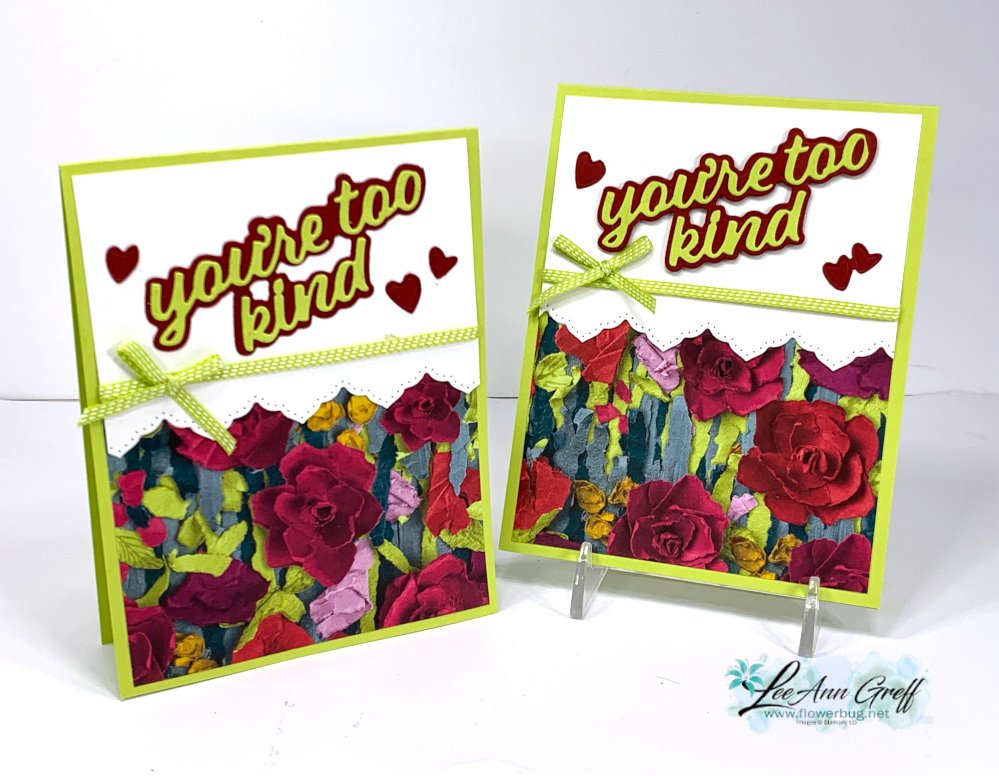
    The photo below shows both cards made with the same designer paper.  I loved this pattern so well I didn't change it up for the second card. 

    The greeting and hearts are all from the Wanted to Say dies seen here.  

    The pretty scalloped stitched border is made with the Border Basics dies seen here. Start with a piece of White card stock measuring 4" X 5 1/4" and cut it in half with the scalloped die-cut.  Now you have the start for two cards! 

    Below are all three cards made with this three products, all seen on the video below. 


    You can see how I made this card on the video here.  Or click on the photo below to watch. Remember to follow me on Facebook here or on my YouTube channel here. 

    ~~~

    June Specials:

    Designer Paper is 15% off in June!

    WOW – get $155 in product for $99 with free shipping! click here!

    Get a package of In Color pearls with online orders over $55 using a host code.

    *current host code: M7SCQSVS 

     Earn free products with my loyalty rewards! 

    Click here to download yours and earn a $50 shopping spree!
    Leave a Reply

    Your email address will not be published. Required fields are marked *

  • Cut once for two card fronts with the Border Basics dies; video tips & tutorial too


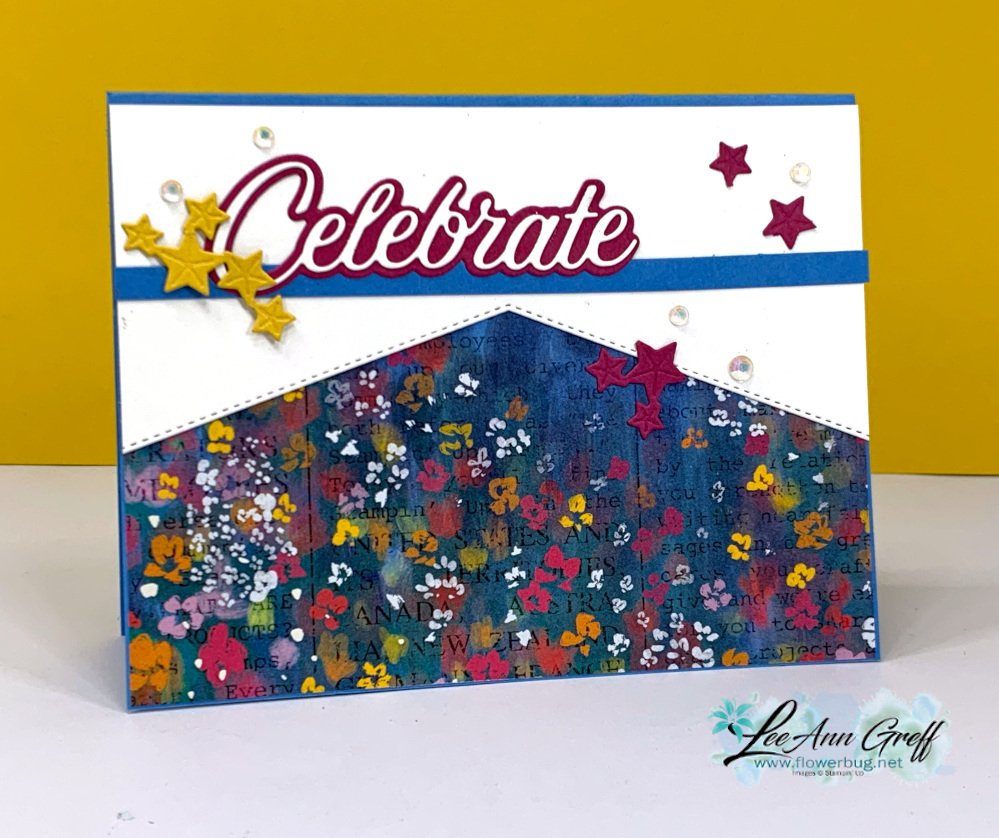
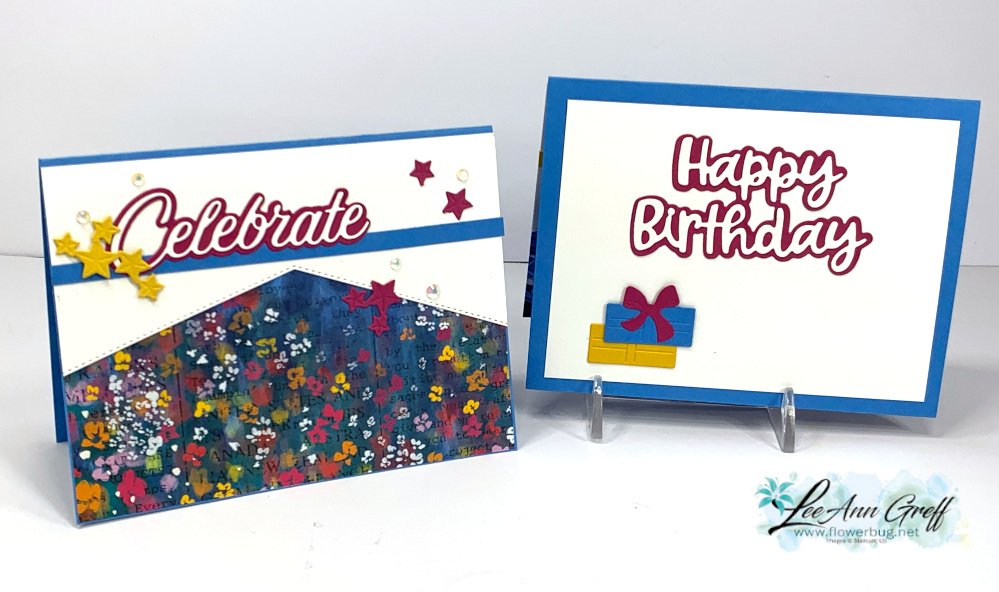
    I shared one of the cards I made in last week's video and here's another one. Both feature the same three products: Masterfully Made designer paper, Wanted to Say dies and the Border Basics dies.  

    I used the White die-cut leftover from the card I shared yesterday on this card; basically getting two cards from one die-cut!

    The Border Basics dies are wonderful and so versatile since they die-cut the stitched edge on both sides.  Below is a photo of the inside of the card: 

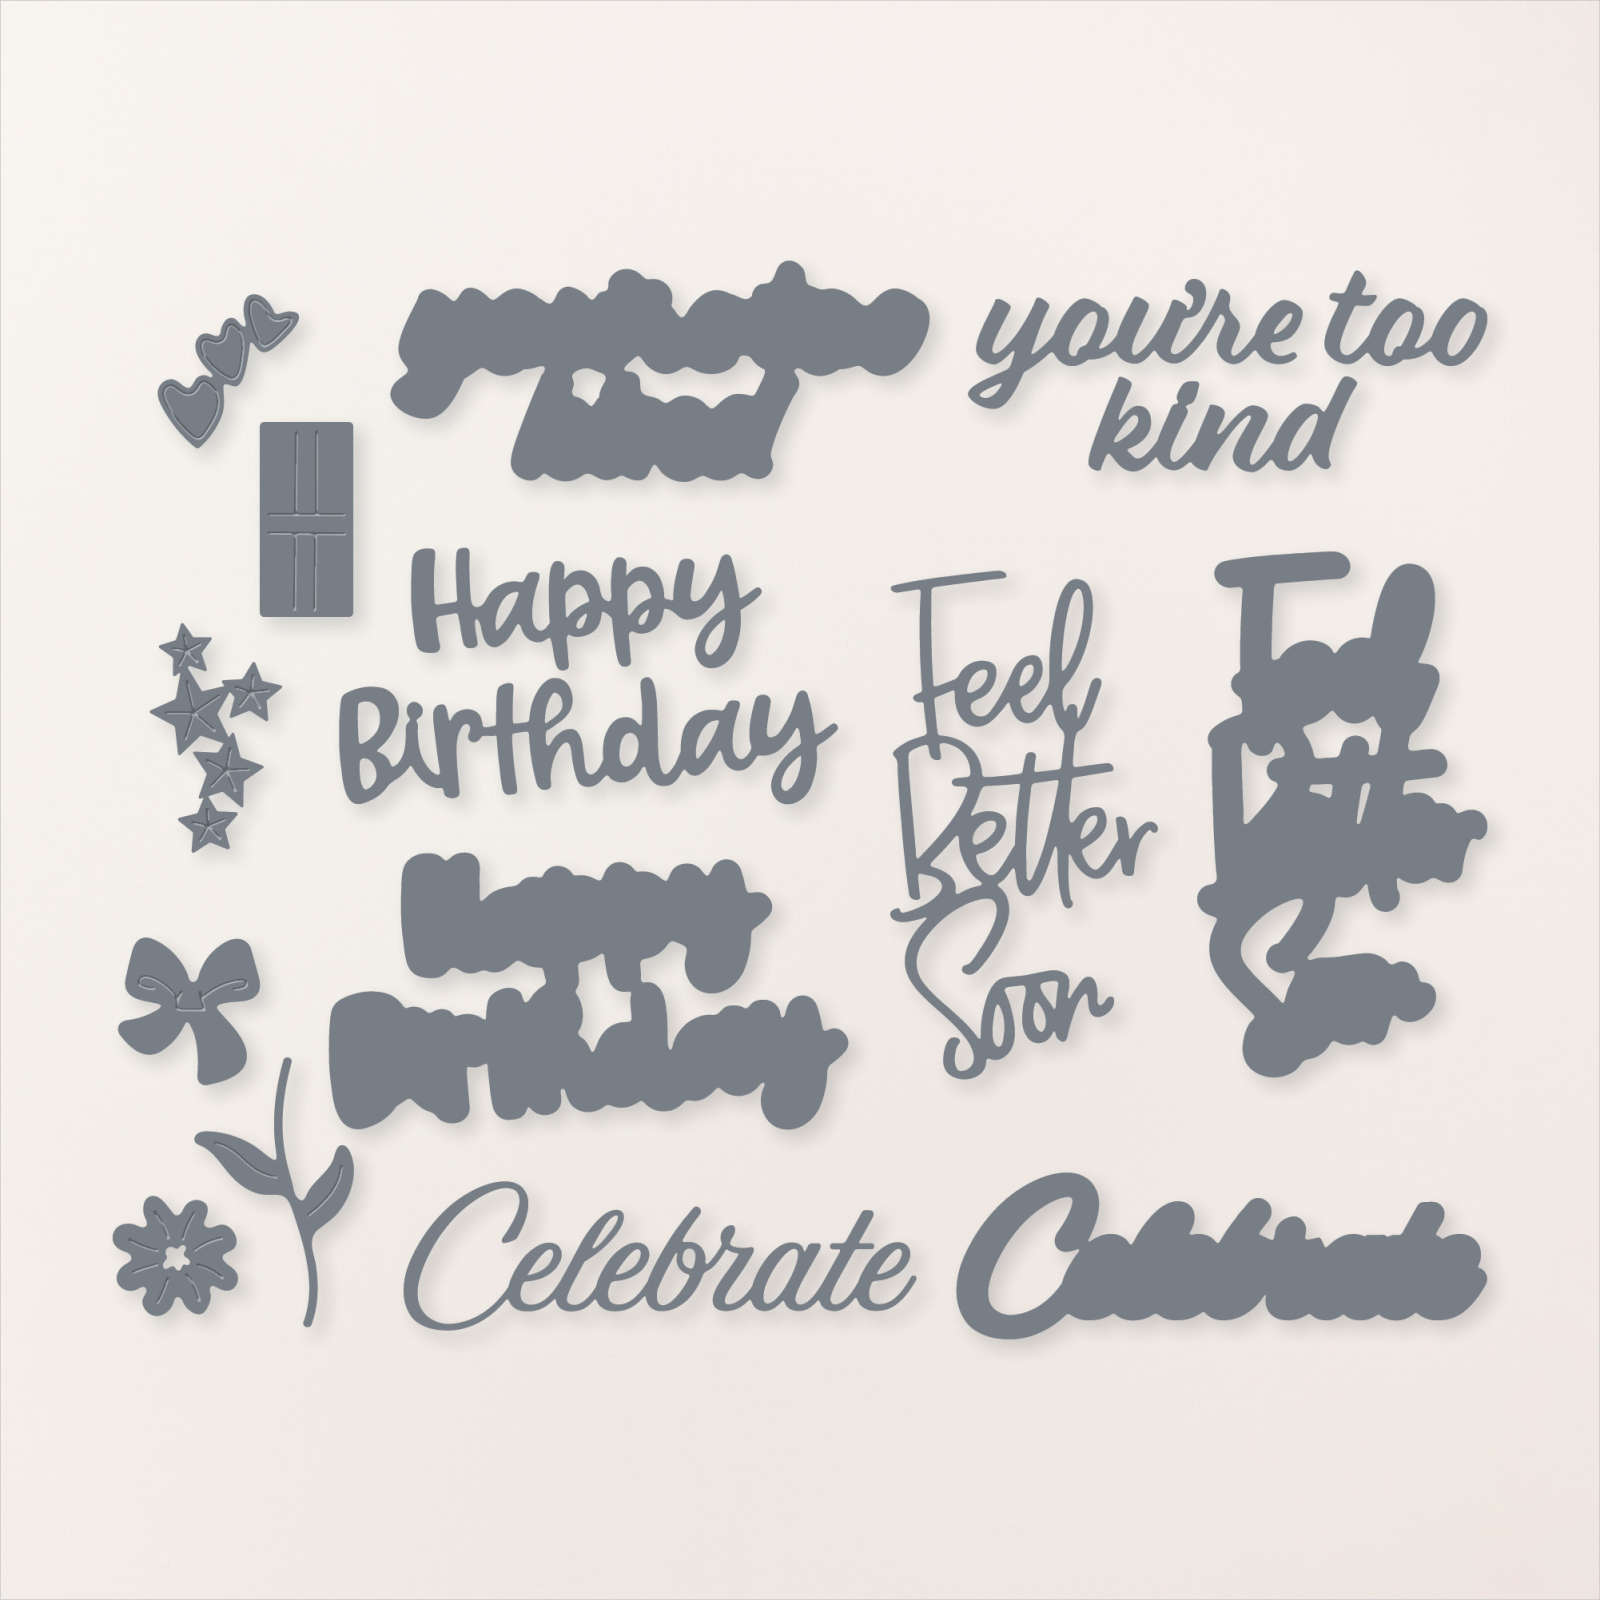
    The Celebrate, Happy Birthday, stars and present die-cuts are all from the Wanted to Say dies seen here: 

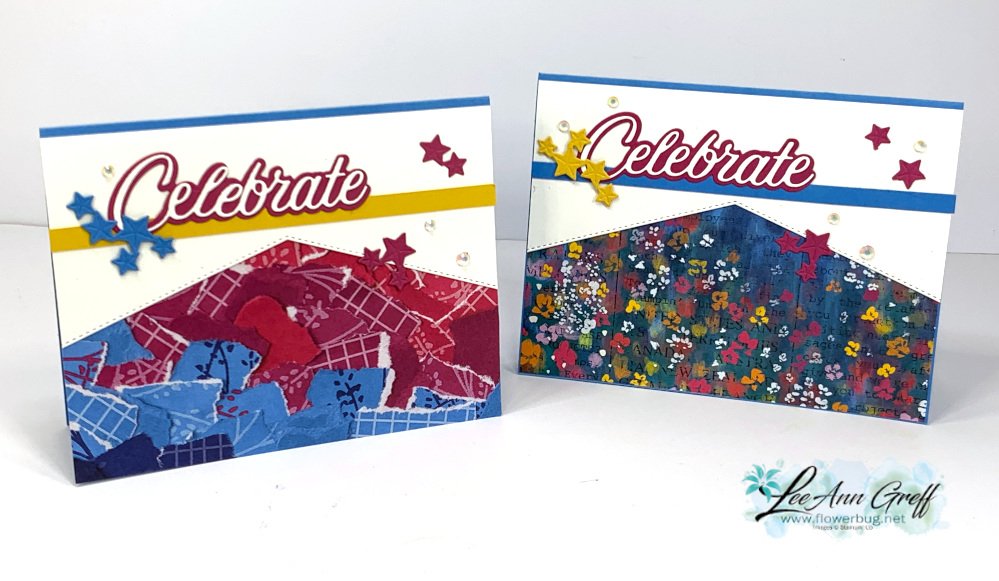
    Here are both cards I shared; each with a different piece of the Masterfully Made CS.  As you can see I added a thin line of card stock to rest the 'Celebrate' die-cut on. I love the effect!

    You can see this beautiful designer paper here.  It's discounted in June; down to $10.62.

    The photo below shows both cards; one cut for two card front! 

    I cut the right side of the card front off (on the left card) and used that piece on the card on the right. Essentially I cut the card front in half and added it to the card on the right, adding DSP underneath to show off the angles.  One cut; two cards!  

    You can see how I made this card on the video here.  Or click on the photo below to watch. Remember to follow me on Facebook here or on my YouTube channel here. 

    ~~~

    June Specials:

    Designer Paper is 15% off in June!

    WOW – get $155 in product for $99 with free shipping! click here!

    Get a package of In Color pearls with online orders over $55 using a host code.

    *current host code: M7SCQSVS 

     Earn free products with my loyalty rewards! 

    Click here to download yours and earn a $50 shopping spree!

    Leave a Reply

    Your email address will not be published. Required fields are marked *


Notice: LeeAnn Greff, Independent Stampin’ Up! Demonstrator, Manager. The content of this website is my sole responsibility as an independent Stampin’ Up! demonstrator and the use of, and content of, the classes, services, or products offered on this website is not endorsed by Stampin’ Up! Copyright 2025