/


Latest Post

Inked & Tiled with a gorgeous background with video & blending tips!


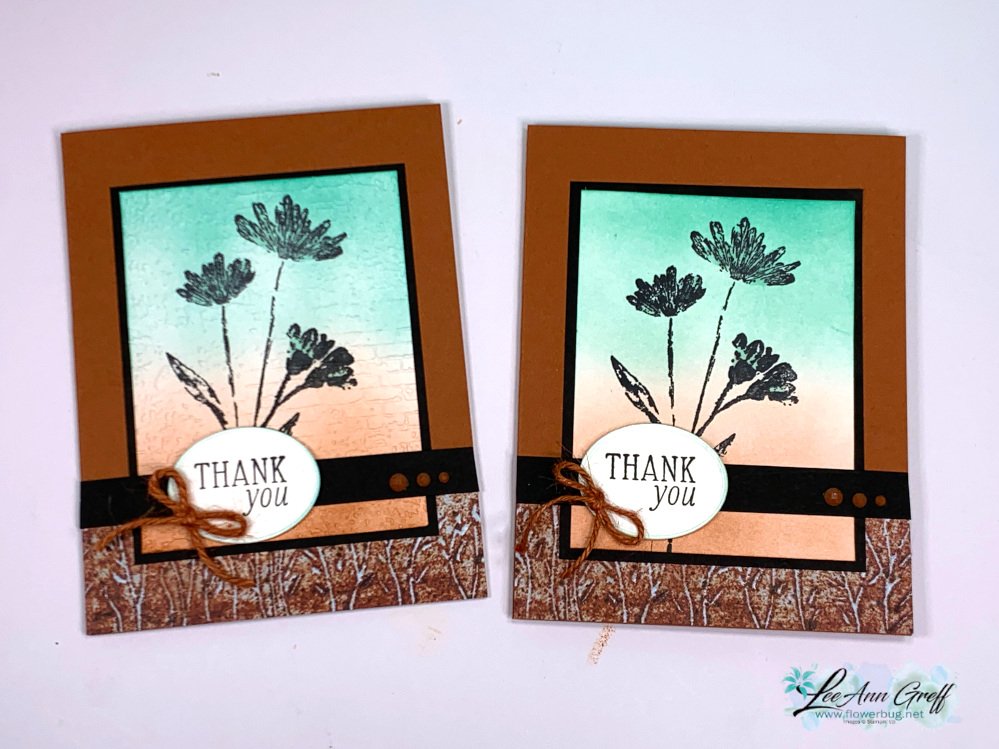
Today I'm sharing one of my favorite cards I've made this month. These colors are so me!  I needed to make 28 of these for the Norway cruise with Stampin' Up! We have to option of joining a card swap and I always try to do something unique for this special swap. 

I chose the new Copper Clay with Black and Coastal Cabana. Aren't they beautiful together? 
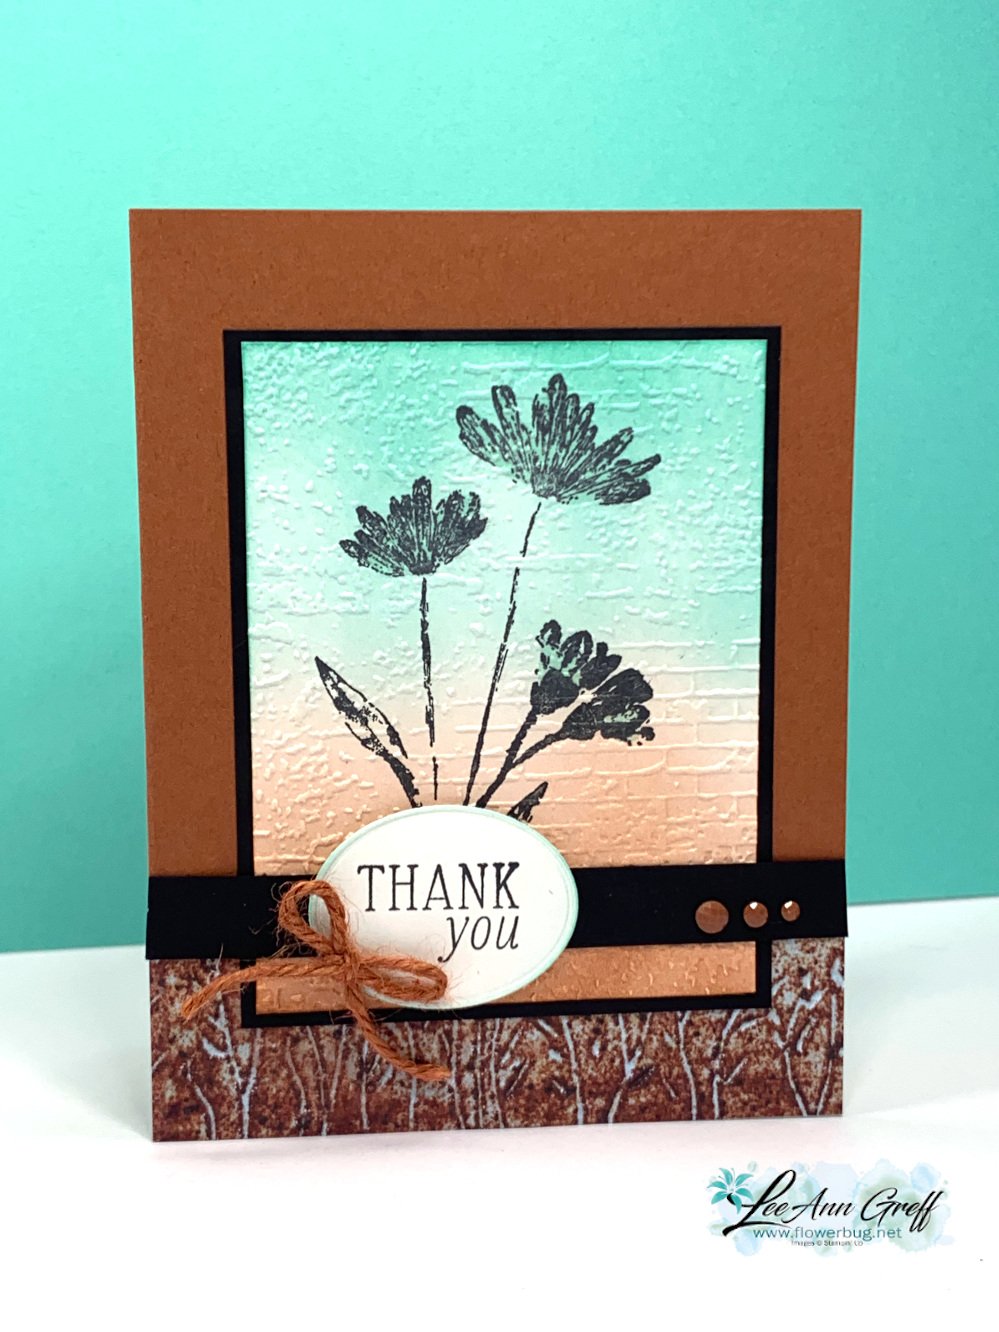
This card features the new Inked & Tiled stamp set seen here. It actually comes in a bundle with two punches. But I didn't use those here.  
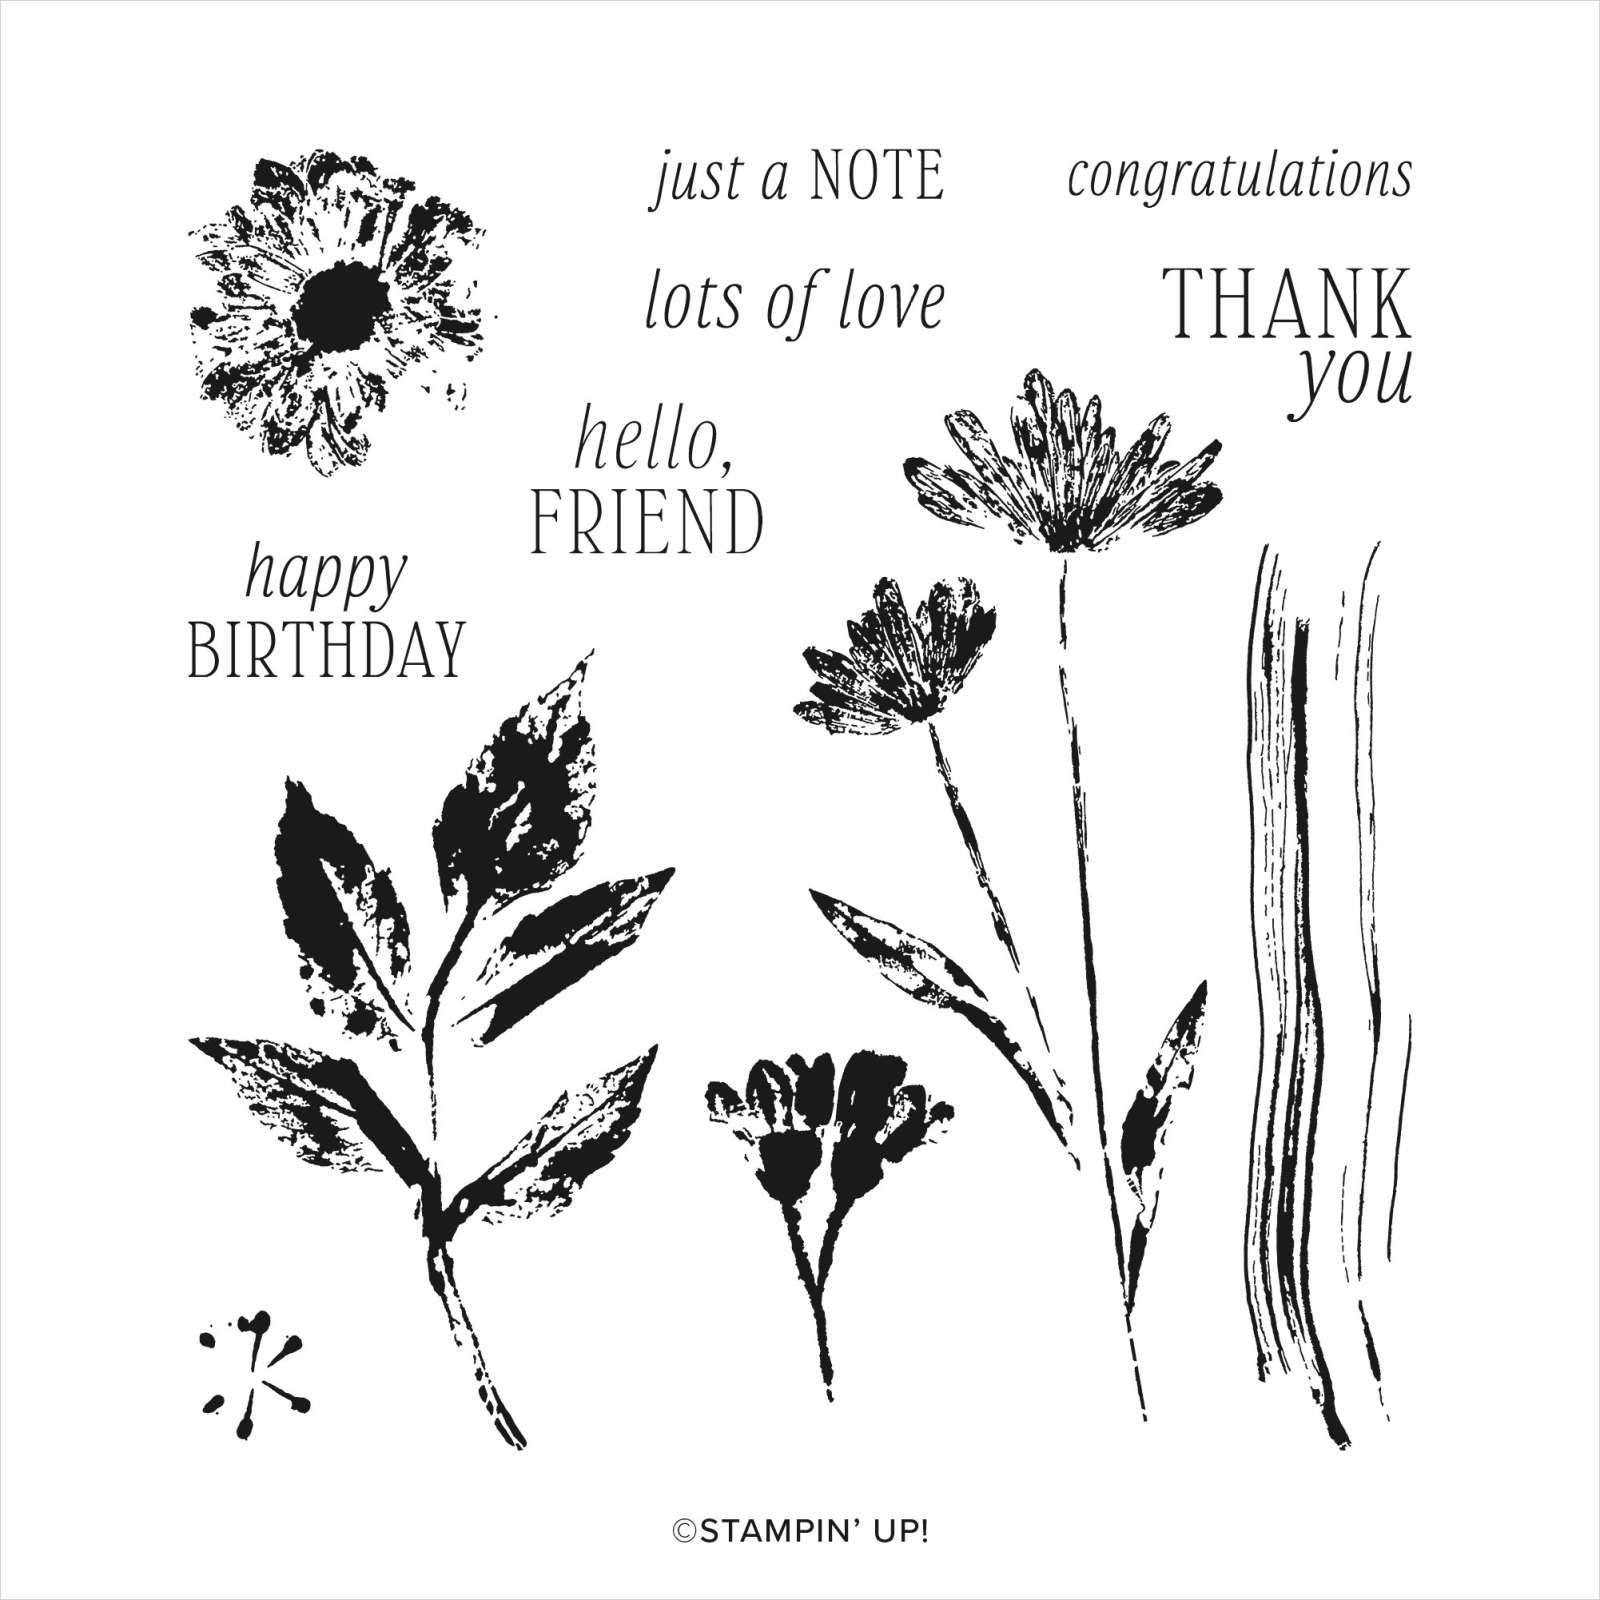
After I stamped the flowers in Black ink I used Blending Brushes to add both Coastal Cabana and Copper Clay ink.  We have both regular and small Blending Brushes now.  For a background like this I recommend the larger set of brushes. See them here.

Tip: when wanting a smooth blend, I recommend adding ink to your brush and start off of your paper. Slowly work your way on with a soft, gentle swirling motion. Adding pressure can give you blotches or other marks.  It's also helpful to have a fully inked pad.  *Remember that is helps to add ink a little at a time. It can be a slow process! 


Isn't that texture gorgeous with the blended background?!  

When I was creating this card I made the card on the right first.  If you look closely the stamped panel does not have any texture on it.  Adding the Exposed Brick embossing created the perfect finish!  


In the video I share two other beautiful cards made with the Inked & Tiled stamp set.  
You can watch me make this card on the video here. Or click on the photo below to watch. 

~~~

May Specials:

*current host codes: ZHZ6CPYU or AJVB3B3V 

Get a free updated cardstock color sampler with online orders over $55 using a host code.

Offer good while supplies last:  

I have one spot left in my new catalog designer paper share. 

Get 80 sheets of 6 X 6" DSP – all from the new catalog for just $28.50 plus shipping.  Reserve your spot here. 

Earn free products with my loyalty rewards! 

Click here to download yours and earn a $50 shopping spree!
All Posts

  • Thoughtful Journey Suite showcased by Judith; our Artist of the Month


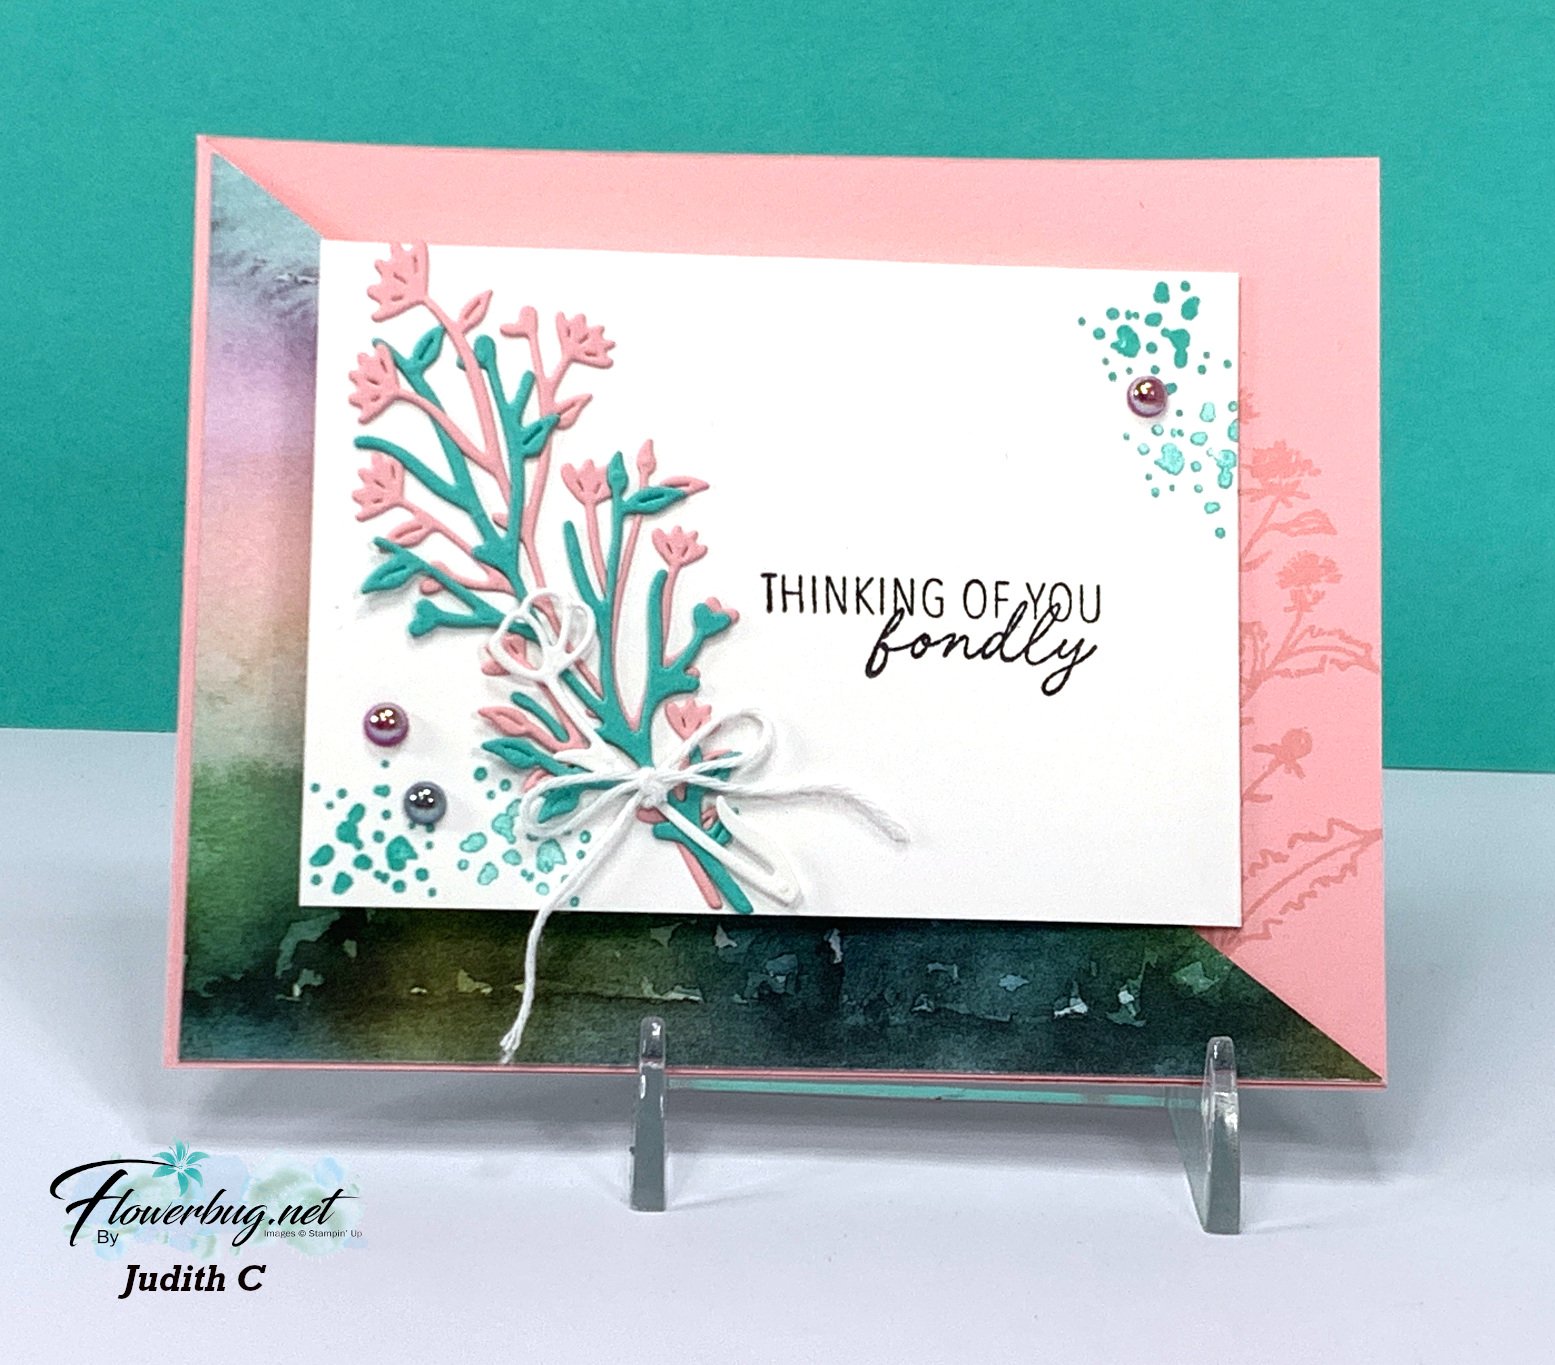
    Each month one of my Flowerbug's Team is featured as an Artist of the Month.  This month Judith chose the Thoughtful Journey suite to showcase. 

    Today I'm sharing a few of her pretty cards. 

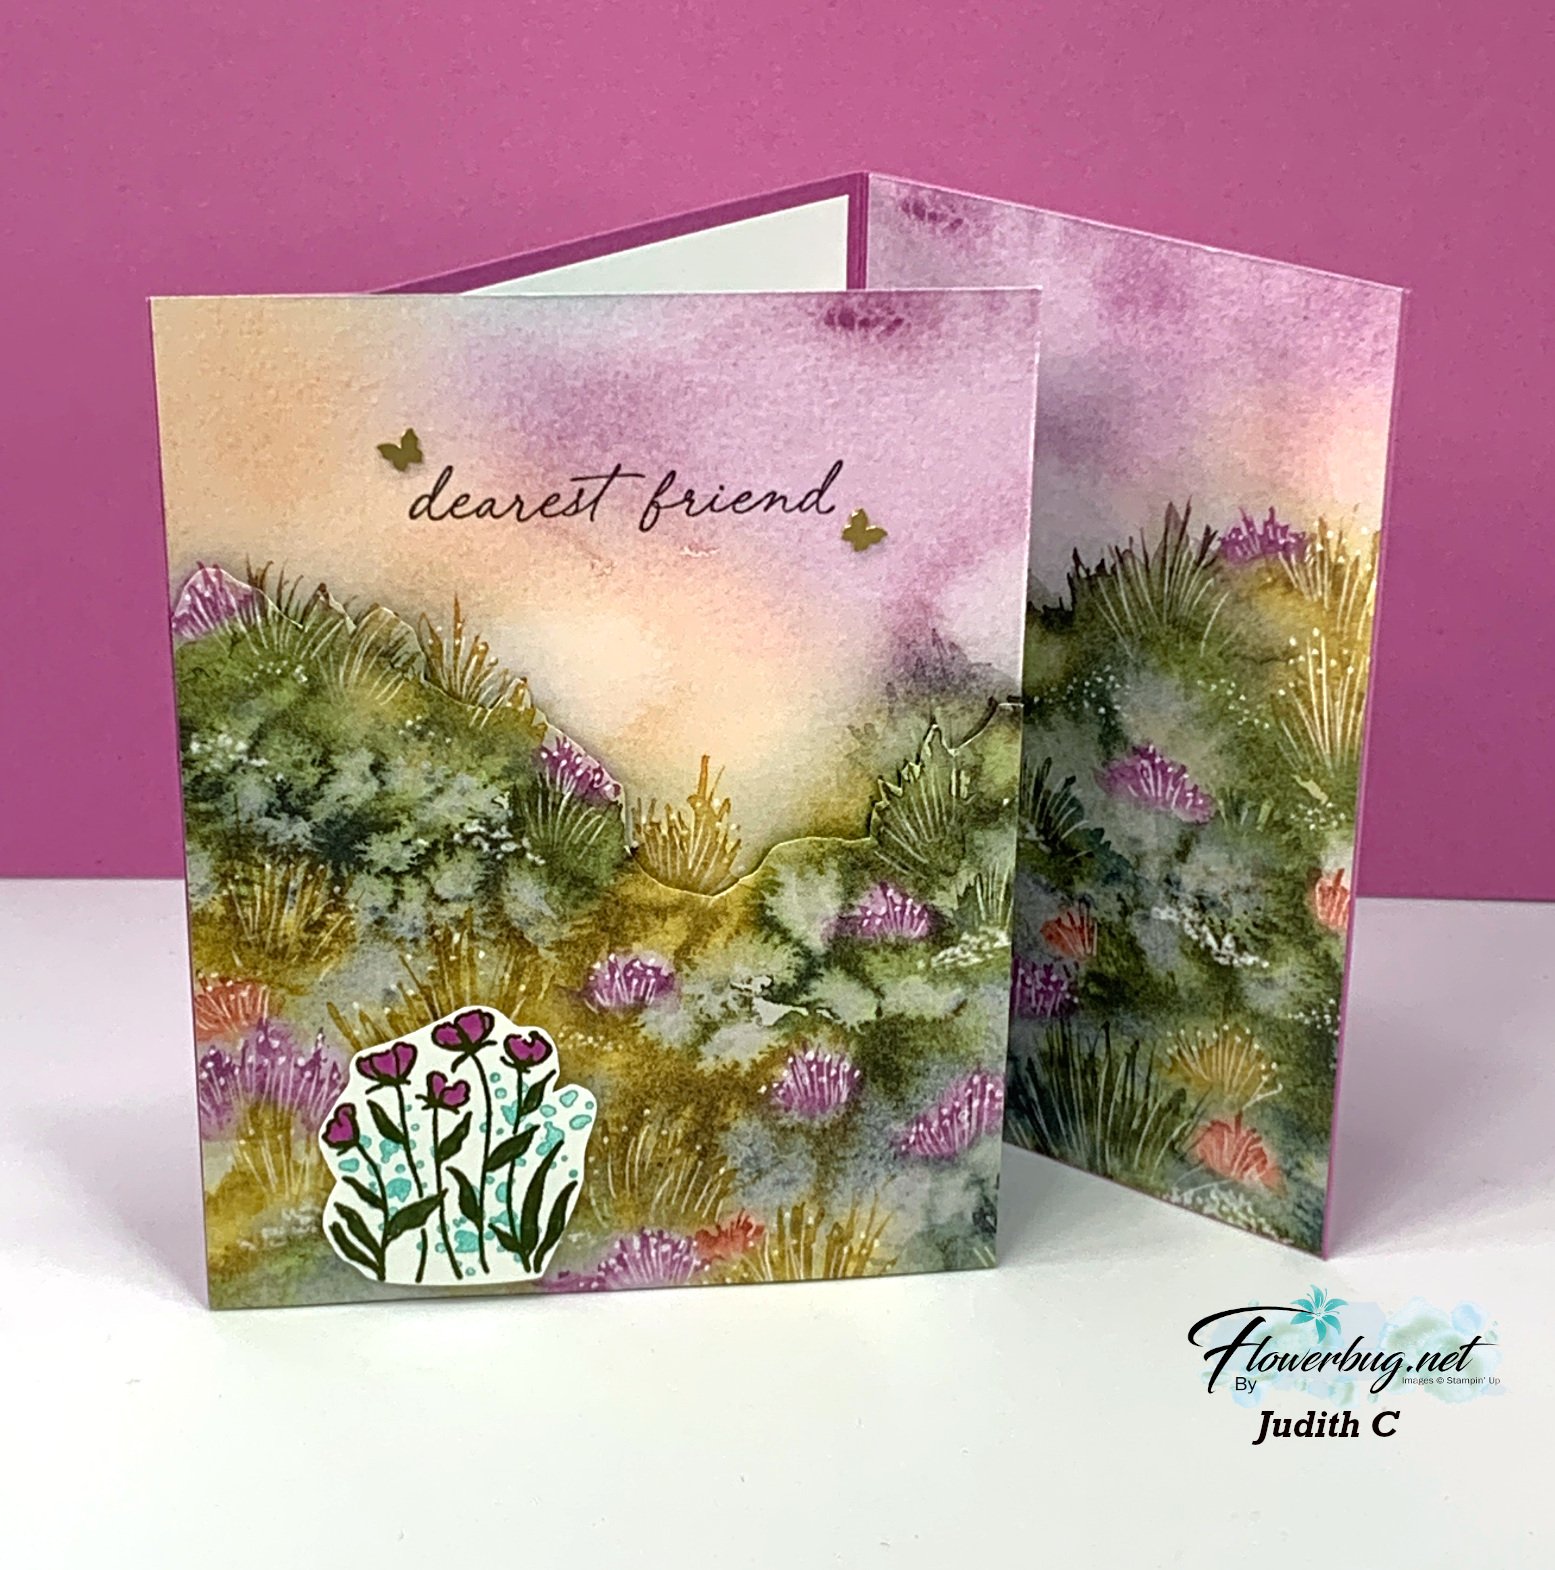
    This card has is a fancy fold card that has two folds. The Pretty in Pink card base is cut off at an angle and DSP is added. The White front layer is actually a folded piece that folds down over the front diagonal layer.  Very cool and not difficult either. 

    Measurements:

    • Card base – 11" X 4 1/4" scored at 5 1/2". Then trim off the front half on the diagonal from bottom left to upper right. 
    • White 8 1/2" X 3" scored at 4 1/4"
    • DSP 5 3/8" X 4 1/8" cut in half on the diagonal

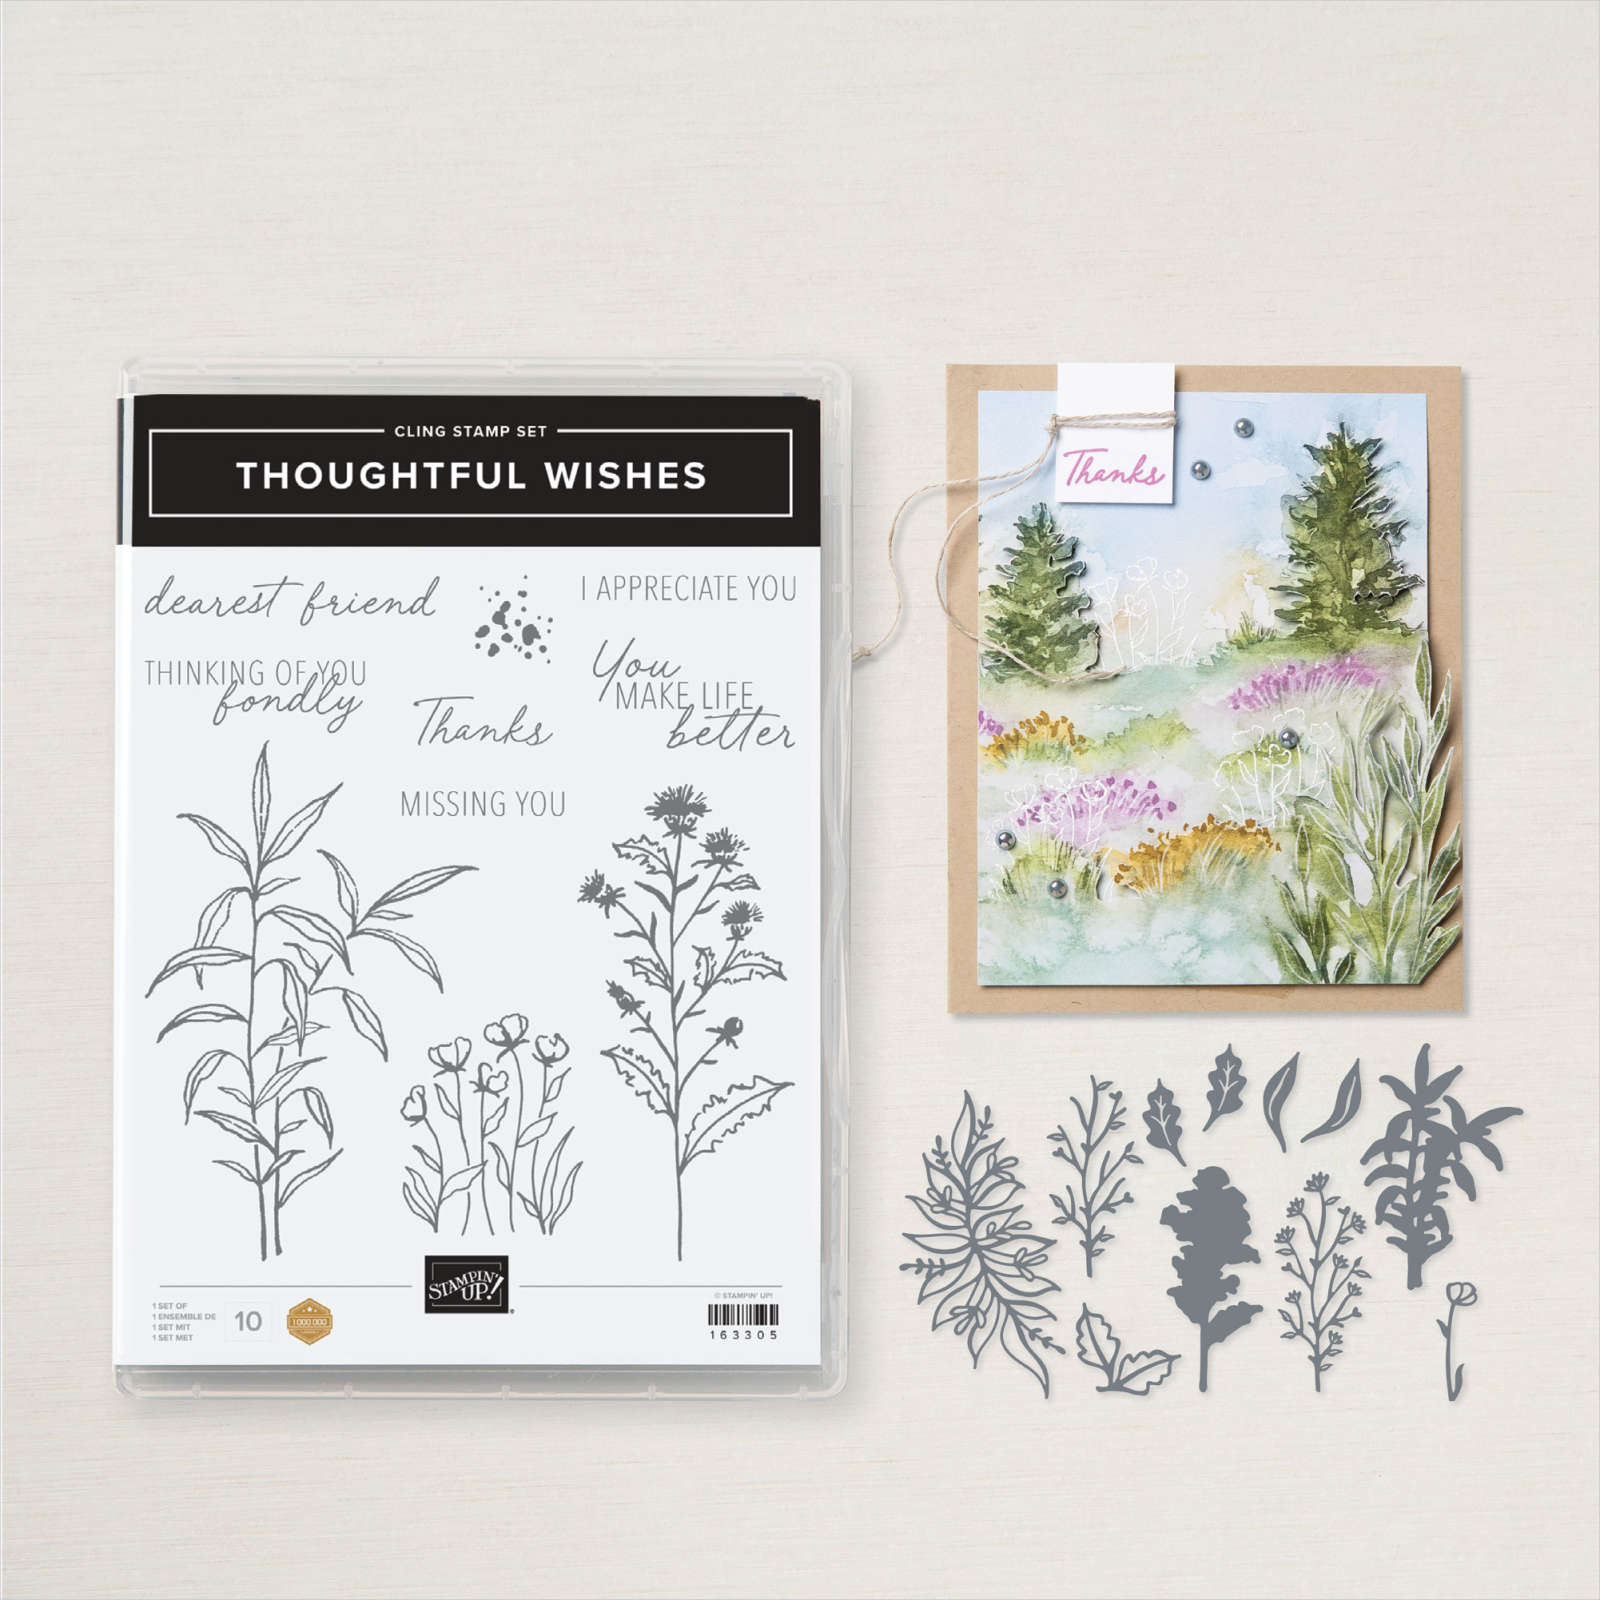
    You can see the Thoughtful Wishes bundle here. It's on sale now – 20% off in June! 

    The pretty Thoughtful Journey designer paper is unavailable right now but should be back around June 24th. 

    Next is a unique fun fold card I haven't seen before.  

    She used two pieces of the same DSP and fussy cut the top layer to add it over the lower with Stampin' Dimensionals.  The right side flap folds in towards the center. 

    She used the Thoughtful Wishes stamp set on the inside.  So pretty!!

    Measurements:

    • Petunia Pop card base 7 3/8" X 5 1/2" scored at 1" and 4 1/4". 
    • DSP – front is4 1`/4" X 5 1/2" and left side is 3 1/8" X 5 1/2" 
    • White inside 3" X 5 1/4" 

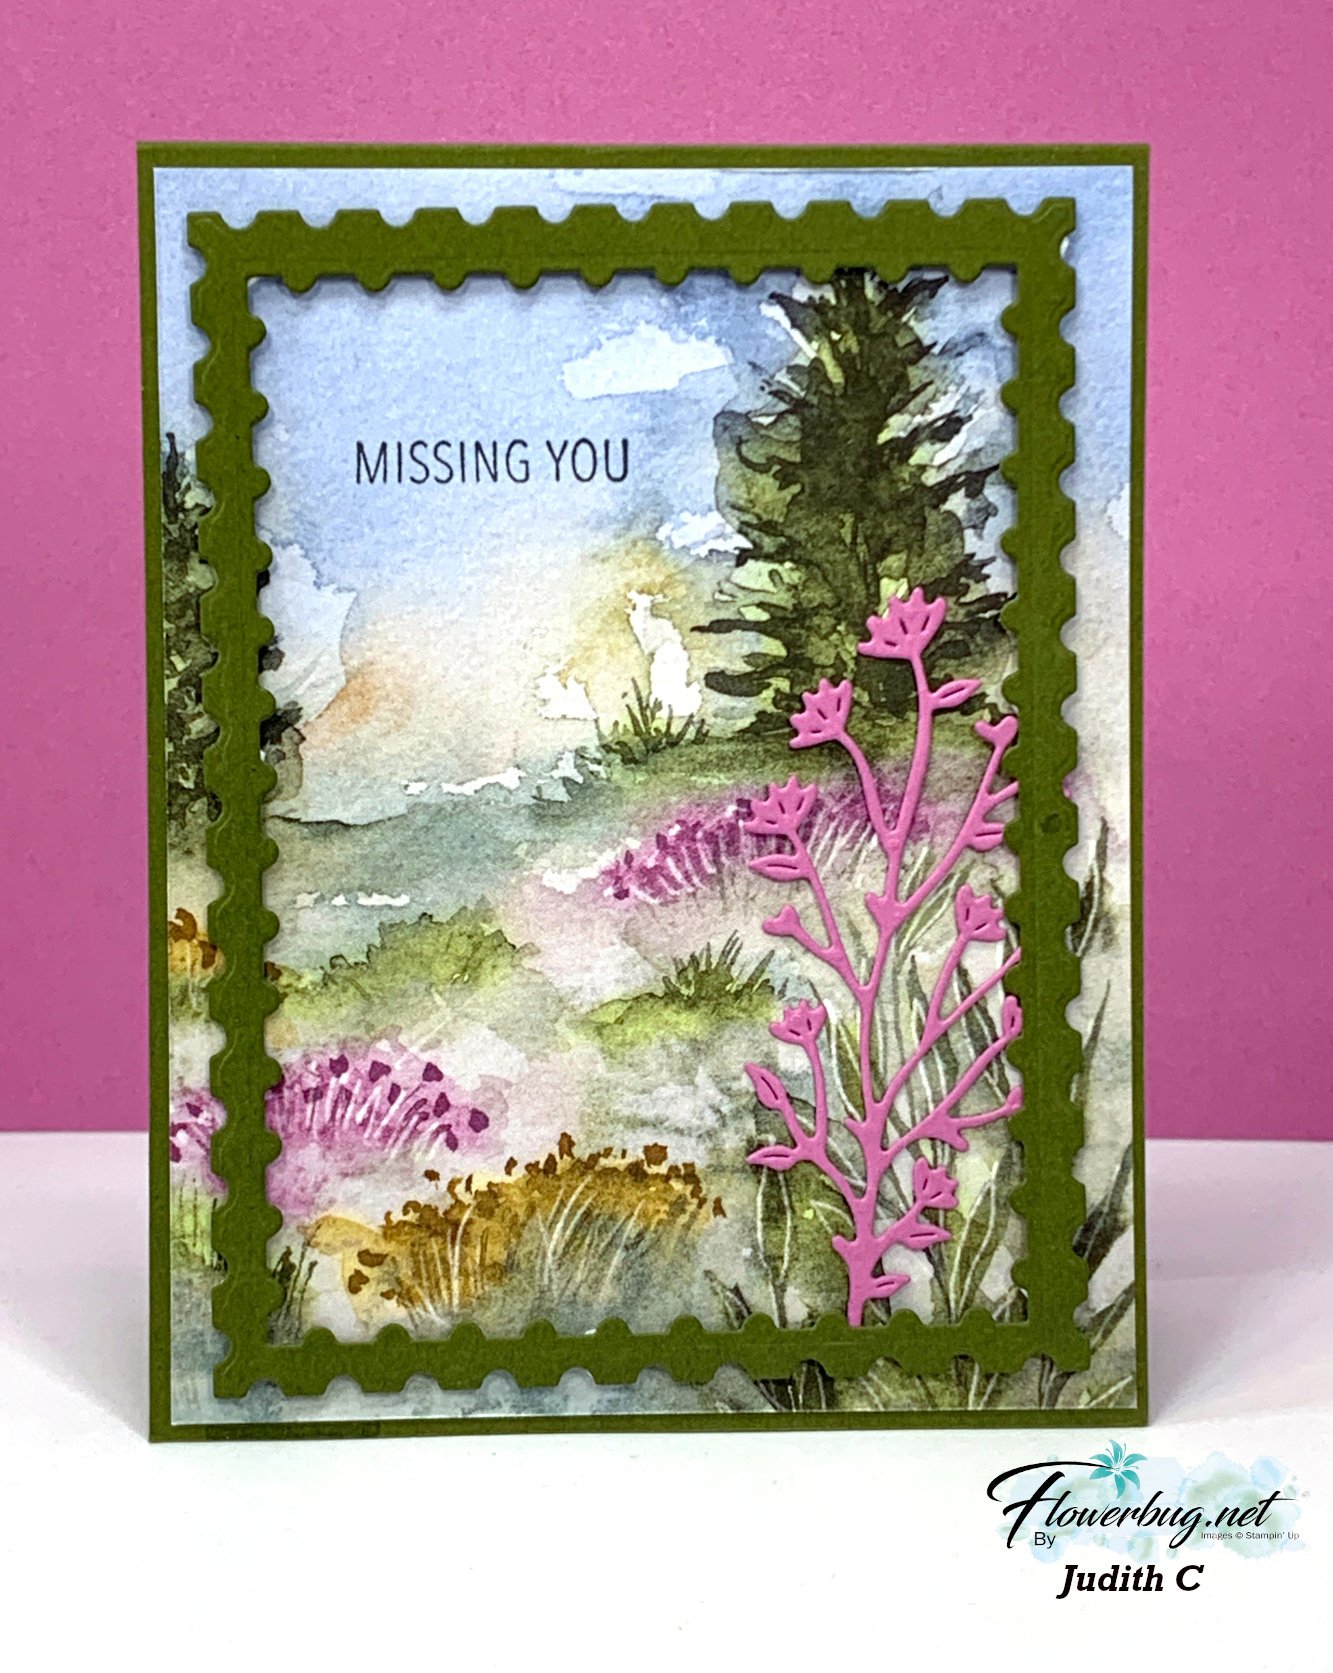
    Lastly today is a neat idea with scenic designer paper – add a frame to highlight the scene. 

    Judith added a frame made from the Perennial Postage dies seen here. 

    A simple greeting an an extra die-cut and you're card is done.  Letting the pretty designer paper work for you is so smart!


    I'll share the rest of her beautiful cards tomorrow. 

    ~~~

    June Specials:

    All Stamp & Die bundles are 20% off in June!

    *current host code links: FERX3EKC or GF24T6XG

    ~~~

    All online orders receive my free tutorial of the month & if your order is over $55 you'll also receive a free gift from me

    Leave a Reply

    Your email address will not be published. Required fields are marked *

  • Get an extra 10% off all Stamp & Die bundles in June! That’s almost 20% off & it starts today!


    June's promotion is awesome and perfect timing with the new Stampin' Up! catalog! 

    Starting today, take an additional 10% off all stamp and die bundles!

    Between 5–30 June, take advantage of the sale and add some new bundles to your collection.

    See them all here.

    Plus, save 10% on the Stampin’ Cut & Emboss Machine and the Mini Stampin’ Cut & Emboss Machine. These machines make the perfect crafting partner for stamp and die bundles. 


    ~~~

    June Specials: 

    *current host code links: FERX3EKC or GF24T6XG

    ~~~

    All online orders receive my free tutorial of the month & if your order is over $55 you'll also receive a free gift from me

    Leave a Reply

    Your email address will not be published. Required fields are marked *

  • Under the Moon scenic card with free project sheet & video


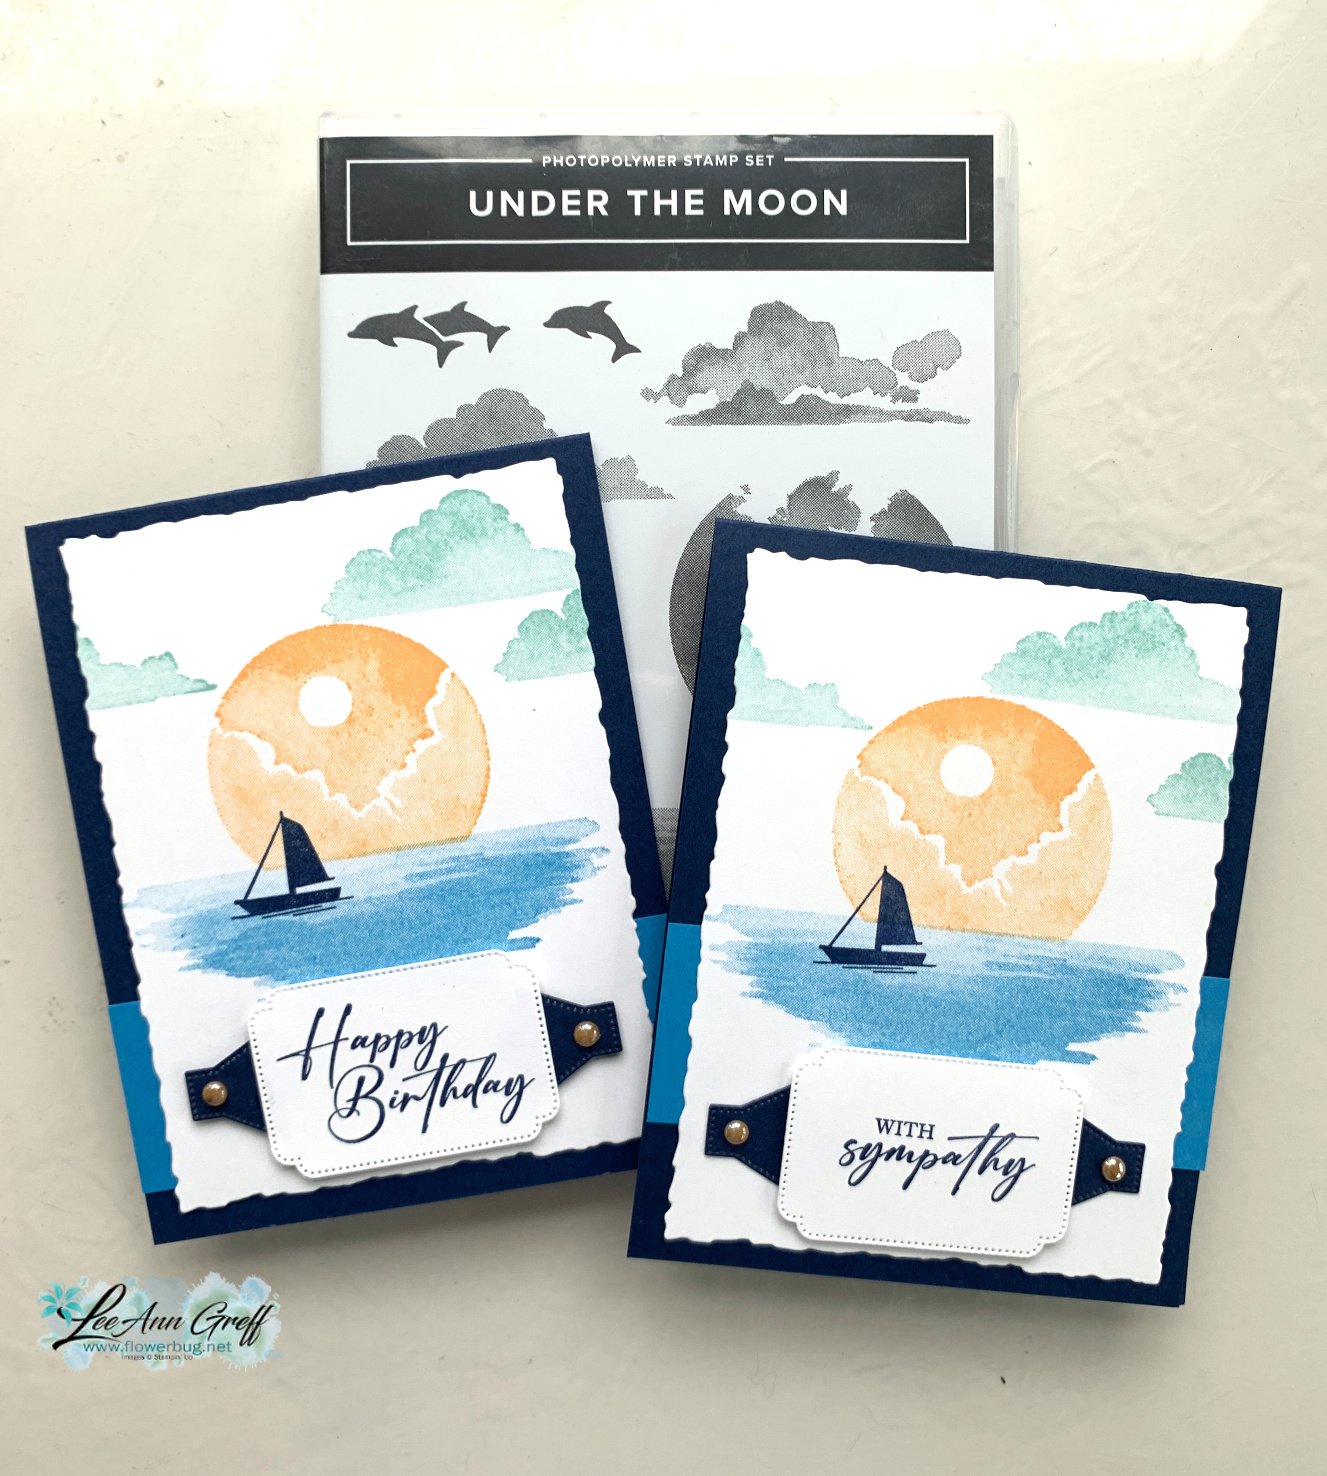
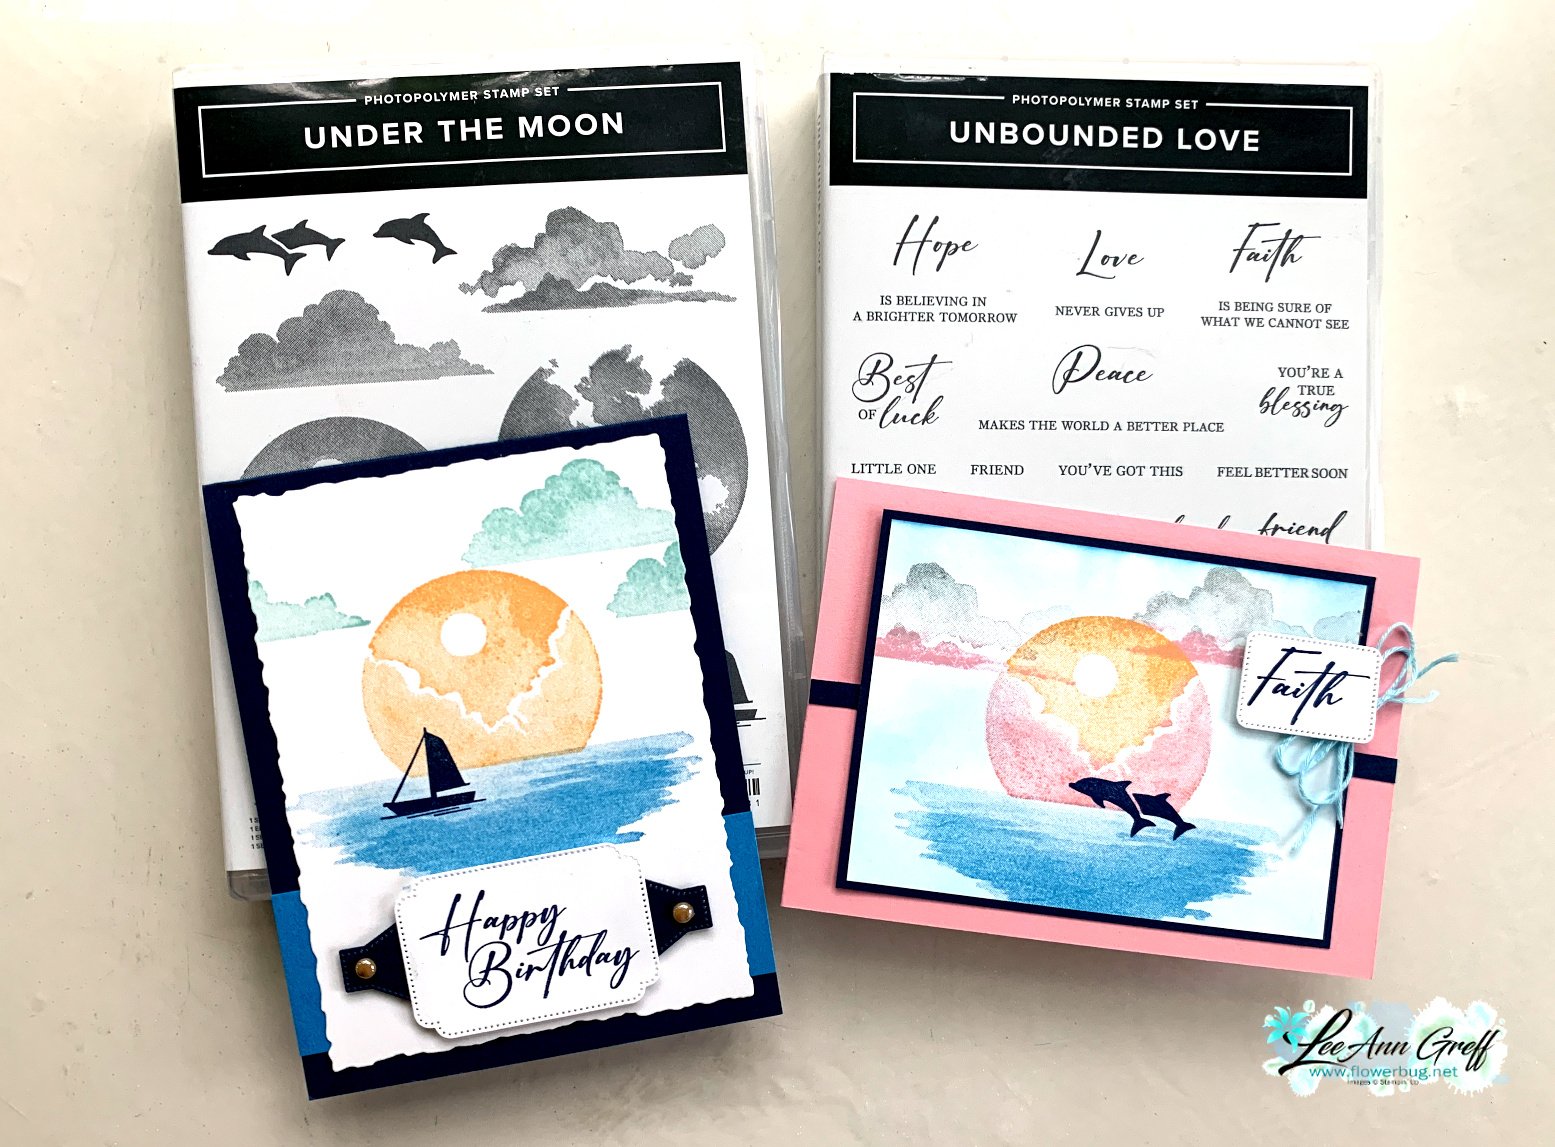
    Today I'm sharing the second project I made on last week's video – both feature the beautiful Under the Moon stamp set. It's a scene builder which can be so fun to create with. 

    My colors include Night of Navy, Azure Afternoon, Peach Pie & Pool Party.  

    You might wonder what die the Navy shape is around the greeting.  It's from the Unbounded Love dies – it's a small greeting shape that I cut in half and added to each side. 

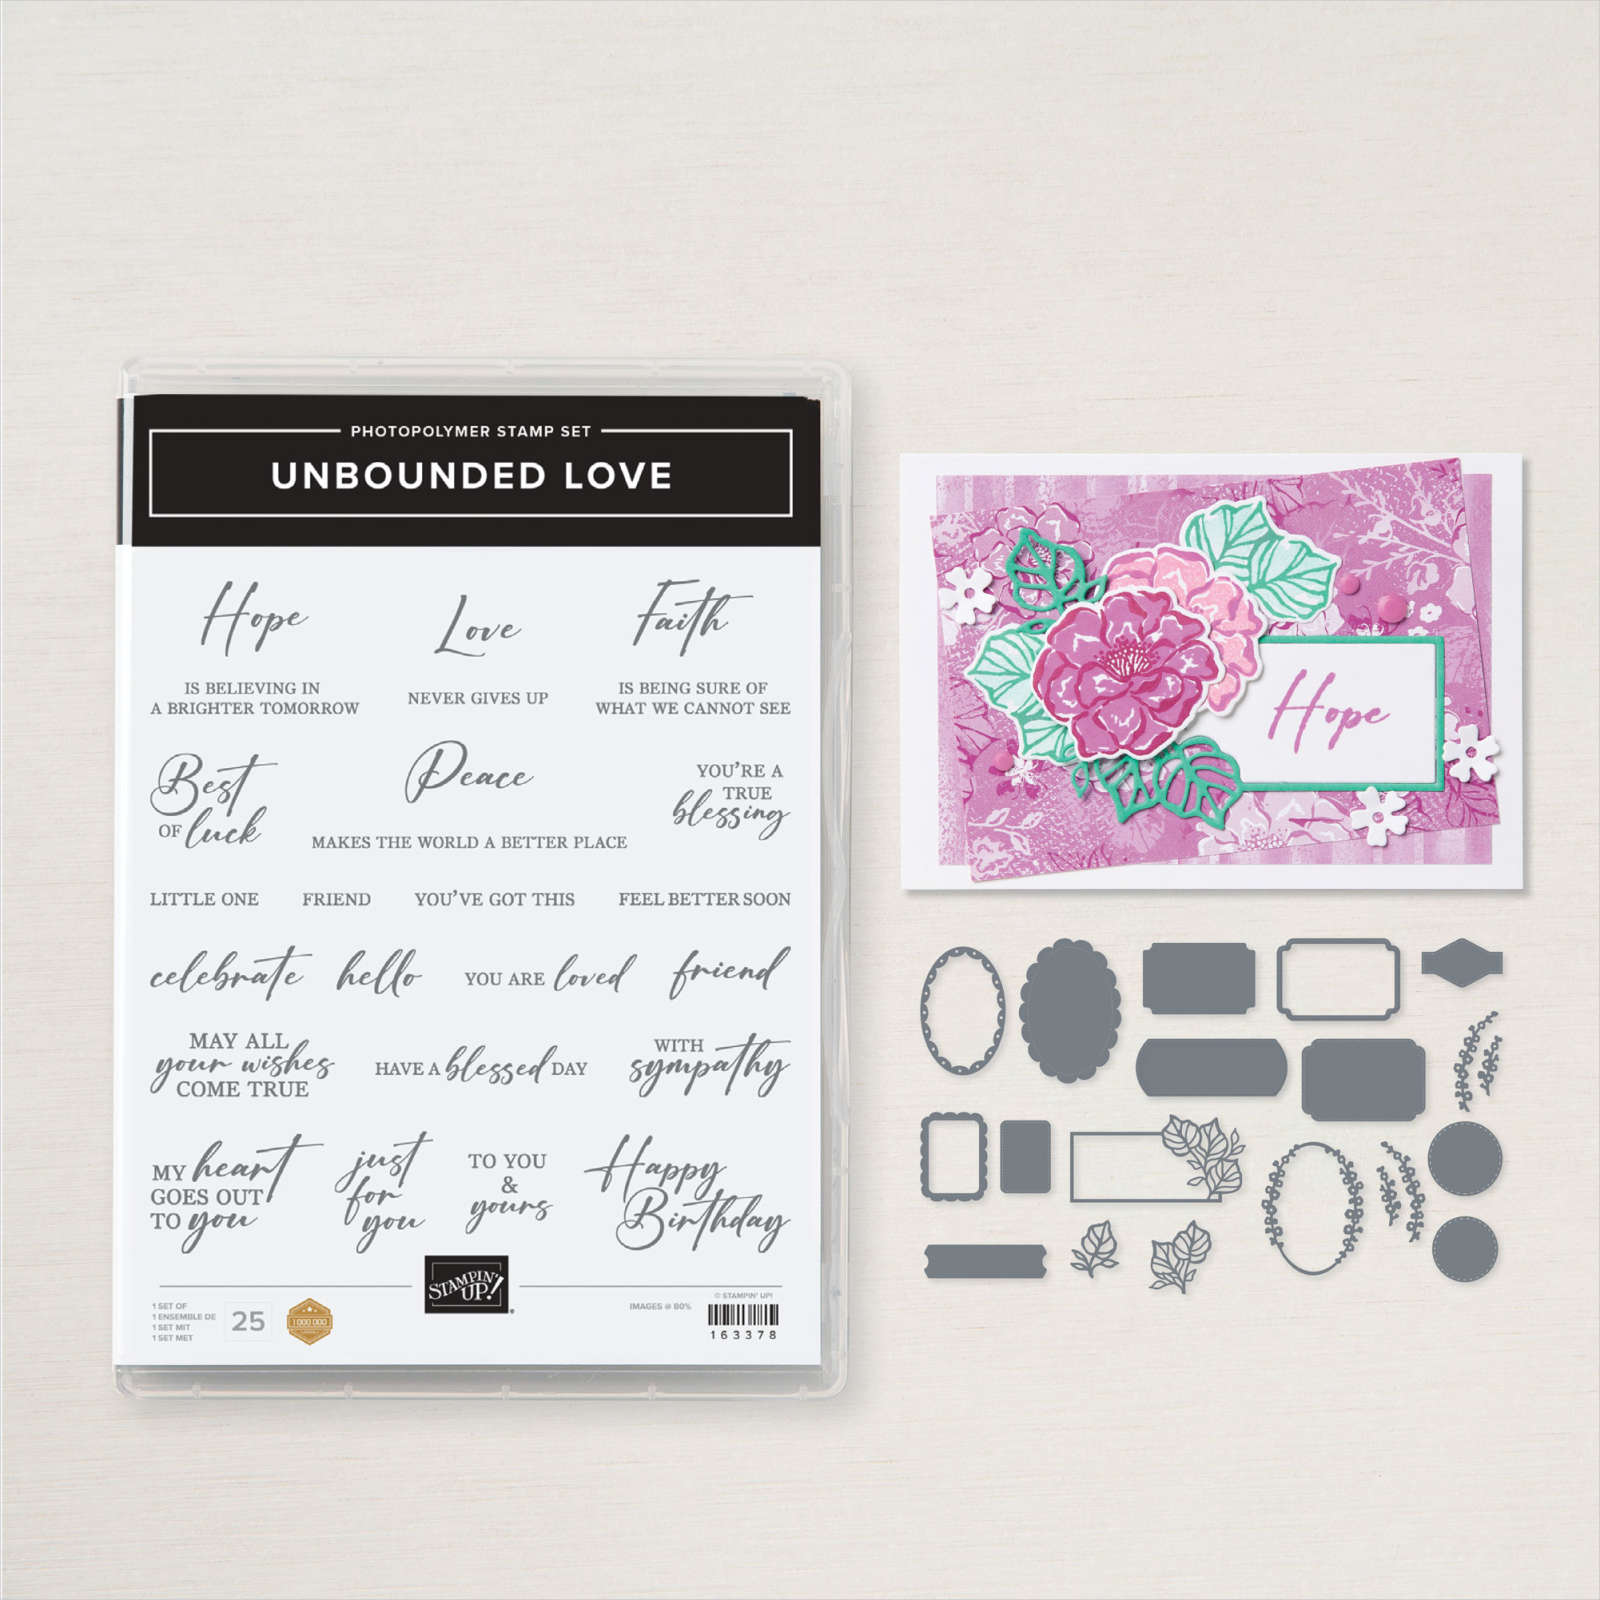
    The large white die is from the Deckled Rectangle dies. The greeting die and the fun Navy shaped die are both from the Unbounded Love bundle seen here.  It's one of my new favorites. 

    Here's the video of the inside of these two cards.  One birthday and one sympathy – these stamp sets are both so versatile! 

    Here's the free project sheet you can download &/or print: Download May '24 Under the Moon Club

    Below is the video for this card tutorial and the other shown above.  I hope you watch it to see how easy it is to create with this beautiful stamp set. 

    ~~~

    June Specials: 

    *current host code links: FERX3EKC or GF24T6XG

    ~~~

    All online orders receive my free tutorial of the month & if your order is over $55 you'll also receive a free gift from me

    Leave a Reply

    Your email address will not be published. Required fields are marked *


Notice: LeeAnn Greff, Independent Stampin’ Up! Demonstrator, Manager. The content of this website is my sole responsibility as an independent Stampin’ Up! demonstrator and the use of, and content of, the classes, services, or products offered on this website is not endorsed by Stampin’ Up! Copyright 2025