/


Latest Post

Inked & Tiled with a gorgeous background with video & blending tips!


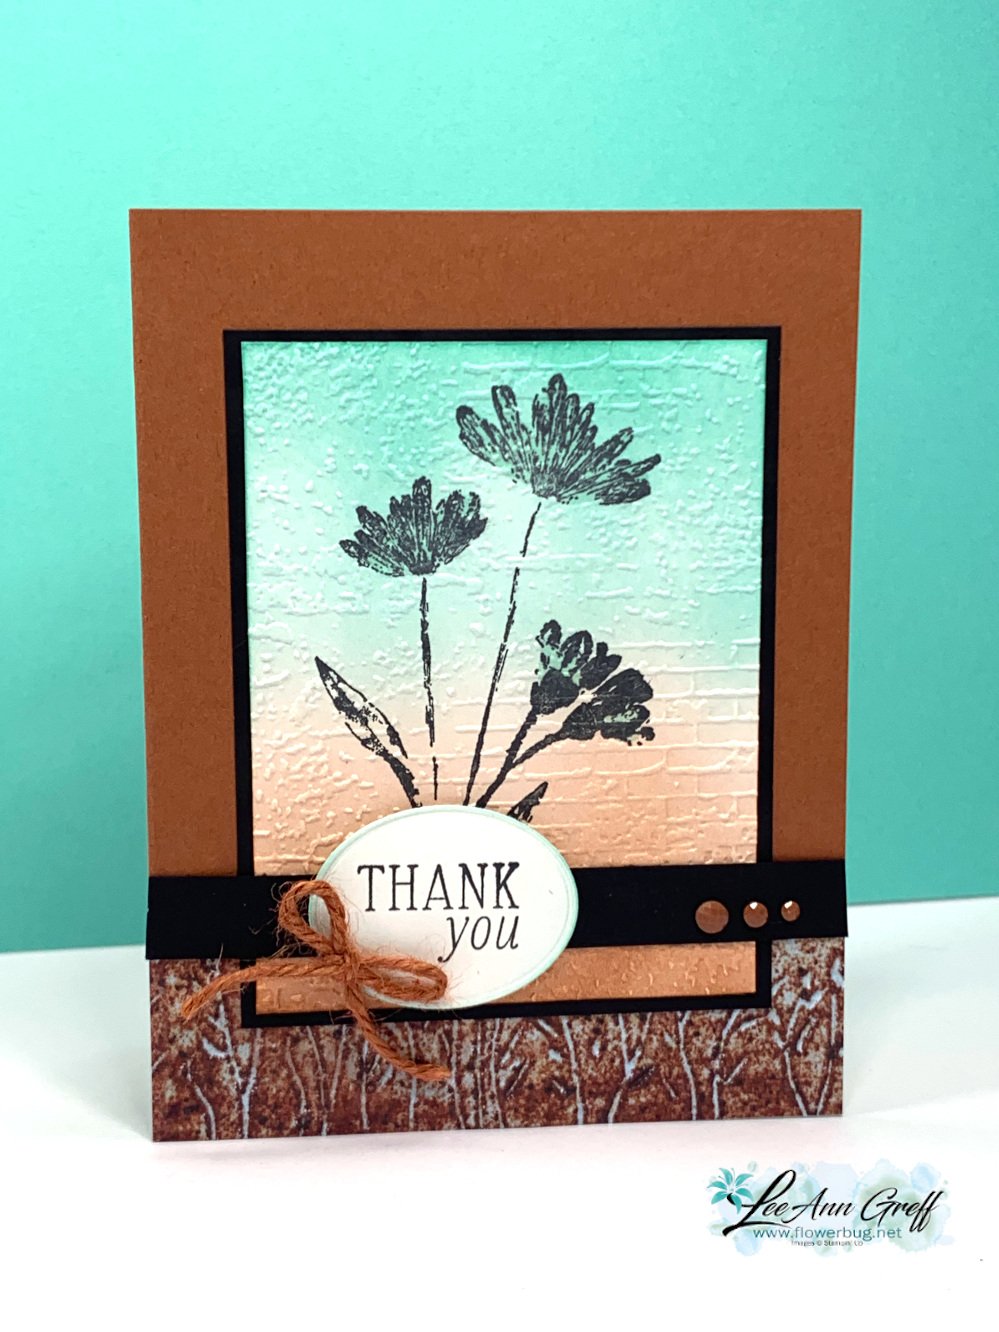
Today I'm sharing one of my favorite cards I've made this month. These colors are so me!  I needed to make 28 of these for the Norway cruise with Stampin' Up! We have to option of joining a card swap and I always try to do something unique for this special swap. 

I chose the new Copper Clay with Black and Coastal Cabana. Aren't they beautiful together? 
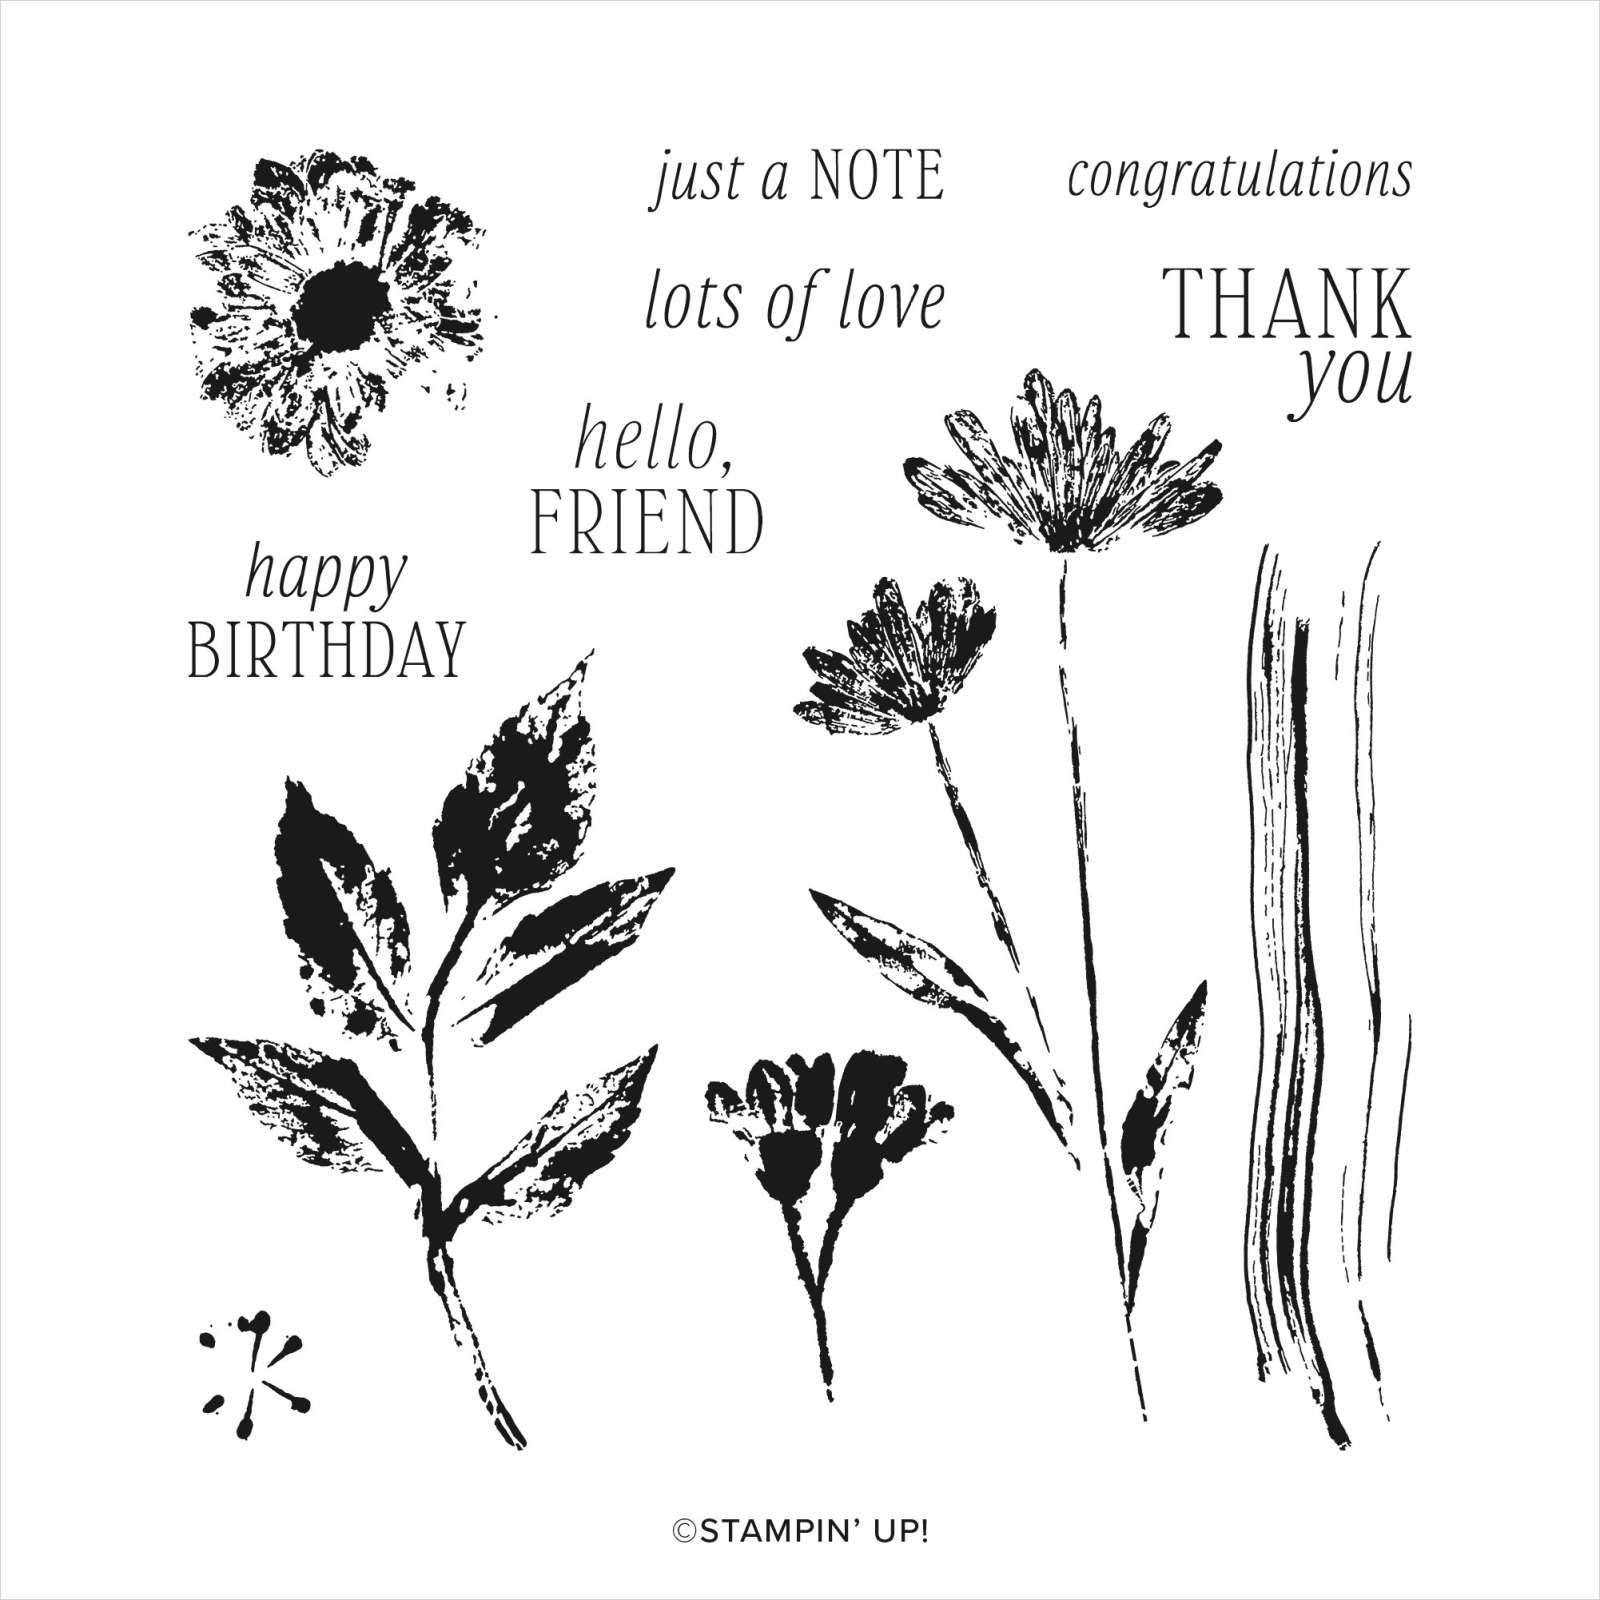
This card features the new Inked & Tiled stamp set seen here. It actually comes in a bundle with two punches. But I didn't use those here.  
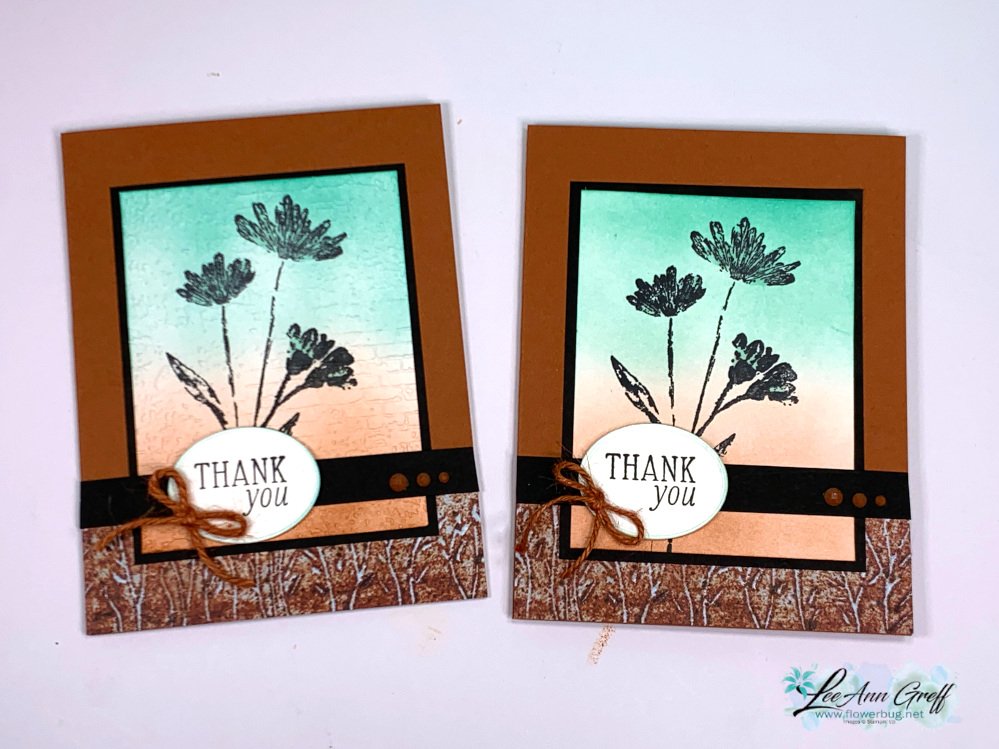
After I stamped the flowers in Black ink I used Blending Brushes to add both Coastal Cabana and Copper Clay ink.  We have both regular and small Blending Brushes now.  For a background like this I recommend the larger set of brushes. See them here.

Tip: when wanting a smooth blend, I recommend adding ink to your brush and start off of your paper. Slowly work your way on with a soft, gentle swirling motion. Adding pressure can give you blotches or other marks.  It's also helpful to have a fully inked pad.  *Remember that is helps to add ink a little at a time. It can be a slow process! 


Isn't that texture gorgeous with the blended background?!  

When I was creating this card I made the card on the right first.  If you look closely the stamped panel does not have any texture on it.  Adding the Exposed Brick embossing created the perfect finish!  


In the video I share two other beautiful cards made with the Inked & Tiled stamp set.  
You can watch me make this card on the video here. Or click on the photo below to watch. 

~~~

May Specials:

*current host codes: ZHZ6CPYU or AJVB3B3V 

Get a free updated cardstock color sampler with online orders over $55 using a host code.

Offer good while supplies last:  

I have one spot left in my new catalog designer paper share. 

Get 80 sheets of 6 X 6" DSP – all from the new catalog for just $28.50 plus shipping.  Reserve your spot here. 

Earn free products with my loyalty rewards! 

Click here to download yours and earn a $50 shopping spree!
All Posts

  • This Season of Elegance fancy fold is extra special and has a gift card option


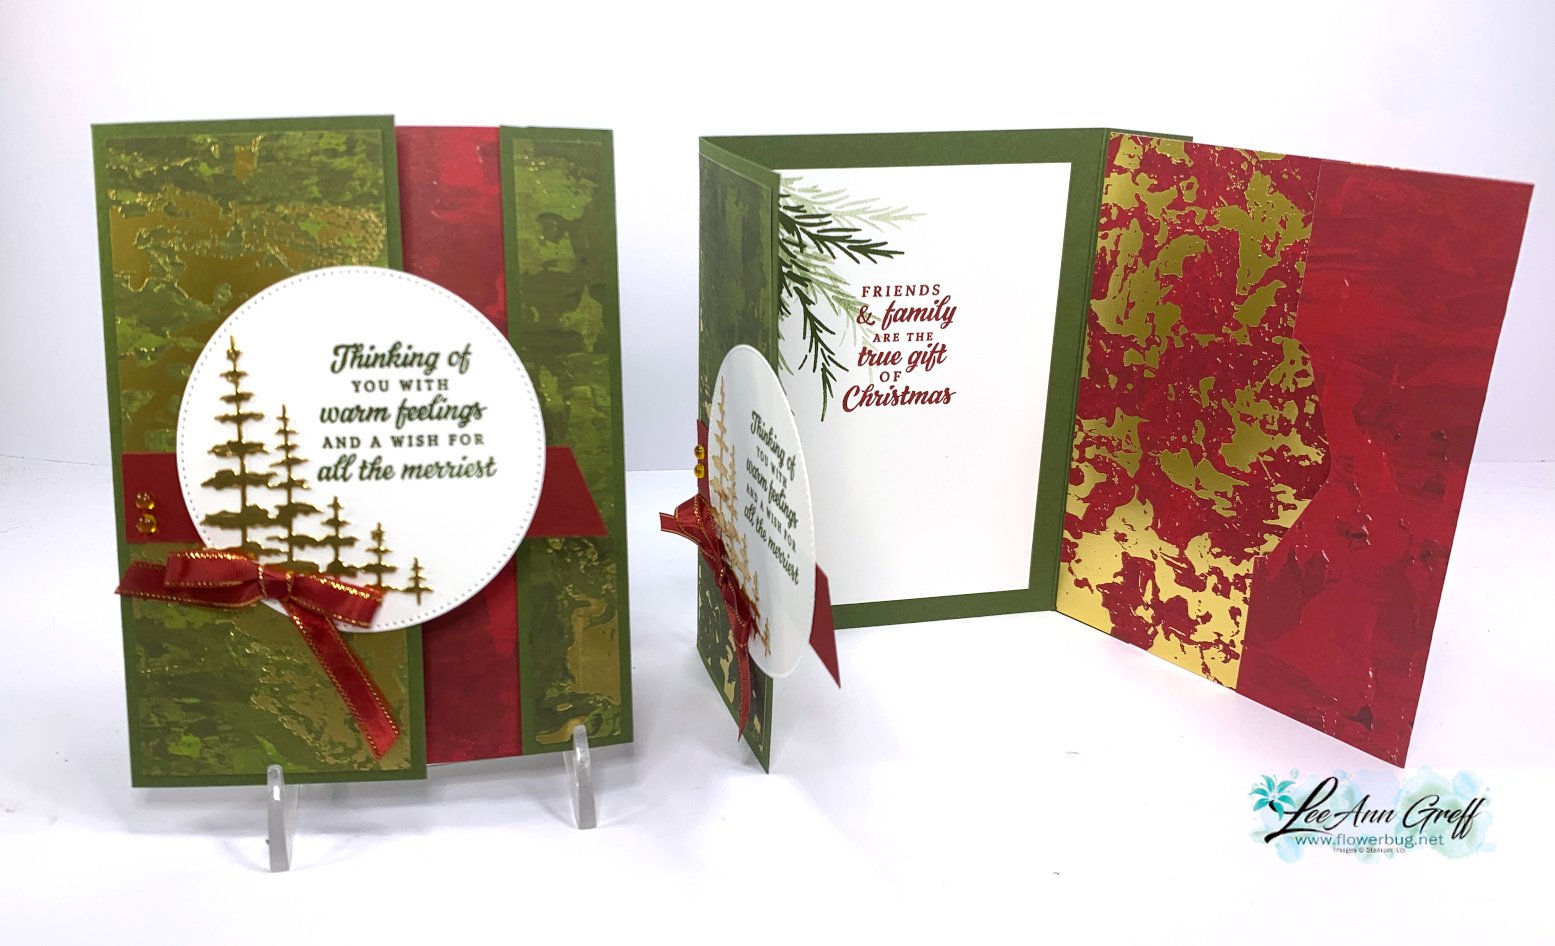
    I shared this card on last week's FB Live video.  It's also part of my October kit to go and PDF tutorial as well.  It's unique and truly shows off our double sided designer paper! 

    Can you see how it opens? The left panel opens up to reveal another flap that also opens. This Cherry Cobbler layer is scored to allow a gift card to be inserted in the pocket.  If you don't need one, just adhere it down or trim it off.  

    I did create a free project sheet for this card; click on the following link to download or print it off. Download Season of Elegance fun fold card with gift card option

    I have 5 of these pre-cut kits to go left that include 1/2 pkg of the Season of Elegance specialty paper plus shares of the Cherry  Cobbler/Gold ribbon and Gold textured dots. The tutorial is included or you can purchase it separately. Click here to see the options. 

    I have two more projects to share with you tomorrow; all featuring this gorgeous suite.  I'm also sending it to everyone that places an online order with me in October.  

    Of course my Flowerbug's Team of Demonstrators receive all of my tutorials each month; just for being on my Team! 

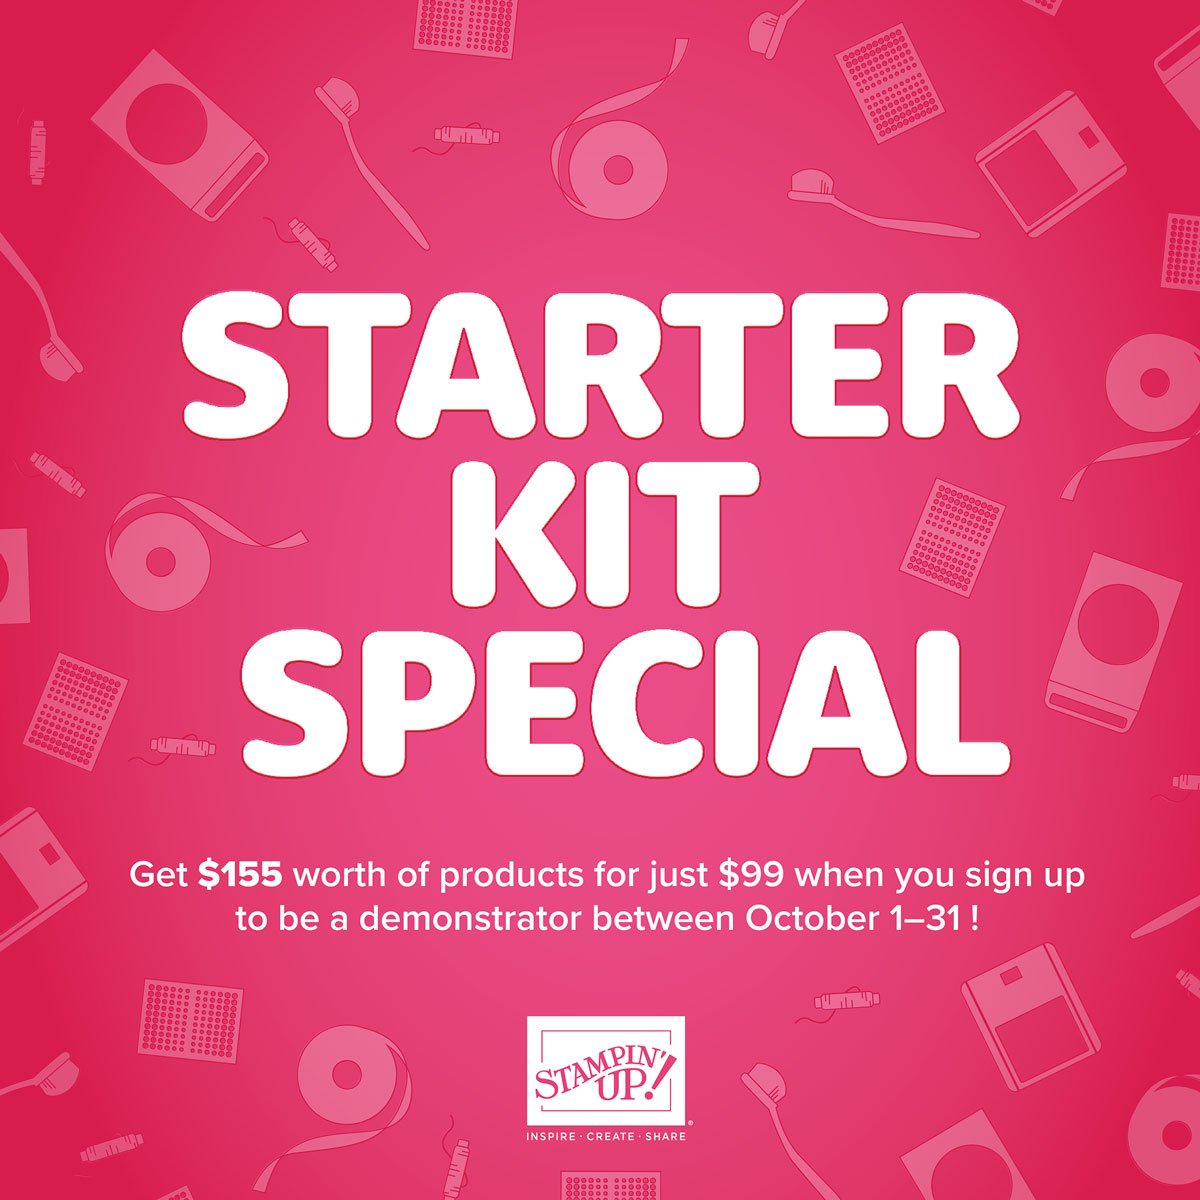
    I hope you'll consider joining us!  Click here for more info on getting the Starter Kit deal this month.  It's a $99 order but you get to pick out $155 in product of your choice!  Go here to get the deal.

    ~~~

    October Specials:

    *current host code link: 3U6NZJFZ or VGUD6UA7

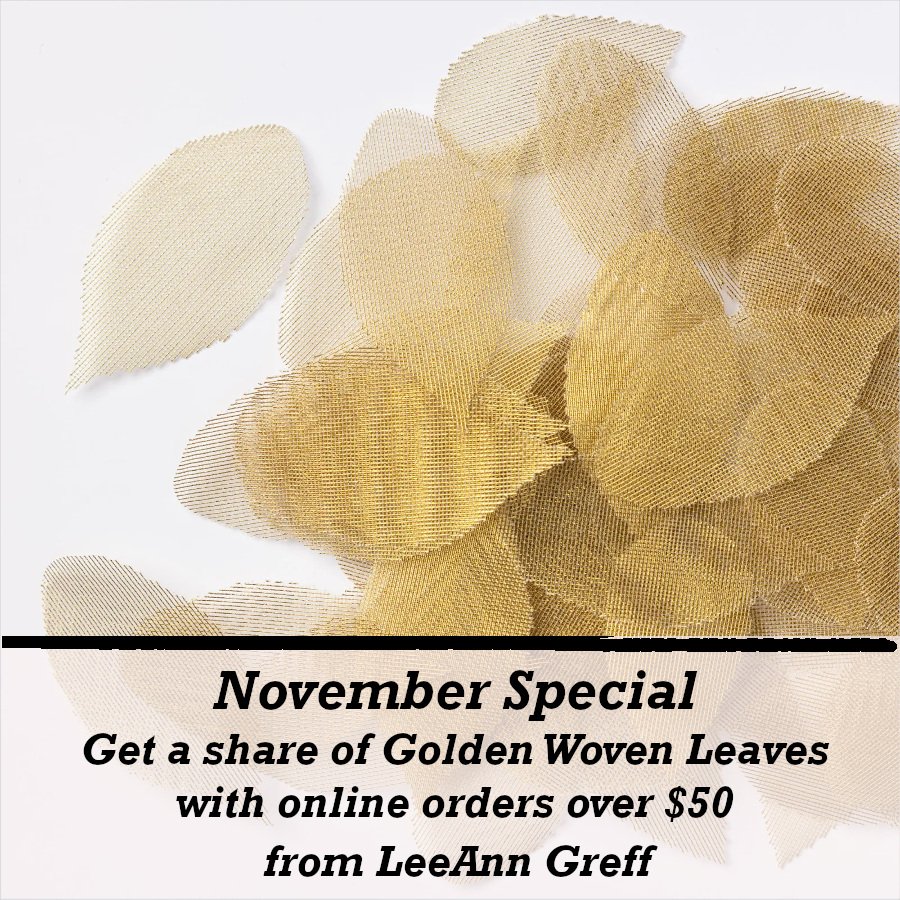
    Get a share of Woven Golden Leaves  


    ~~~

    Get an extra $30 in your Starter kit in October!  Click here to read more

    ~~~

    The Kits Collection is on sale!  Check it out here.

    ~~~

           All online orders in October will receive a free PDF tutorial featuring the Season of Elegance suite

    Leave a Reply

    Your email address will not be published. Required fields are marked *

  • Stunning Alpine Air cards – now discounted in October!


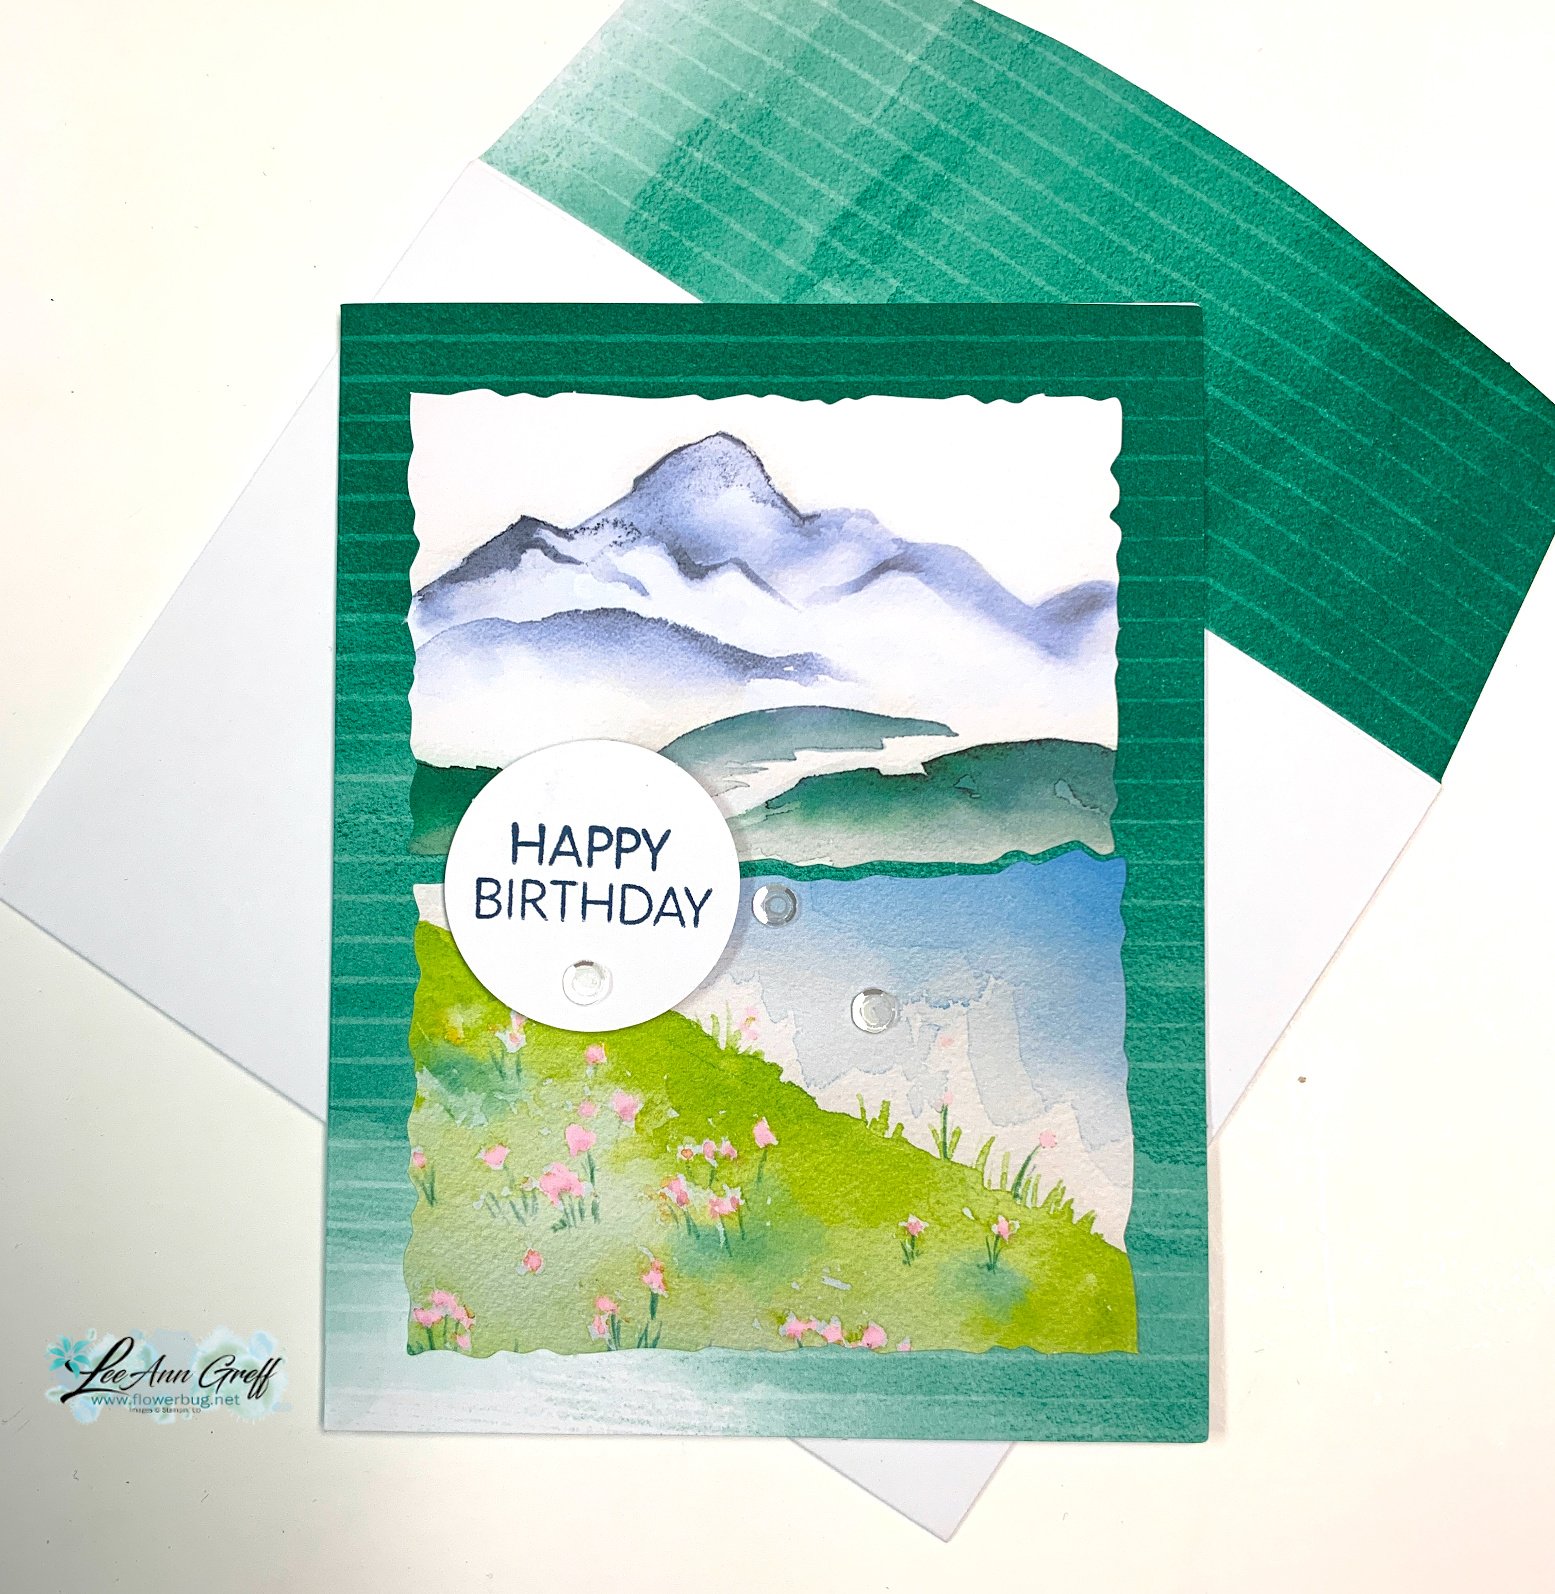
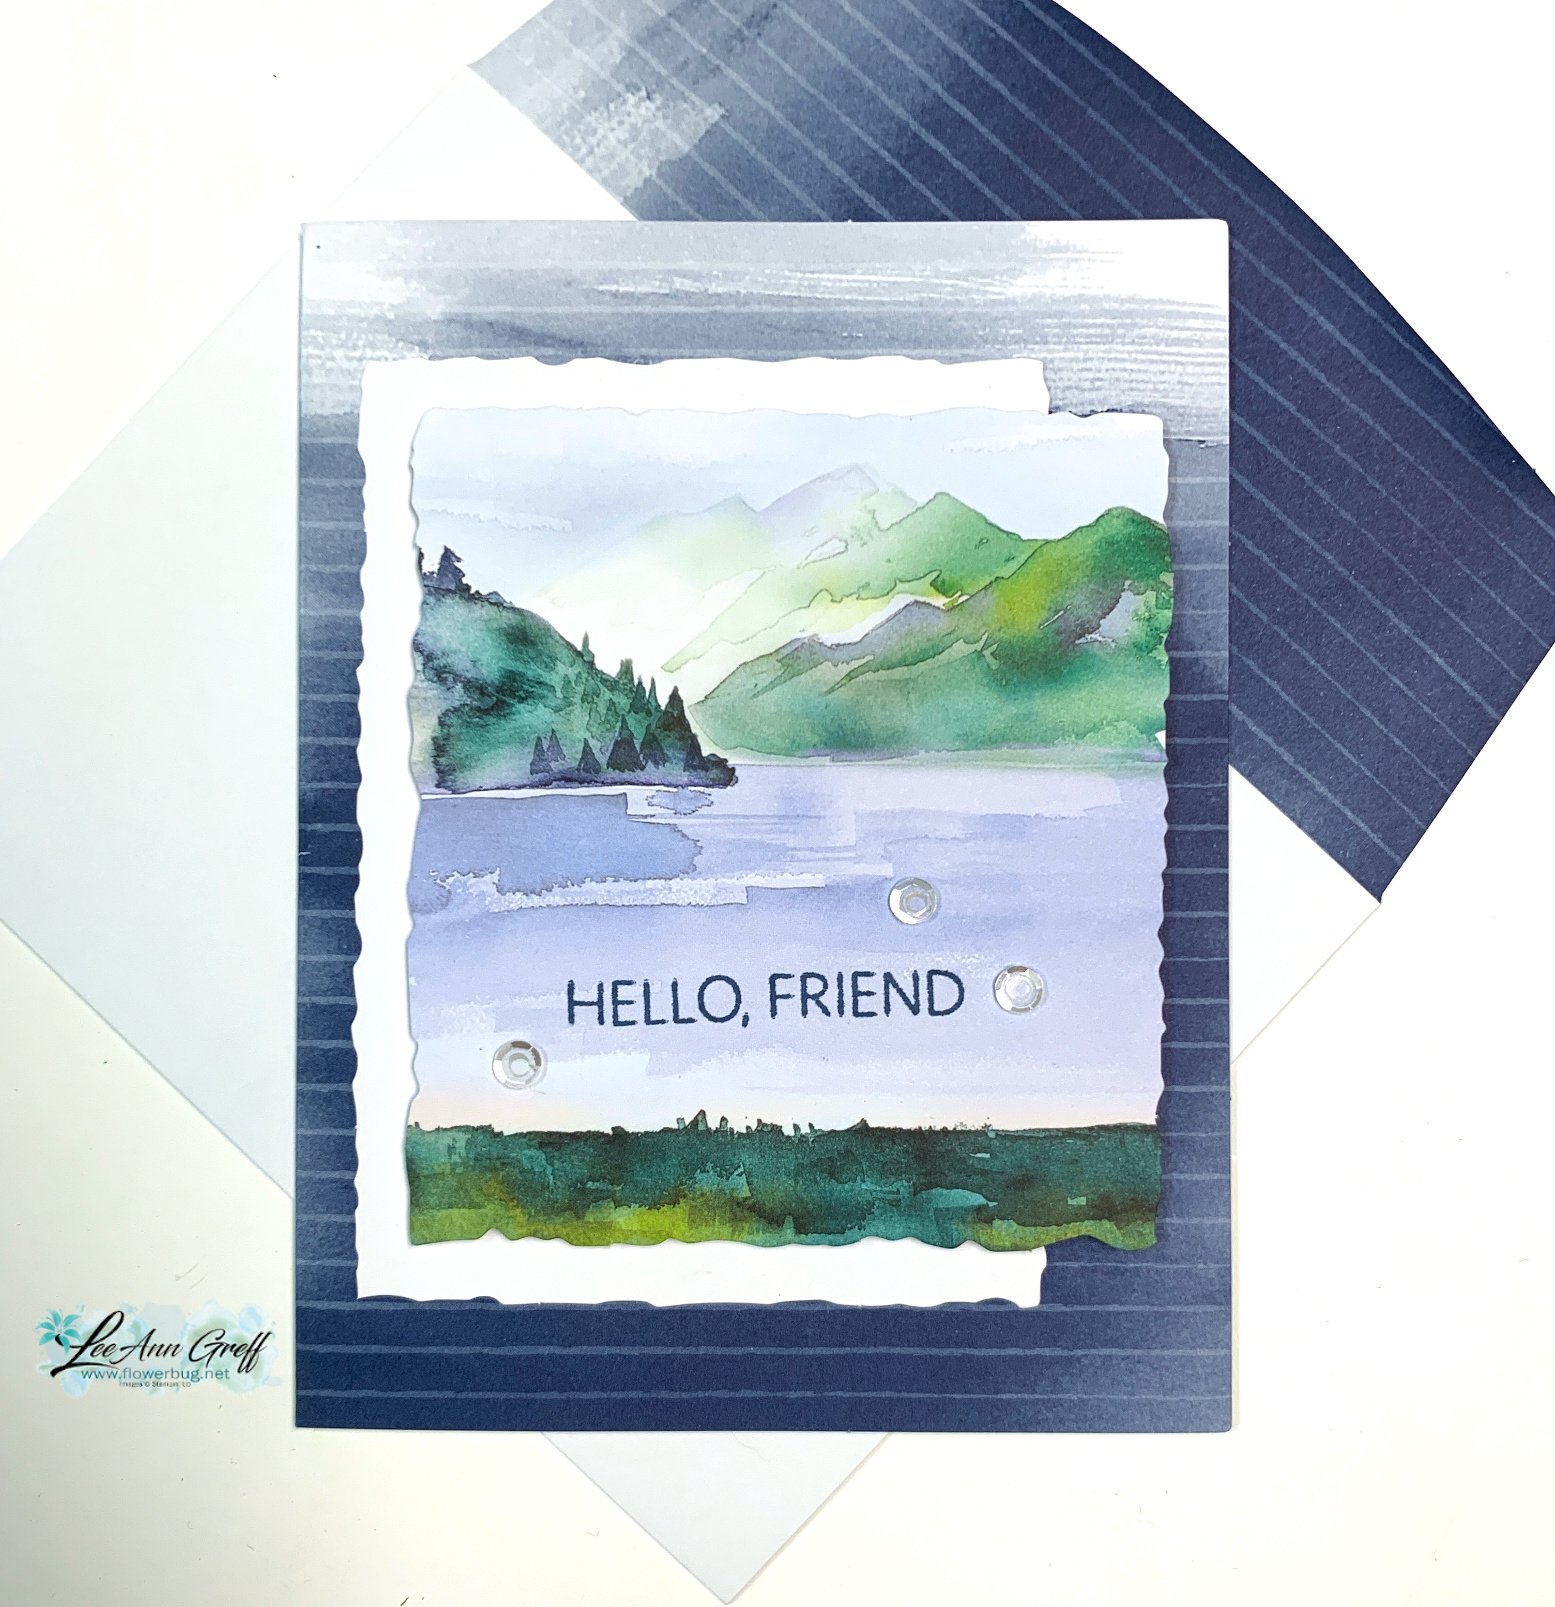
    When I saw this new kit called Alpine Air I just knew it would be beautiful!

    They're stunning and great for any occasion.  The other thing I like about these is they work for guys too which can be uncommon.  And they're so easy to assemble. It includes everything you need – a greetings stamp set, Misty Moonlight ink spot, adhesives, gems, card layers, envelopes and a clear block. 

    All of the kits in our Kit Collection (28 of them!) are discounted!  Click here to see all 28 kits. 

    This kit was $22 and is now $19.80 and you can see it here.   

    These beautiful cards remind me of our trip to the Grand Tetons, Wyoming last month. And also our trip to Norway last year! 

    Guess what!?  The Expressions of Kindness kit is back in stock!!  It's been out of stock for over a month. It's one of my very favorite kits and it's also discounted. click here to see it. 

    ~~~

    October Specials:

    *current host code link: 3U6NZJFZ

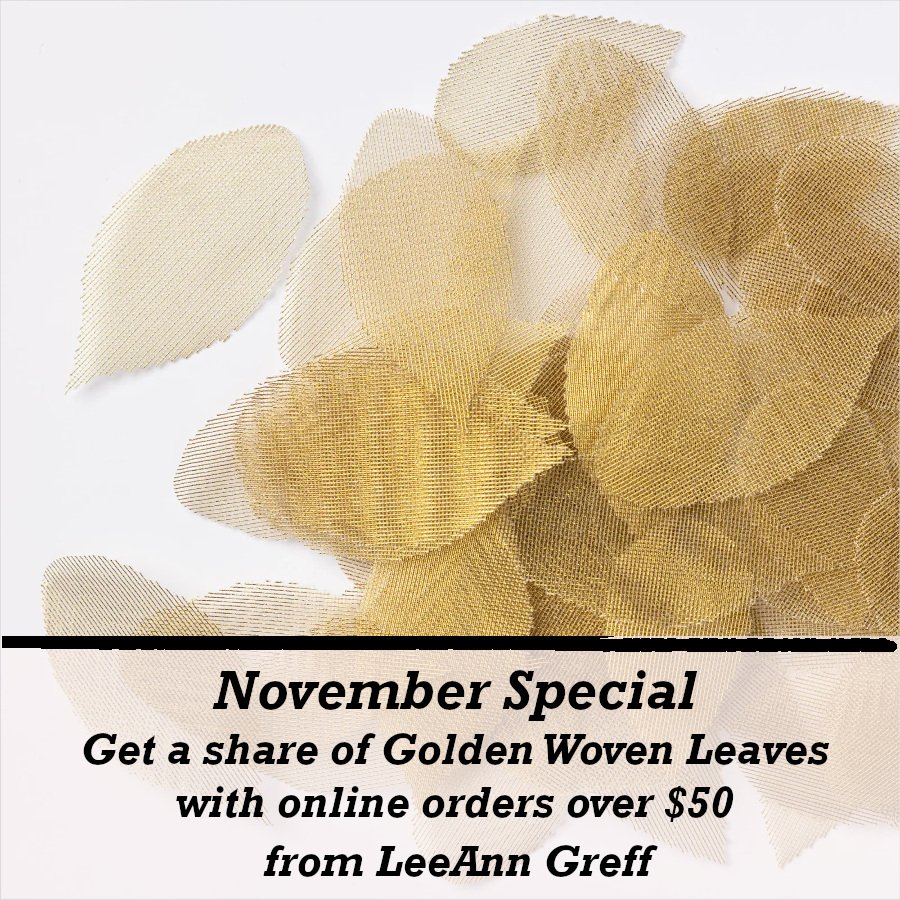
    Get a share of Woven Golden Leaves  


    ~~~

    Get an extra $30 in your Starter kit in October!  Click here to read more

    ~~~

    The Kits Collection is on sale!  Check it out here.

    ~~~

           All online orders in October will receive a free PDF tutorial featuring the Season of Elegance suite

    Leave a Reply

    Your email address will not be published. Required fields are marked *

  • Sunshiny Happiest Day card with measurements plus more ideas in the video


    I had a blast creating with the Happiest Day stamp set. I shared two more cards in my previous blog posts. 

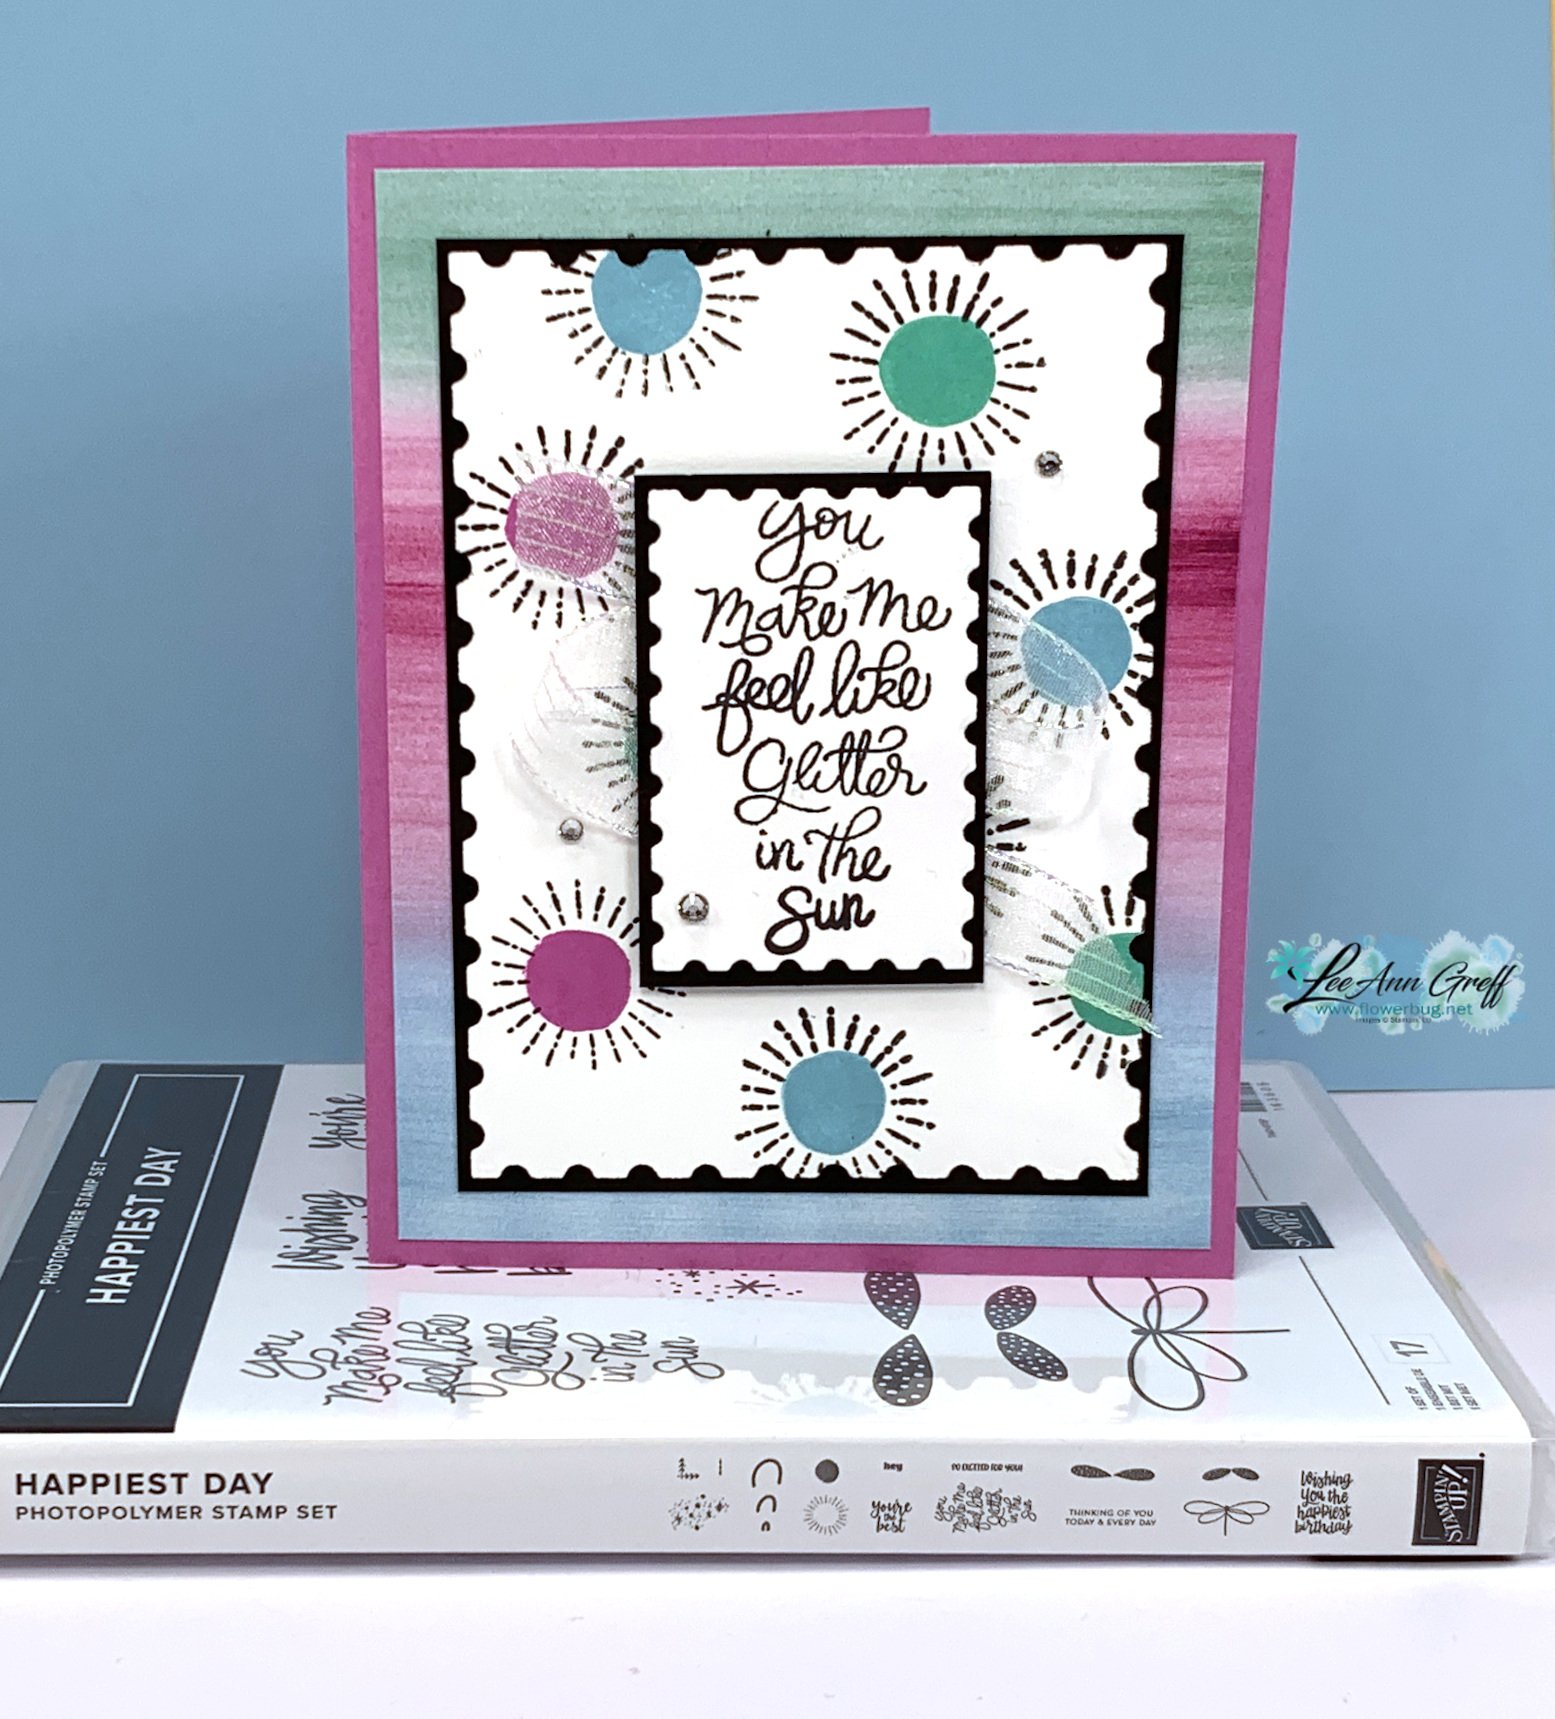
    Today's project is what I'm calling a 'Sunshiny' card. 

    I chose my color scheme from the Full of Life designer paper I used on the background – Petunia Pop, Balmy blue & Summer Sun.  Of course I added Black for the contrast I like.  

    I thought the Postage Dies were a great way to layer the elements here.  Below is the inside view of this card:

    I added a zig-zag of the Iridescent Striped ribbon under the greeting for the 'glitter' effect. 

    See this adorable Happiest Day stamp set here. 

    Here are the measurements; but you can see the other two cards I made on the video here. 

    Measurements:

    • Card base 8 1/2" X 5 1/2" score/fold at 4 1/4"
    • White postage die-cuts 1 1/2" X 2 3/8", large is 3 1/4" X 4 1/2"
    • Black 1 5/8" X 2 1/2", large is 3 3/8" X 4 5/8"
    • DSP – 4" X 5 1/4"

    Check out the video below; I share two more sweet cards for the Happiest Day stamp set. 

    ~~~

    October Specials:

    *current host code link: 3U6NZJFZ

    Get a share of Woven Golden Leaves  


    ~~~

    Get an extra $30 in your Starter kit in October!  Click here to read more

    ~~~

    The Kits Collection is on sale!  Check it out here.

    ~~~

           All online orders in October will receive a free PDF tutorial featuring the Season of Elegance suite

    Leave a Reply

    Your email address will not be published. Required fields are marked *


Notice: LeeAnn Greff, Independent Stampin’ Up! Demonstrator, Manager. The content of this website is my sole responsibility as an independent Stampin’ Up! demonstrator and the use of, and content of, the classes, services, or products offered on this website is not endorsed by Stampin’ Up! Copyright 2025