/


Latest Post

Inked & Tiled punch pack with Delightfully Eclectic DSP – a perfect match up! Plus FREE Shipping Wednesday, June 21st!


Tomorrow is a FREE Shipping day!  Woo hoo!  June 21st all orders over $75 will receive free shipping!  


Don't miss out! Get that designer paper (on sale) and any other Annual Catalog products, Online Exclusives AND pre-paid Paper Pumpkin subscriptions too!  #BestDealEver

Today's project is one I made for two reasons.  One was to feature the Delightfully Eclectic designer paper in my weekly Live video and the other was for my Flowerbug's Team monthly card swap. 

It's sweet & summery! 

You might wonder where I got these shapes & flowers.  Well they are both from a sheet in the Delightfully Eclectic designer paper seen here.  Here's what the full sheet looks like:
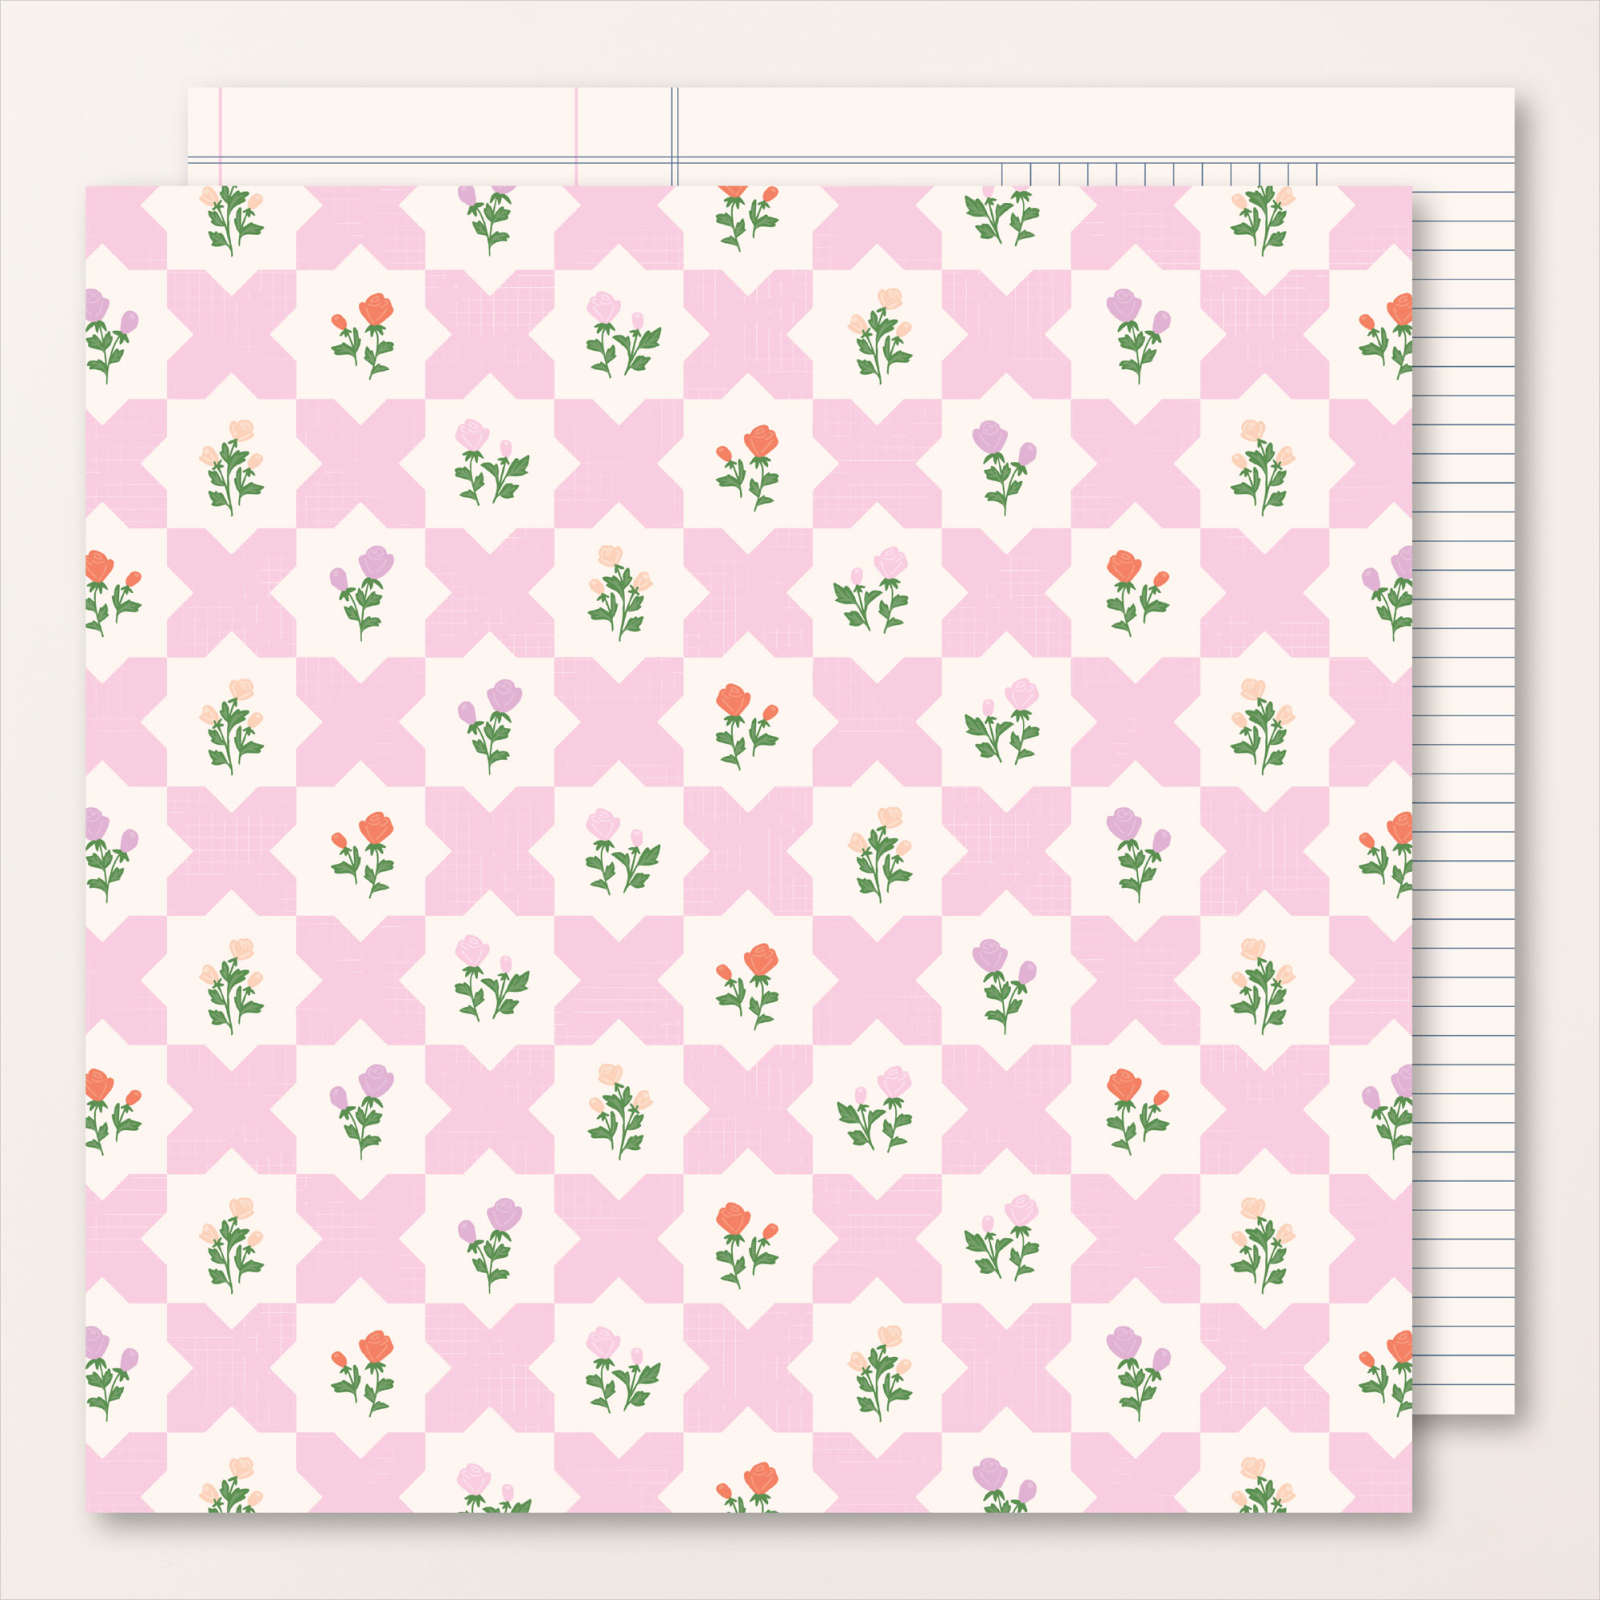
And the best part?  The new Inked & Tiled punch pack matches this paper perfectly with very little waste! 

The punches are in a bundle with the Inked & Tiled stamp set here.  

My card base is the beautiful new Bubble Bath pink.  I added a layer of Garden Green 3 7/8" C 2 5/8".  That is added to a Scalloped Contours die-cut measuring 4 1/2" X 3 1/8".  

The greeting is heat embossed in White powder on a strip of Garden Green. Then I cut it into a 1/2" strip and used one of the punches to get that cute greeting shape.  


This is one of the reasons I ordered these punches; for greetings.  But they sure make a sweet card front too.

I think you could use other small images, stamped or designer paper, and do this same thing! 

Below are all three of the cards I share in the video. Scroll down a bit or watch it here. 

Here's the link to see a recent video featuring this card.  I also make two other cards made with the Delightfully Eclectic designer paper.  

~~~

June Specials:

Free Shipping June 21st only!

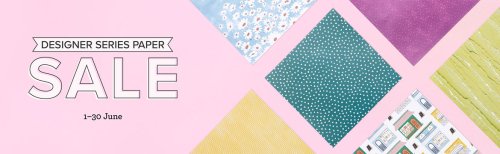
Designer Paper is 15% off in June!
WOW – get $155 in product for $99 with free shipping! click here!

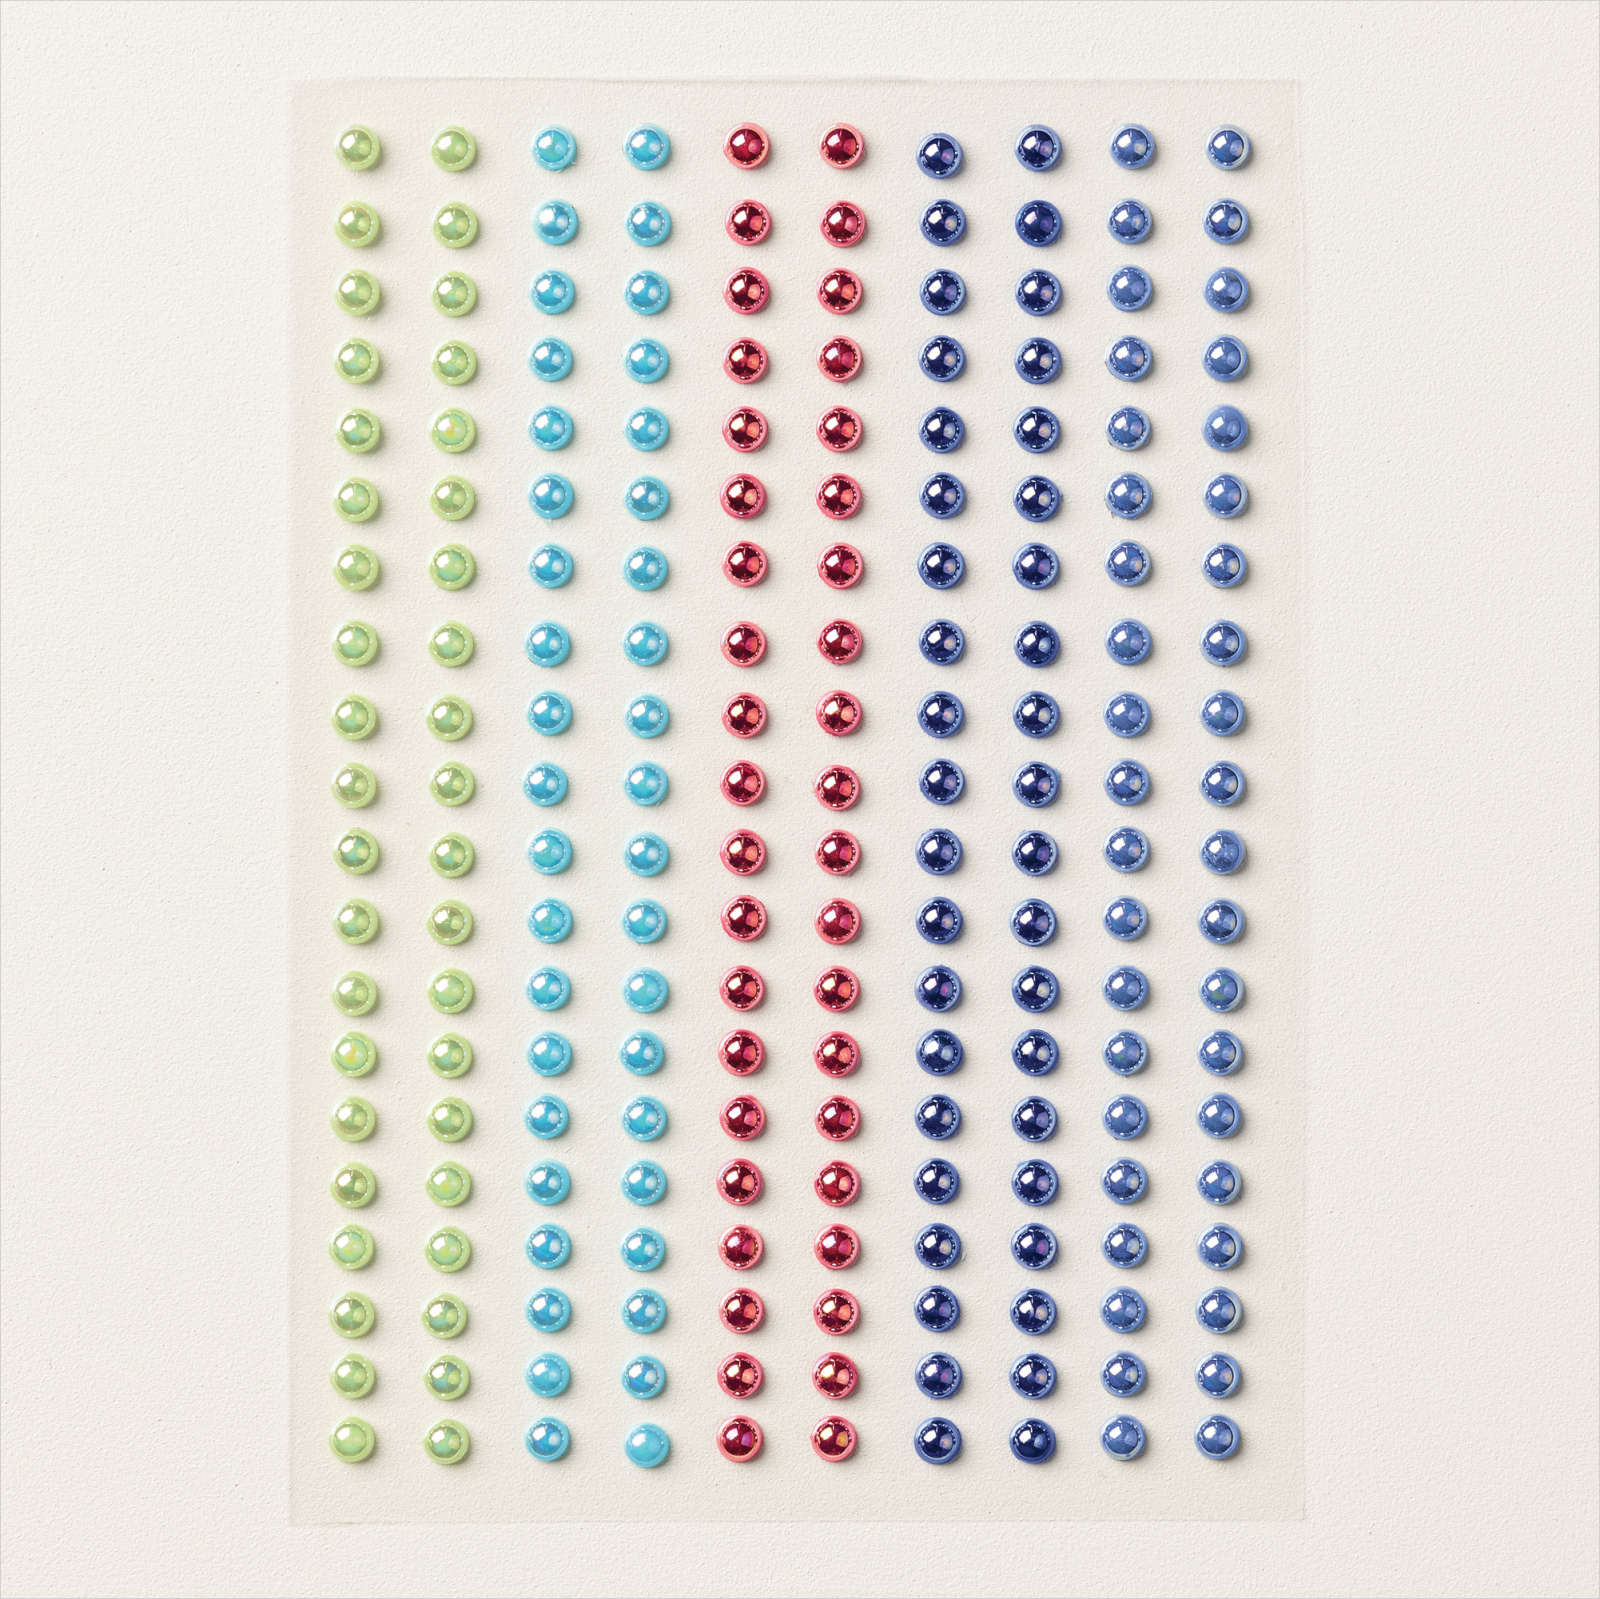
Get a package of In Color pearls with online orders over $55 using a host code.

*current host code: RH9S6G94 
 Earn free products with my loyalty rewards! 

Click here to download yours and earn a $50 shopping spree!
All Posts

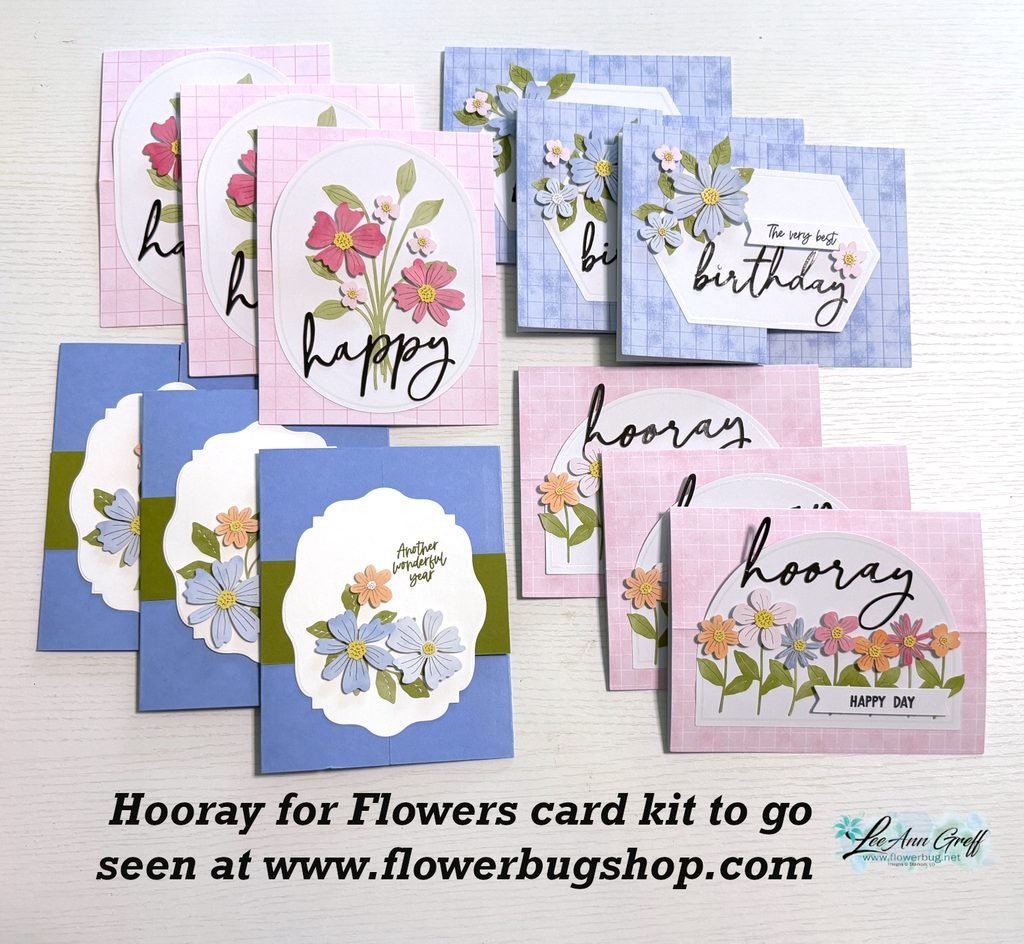
  • Hooray for Flowers card kit to go. Tomorrow is the last day for double rewards!


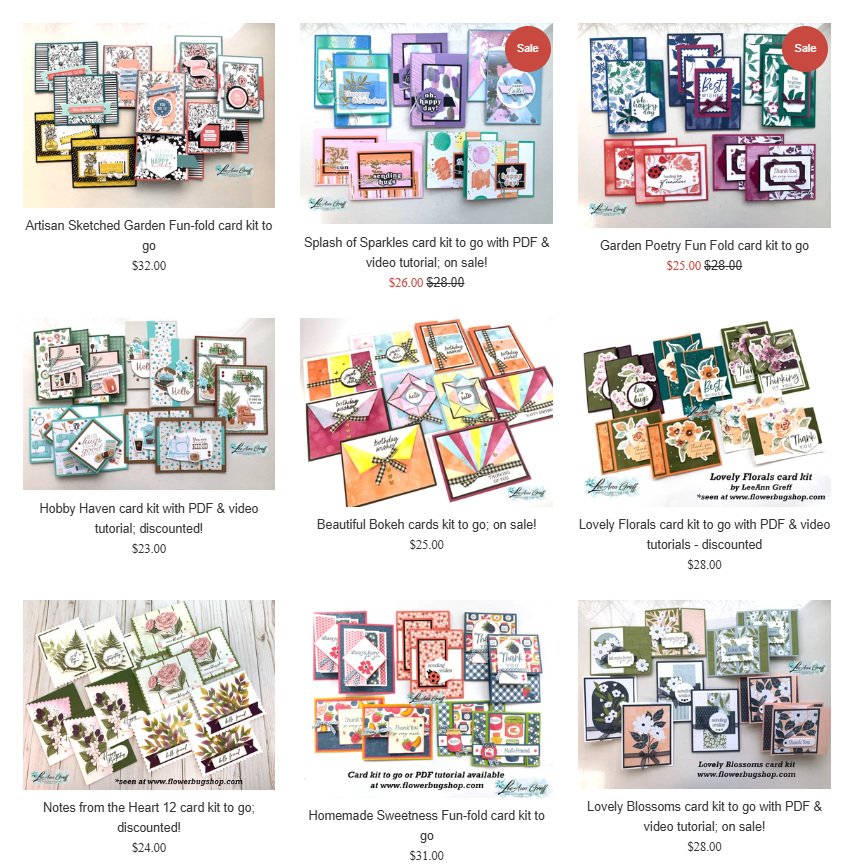
    I created these pretty cards from my July Paper Pumpkin kit. If you missed out on it, you can grab one of these kits below.

    This kit included so many beautiful flower die-cuts I had to grab extra and create a kit to go around it. I changed up some of the cards and added a few of my own.

    This kit to go includes 12 cards and envelopes, the PP kit and the extra pieces/die-cuts added on. You’ll also receive the PDF tutorial as well for $31 plus shipping.

    Go here to grab yours; I have a limited supply. You’ll receive the tutorial immediately in your email. The kit to go will be shipped out within a few days. Add on an extra kit or two and save $$ on shipping costs. See them all here.

    Friday is the last day to take advantage of the Double Rewards credits this month. Along with the paper and card stock sale you cannot go wrong! Go here to shop.

    Leave a Reply

    Your email address will not be published. Required fields are marked *

  • Double Stampin’ Rewards start tomorrow!


    Great news! Starting tomorrow you’ll receive double Stampin’ Rewards with your online orders! YAY!!

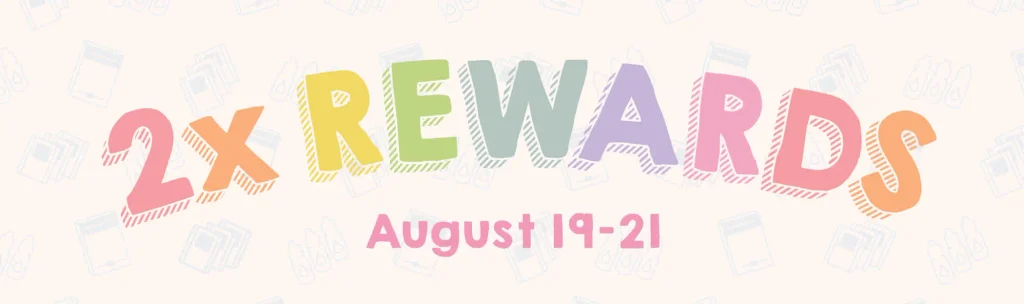
    Earn double Stampin’ Rewards (2x Rewards) for 3 days only, starting August 19 and ending August 21. That means 20% instead of the standard 10%!
    All orders qualify once the Stampin’ Rewards threshold of $20 USD is met.

    Details:

    Leave a Reply

    Your email address will not be published. Required fields are marked *

  • Simple Lily of the Valley card; it’s a WOW! Grab the free project sheet or watch the video


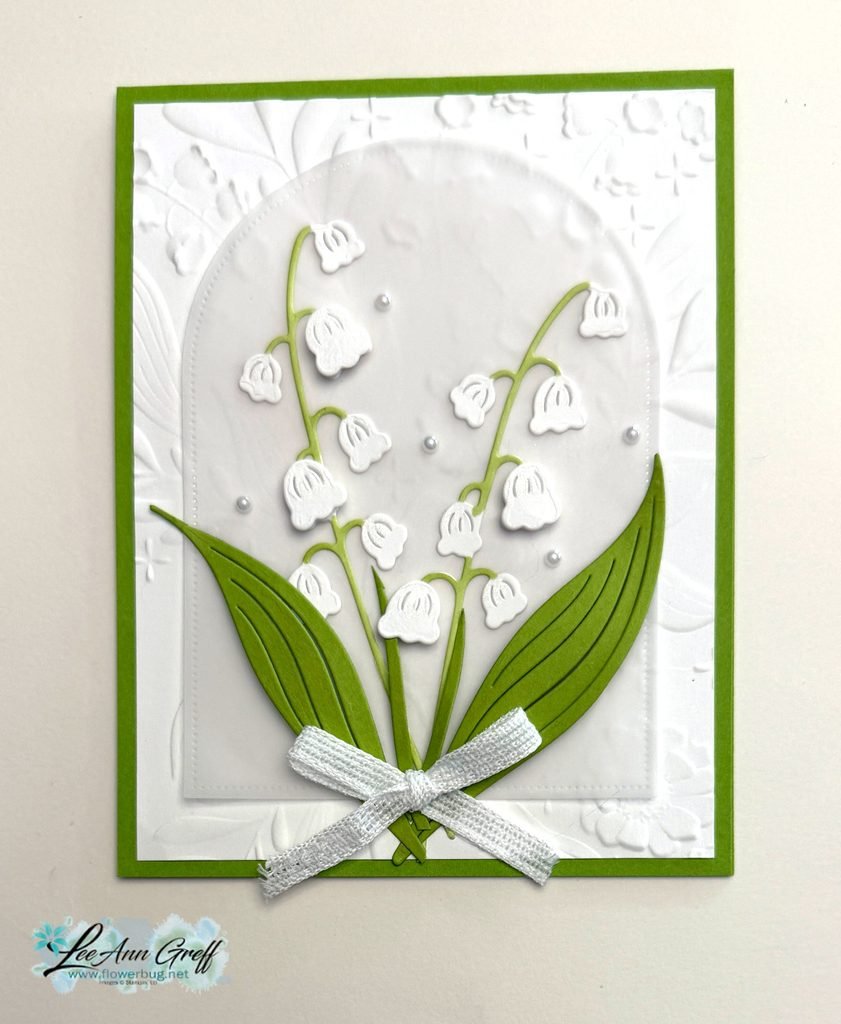
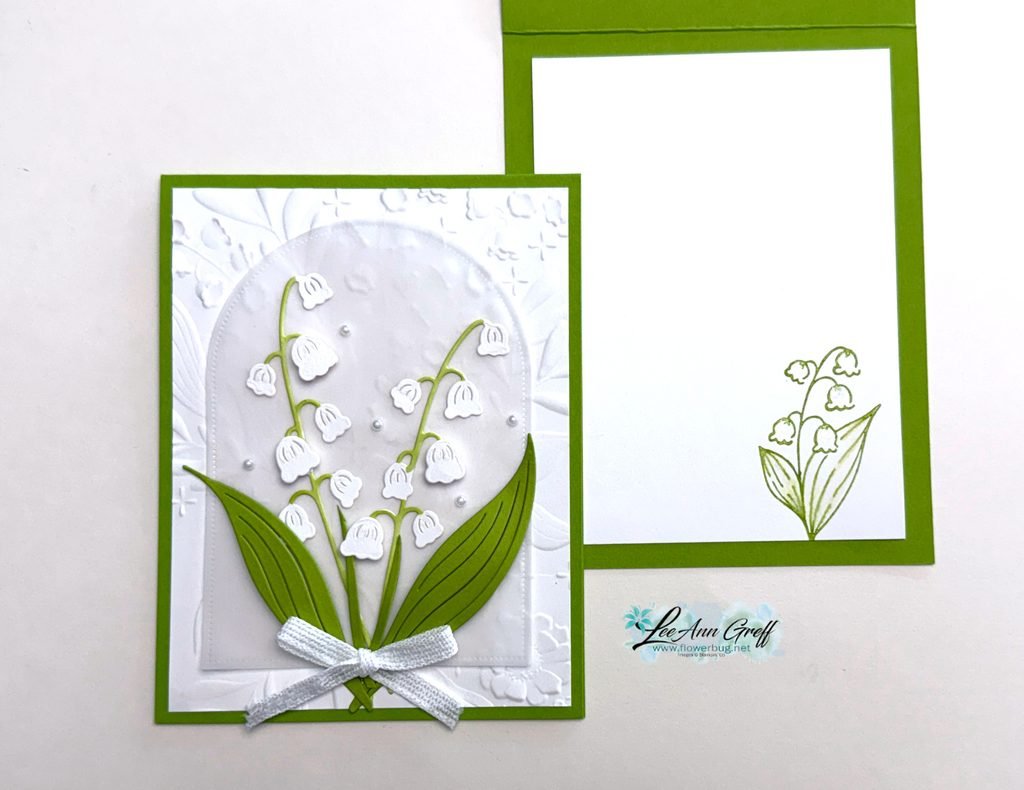
    I shared this beautiful Lily of the Valley card on last week’s Live video. It’s one of those cards that looks simple and easy but involves a bit of effort.

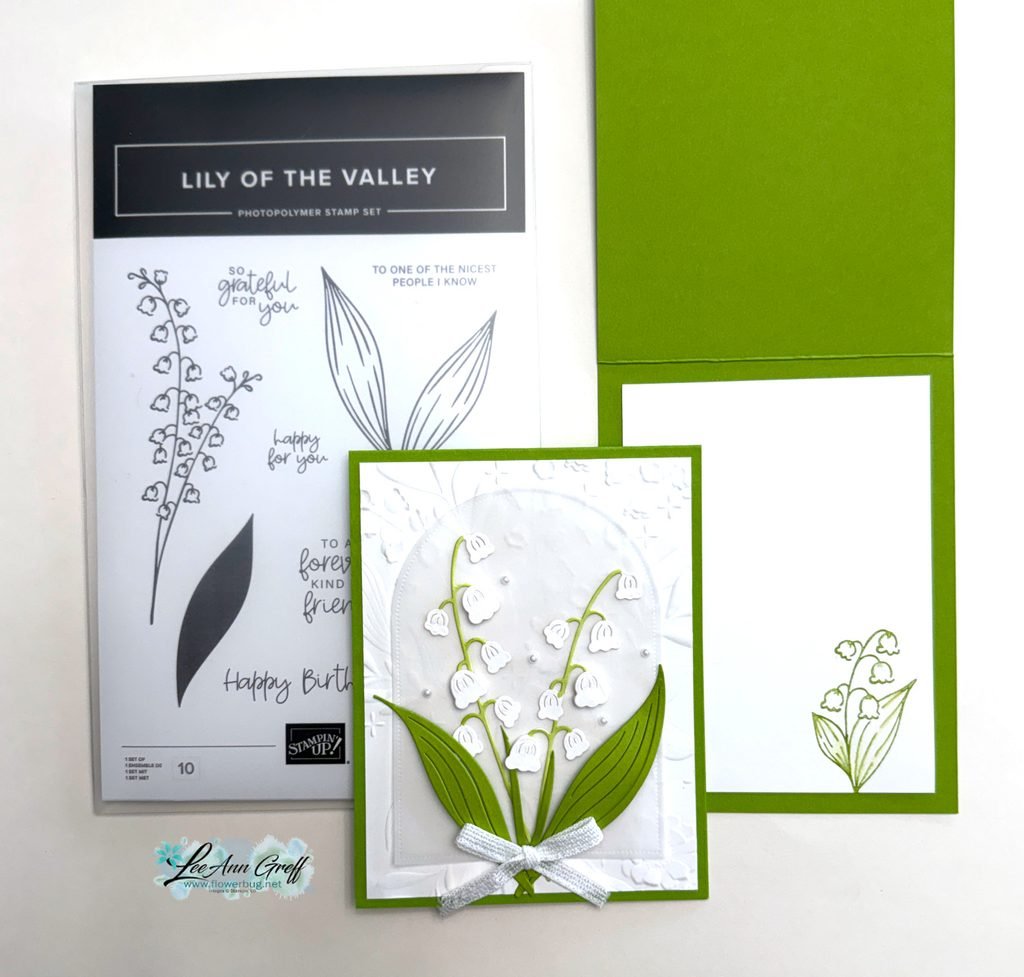
    I used the Lily of the Valley dies along with the Everyday Arches dies on the vellum and the Floral Spray 3D embossing folder (it’s back in stock) for the background. White & Granny Apple Green are my colors here.

    Since I did-cut the flowers from White CS I used a Granny Apple Green blends marker to color the stems on the flowers. I also curled the die-cut leaves a bit and cut one apart for the thicker stems in the center area. Watch the video to see how.

    Did you notice there isn’t a greeting on the front? It’s okay to leave them off now and then. This way my card can be used for any purpose.

    I didn’t even stamp one on the inside. Just a simple leaf/flower image. Click here to see the Lily of the Valley in my store. It’s wonderful.

    I created a free project sheet for this card as well as my video below. Click here for the project sheet you can download or print.

    Don’t miss out on the Designer Paper & Cardstock sale! Click here to shop and save.

    Double rewards for three days this week!

    Leave a Reply

    Your email address will not be published. Required fields are marked *


Notice: LeeAnn Greff, Independent Stampin’ Up! Demonstrator, Manager. The content of this website is my sole responsibility as an independent Stampin’ Up! demonstrator and the use of, and content of, the classes, services, or products offered on this website is not endorsed by Stampin’ Up! Copyright 2025