/


Latest Post

Hues of Happiness Card Kit to Go or PDF tutorial


I hadn't planned on featuring this designer paper for my May card kit to go but once I received it I had to use it!  If you love florals you will enjoy this card kit!  
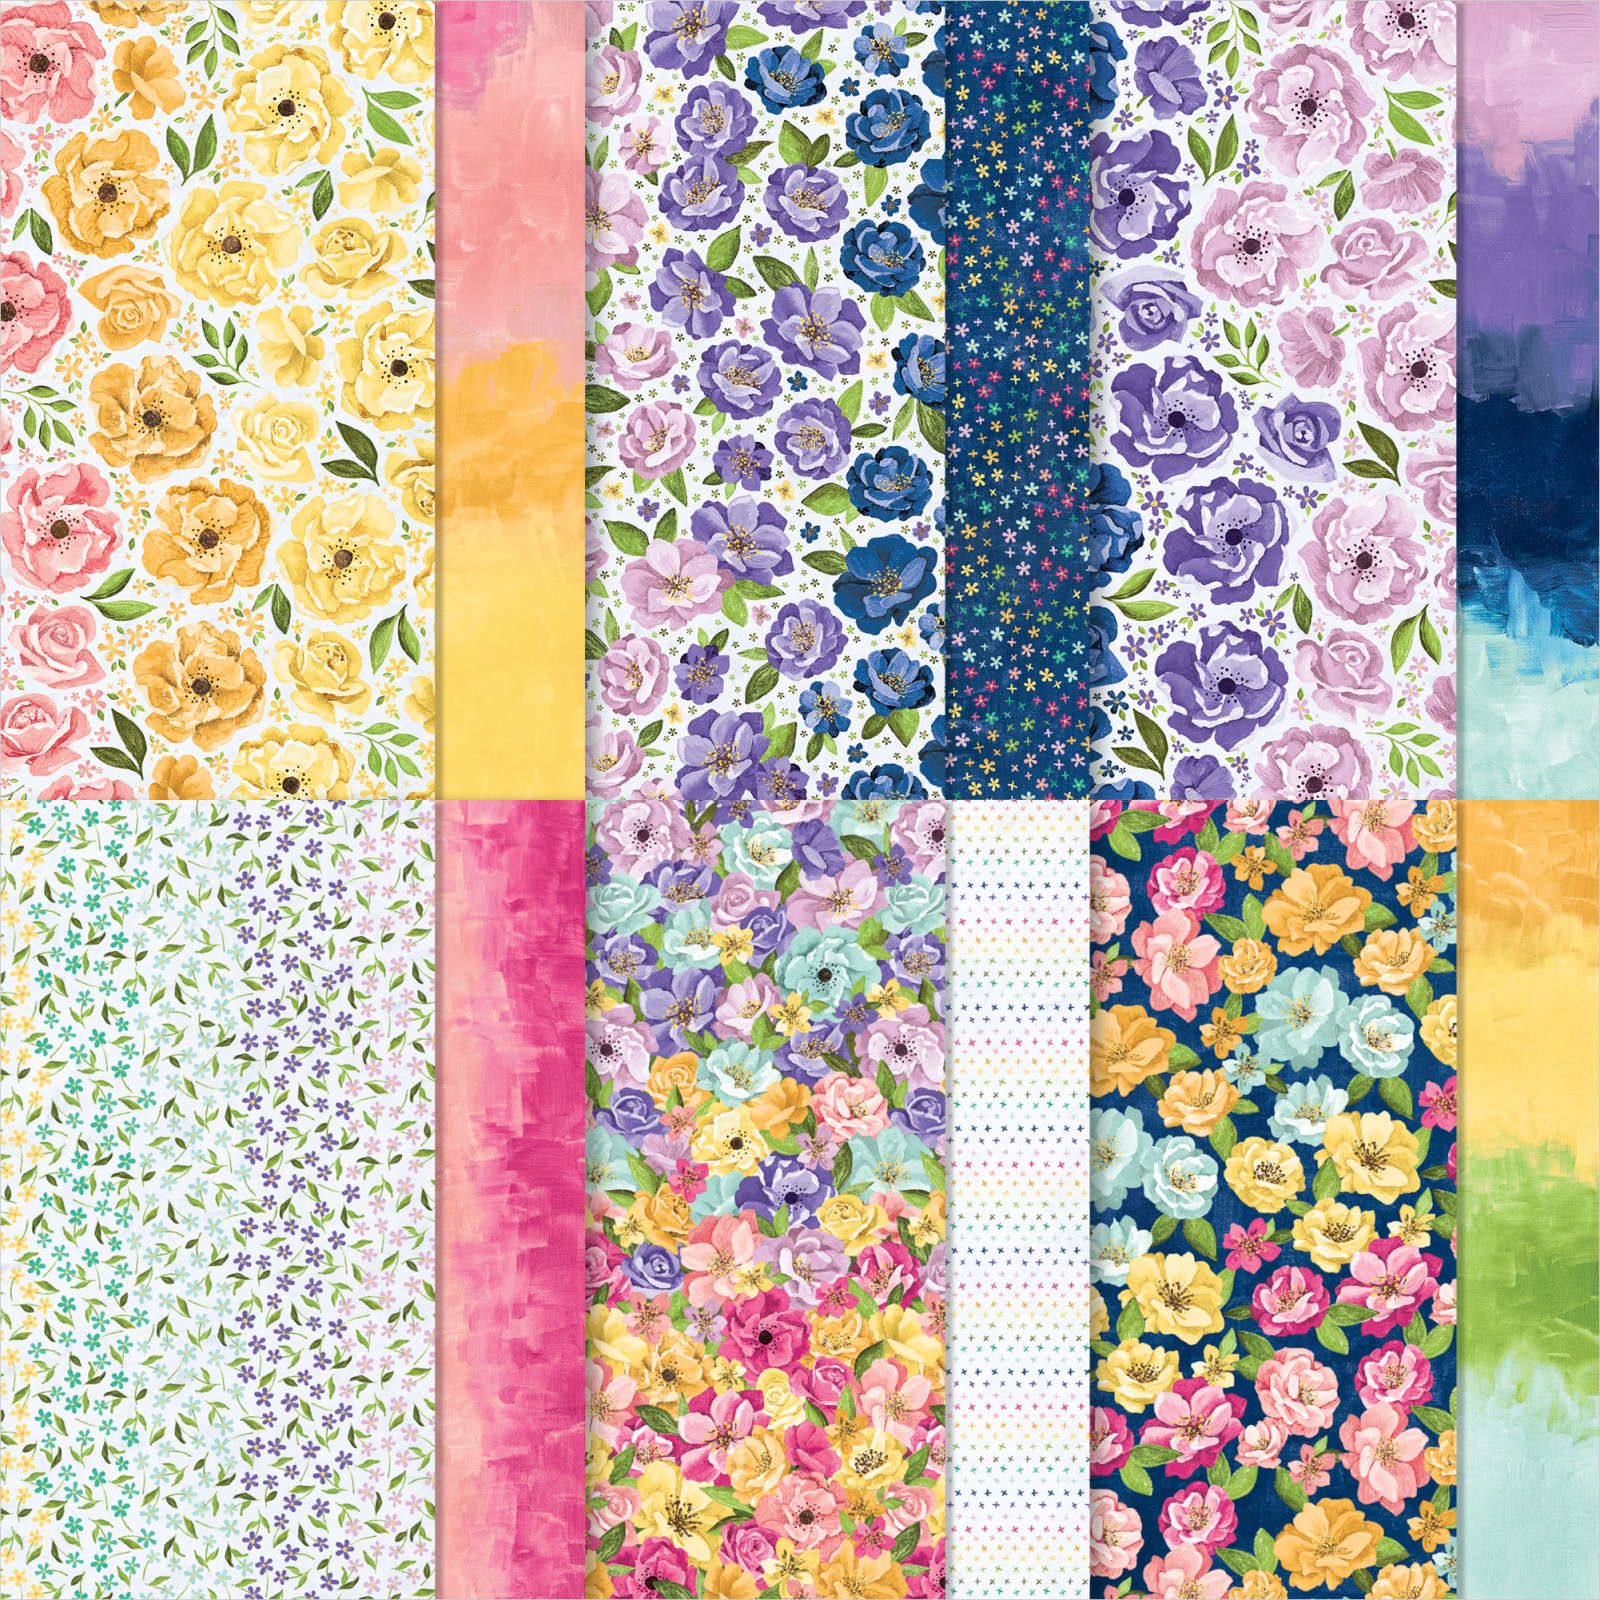
Stampin' Up! hit a home run with this paper!  It's filled with a beautiful variety of florals and ombre backgrounds.  
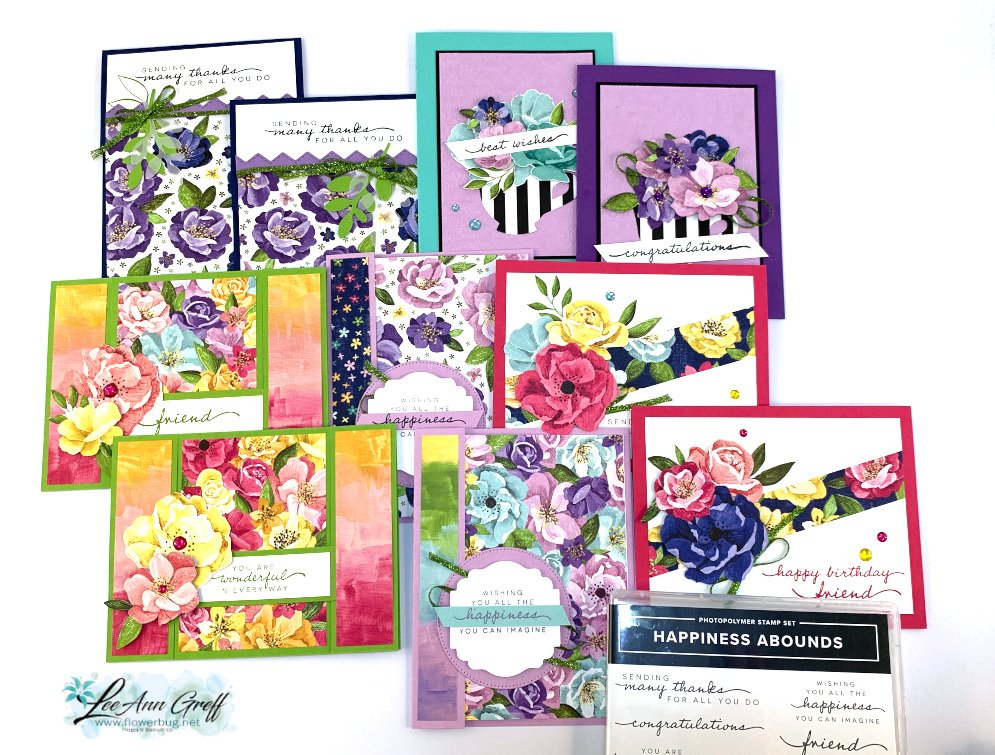
I created 10 cards using color combinations in the DSP; many of which are fun fold designs. I used the Happiness Abounds stamp set for my greetings and a few extra accents inside.

You have a few choices if you're interested in this kit.  I have the PDF tutorial only, the pre-cut kit to go with the tutorial and you can also add on the stamp set or bundle with the pre-cut kit so you have it all!  

The PDF tutorial is emailed immediately after payment and the kit is sent out via Priority Mail at the end of May. 

**This is the kit my monthly subscribers will receive. If you'd like to get a pre-cut kit filled with product AND a free PDF tutorial each month contact me here.  

The pre-cut kit includes the following, but be sure to opt in by May 18th:

  • 10 pre-cut cards with die-cut & punched pieces
  • 1/2 pkg of the Hues of Happiness designer paper (6" X 12")
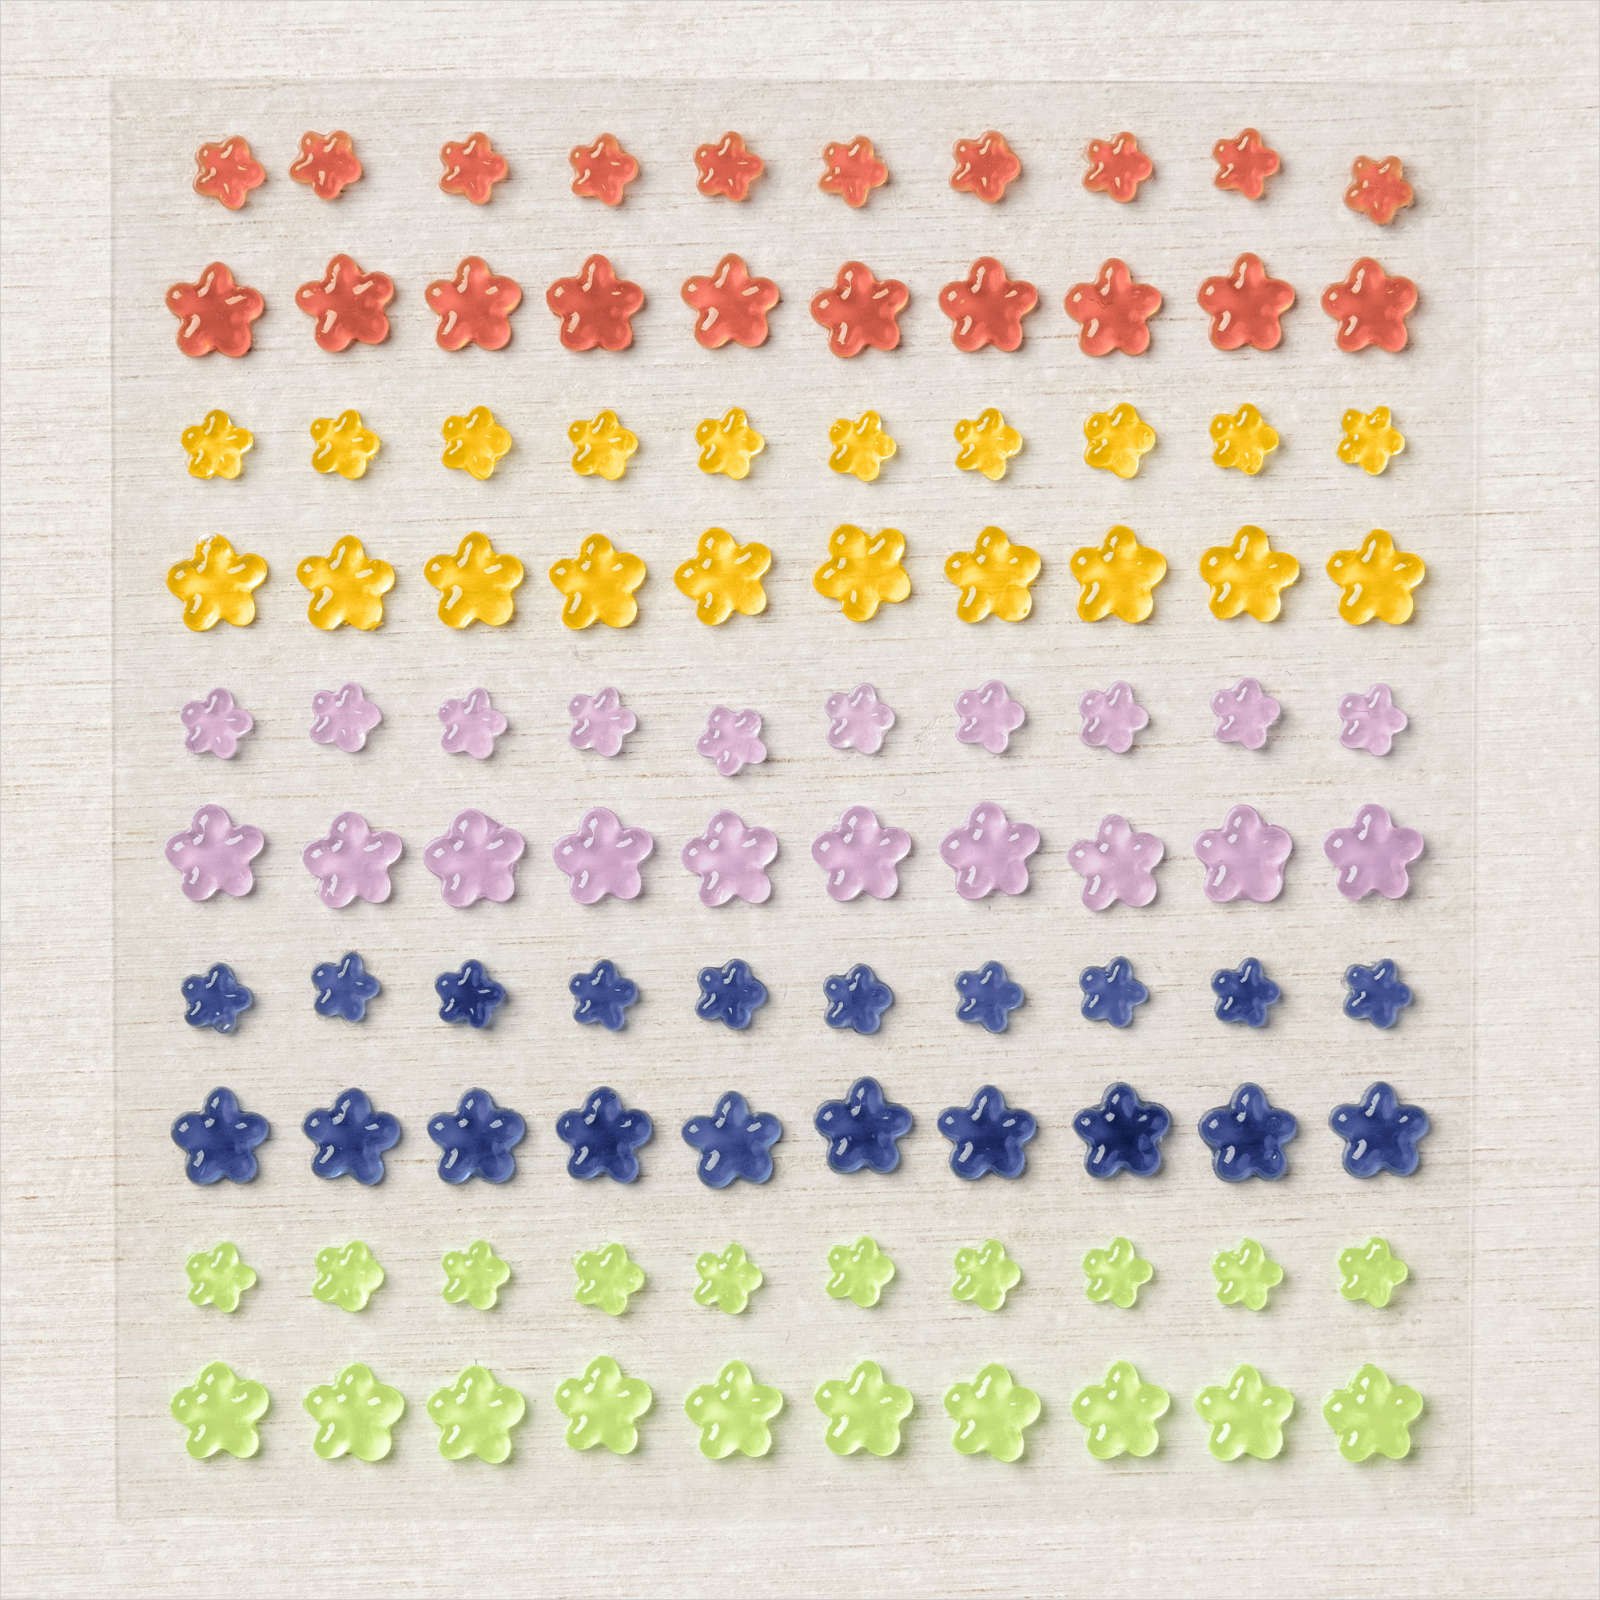
  • a share of the Glossy Dots gems
  • a share of the Parakeet Party 1/8" ribbon
  • the PDF tutorial with photos, measurements, step by step instructions and a supply list

Add that Hues of Happiness stamp set or the bundle at 10% off. Message me here for that option.  

Options:

1. Get the pre-cut card kit, product listed above and the PDF tutorial here. 

2. The PDF tutorial only is here

3.  Get both of my card kits this month; see the second kit here. 

~~~

Get a bunch of NEW In Color products FREE in your Starter Kit! 

It's $99 for $213 in products!!!  And Free Shipping! Click here. 

Host codes: HUNR9DB6

 *click here to order 

If your order is over $50 you'll receive a set of NEW embellishments from me.
Don't forget about my loyalty rewards! 

Click here to download yours and earn a $50 shopping spree!  
 

All Posts

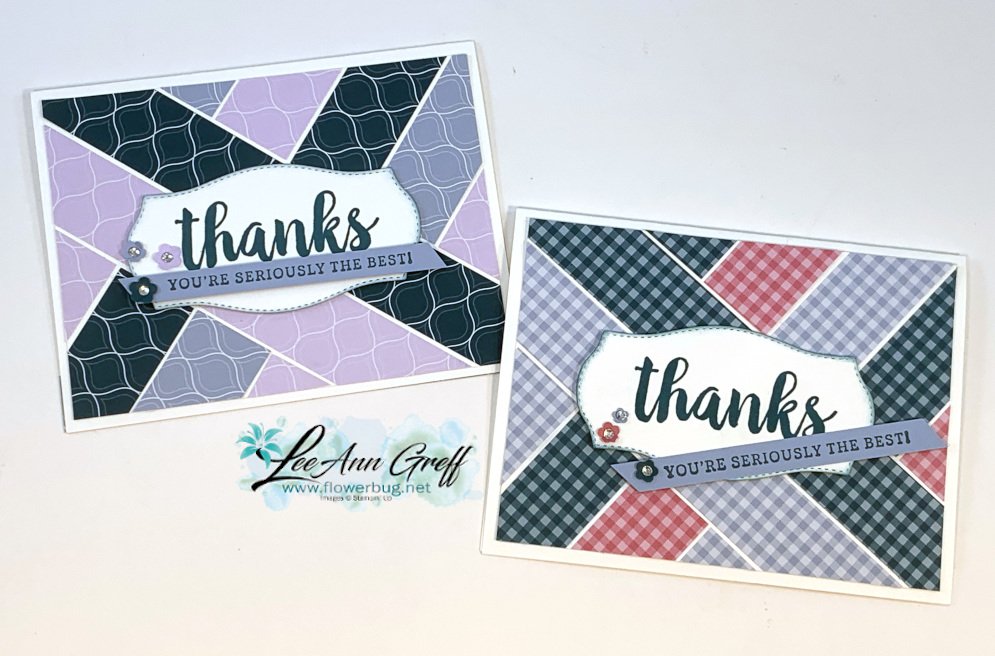
  • Easy Seriously the Best Diagonal Strips cards


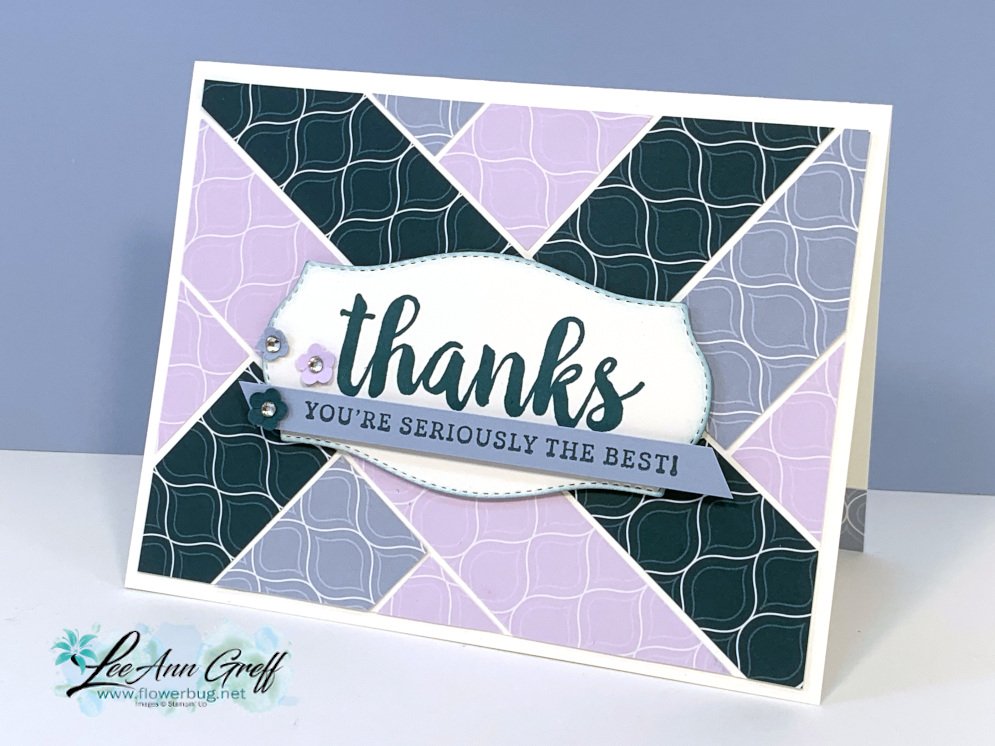
    I made these fun diagonal stripes cards on a recent Facebook Live.  It's so simple to do!  

    I used one of my favorite stamp sets; Seriously the Best here. I love the pretty bold font!  You can see it here.  It also coordinates with the Seriously the Best cards kit; which is 60% off! 

    I chose to use the retiring 6 X 6" 2019-21 In Color paper pack.  It's still available while supplies last and is sale right now here!


    The strips are 1" long; you need about two of each at 1" X 6".  Here's how to make it:

    • You'll need one piece of White CS measuring 4" X 5 1/4" to adhere the strips to.
    • Adhere two DSP strips across from end to end leaving a little space between the two.  Tip: 6" is a little short so I cut the Peacock strip in half and separated it a bit under the greeting.
    • Now you'll add short lengths of DSP perpendicular to the first two strips, alternating colors and leaving a bit of space between them all.
    • Now you can trim off the excess even with the original White CS piece.  
    • Adhere to your main card (5 1/2" X 8 1/2") 

    You might notice the cute little flowers on the greeting tags and that pretty, stitched die-cut.  Well these are new products coming out in the upcoming new Stampin' Up! Annual catalog!  The flowers are a new border punch and the dies are part of the Tasteful Label dies. 

    You can order these items on June 3rd! (or purchase the Stampin' Up! Starter kit and you can add them to your $125 in product!)  Read about that here. 

    ~~~

    May Specials


    Get my 'ALL Fun Fold cards tutorial' free with any online order.

    It includes directions, photos and measurements for 18 fancy card folds!


    May Host code is EYDJ4MQN

    Get a free pkg. of Noble Peacock rhinestones from me if your order is over $55. 

    Order online here

    Leave a Reply

    Your email address will not be published. Required fields are marked *

  • Morning Star


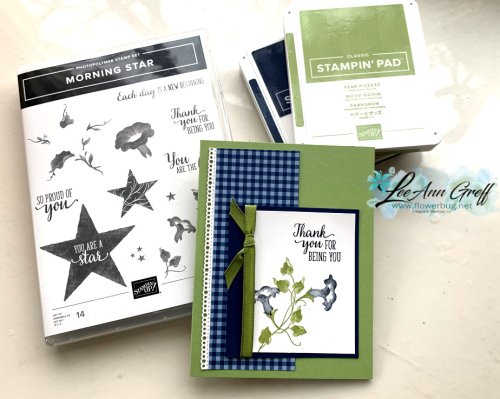
    Have you seen this pretty stamp set yet?  It's called Morning Star (seen here) and is one of Stampin' Up!'s distinktive type of stamps. This means you can get multiple hues of color with just one inking.  It's amazing!  

    It is retiring next week so if you'd like it, get it now! Here's a few cards I created when playing with it.  I think this set has been a bit of a sleeper; lost among the many favorite in the 2020 January-June catalog.  

    Here I used Old Olive and Gorgeous Grape; one of my favorite green and purple combos.  Because this stamp set is photopolymer you can easily stamp the images just where you want them, placing them perfectly.

    Here are the measurements and supplies:

    • Old Olive 5 1/2" X 8 1/2" scored at 2 1/8" and 4 1/4"
    • Regals designer paper 5 1/4" X 1 7/8"
    • Gorgeous Grape 4 3/4" X 3 1/2"
    • White 4 1/2" X 3 3/8"
    • Label Me Fancy Punch, Grape striped ribbon, dimensionals, mini glue dots 

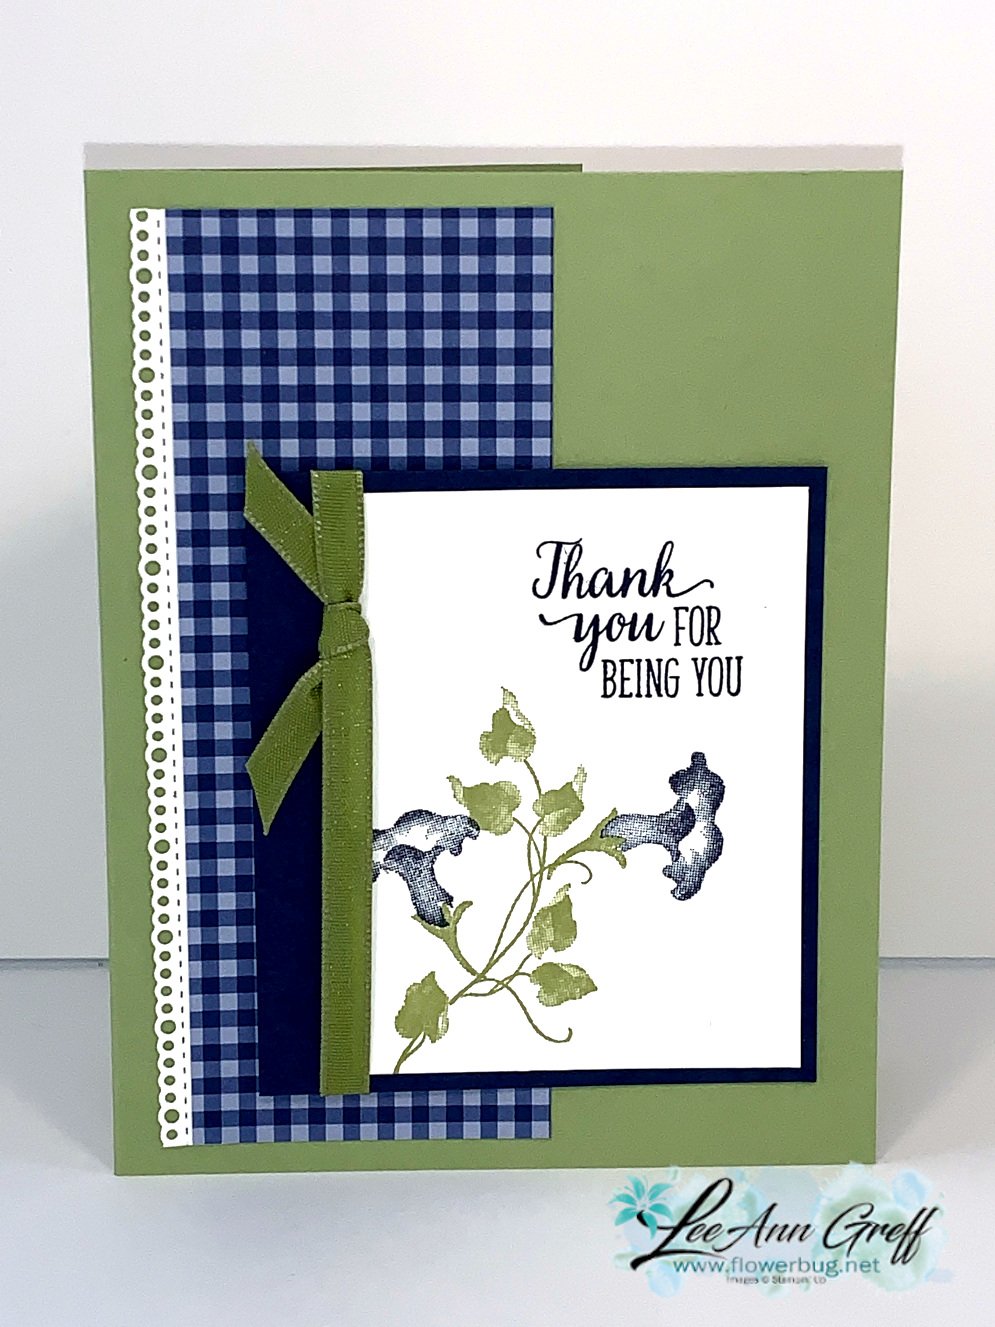
    Here's another simple card made with this pretty stamp set this time in green & blue: 

    I chose to use Pear Pizzazz with Night of Navy here.  This is our Neutrals designer paper pack and it is already out of stock.  It was on the Last Chance list seen here.  I'll miss these pretty patterns although we are getting new packs of 6" designer paper in the upcoming catalog.

    Measurements:

    • Pear Pizzazz 5 1/2" X 8 1/2"
    • Navy designer paper 5 1/4" X 2"
    • White – 5 1/4" strip for the Ornate Style die-cut
    • White 3 1/4" X 2 1/2"
    • Navy 3 1/2" X 3"
    • Ornate Style dies, Olive/Terracotta Tile 1/4" ribbon, Noble Peacock rhinestones 


    ~~~

    May Specials


    Get my 'ALL Fun Fold cards tutorial' free with any online order.

    It includes directions, photos and measurements for 18 fancy card folds!


    May Host code is EYDJ4MQN

    Get a free pkg. of Noble Peacock rhinestones from me if your order is over $55. 

    Order online here

    Leave a Reply

    Your email address will not be published. Required fields are marked *

  • Spring Punched Banner; cute home decor piece!


    To all of our Veterans; thank you for your service!  I wish you all a safe and happy Memorial Day! 

    ~~~

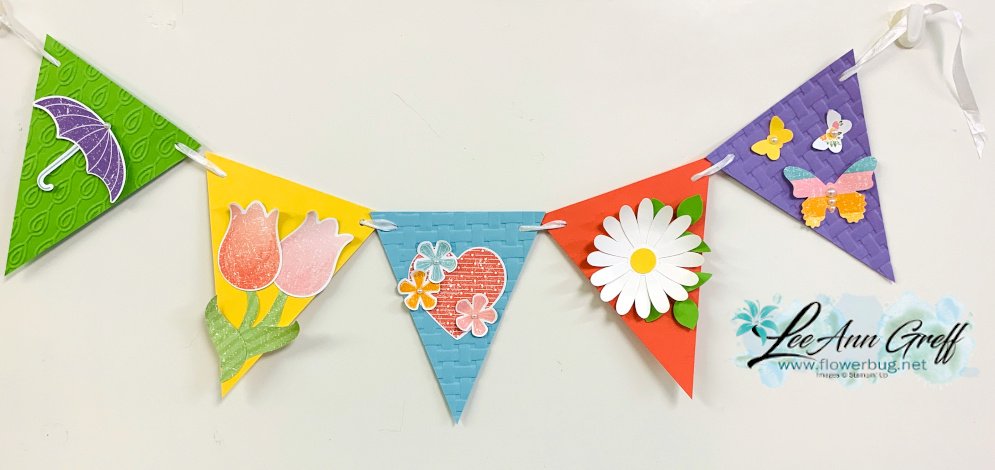
    I haven't shared this project yet; it was the bonus project many of my gals received in their Spring Retreat package.   It's made with the Pleased as Punch designer paper; it was free during Sale-a-Bration earlier this year.  

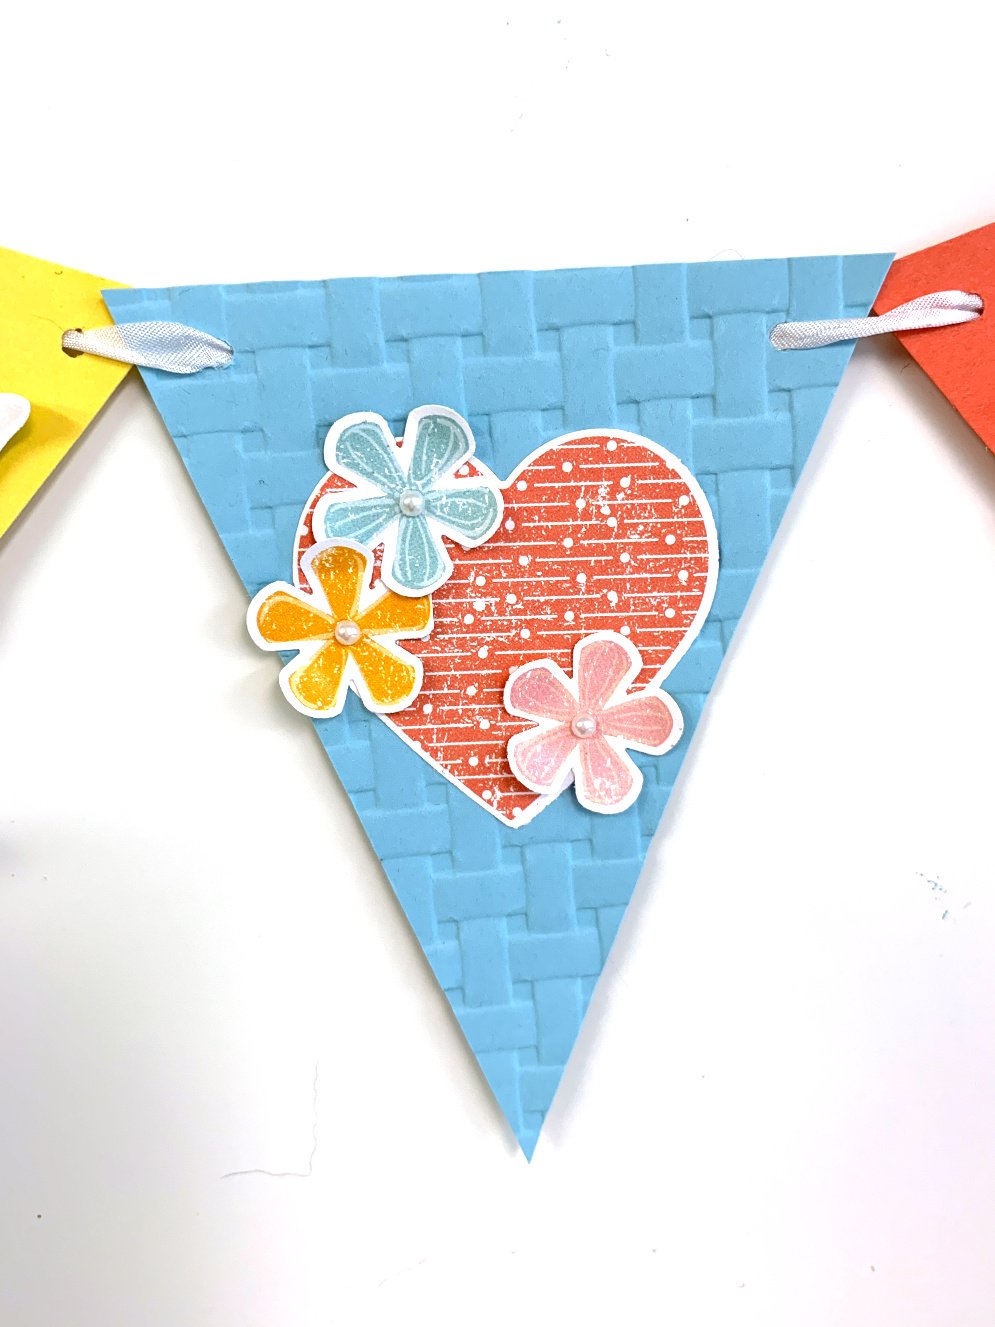
    To create the banners I first cut a piece of card stock 4 1/4" long X 3 1/2" wide.  Then I made a mark at the center of the short end and cut from that mark to the opposite corner.  Then I had my template!  

    I added lots and lots of punched pieces!  I used the Umbrella punch, the Tulips punch, Daisy, Leaf, Butterfly Duo, the Small Bloom punch and the Heart Punch pack.  A few of the banners are textured too.  It would be fun to hang this in your craft room or on a window . 

    ~~~

    May Specials


    Get my 'ALL Fun Fold cards tutorial' free with any online order.

    It includes directions, photos and measurements for 18 fancy card folds!


    May Host code is EYDJ4MQN

    Get a free pkg. of Noble Peacock rhinestones from me if your order is over $55. 

    Order online here


    Leave a Reply

    Your email address will not be published. Required fields are marked *


Notice: LeeAnn Greff, Independent Stampin’ Up! Demonstrator, Manager. The content of this website is my sole responsibility as an independent Stampin’ Up! demonstrator and the use of, and content of, the classes, services, or products offered on this website is not endorsed by Stampin’ Up! Copyright 2025