/


Latest Post

How to make a forest of trees from the Wisteria Wishes stamp set!


I thought the flower image in the Wisteria Wishes stamp set would make wonderful trees. So I played around and here's the finished card: 
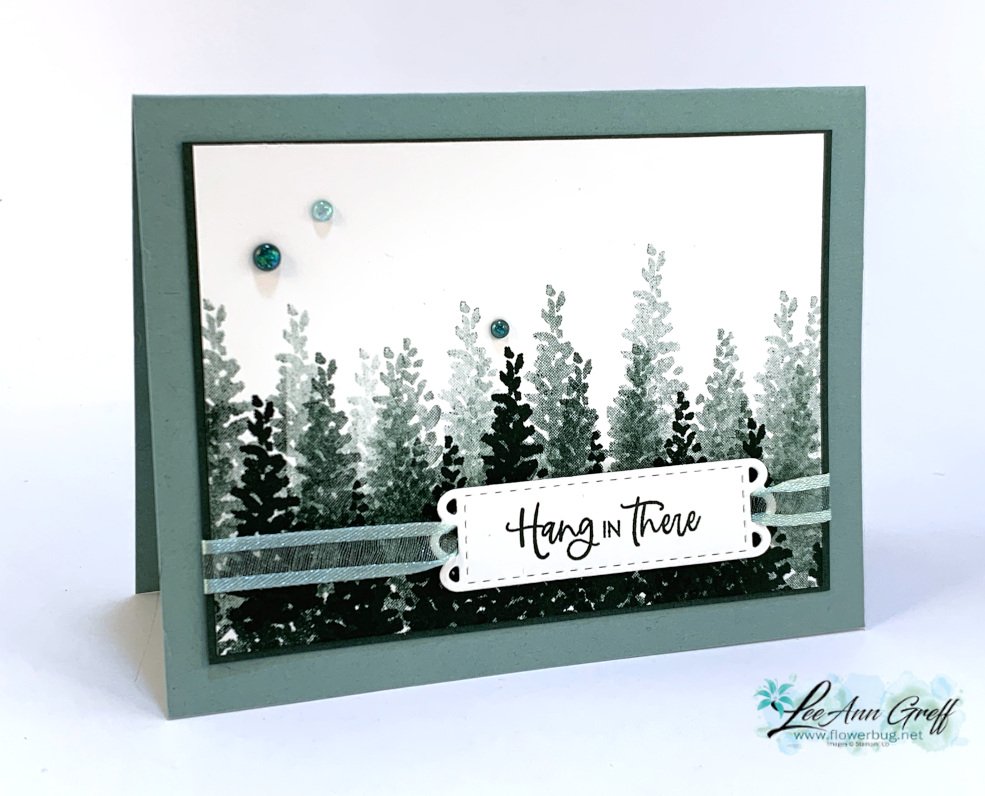
I chose to use just one ink color of Evening Evergreen. I made this card in the video below; or click here to see it. 

Tips on creating the trees:

  • Starting at the bottom with the 3 flower image (turned point side up) stamp in full strength Evening Evergreen ink making sure you stamp some images higher and some lower.  Ink every time filling in the very bottom fully.
  • Now ink the same image and stamp off once before stamping slightly higher than the first 'trees'.  
  • Now ink the image again and stamp off twice before stamping even higher making sure you alter the height now & then.  
  • Wallah; you've created a forest of trees!  

Did you know that Evening Evergreen and Soft Succulent are a perfect color combination?  Stamping off once or twice can give you almost an exact Soft Succulent color tone.  
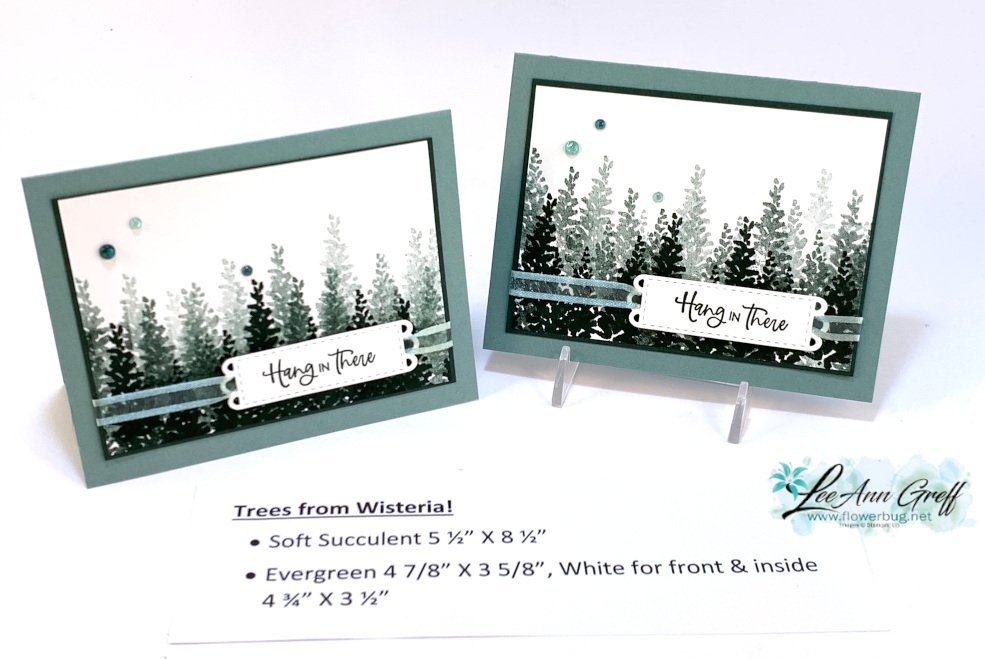
You could make a bunch of these cards quickly and they're perfect for any occasion but to me they'd be great sympathy or men's cards. 

Here are the other two cards I made with this bundle.  It was super fun to play with! 

Click on the photo below to watch the video. 

~~~

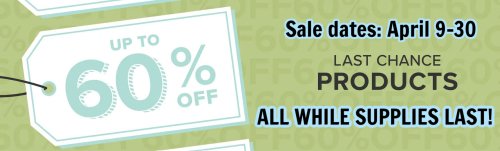
Last Chance items are selling out!  


Kits Collection BOGO – buy 1 get 1 50% off!  

Host codes: 9F9AJHYG

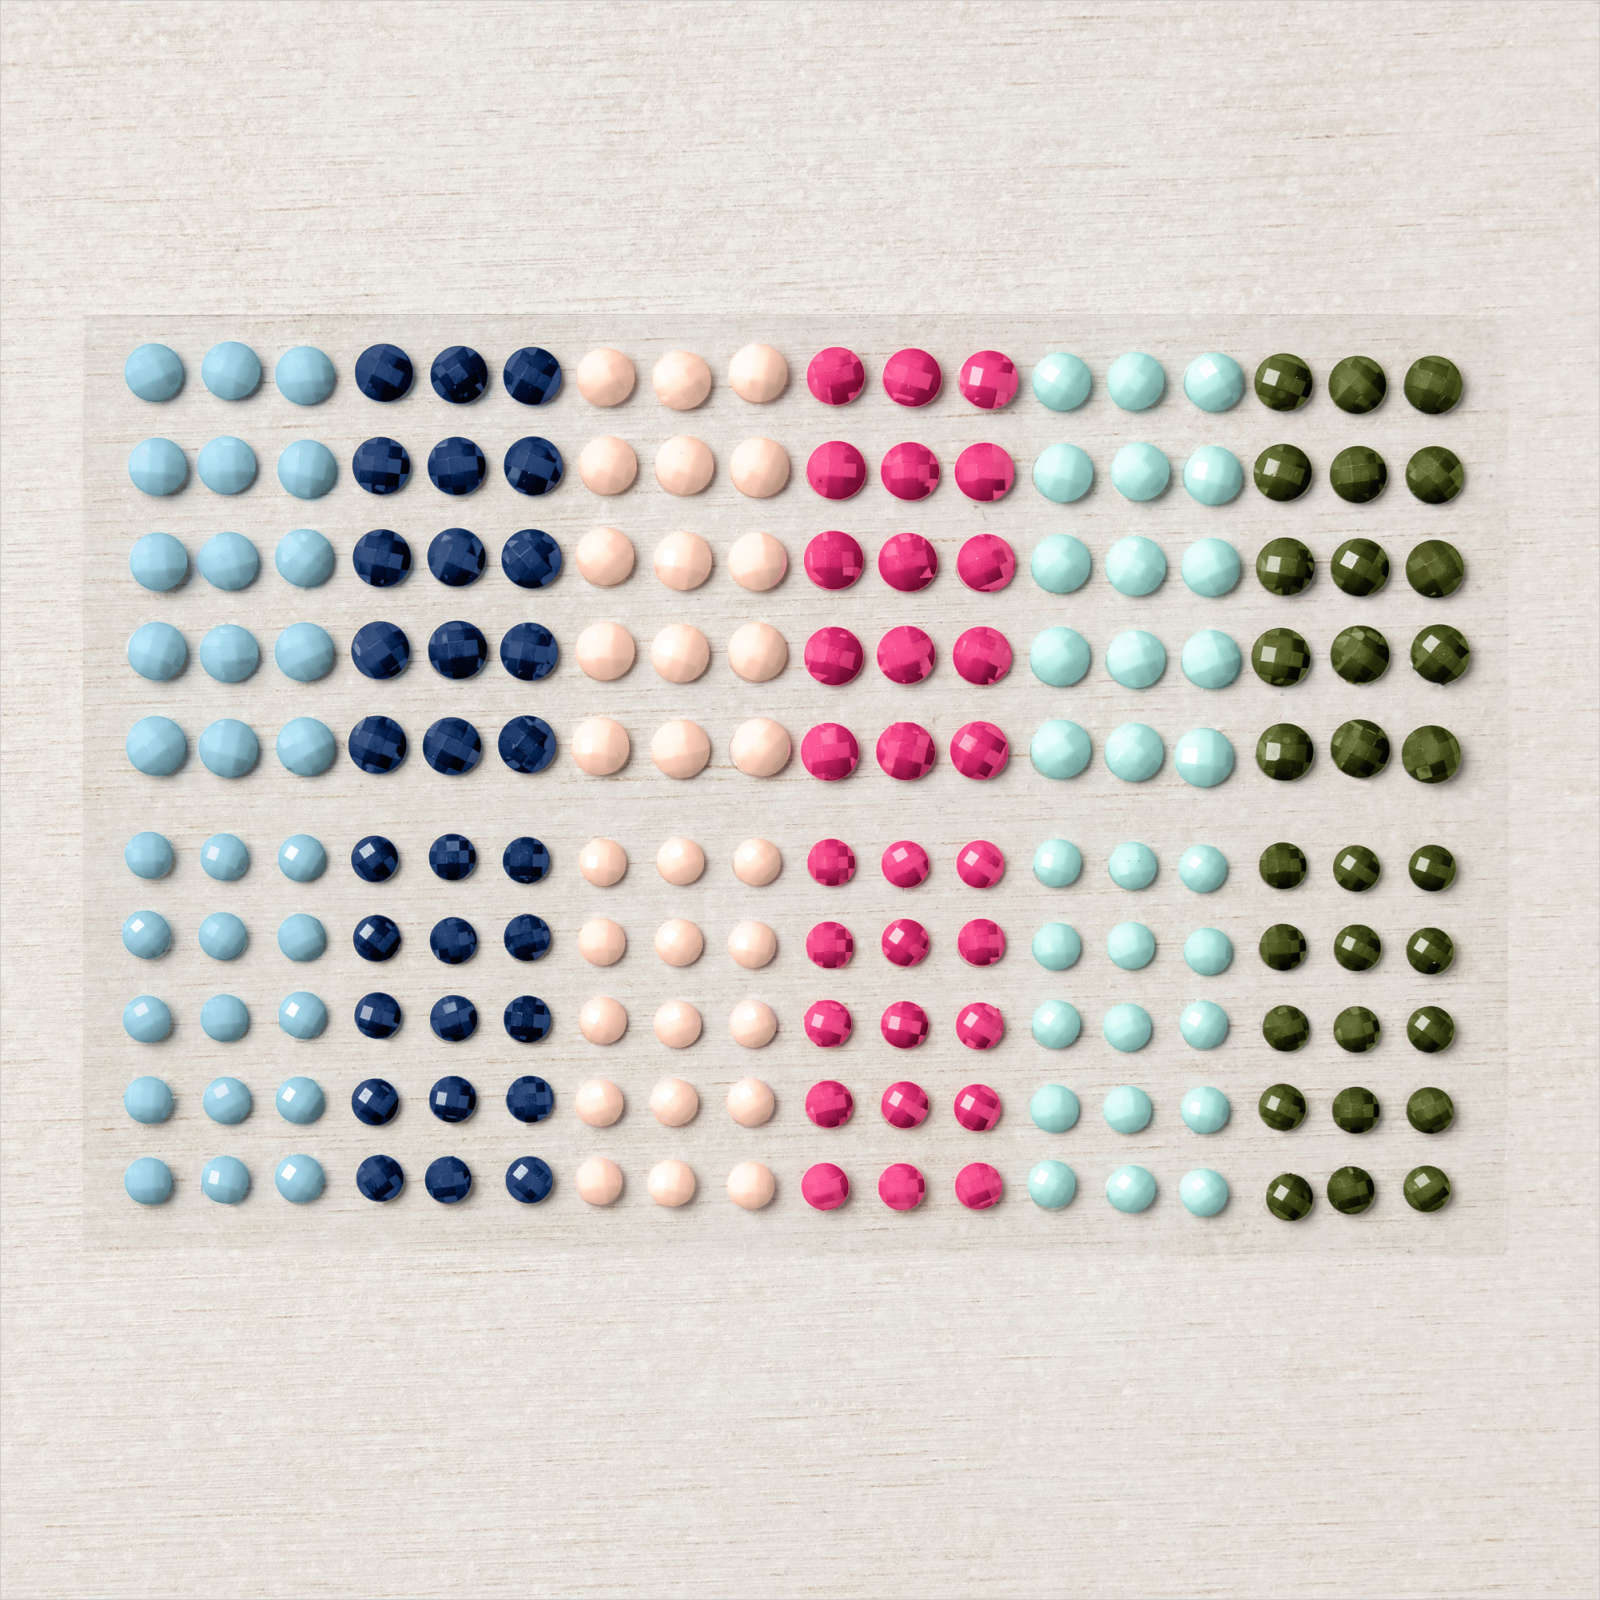
If your order is over $50 you'll receive a set of Solid Faceted Gems from me. *click here to order 
Earn free products with my loyalty rewards! 

Click here to download yours and earn a $50 shopping spree!  
All Posts

  • Have you seen the clever Happy Houseplants kit?!


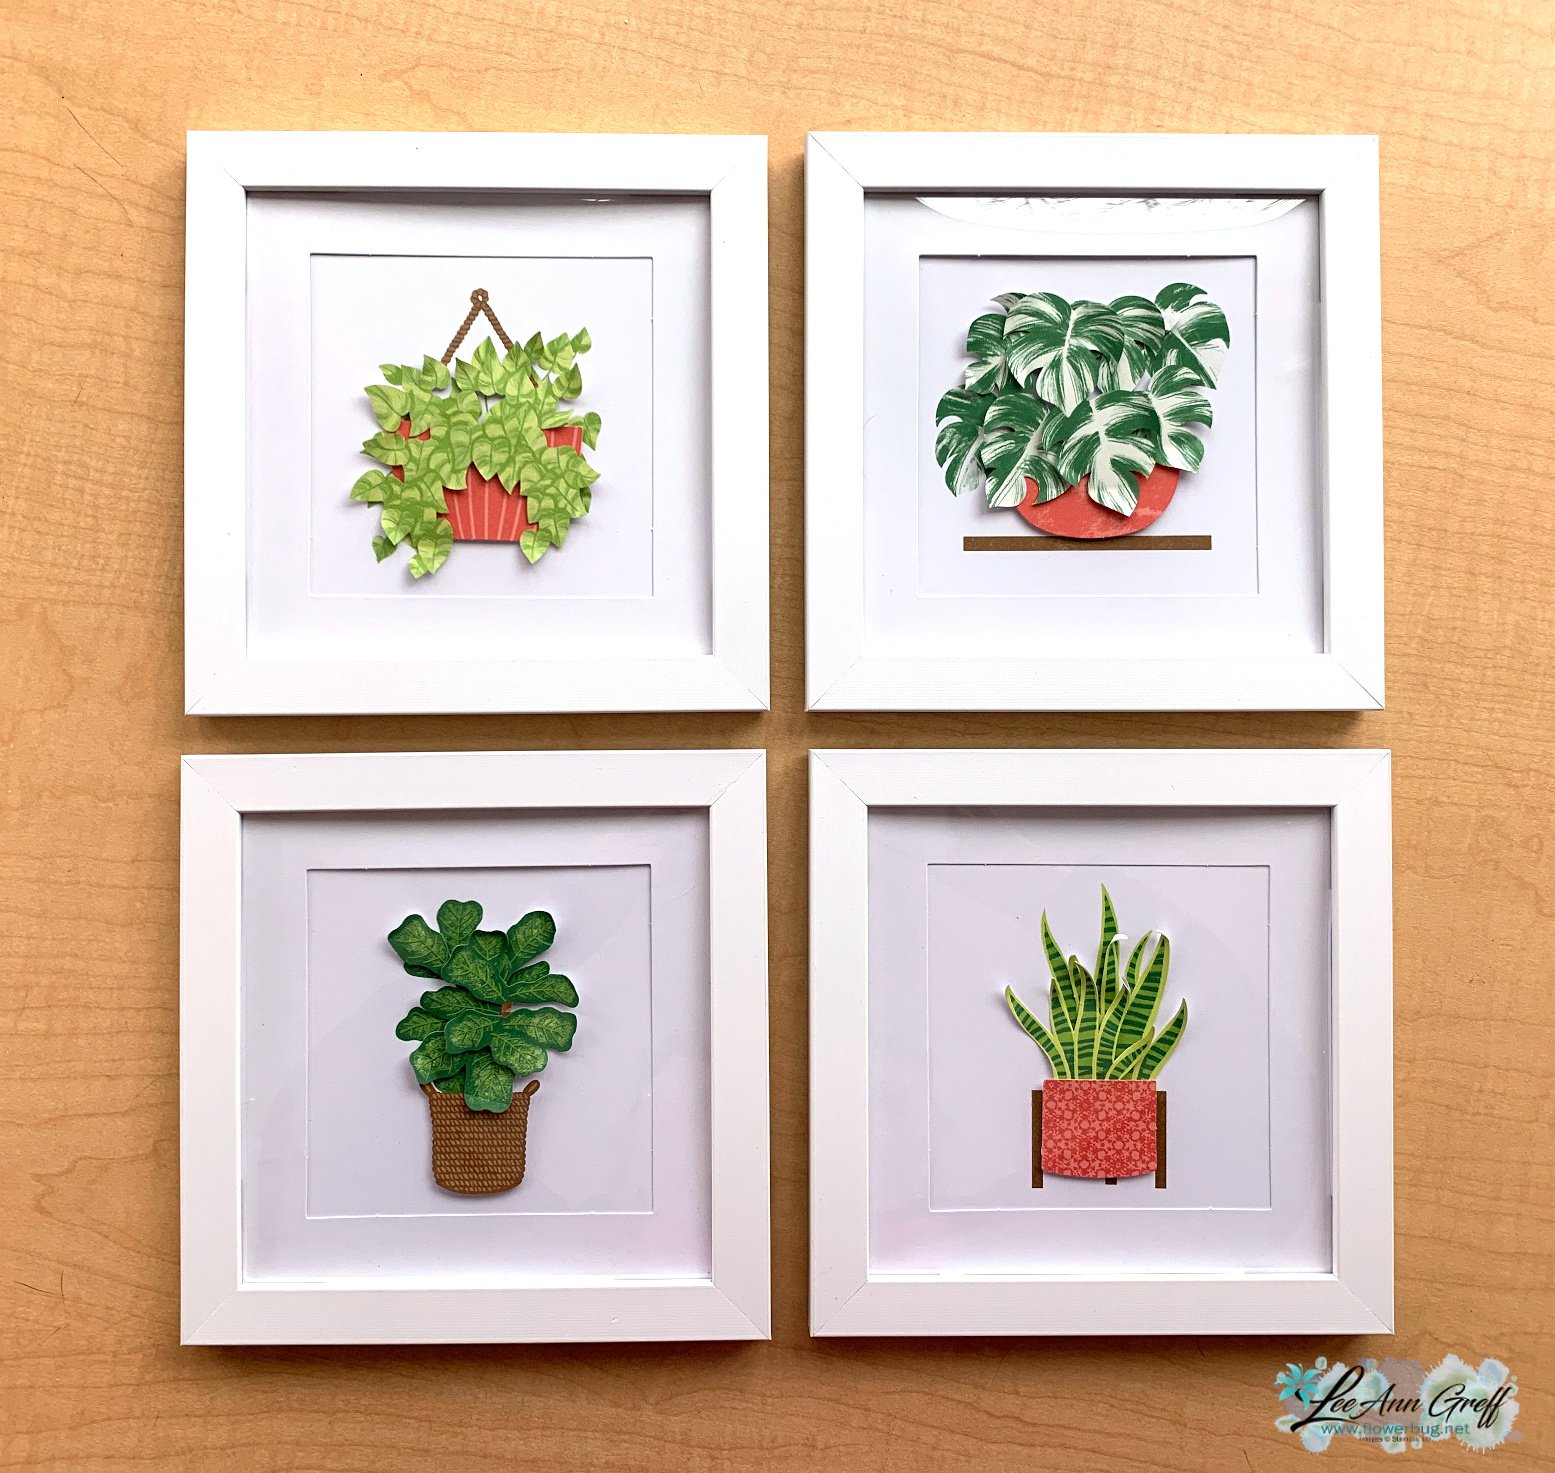
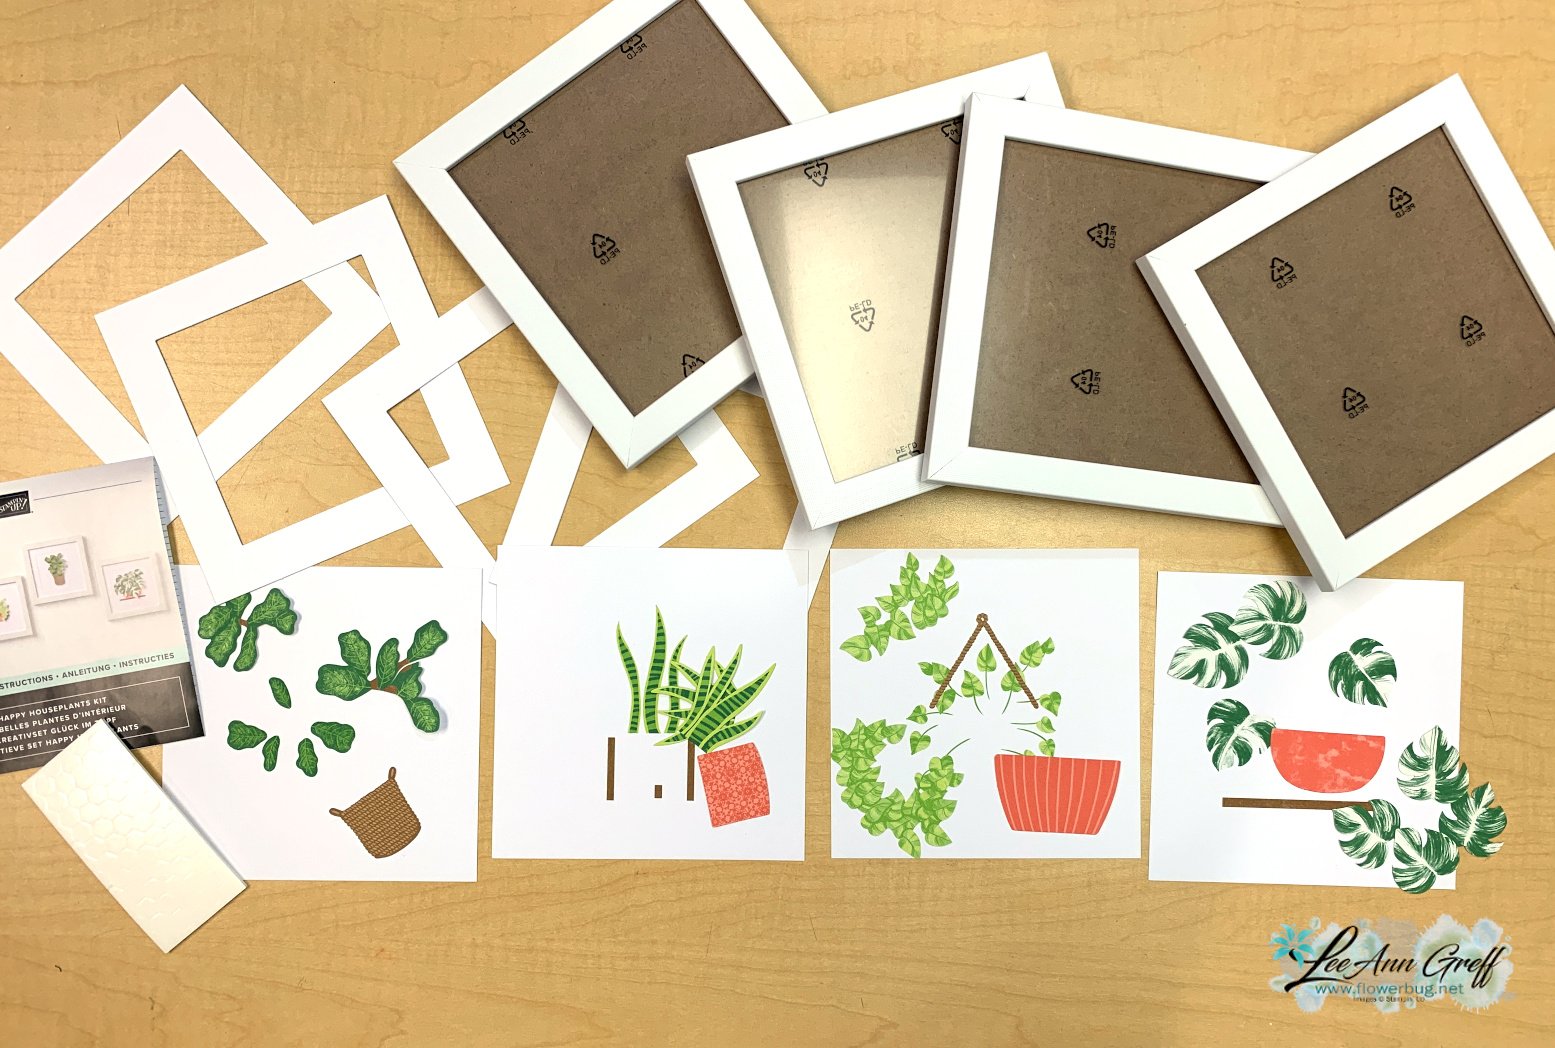
    One of our most unique kits lately is the Happy Houseplant kit.  It includes 4 frames with everything you need to create adorable home decor!  

    It's in our Kit Collection seen here and is all inclusive. That means it includes everything you need to create the 4 pieces of framed art all for just $25. They're 7" square when finished.

    I think they're perfect to place in a hall, bathroom or a guest room.  Maybe near a real plant as a coordinating accent. 

    A few tips on putting these together. The clear acrylic cover sheet has adhesive on both sides for protection.  Remove them before assembling. 

    See how 3D they are?  I used a bone folder to curl the plants a bit. The kit comes with Dimensionals for adding an elevated look. 

    Because the pre-cut plant layers are meant to be popped up for a 3D look I added foam adhesive strips seen here to the edges of my frame after I added the clear acrylic sheet. *don't look too close; I added the adhesive strips to the frame edges before I added the clear sheet and had to remove them!

    I love the plants & pots this kit creates. What a beautiful set of home decor art! 

    This kit would make a fabulous gift for someone who has a new home and needs art, someone who likes to craft but not collect, or someone who is redecorating.  

    While you're shopping be sure to check out the rest of the kits in our Kit Collection here.

    Also don't forget about the Last Chance sale – grab some products on sale!  See it all here. 

    ~~~

    April Specials: 

    *current host code link:  W62MPU2R

    ~~~

    Here's a link to the Last Chance list 

    A free gift with orders in April:

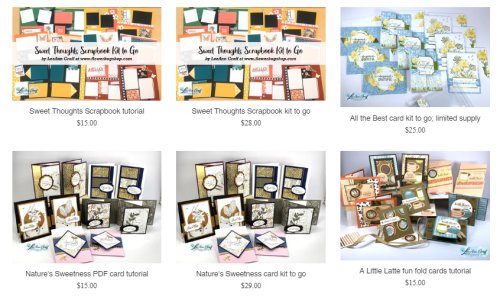
    Check out my available Kits & Tutorials here:

    All online orders in April will receive a free multi-project tutorial!

    Leave a Reply

    Your email address will not be published. Required fields are marked *

  • CUTE Hooray for Honeycomb card kit; fun, unique & all-inclusive


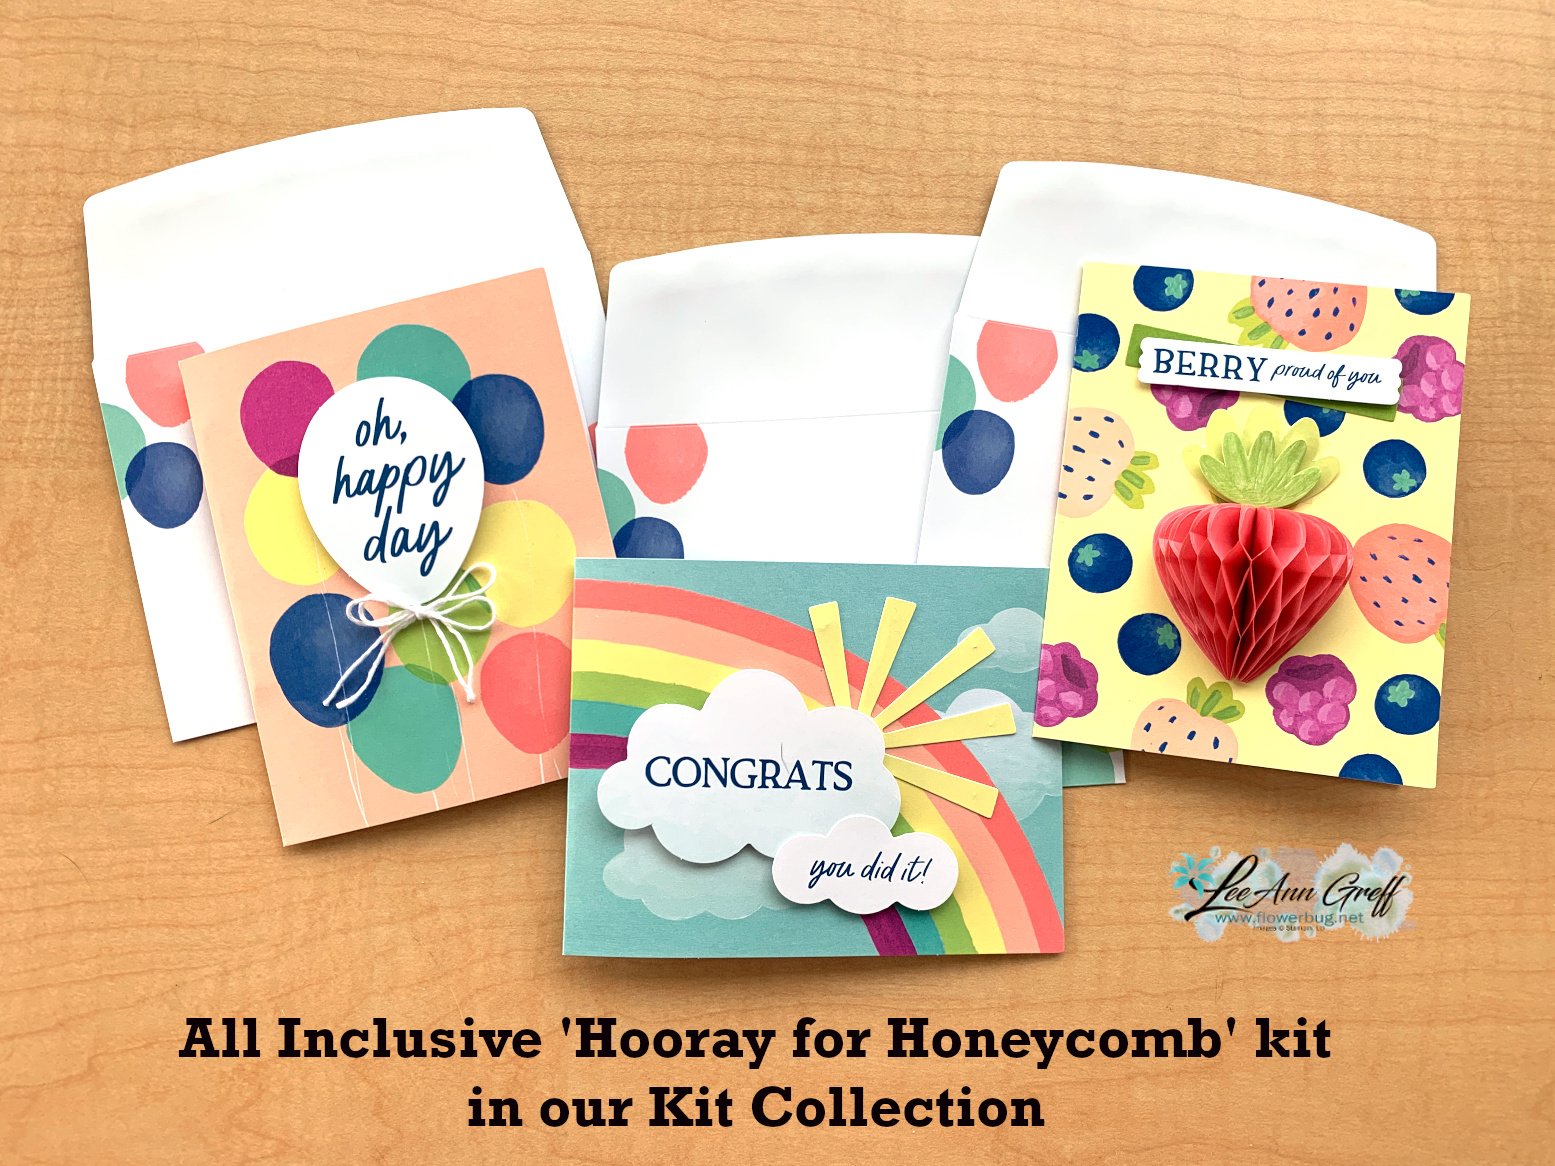
    I made time to play with the Hooray for Honeycomb kit the other day and it was super fun and the cards are perfect for celebrations like Graduation, new job, new home or any other good feeling event.  

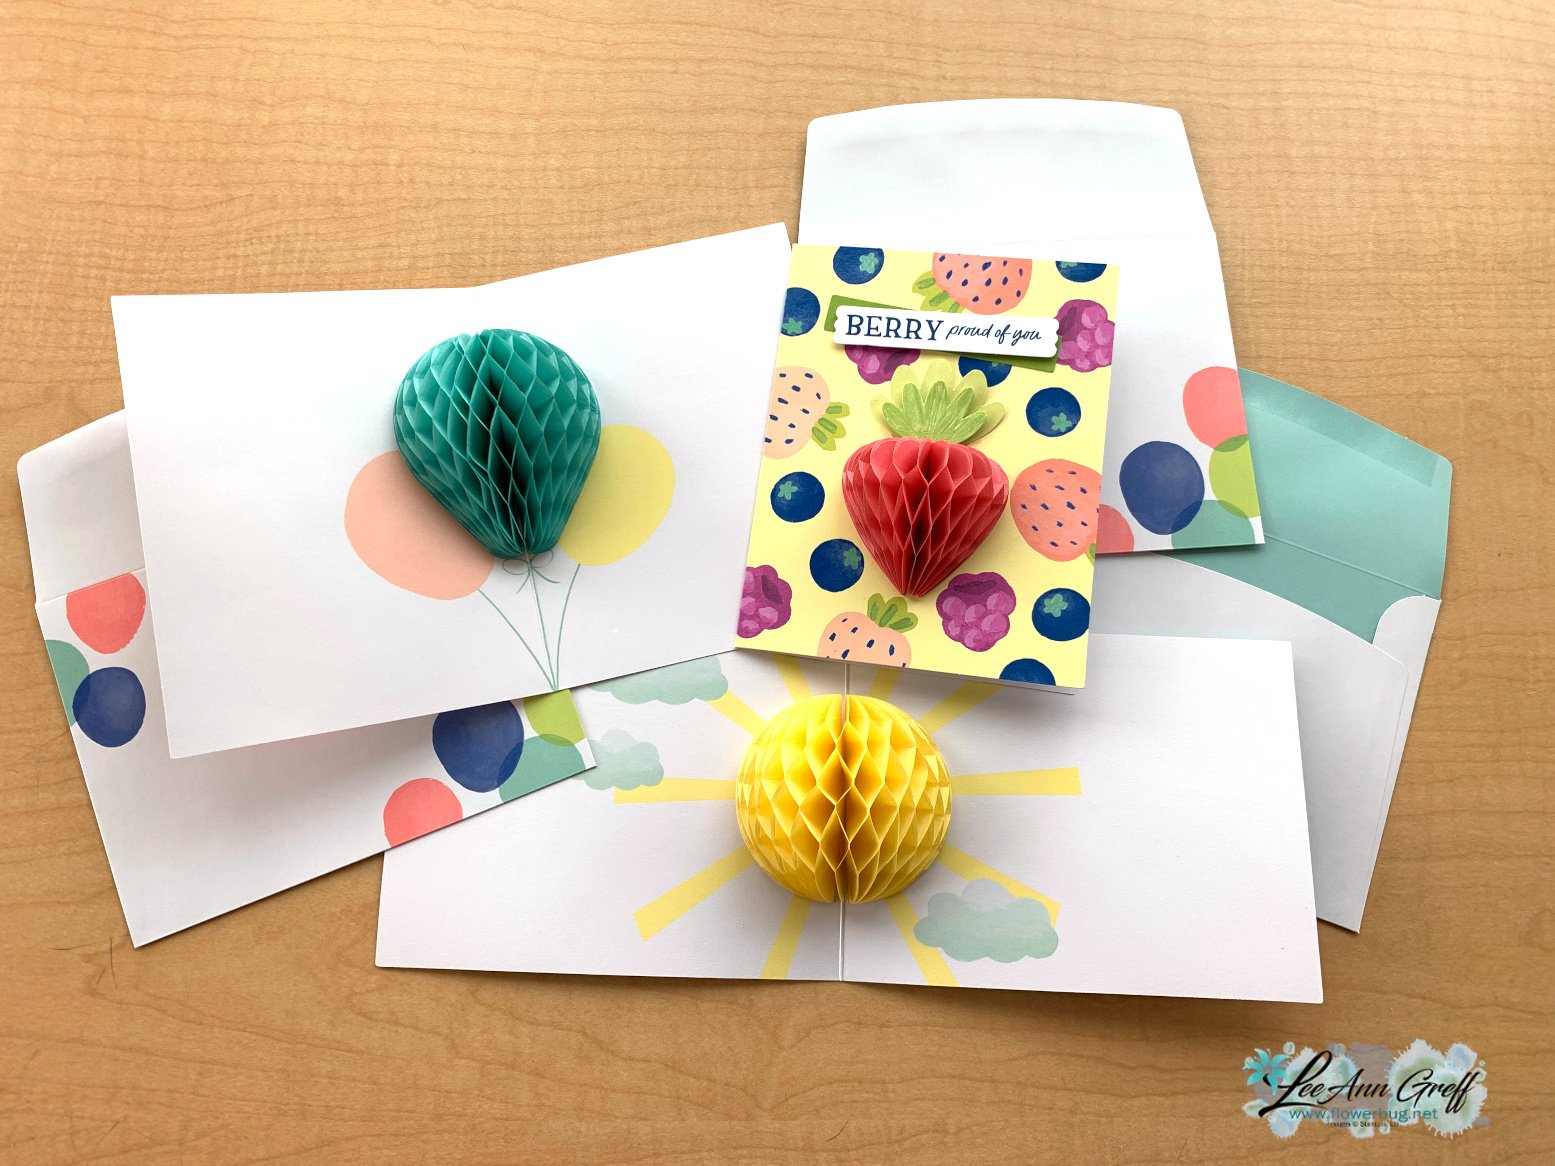
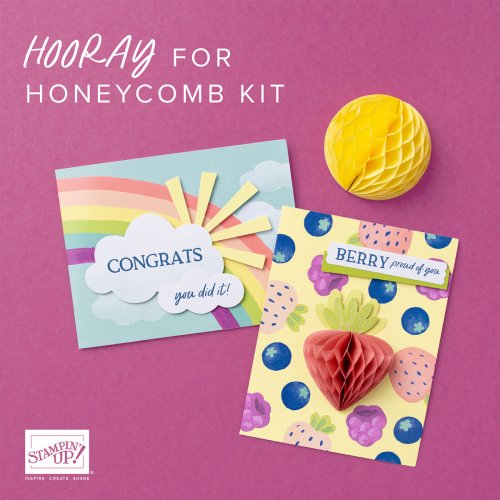
    Aren't they just cute?!  And so easy.  This kit is all inclusive and includes everything you see here.  You'll receive enough product to make 3 of each card with printed greetings, etc and the special honeycomb elements too.

    You can see it here in the online store. These are so special; whoever receives these cards will LOVE them! 

    And while you're shopping be sure to check out the rest of the kits in our Kit Collection. Also don't forget about the Last Chance sale – grab some products on sale!  See it all here. 

    ~~~

    April Specials: 

    *current host code link:  W62MPU2R

    ~~~

    Here's a link to the Last Chance list 

    A free gift with orders in April:

    Check out my available Kits & Tutorials here:

    All online orders in April will receive a free multi-project tutorial!

    Leave a Reply

    Your email address will not be published. Required fields are marked *

  • Sending Love Artist of the Month – party 2


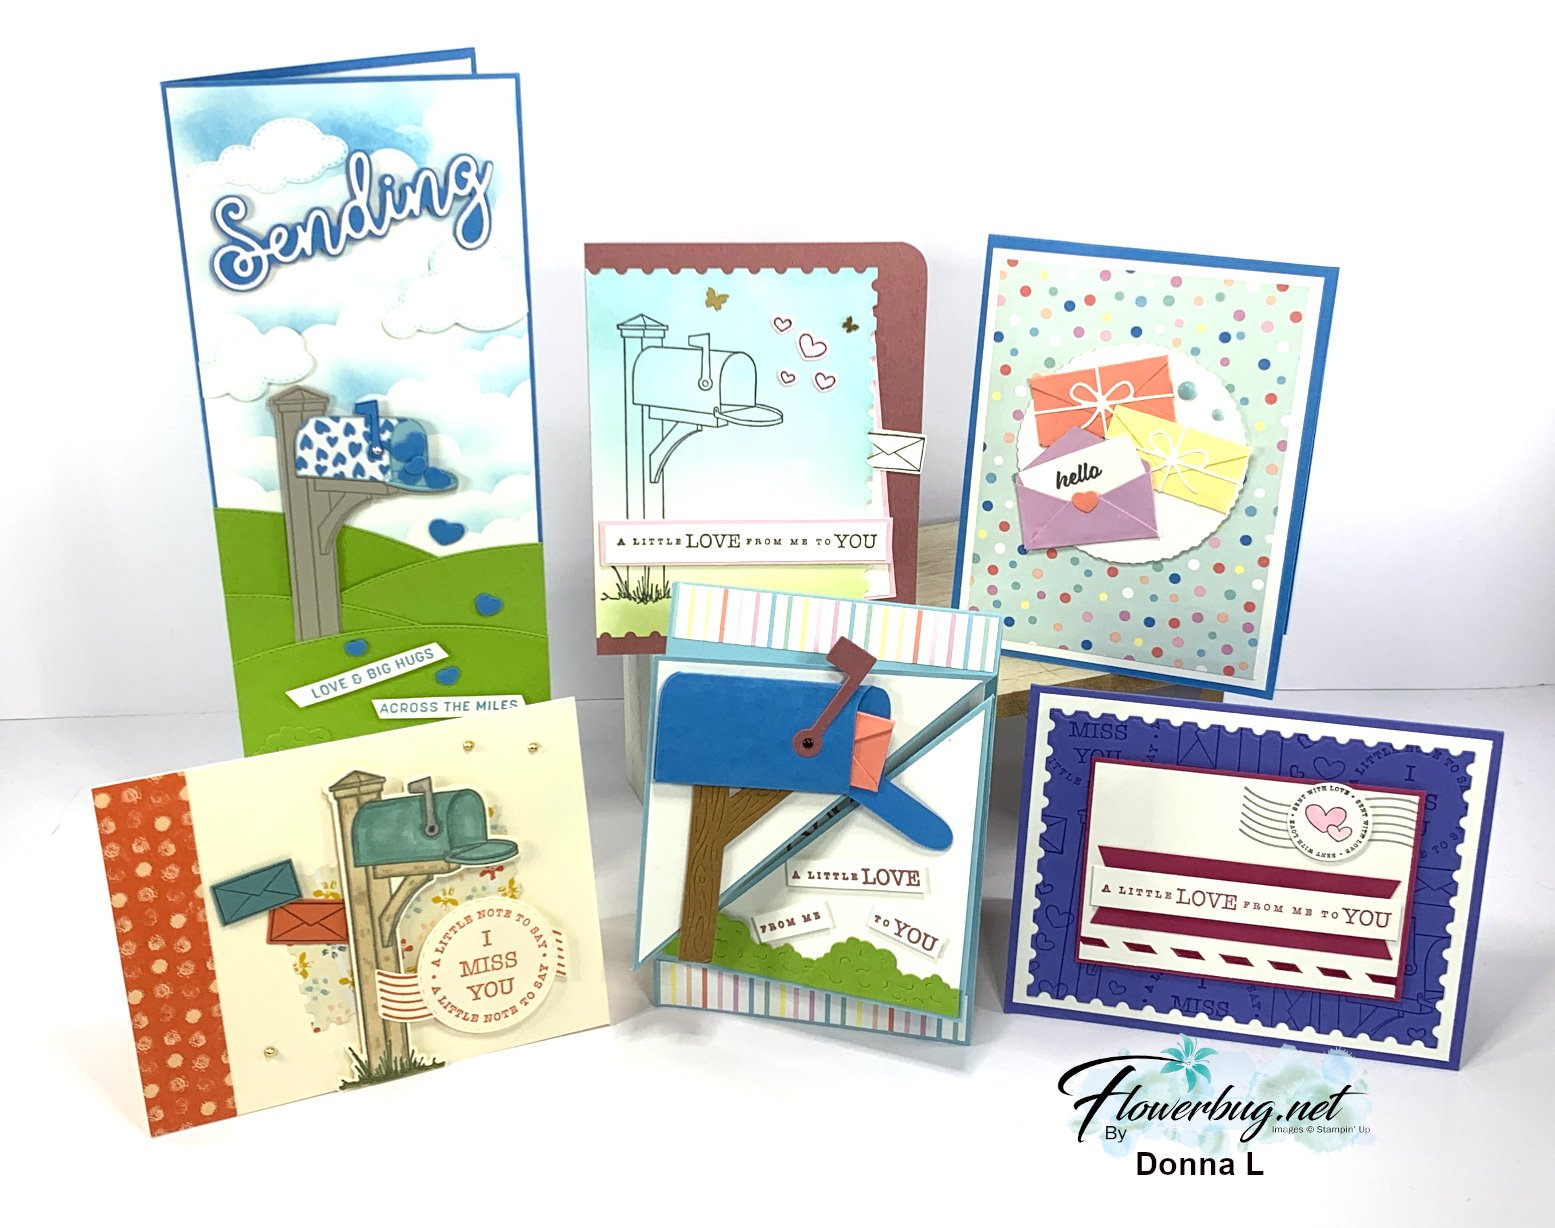
    Here are the second set of Sending Love cards by our Artist of the Month – Donna.  See the first batch here.   

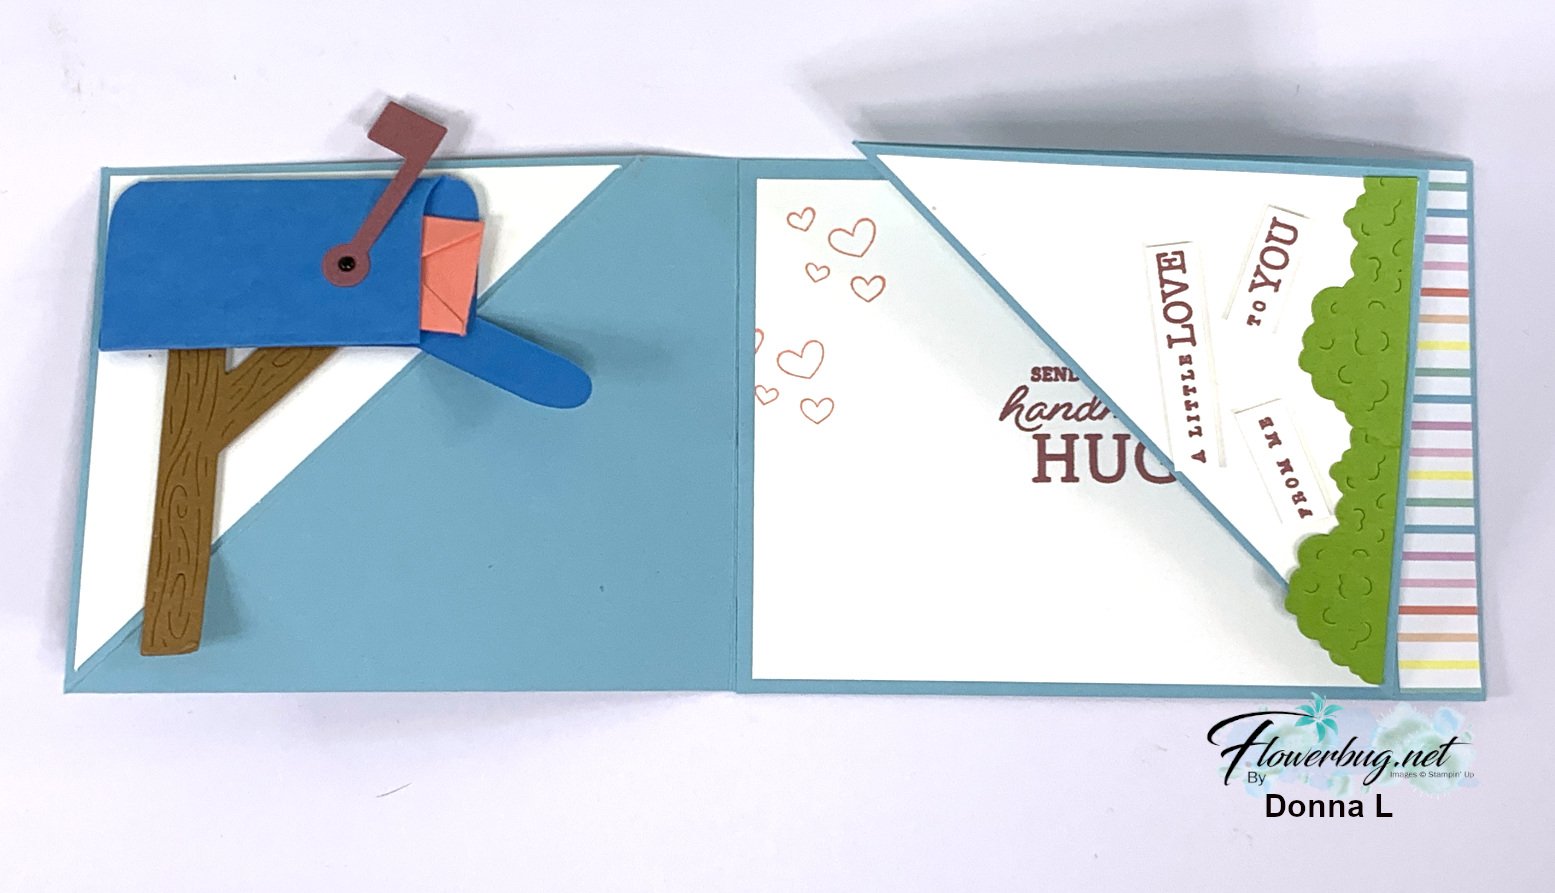
    First up today is a fabulous fun fold card.  

    I often forget to cut apart my sentiment like this.  It sure adds a playful note!

    The cute grass and mailbox die-cuts are all from the Sending Love bundle seen here.  The stamp set & dies are returning in the new Annual catalog but they will no longer be a bundle at 10% off. 

    It starts out as a vertical card with this cute mailbox scene.  But when you open it…… you get a horizontal card!

    I only opened the upper flap in the photo above.  You can see how it turns from a vertical card to a landscape card.  Here's what it looks like fully opened.  I love that you can read the greetings either way! 

    Measurements:

    • Balmy Blue card stock – 2 pieces at 10 1/4" X 4 1/4". Score each in at 4 3/4".  Then mark at 4" and score from that mark to the outside corner.  The two pieces are adhered together in the center (under the large white layer) 
    • White – inside is 5 1/4" X 4", side triangles started out at 3 3/4" square; cut in half on the diagonal. 

    ~~~

    Next is a sweet pocket card.  Don't you love her beautiful sponging?! 

    This card has a hidden pocket between the layers.  See that little envelope sticking out?  

    Measurements:

    • Moody Mauve – 4 1/4" X 5 1/2"
    • Sponged Postage die-cut 3 5/8" X 5"
    • Inside White 2 7/8" X 4 1/8"
    • Bubble Bath 3" X 4 1/4"

    ~~~

    Lastly is this adorable hello card with the cutest envelopes on front!  These are also included in the Sending Love dies. 

    She also used the Deckled Circle dies and the Lighter Than Air designer paper (retiring).  The envelopes match the DSP – Fresh Freesia, Lemon Lolly & Calypso Coral. 

    Thanks so much for creating and sharing these amazing cards with us Donna!! 


    ~~~

    April Specials: 

    *current host code link:  W62MPU2R

    ~~~

    Here's a link to the Last Chance list 

    A free gift with orders in April:

    Check out my available Kits & Tutorials here:

    All online orders in April will receive a free multi-project tutorial!

    Leave a Reply

    Your email address will not be published. Required fields are marked *


Notice: LeeAnn Greff, Independent Stampin’ Up! Demonstrator, Manager. The content of this website is my sole responsibility as an independent Stampin’ Up! demonstrator and the use of, and content of, the classes, services, or products offered on this website is not endorsed by Stampin’ Up! Copyright 2025