/


Latest Post

How to make a bumblebee with the Ladybug Builder punch


This month my Flowerbug's Team's swap theme was cards featuring an animal, bug or bird with a unique fold.  I decided to use the Hello Ladybug bundle for mine. Click here to see the bundle.  I changed the ladybug into a bumblebee!  

I shared how to make this card on last week's Facebook Live.  It's now on YouTube as well.  Click here to see it and two other cards featuring this cute Ladybug Builder punch.  
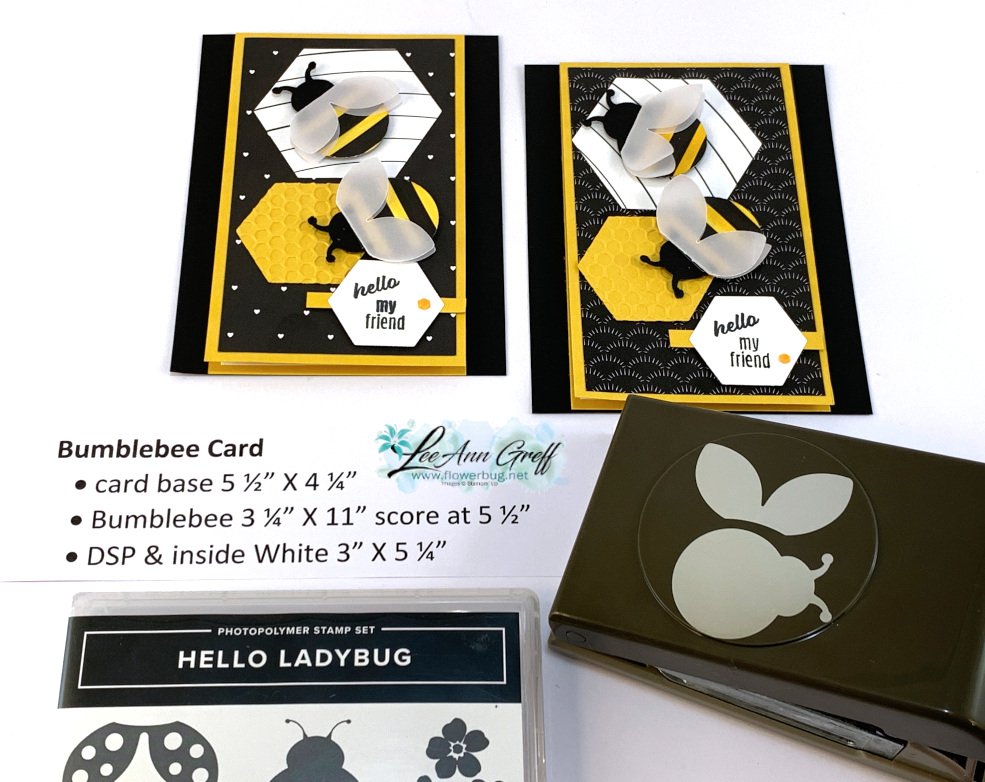
 

You may have seen this done before; it's so simple if you have some Black & White designer paper.  I colored the white stripes with a Dark Daffodil Delight Blends marker.  I used the Ladybug Builder punch to punch out the body circle and added it to the main Black Ladybug body.  

Then I punched out wings from Vellum.  I made them double wings by folding a piece of vellum in half and punching so the fold was intact.  The wings are adhered with a few mini glue dots. 

Details:

  • I used the Beautiful Shapes dies seen here for the hexagon shapes.  
  • Designer paper is the All Together 6 X 6" black & white paper seen here. 
  • The Bumblebee hexagon is textured with the Hive 3D embossing folder.
  • That hexagon embellishment on the greeting was pink. It's one of three colored in the Adhesive-backed Hexagon gems in the 2022 Jan-June catalog. I colored it with the Dark Daffodil Delight blends marker. 


This is an easy fun fold card to make.  And it makes great use of your Designer Paper – you can get 2 fronts from each 6 X 6" piece or 8 fronts from a 12 X 12" piece of paper. 

Below is the video; click on the photo to watch.  Don't forget to subscribe to my You Tube Channel here. 

~~~

 Hot Deals in February:

Choose $125 in product PLUS any 2 stamp sets free in February!

It's just $99. Get FREE shipping too!

Click here to get the deal.


Host codes: PA93N9CF

 *click here to order 


Use the host code above & get a free Easel Calendar kit

& the Gingham embossing folder with a $55 order in February, 2022! 

All Posts

  • Springtime Scenes easy fun fold card


    Today is the last day of the double reward points promotion. Shop here and take advantage of it!

    I shared this striking fun fold card here a few weeks ago. You’ll find the free project sheet there too.

    I had leftover pieces and wanted to make a few thank you cards with it. Here’s what I came up with:

    I used the same colors of Shaded Spruce & Blueberry Bushel but chose the Springtime Scenes bundle instead. The images and die-cuts are all from the Springtime Scenes bundle seen here.

    This bundle is one of my newest favorites I reach for. There is so much to love about it!

    I think this color combination is wonderful; deep rich colors with White is a stunner.

    Thanks for tuning in today; have a great weekend.

    April Specials:

    Check out the Last Chance list here; these items go fast!

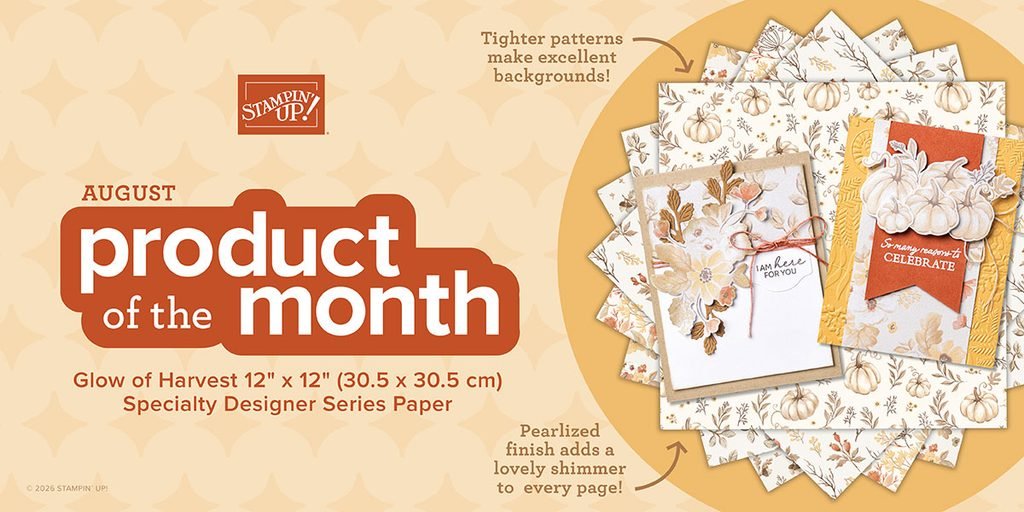
    Product of the Month is the Eyelet Blooms dies

    *Get a free 12 project tutorial when you redeem this POM from me!

    ~~~

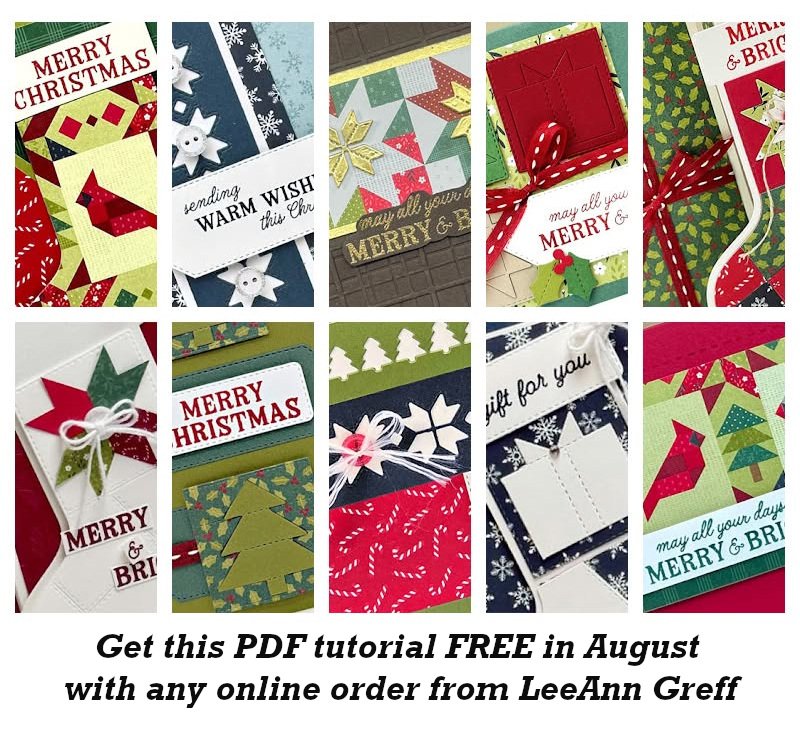
    Free PDF tutorial featuring the Delicate Whispers suite!

    Leave a Reply

    Your email address will not be published. Required fields are marked *

  • Double Reward Points today through Friday only! Combine with Last Chance list for big savings!


    This week Wednesday through Friday you earn double rewards on all Stampin’ Up! orders (above $20).

    You always earn 10% on your SU purchases but for 3 days you’ll earn 20%! That can mean a nice bonus if you’re spending a bit.

    Because the Last Chance list has recently been updates you can combine these two promotions to save money and earn rewards. I love this promo!! Don’t miss out on these retiring items!

    Go here to shop.

    Here are a few of my favorite items on the Last Chance list.

    Leave a Reply

    Your email address will not be published. Required fields are marked *

  • Card ideas for the Box & Cards; free project sheet with video tutorial


    I shared this beautiful box with cards on yesterday’s blog post. You’ll see it in the video and project sheet below too. Today I’ll focus on the cards included in the pretty box.

    The featured products include the Lovely Blossoms suite. This card box can fit up to 6 cards with envelopes inside. It’s super easy to make too! It’s included in the free project sheet seen below.

    For these cards I used the Lovely Arrangements bundle seen here. And the Lovely Blossoms designer series paper seen here.

    This first card is a fun fold card; quite unique!

    It doesn’t look much different from the front. The colors include Cloud Cover, Secret Sea, Old Olive & White. Here’s a photo of it open:

    The White inside layer has two extra folds in it. There’s a narrow flap adhered to the card front that let’s it open in an unusual way. The measurements are in the free project sheet below.

    This next card is deceptively simple; but I added a simple trick to layering the DSP on the front:

    The main image is from the Lovely Blossoms DSP. This DSP includes multiple printed elements perfect to make the focus of the card. It’s the printed Olive DSP under it I want to call your attention to. Both pieces measure 3″ X 4″. I cut the Olive DSP in half on the diagonal and added that as a layer to the flower layer. Quick and easy but unique. Instead of the traditional even layers this adds interest to your card.

    Lastly is a card that shows off a special die-cut in the Lovely Arrangements bundle:

    It’s Petal Pink with Secret Sea and White. That multiple circles die is so cool! It truly adds some playfulness to the card. The greeting is stamped on a circle die-cut from the Spotlight on Nature dies seen here.

    My free project sheet includes these 3 cards plus the template and instructions for the card box as well. Click here to download or print it.

    Below is the video tutorial for the box and tips on assembling the fun fold card at the top. Don’t forget to follow me on my YouTube Channel here or my Facebook Page here.

    April Specials:

    Check out the Last Chance list here; these items go fast!

    Product of the Month is the Eyelet Blooms dies

    *Get a free 12 project tutorial when you redeem this POM from me!

    ~~~

    Free PDF tutorial featuring the Delicate Whispers suite!

    Leave a Reply

    Your email address will not be published. Required fields are marked *


Notice: LeeAnn Greff, Independent Stampin’ Up! Demonstrator, Manager. The content of this website is my sole responsibility as an independent Stampin’ Up! demonstrator and the use of, and content of, the classes, services, or products offered on this website is not endorsed by Stampin’ Up! Copyright 2025