/


Latest Post

How to make a bumblebee with the Ladybug Builder punch


This month my Flowerbug's Team's swap theme was cards featuring an animal, bug or bird with a unique fold.  I decided to use the Hello Ladybug bundle for mine. Click here to see the bundle.  I changed the ladybug into a bumblebee!  

I shared how to make this card on last week's Facebook Live.  It's now on YouTube as well.  Click here to see it and two other cards featuring this cute Ladybug Builder punch.  
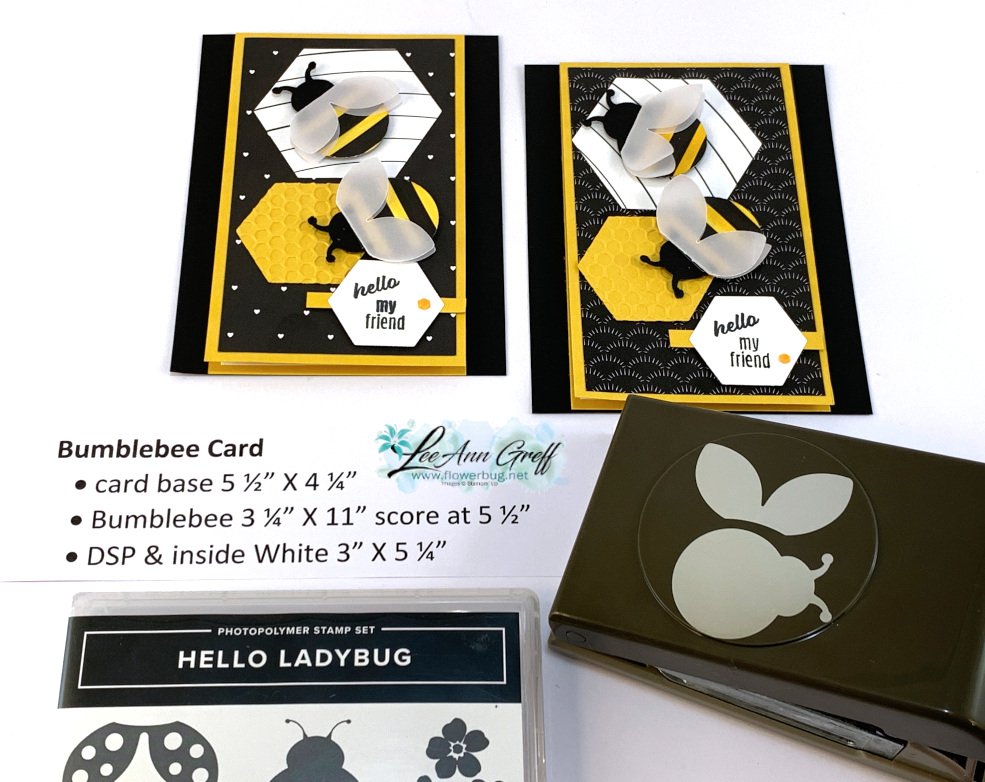
 

You may have seen this done before; it's so simple if you have some Black & White designer paper.  I colored the white stripes with a Dark Daffodil Delight Blends marker.  I used the Ladybug Builder punch to punch out the body circle and added it to the main Black Ladybug body.  

Then I punched out wings from Vellum.  I made them double wings by folding a piece of vellum in half and punching so the fold was intact.  The wings are adhered with a few mini glue dots. 

Details:

  • I used the Beautiful Shapes dies seen here for the hexagon shapes.  
  • Designer paper is the All Together 6 X 6" black & white paper seen here. 
  • The Bumblebee hexagon is textured with the Hive 3D embossing folder.
  • That hexagon embellishment on the greeting was pink. It's one of three colored in the Adhesive-backed Hexagon gems in the 2022 Jan-June catalog. I colored it with the Dark Daffodil Delight blends marker. 


This is an easy fun fold card to make.  And it makes great use of your Designer Paper – you can get 2 fronts from each 6 X 6" piece or 8 fronts from a 12 X 12" piece of paper. 

Below is the video; click on the photo to watch.  Don't forget to subscribe to my You Tube Channel here. 

~~~

 Hot Deals in February:

Choose $125 in product PLUS any 2 stamp sets free in February!

It's just $99. Get FREE shipping too!

Click here to get the deal.


Host codes: PA93N9CF

 *click here to order 


Use the host code above & get a free Easel Calendar kit

& the Gingham embossing folder with a $55 order in February, 2022! 

All Posts

  • Stitched So Sweetly & Positive Thoughts


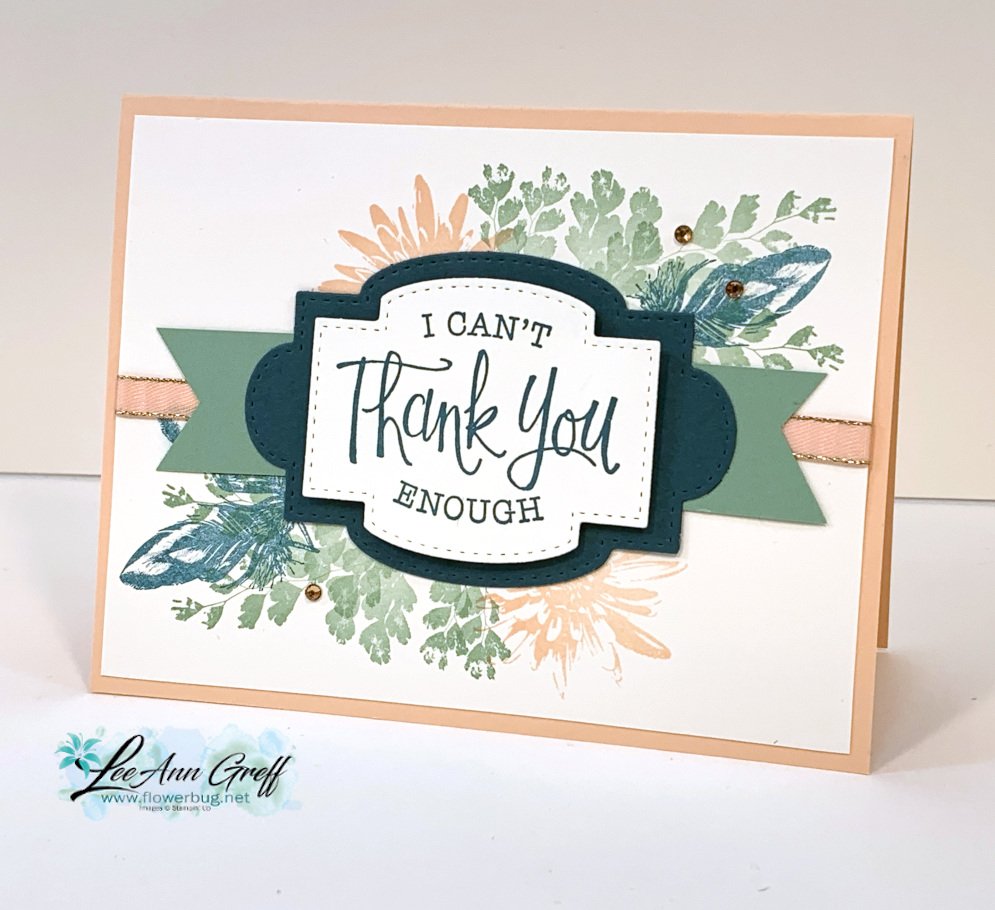
    Yesterday I shared one version of this card and here is the other.  I had extra background pieces stamped so I tried something else.

    I used the same dies; but added the So Sentimental stamp set for the greeting above.  

    And here is the first version:  Which do you prefer?  This (above) or that (below)? 

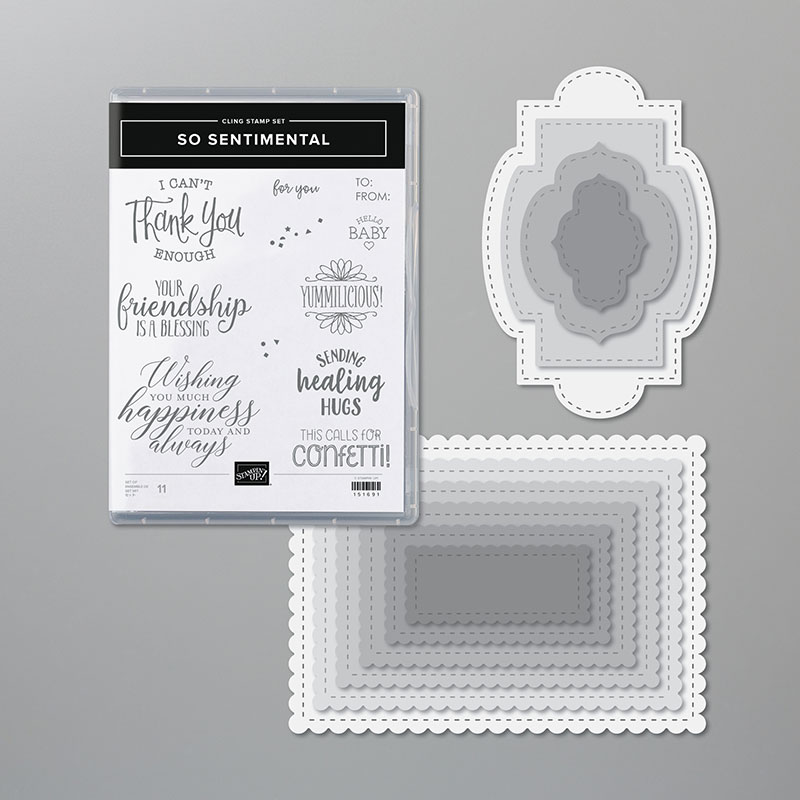
    Here is the new So Sentimental bundle; my favorite bundle in the entire new catalog!  See them here.

    ~~~

    January Specials 

    All online orders will receive a 10 cards pdf tutorial in an email.


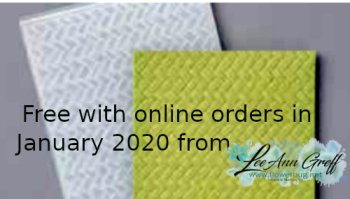
    And if your order is over $65 you'll get a free Coastal Weave embossing folder too!


    January Host Code is GEEFZCZV

    Order online here

    Leave a Reply

    Your email address will not be published. Required fields are marked *

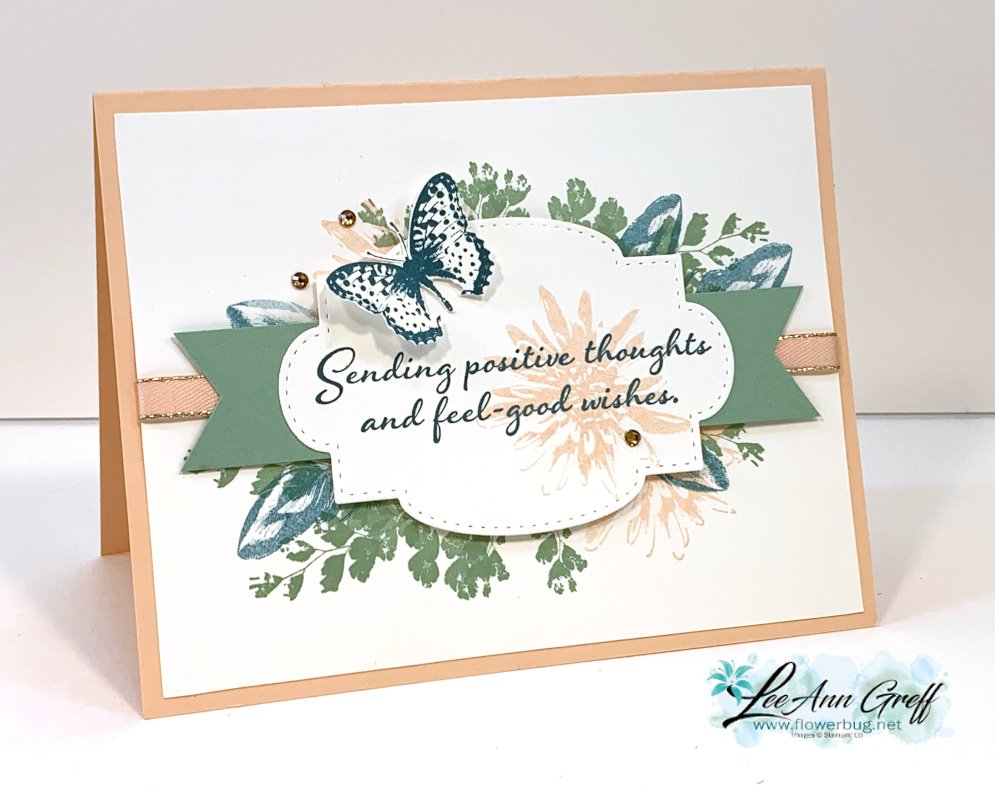
  • Sending Positive Thoughts; love this new stamp set!


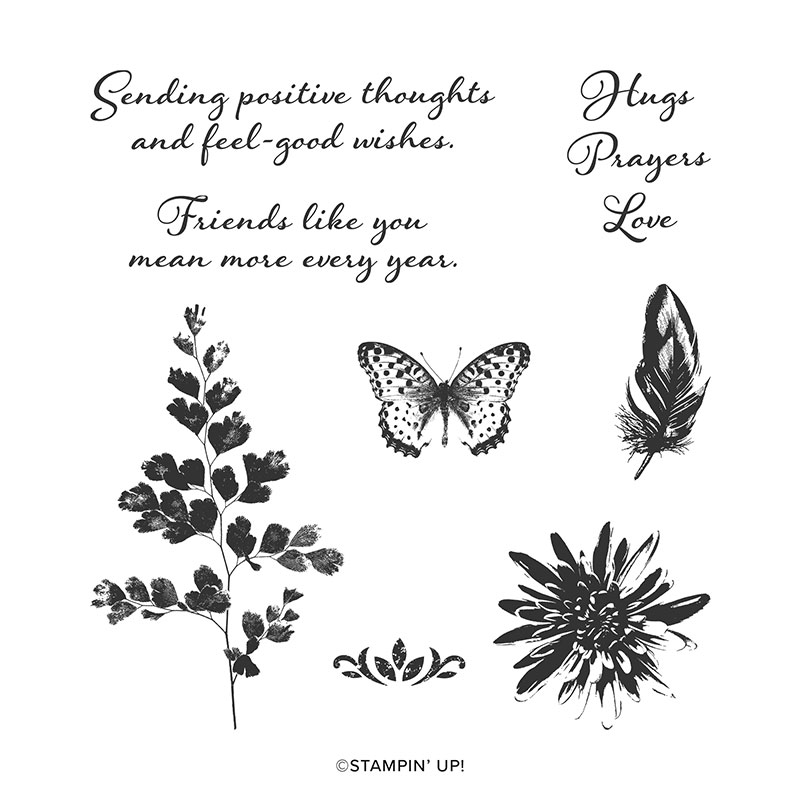
    This Positive Thoughts stamp set seems to be a 'sleeper' to some people but it caught my eye right away!  Everyone asked where the stamp set was when they saw my cards. 

    I knew I could make pretty cards with the images; the leaves, flower and feather are perfect with lots of fine details. But the greetings; they are some I will definitely get a lot of use of. 

    This soft, botanical card is one I made for an online swap I participated in.  I used Mint Macaron, Pretty Peacock and of course the pretty Petal Pink. The new champagne rhinestones and Petal Pink/Champagne ribbon was color inspiration. 

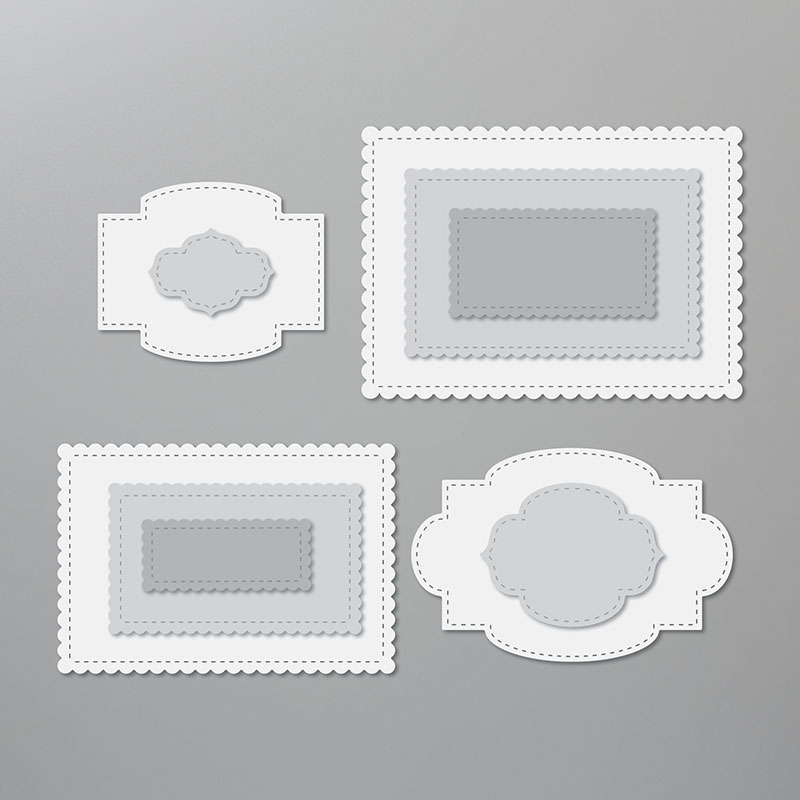
    I also used the new Stitched So Sweetly dies; my top pick in the entire new catalog!  See them here.

    I'll share a second version of this card with you tomorrow. 

    ~~~

    January Specials 

    All online orders will receive a 10 cards pdf tutorial in an email.


    And if your order is over $65 you'll get a free Coastal Weave embossing folder too!


    January Host Code is GEEFZCZV

    Order online here

    Leave a Reply

    Your email address will not be published. Required fields are marked *

  • Two ‘WOW’ technique cards with video


    This week's Facebook Live video featured two 'over the top' technique cards.  I uploaded it on YouTube so everyone could see it whether you're on Facebook or not. (scroll down to see the video) 

    If you are on FB be sure to follow my page so you catch each week's video on Tuesday's at 11 am CT. Here's the link to my page: www.facebook.com/flowerbugsinkspot 

    The left card is a shaker card; they're very special and interactive. And not hard at all! Using Window sheets and our Foam Adhesive strips sure make it easy! I used the following products: (click on each one)

    The card on the right is stitched with our metallic thread; basically like string art.  If you like to cross stitch you will like this fun technique.  I timed it and it took me about 8 minutes to finish one heart.


    The Heart Doilies make it super simple.  I used these products on this card:

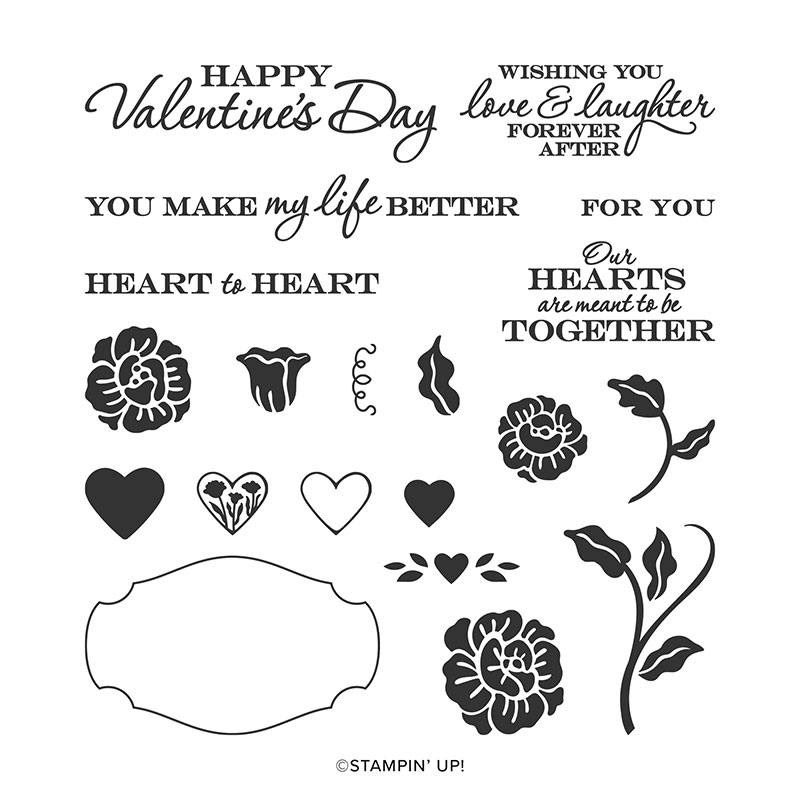
    The greeting on the Valentine's card is from the Heart to Heart stamp set.  I chose to order this one because it's not just for Valentine's Day but it does includes the greeting.  That makes it very versatile to me. 

    ~~~

    January Specials 

    All online orders will receive a 10 cards pdf tutorial in an email.

    And if your order is over $65 you'll get a free Coastal Weave embossing folder too!

    January Host Code is GEEFZCZV

    Order online here

    Leave a Reply

    Your email address will not be published. Required fields are marked *


Notice: LeeAnn Greff, Independent Stampin’ Up! Demonstrator, Manager. The content of this website is my sole responsibility as an independent Stampin’ Up! demonstrator and the use of, and content of, the classes, services, or products offered on this website is not endorsed by Stampin’ Up! Copyright 2025