/


Latest Post

How to get more use of your Fragrant Forest stamp; cut it up!


I shared this pretty card in last week's Live video. I featured the Fragrant Forest background stamp set seen here in all 3 projects. 

Today's card also features the Beary Cute stamp set & punch. It was available in a bundle but unfortunately the punch has sold out now.  But the stamp set is still available. 

I used Night of Navy with Mossy Meadow here. I stamped the entire White layer with the background stamp (watch the video with tips on getting even coverage with a background stamp) then cut the circle using the new Deckled Circle dies. I added it to a larger Navy Deckled circle die-cut which covered up the die-cut line from the first circle cut. 

The bears were stamped in Balmy Blue ink but in hindsight I'd like them in a dark gray ink on White.  The lower strip for the greeting is torn. 

I created a free project sheet for this card; click on this link to see it. Download Fragrant Forest & Beary Cute card  *subscribe to my blog so you don't miss a thing and can access all of my project sheets in one place! 
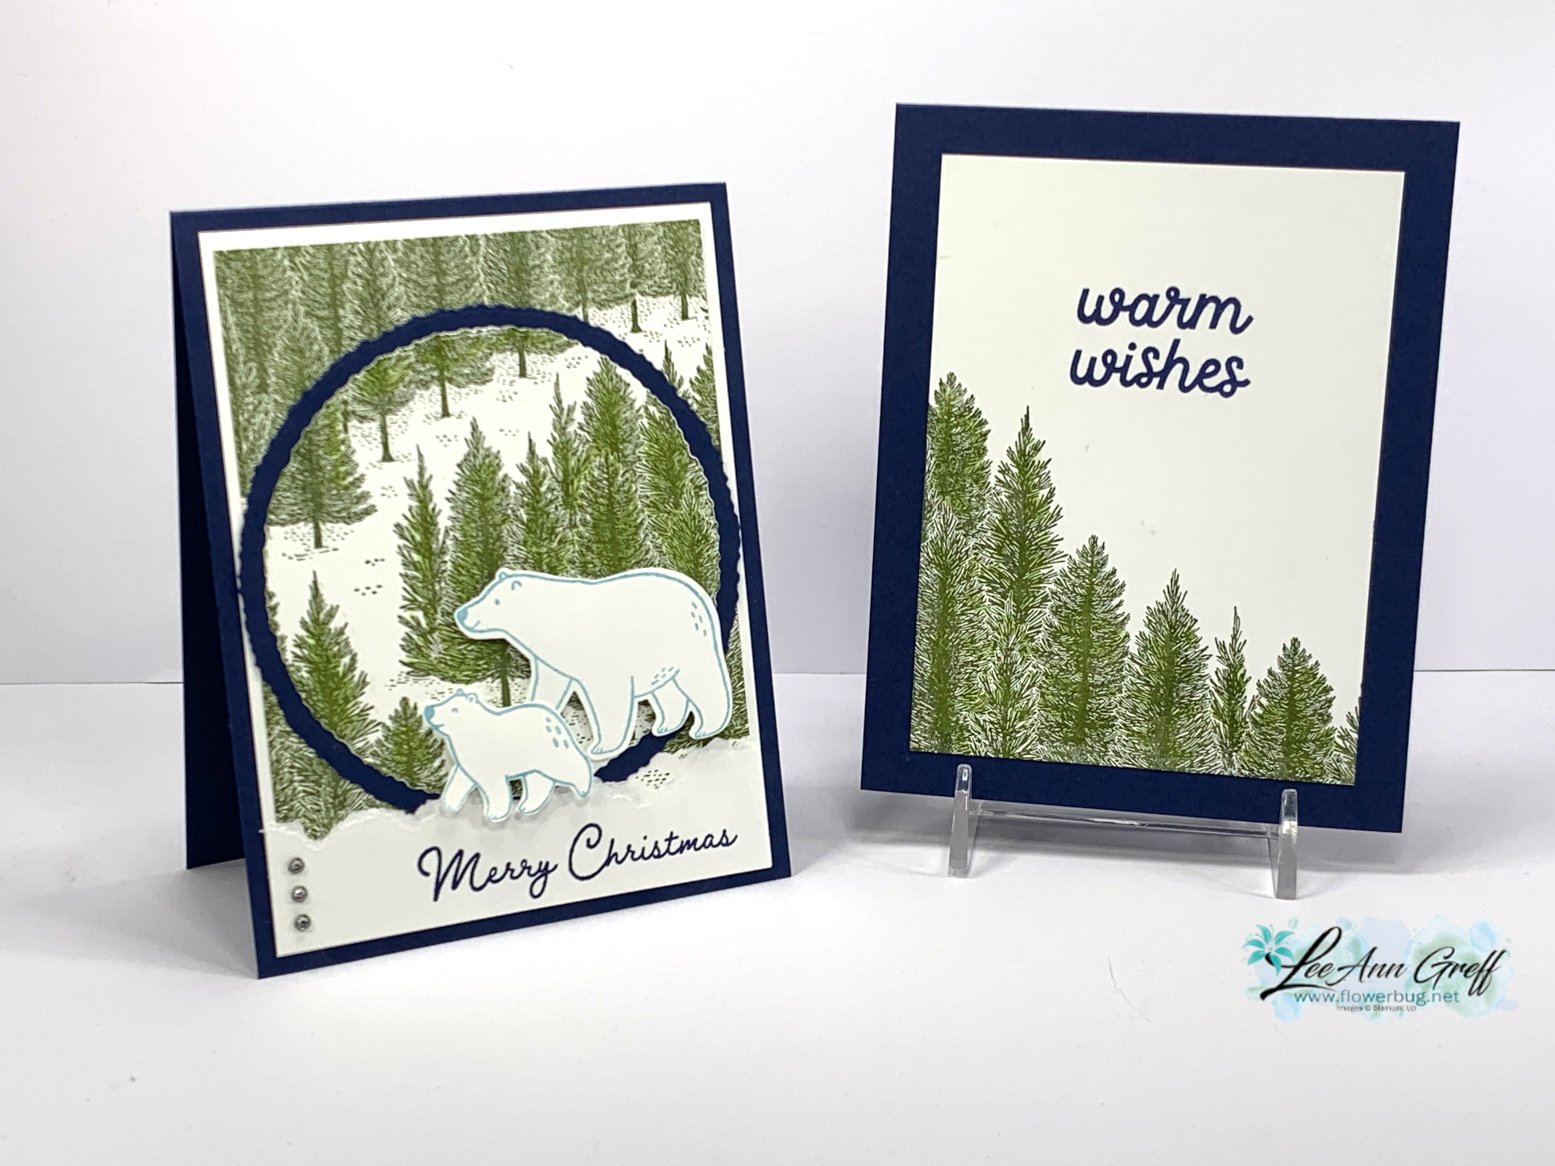
Are you wondering how I achieved the inside trees image without inking the entire stamp? Here's how!

I was trying to mask the stamp but it has lots of little pine needles between the tree layers.  It wasn't working so I thought, 'why aren't I trimming the stamp?'.  I have no problem doing it; it just isn't my first thought.  It works like a gem and makes it so much easier to use this pretty stamp set!
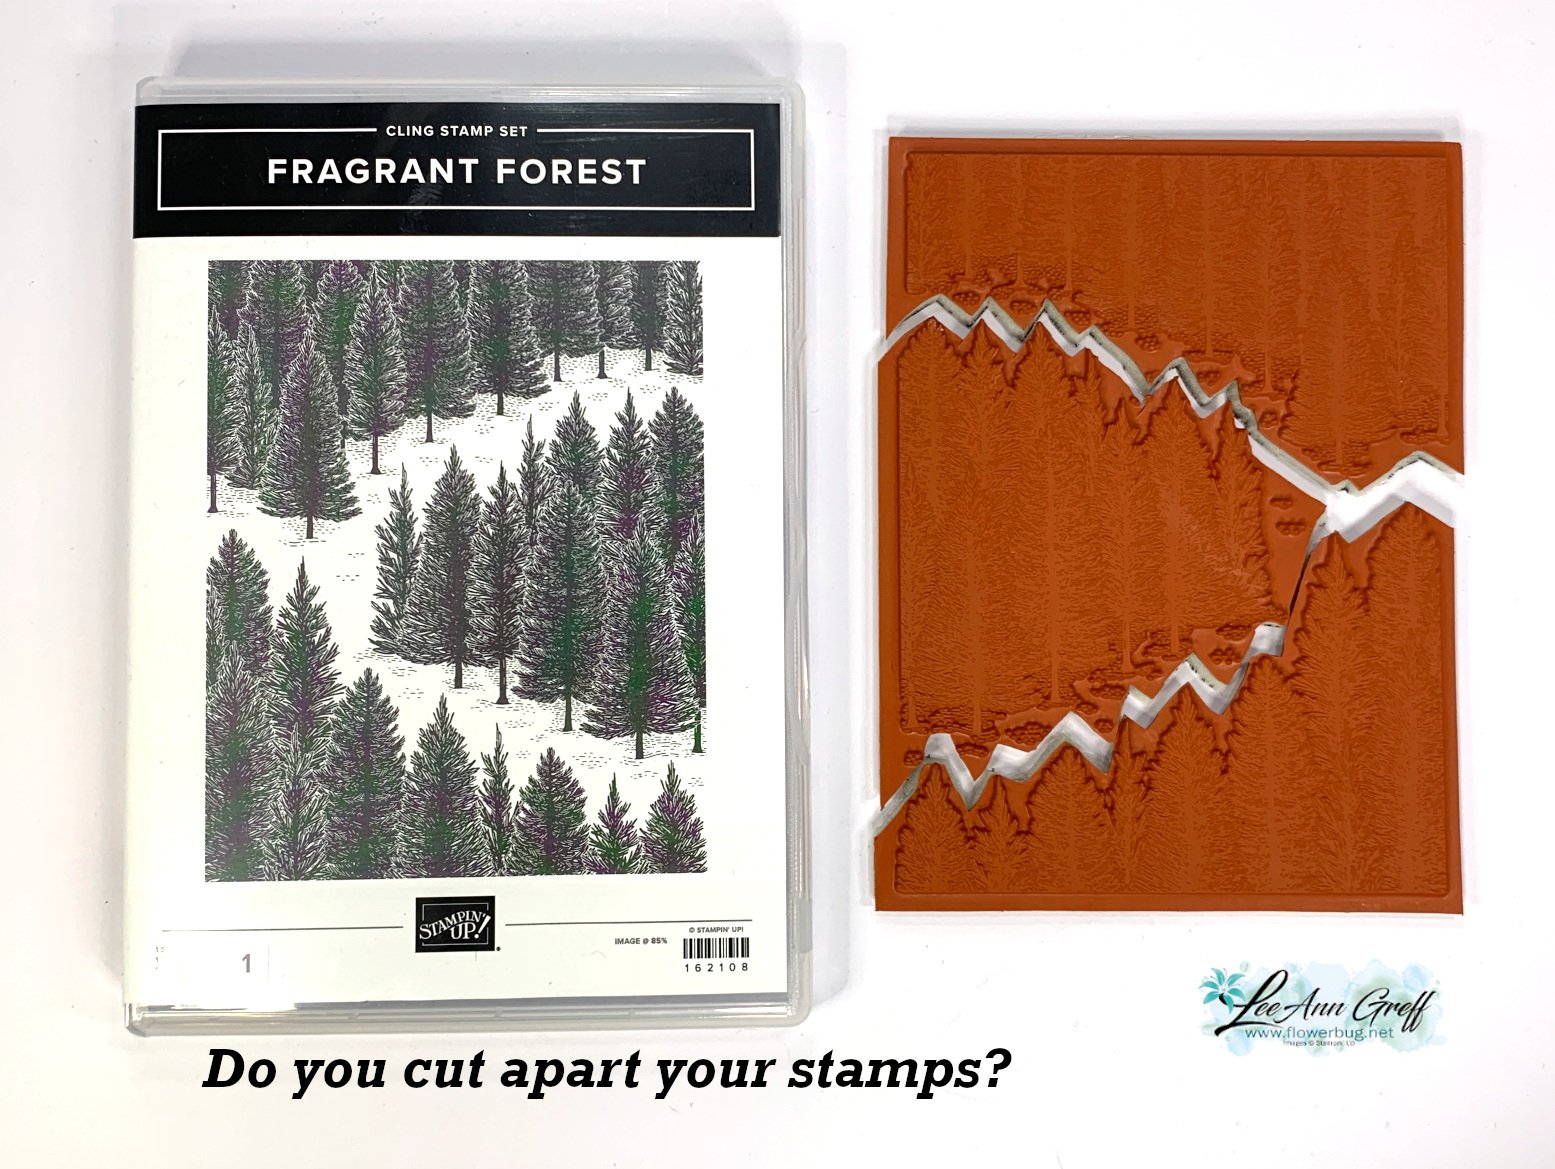
Do you cut your stamps apart? I tend to do it with images that have a greeting with it. Or if I like part of a greeting and want to use it separately. Honestly they fit right back together when put onto your block.  It just makes sense!  I encourage you to try it. 

Click here or on the photo below to watch my video.  Please subscribe to my YouTube channel too!  

~~~

December Specials: 

Get a free embellishment from the 2023 Holiday catalog with an

online order over $50


*current host codes:  PN2C7Z4E or 77277NNH

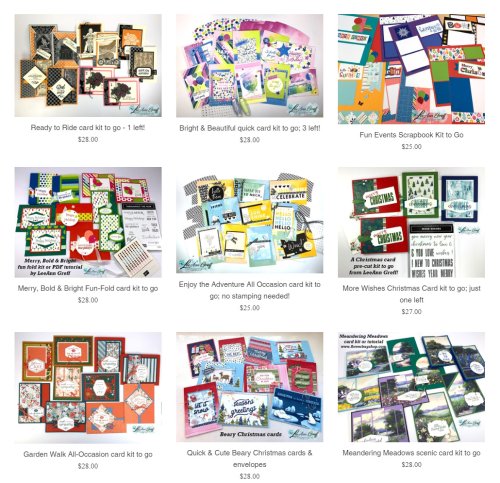
Love kits?  Check out my pre-cut card kits to go here!

I offer two new kits & tutorials each month!


All Posts

  • Sharing the Poetic Petals bundle in a unique way! Video & free project sheet too.


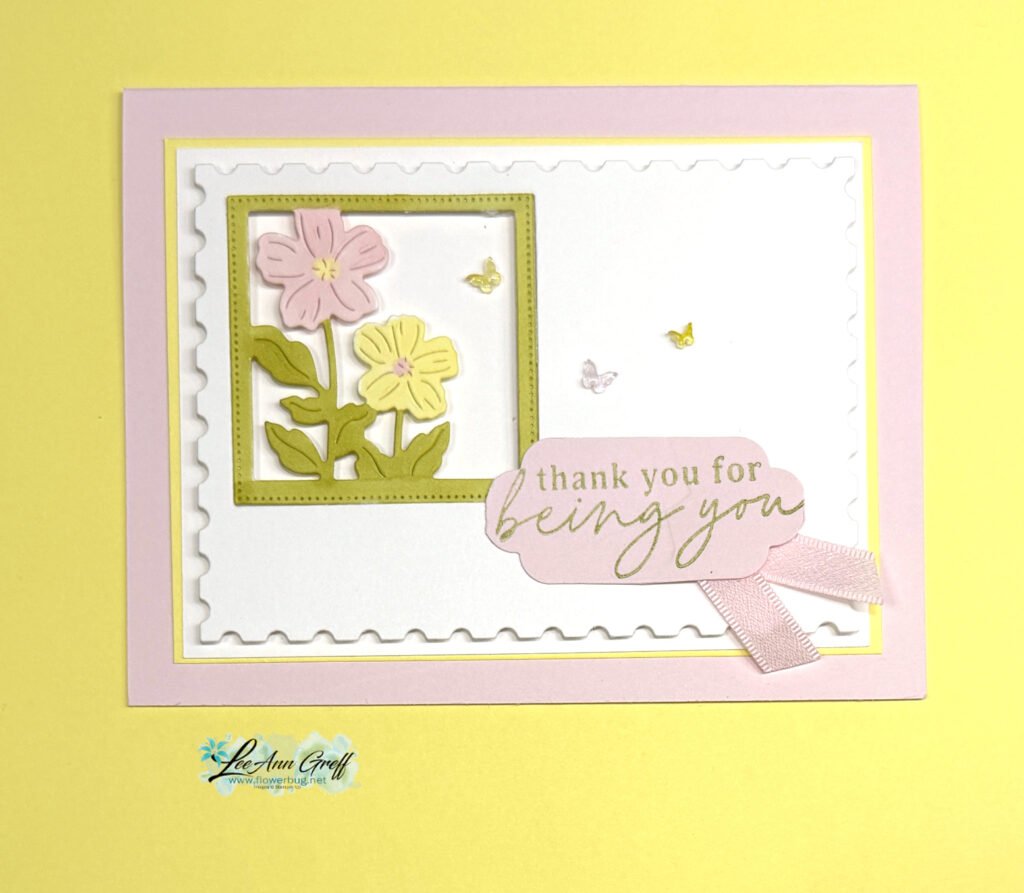
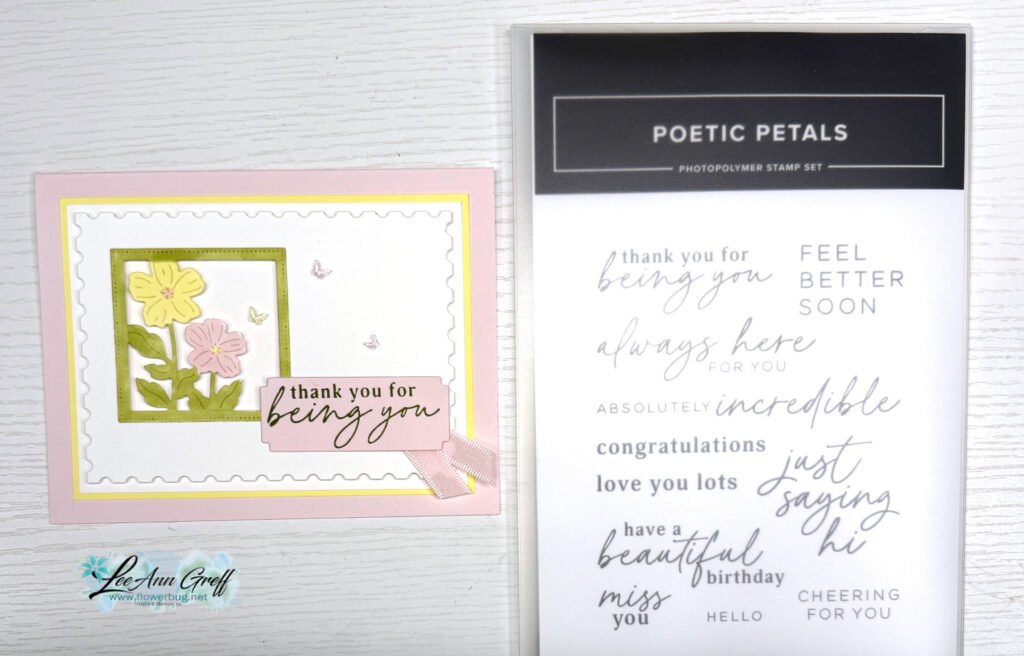
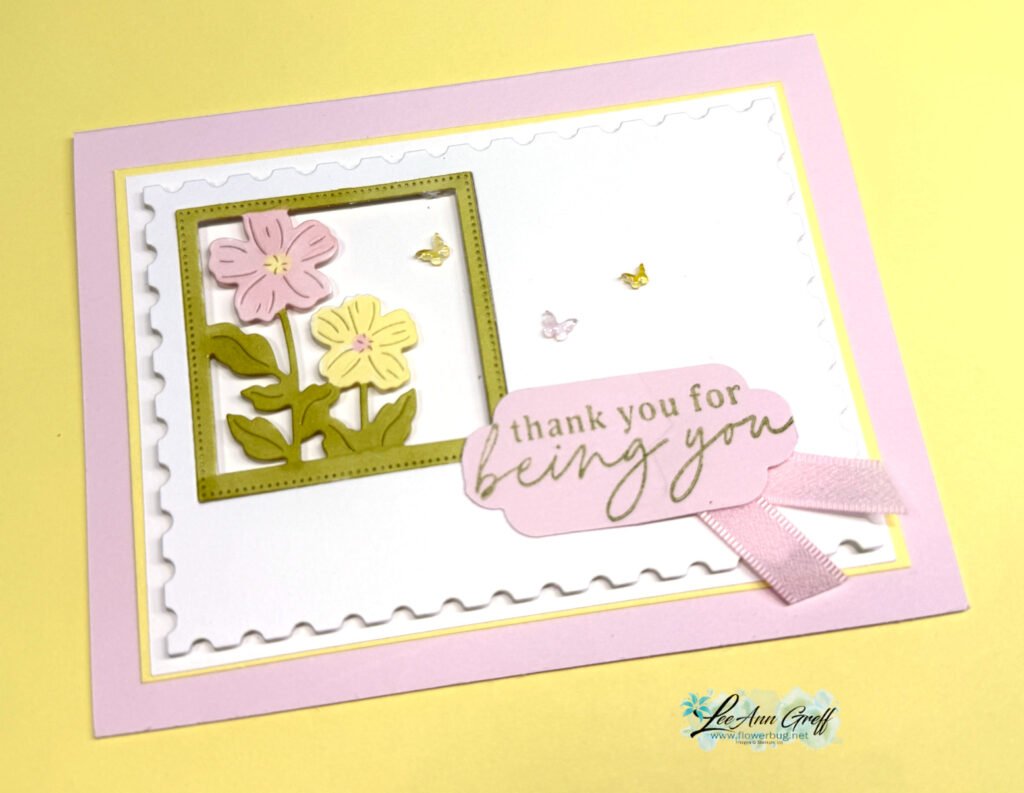
    Here’s the card I shared on last week’s Live video. It features the new Poetic Petals bundle.

    Isn’t it cute?! The colors are Barely Blush with Lemon Lolly and Old Olive. I die-cut the floral square and the Perennial Postage outer edge at the same time. Then I colored the flowers, frame and leaves with Blends markers. The frame is reinserted into the window and secured together with Stampin’ Dimensionals. Watch the video to see how it’s done.

    The Poetic Petals bundle is new this month and available in our online store.

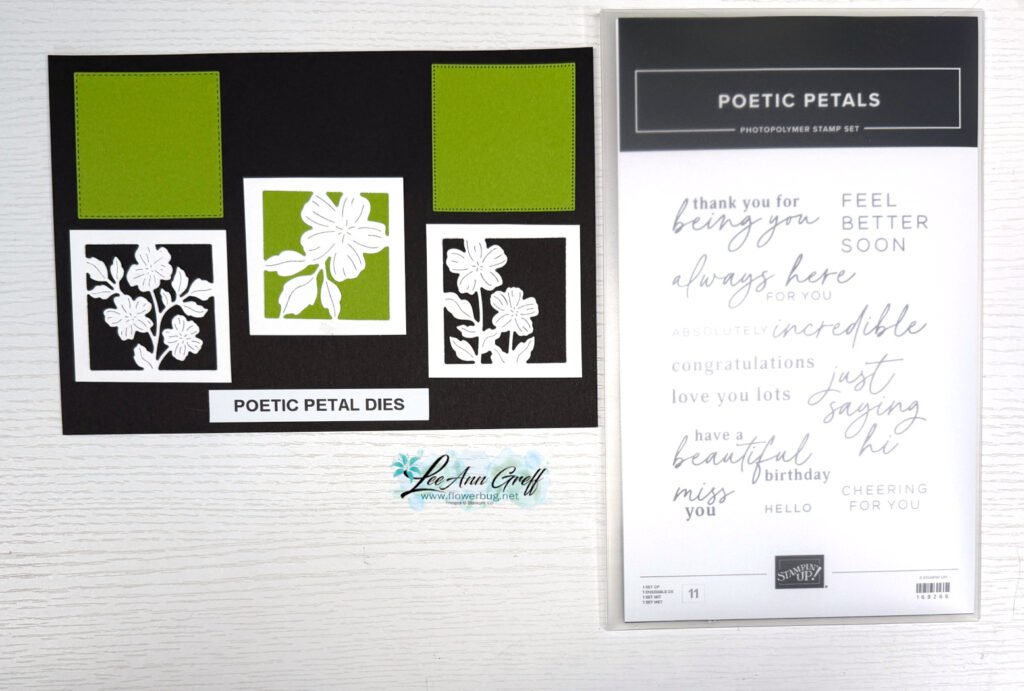
    The stamp set is wonderful with mixed fonts and greetings for many occasions. You can see the bundle here. But the dies are what sold me:

    There are 6 dies in this set; three frames and three inside floral die-cuts.

    I created a free project sheet for this card. You can click here to access it.

    I also shared how to make it in a video seen below. I hope you watch it. I also share many of the new September specials happening with Stampin’ Up!

    September Specials:

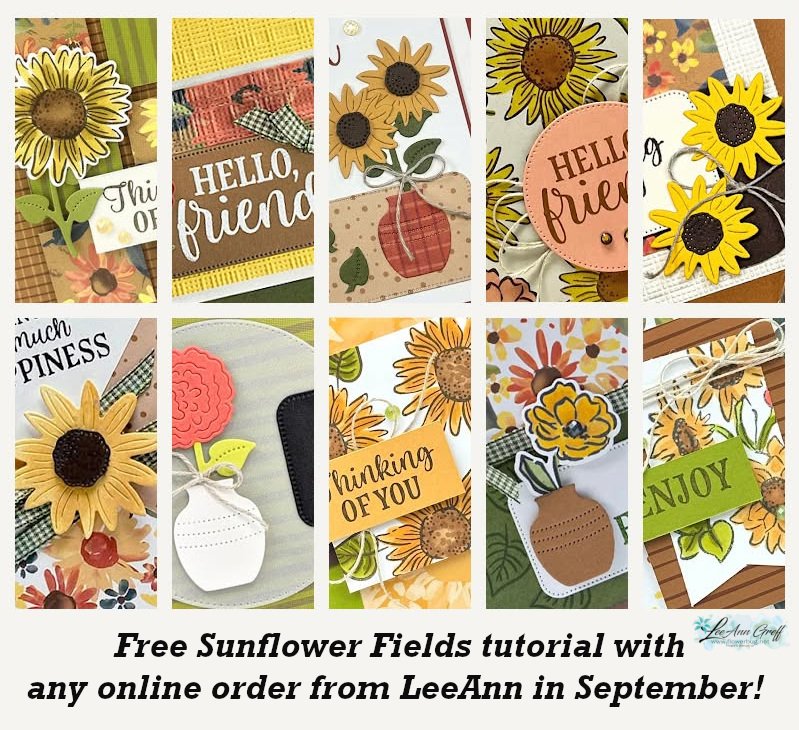
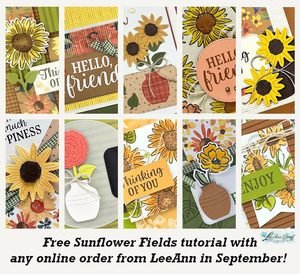
    Get this PDF tutorial FREE with any online Stampin’ Up! order from me in September.

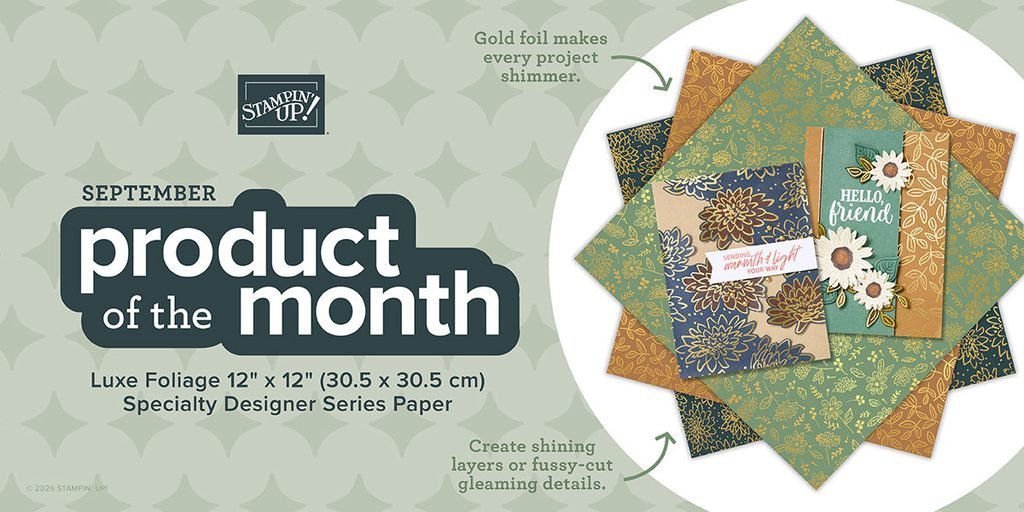
    Check out the newest Product of the Month below; it’s just $5 once your order reaches the $75 point.

    Leave a Reply

    Your email address will not be published. Required fields are marked *

  • September Specials and New Catalog Party this week!


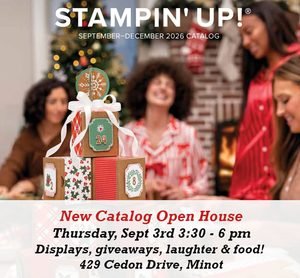
    It all begins today for Stampin’ Up! September specials! But before I get into those I have to remind my local gals to stop in for my New Catalog party on Thursday.

    It’s the last event I’ll be holding at my home studio in Minot. We love our new home in Bismarck though but it is hard to say goodbye to our Minot friends. I sincerely hope I see most of you again since I hope to return occasionally for a class or Bunco event.

    There’s a new Product of the Month for September and it’s a winner!

    It’s called Luxe Foliage Specialty Designer paper and can be seen here. It’s yours for just $5 once your order reaches the $75 point. I love that they offer a new item each and every month. There’s a nice variety to choose from. I cannot believe there is still some of the Glow of Harvest DSP left. And the Begonia Belle stamp set is still available as well.

    There is also a few new kits in our Kit Collection too. You can see it all here!

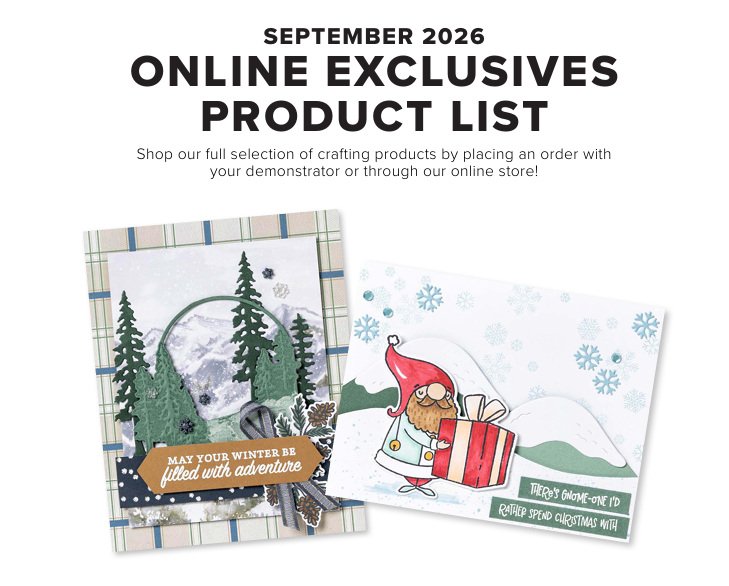
    There are new Online Exclusives that start today! Click here to see them.

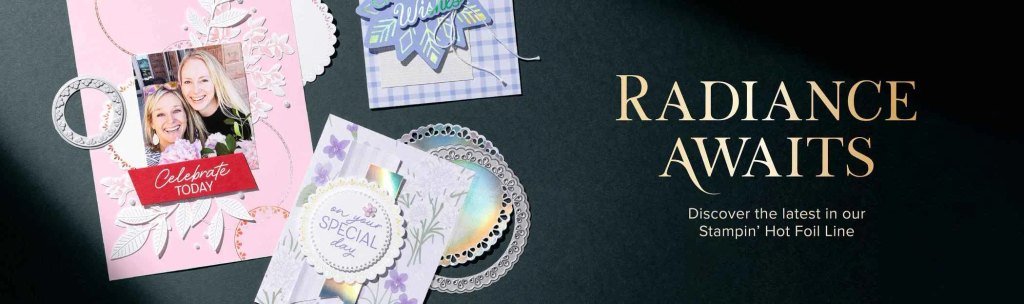
    New Hot Foil products are here! Check them out here.

    Get this free PDF tutorial with ANY online purchase from me in September! Gorgeous cards in this one!

    Leave a Reply

    Your email address will not be published. Required fields are marked *

  • Delicate Botanical Expressions card with video & free project sheet


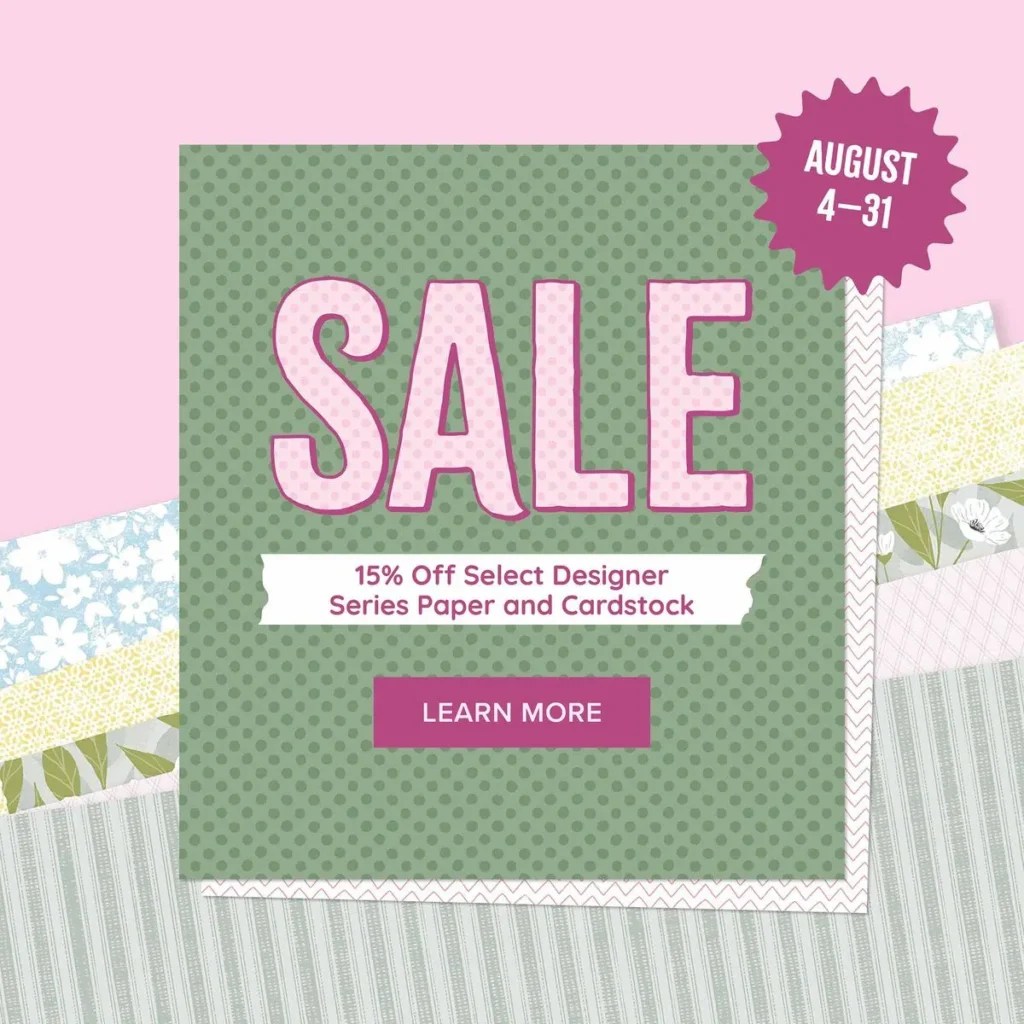
    Before I share today’s card I want to remind you that today is the last day to take advantage of the Designer Paper and Card stock sale. Go here to shop and grab the deals on paper.

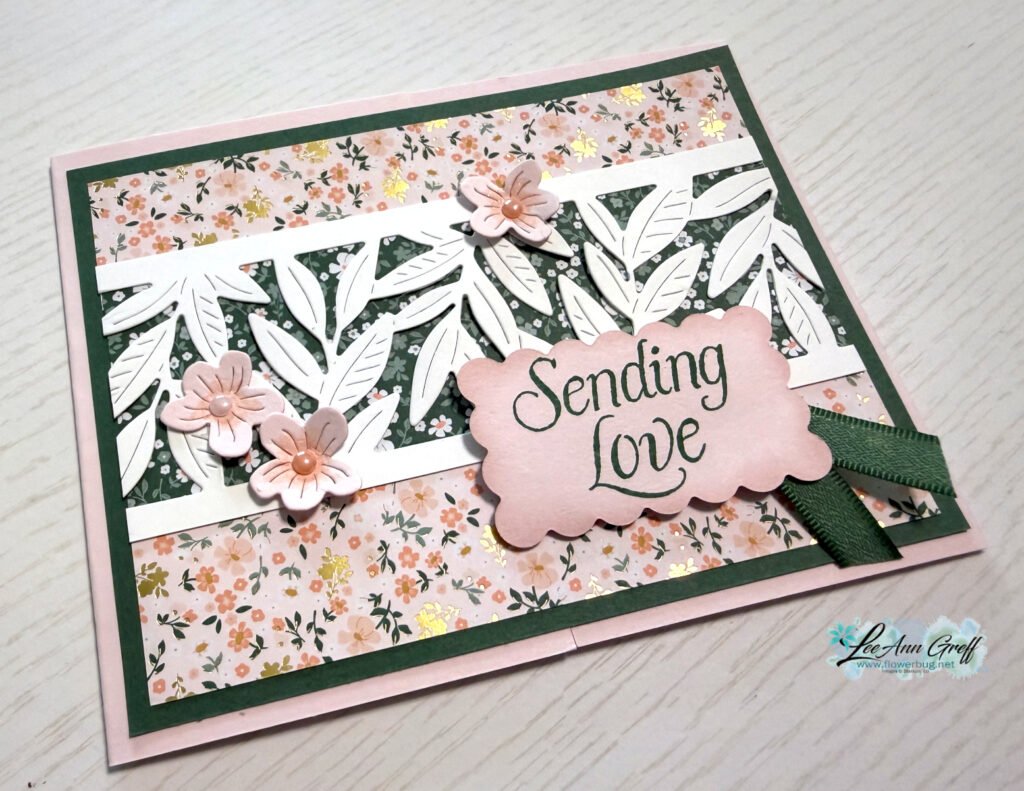
    Here’s the pretty card I shared last week on video. We made them at my August Card Clubs. Sadly it was the last Club I’ll hold in Minot. Our house has an offer in pending and I’ll have just one last event this Thursday there. My home studio has so many wonderful memories from my friends/customers. It’s hard to say goodbye!

    I’m holding my Holiday Catalog open house September 3rd from 3:30-6 pm. If you’re local please come to see me (and the displays, food and deals!)

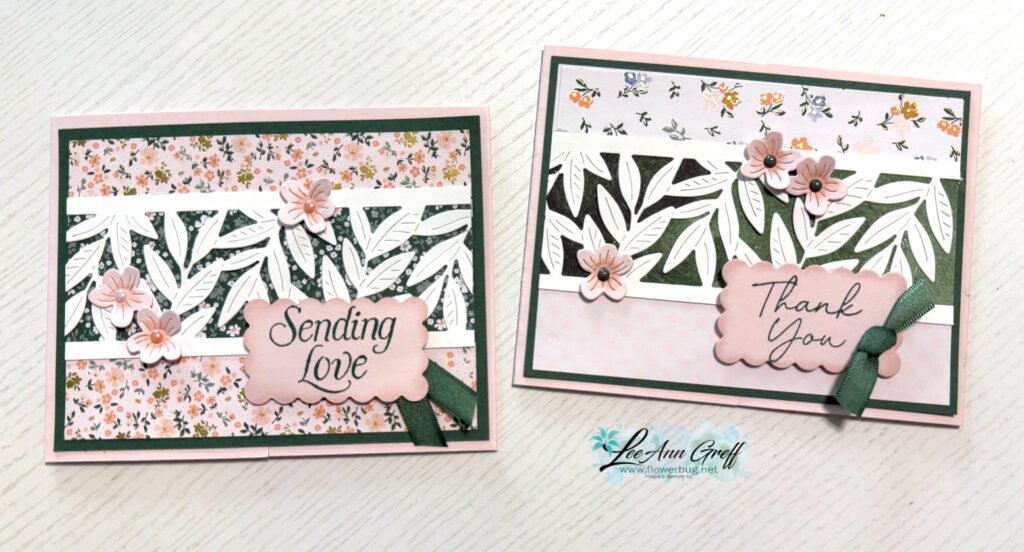
    It features the new Botanical Expressions die (the white leaves die-cut) seen here. It’s a single die that can be used in multiple ways. I especially love the cut lines in the dies.
    *Tip: rub waxed paper over the cutting side of your dies every few cuts; it releases the card stock easily then.

    Here I adhered it over dark green DSP and added Barely Blush DSP above and below it. There are so many pretty details here!

    The floral DSP is called Bloom Boutique Specialty paper and can be seen here. It’s filled with gold foil highlights.

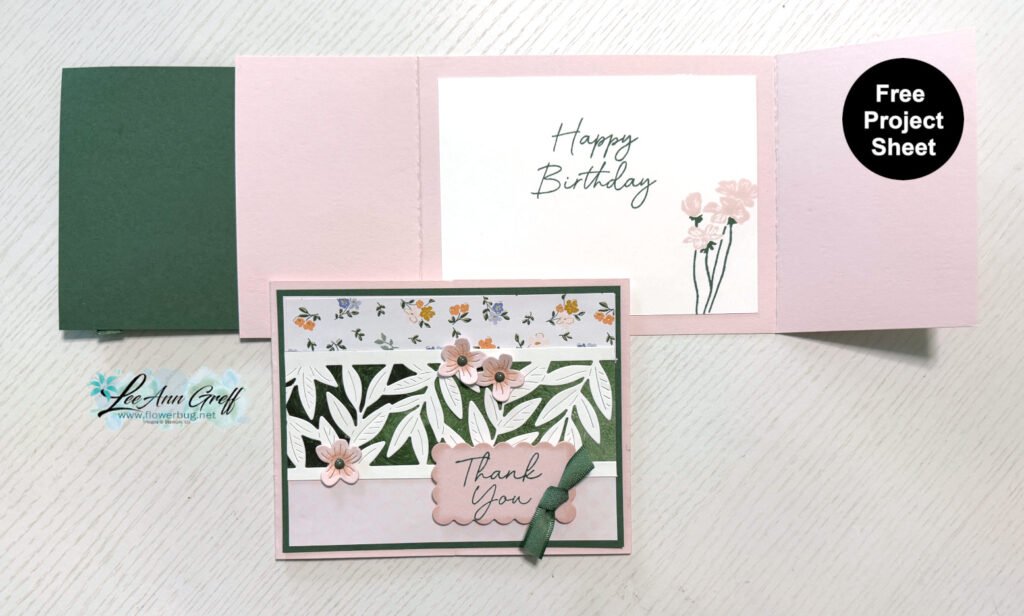
    This card is a landscape gatefold card. The Peaceful Pine layer is adhered to only the left side of the card base.
    My greetings are from the Scalloped Blooms and Framed Violets sets. The inside flowers are from the Flowering Meadow stamp set.

    That pretty scalloped greeting die is also from the Scalloped Blooms bundle seen here.


    I created a free project sheet for this card. Click here to print or download it. It has measurements, supplies, photos and directions.

    I also shared the ‘how to’ video below. I hope you watch!

    Leave a Reply

    Your email address will not be published. Required fields are marked *


Notice: LeeAnn Greff, Independent Stampin’ Up! Demonstrator, Manager. The content of this website is my sole responsibility as an independent Stampin’ Up! demonstrator and the use of, and content of, the classes, services, or products offered on this website is not endorsed by Stampin’ Up! Copyright 2025