/


Latest Post

How to get more use of your Fragrant Forest stamp; cut it up!


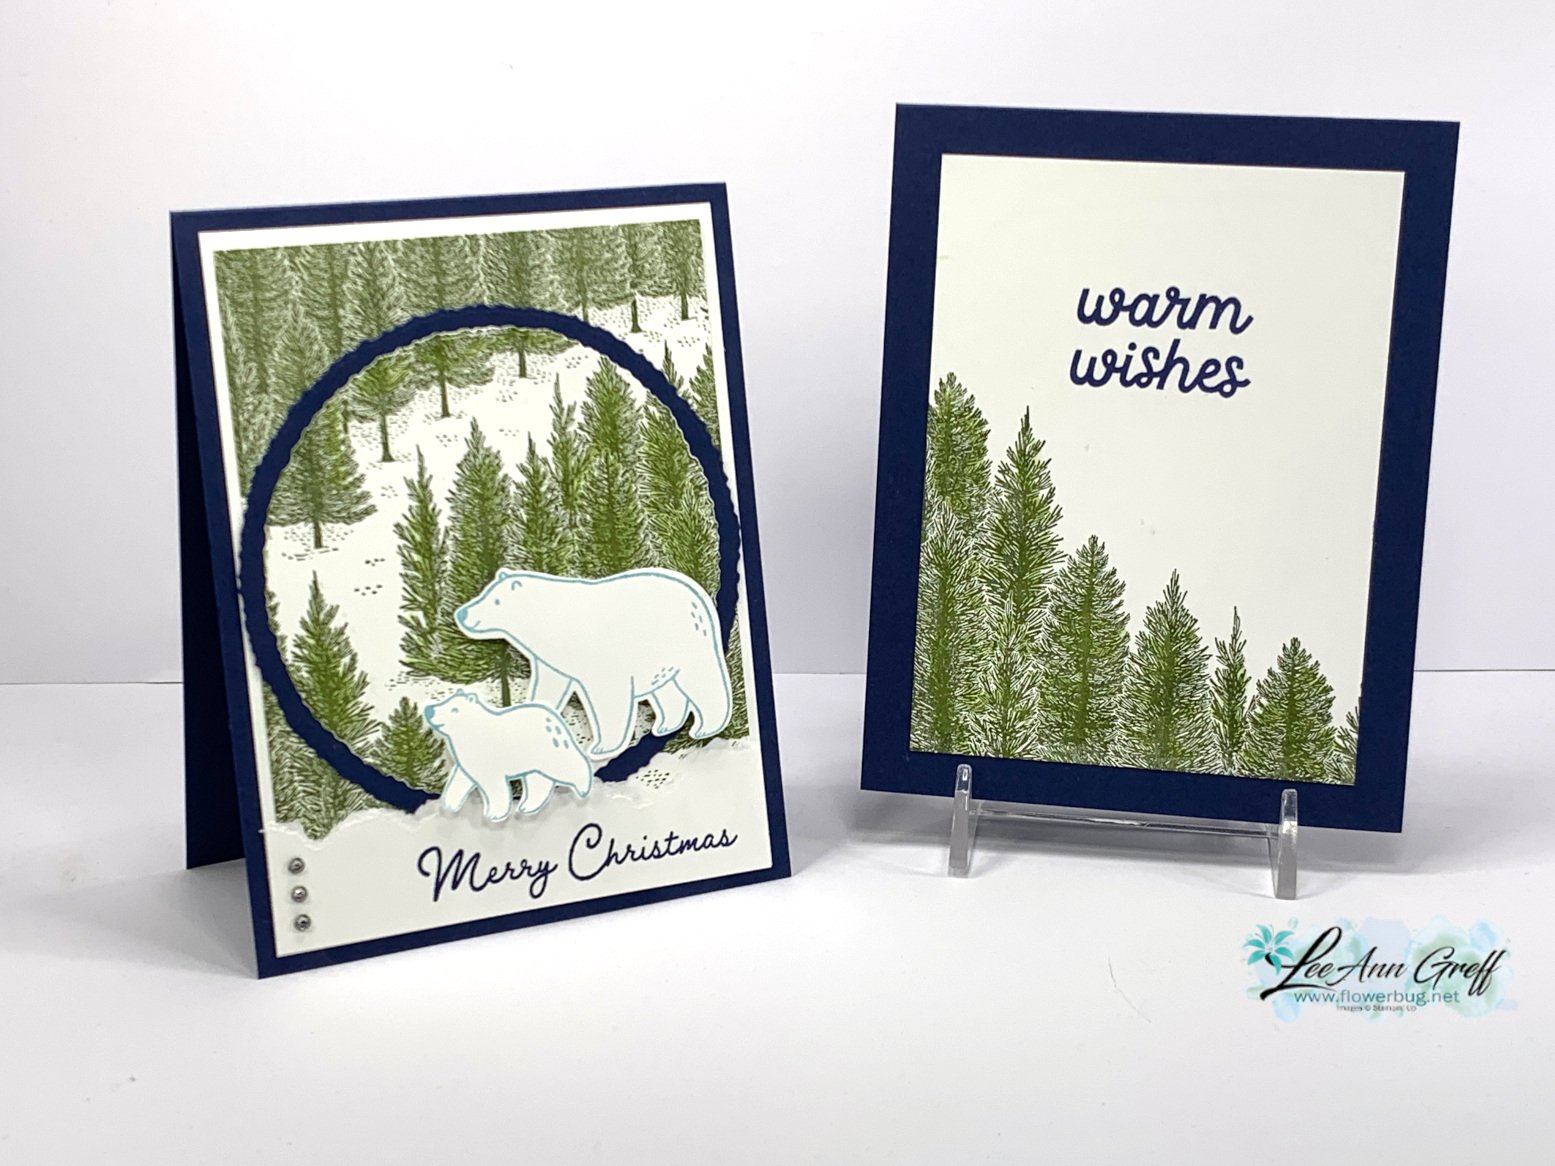
I shared this pretty card in last week's Live video. I featured the Fragrant Forest background stamp set seen here in all 3 projects. 

Today's card also features the Beary Cute stamp set & punch. It was available in a bundle but unfortunately the punch has sold out now.  But the stamp set is still available. 

I used Night of Navy with Mossy Meadow here. I stamped the entire White layer with the background stamp (watch the video with tips on getting even coverage with a background stamp) then cut the circle using the new Deckled Circle dies. I added it to a larger Navy Deckled circle die-cut which covered up the die-cut line from the first circle cut. 

The bears were stamped in Balmy Blue ink but in hindsight I'd like them in a dark gray ink on White.  The lower strip for the greeting is torn. 

I created a free project sheet for this card; click on this link to see it. Download Fragrant Forest & Beary Cute card  *subscribe to my blog so you don't miss a thing and can access all of my project sheets in one place! 
Are you wondering how I achieved the inside trees image without inking the entire stamp? Here's how!

I was trying to mask the stamp but it has lots of little pine needles between the tree layers.  It wasn't working so I thought, 'why aren't I trimming the stamp?'.  I have no problem doing it; it just isn't my first thought.  It works like a gem and makes it so much easier to use this pretty stamp set!
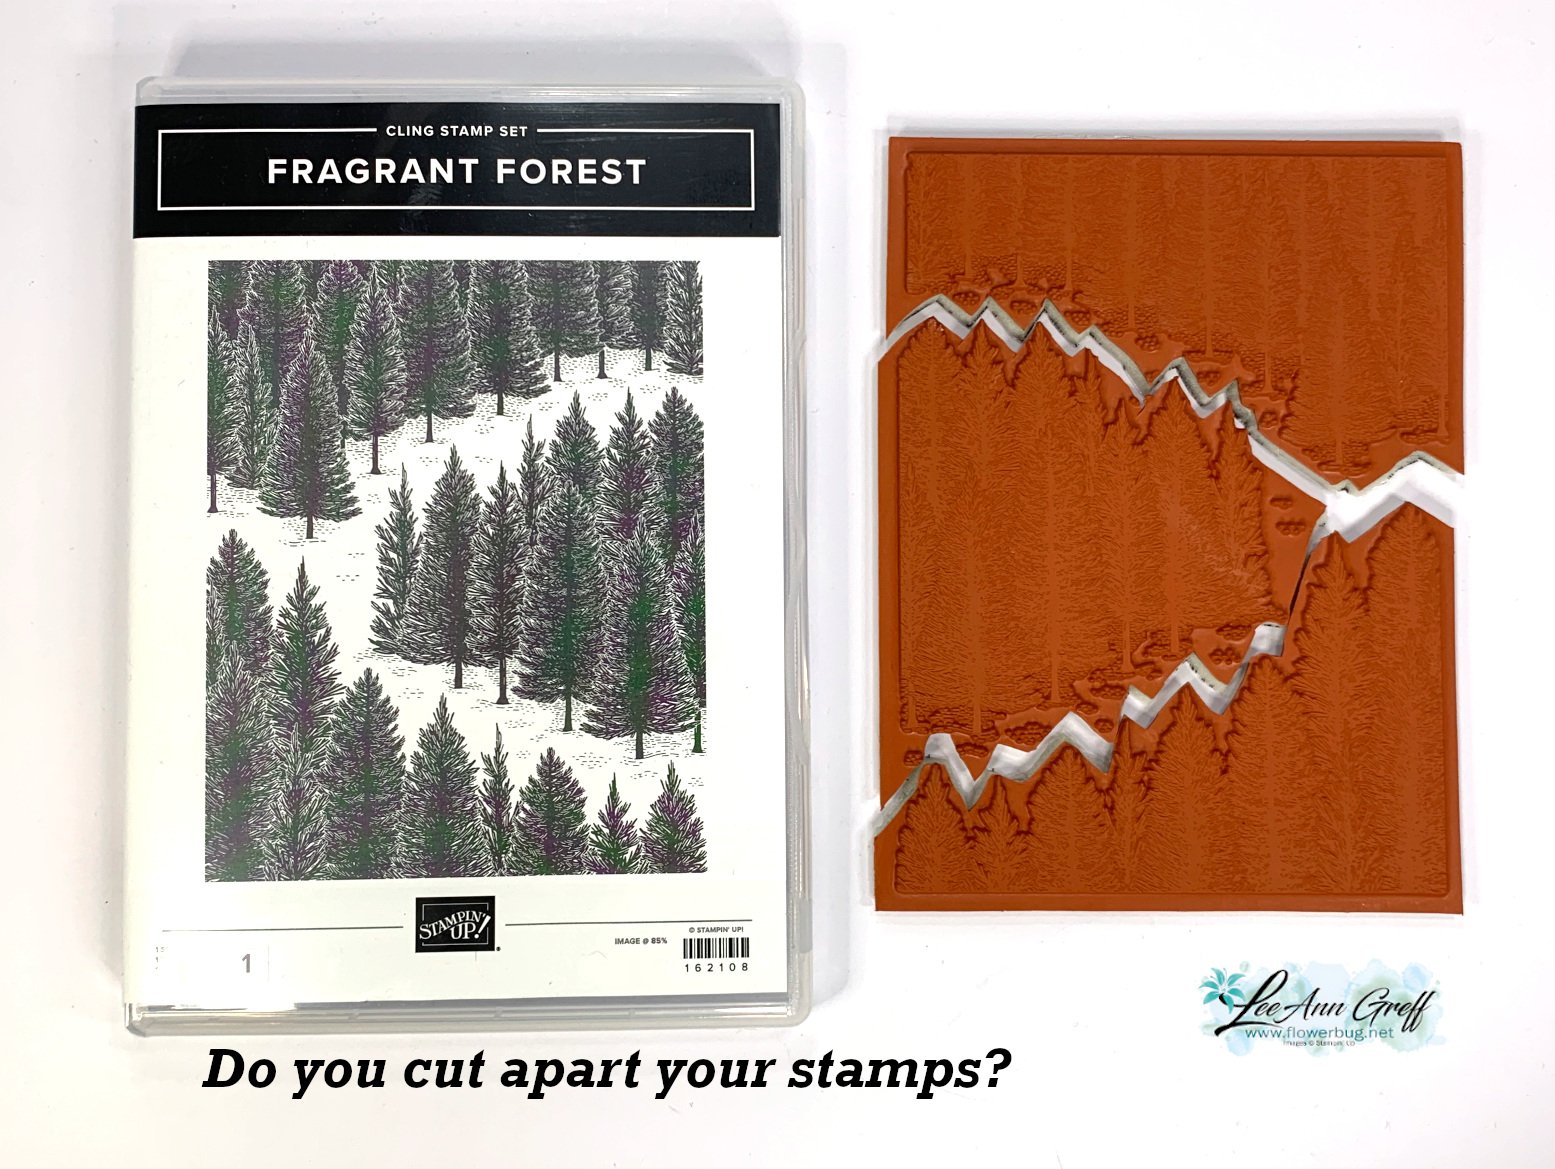
Do you cut your stamps apart? I tend to do it with images that have a greeting with it. Or if I like part of a greeting and want to use it separately. Honestly they fit right back together when put onto your block.  It just makes sense!  I encourage you to try it. 

Click here or on the photo below to watch my video.  Please subscribe to my YouTube channel too!  

~~~

December Specials: 

Get a free embellishment from the 2023 Holiday catalog with an

online order over $50


*current host codes:  PN2C7Z4E or 77277NNH

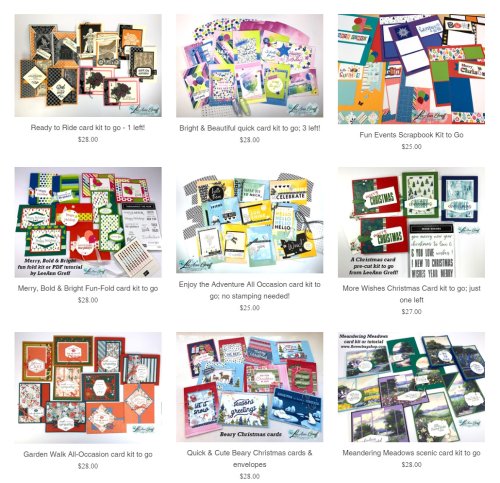
Love kits?  Check out my pre-cut card kits to go here!

I offer two new kits & tutorials each month!


All Posts

  • All Dressed Up dies make the cutest purse!


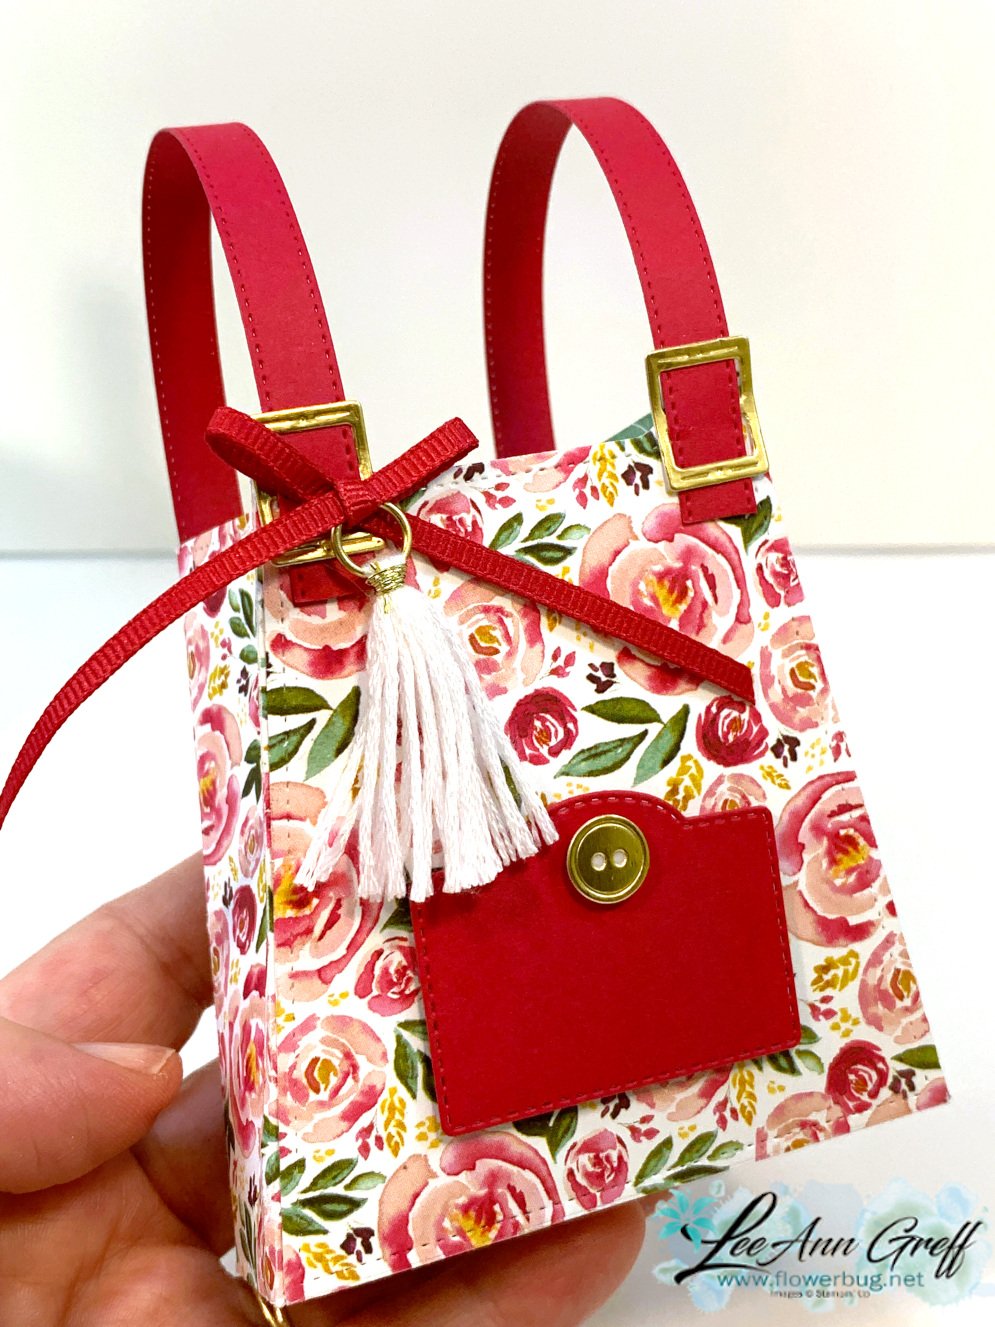
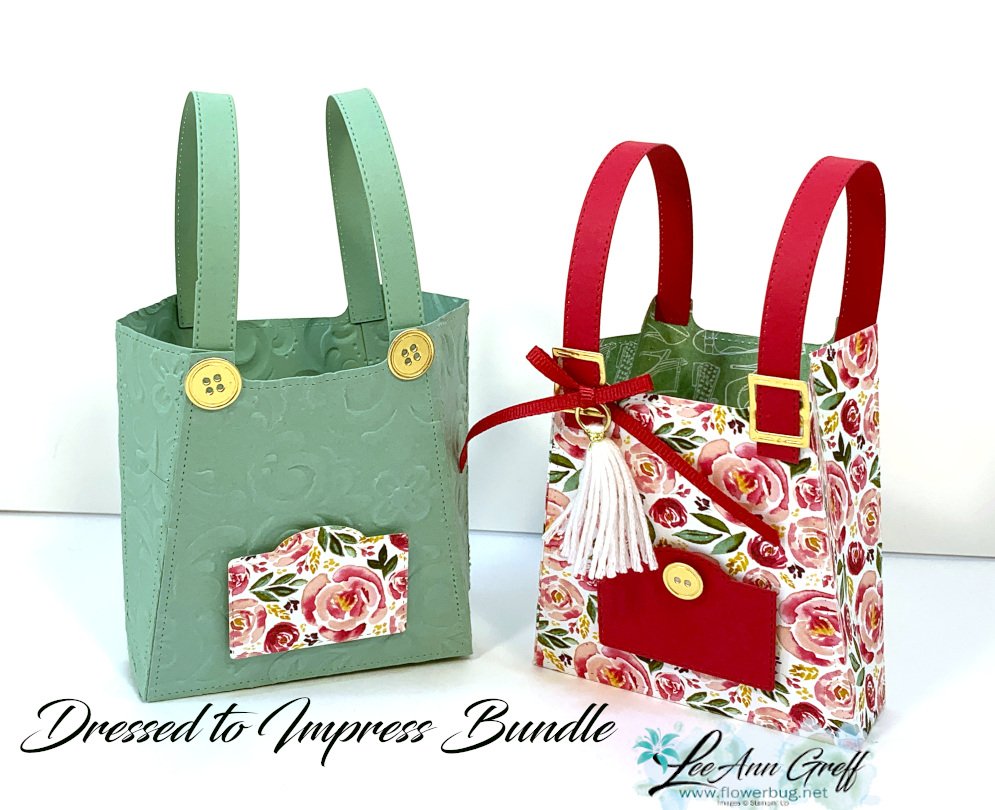
    Look at these adorable purses made with the All Dressed Up dies! 

    The purse above is made with the Best Dressed designer series paper, Lovely Lipstick card stock and ribbon and one of the special tassels in the suite. You can see everything here.

    These purses can be filled with candy, treats or even 3 X 3" cards. Decorate and finish them as you like; what a special gift! 

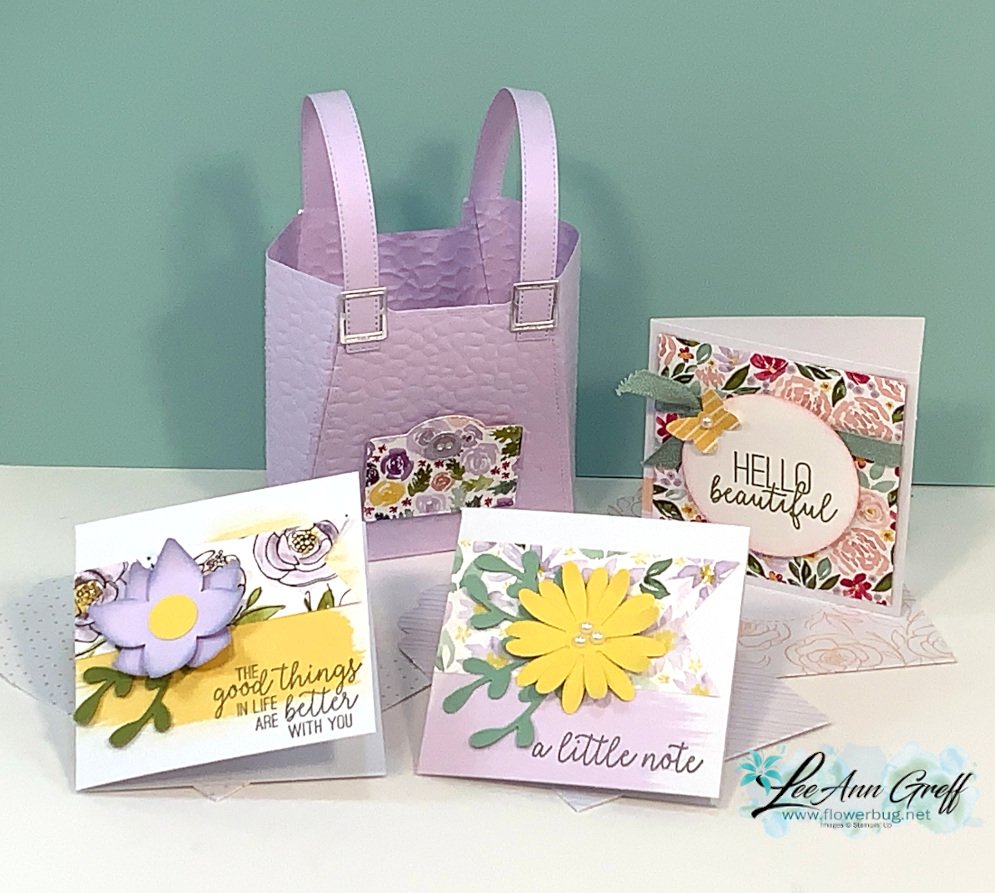
    The one below was included in my April cards kit to go and my Spring Retreat!  The purse pieces are textured with the Hammered Metal embossing folder seen here.  It has silver buckles and a button on the cute pocket in the front. 

    Here's a photo of the cards that are inside the purse above. They are the Best Dressed 3 X 3" note cards and envelopes seen here.  They come in a pack of 24 and are on sale for just $4 right now!  That's half off!  They're perfect little add on's for gift cards. 

    ~~~

    May Specials


    Get my 'ALL Fun Fold cards tutorial' free with any online order.

    It includes directions, photos and measurements for 18 fancy card folds!


    May Host code is EYDJ4MQN

    Get a free pkg. of Noble Peacock rhinestones from me if your order is over $55. 

    Order online here

    Leave a Reply

    Your email address will not be published. Required fields are marked *

  • Dressed to Impress meets Ornate Frames for a gorgeous hand made box!


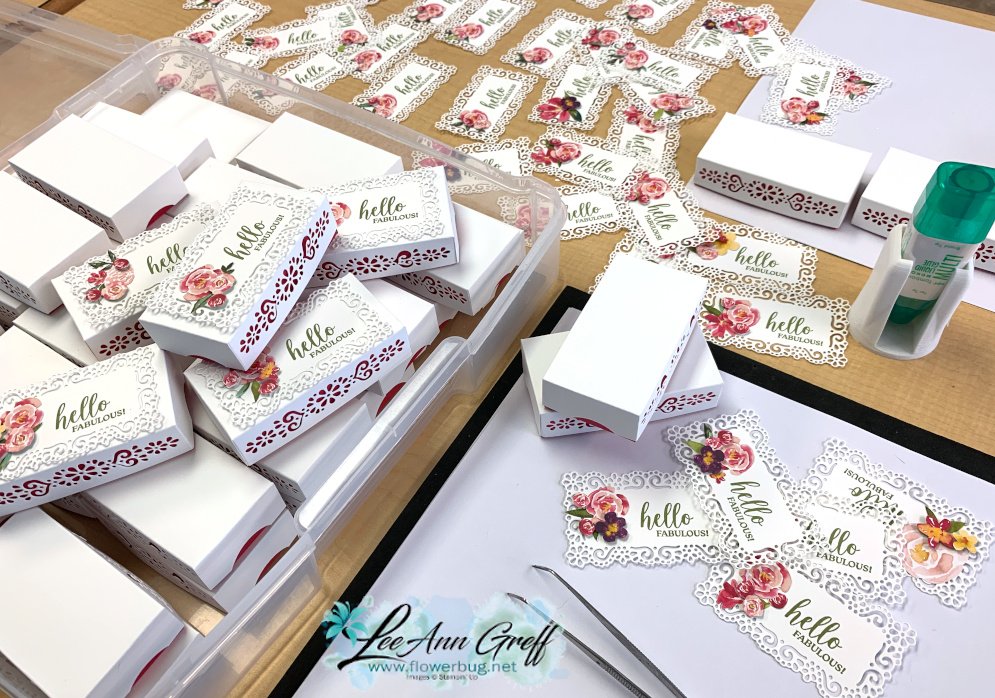
    These are the boxes I included in my Spring Retreat last month.  I think they're gorgeous and was so happy with how they turned out!

    They're hand made from White and Lovely Lipstick card stock with fussy cut flowers and leaves from the Best Dressed designer series paper added to the top. The greeting is from the Dressed to Impress stamp set. The pretty die-cuts are from the Ornate Frames & Ornate Border dies which are now available again!  See them here. 

    Here's a picture of the assembly process: 

    Here are the box dimensions:

    • Top is 3 3/4" X 5 1/2" scored at 3/4" on all sides
    • Bottom is 3 5/8" X 5 3/8" and scored at 3/4" on all sides.  

    Tips:

    • Once you have the box pieces cut and scored you can use the Ornate Border dies to die-cut the pretty windows in the sides.  
    • Cut the White frame using the Ornate Frames dies. Stamp the greeting and add fussy cut leaves and flowers. 
    • Fill with chocolate! 

    ~~~

    May Specials


    Get my 'ALL Fun Fold cards tutorial' free with any online order.

    It includes directions, photos and measurements for 18 fancy card folds!


    May Host code is EYDJ4MQN

    Get a free pkg. of Noble Peacock rhinestones from me if your order is over $55. 

    Order online here

    Leave a Reply

    Your email address will not be published. Required fields are marked *

  • Introducing the new 2020-22 In Colors!


    They're in my hands!  The new In Colors that is.  Look at these gorgeous new colors we'll all get to play with soon!

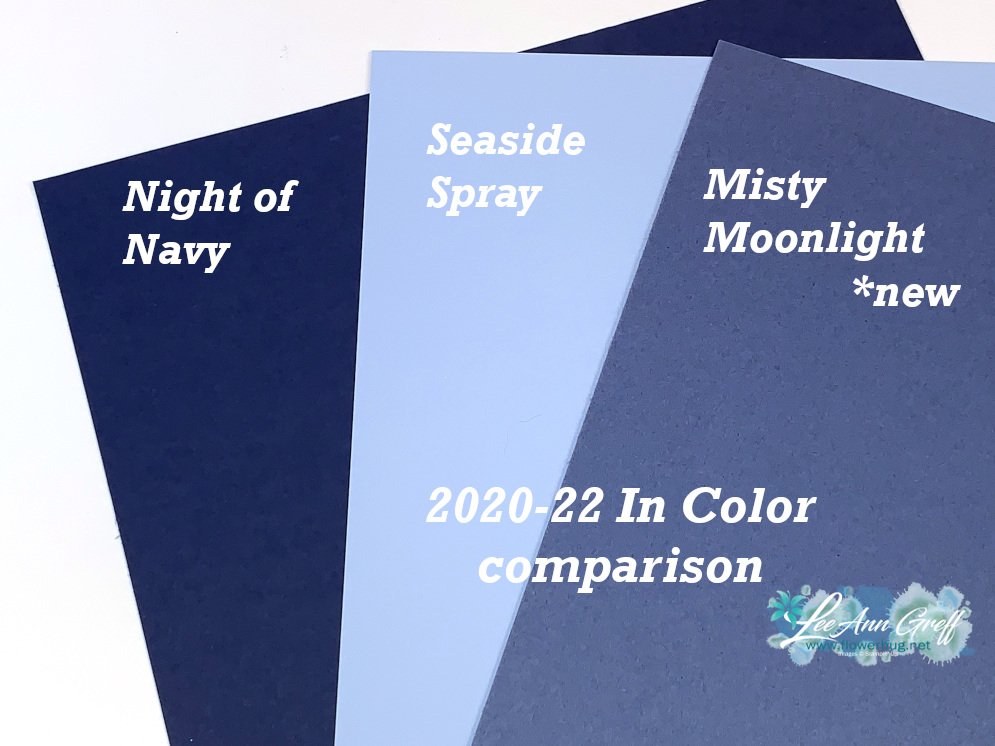
    I added a few of our current colors of card stock with each new color so you can compare them.  The Misty Moonlight is like soft, worn denim. 

    This one seems like a color we've never had before!  It's a honey brown or rich, caramel color. 

    The Magenta Madness is a pretty bright pink.  If you've been around long enough it reminds me of the Pink Passion we used to have years ago.

    The Bumblebee is a golden version of Crushed Curry but a bit brighter. 

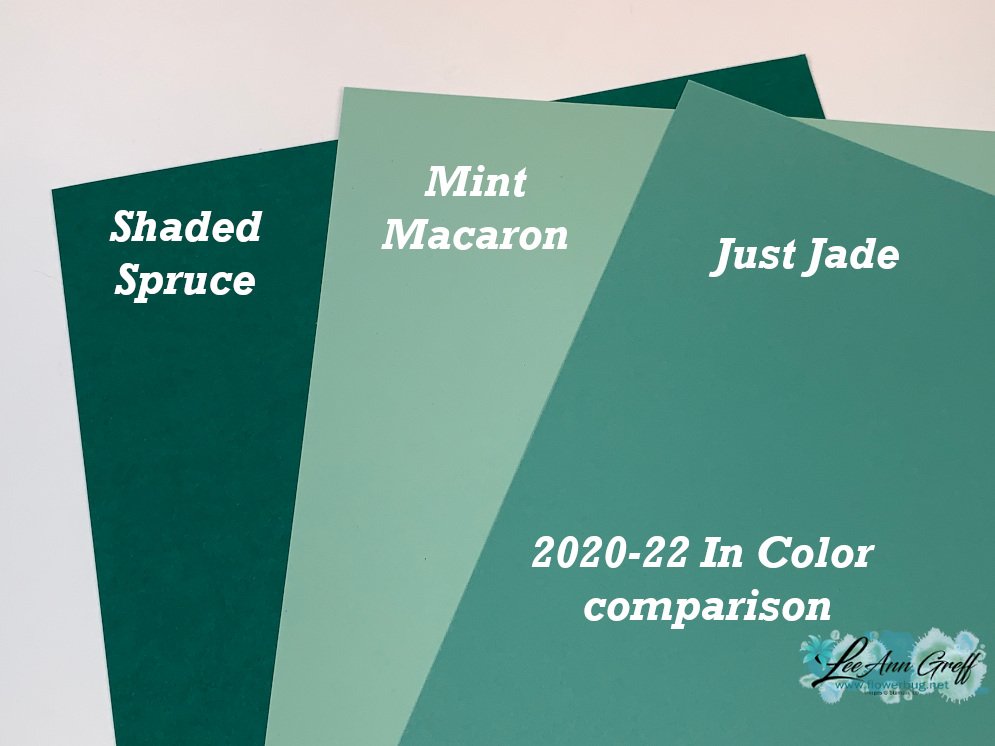
    Just Jade is a pretty green and also seems different from anything I remember us having before.  It's lovely! 

    Here's a sneak peak of 5 cards I made with LOTS of brand new products!  Everything is new but the White card stock. 

    How many new products can you spy here?  

    We are going to absolutely LOVE these new colors!  I cannot wait to play and create new, favorite combinations with our current line of colors.   

    Special offer! Each year at my Open House event in early June I offer my local gals a fabulous bundle of our new In Color products . This year I'll be offering it online to everyone (in the USA)!   It's usually consists of the In Color ink pads, ink refills, assorted In Color card stock, In Color designer paper and embellishments (or ribbon).  Then with that purchase they get the set of In color markers free!   It's a great way to have it all and not worry about needing ink refills or markers later.  

    However Stampin' Up! is already running low on a few of these items so I may have to change it up this year.  I'll know more the last week of May, which is when I'll open it up to everyone.  The Covid-19 crisis is sure causing havoc with shipping and inventory; not just with SU but globally.  But we make do with what we have right?  And that will include a ton of new and excited products!

    ~~~

    May Specials


    Get my 'ALL Fun Fold cards tutorial' free with any online order.

    It includes directions, photos and measurements for 18 fancy card folds!


    May Host code is EYDJ4MQN

    Get a free pkg. of Noble Peacock rhinestones from me if your order is over $55. 

    Order online here

    Leave a Reply

    Your email address will not be published. Required fields are marked *


Notice: LeeAnn Greff, Independent Stampin’ Up! Demonstrator, Manager. The content of this website is my sole responsibility as an independent Stampin’ Up! demonstrator and the use of, and content of, the classes, services, or products offered on this website is not endorsed by Stampin’ Up! Copyright 2025