/


Latest Post

How to add color to the Peaceful View stamp – video tutorial too!


Today I'm sharing the second card I made during last week's live video.  Both featured the amazing and beautiful Peaceful View stamp set seen here.  
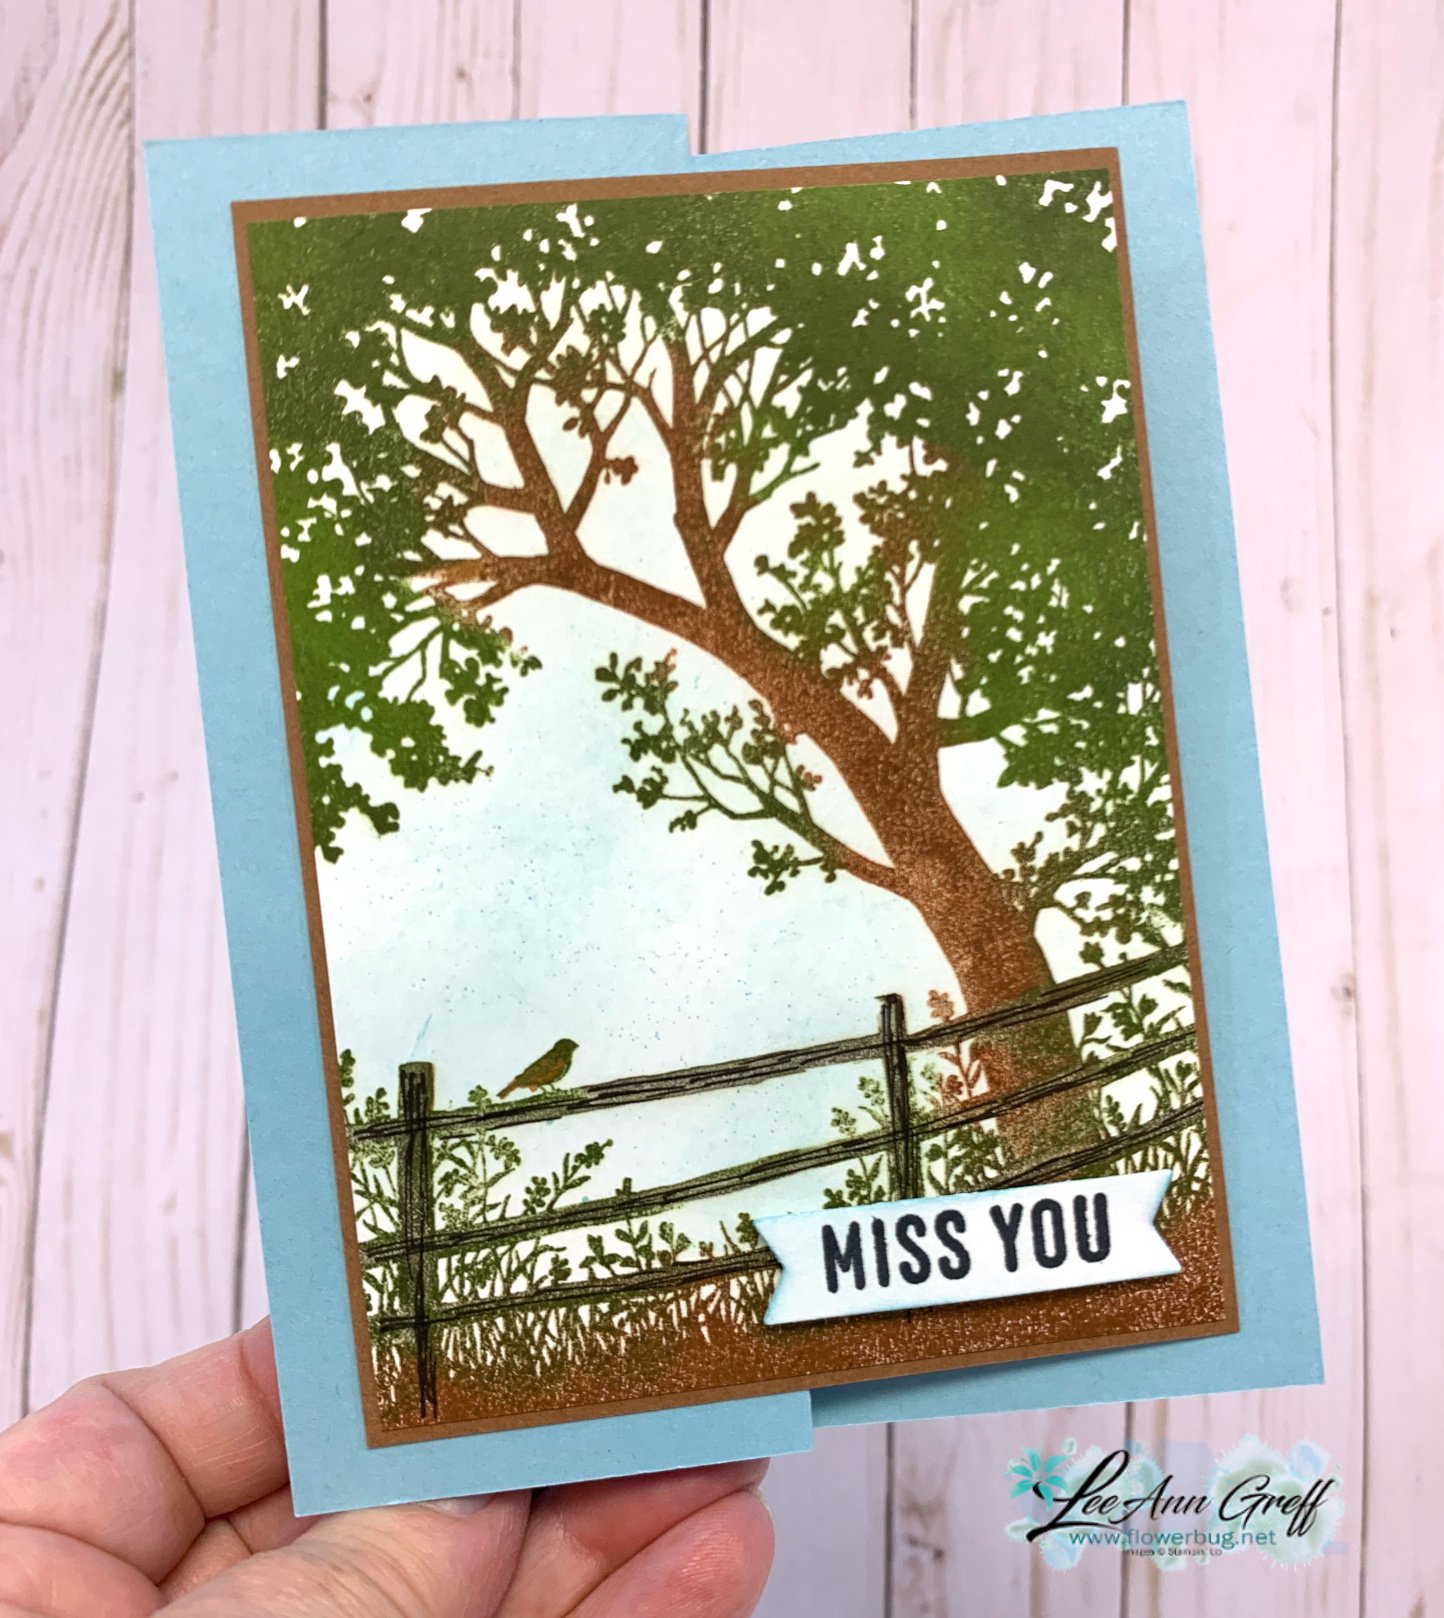
I used Balmy Blue, Pecan Pie and White card stock.  Inks include Balmy blue, Old Olive, Granny Apple Green and Pecan Pie. I used a Blending Brush with Balmy Blue ink to lightly color the sky before stamping. 

Notice the fence. If you look closely you'll see the woodgrain in the fence. This was done by using an Early Espresso Stampin' Write marker to add to the stamped fence directly on the cardstock. It was mostly Pecan Pie colored before.  

How did I color the image?  I inked the trees with Old Olive ink first using the direct to stamp method. The I used Pecan Pie on the grass and fence.  I used a sponge dauber to remove ink from the plants on the bottom so I could add Green ink to them with a sponge dauber.  I used Pecan Pie ink and a sponge dauber to add color to the trunk as well.  I hope you'll watch the video below to watch this in action. 
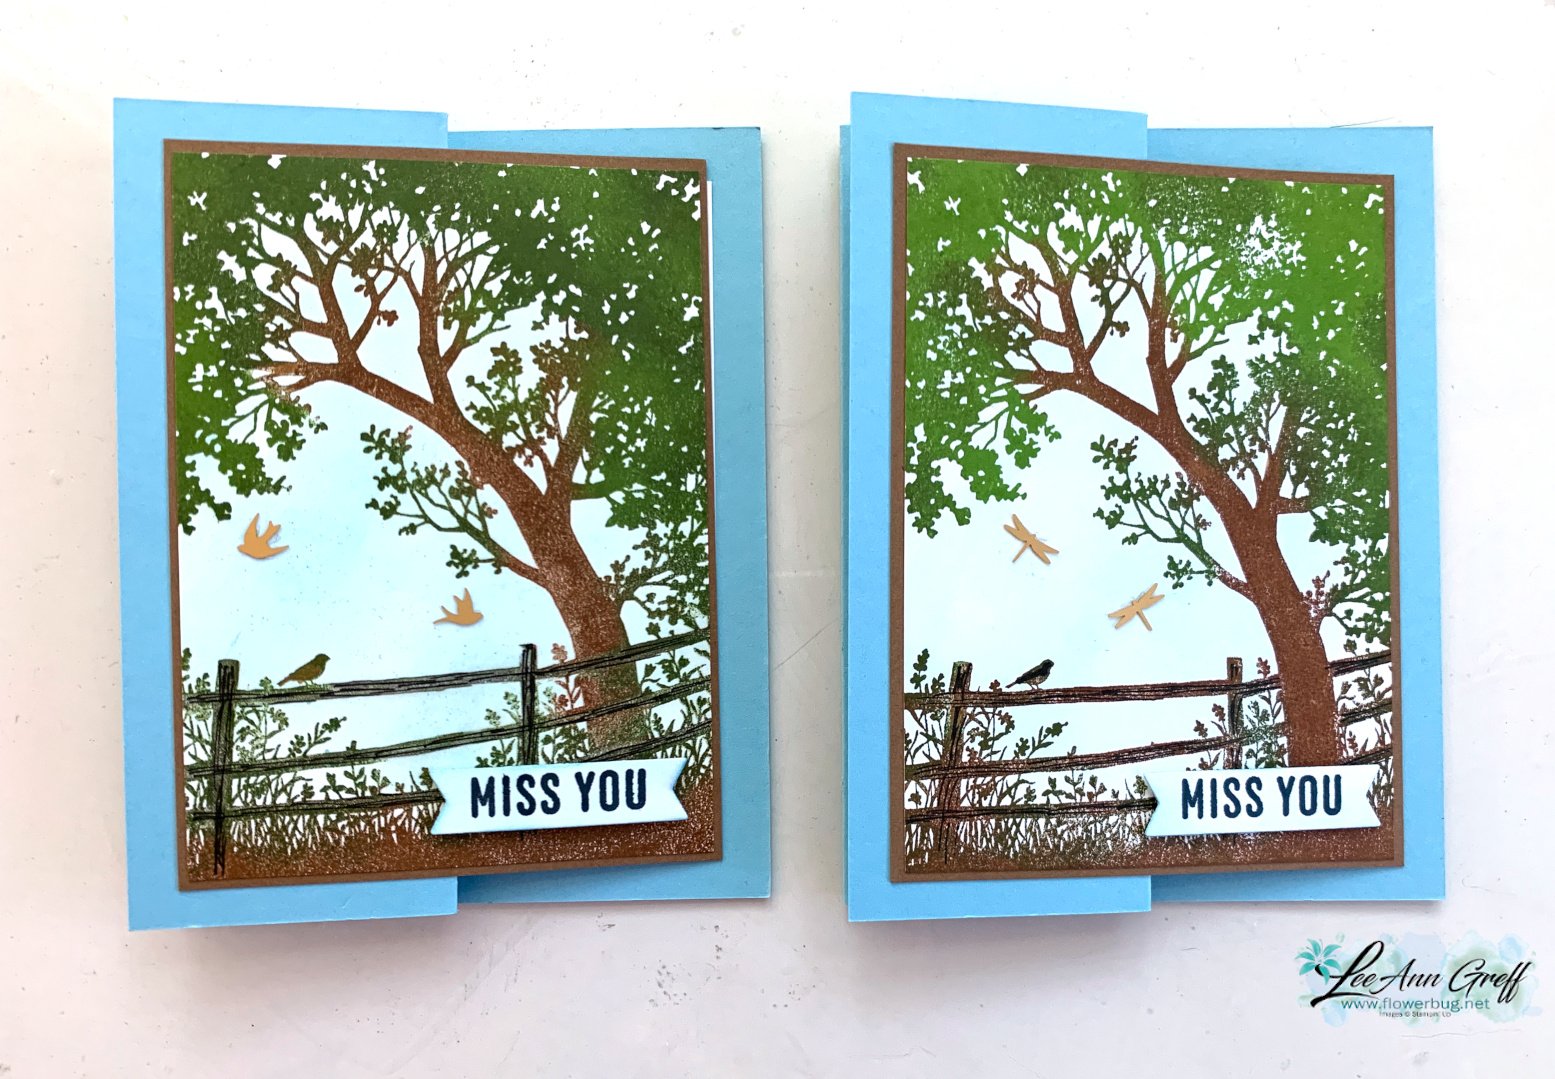
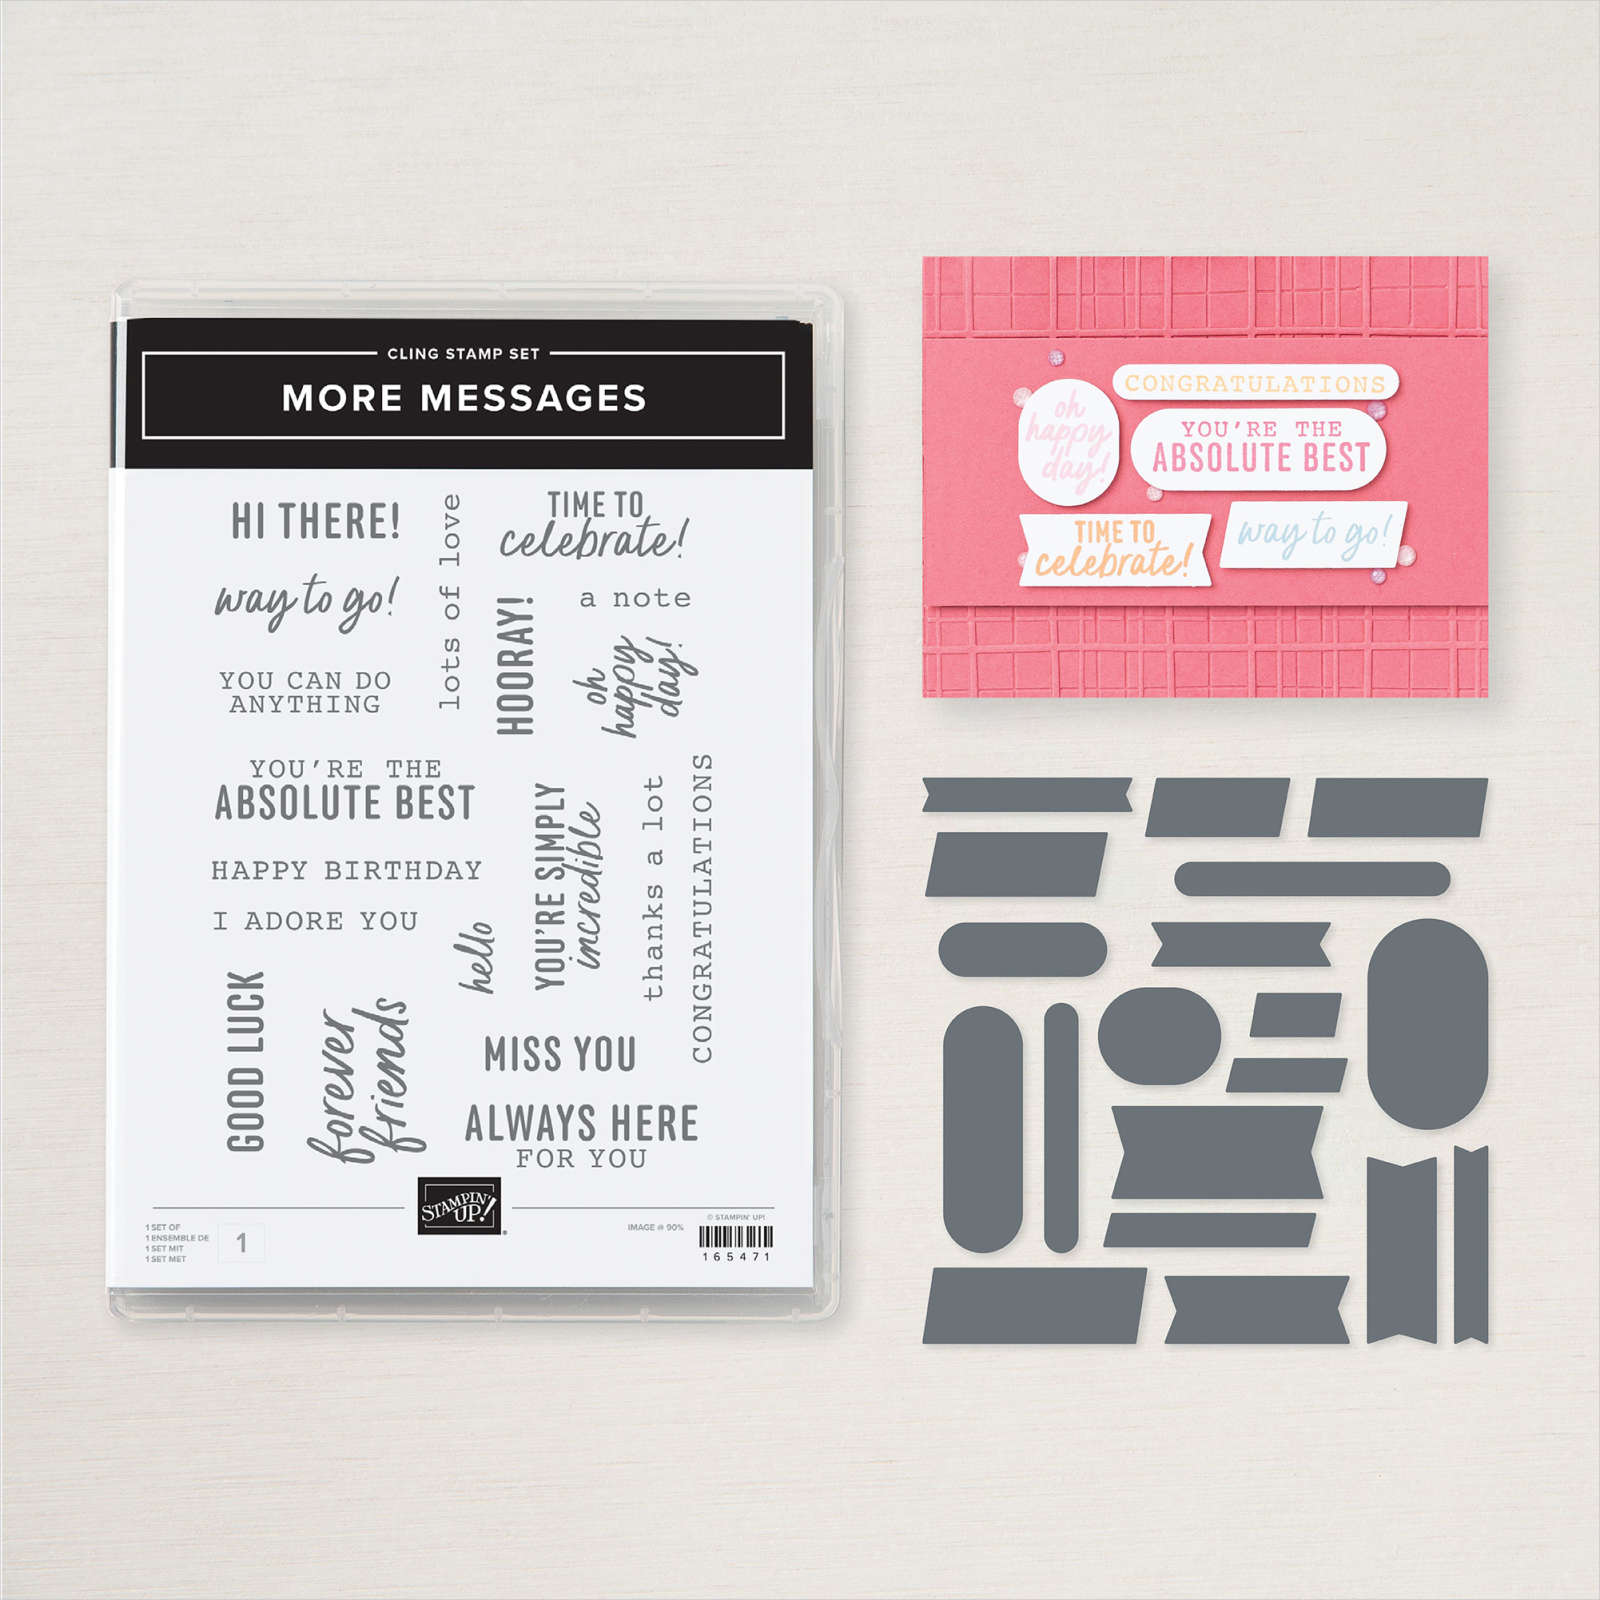
For the greetings I stamped the More Messages stamp a few times and used the coordinating die to cut them all out.  I had lots to choose from this way and can save them to use whenever I need it. Here I added Balmy Blue ink lightly to color the greeting.

What I love about this new messages bundle is that the greetings and die-cuts are such a nice size; larger than ever before. See the bundle here. 
Here's the free project sheet with measurements and supplies for you: Download Multi-colored Peaceful View

Below is the video for this card and another where I show you how to use this stamp on pretty designer paper for a stunning background. I shared that yesterday here. 

~~~

July Specials:

New Online Exclusives are here!  

~~~

Last Chance List has been updated!  see it all here. Don't miss out on the deals!

~~~

Get my Turtle-y Cute PDF tutorial free with any online order in July!

All Posts

  • More amazing Team Fall swap cards!


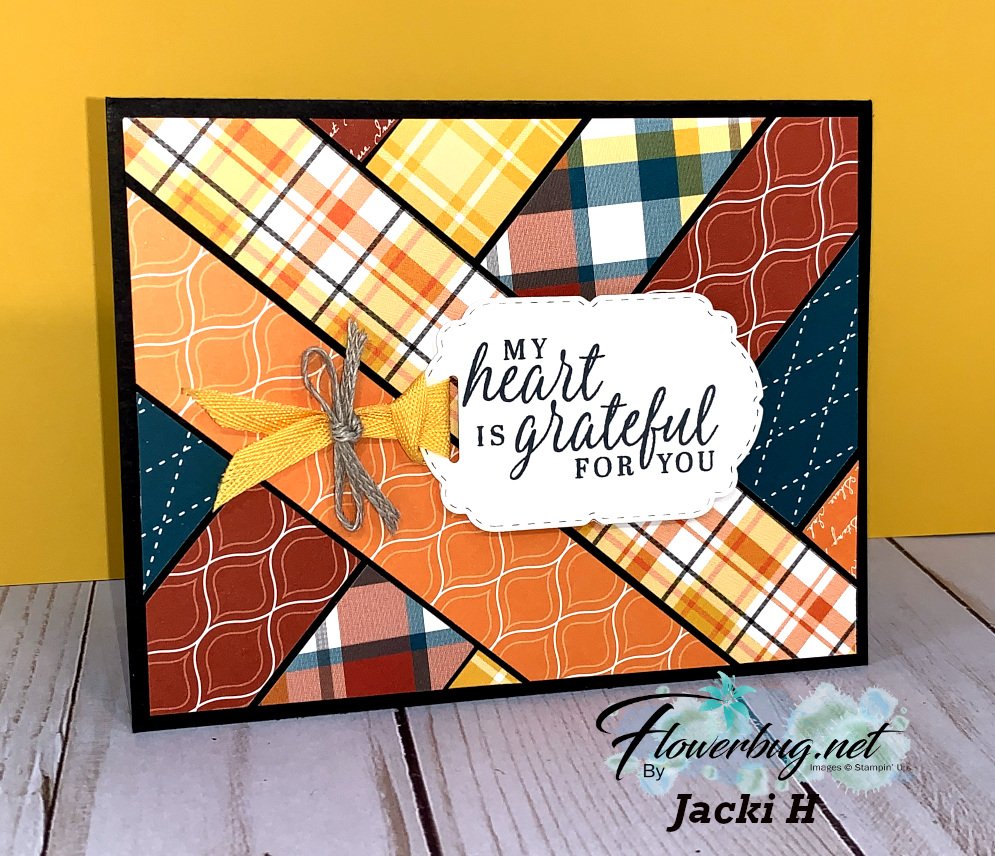
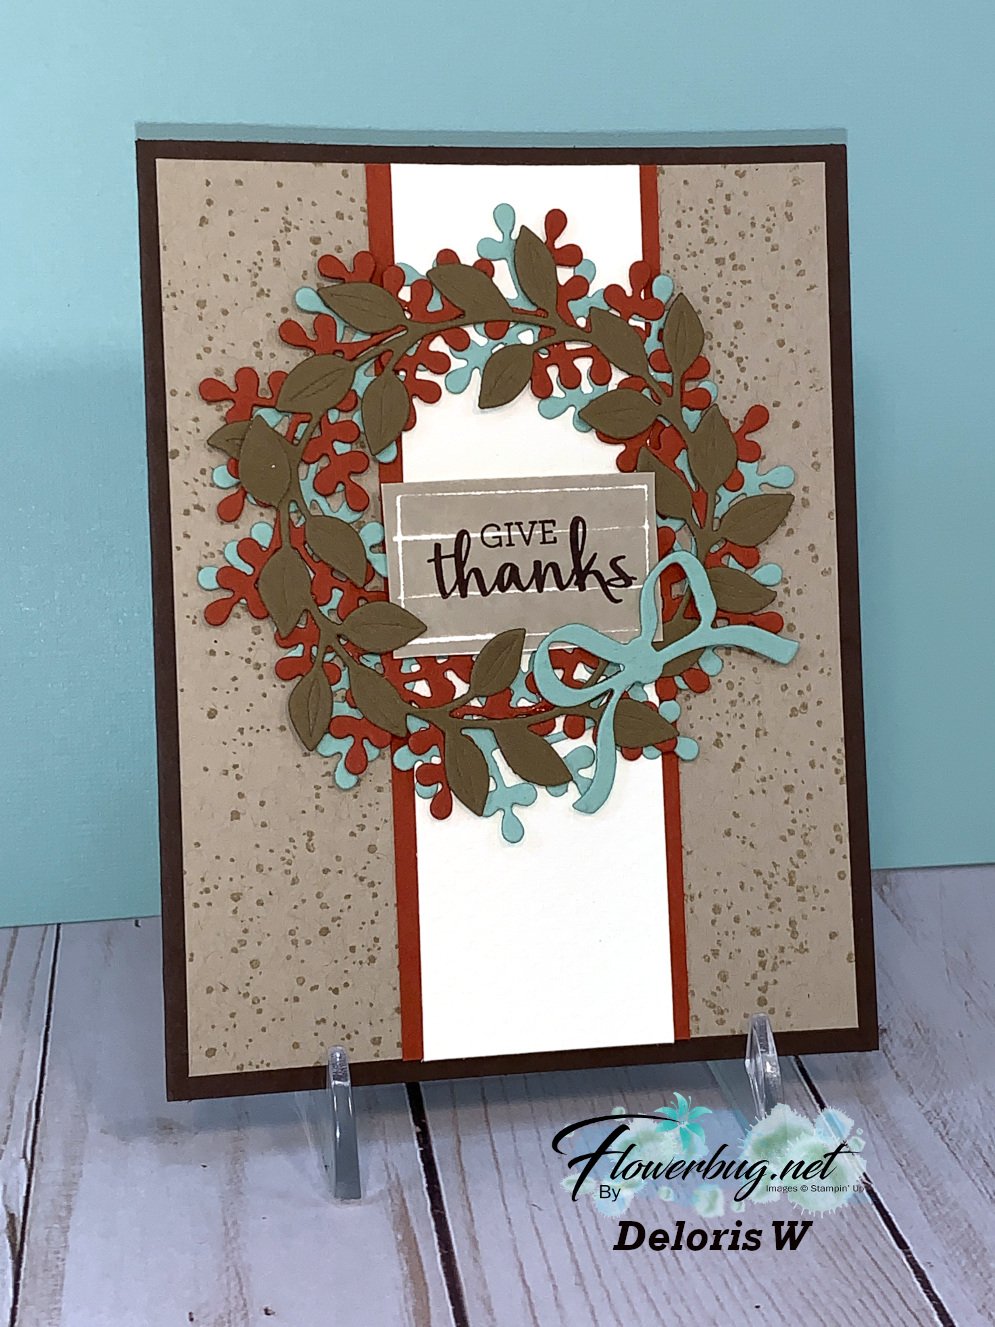
    Here are three more beautiful cards my Flowerbug's Team made for our August card swap: 

    Jacki made this super colorful card using the Plaid Tidings and 6" designer series papers.  She cut 1" strips and arranged them using the diagonal technique I shared here: 

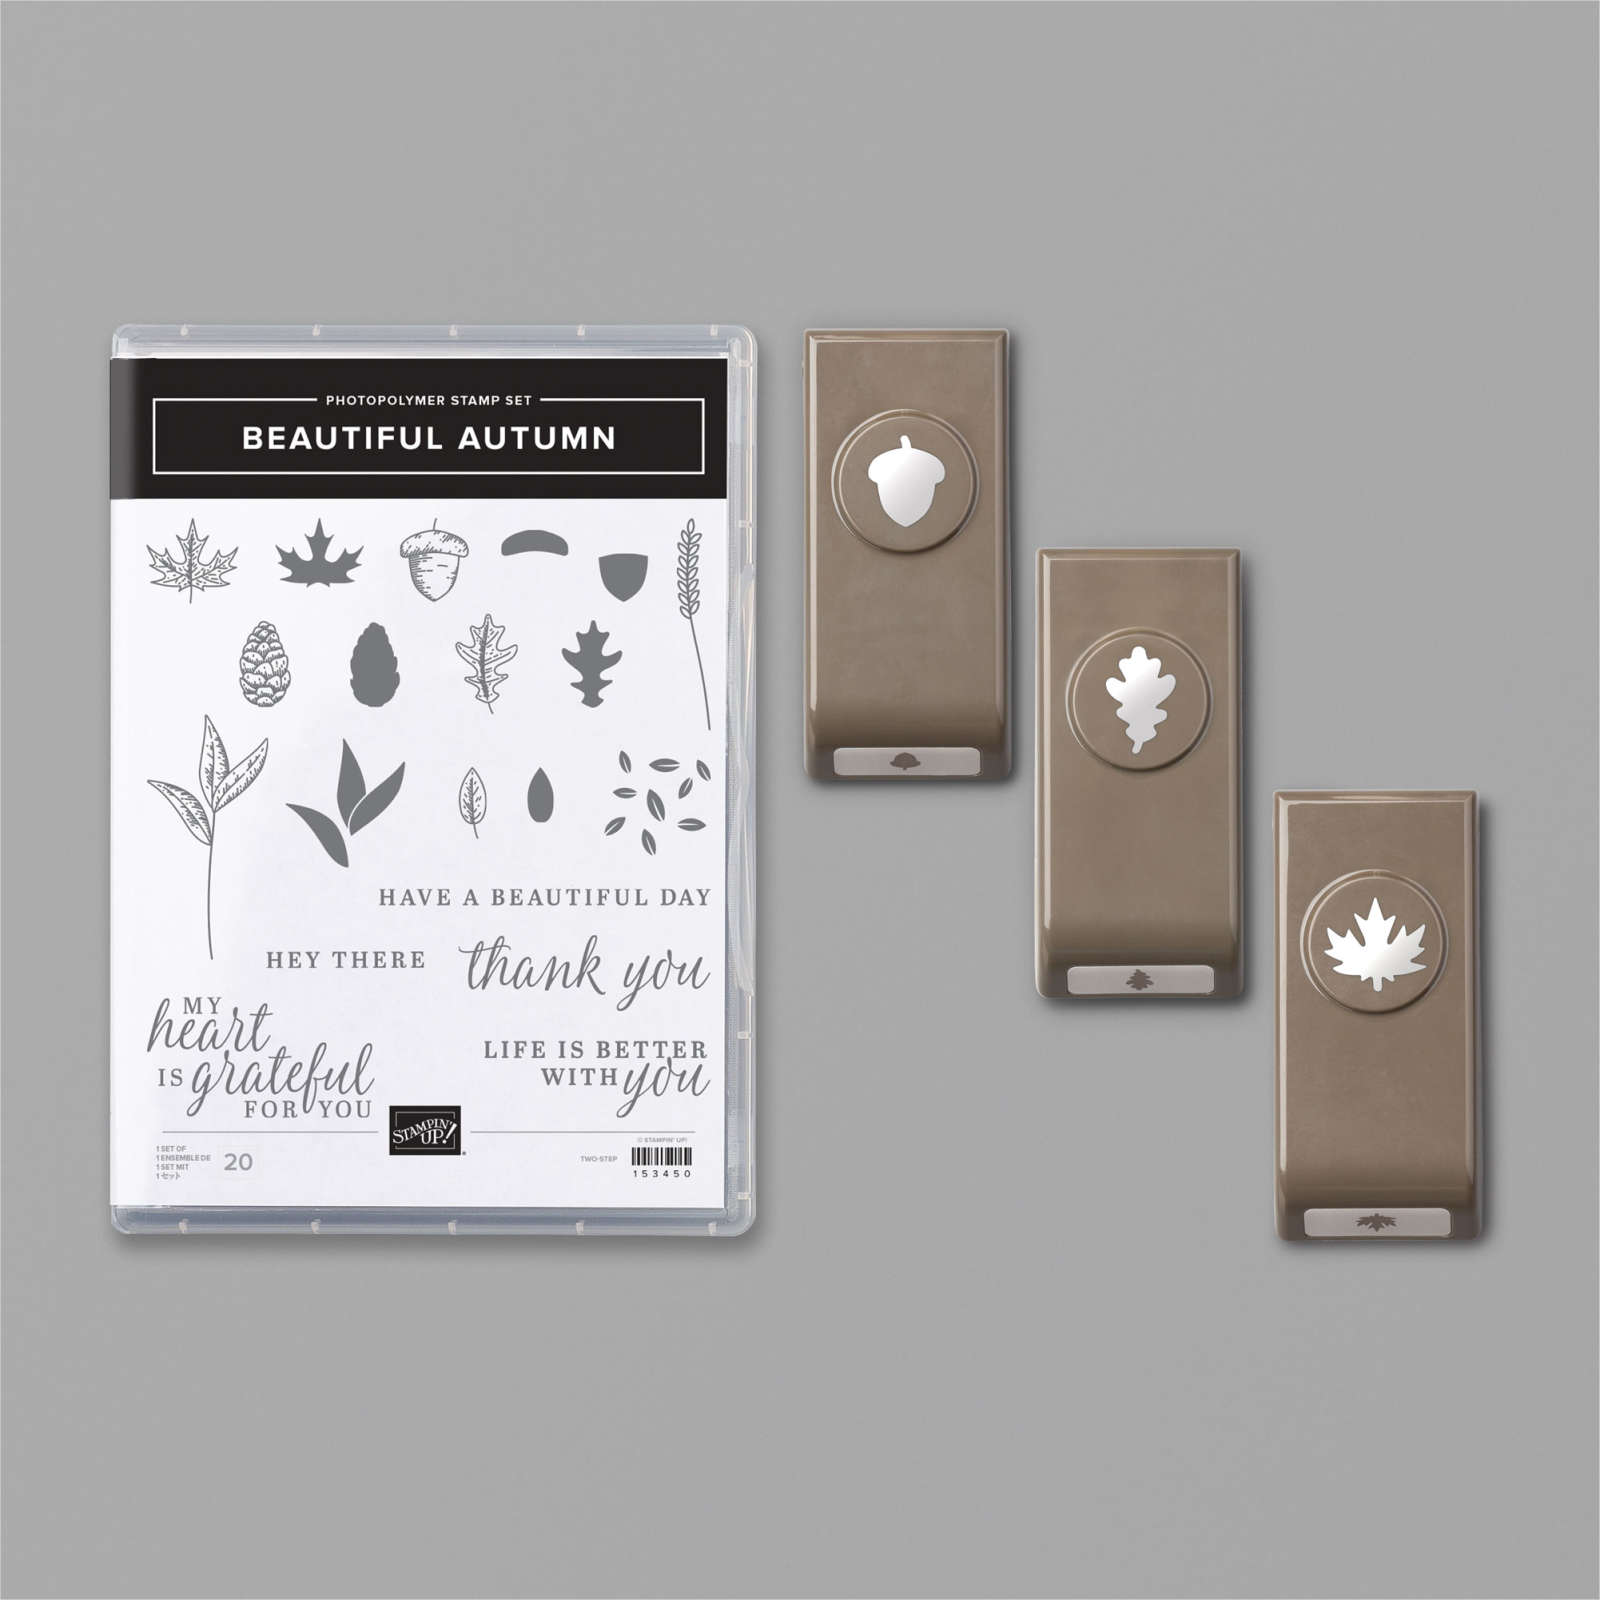
    Her greeting is from the Beautiful Autumn stamp set seen here and the tag is from the Celebration Label dies here. 

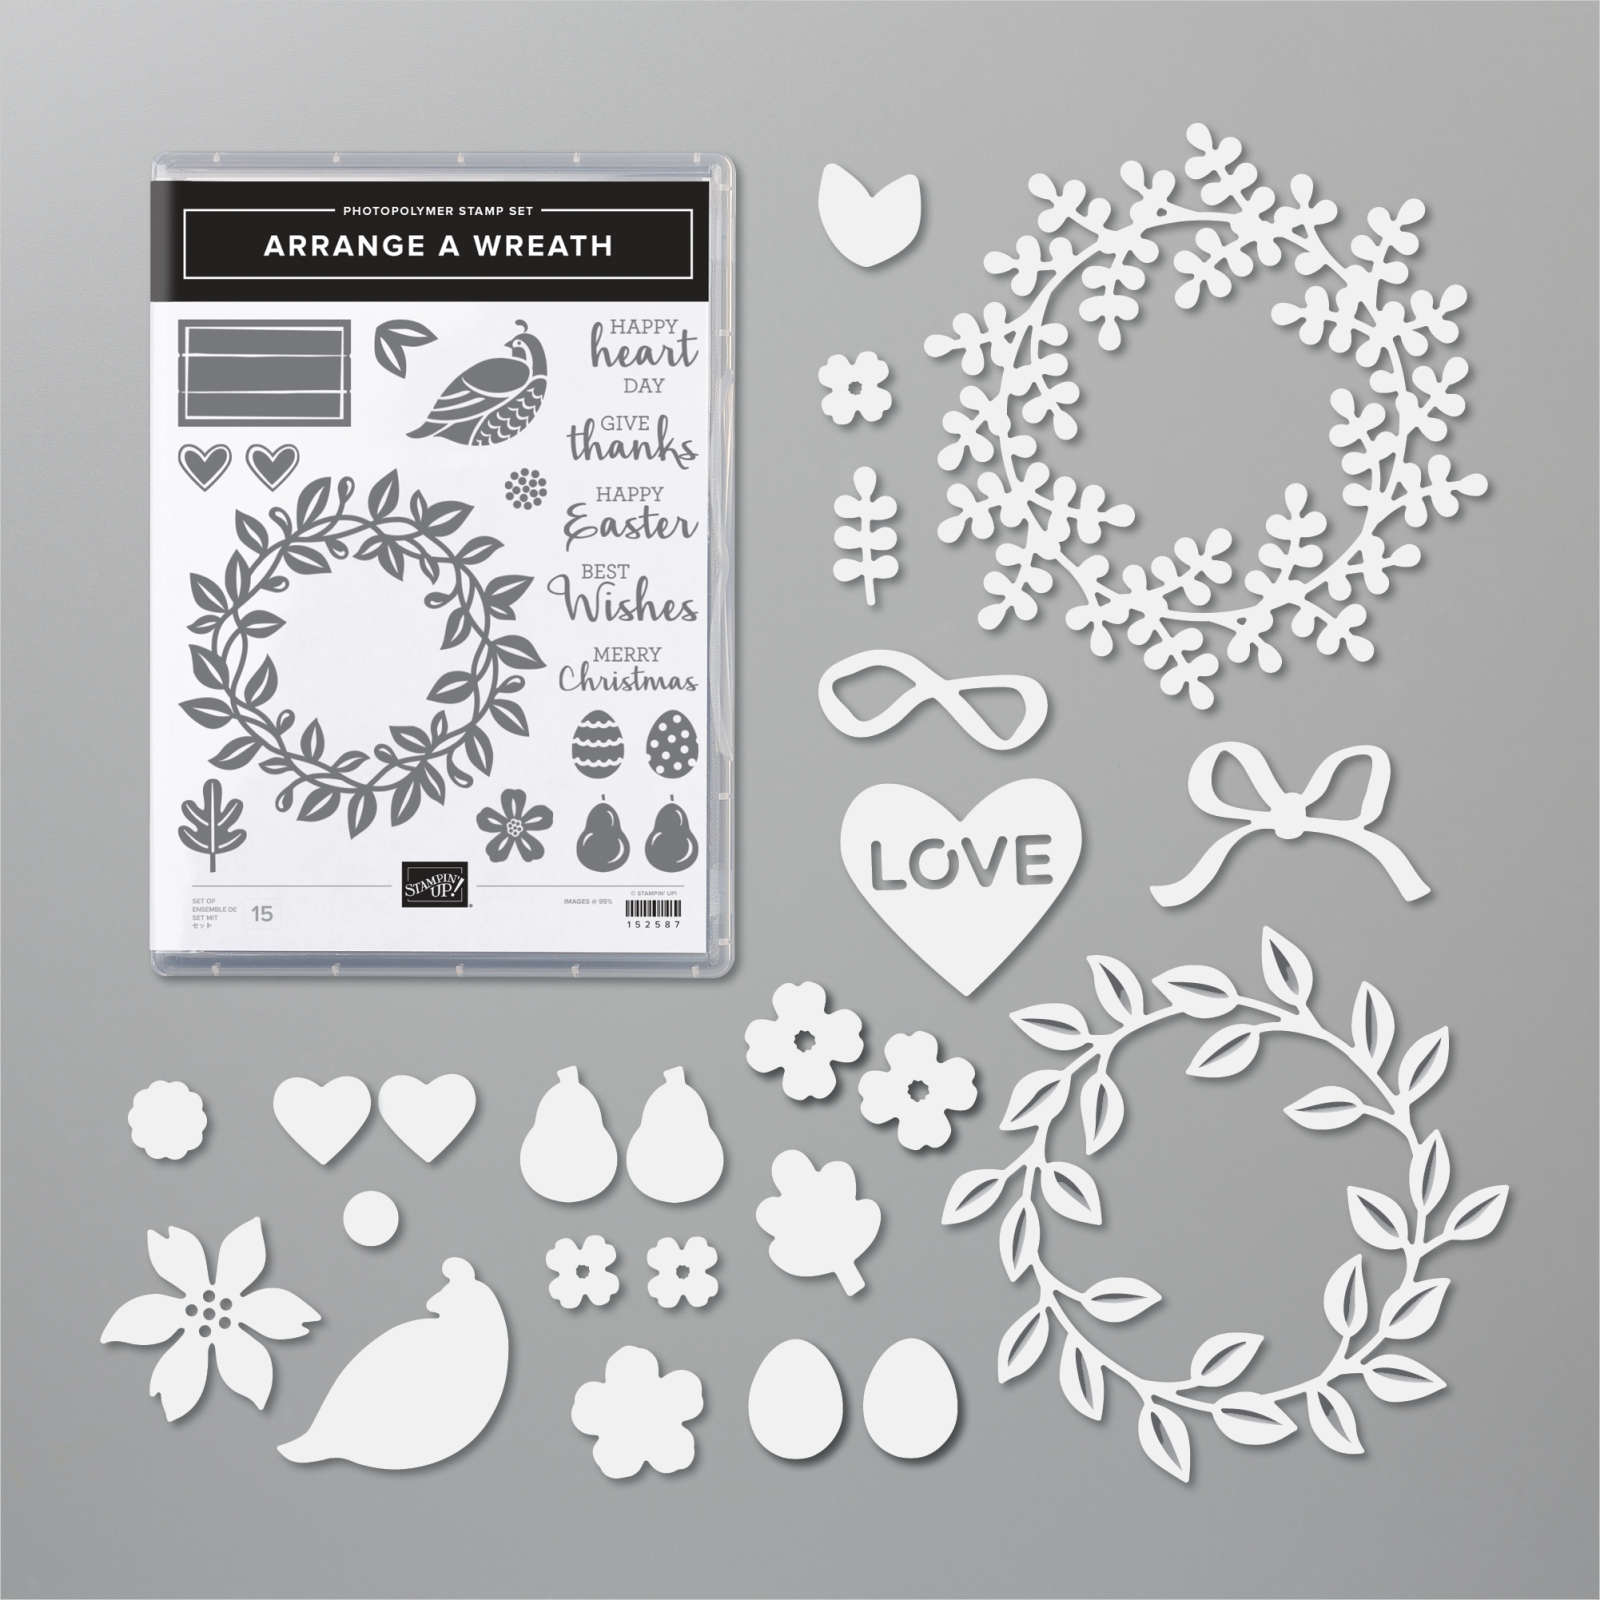
    Deloris created this pretty card with the Arrange a Wreath Bundle seen here.  It's full of die-cuts and stamps for multiple reasons & seasons!  Her colors are Early Espresso, Crumb Cake, Cajun Craze & Mint Macaron.  I really love that greeting sign!  It's actually an image in the set!

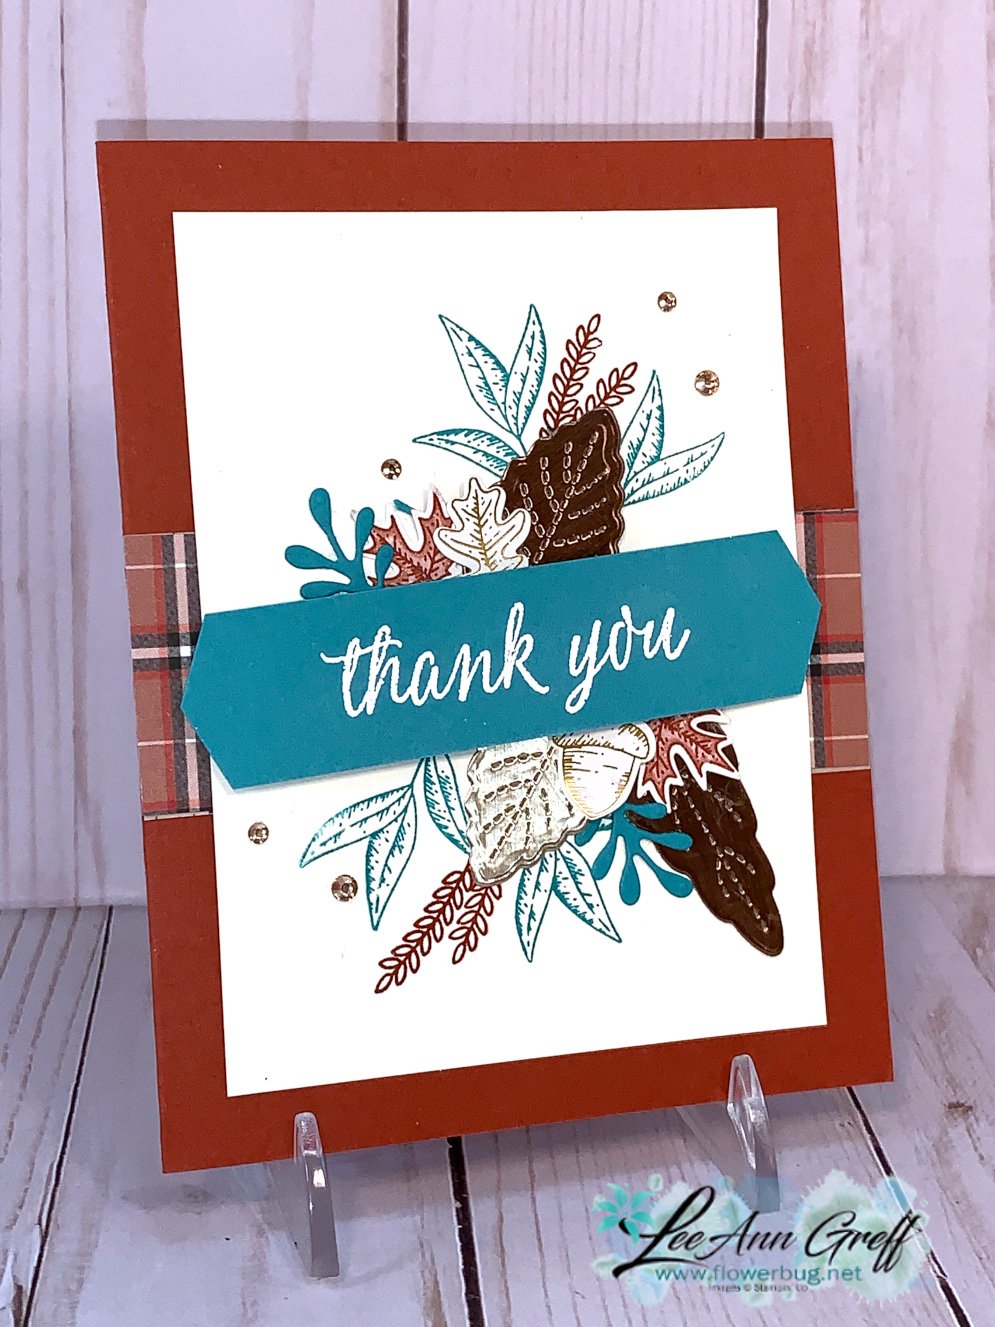
    Karen created this one with the Love of Leaves bundle seen here. 

    Her colors are Early Espresso, Vanilla, Soft Suede, Cinnamon Cider, Crushed Curry and Gold foil. The designer paper strip is from the Gilded Autumn DSP.  I absolutely love the stitching on these dies and that die-cut that creates the stitched lines for texture is the bomb!  

    ~~~

    Current Host code is QW7SUYVX

    Get a free package of new Iridescent Pearls in August with an online order over $55. 

    Order online here

     Get my Flowers for Every Season pdf tutorial free with all online order in August!


    It includes directions, photos and measurements for 12 cards!

    Redeem your $5 coupons now!  

    Leave a Reply

    Your email address will not be published. Required fields are marked *

  • Beautiful Autumn card; lots of pretty extras!


    Card details:

    • Cajun Craze main card 5 1/2" X 8 1 1/2", Very Vanilla 3 1/2" X 4 3/4", Bermuda Bay 1" X 4" 
    • Inks – Versamark, Bermuda Bay & Cajun Craze 
    • Images & greeting from Beautiful Autumn stamp set seen here
    • The leaf dies are cut from our Copper & Gold foil papers.
    • The smaller leaves are punched out from the Gilded Autumn specialty designer paper with the Autumn Punch Pack that is included in the Beautiful Autumn Bundle at 10% off.

    I'm loving the new Banners Pick a Punch!  It has grooves for 1/2", 3/4" and 1" banners.  And two different style ends!  Sure makes adding banners a breeze!  

    ~~~

    Current Host code is QW7SUYVX

    Get a free package of new Iridescent Pearls in August with an online order over $55. 

    Order online here

     Get my Flowers for Every Season pdf tutorial free with all online order in August!


    It includes directions, photos and measurements for 12 cards!

    Redeem your $5 coupons now!  

    Leave a Reply

    Your email address will not be published. Required fields are marked *

  • Gorgeous Fall Swaps from the Flowerbug’s!


    Today I'm sharing a few of the amazing cards my Flowerbug's Team swapped this weekend.  The theme was Fall cards. 

    Annette made this first one using the Rooted in Nature bundle.  

    You may not see it well but she used the leaf dies in this set to create a textured White background.  Her colors are Cinnamon Cider & Rich Razzleberry.  A unique, Asian inspired card!

    Paula made this one using the Autumn Goodness bundle.  It's a fun fold too where the front, middle is the card opening! That piece is 3 3/4" X 8 1/2" folded in half. 

    The pretty designer paper is the Gilded Autumn specialty paper.  This bundle includes dies that cut out the flowers and the wheelbarrow.  

    Candace made this one with two stamp sets; the Life is Beautiful for the leaves and greeting and the Way to Goat set for the goat who's kicking up the leaves!  Super fun and colorful!

    click on the links below to see them in my store: 

    ~~~

    Current Host code is QW7SUYVX

    Get a free package of new Iridescent Pearls in August with an online order over $55. 

    Order online here

     Get my Flowers for Every Season pdf tutorial free with all online order in August!


    It includes directions, photos and measurements for 12 cards!

    Redeem your $5 coupons now!  

    Leave a Reply

    Your email address will not be published. Required fields are marked *


Notice: LeeAnn Greff, Independent Stampin’ Up! Demonstrator, Manager. The content of this website is my sole responsibility as an independent Stampin’ Up! demonstrator and the use of, and content of, the classes, services, or products offered on this website is not endorsed by Stampin’ Up! Copyright 2025